2008 Nissan Maxima Custom Headlights
Amber Reflector Mod, Demon Eyes, Paintwork
Drumroll please!!!!!…..
I recently completed another set of custom built headlights; this time for a 2008 Nissan Maxima. What made this set particularly enjoyable was that the client gave me free reign to do whatever I wanted for the build. I had built a set of headlights and a set of taillights for him previously, so presumably he trusted my quality of work and vision.
There are only two examples of these particular headlights being modified on the internet. And both of them employed ‘Iron Man LEDs’ and DRLs. I wanted to go a different route with my set. A tasteful “OEM Plus” styling that would focus more on improving performance and maintaining a classy appearance than going crazy with gaudy flash.
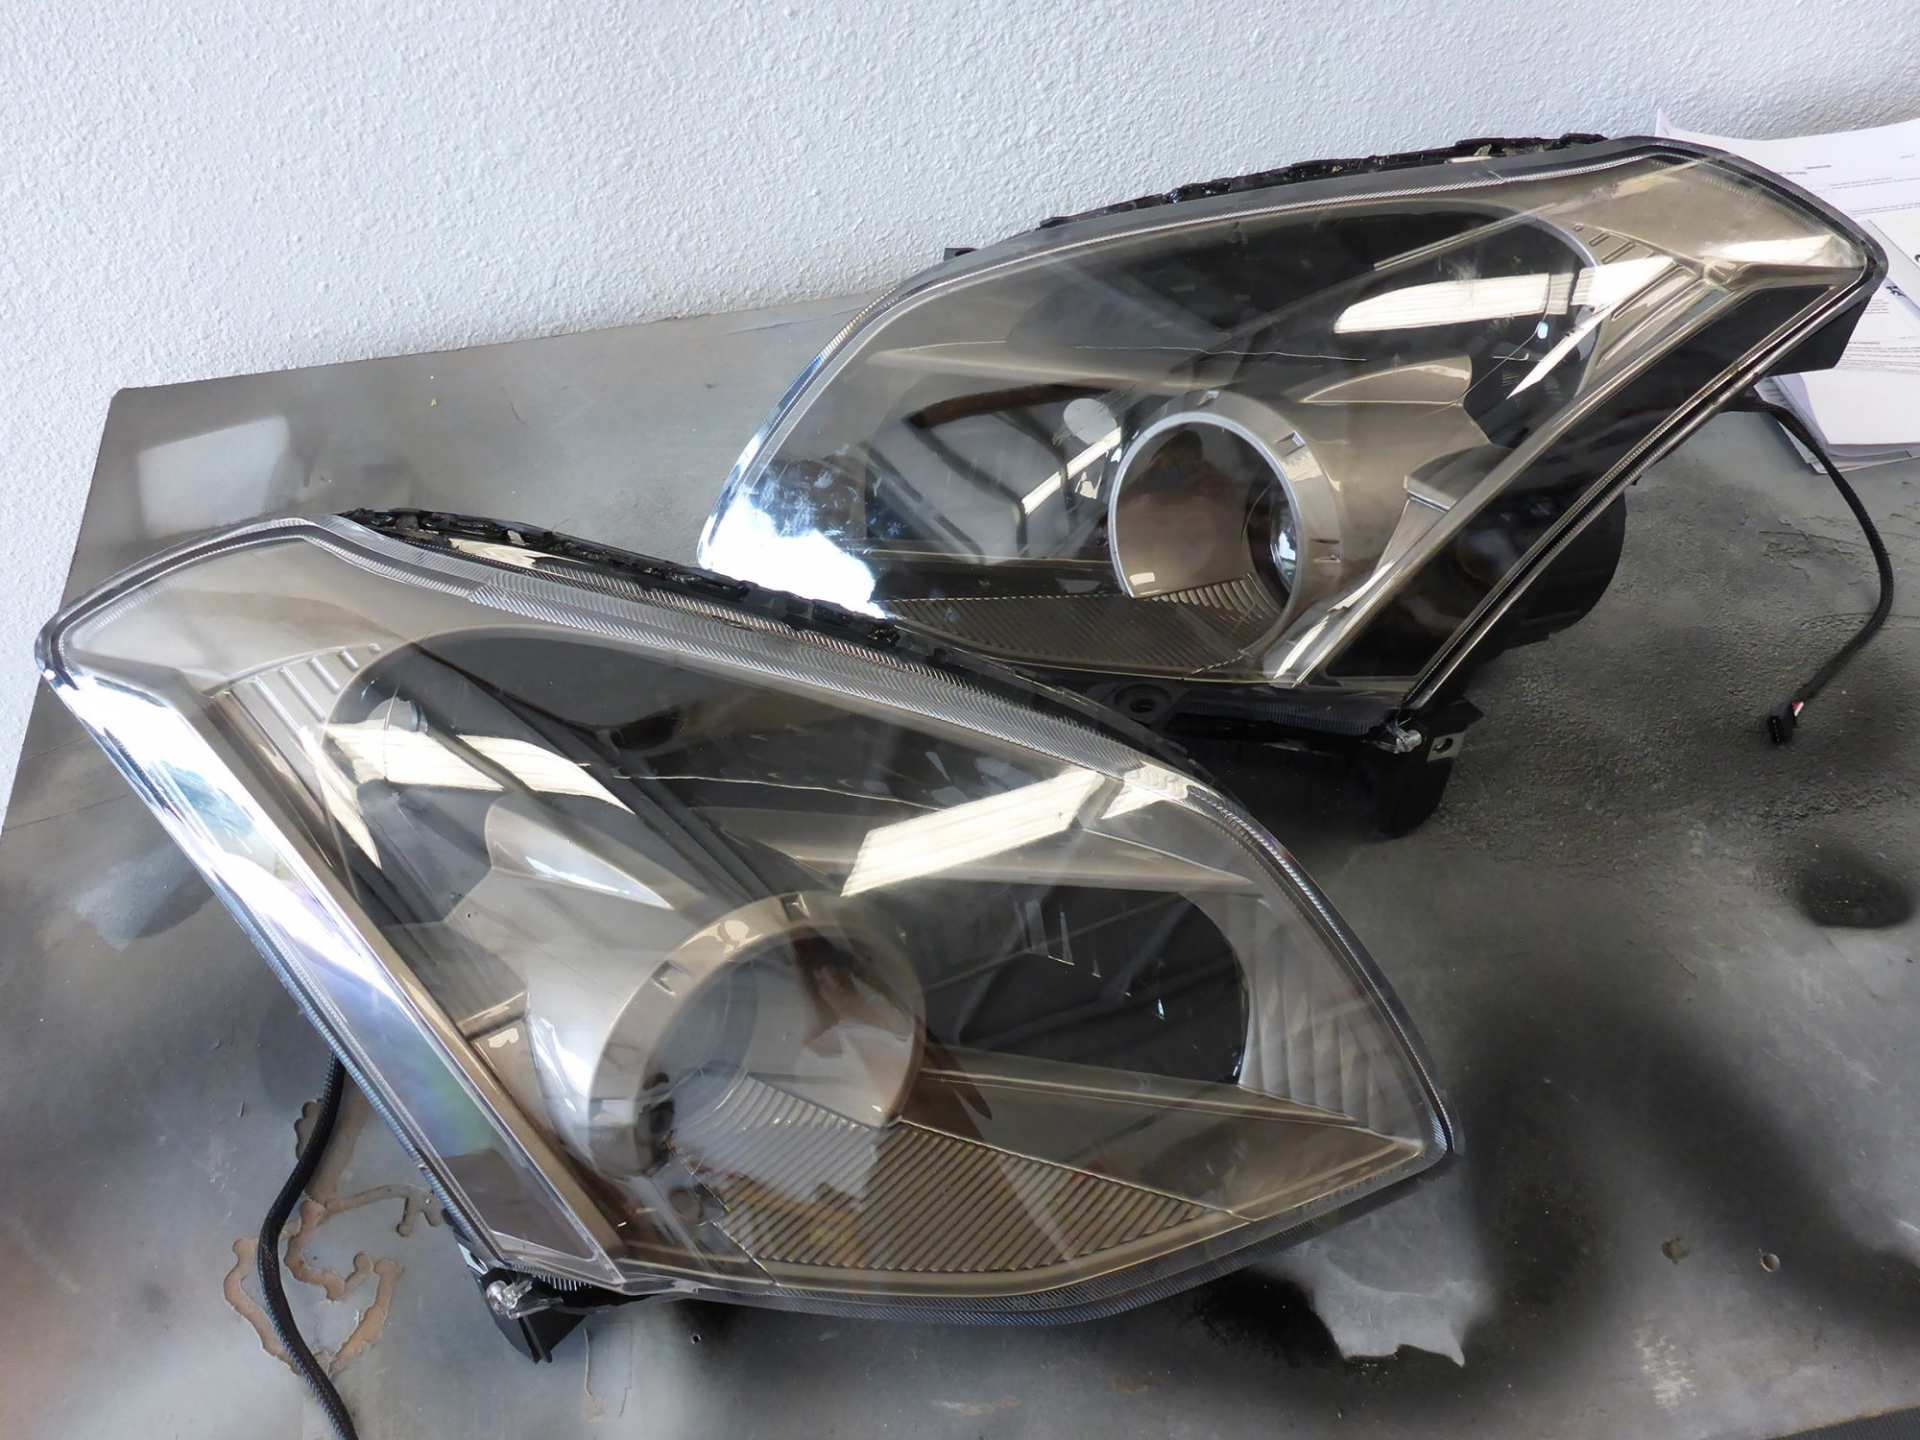
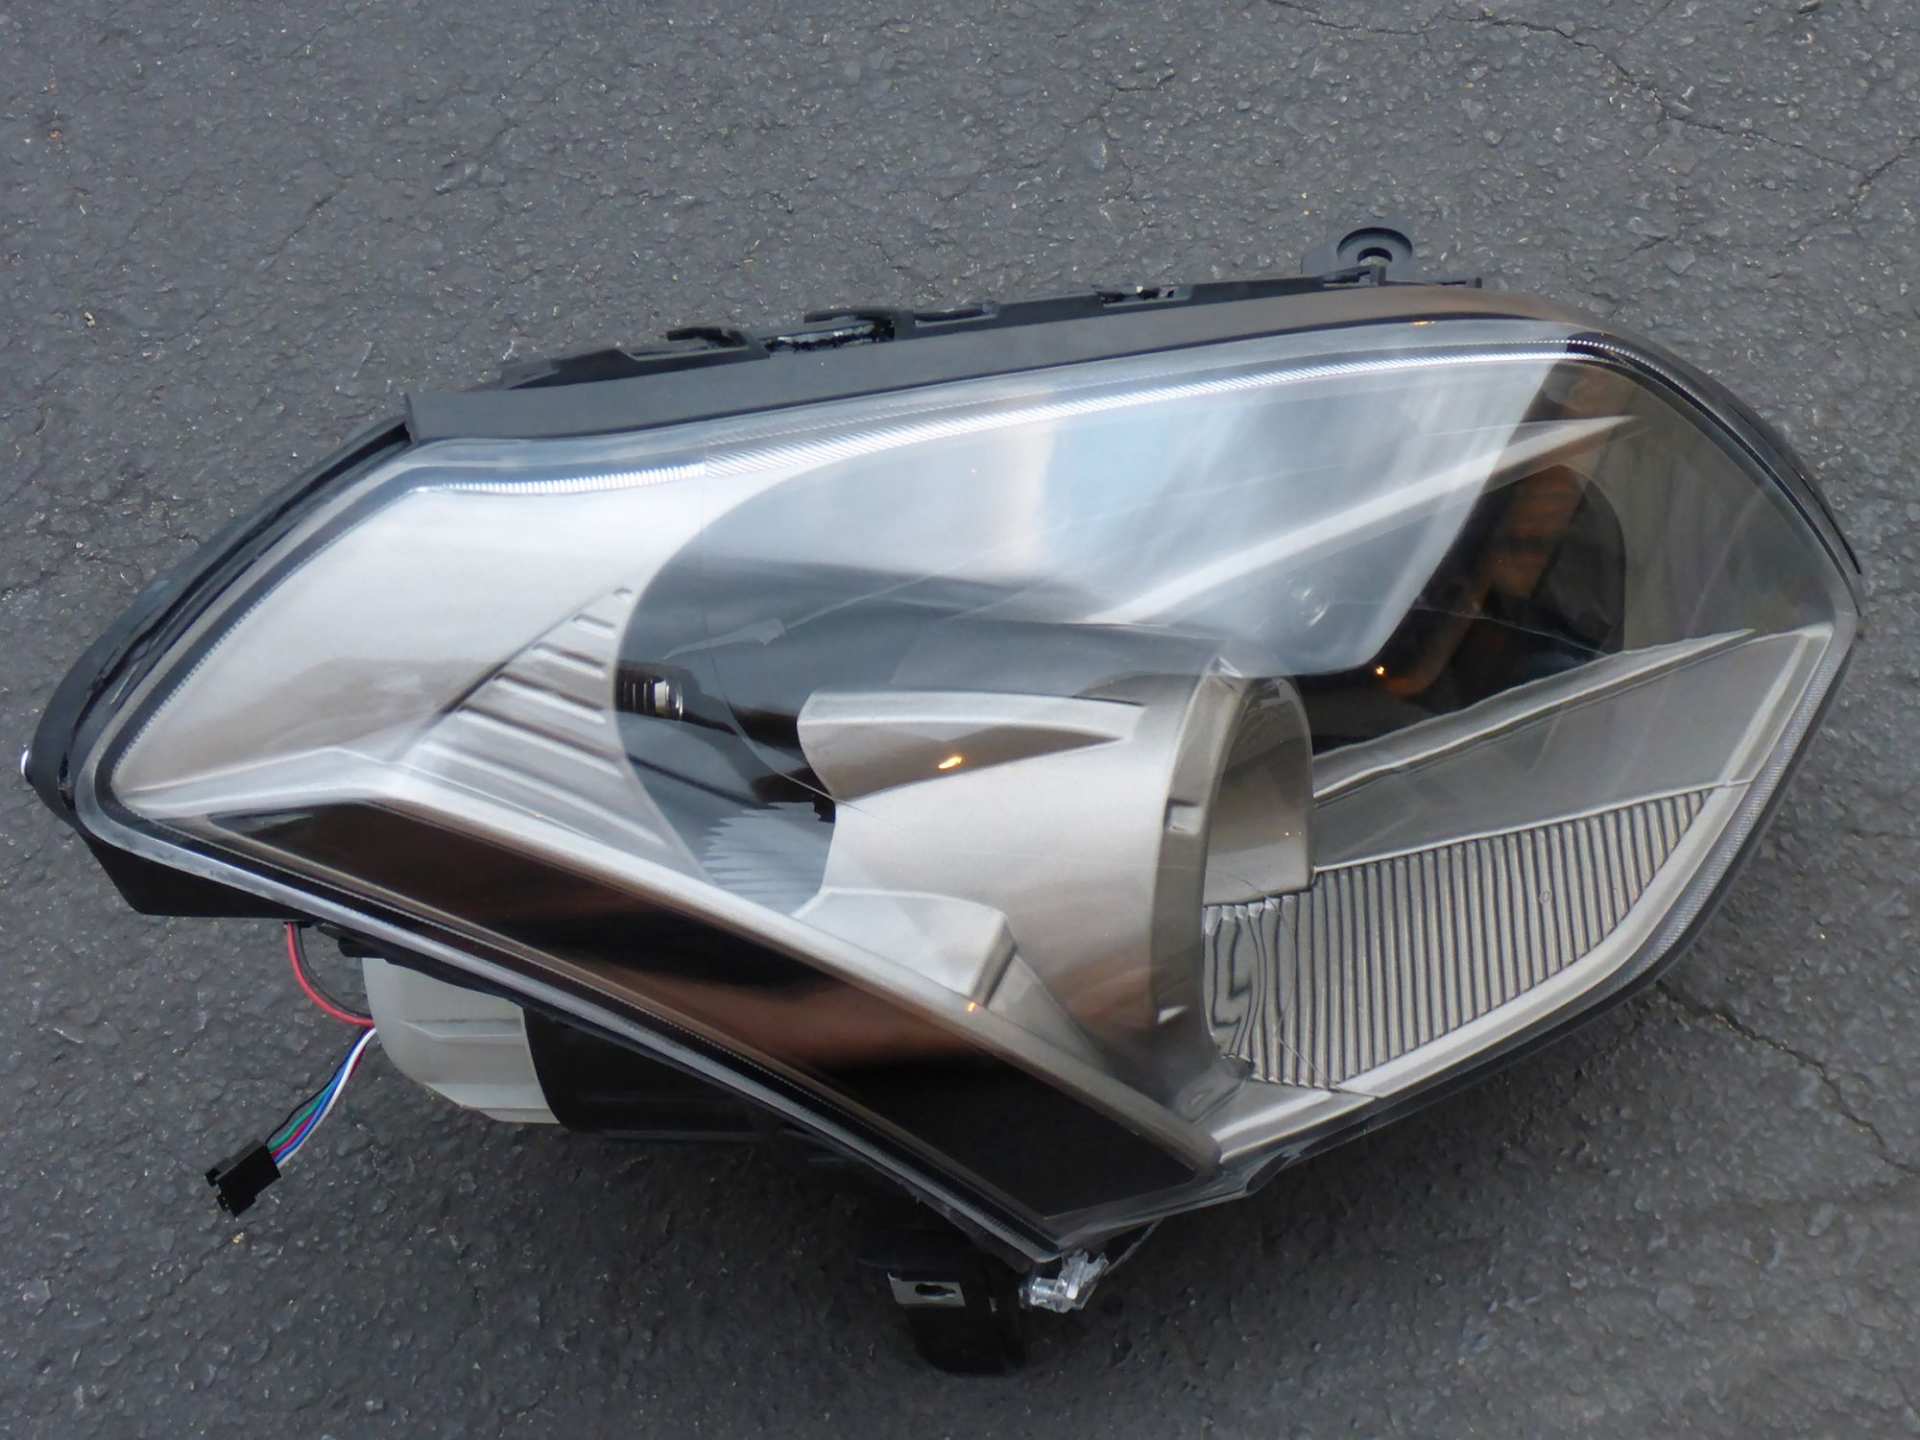
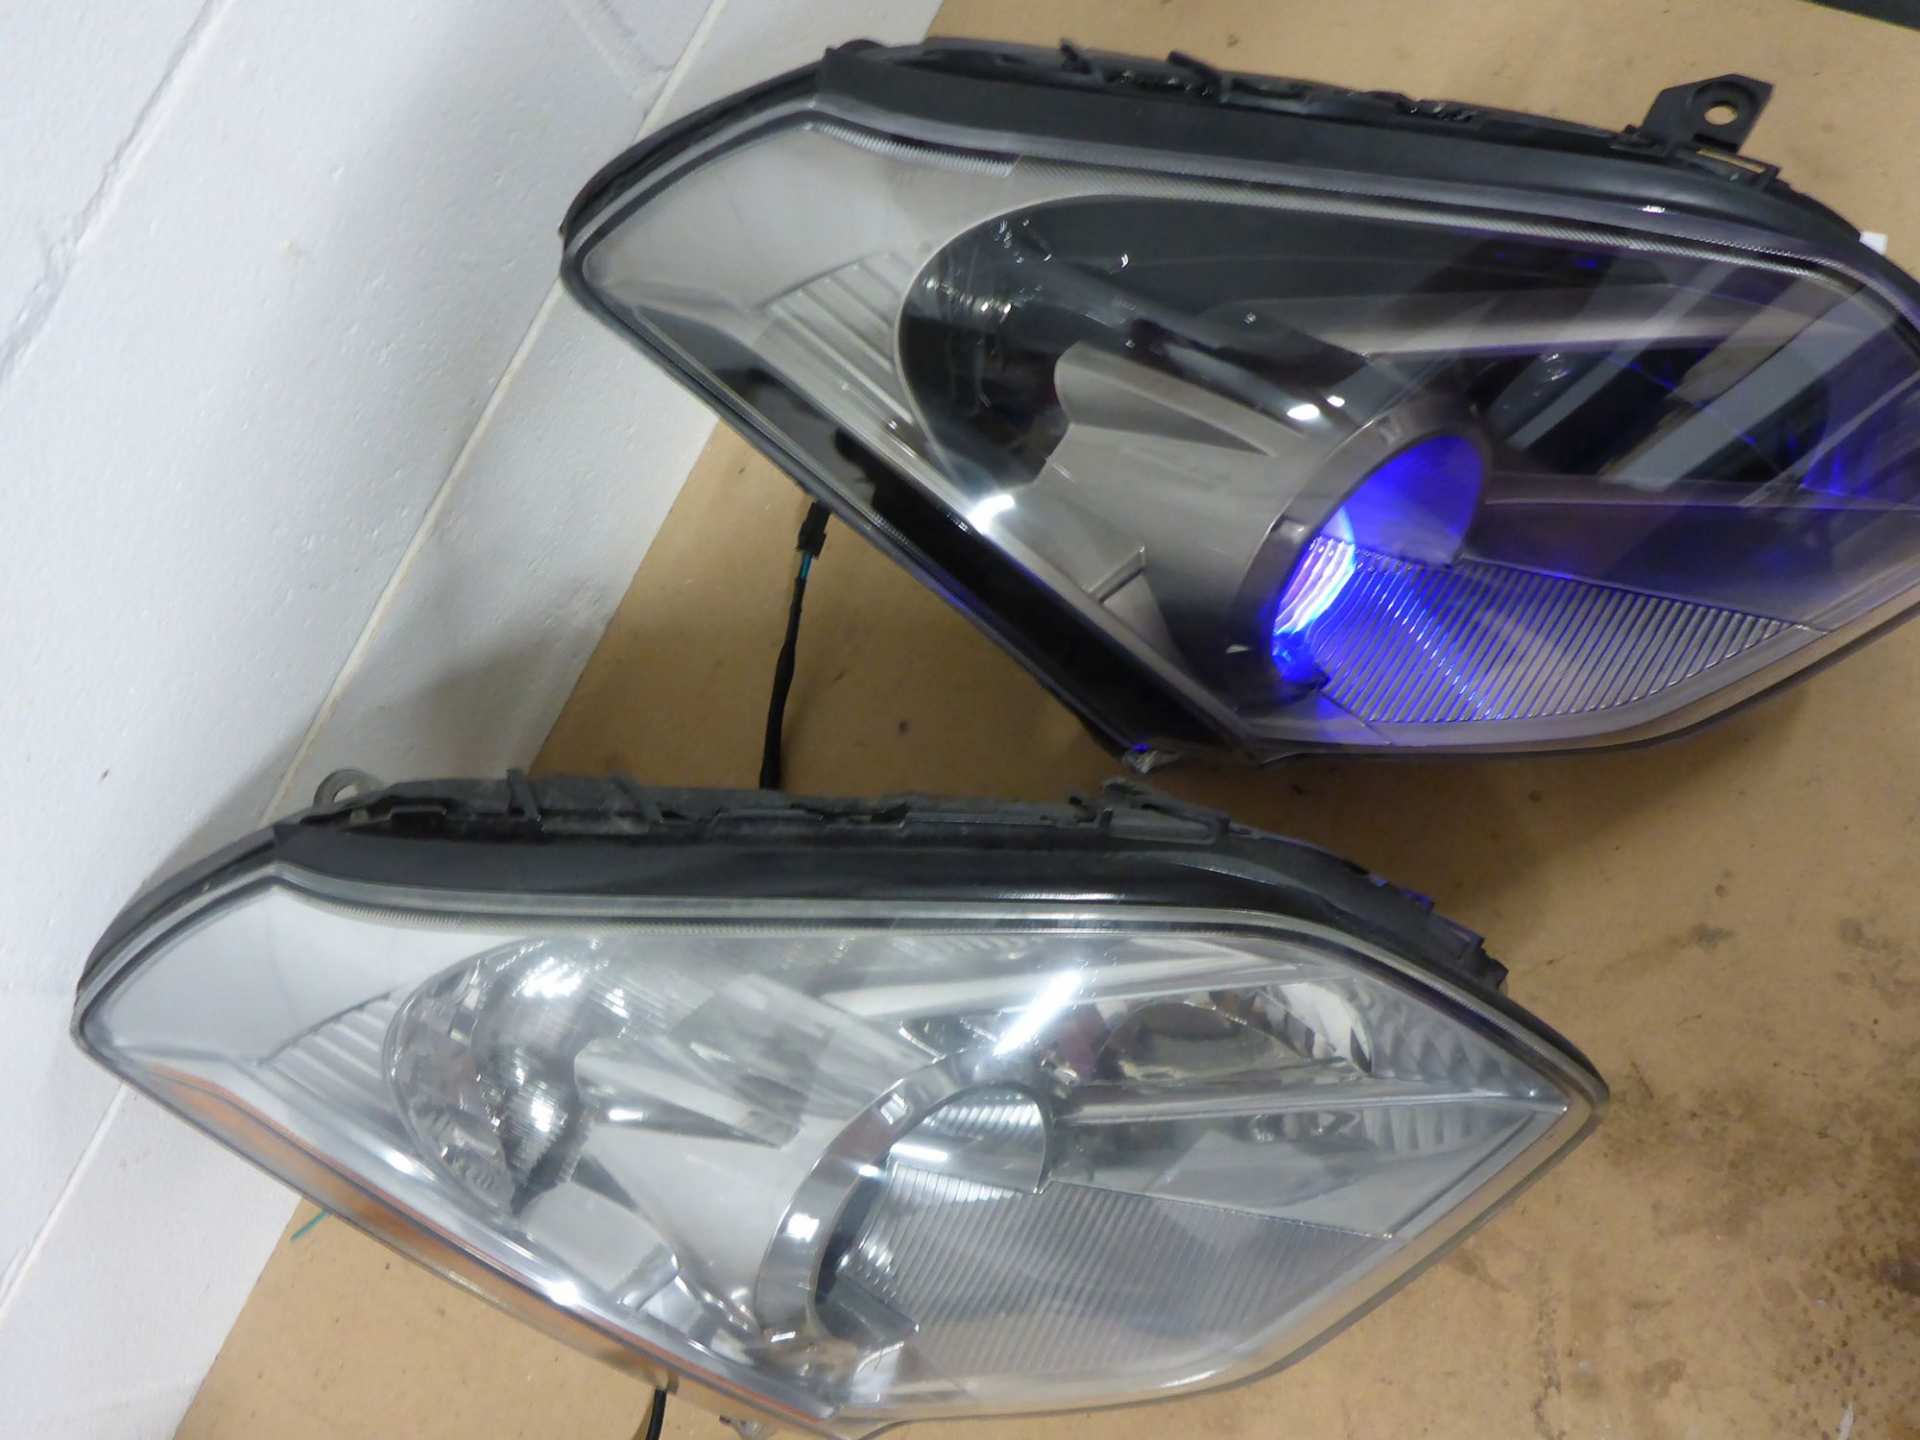
When his original set of headlights arrived, I discovered they were damaged substantially and that it would be worthwhile to purchase an aftermarket set and start anew.
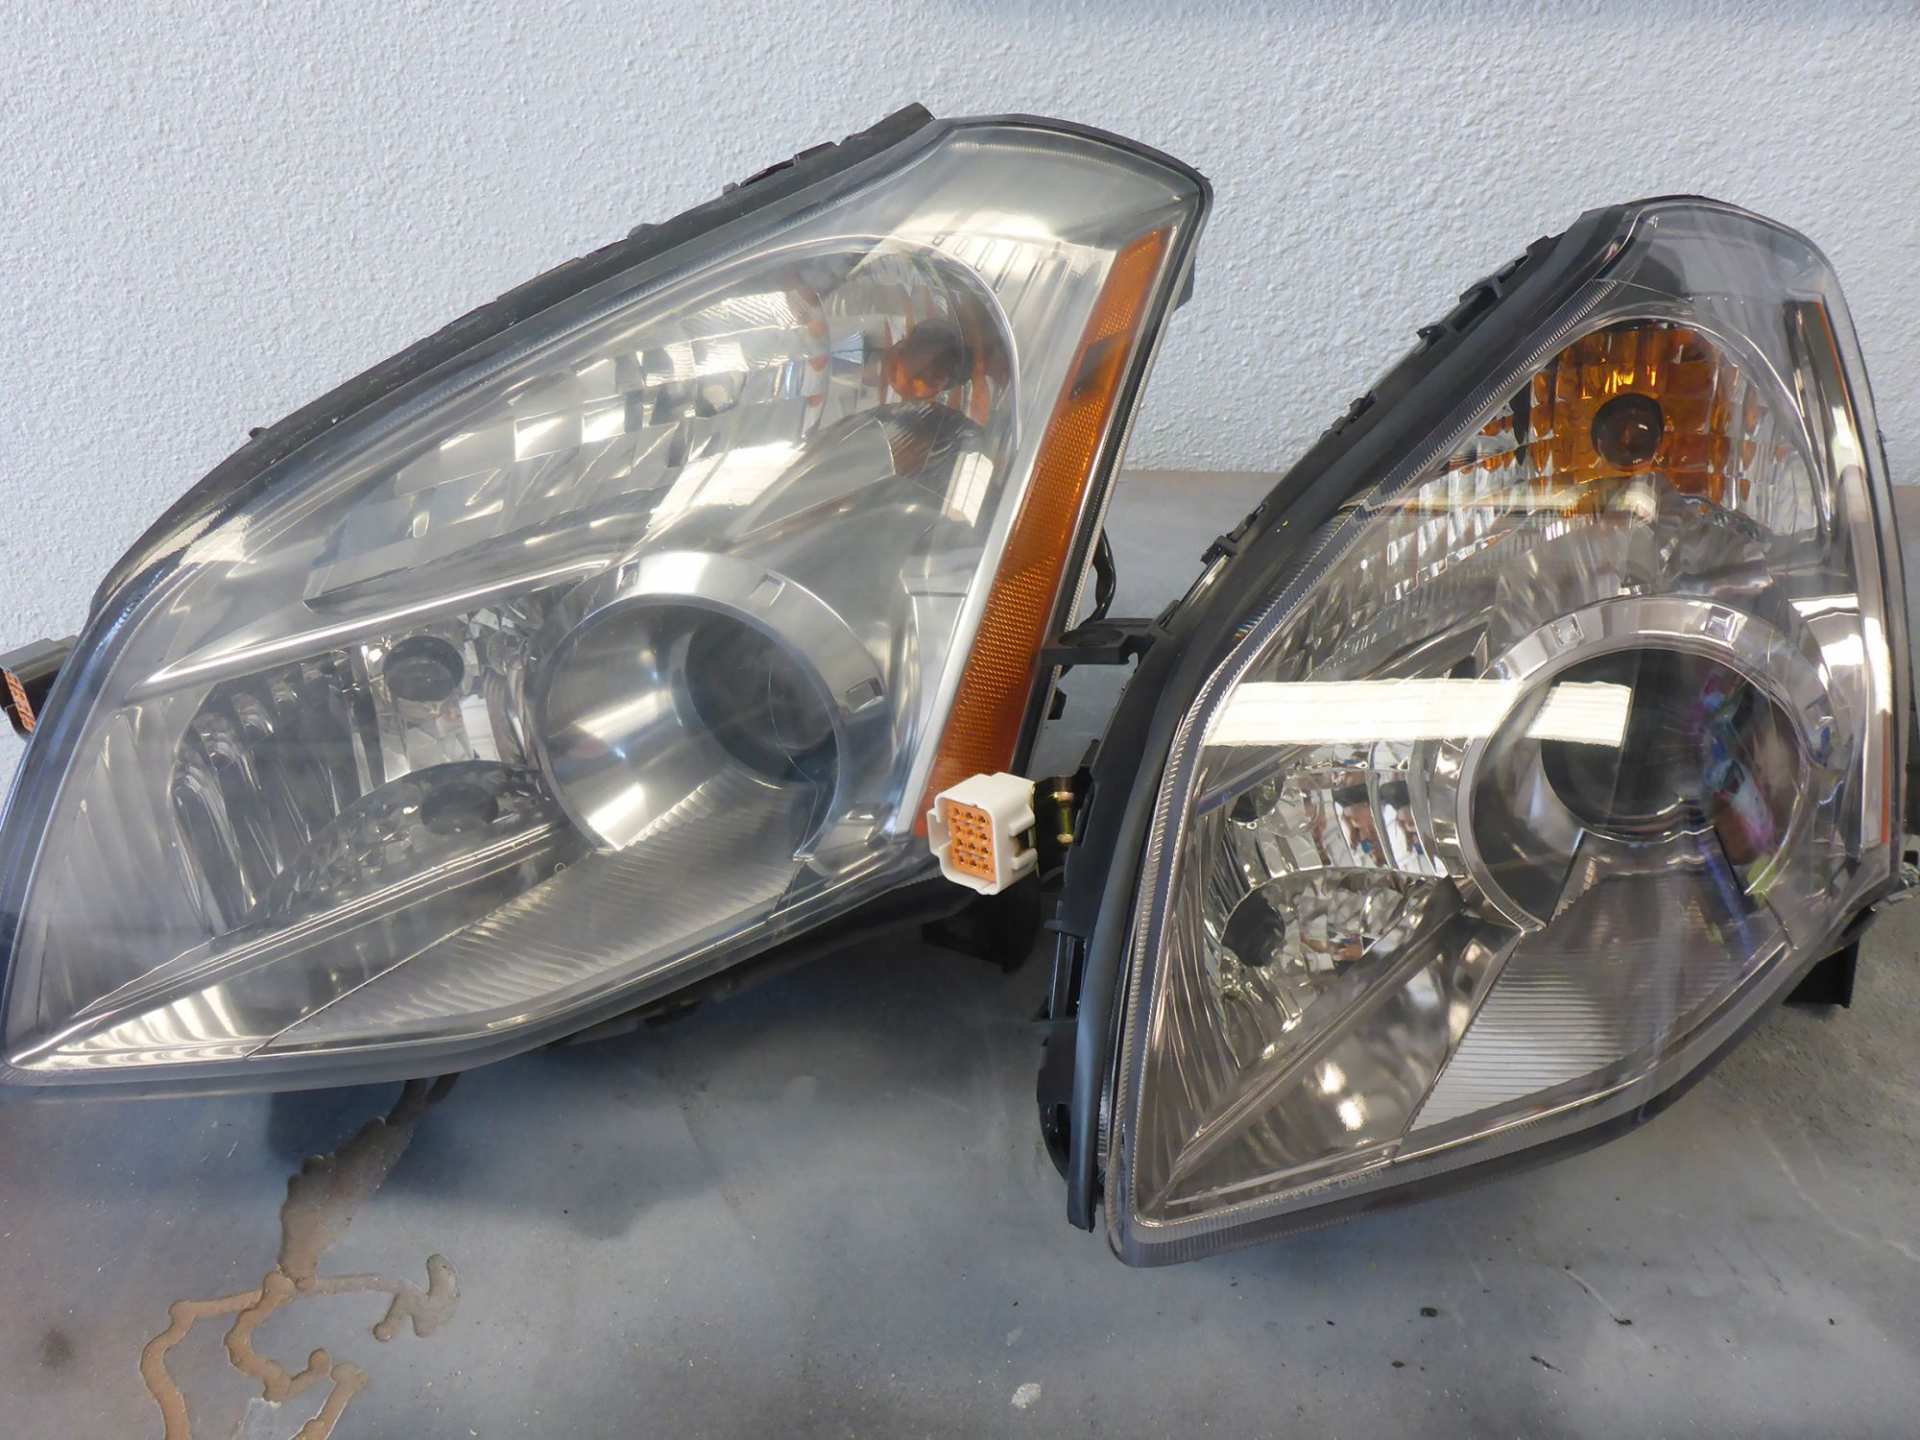
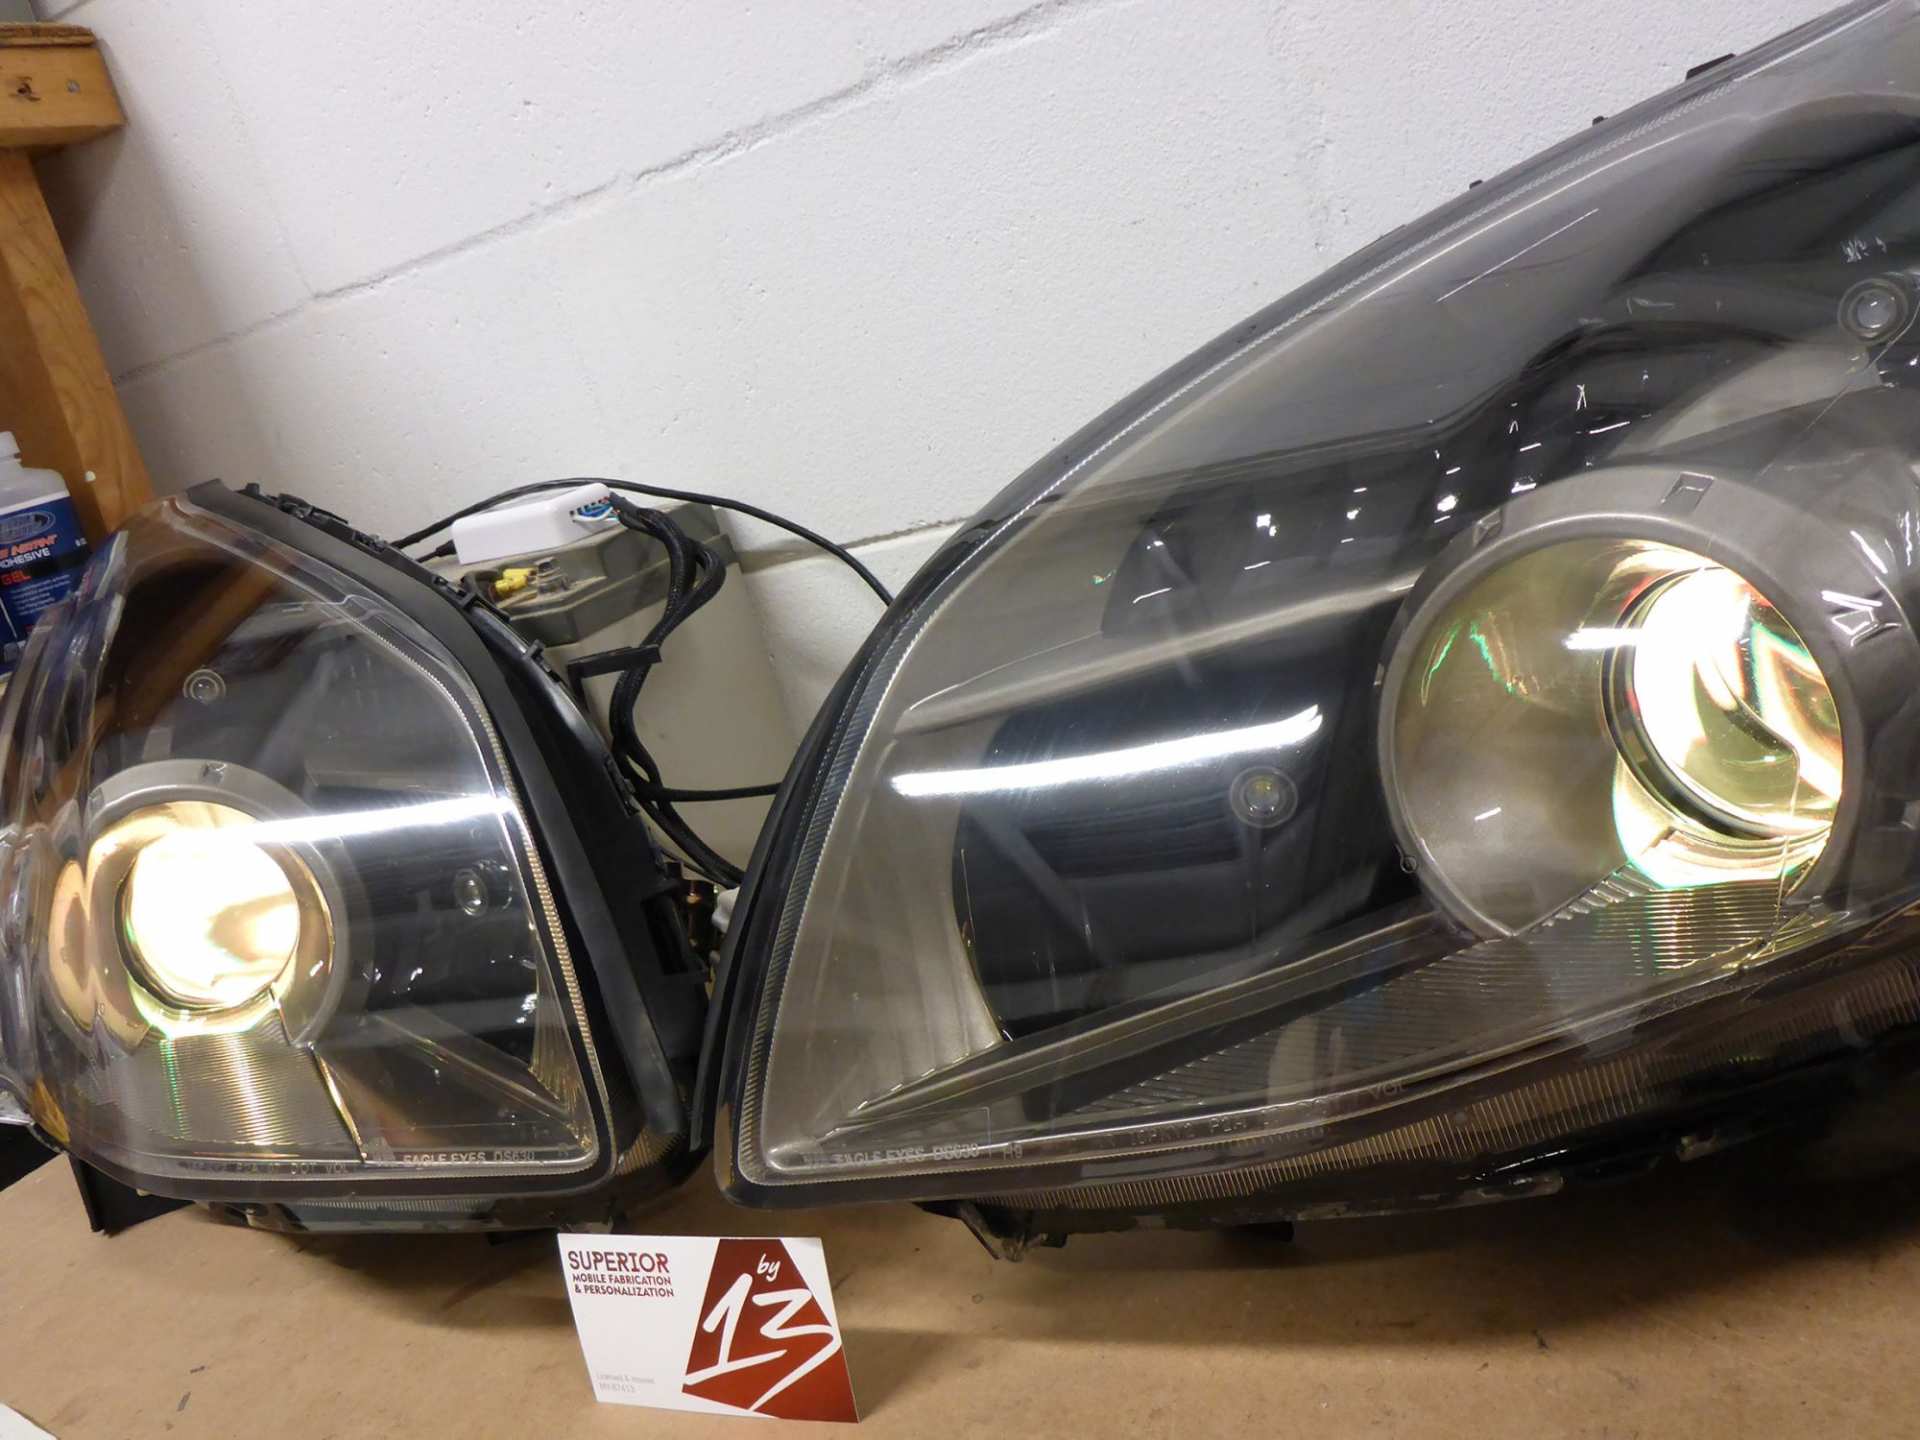
(Old hazy original headlight vs new aftermarket headlight)
The first step was to get the OEM projector lens assembly out of the OEM housing in order to swap it into the aftermarket housing. The aftermarket housings have lower quality halogen projector lens assemblies and are not designed for performance.
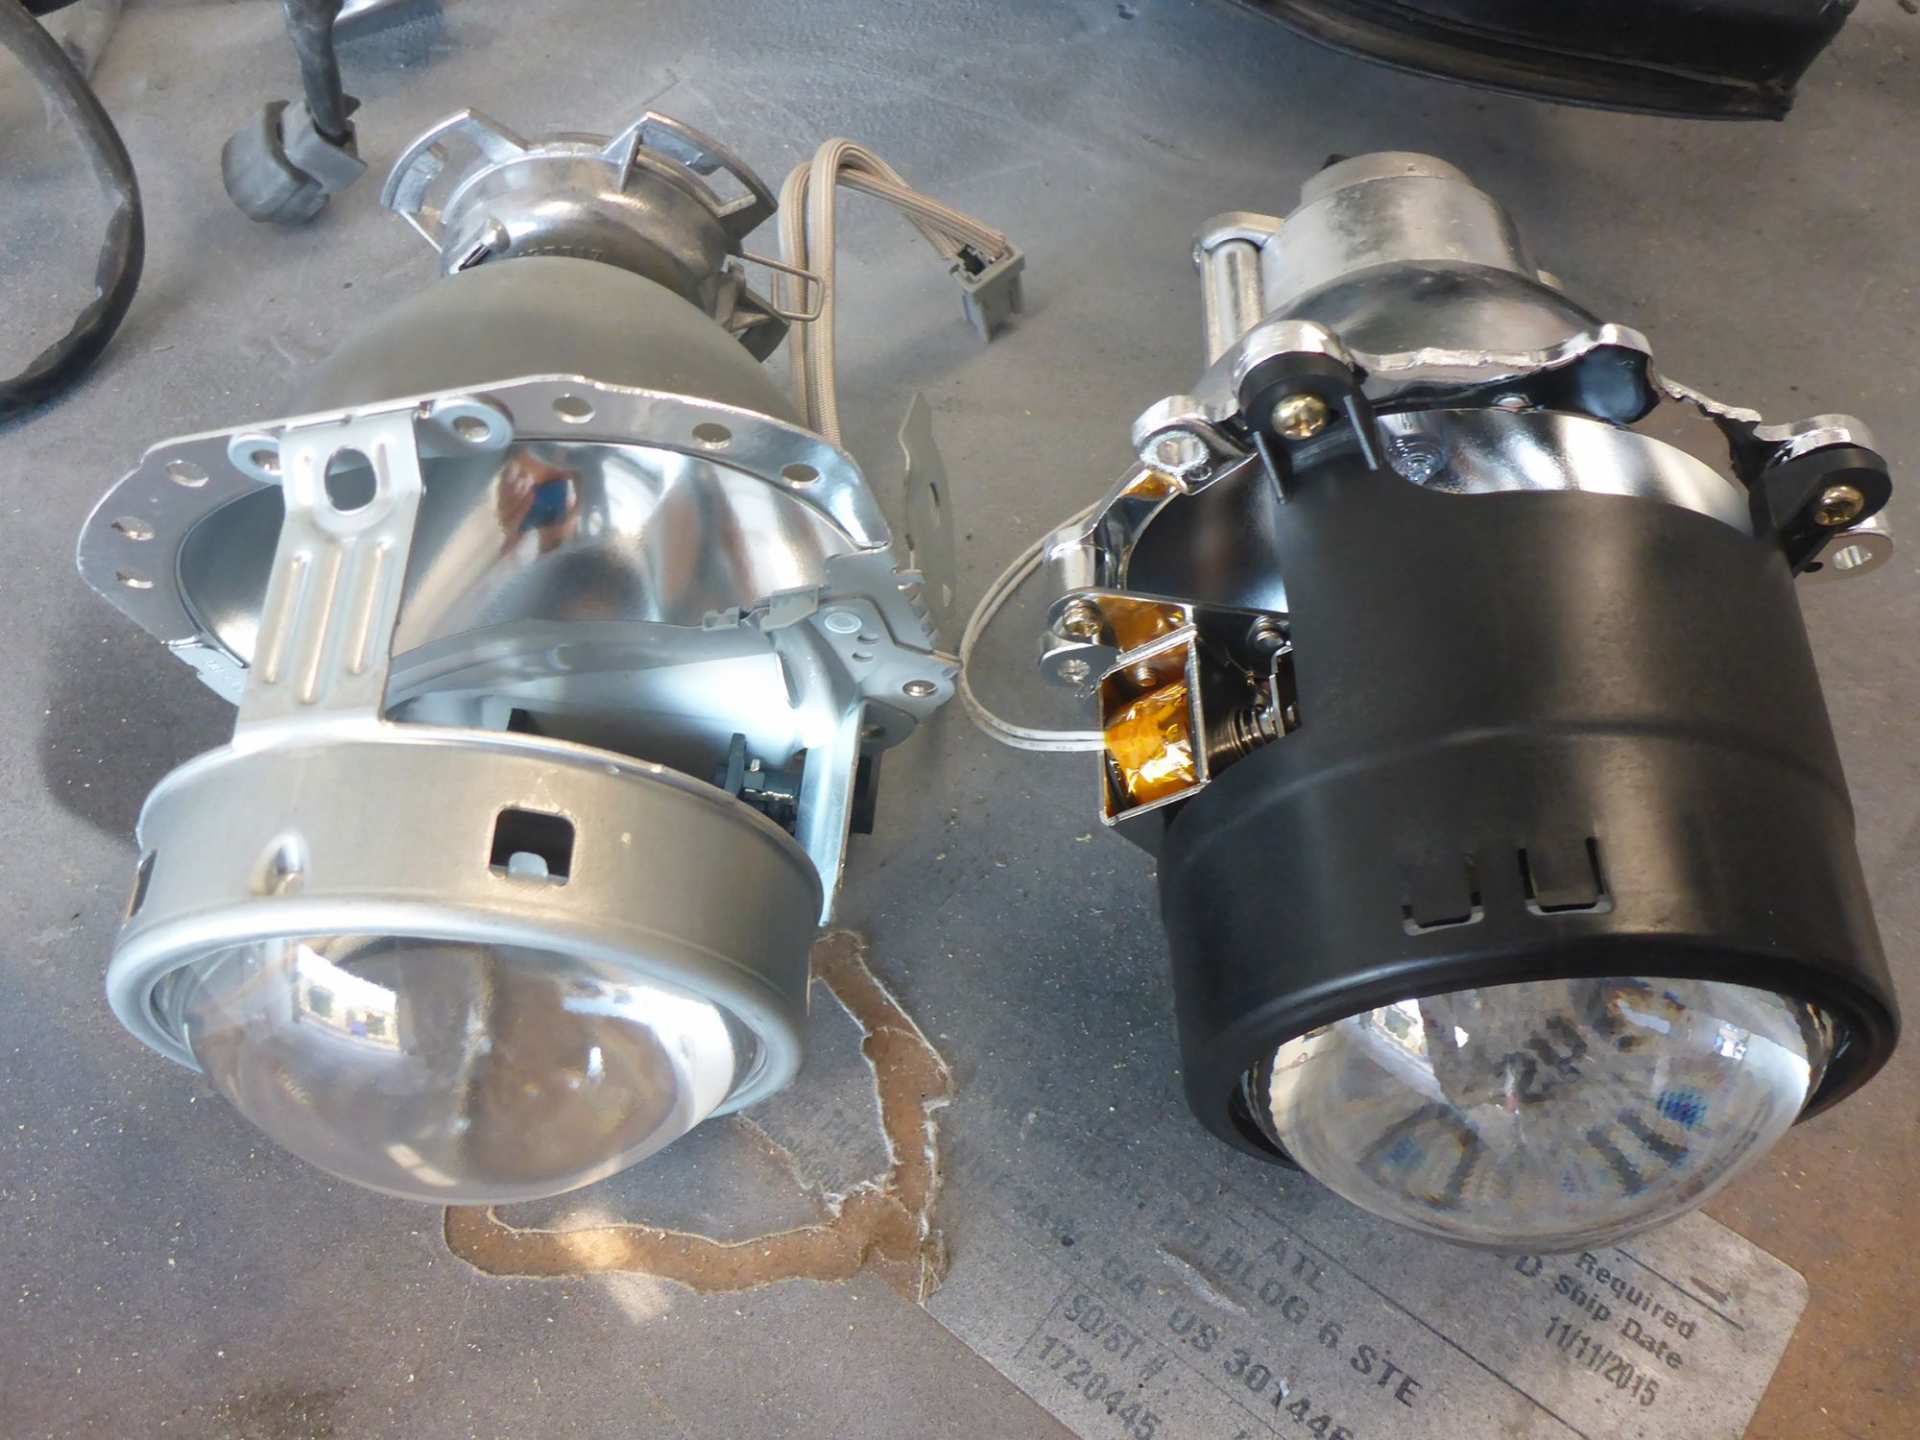
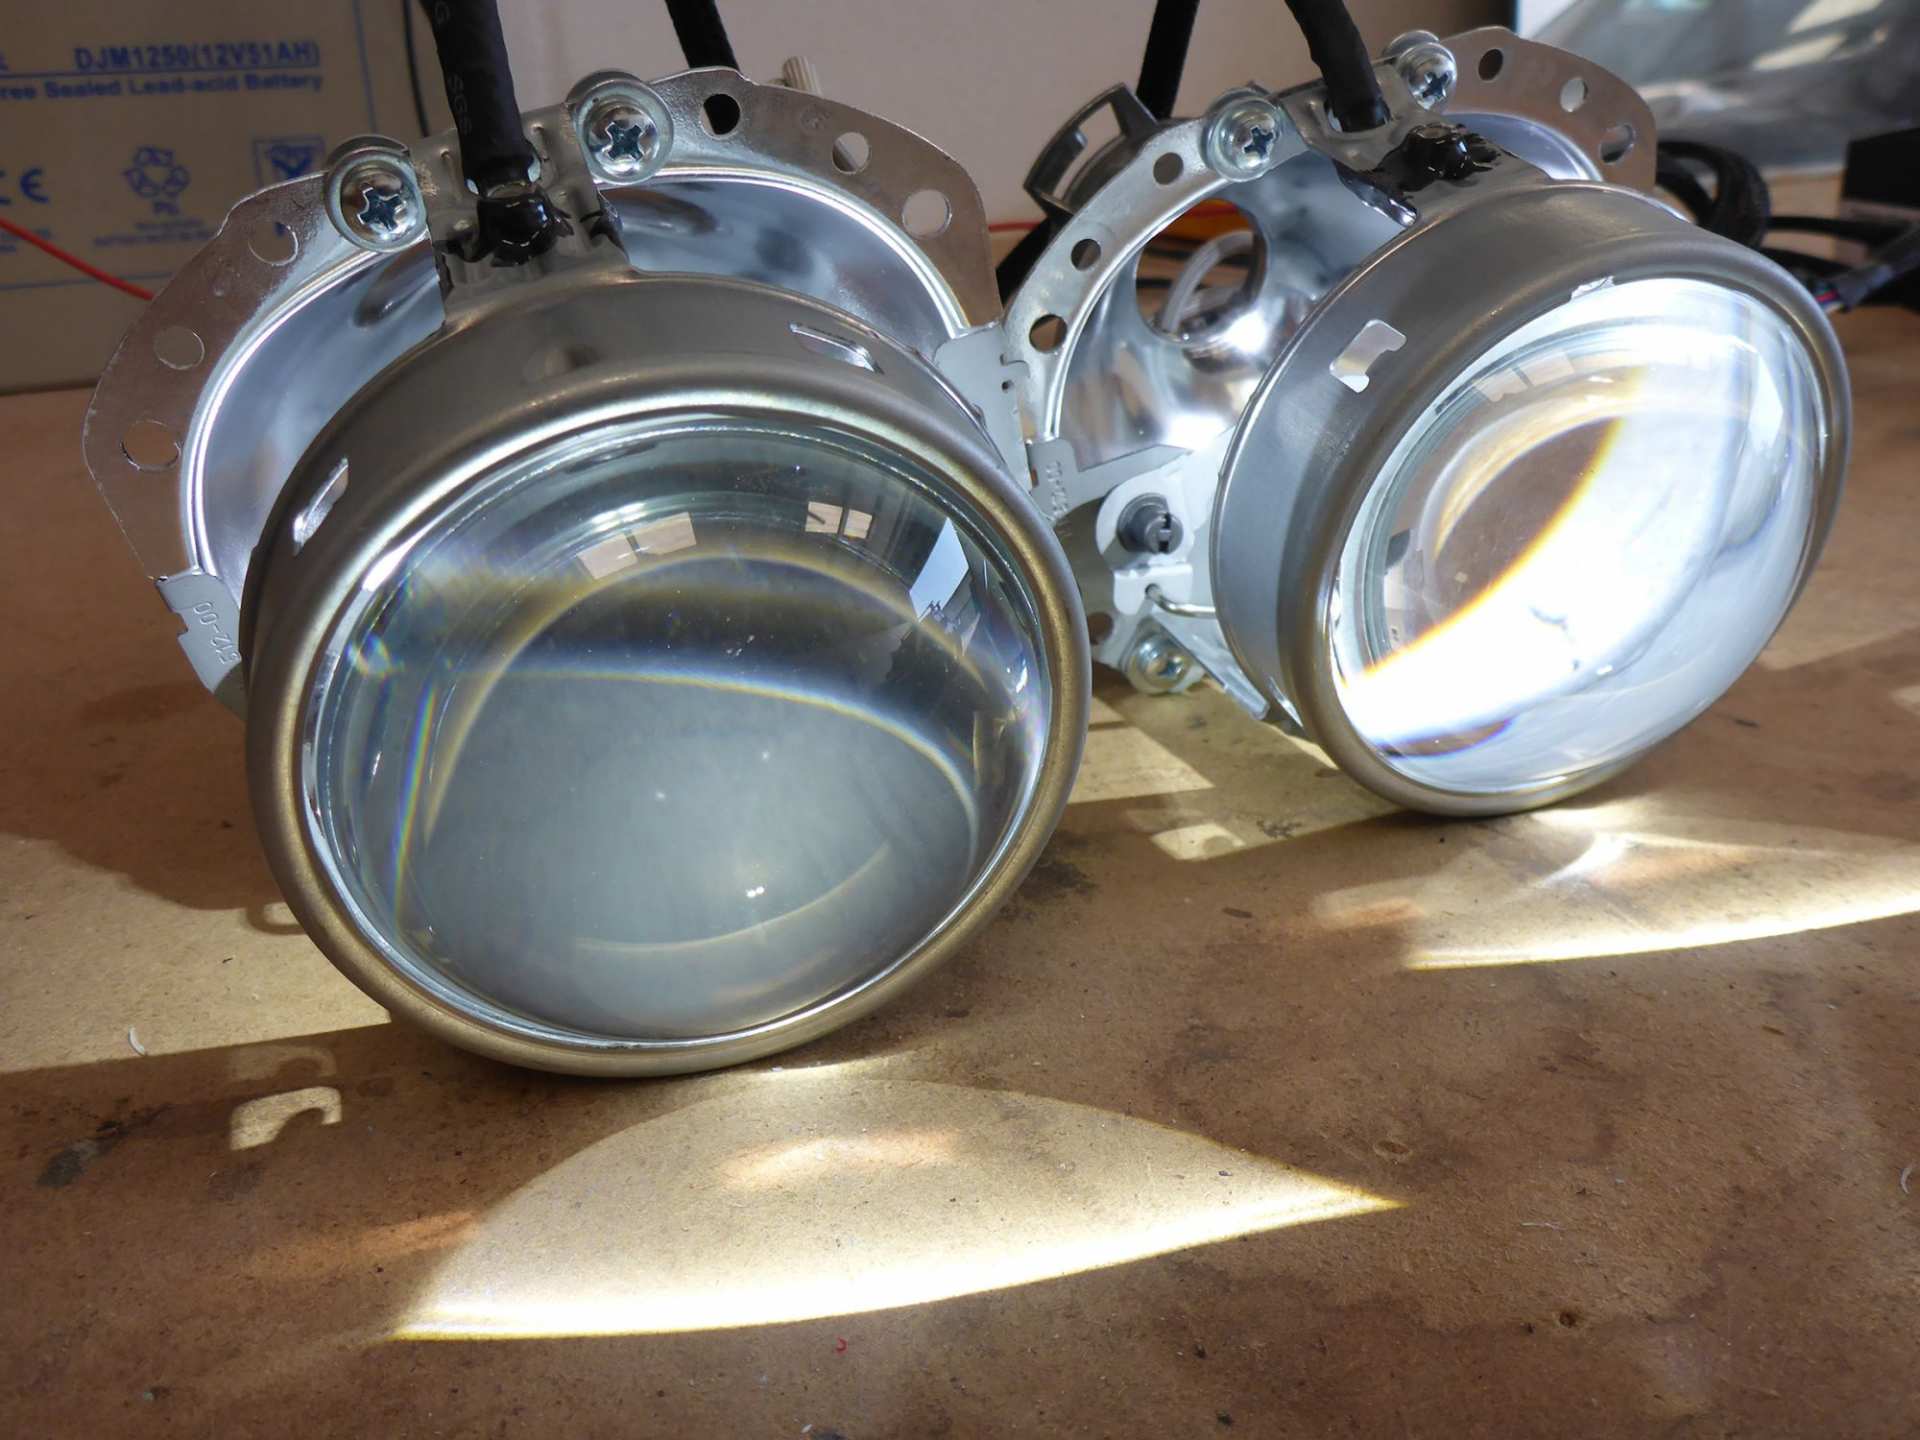
(OEM projector lens vs aftermarket economy projector lens)
That’s not to say that the OEM projector lens assembly doesn’t leave room for improvement either. The lens themselves come slightly ridged or mottled from the factory. This is called a fresnel pattern (named after the super awesome physicist Augustin-Jean Fresnel) and it is to help diffuse the light and soften the cutoff pattern. By replacing the lens with a higher quality one, you can get a tighter sharper cutoff and a more intense color flicker along that cutoff. This is a great bang-for-the-buck improvement to get increased performance without replacing a factory projector lens.

(Disassembling the OEM projector lens assembly and removing the lens)
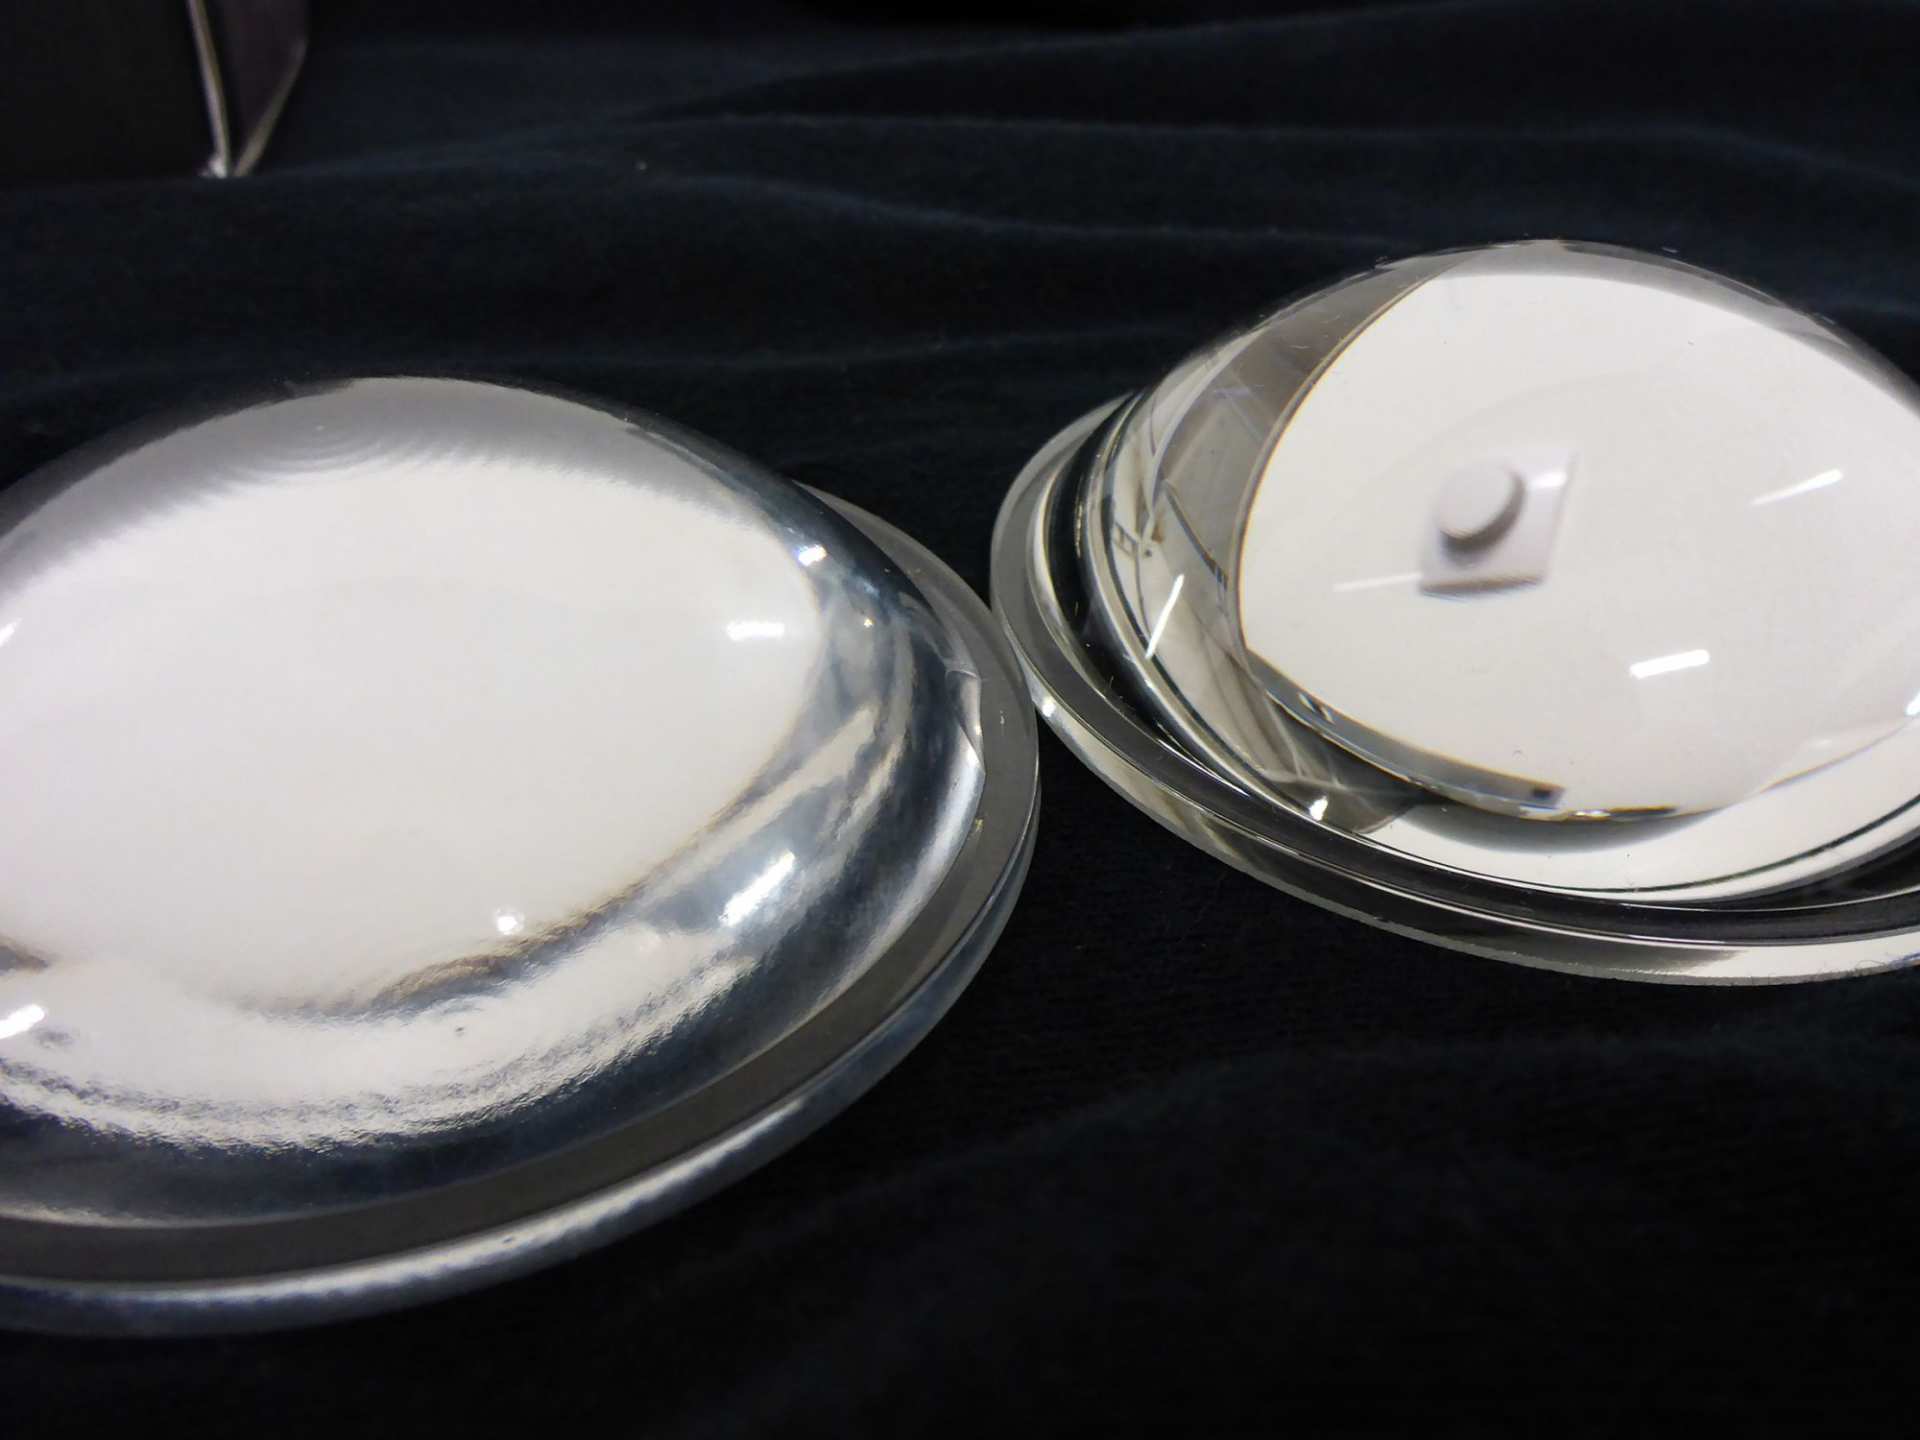
(Factory Nissan lens on left, ZKW-R lens on the right)
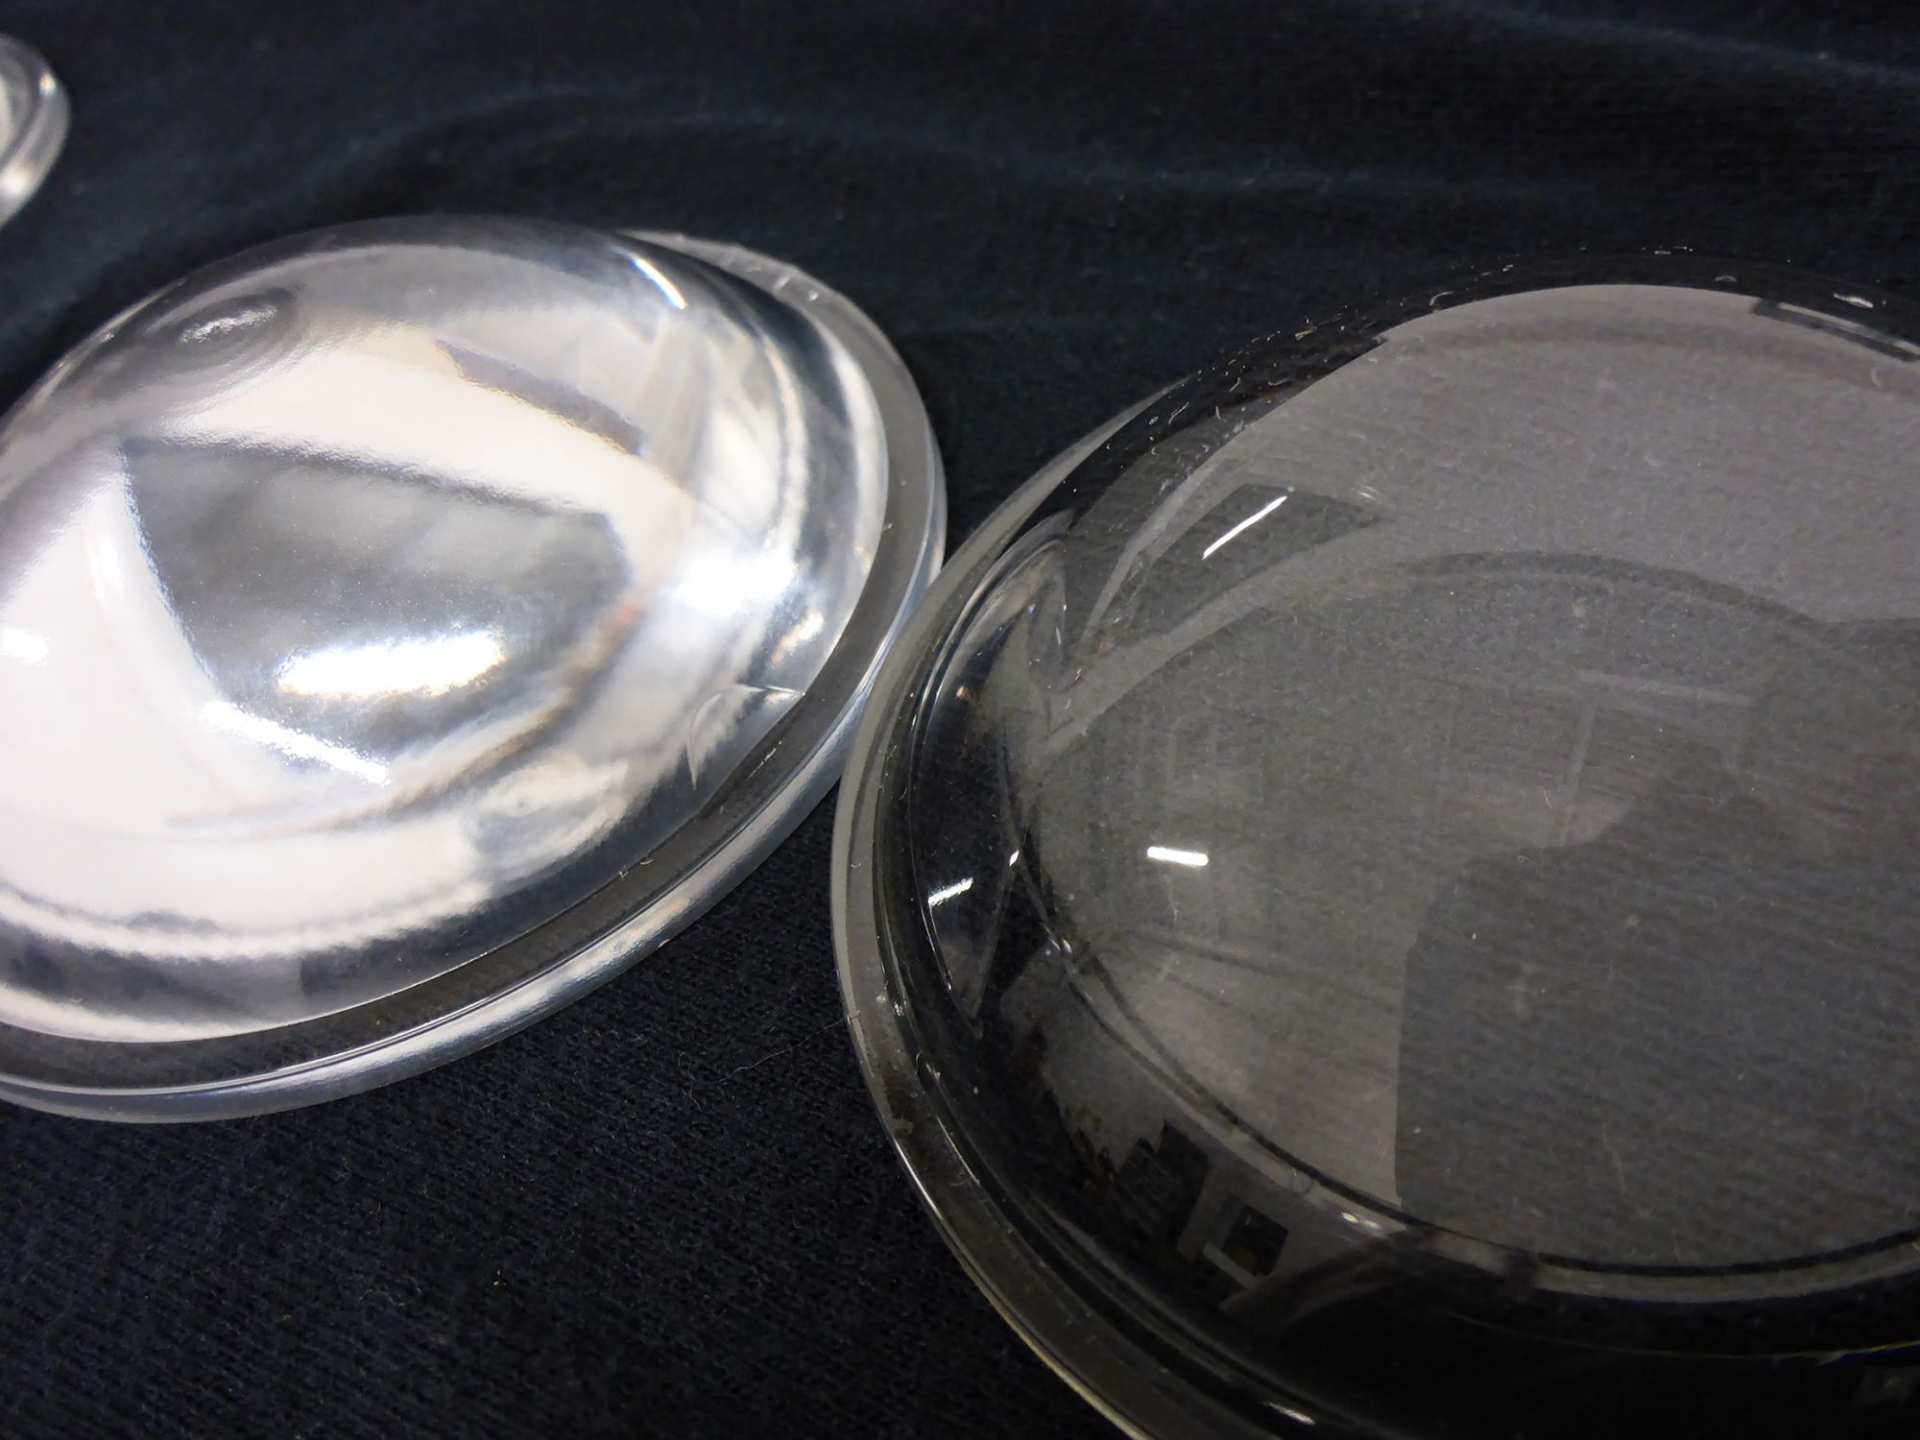
(Factory Nissan lens on left, ZKW-R lens on the right)
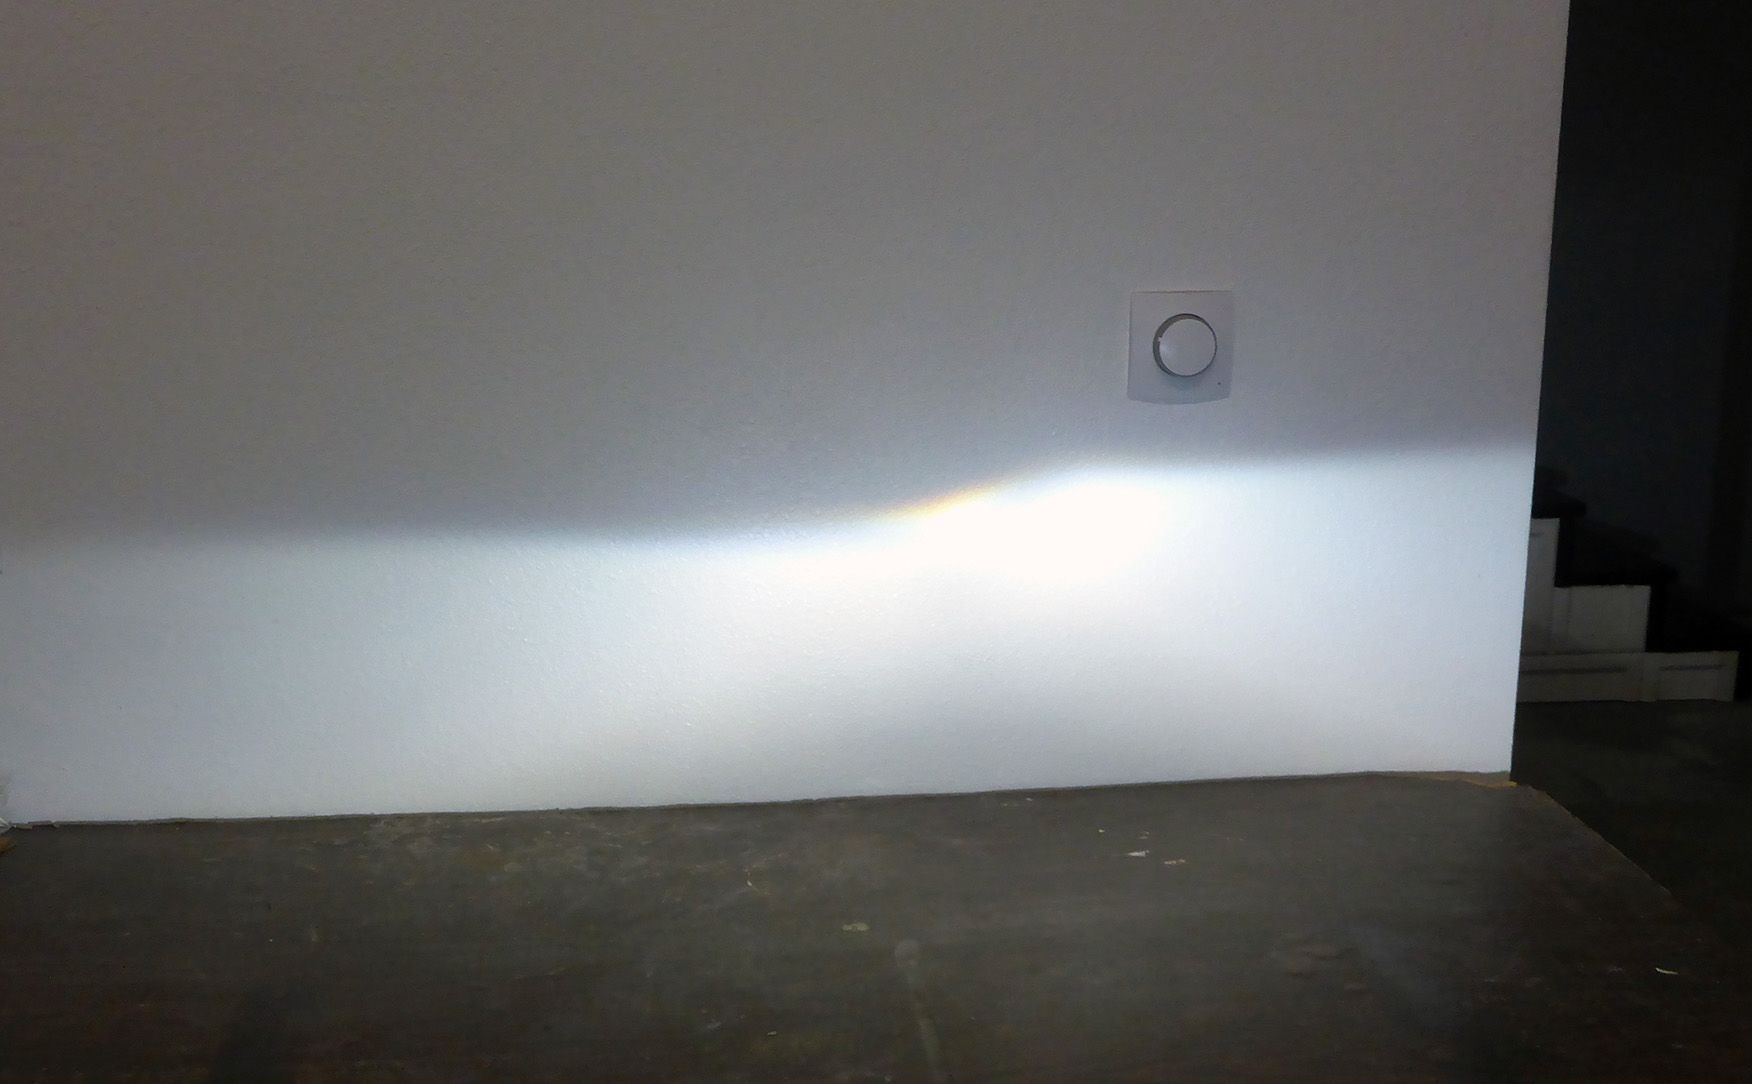
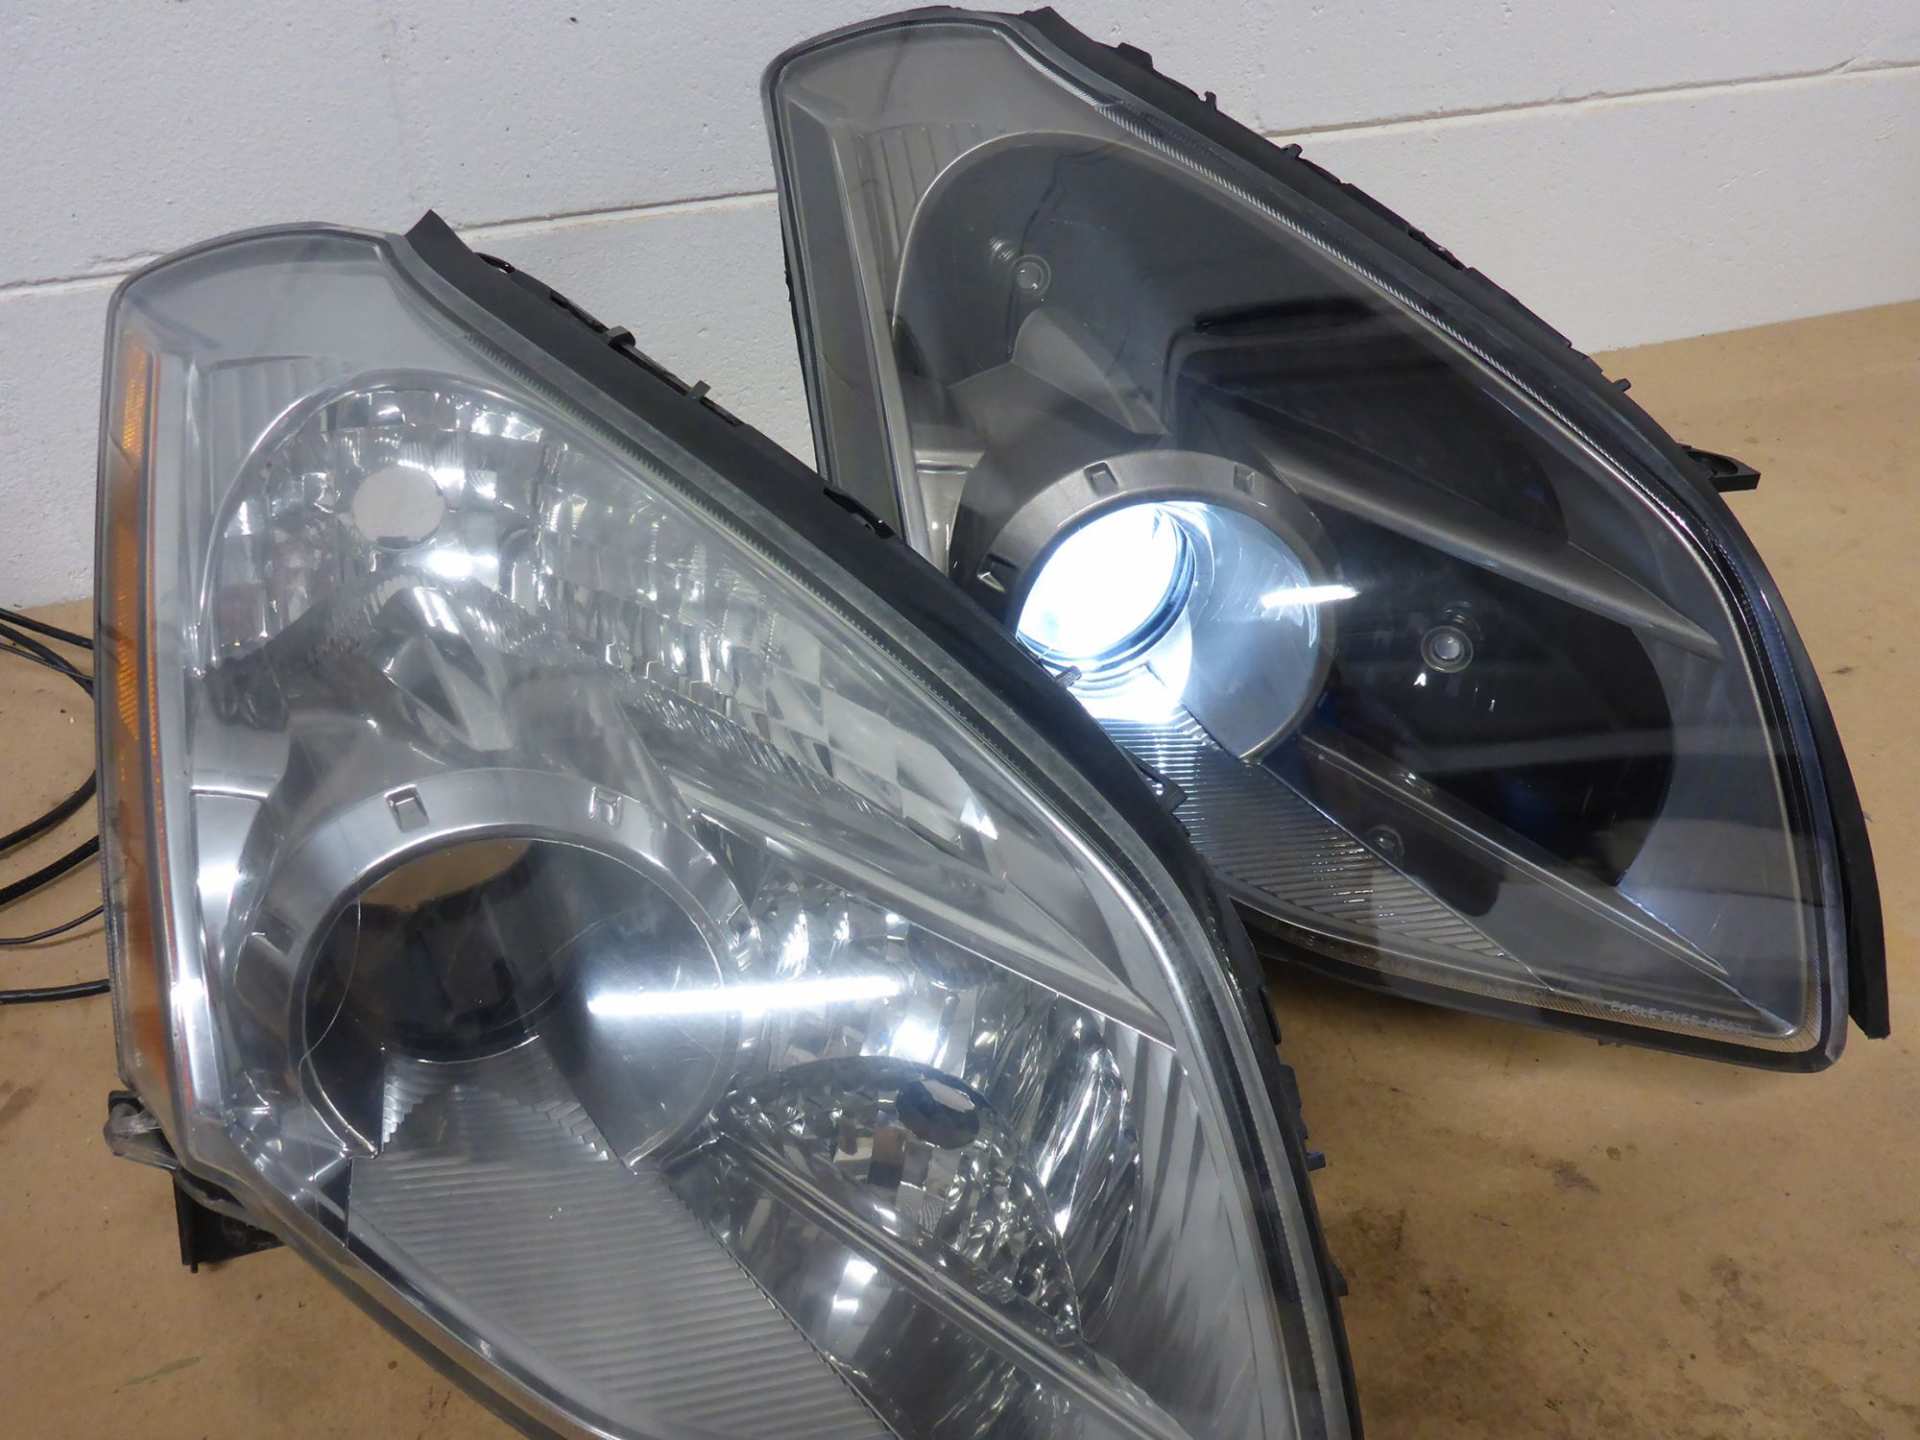
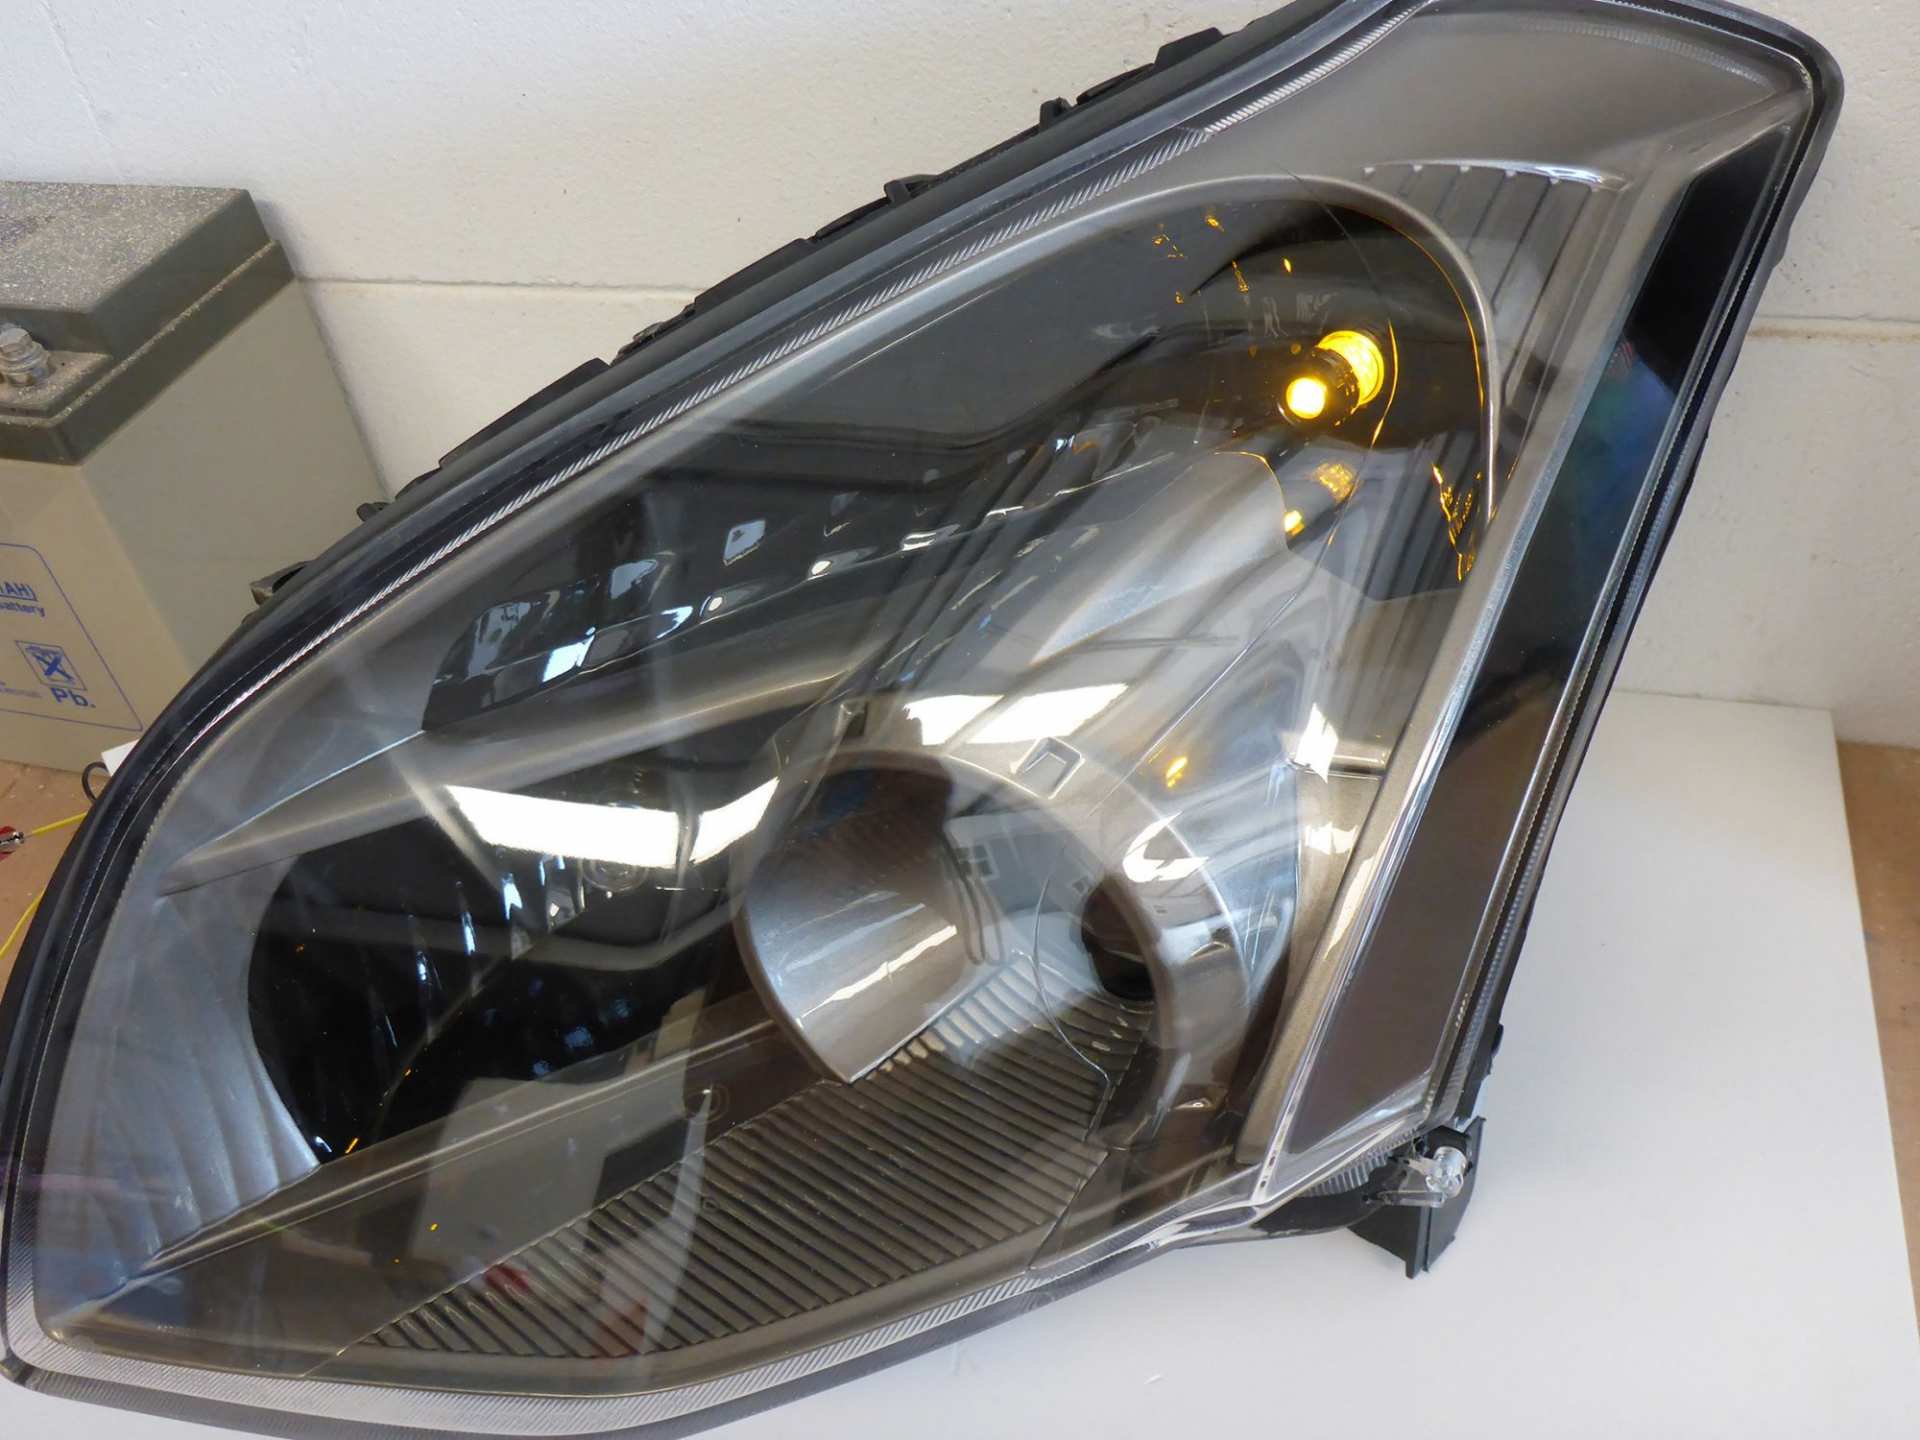
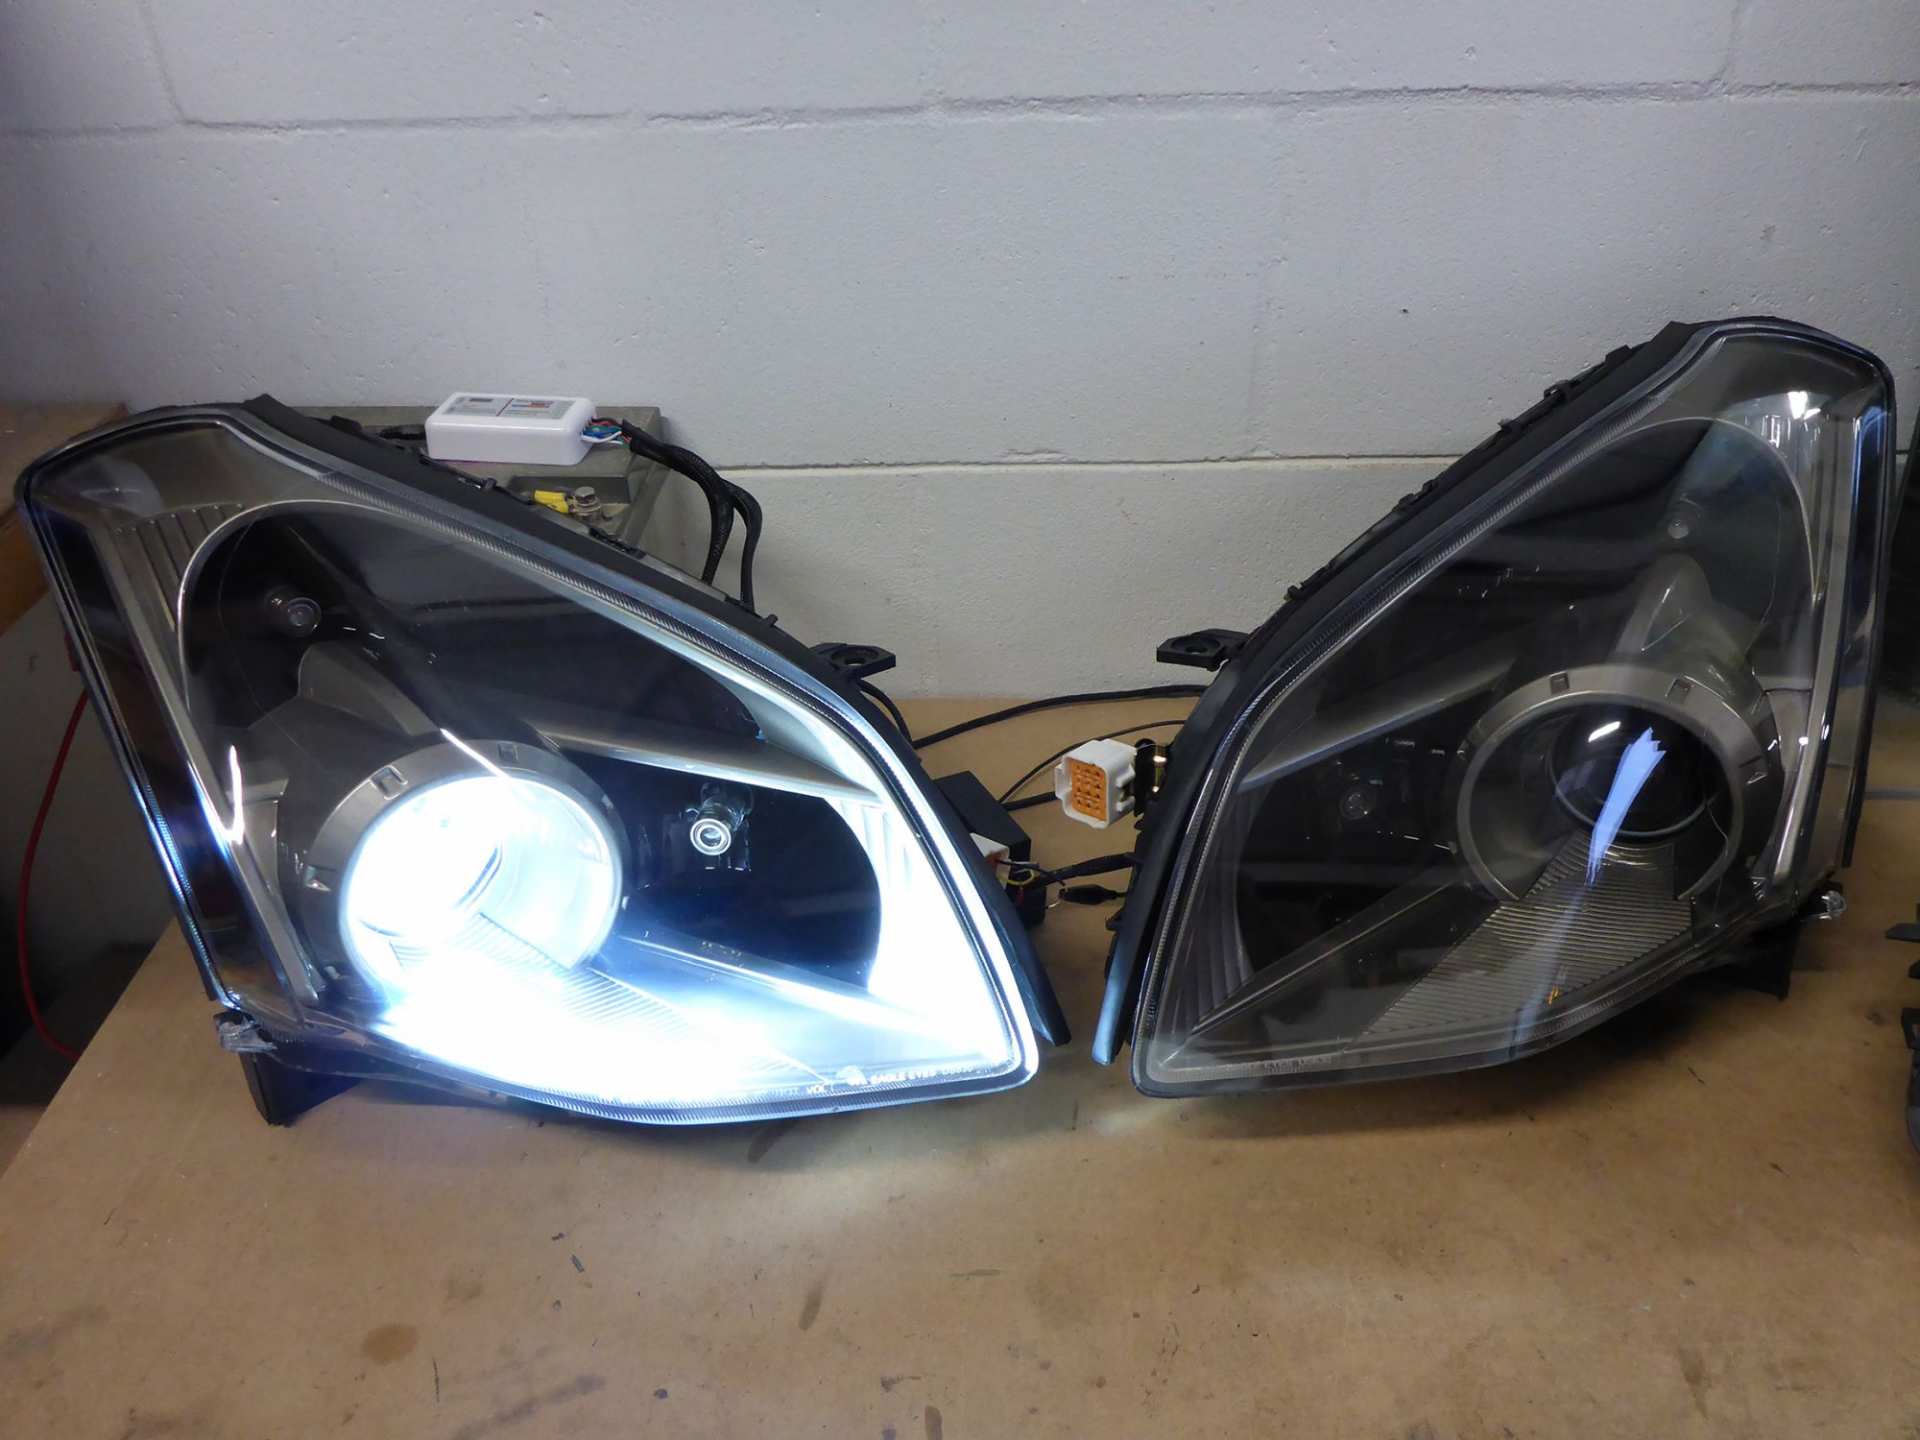
(Factory lens and bulb output shot)
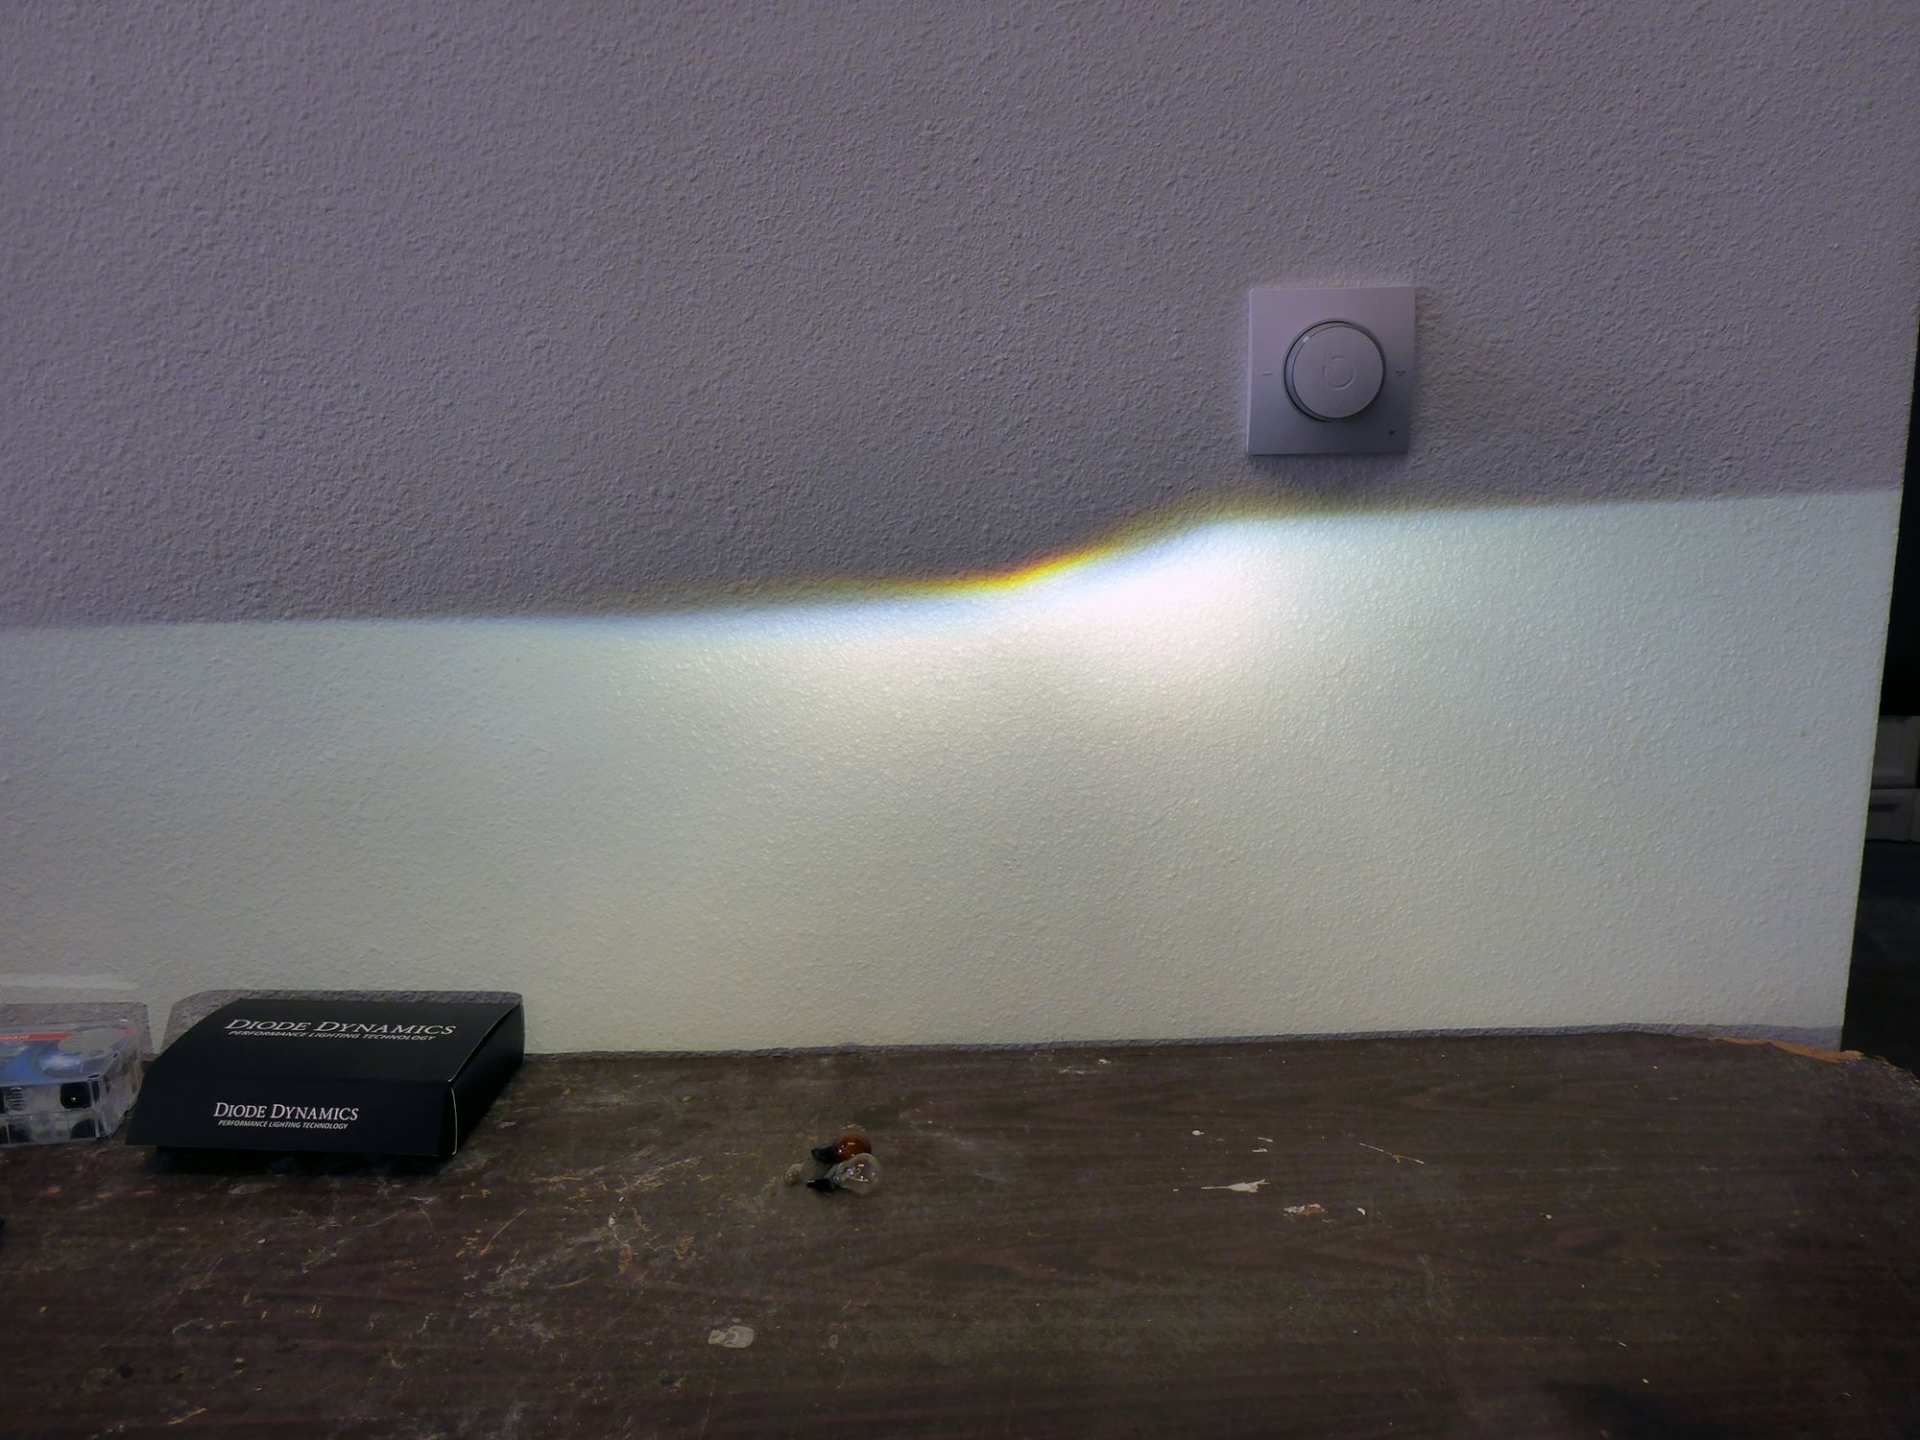
(After the lens upgrade. Note how much tighter the cutoff line is and the more vibrant hot spot. Ignore any perceived color shift, that’s just my camera being funny.)
So once the lens swap had been completed and the projector assembly was still apart, it was time to install the Diode Dynamics RGBW Demon Eyes. This was to be the ‘flash’ of the install. Since the lens assembly had a support bracket on the top center, using the supplied mounting hardware was impractical. Instead, I drilled out an exit hole for the wiring and mounted the LED board on the inside of the support bracket. I used some metal epoxy to act as a buffer to make sure the wiring wasn’t crimped and as an added measure of securing the board in place. I also put some on top to make sure the lock nut never moved.
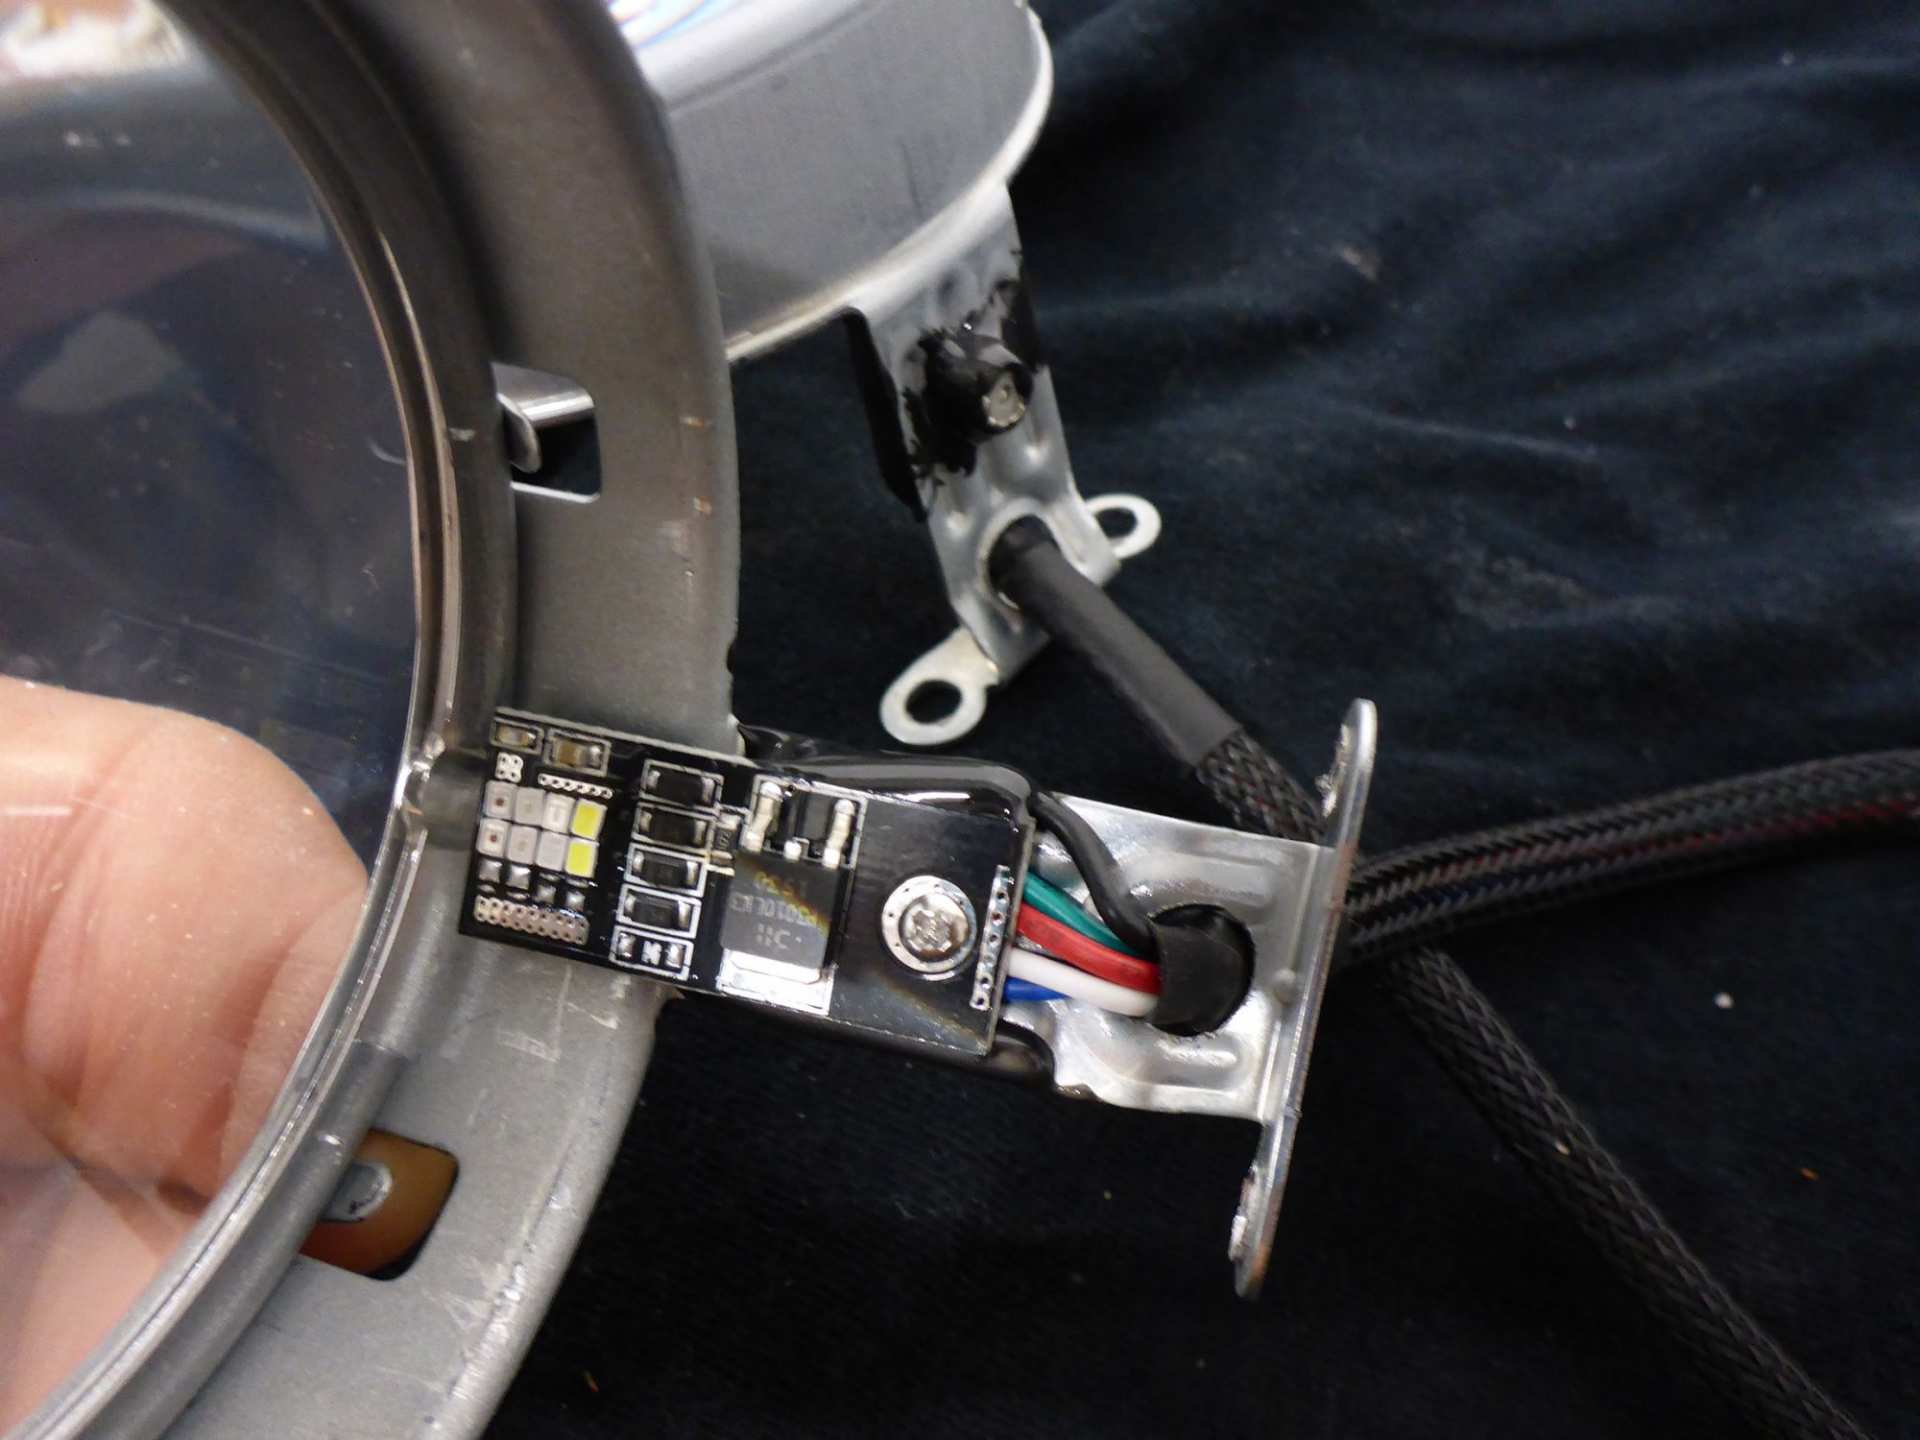
(Diode Dynamics RGBW Demon Eye board mounted)
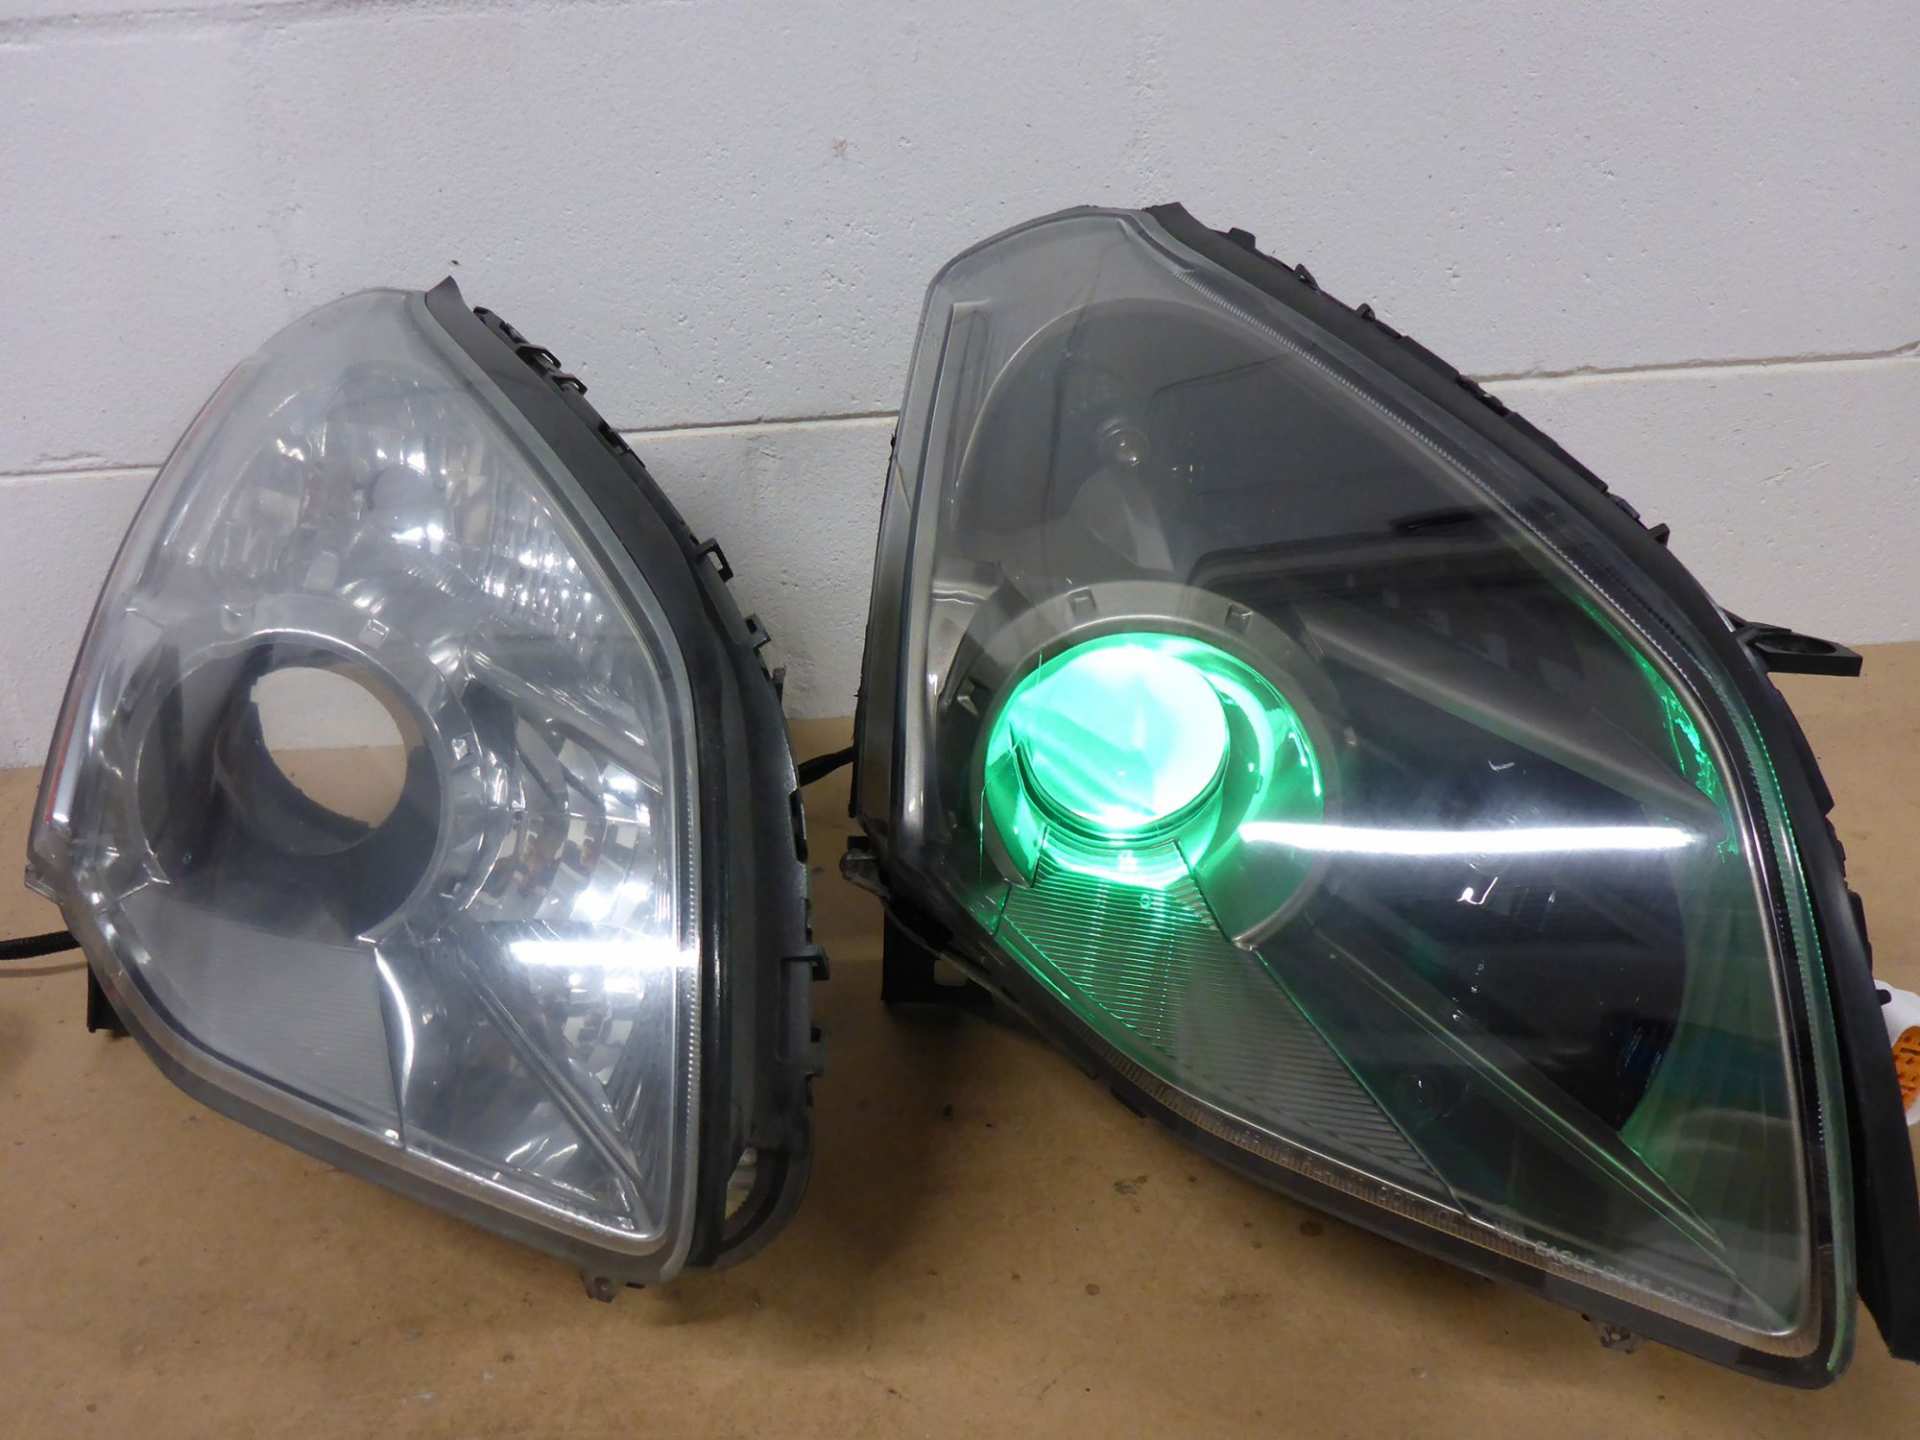
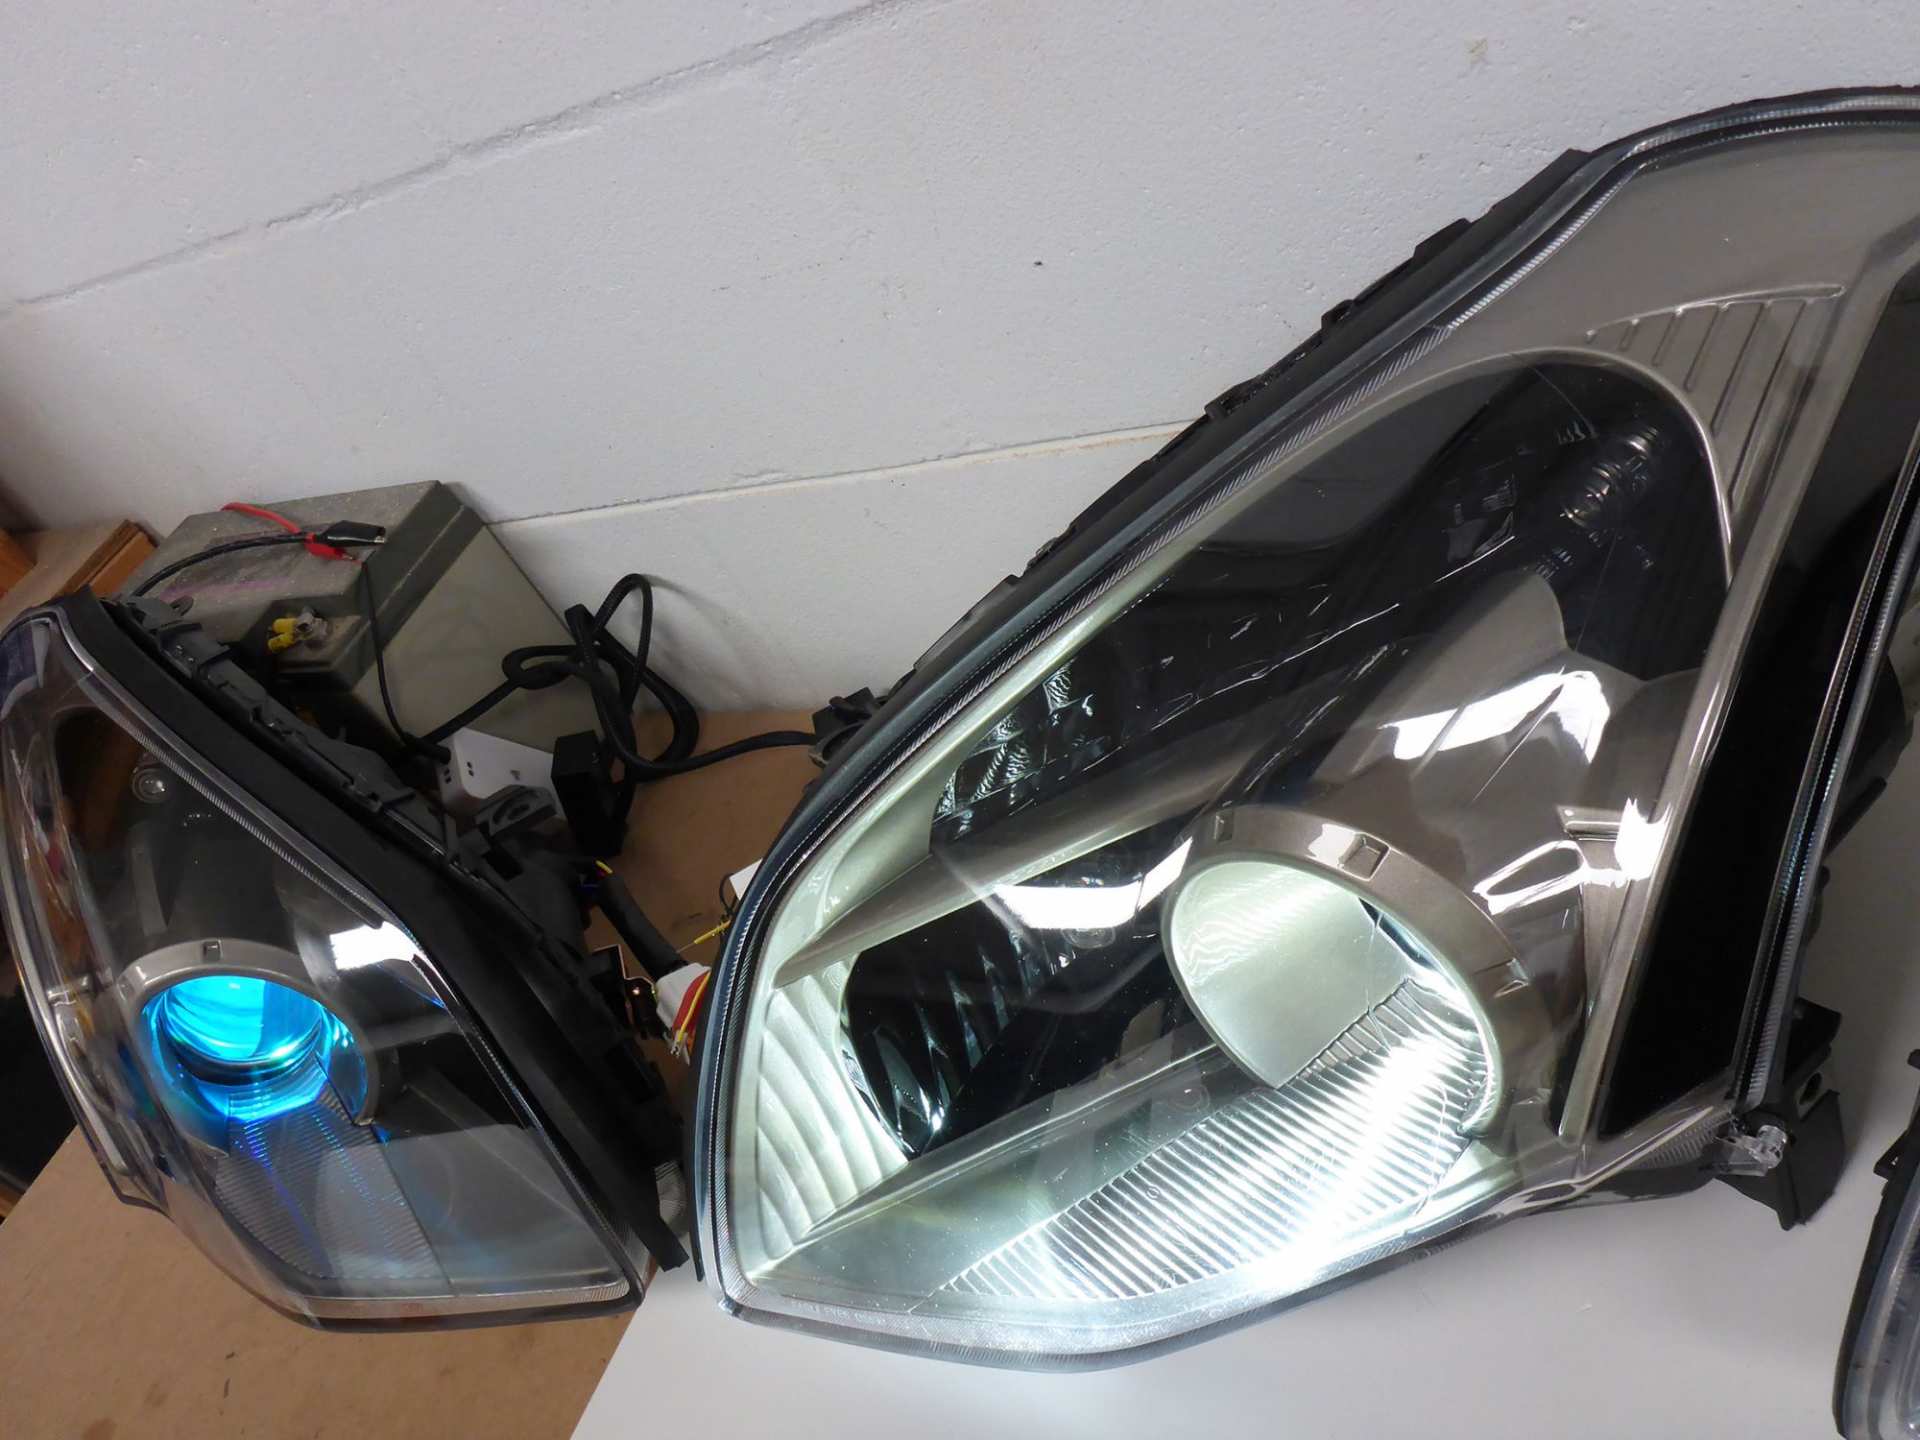
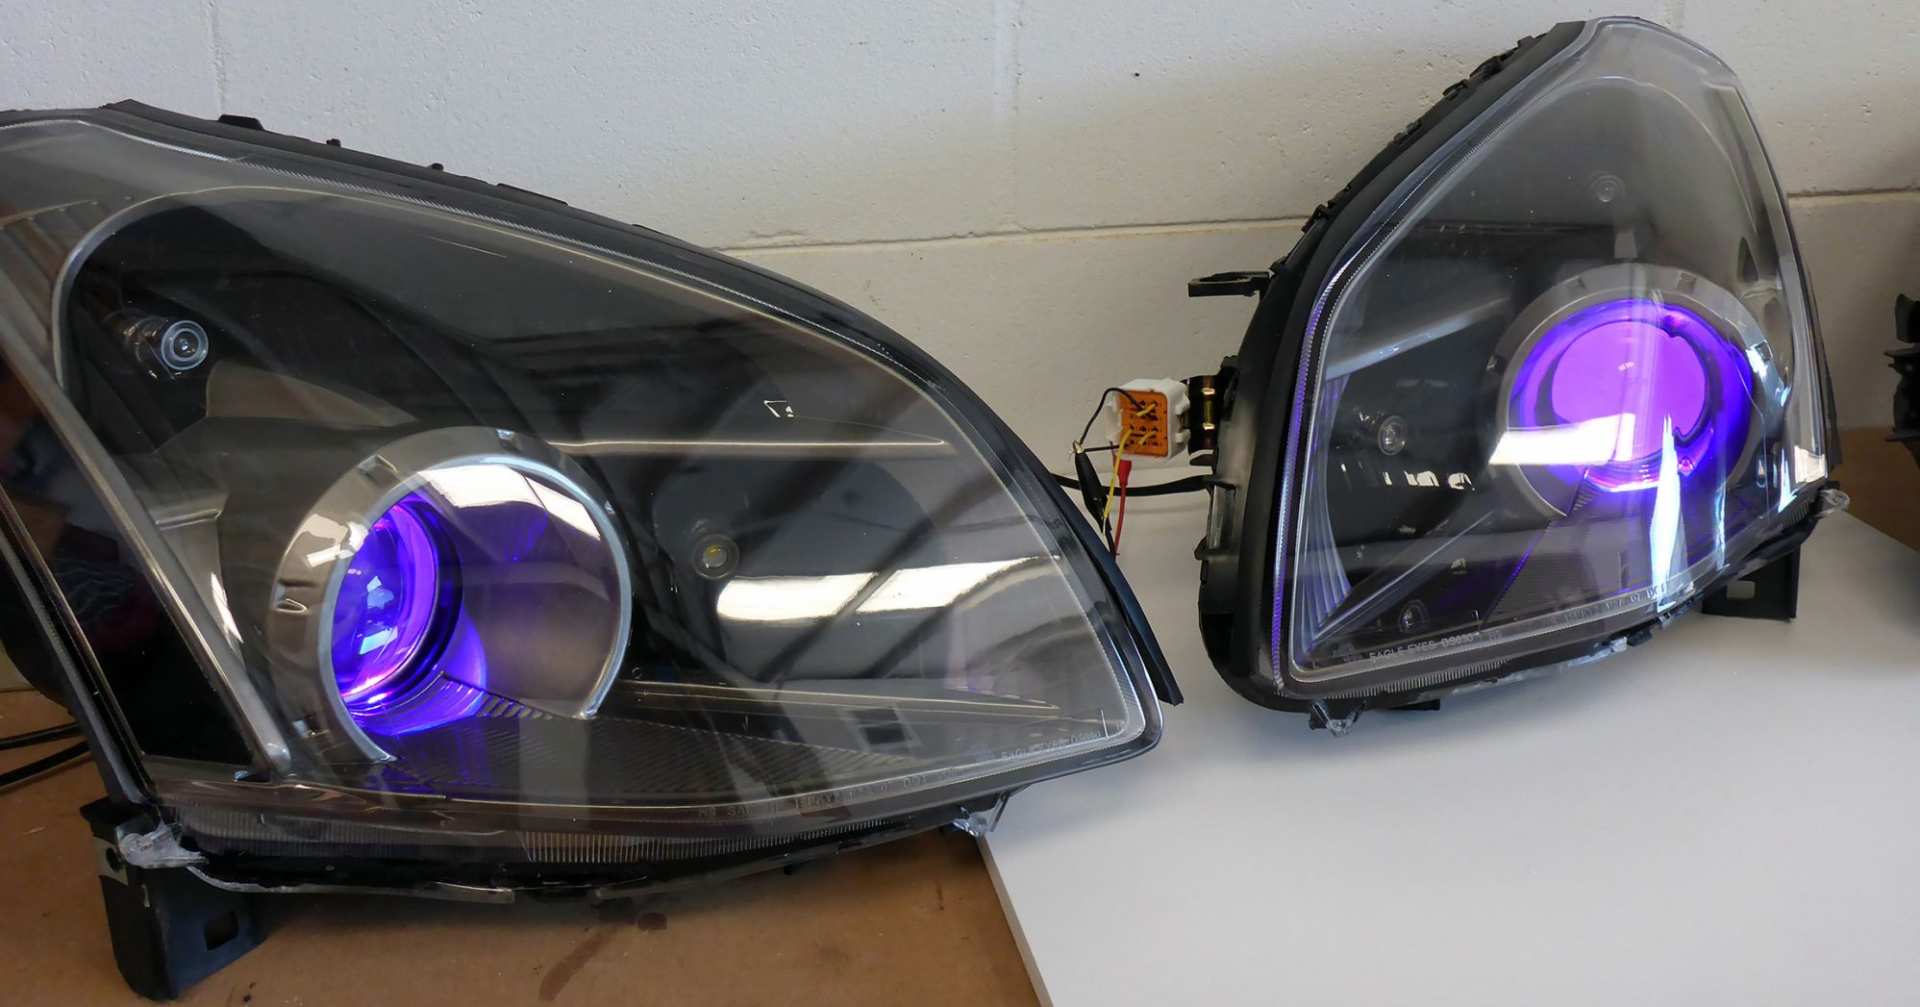
Then I could finally reassemble the projector lens assembly housing and test the demon eye equipment. The LED placement resulted in beautiful even light output.
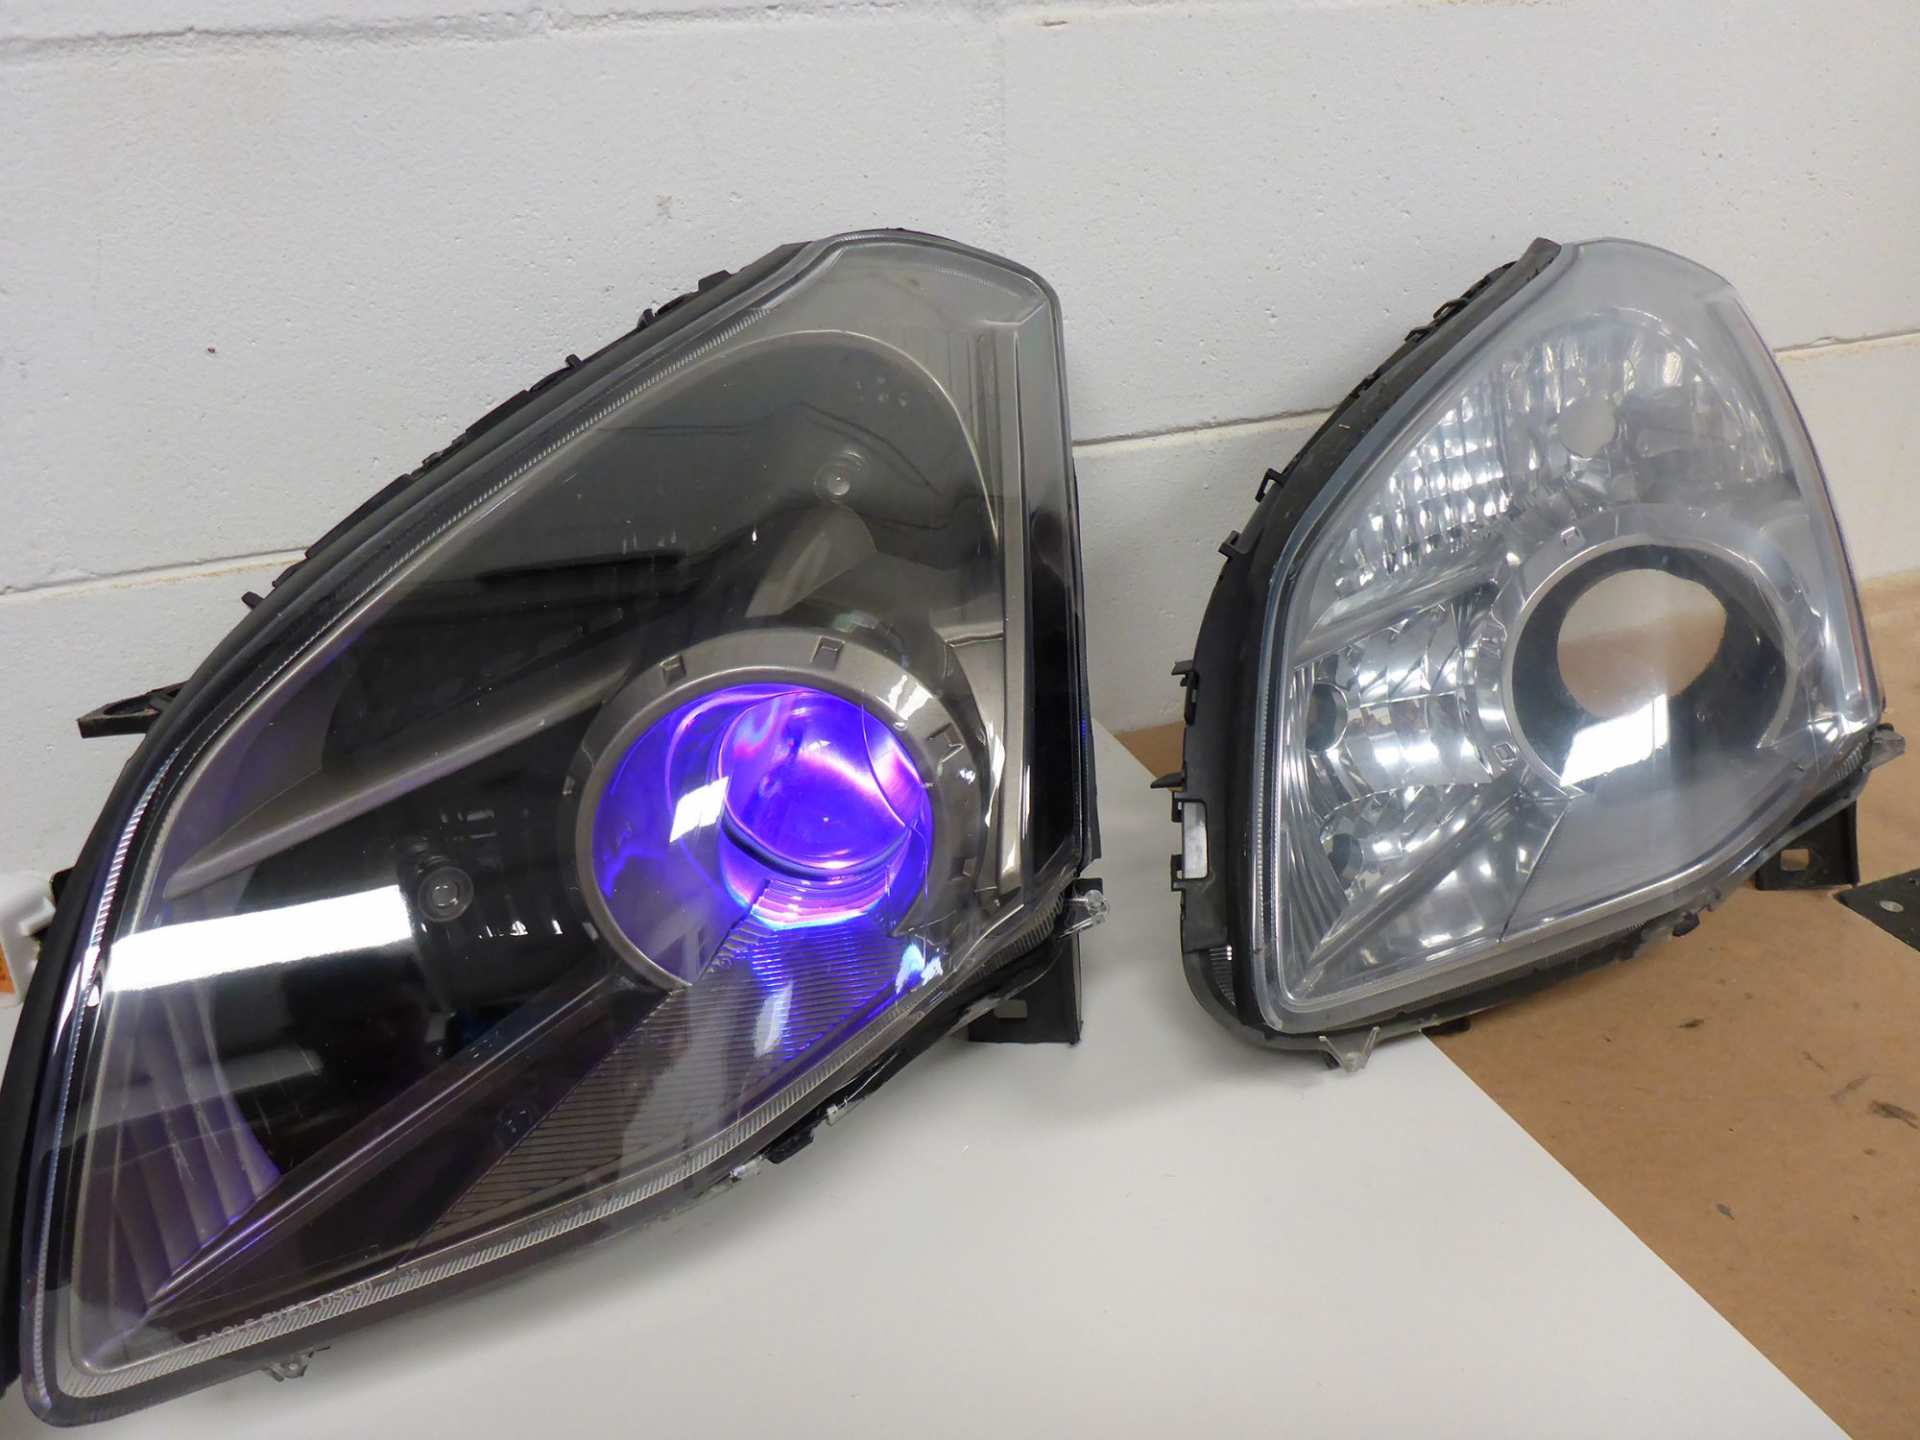
(White)
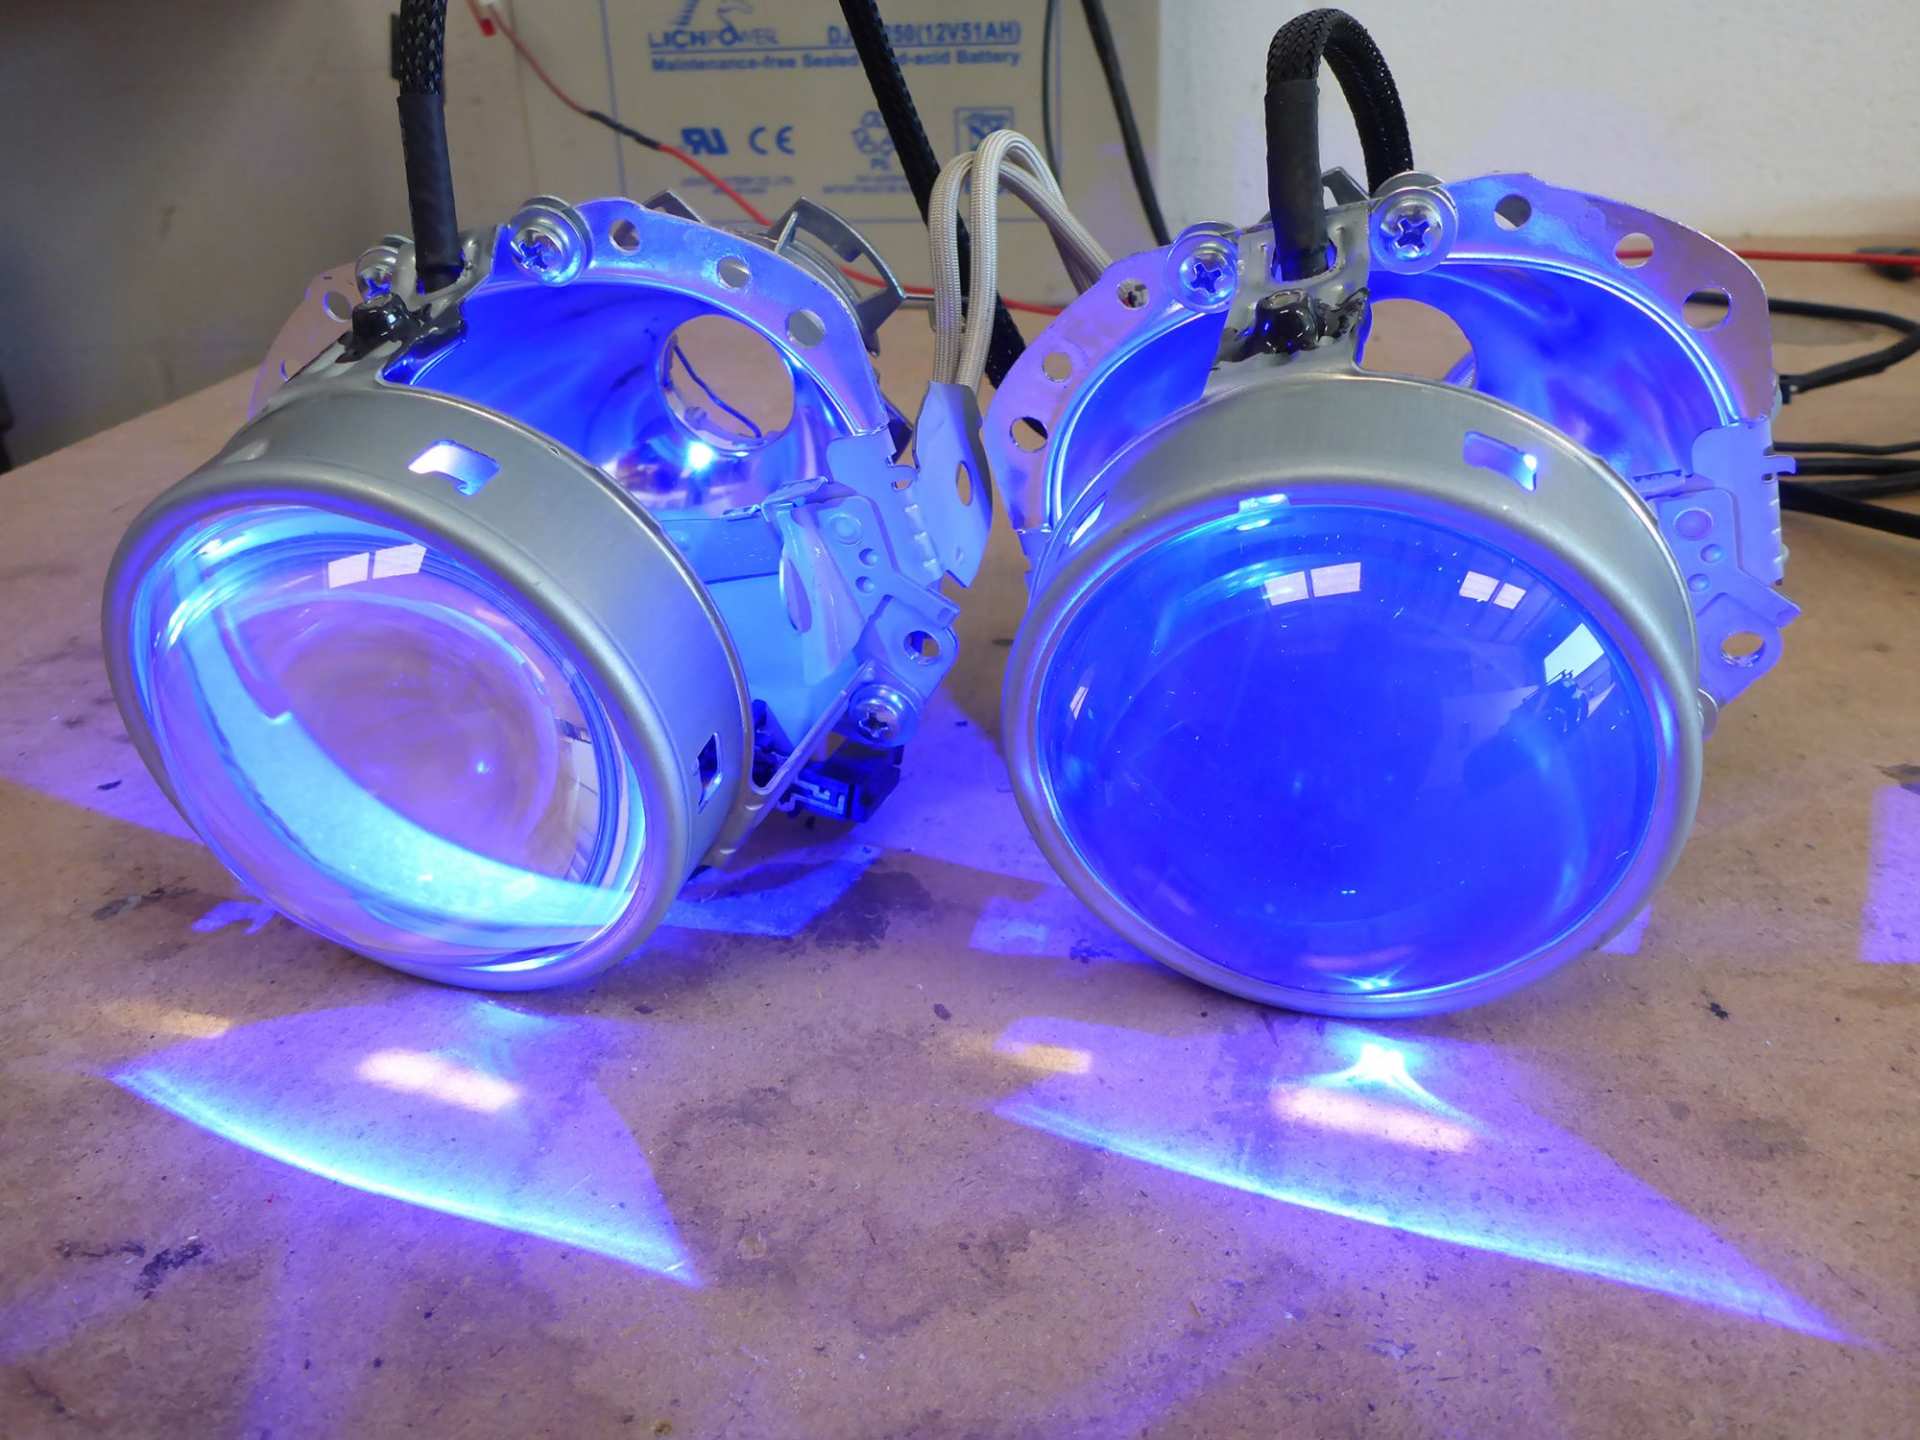
(Blue-ish)

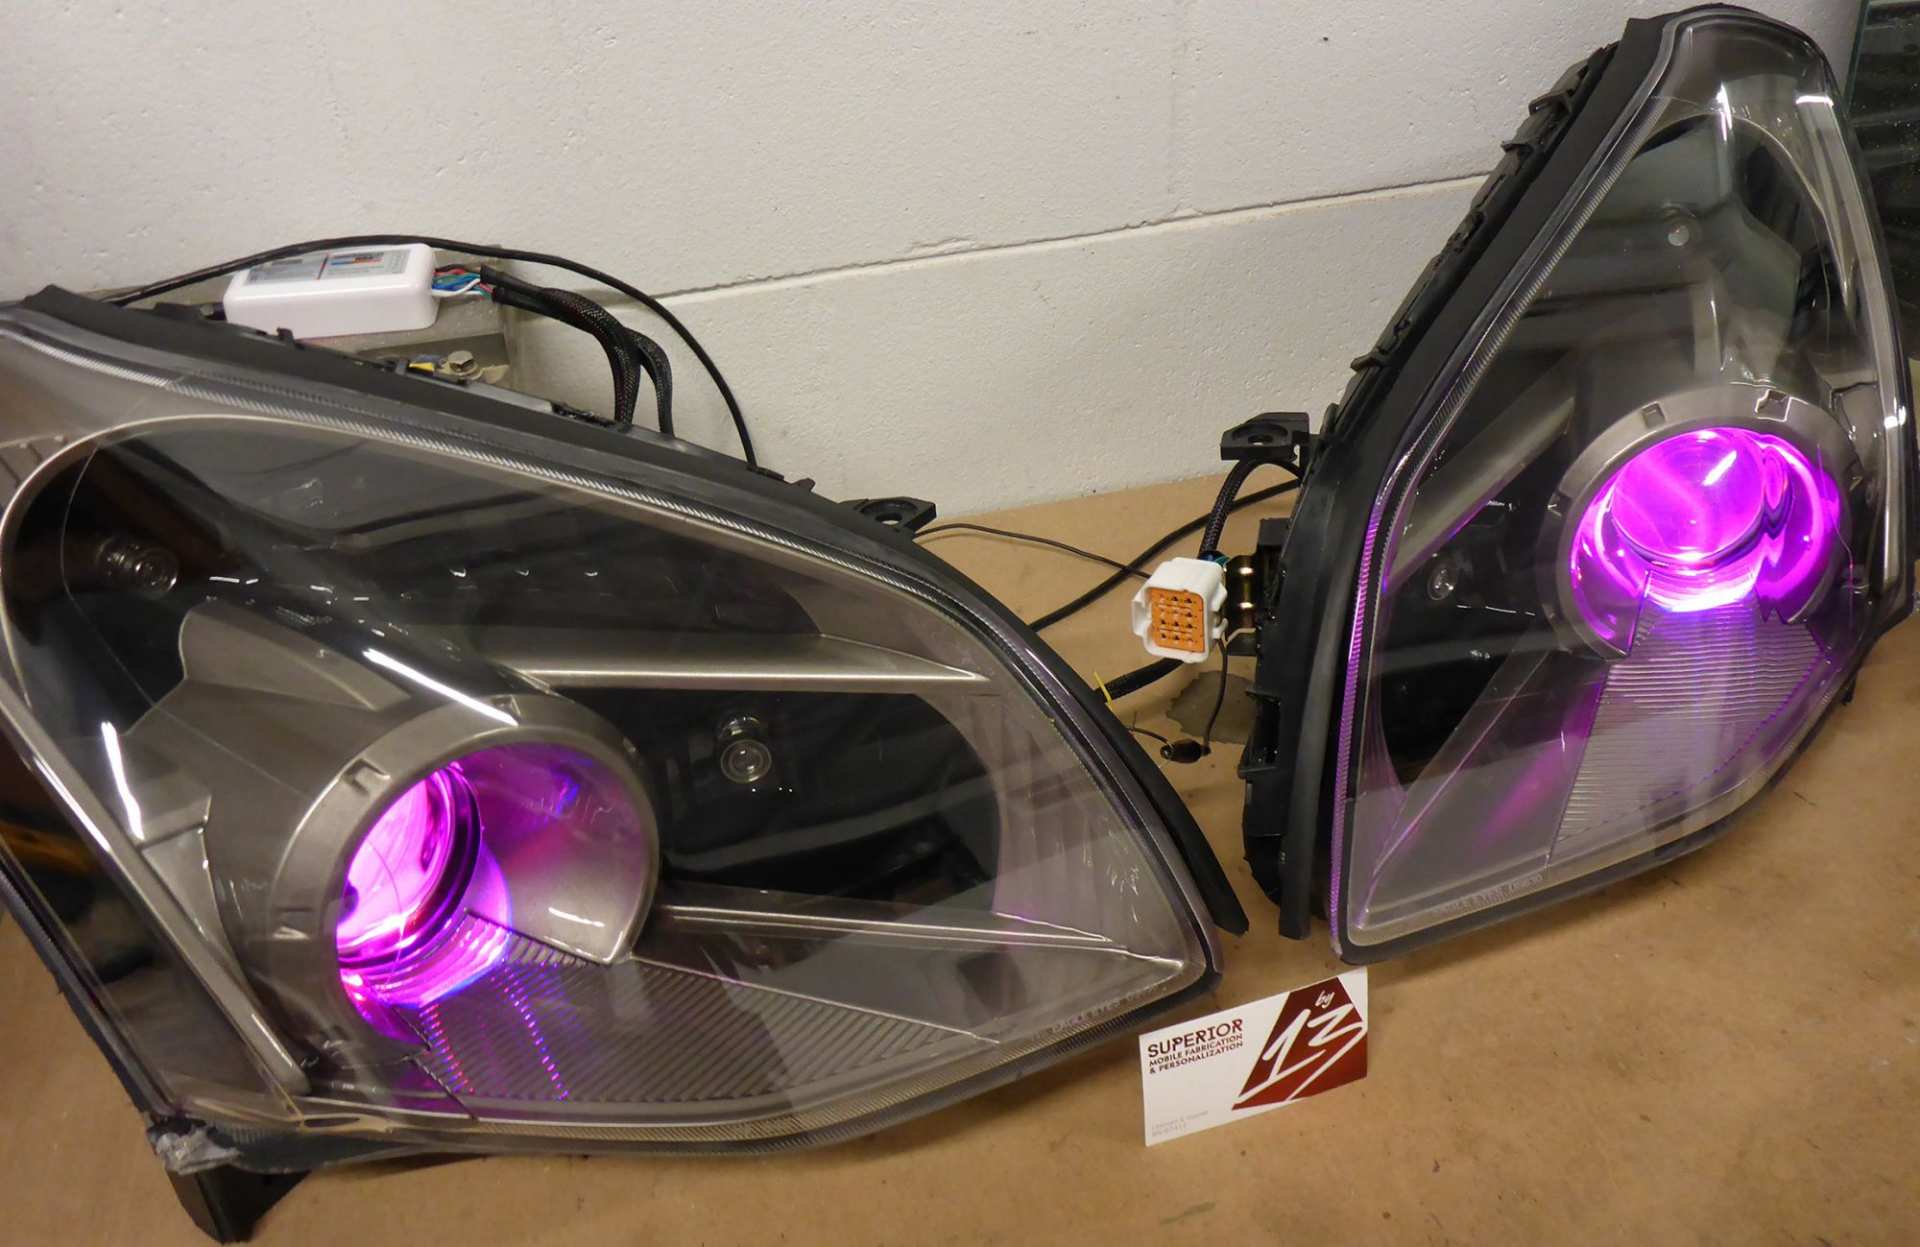
(I don’t know, like, pink or something?)
Getting the OEM projectors to fit into the aftermarket housings wasn’t exceptionally challenging but it did require a bit of cutting and finagling. The next step was to start the reformation of the interior of the headlight and make it super sexy in a classy and respectable way. The paint work made up the bulk of the work performed for this build.
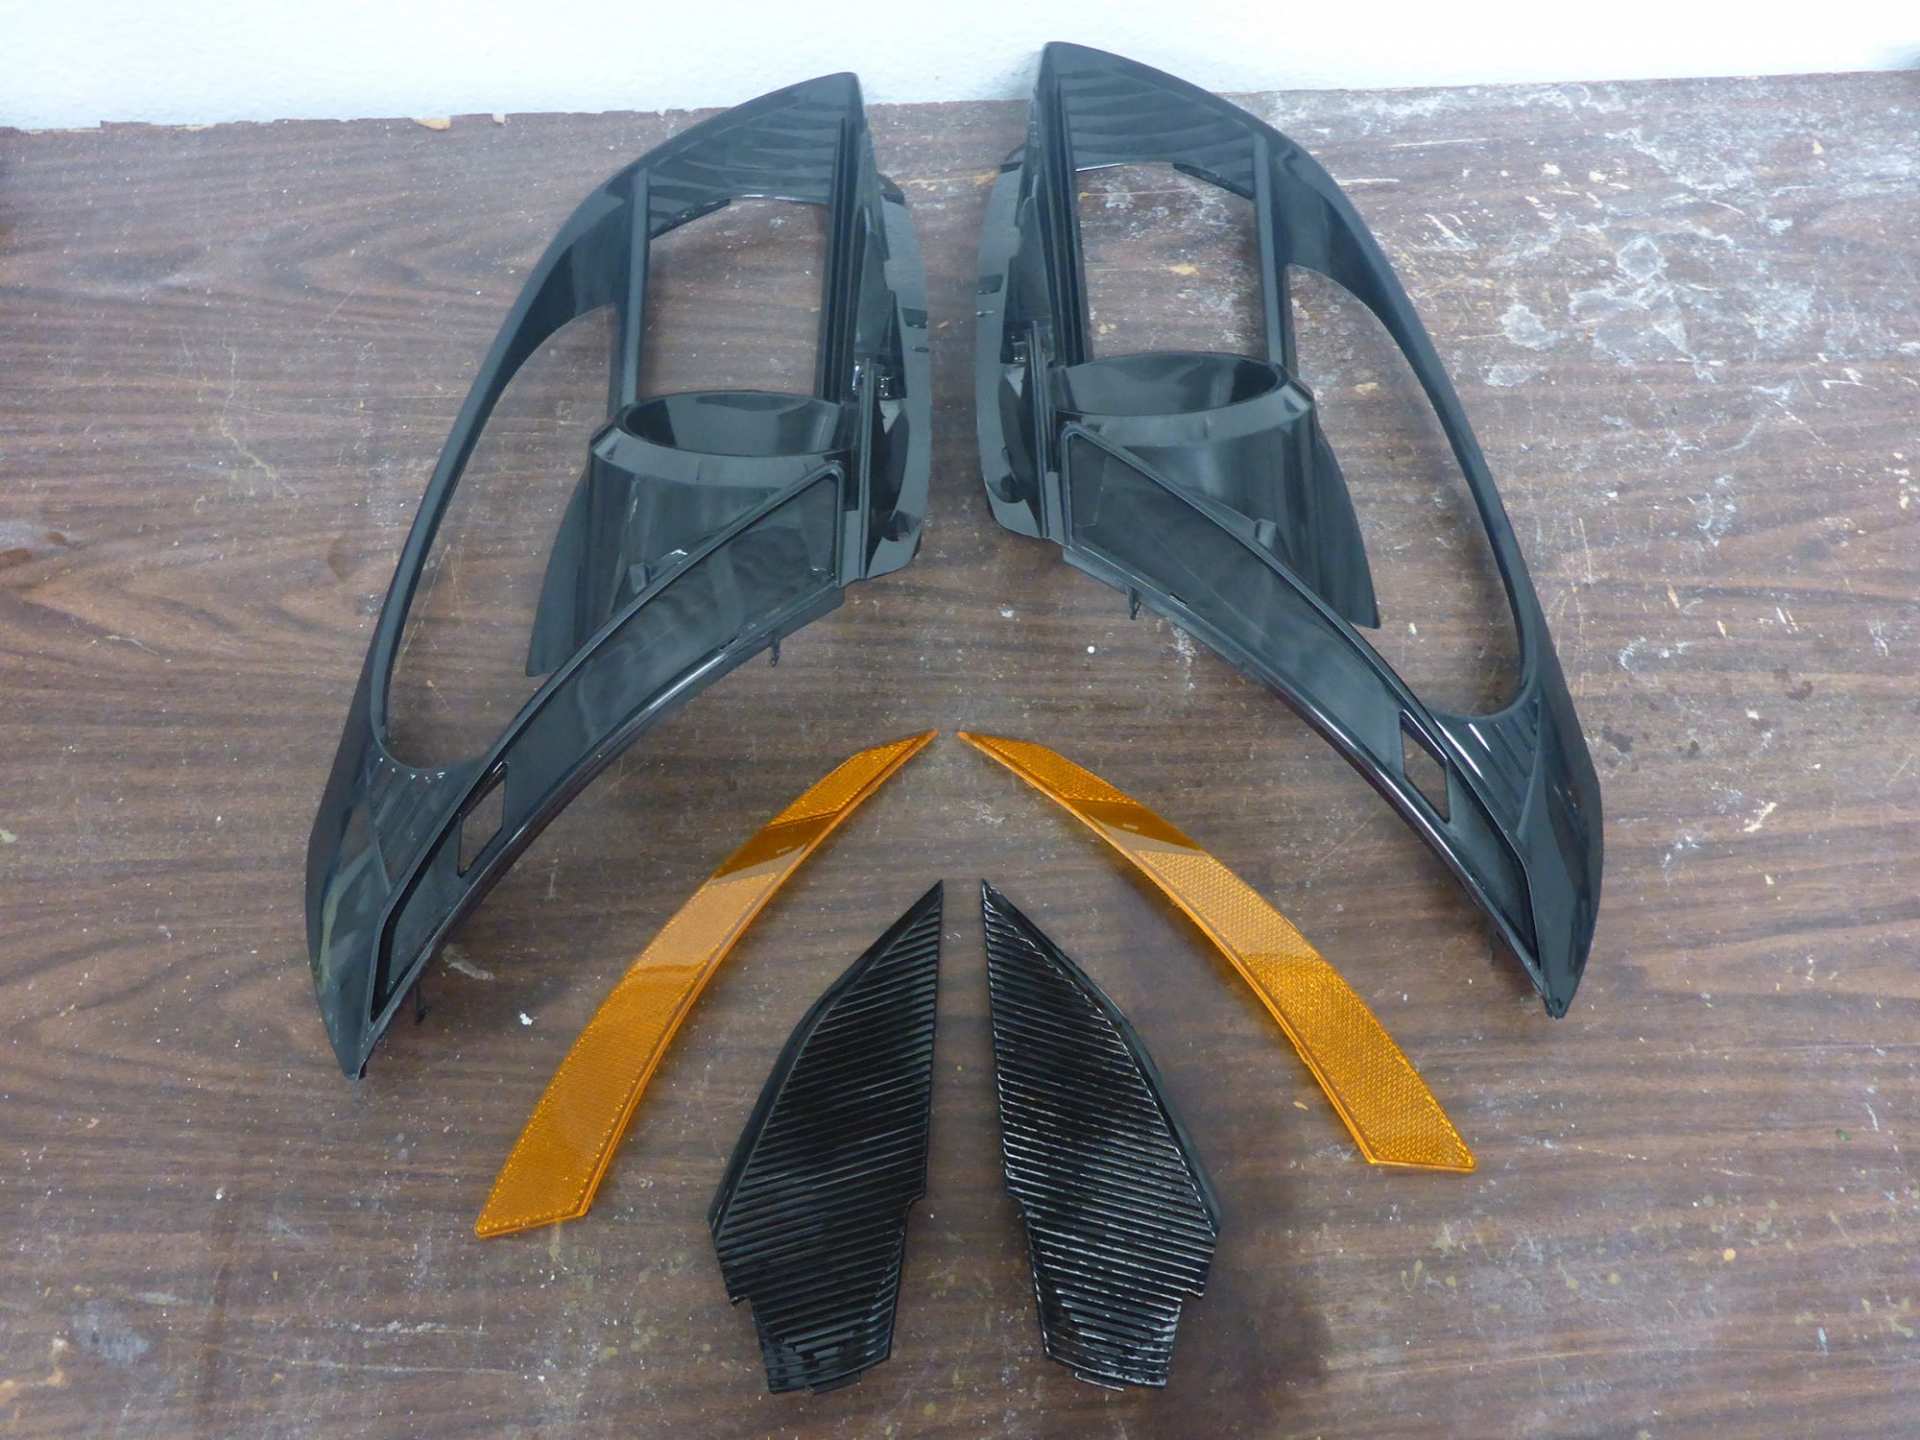
First step is pretty obvious: Take everything apart.

(The trim panel and side reflector)

(Rear reflector bowls for running lights / turn signals)
Then starts the rather tedious process of proper preparation for paint. Many people like to use a plastic spray paint and call it a day. Personally, I can’t cut that corner. Visually, I think rattle can creates a very distinct dull cheap appearance. From a longevity standpoint, rattle can does not stand up to elements and degrades with UV exposure, moisture, heat, etc. For me, I just assume do it right so it looks fantastic and outlasts the vehicle. All painting products used are automotive grade refinishing products and sprayed from a HVLP gun.
So step 1 is to strip all the chrome off.
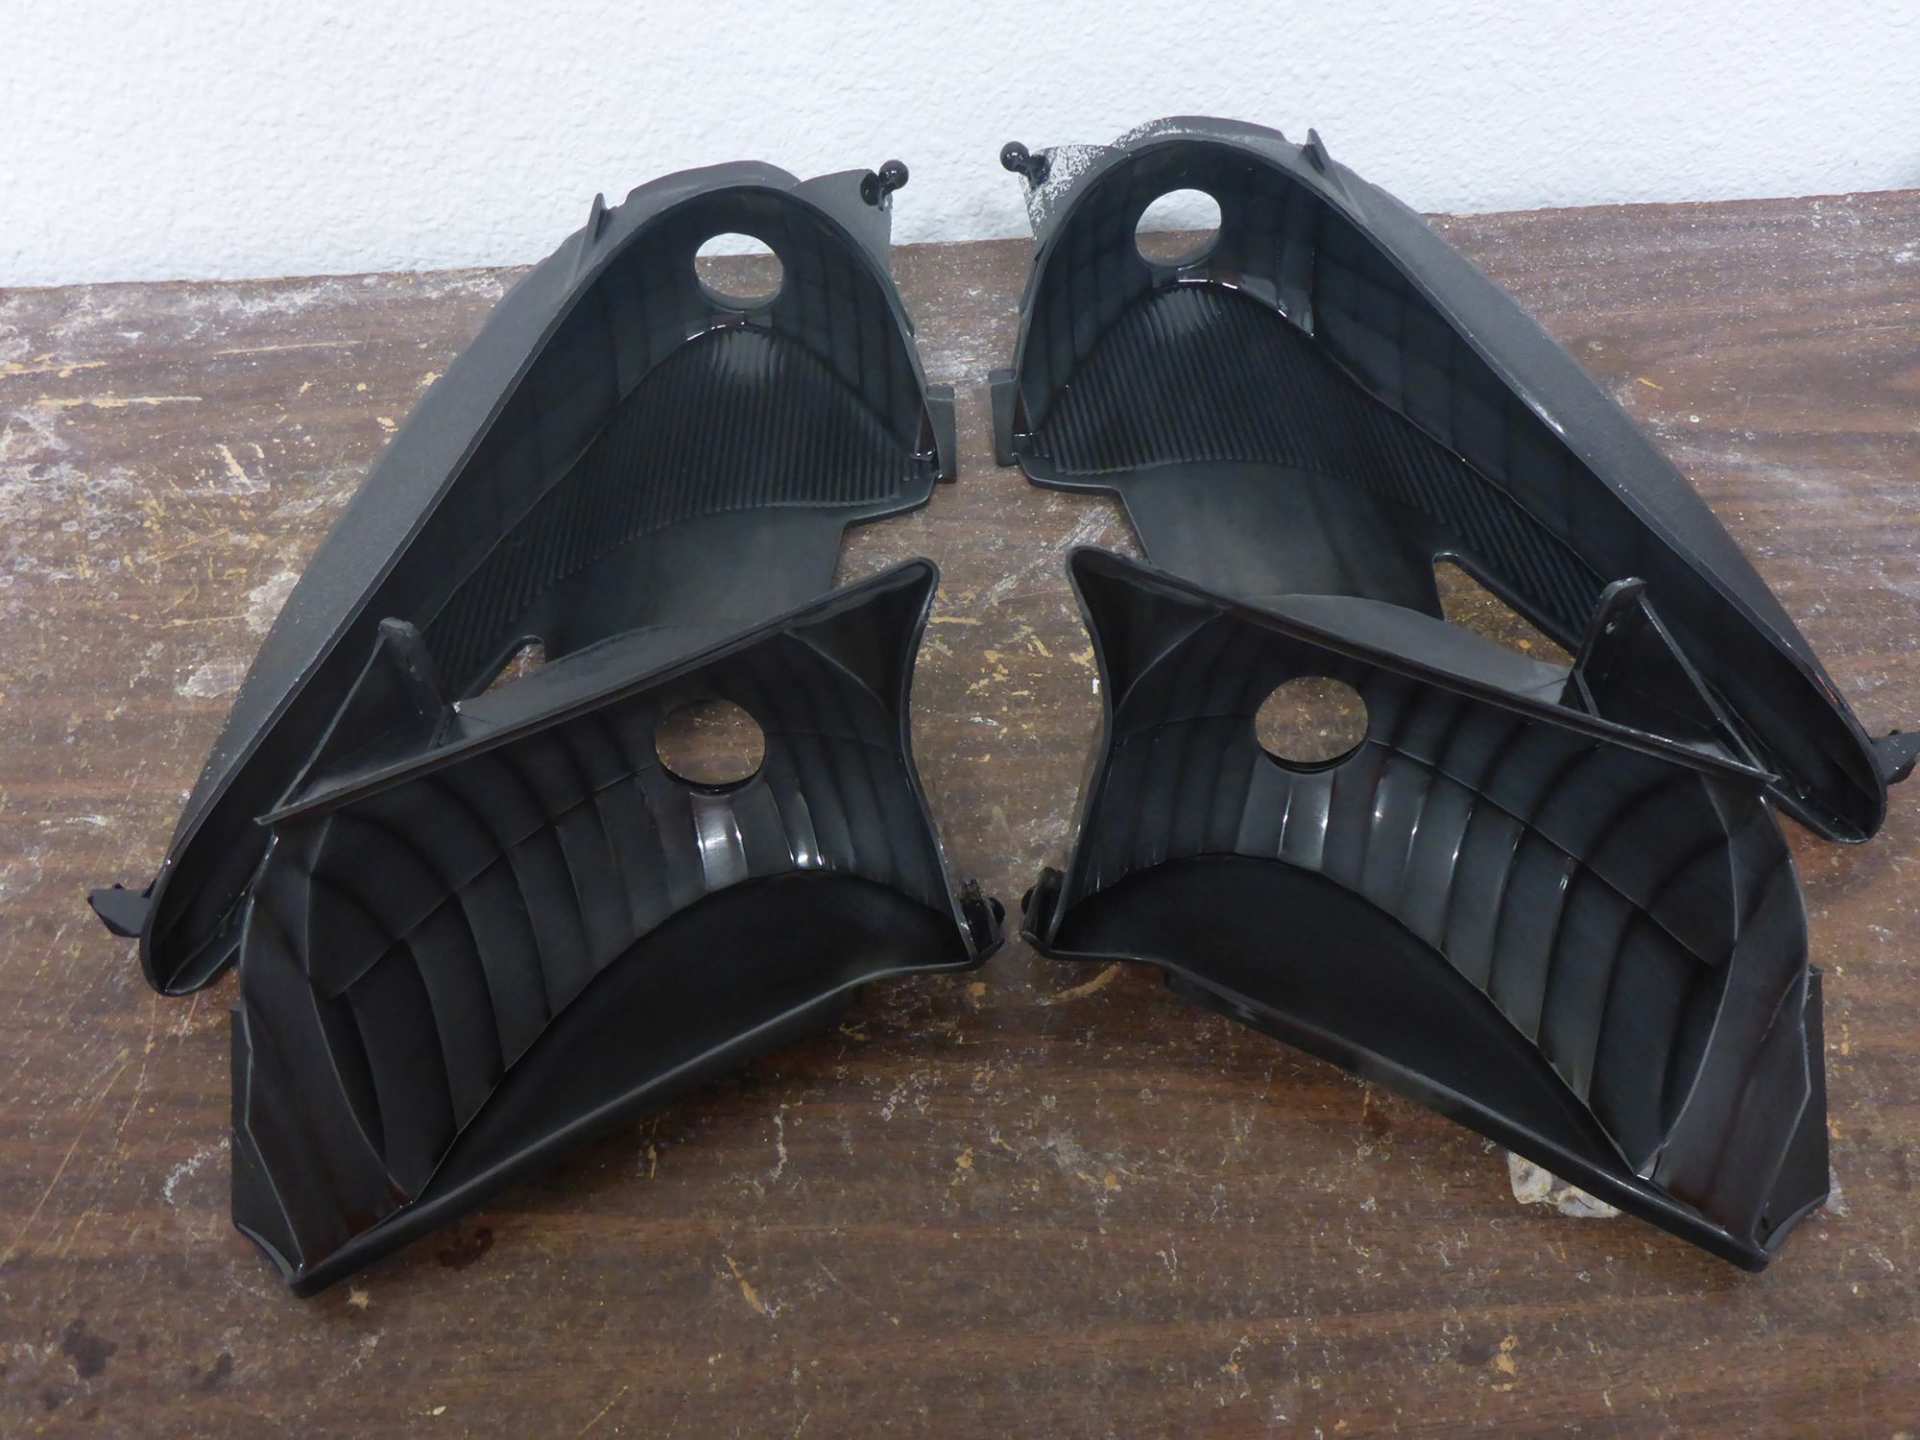
(Bye bye shiny bowls)
(No more chrome!)
Then everything gets scuffed up to promote adhesion and sprayed with a high build polyester primer.
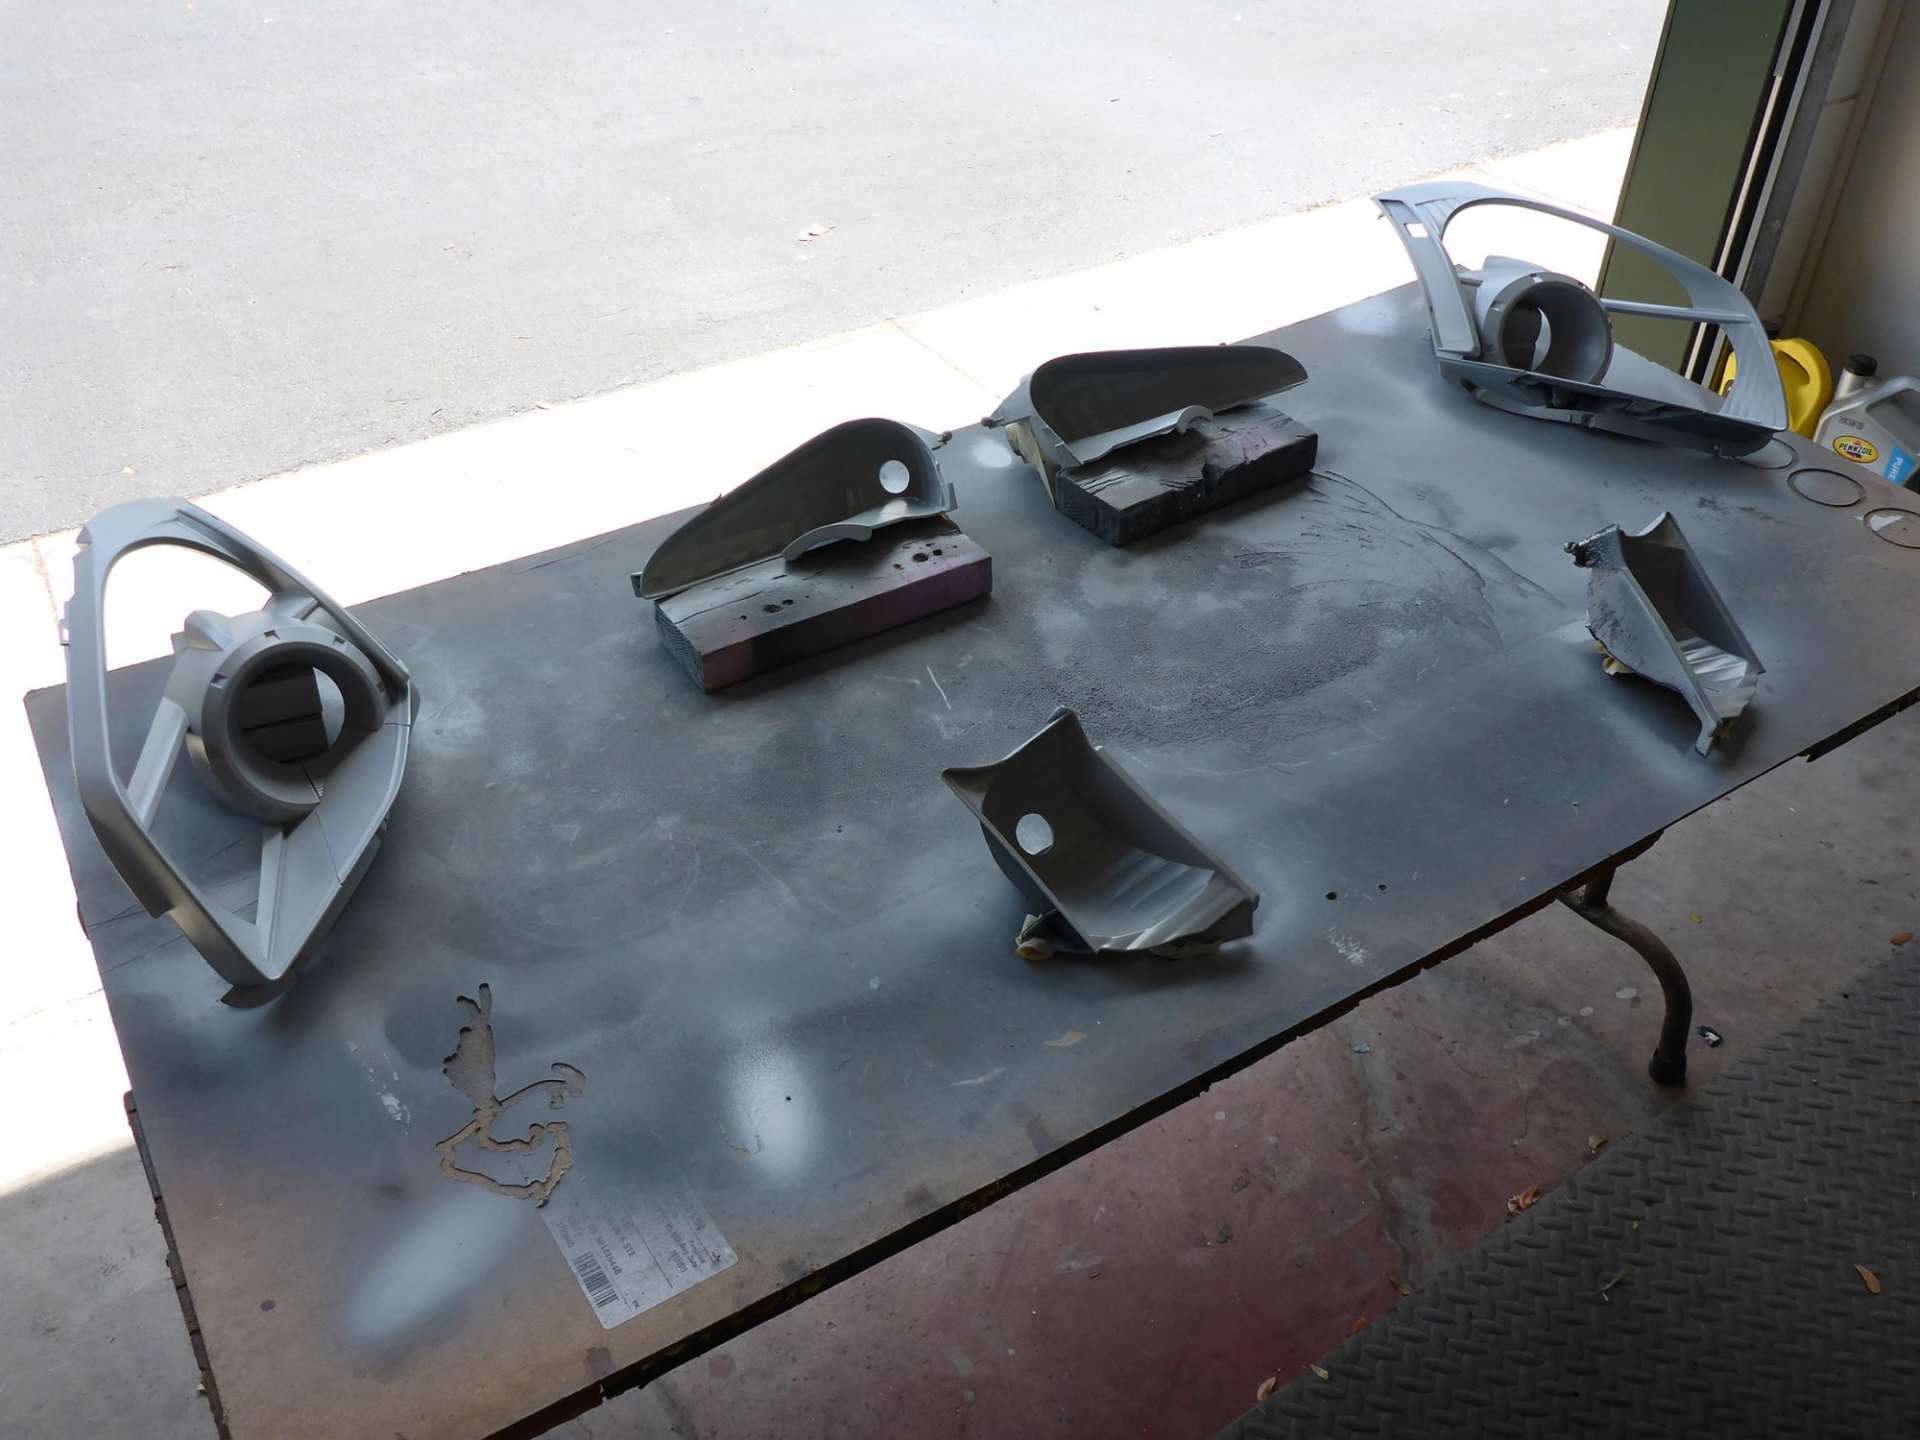
(Everything primed)
Then everything gets painted with black guide coat and sanded smooth… or until my fingers break.
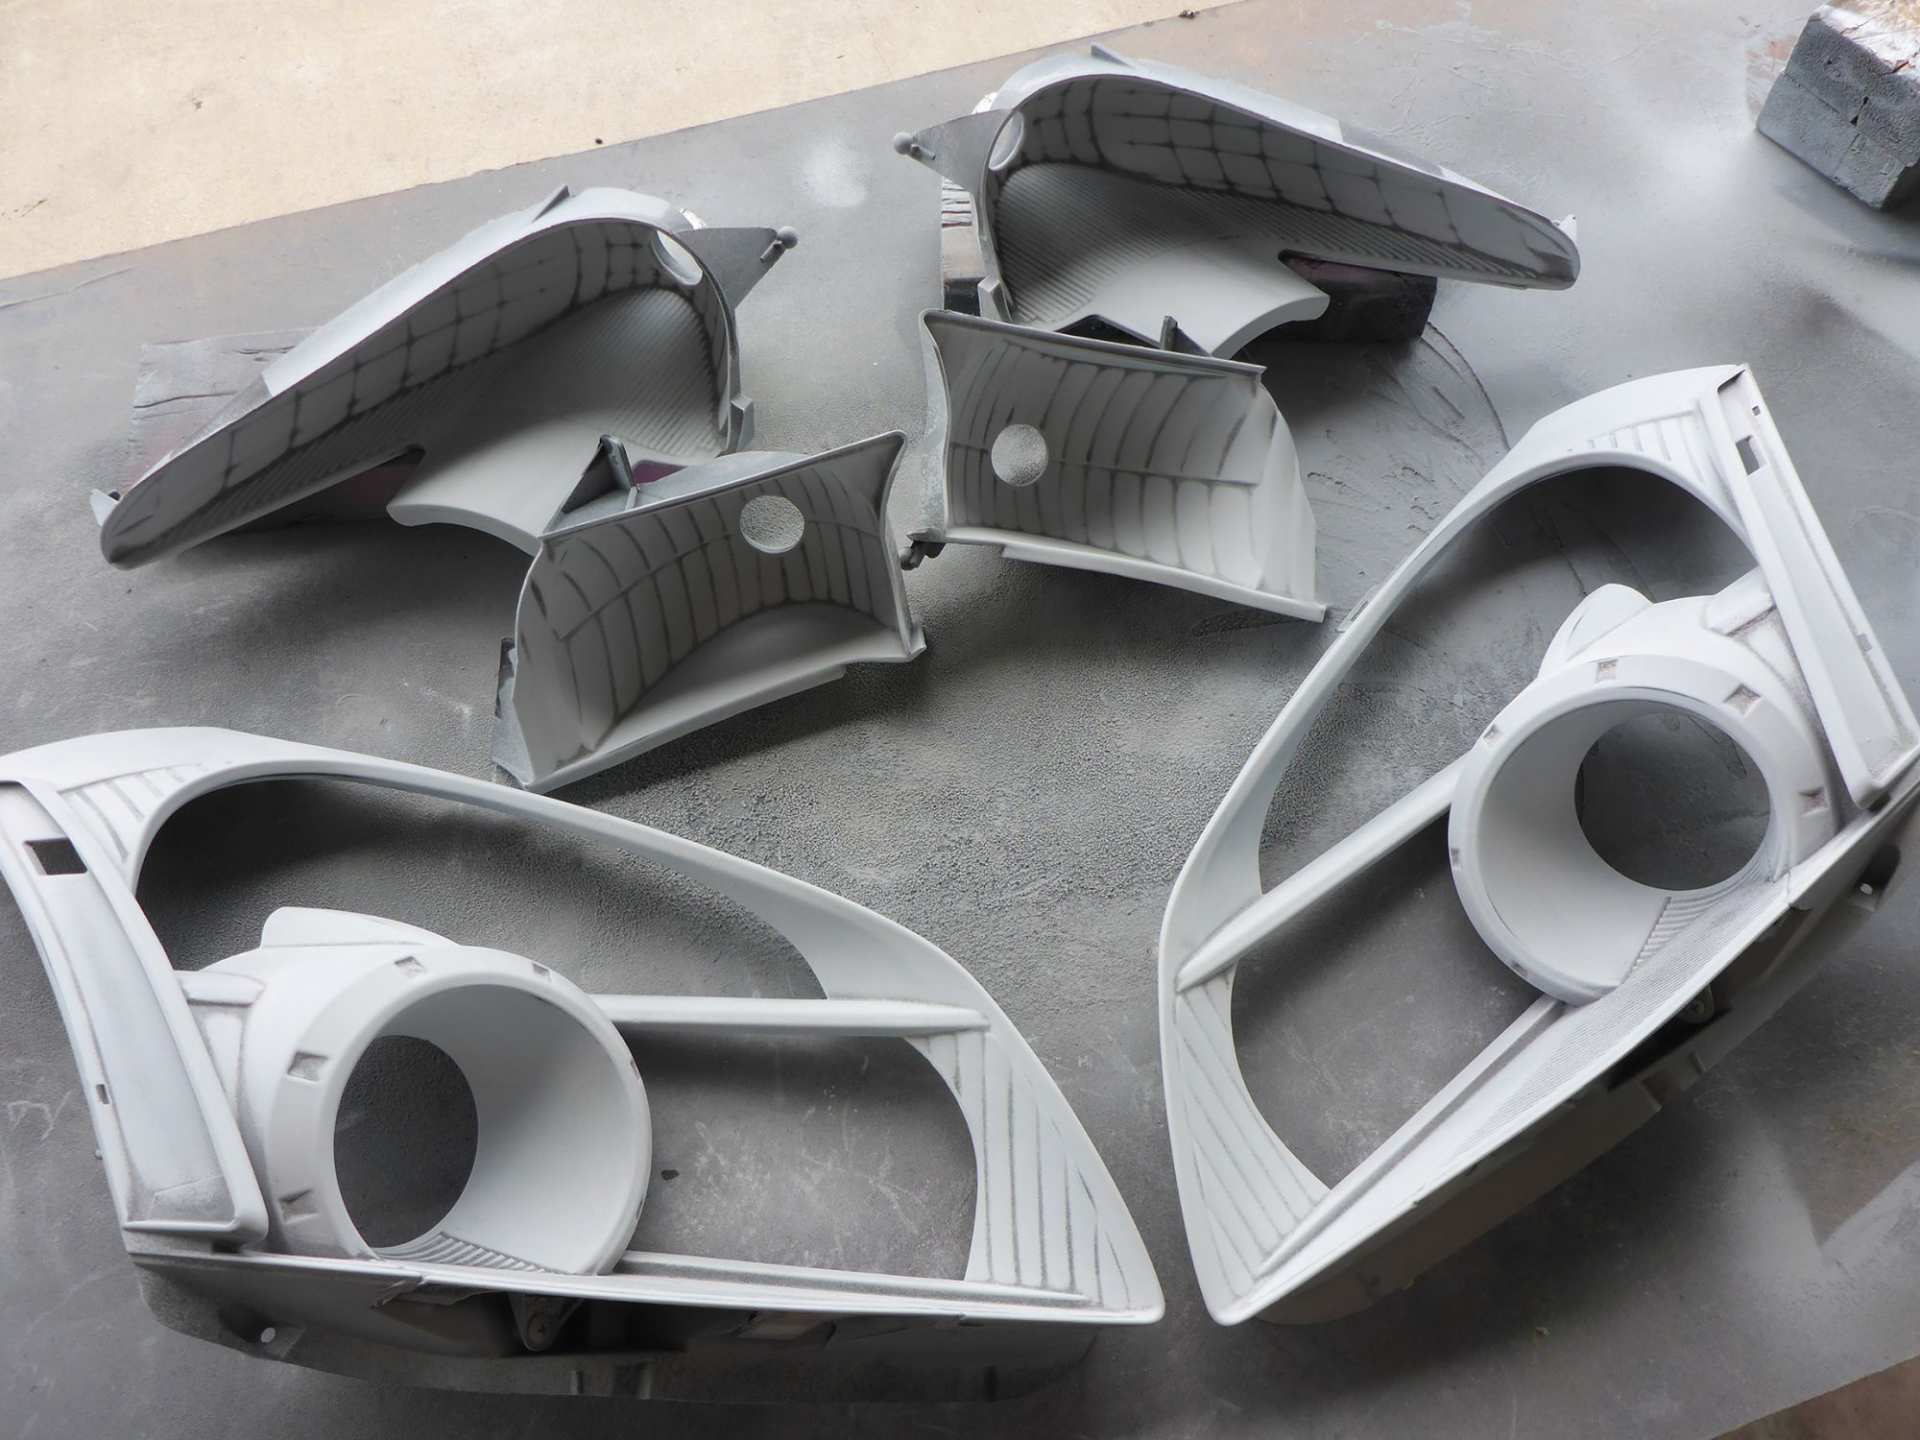
(Let’s not get too crazy, the important parts are smooth!)
Finally it’s time to lay down some color. First the OEM body color of the client’s car: Nissan Greige. Yup, greige. Like a gray beige, I’m guessing. Nissan color naming department got jokes.

(Sprayed and set aside)
The side markers were then sprayed with VHT Nightshades so that they would be black but still light up a little.

(I know, I know, it’s a rattle can, I’m such a hypocrite sometimes)
Next I sprayed all the bowls gloss pure black.
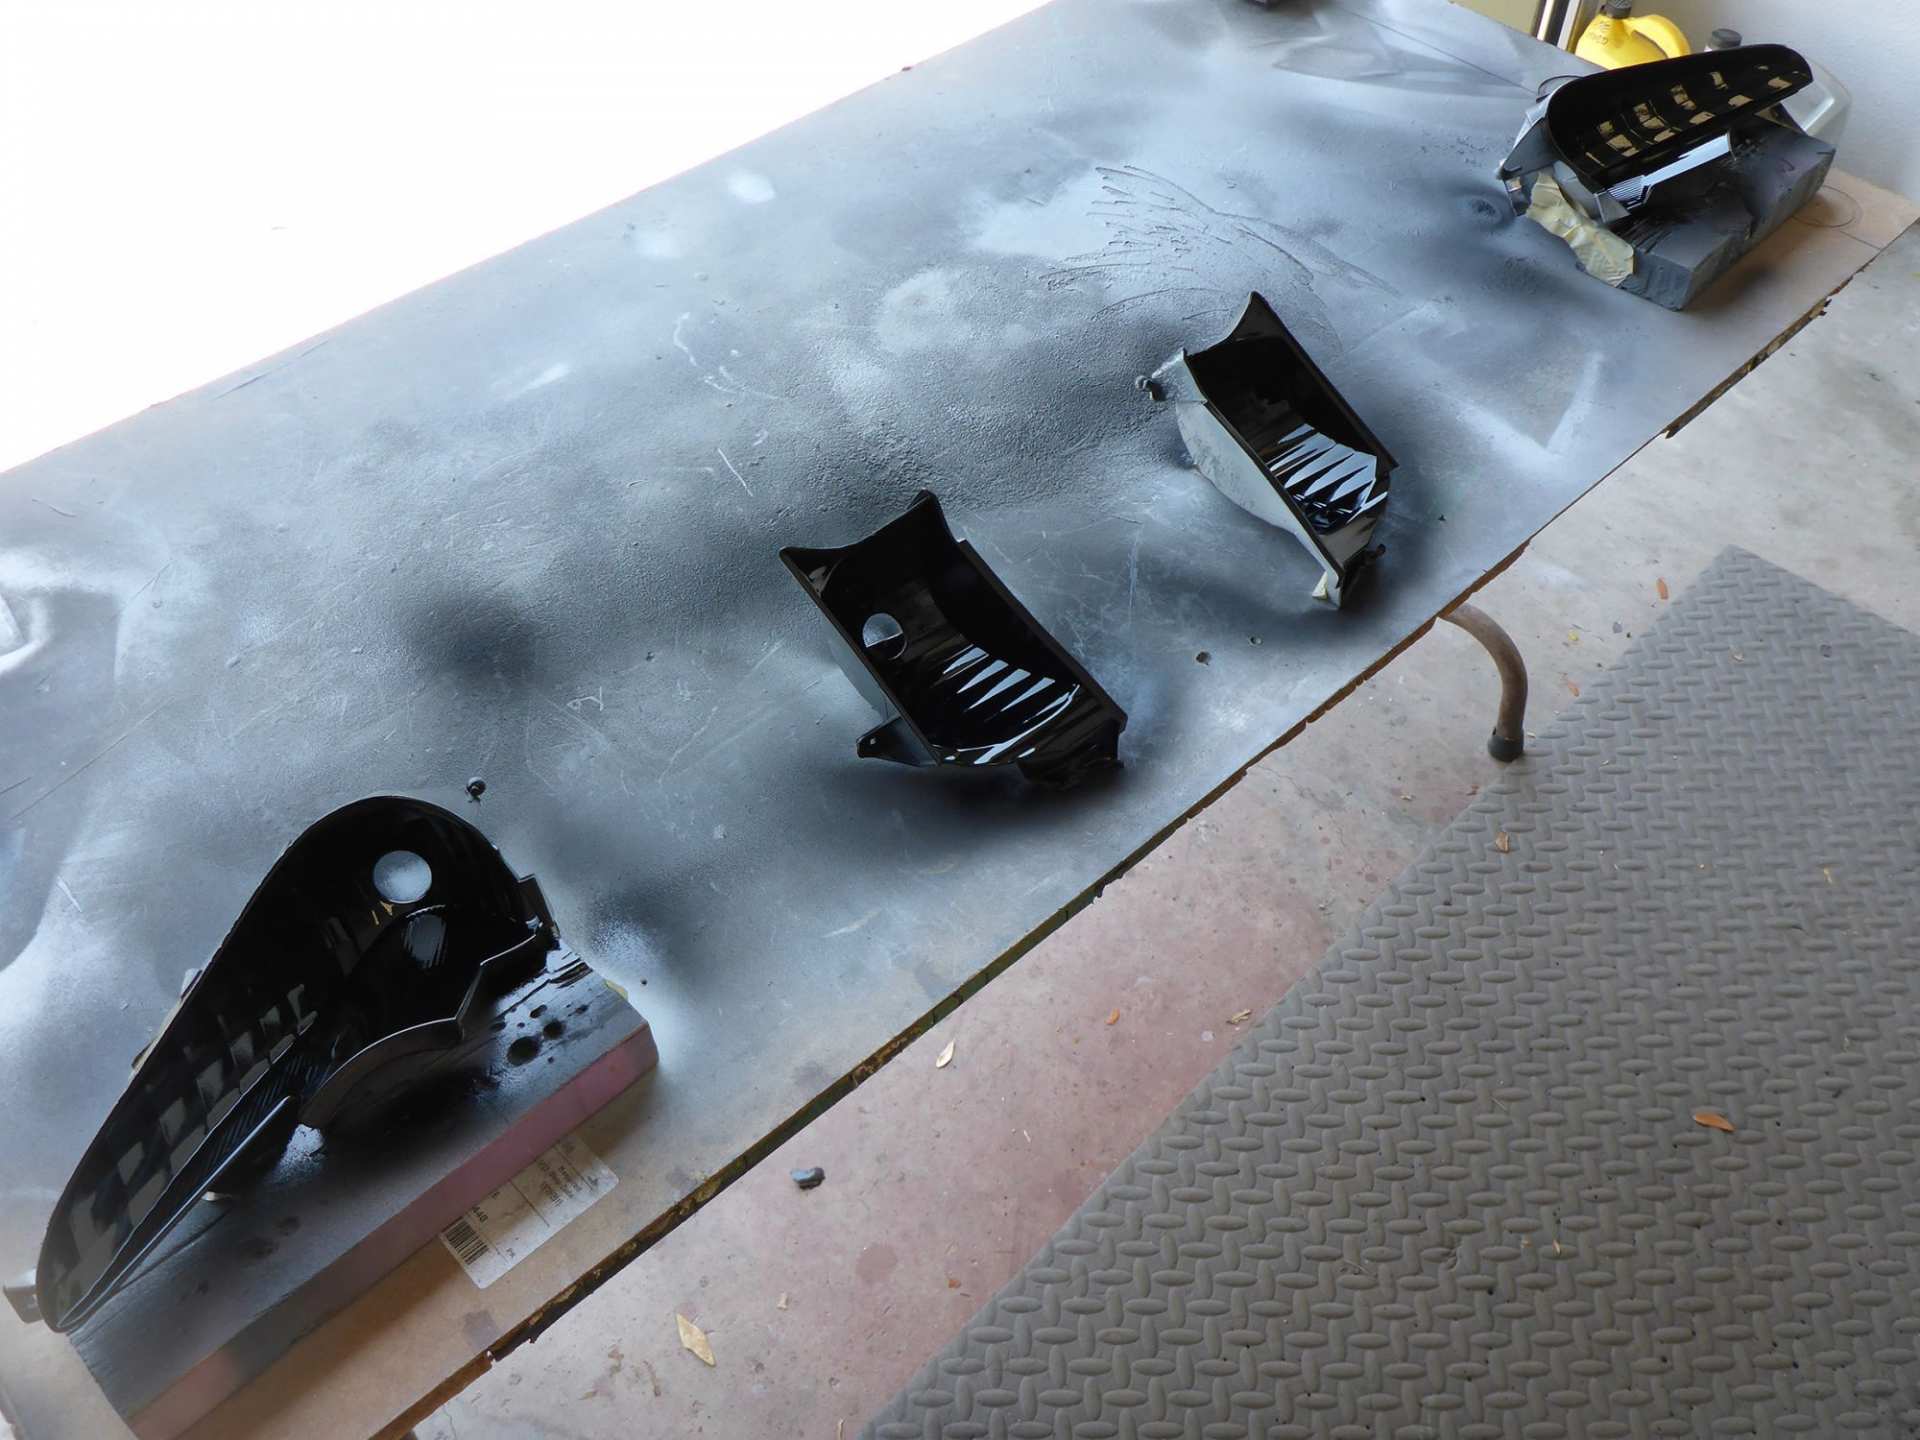
(Darkness consumes you)
By this time, the shroud trim and side markers had been reunited and it was time to lay down some clear coat. This is the money maker product that really defines quality paint work. There is simply no replacement for quality 2k clear!

(Close-up of two reflector bowls after clear coat)
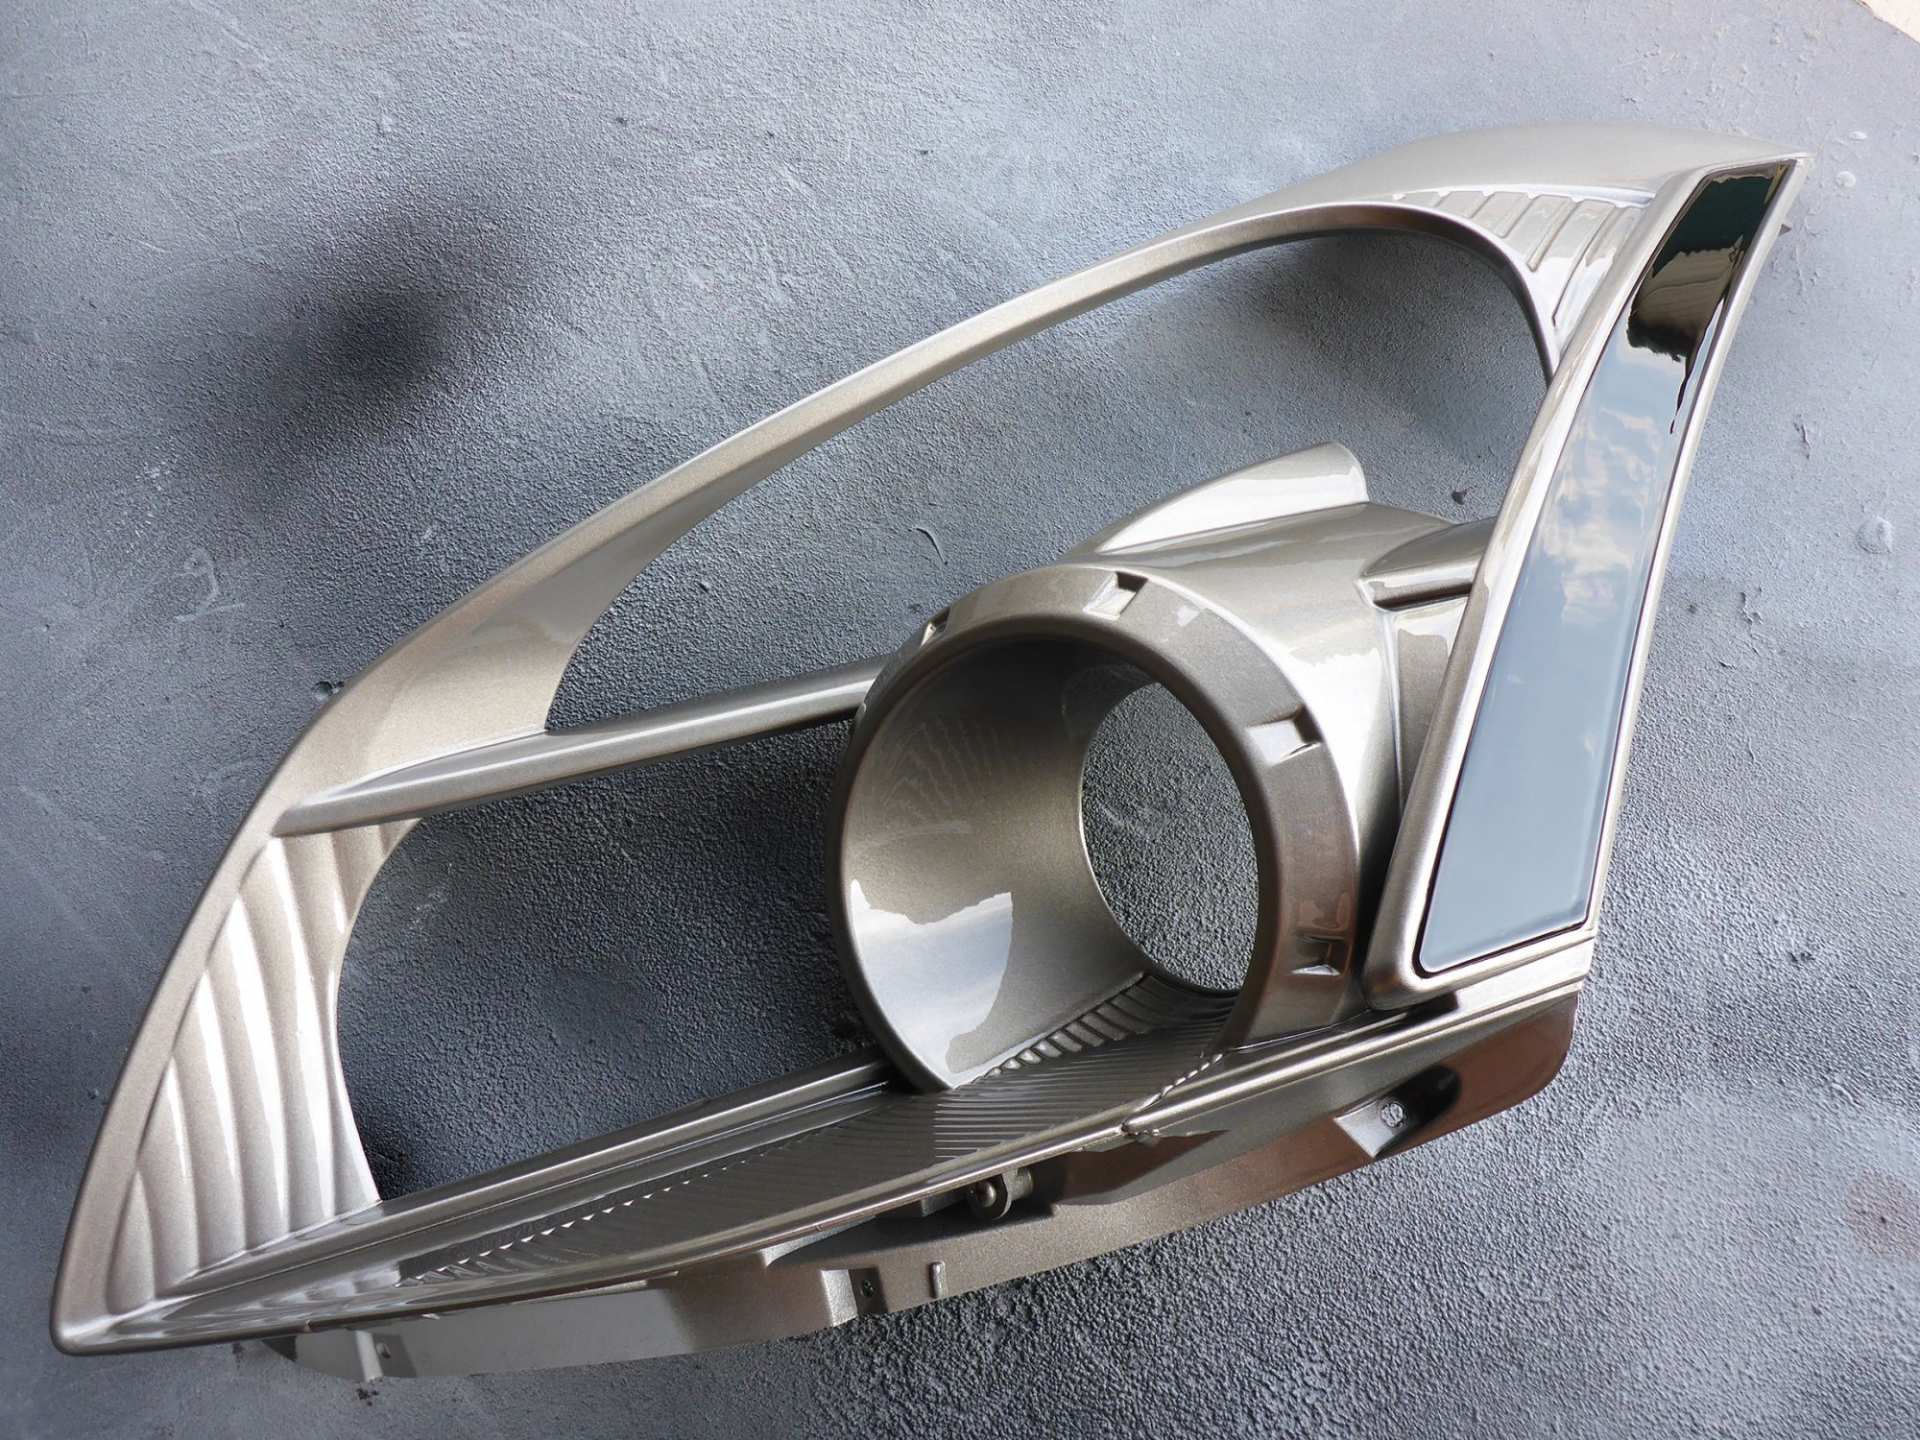
(Close-up of trim shroud after clear coat)
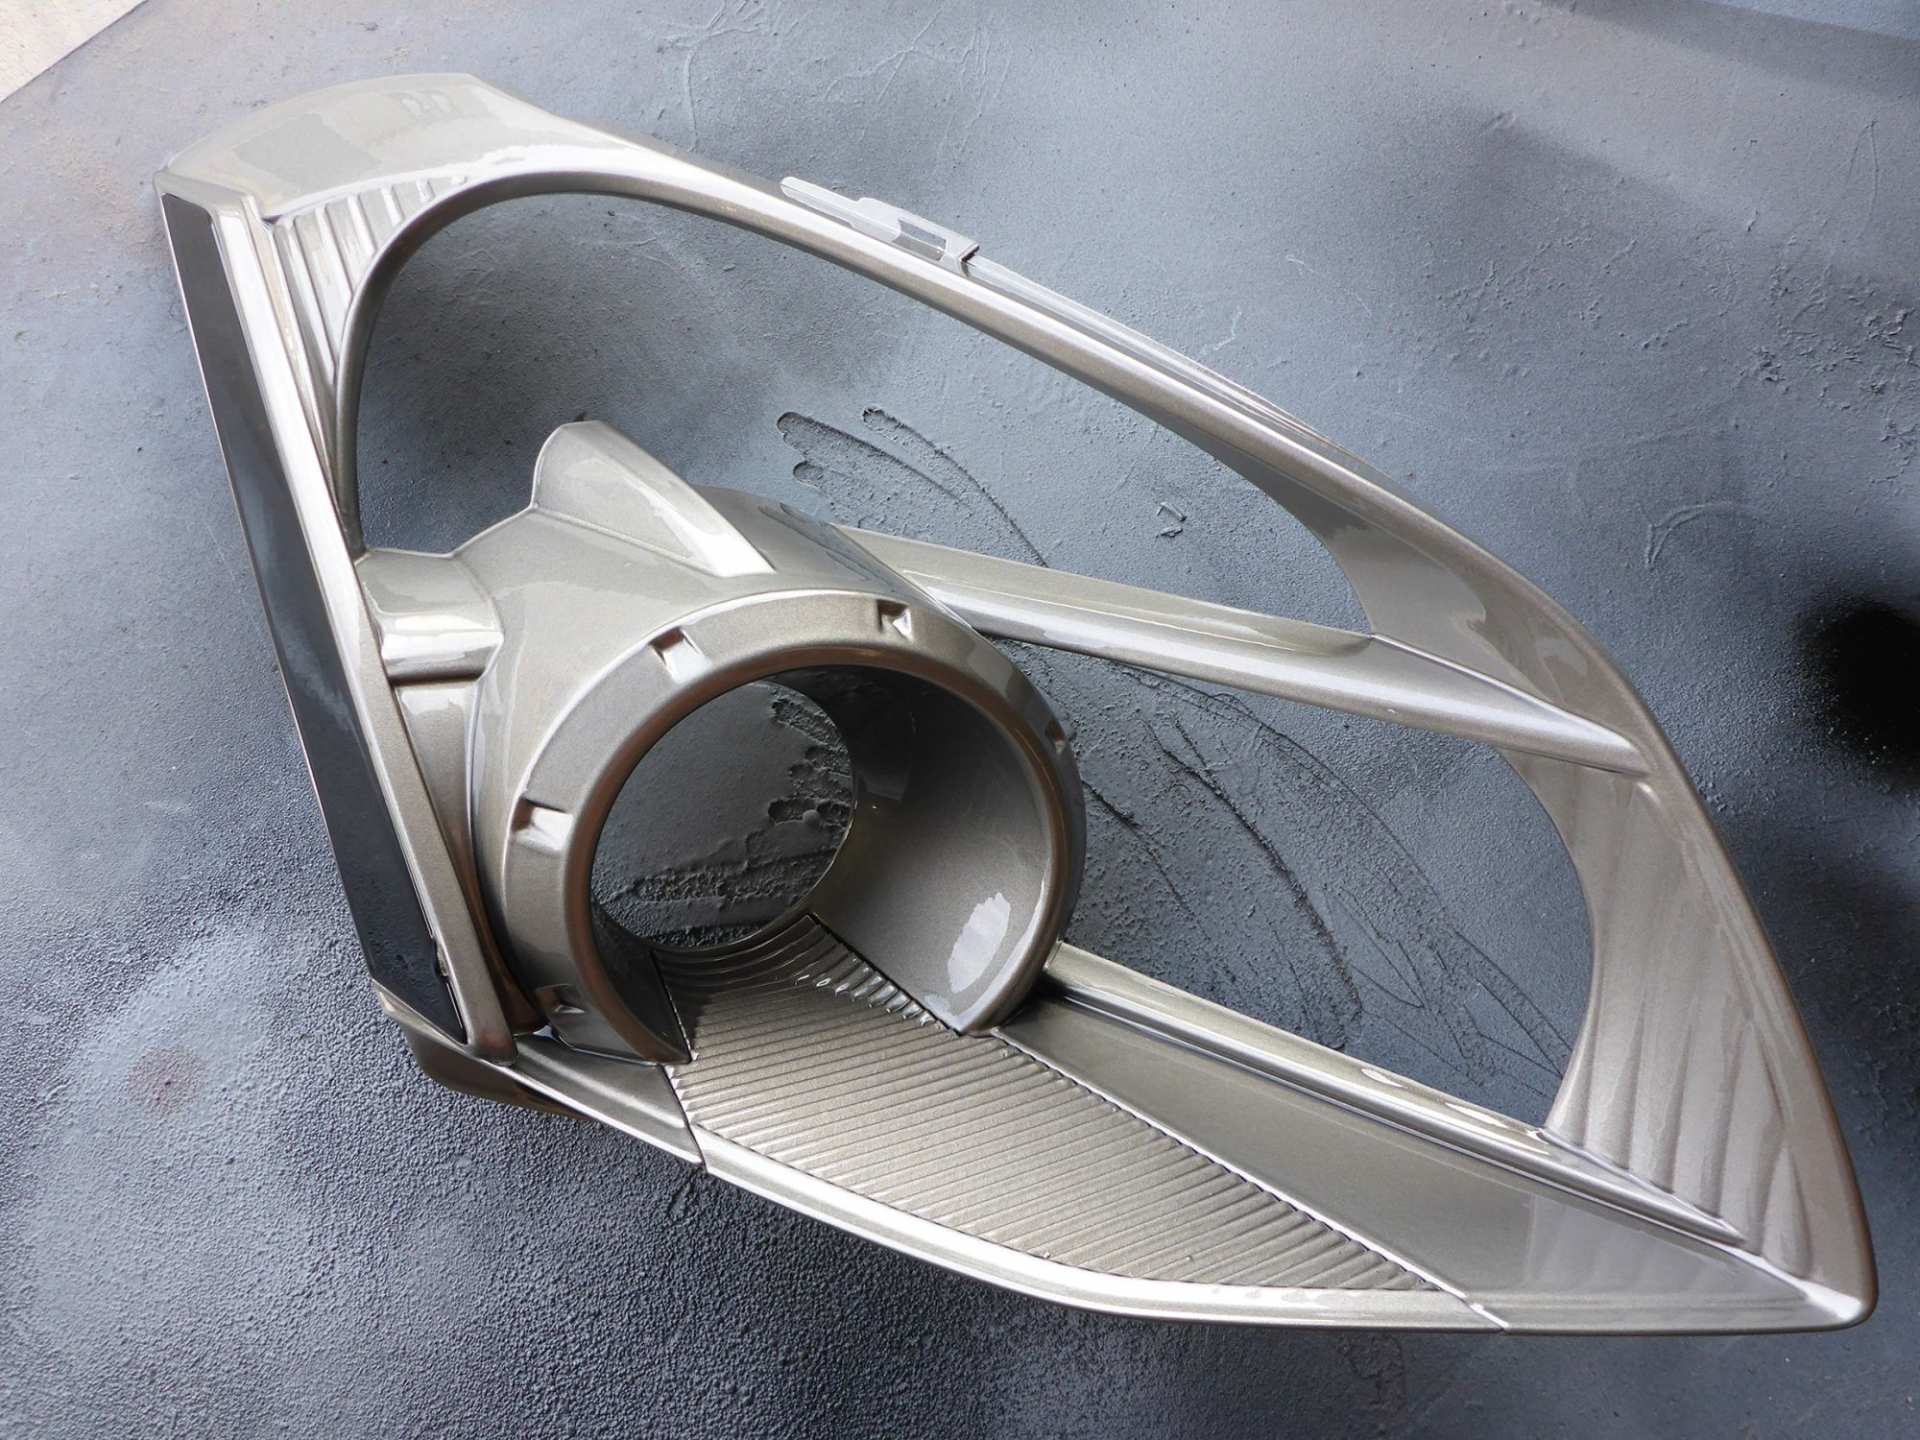
(Close-up of trim shroud after clear coat)
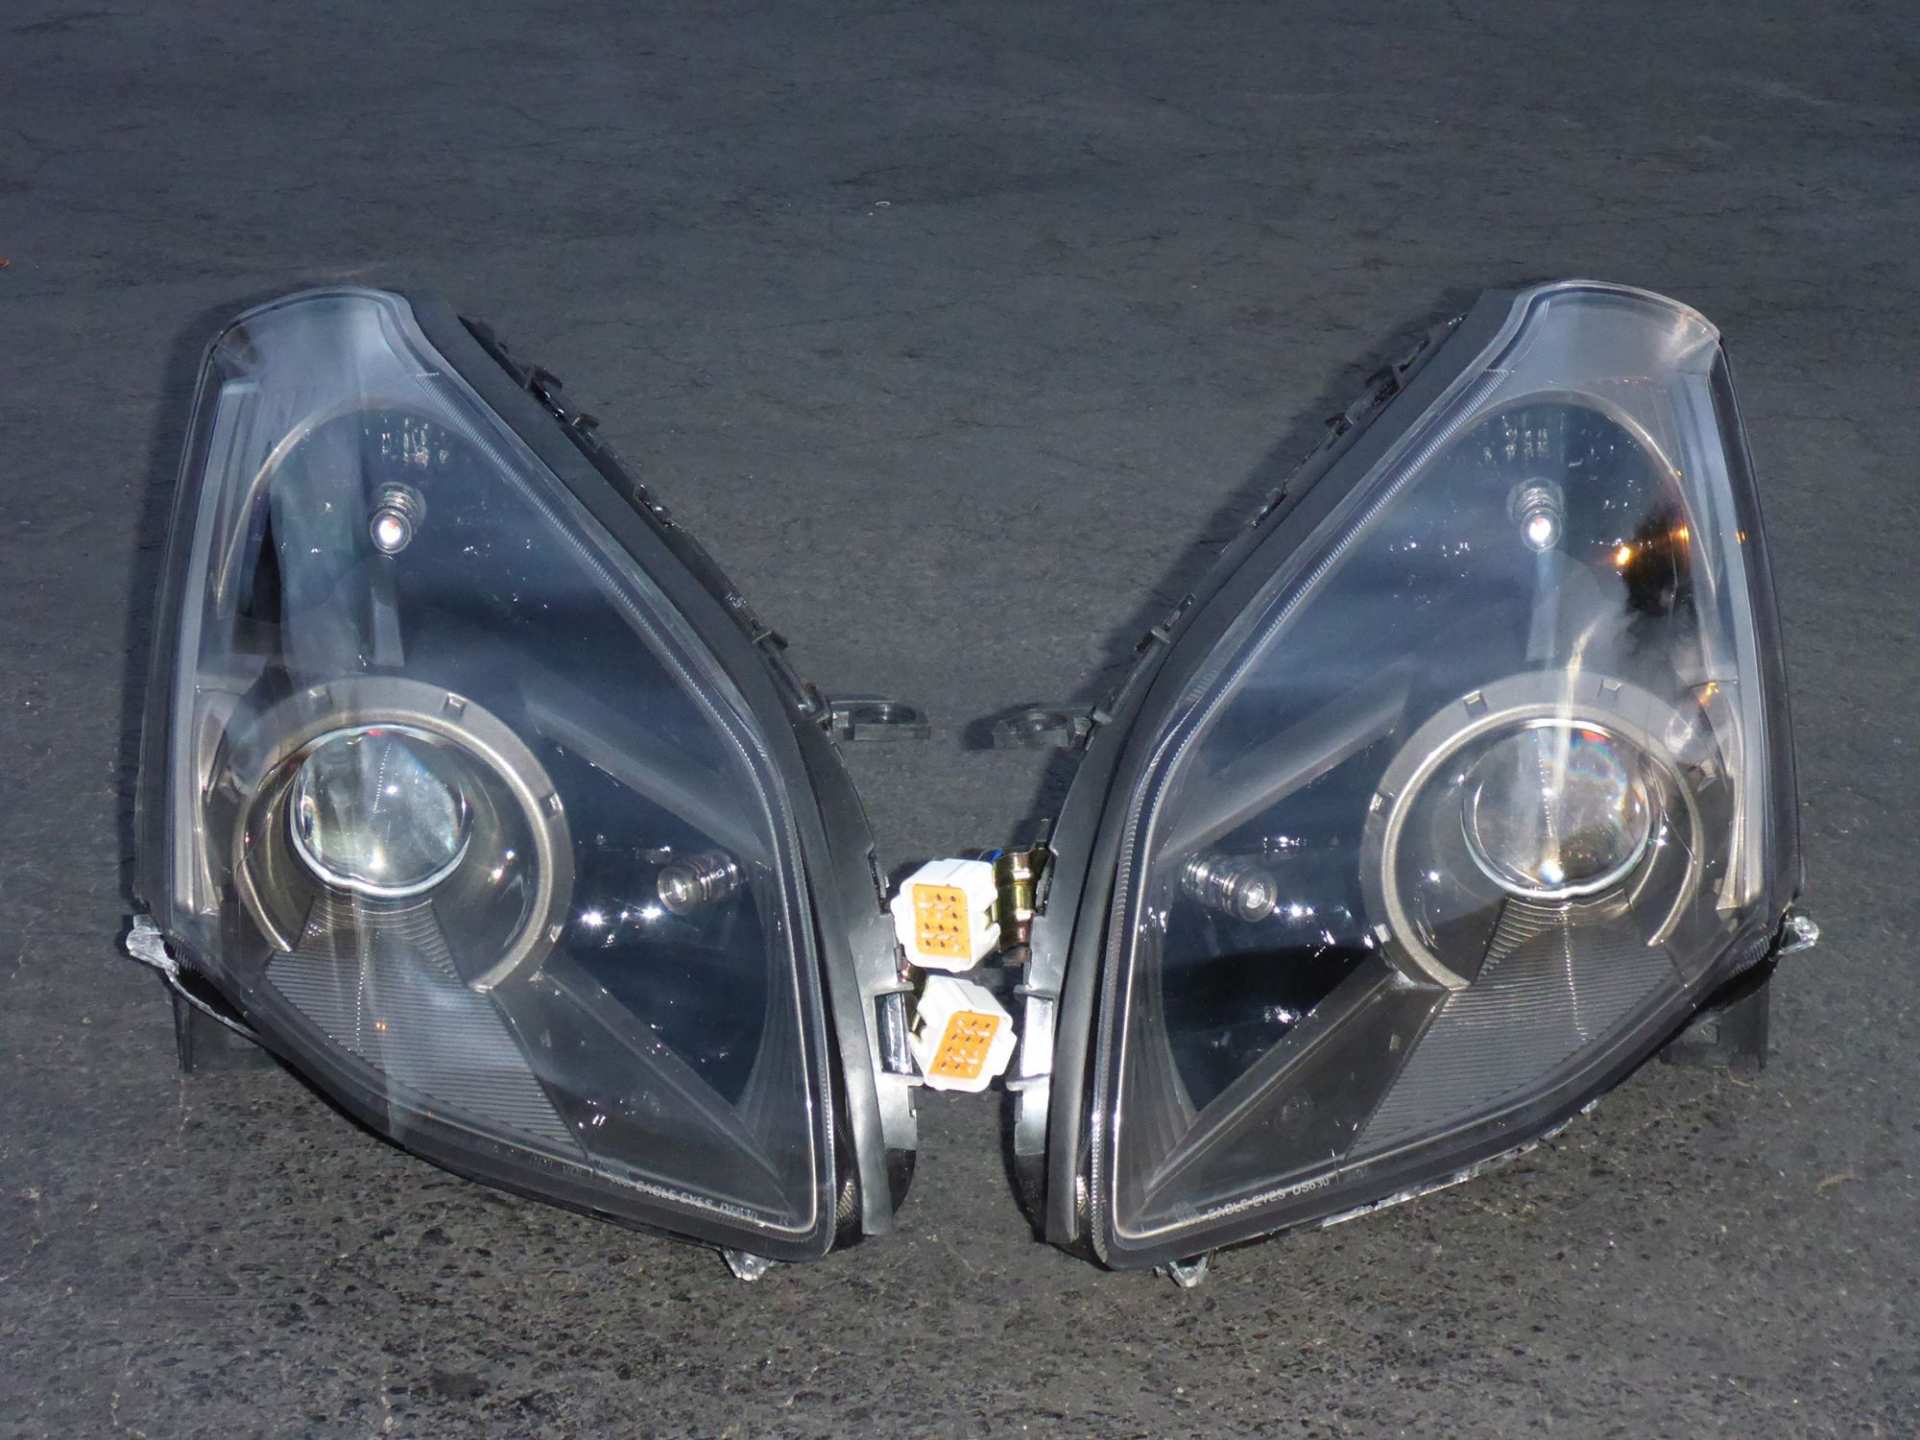
Once everything was given adequate time to dry, it was time to reassemble.
(Back together at last!)
But not done quite yet! To prevent fading/yellowing/chipping/anything-else-bad-that-happens-to-plastic-headlight-lenses and further enhance sheen and luster, the whole headlight itself gets a dose of clear coat. First step, as per the usual: PREP!
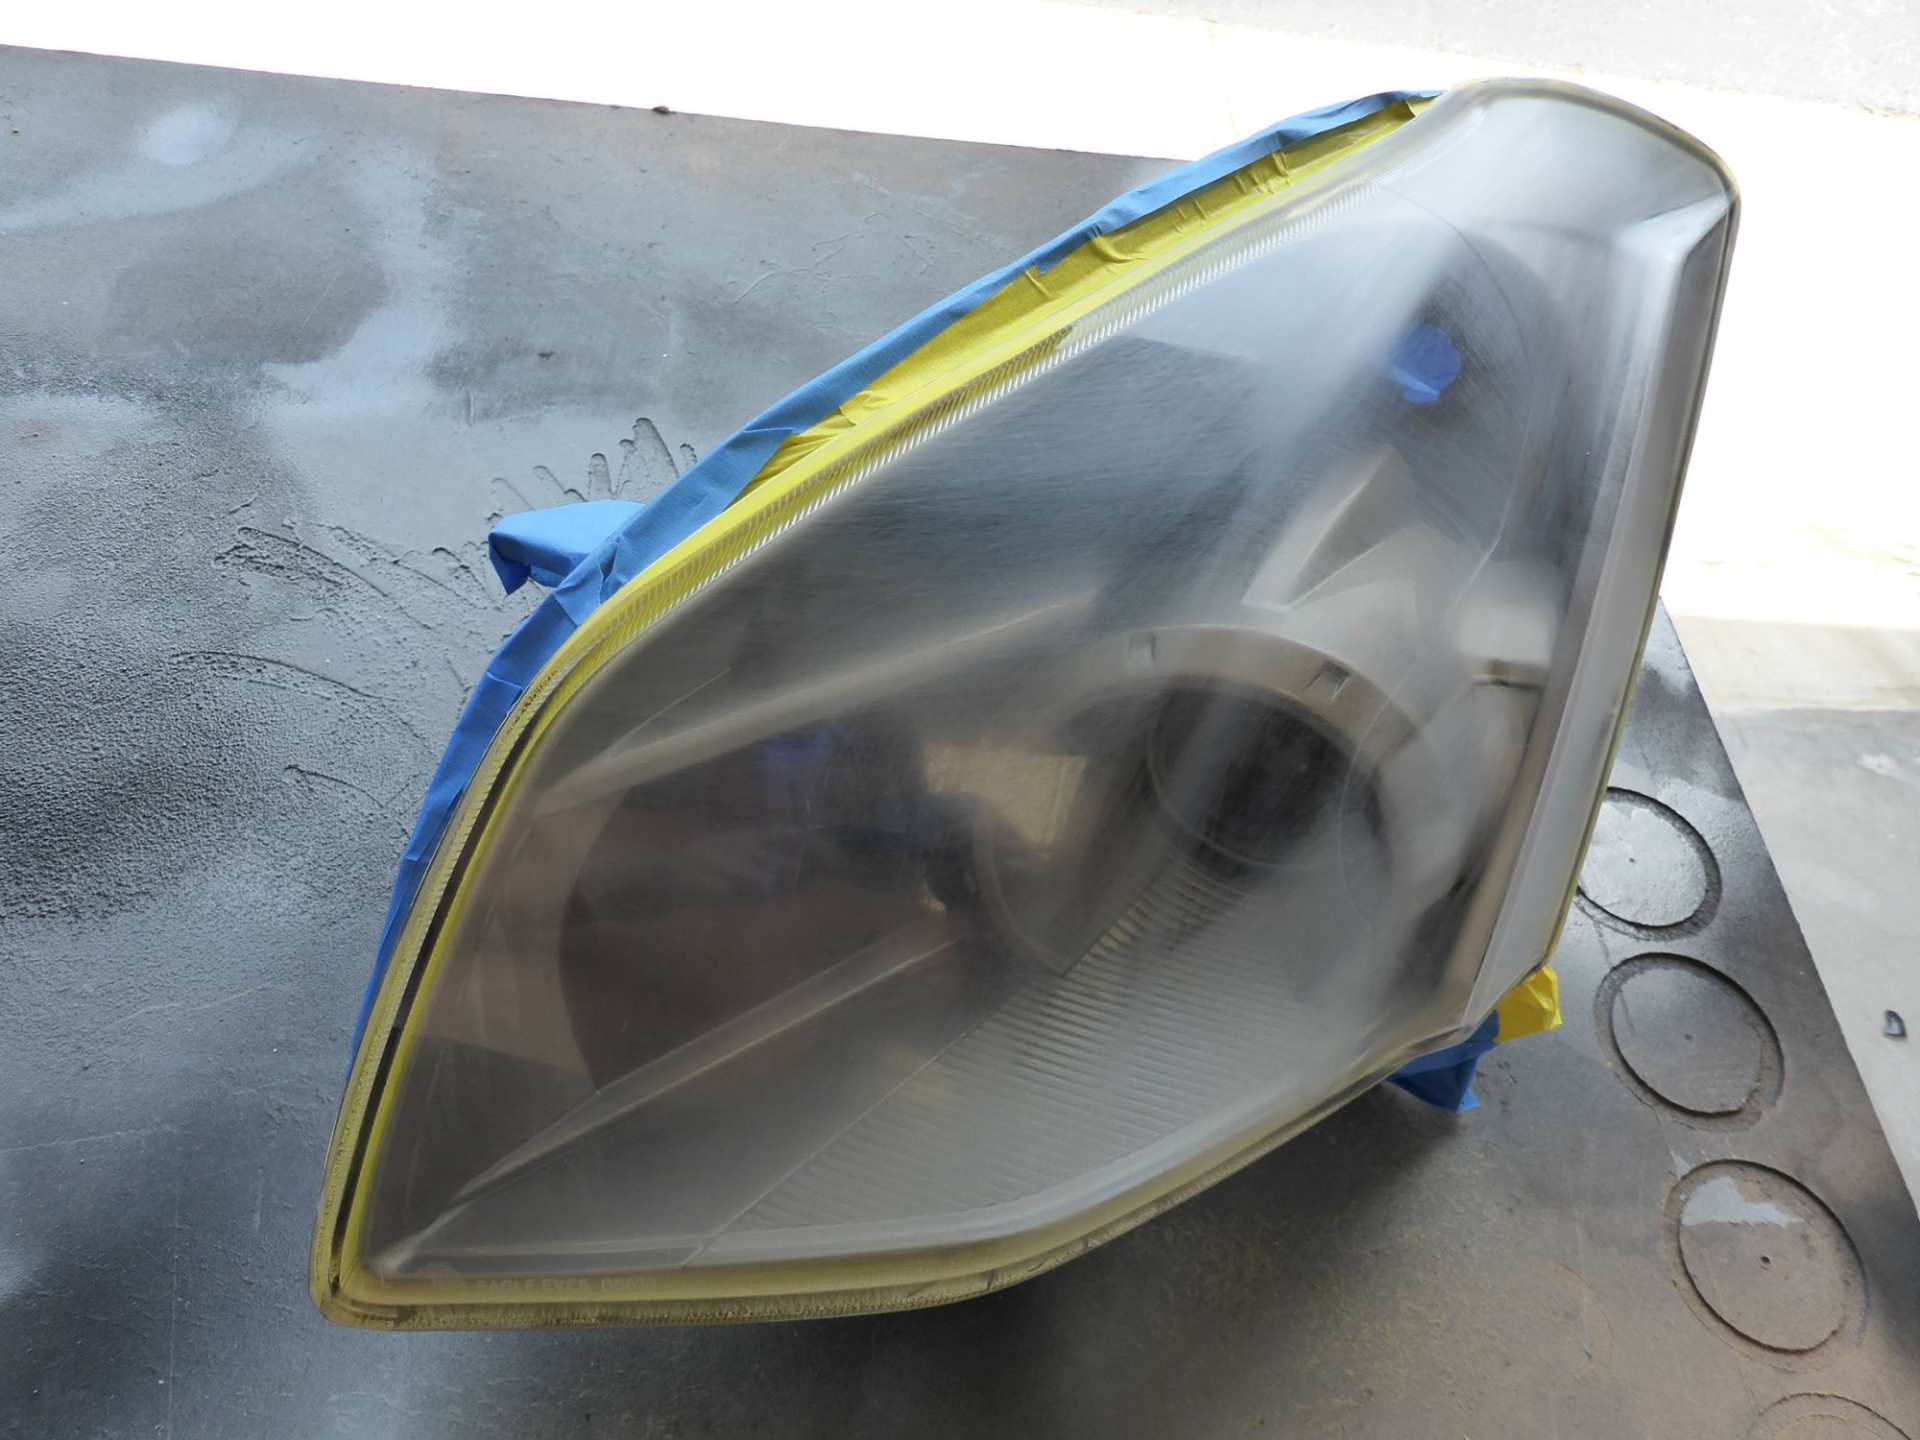
(All sanded up and masked off ready for clearcoat)
Clear coat goes down!
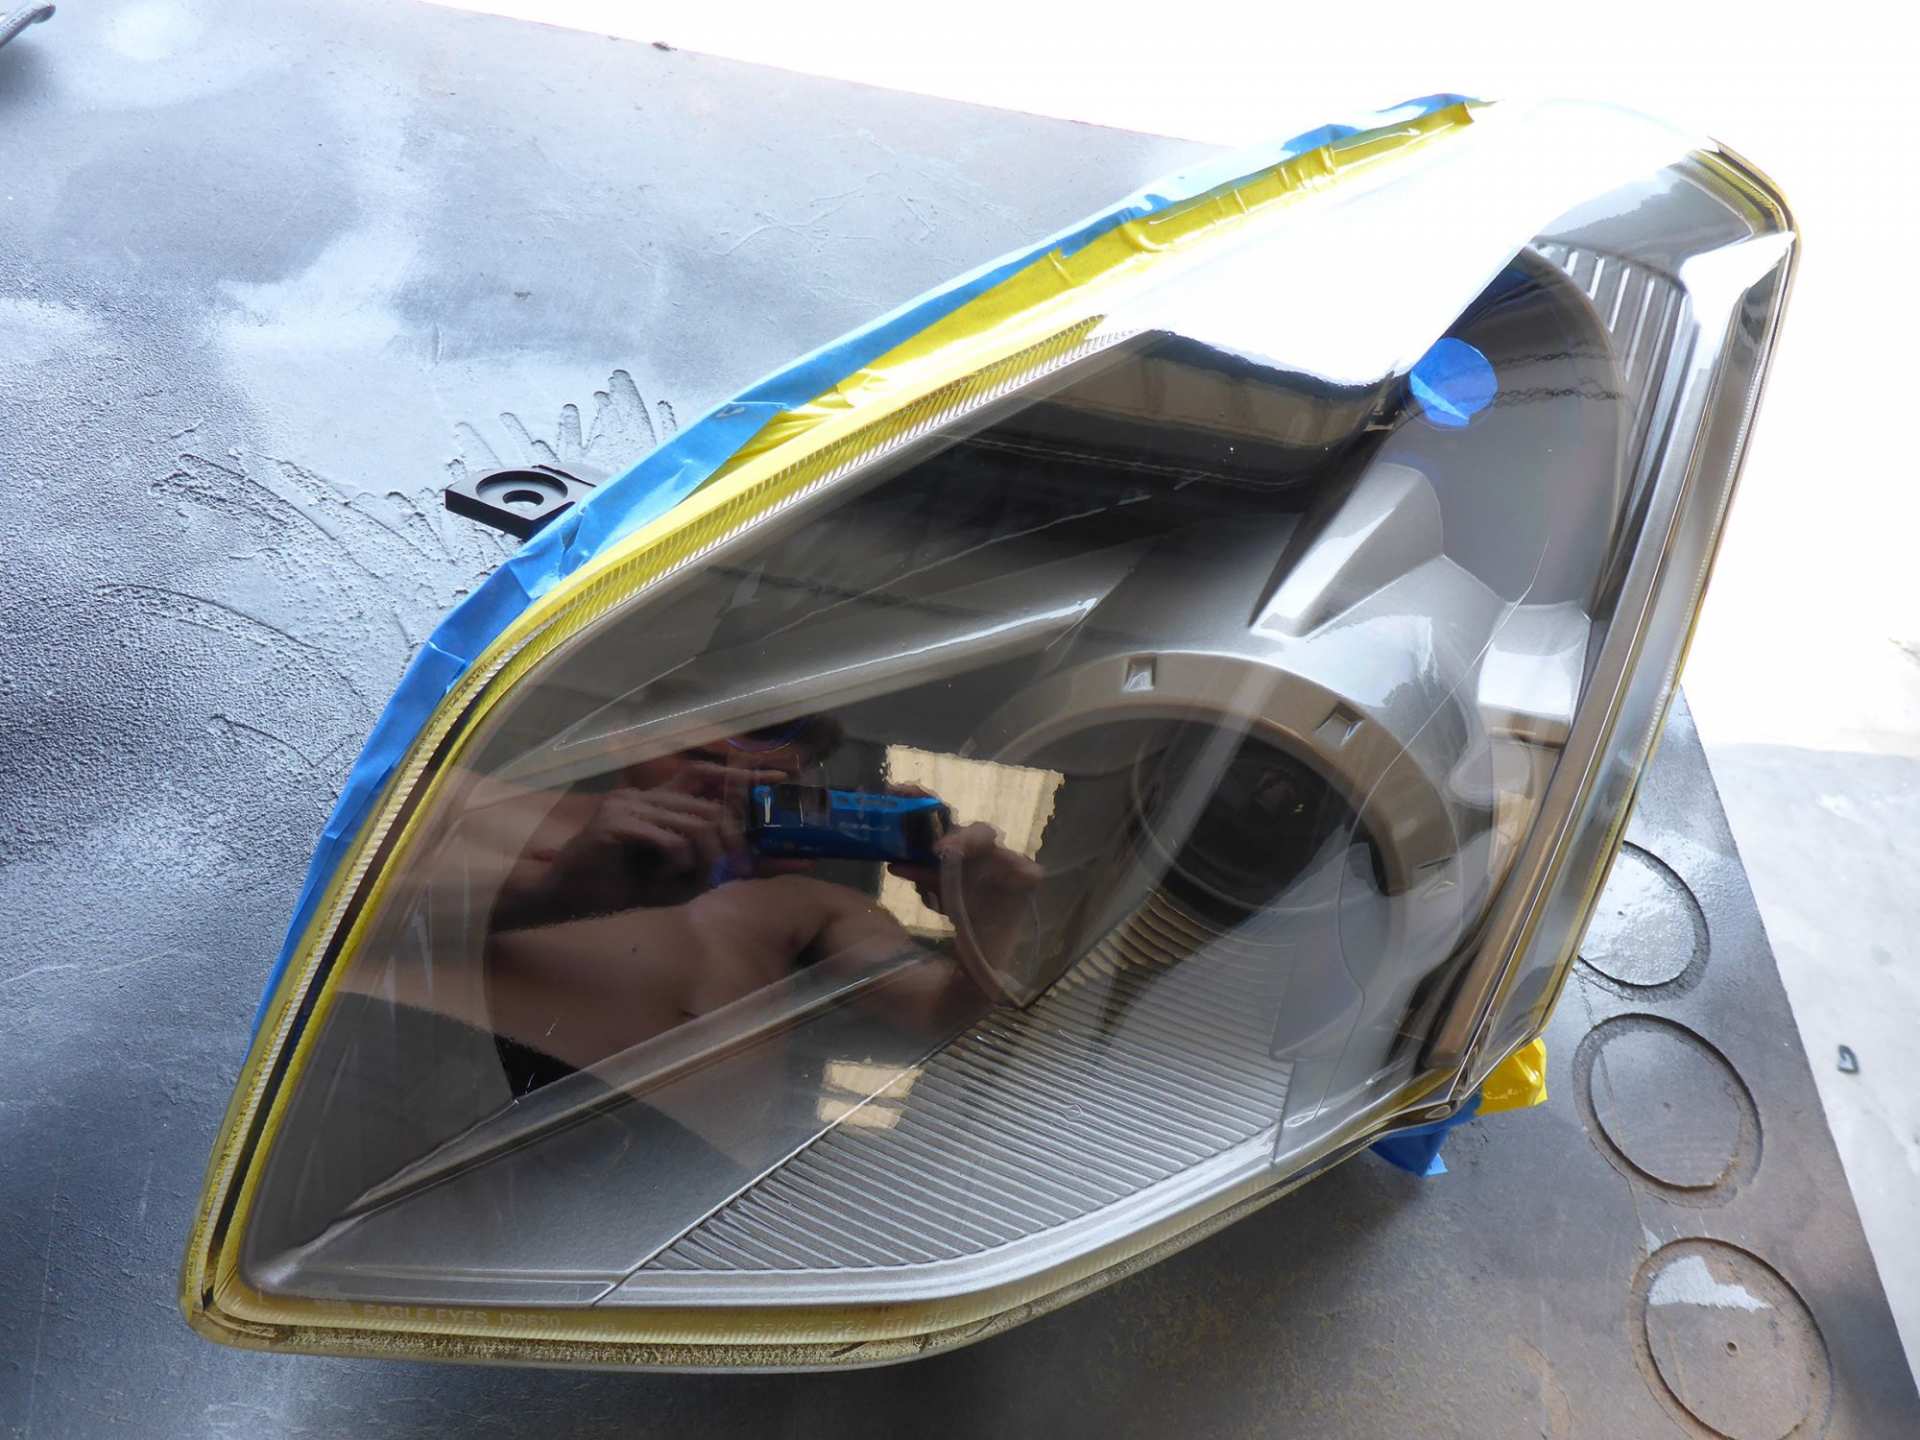
(Damn headlight, you shiny!)
Now as good as I may pretend to be at painting, there is always dust or debris or some amount of orange peel present. So the work isn’t over yet! Time to wet sand!

(Wet sanded up to 2000 grit)
Then I buff and polish until everything is super glassy smooth and shiny. There aren’t any pictures of this step because it’s boring and not exactly photo-worthy. But the result is that the headlights are pretty. And that’s the point of this whole process: to make pretty headlights.
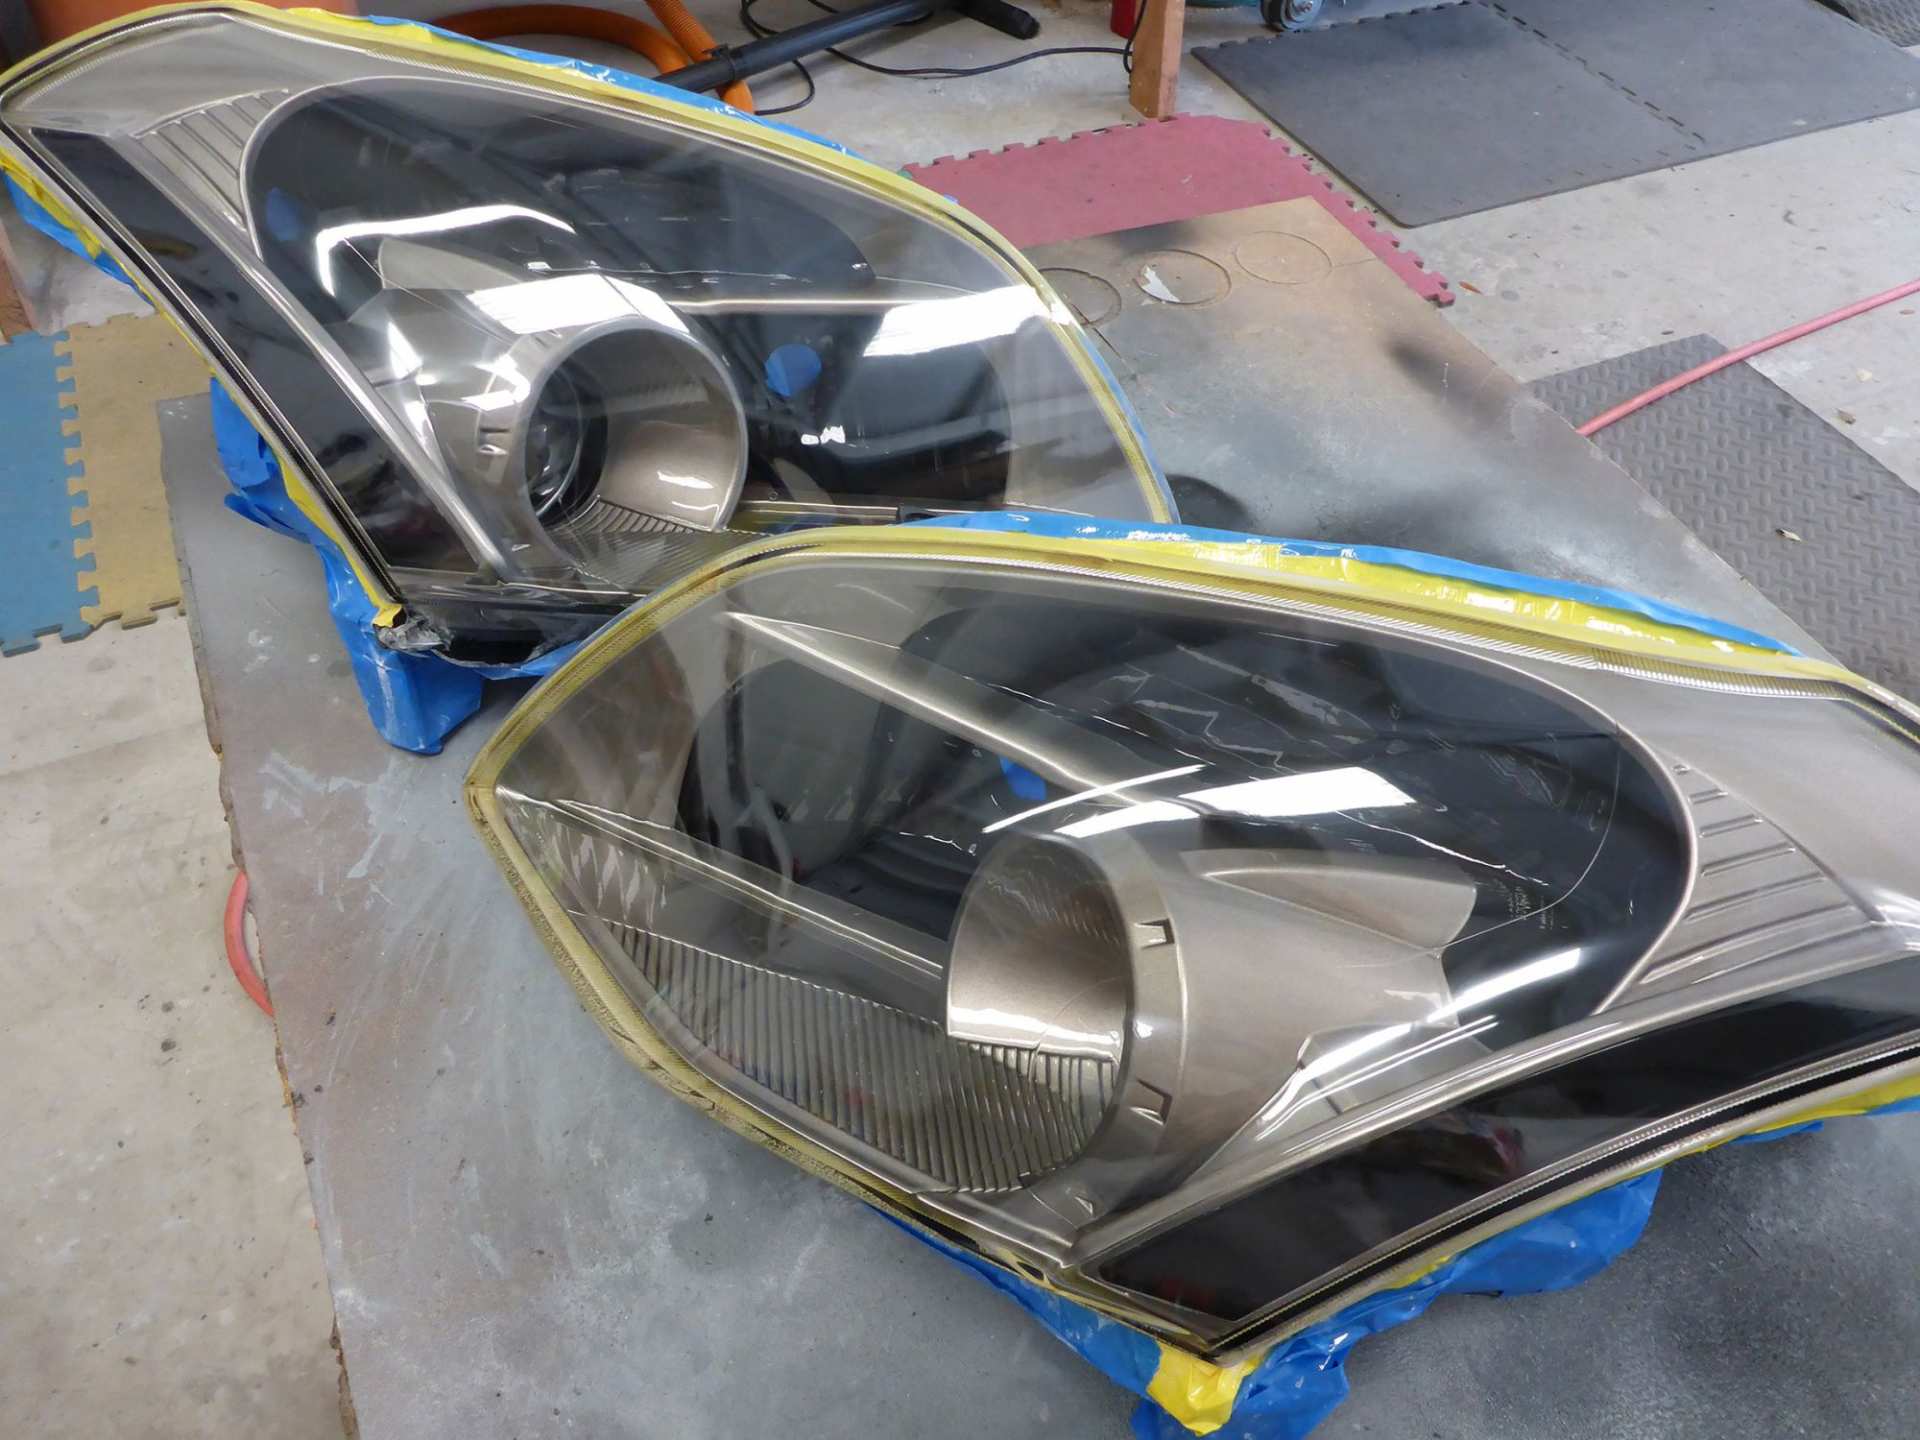
(After buffing)

(After polishing)
I decided to use the aftermarket wiring harness since it was in way better condition than the OEM harness, but I had to modify it slightly since there was a ballast and HID bulb that needed proper connections. All connections are made with solder and heat shrink.
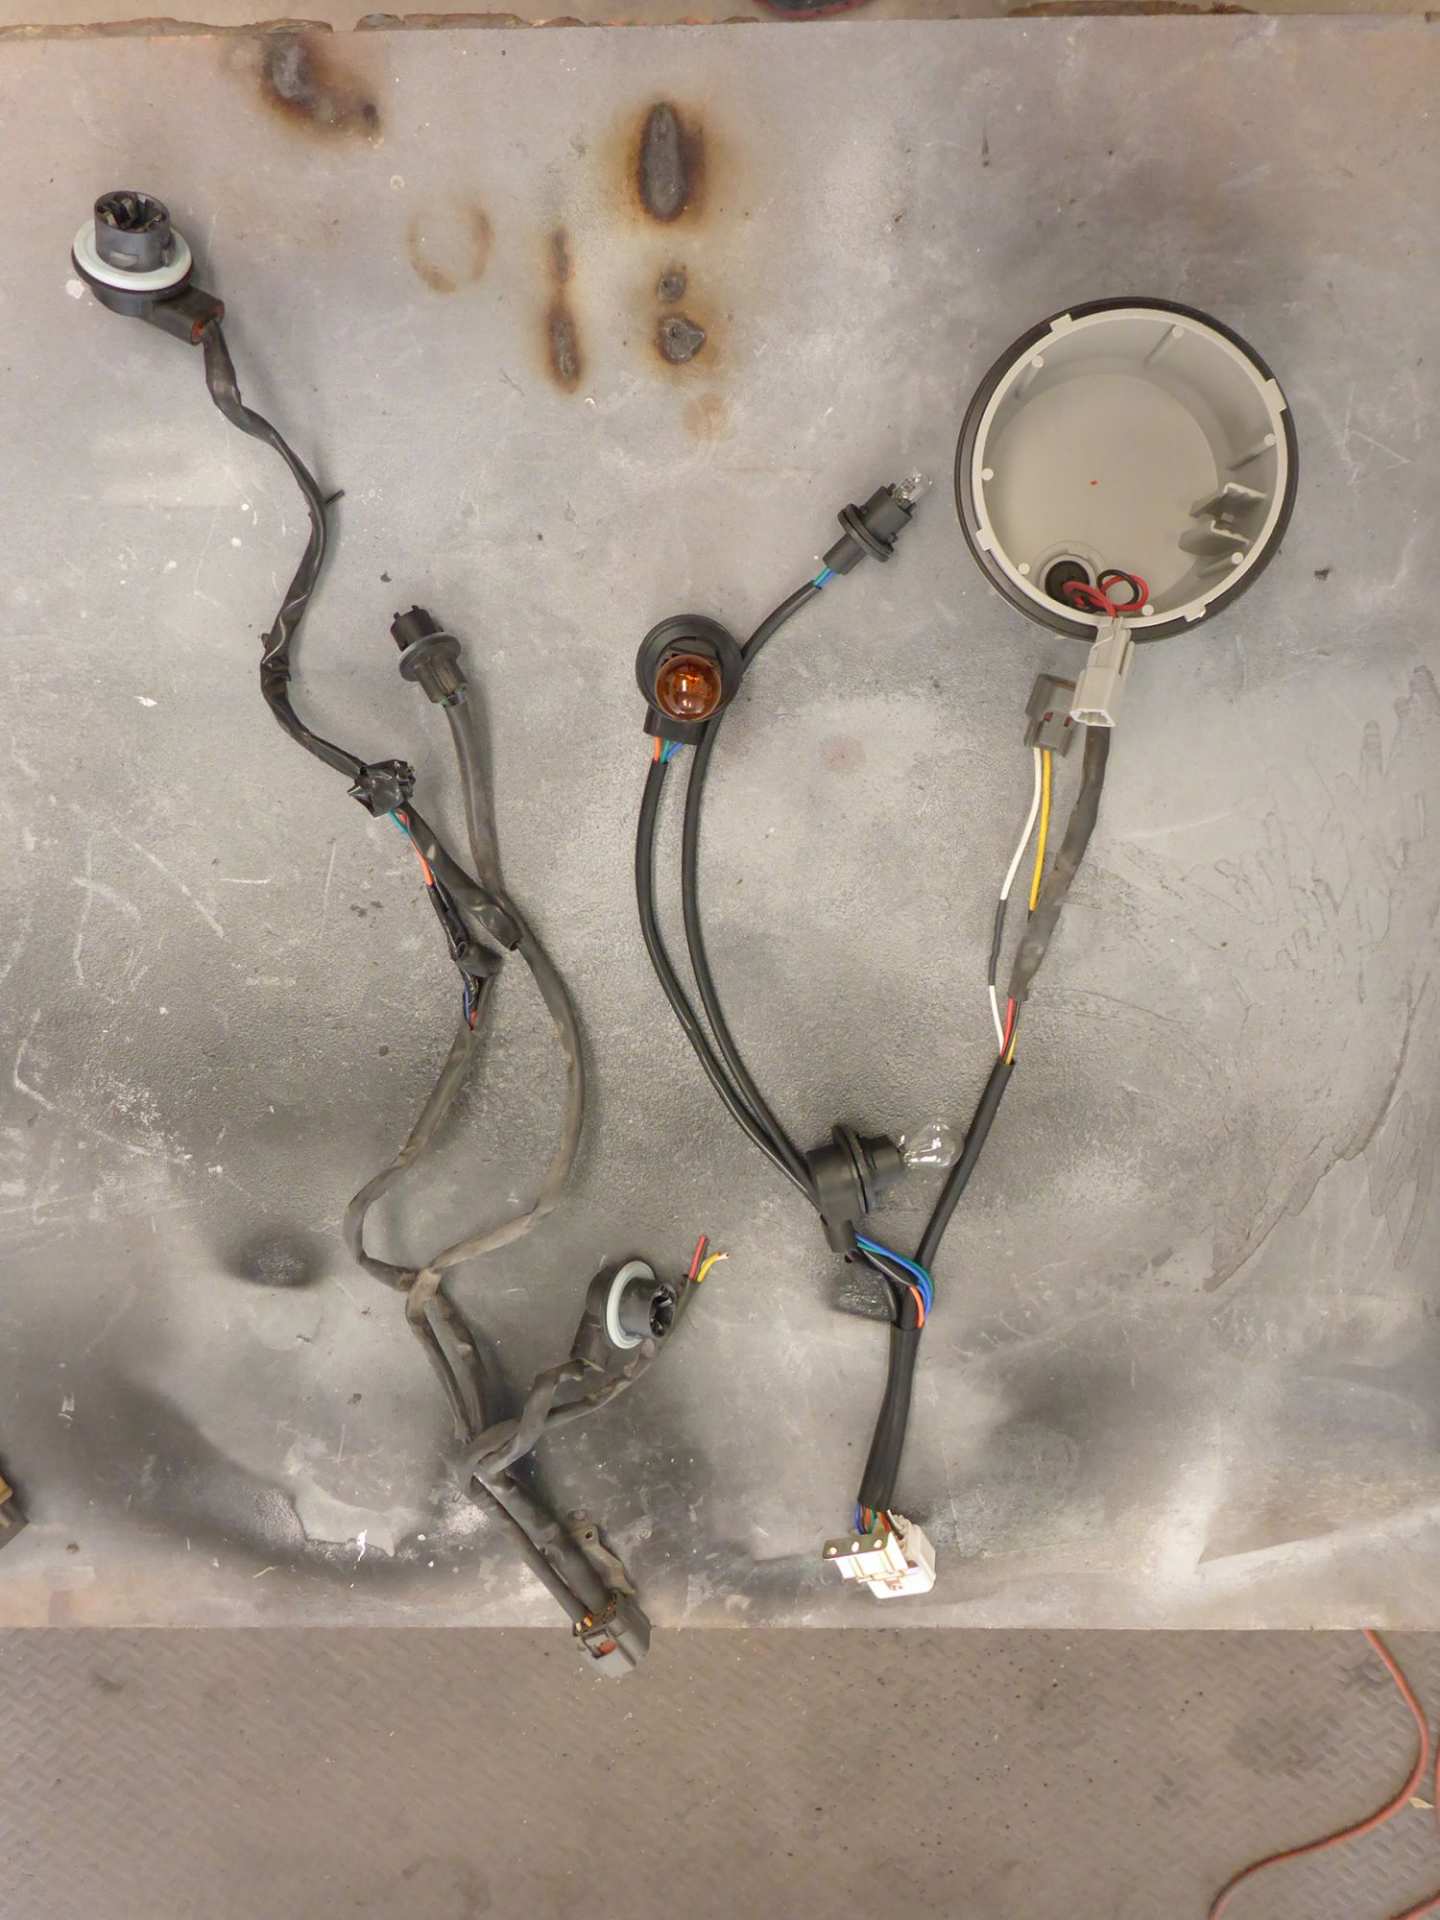
(Splicing OEM connectors onto aftermarket wiring)
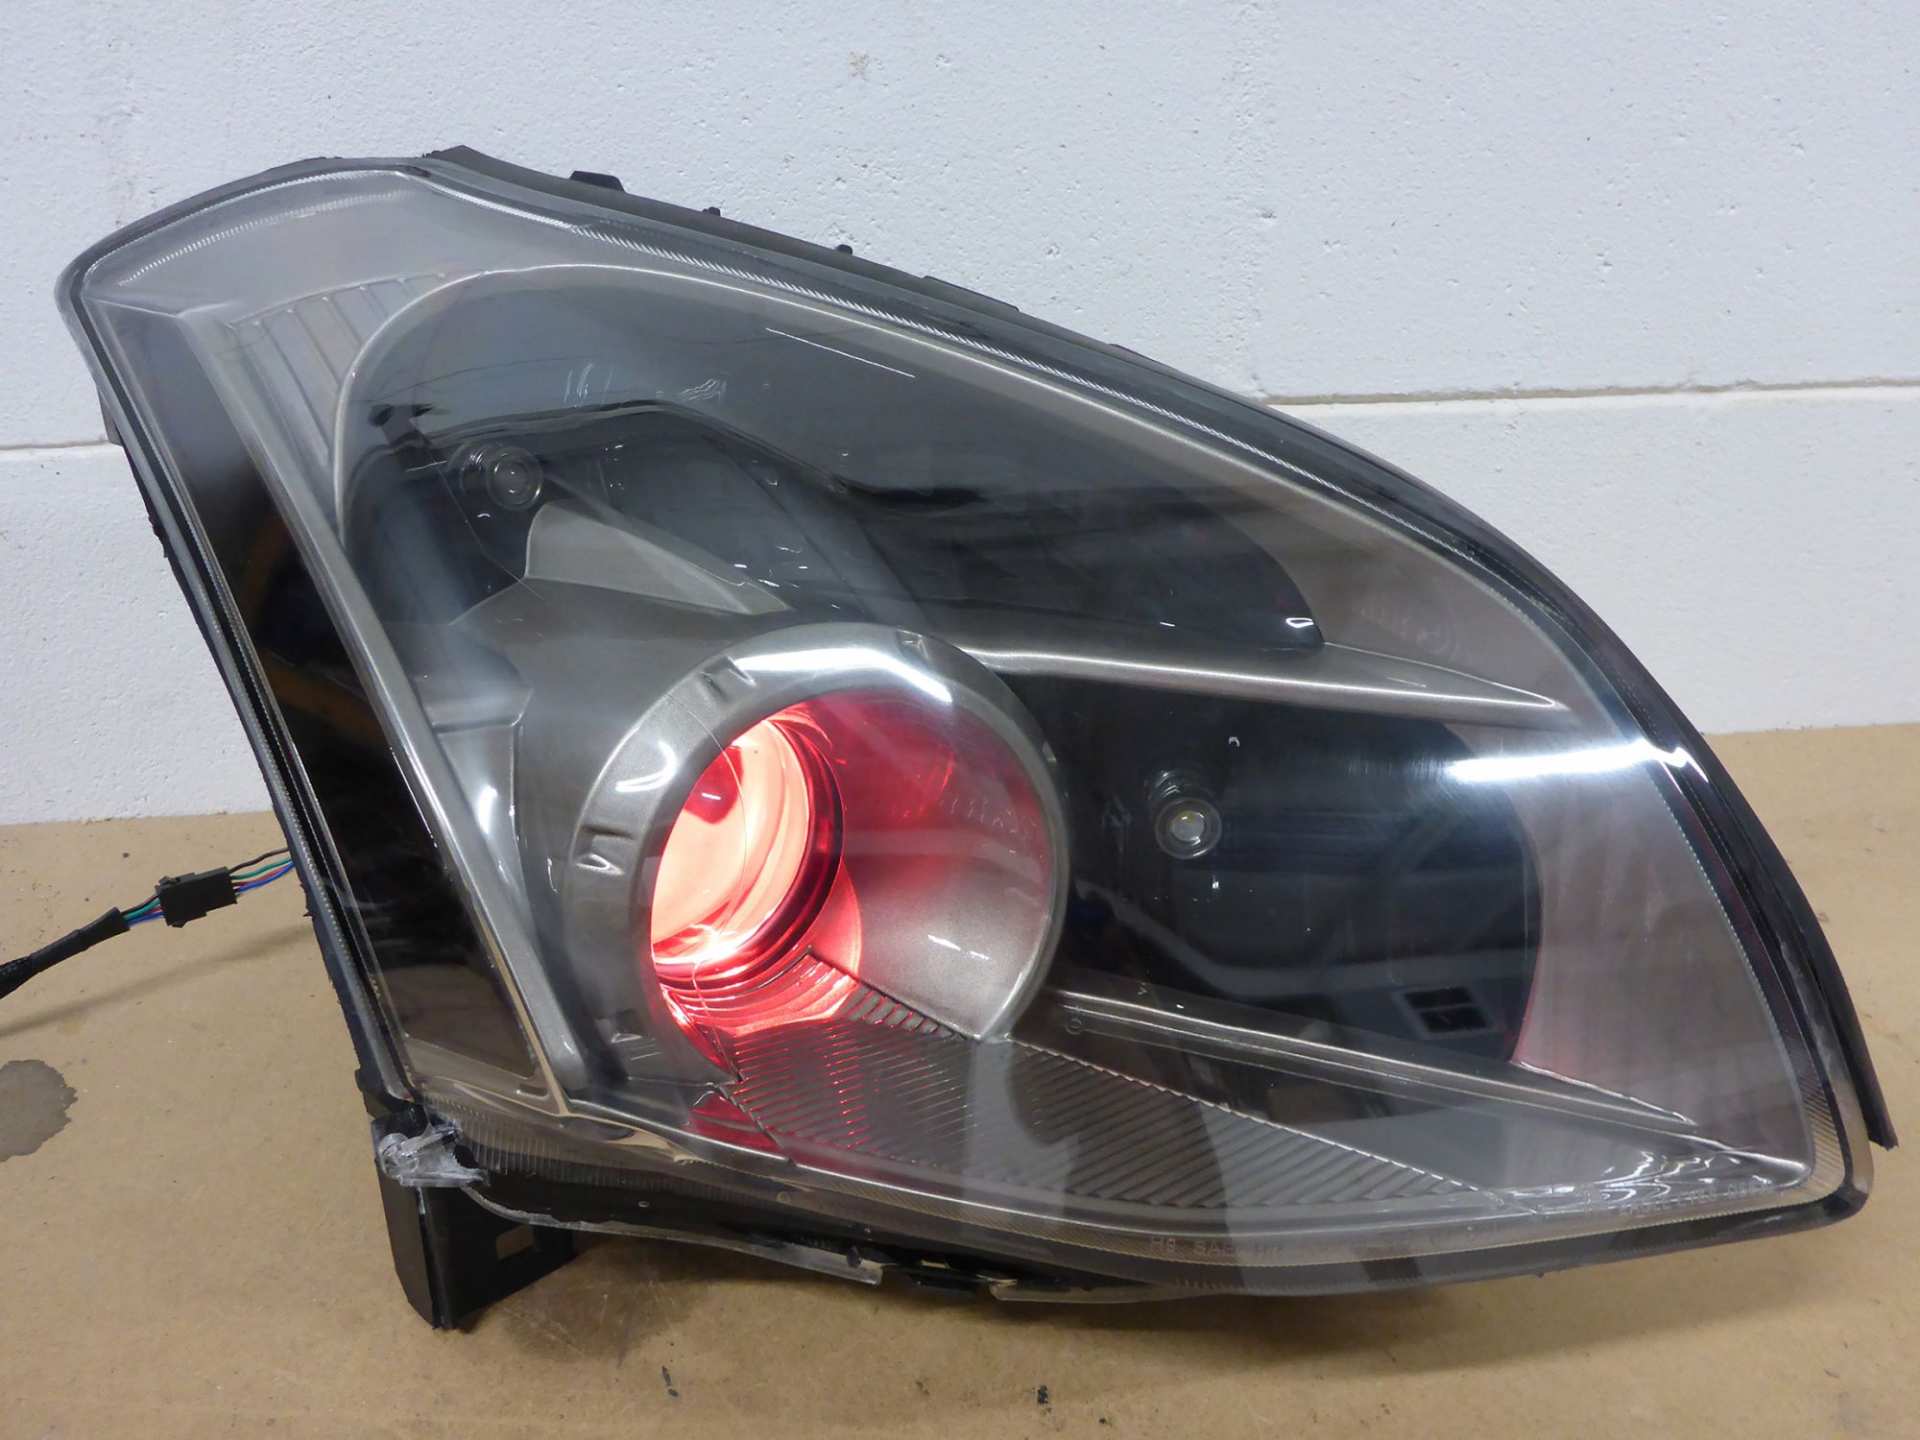
Finally it was time to put all the pieces back together. The weather stripping went on, upgraded super fancy high output Osram CBI D2S bulbs and OEM ballasts went in, and the Morimoto XB LED bulbs were installed in the rear reflector bowls. Hooray! Time for a photo shoot in the parking lot!

Nahhh, let’s not be shy, time to go inside where there’s some power and flex some demon eye glamour shot muscle.


How about some before/after comparison shots to really drive the point home?
Top bulb on pictures:
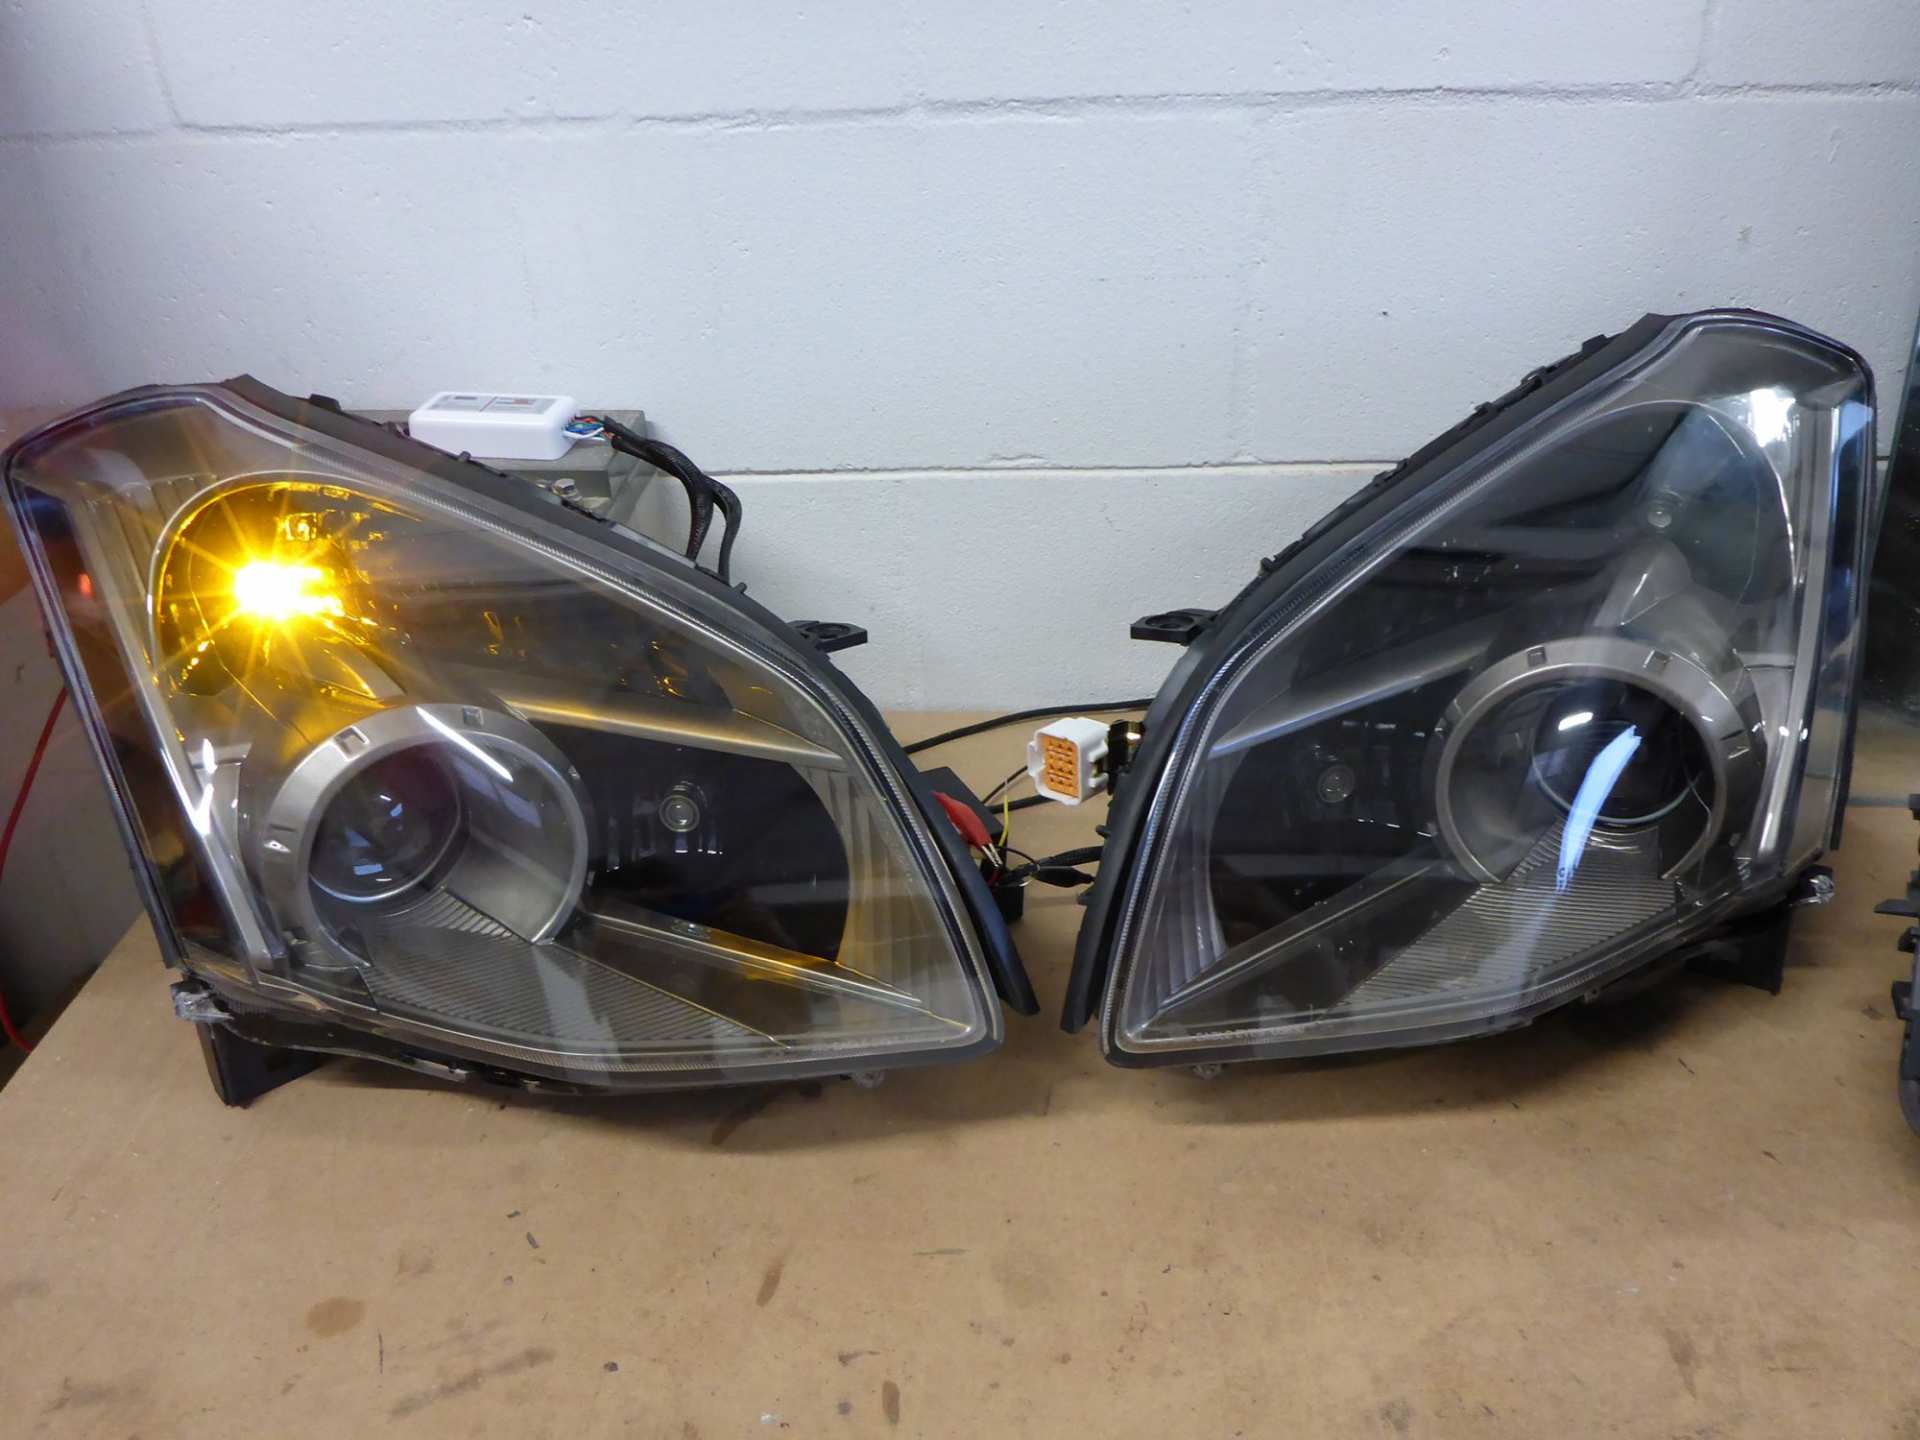
Bottom bulb on picture:
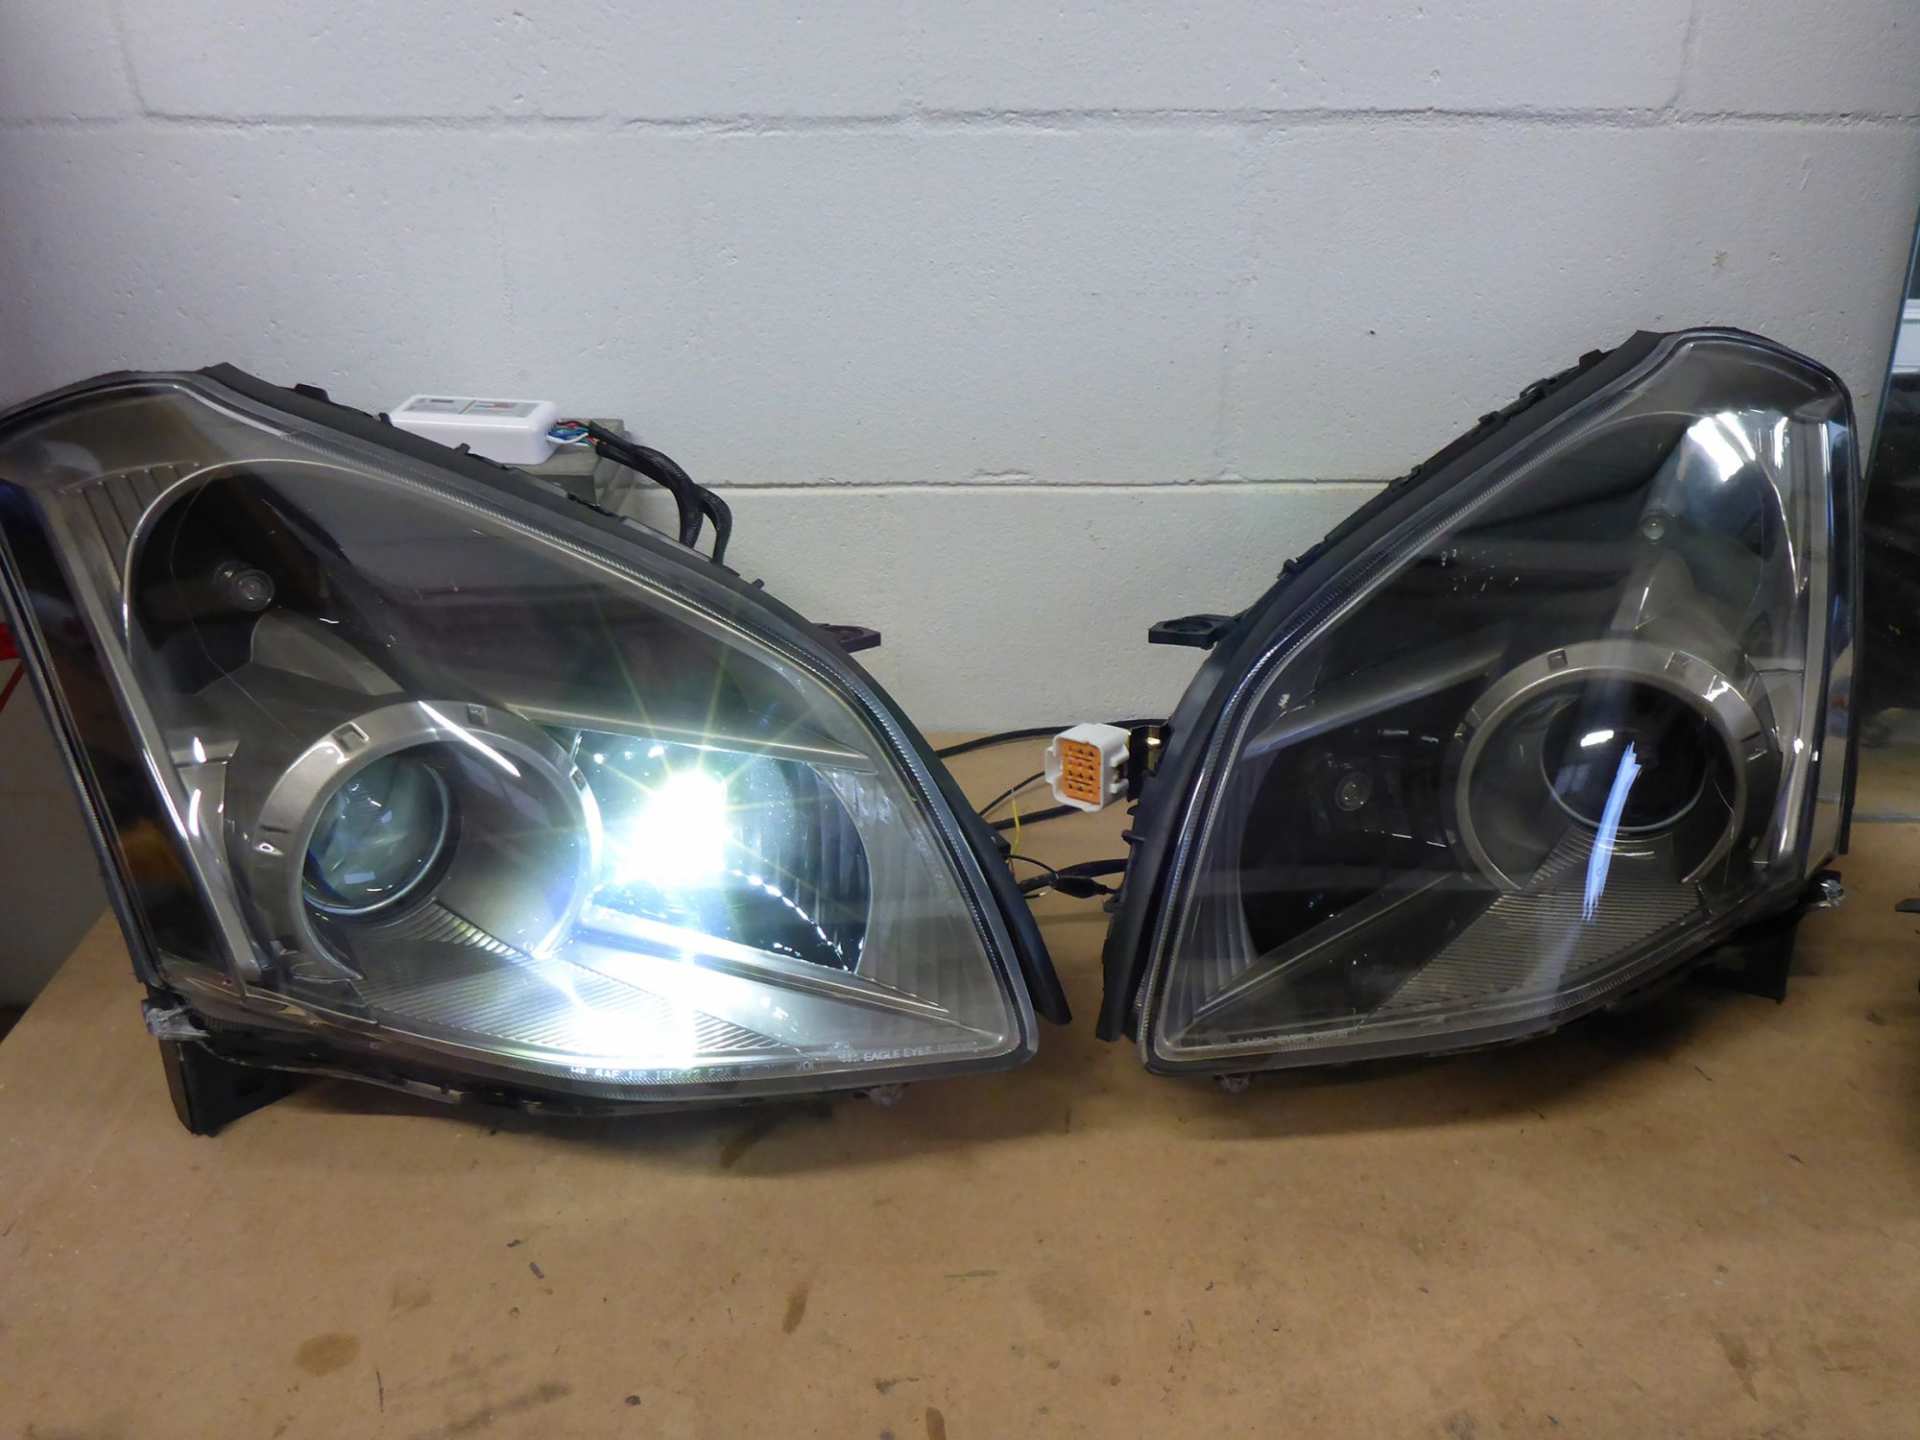
Headlight low beam on pictures:

And a few super sexy grand finale pictures:

So that’s my latest build. It was a lot of work, a lot of fun, and I am quite proud of them. Genuinely believe that they are the best looking set of headlights for the 6th gen Maxima out there. You can check out a video of them on YouTube at the following link:
Hope you enjoyed! Thanks for looking!
Have a wonderful day!!!
<3 13 <3