2013 Maserati Gran Turismo Build Logs
This was a career milestone build on a super amazing badass car. I relocated the OEM radio, built a new dash for the replacement radio, installed speakers with custom sail panel fab, executed a full rewire, fabricated & installed a subwoofer enclosure, installed a backup camera, and finally had it tuned to perfection. Puddle lights were installed as well for a bit of fun.
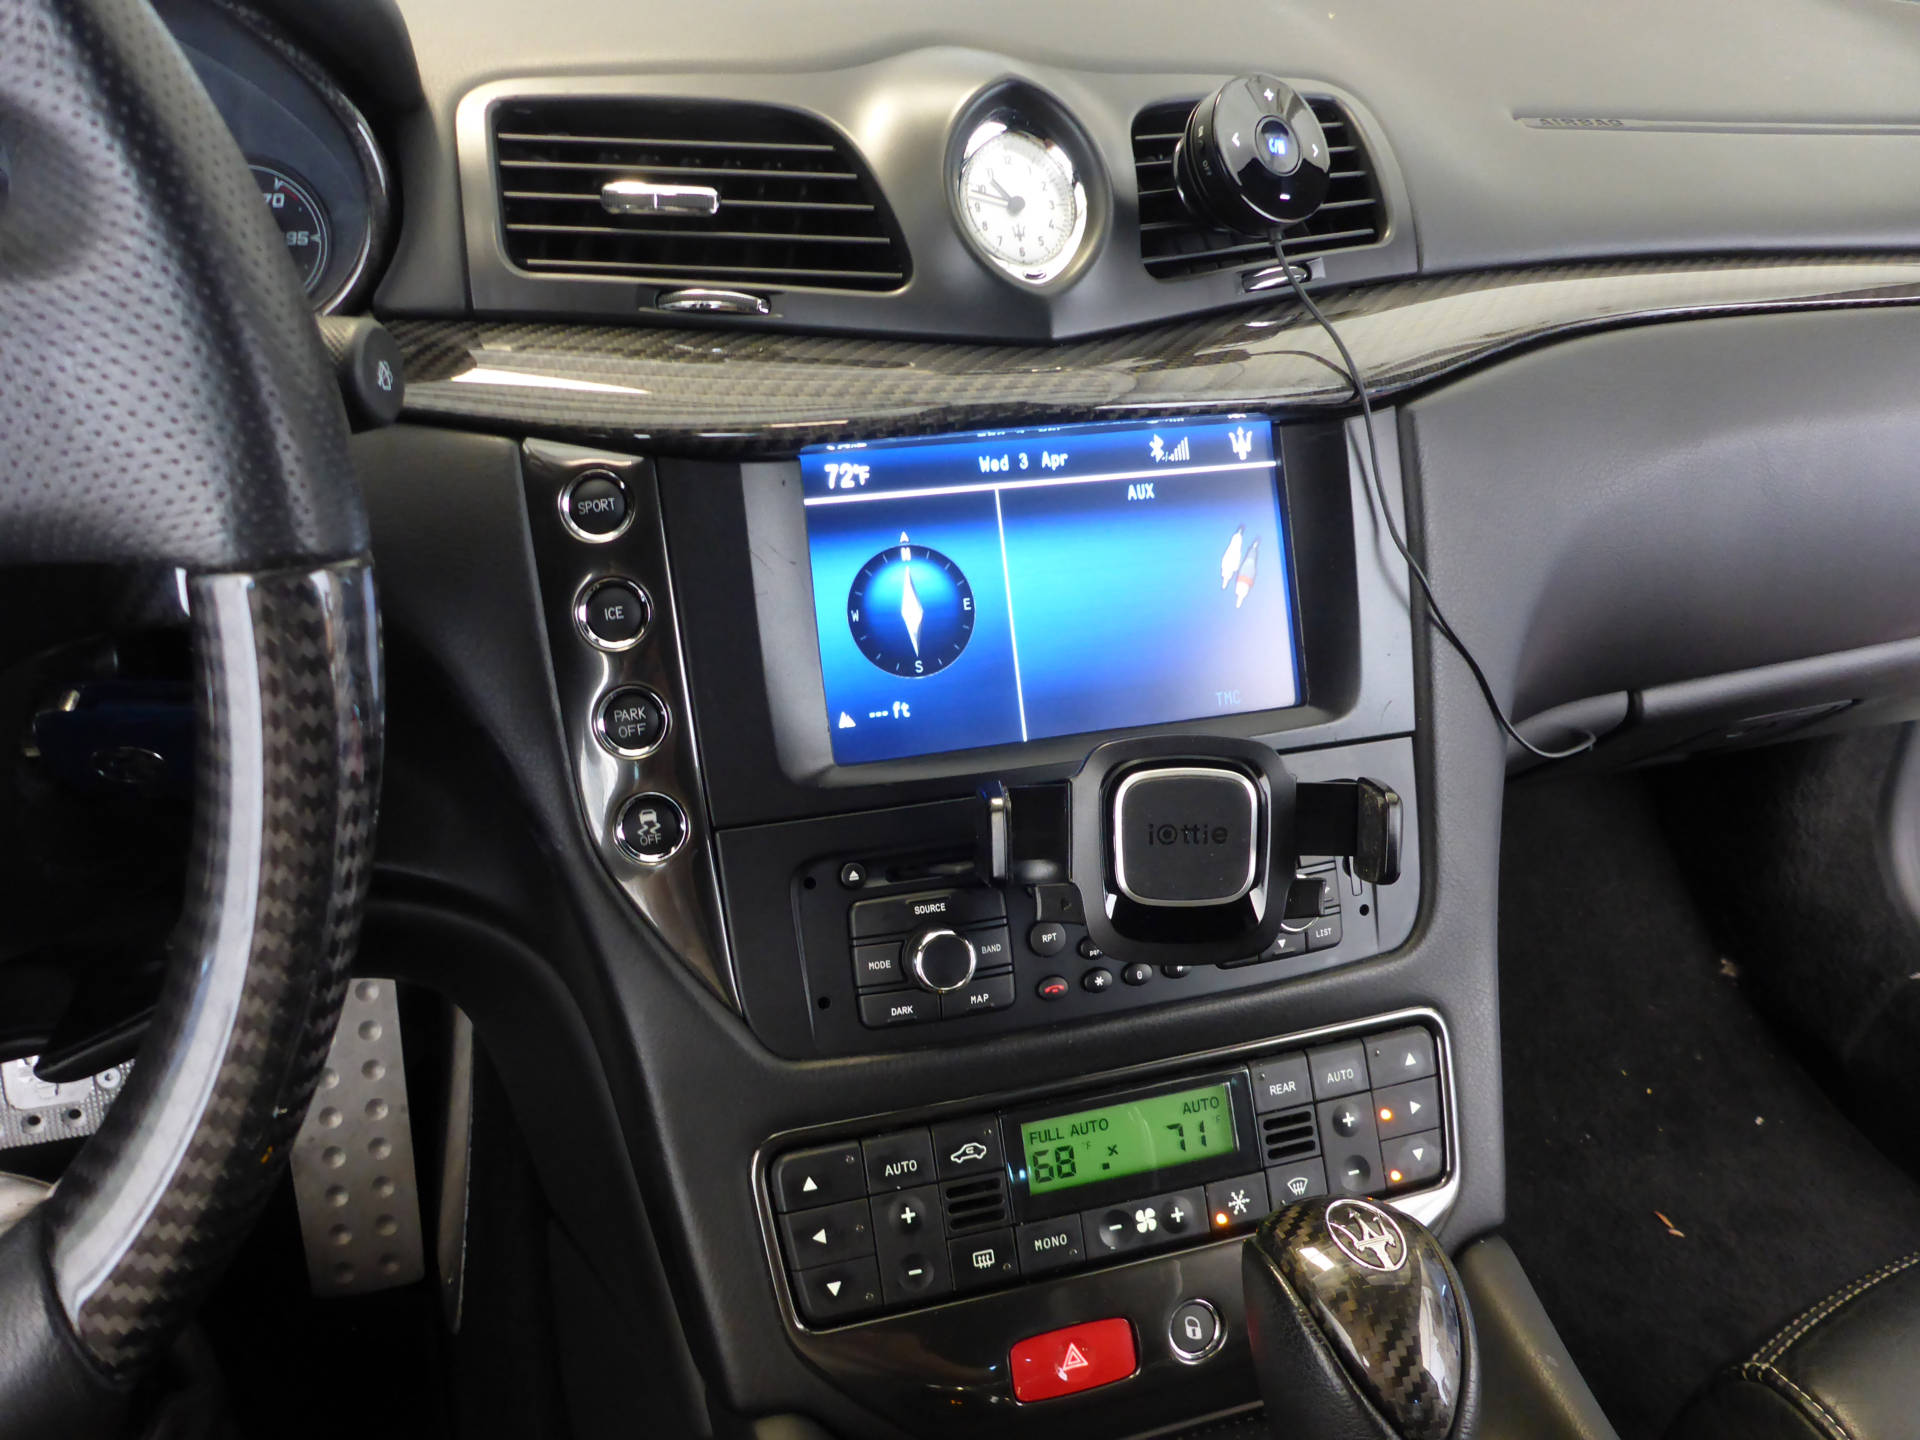
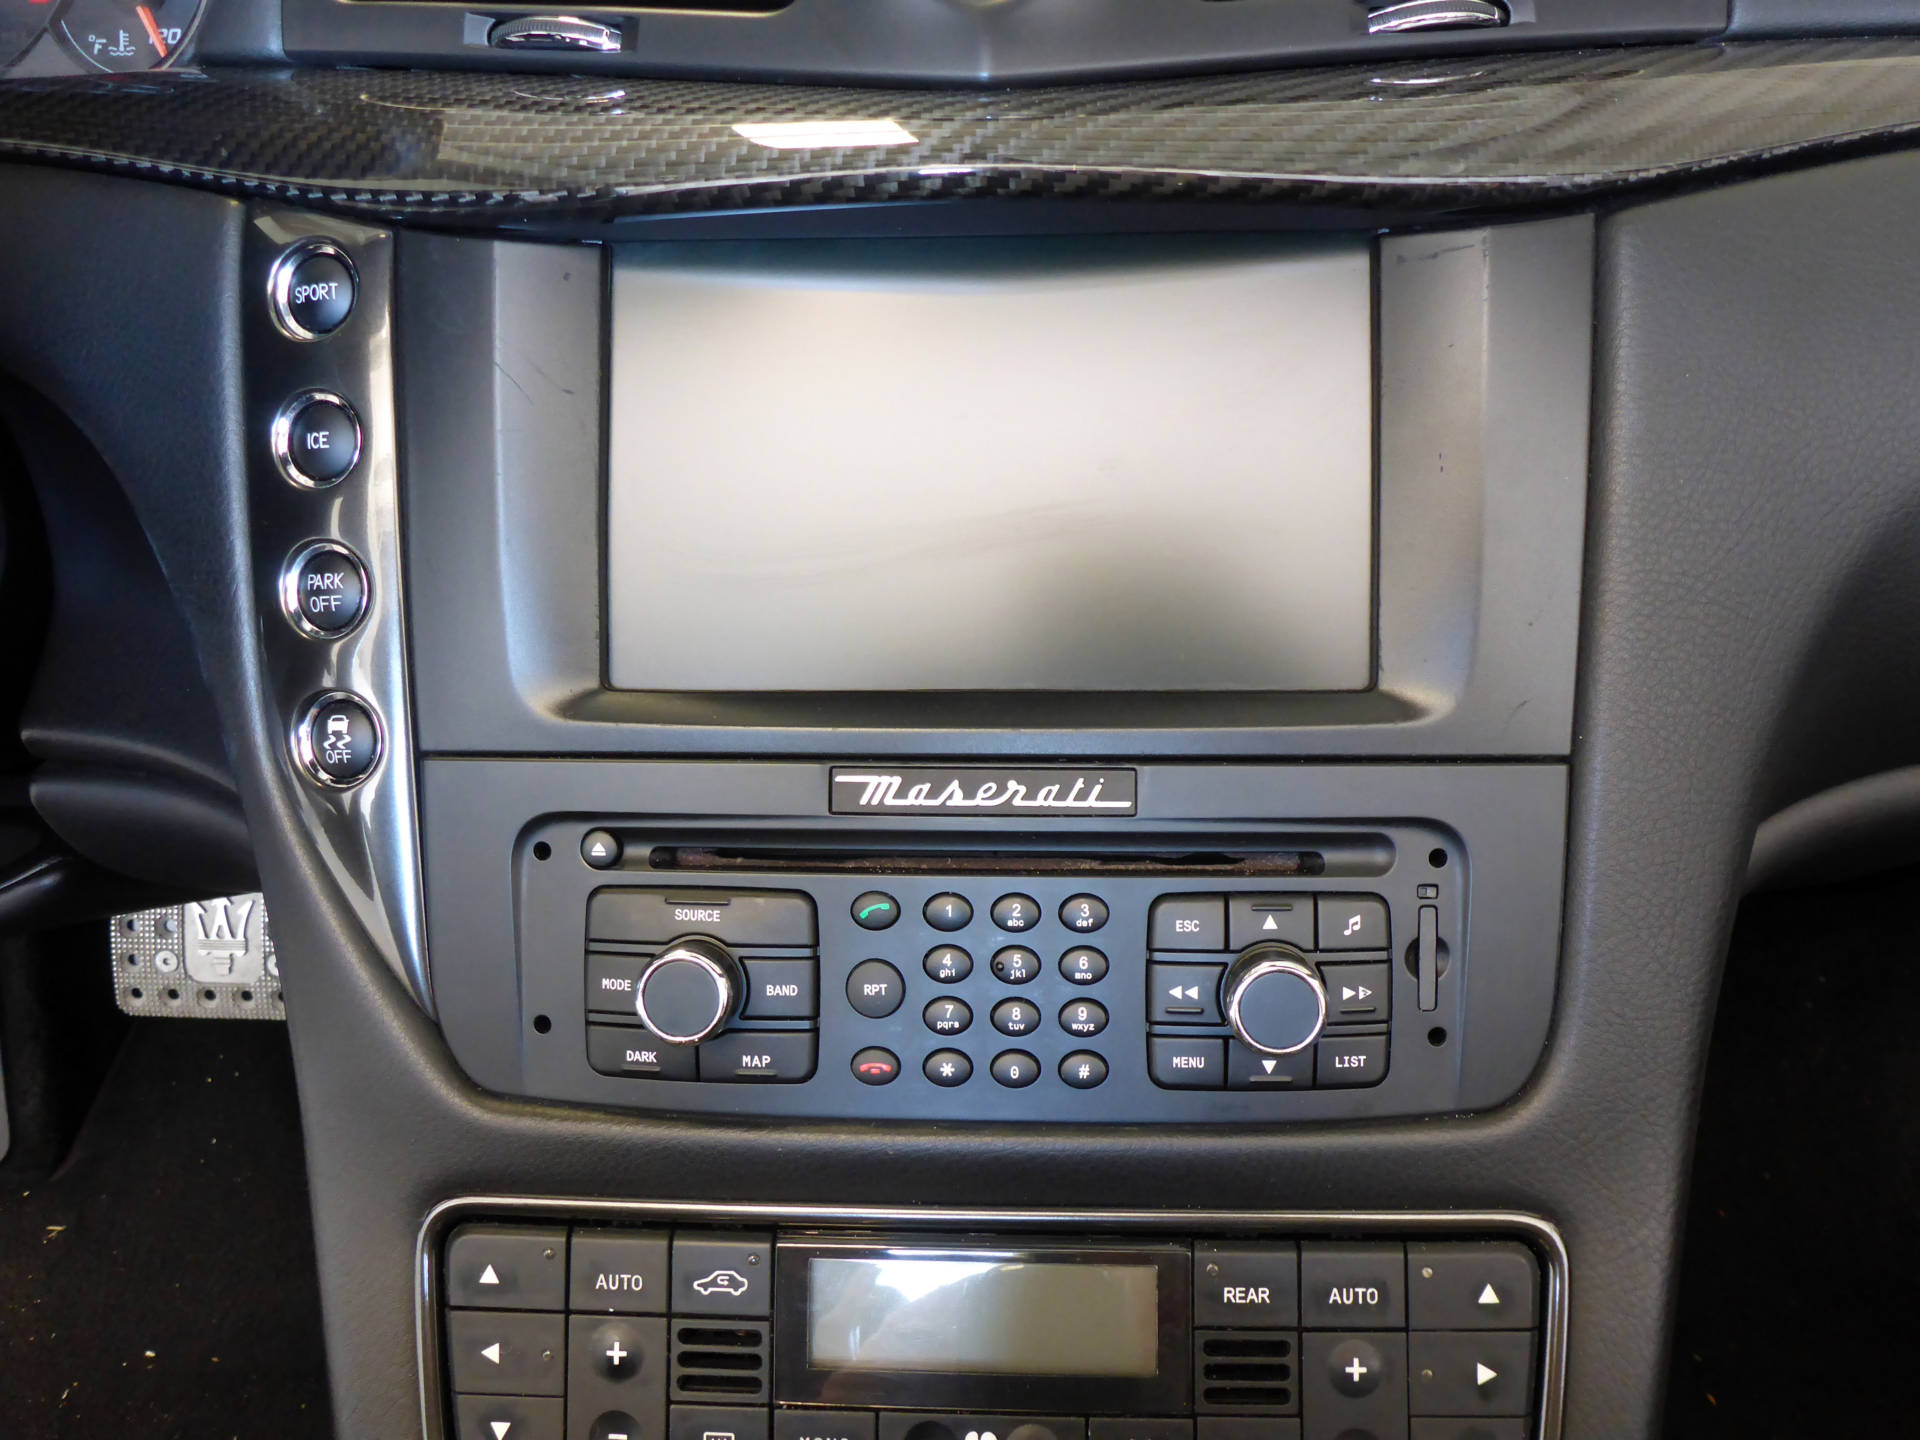
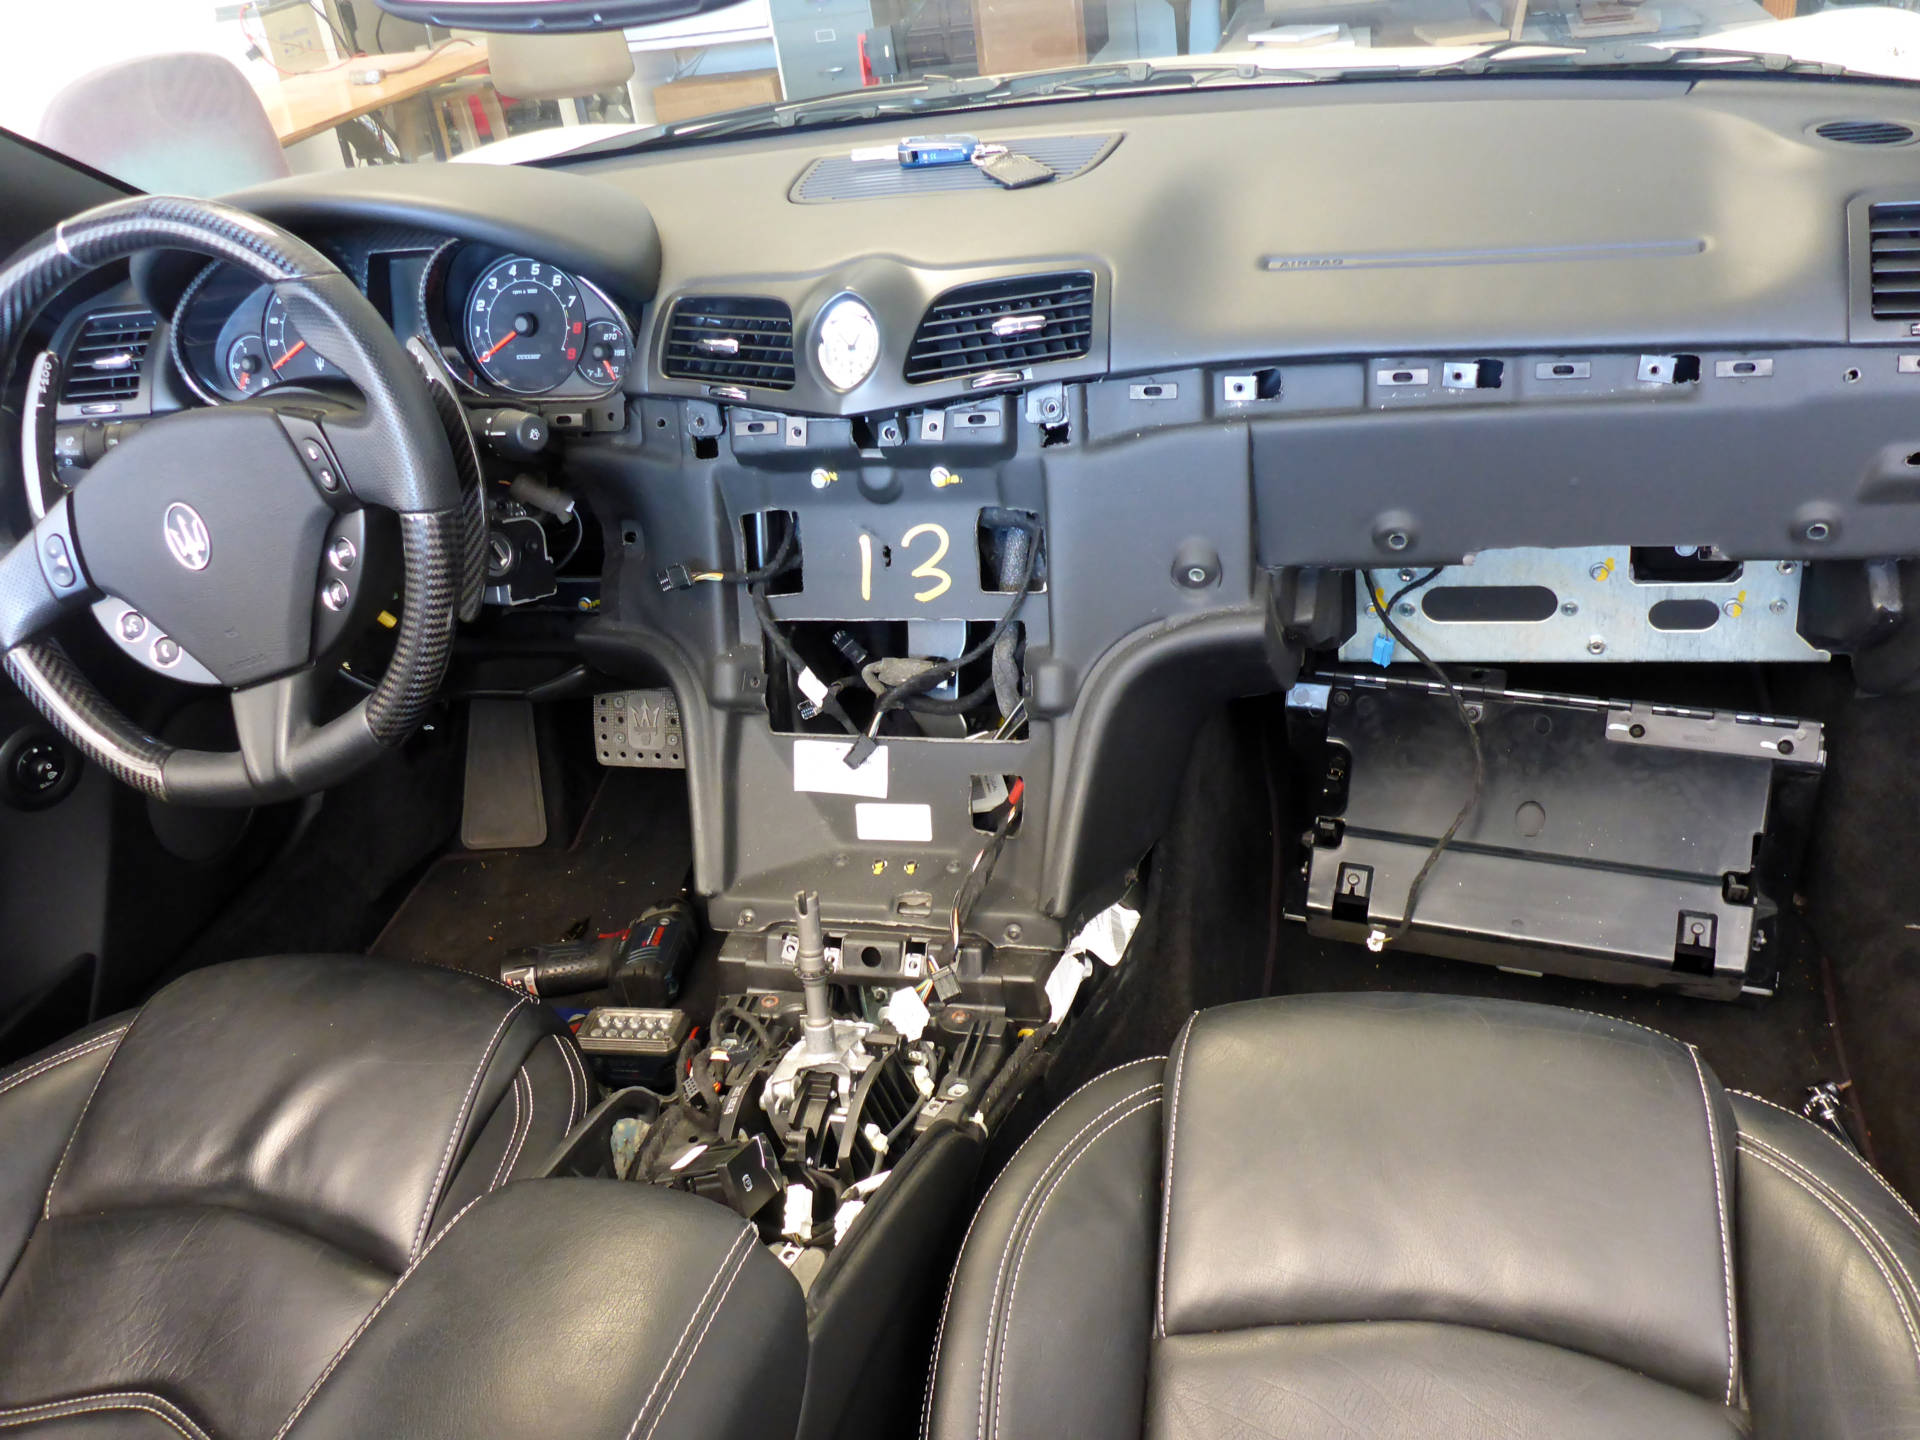
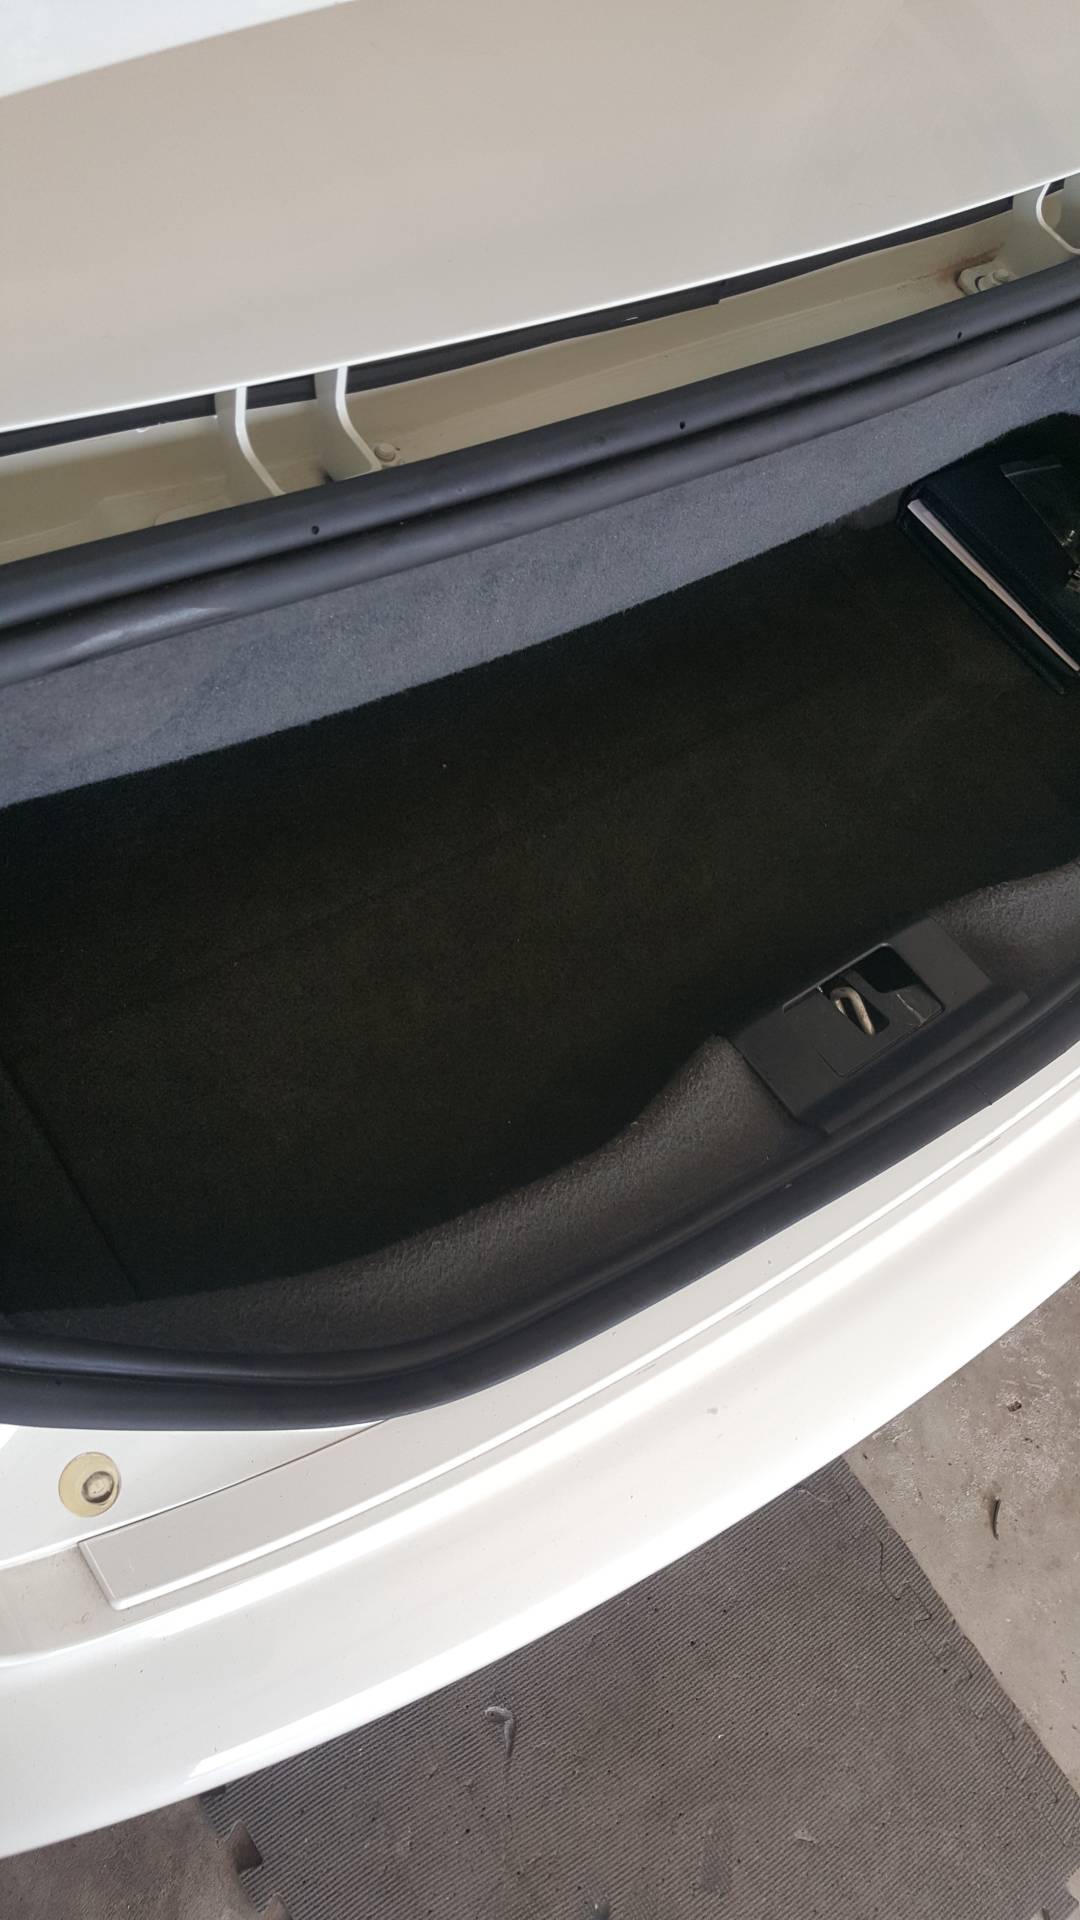
This is what we have to start with:


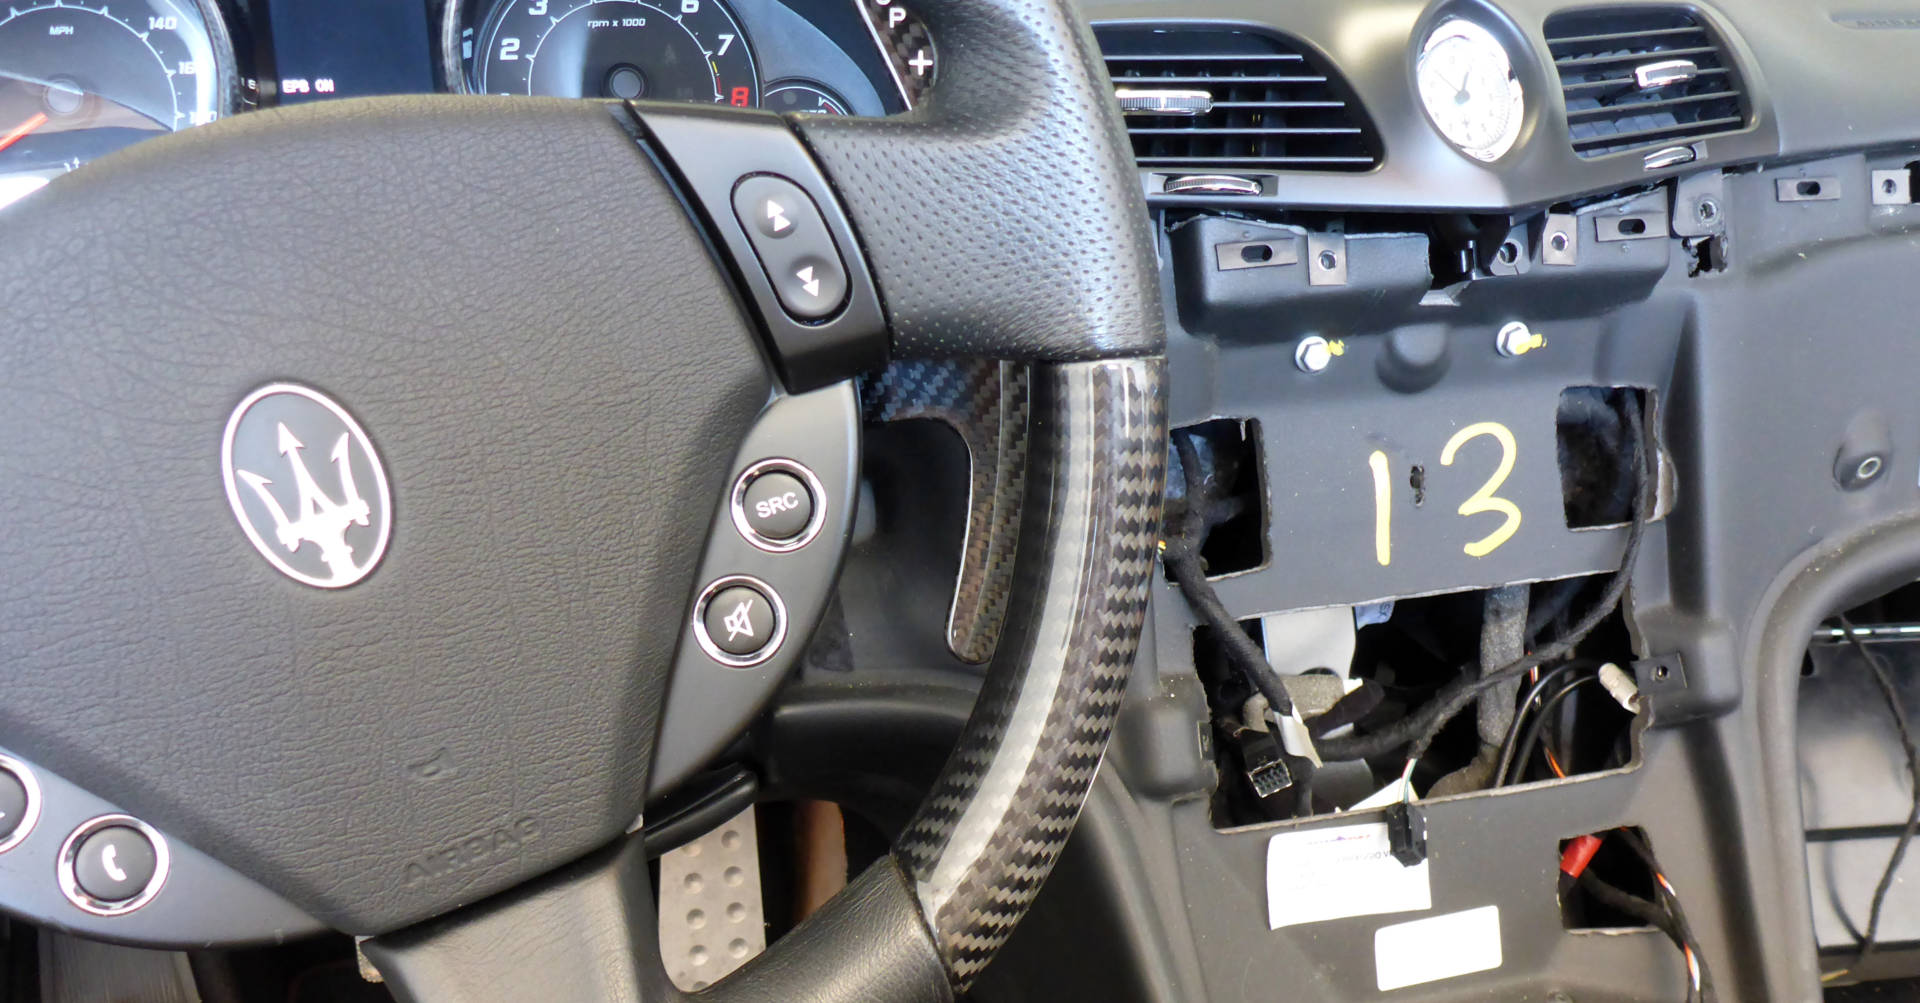
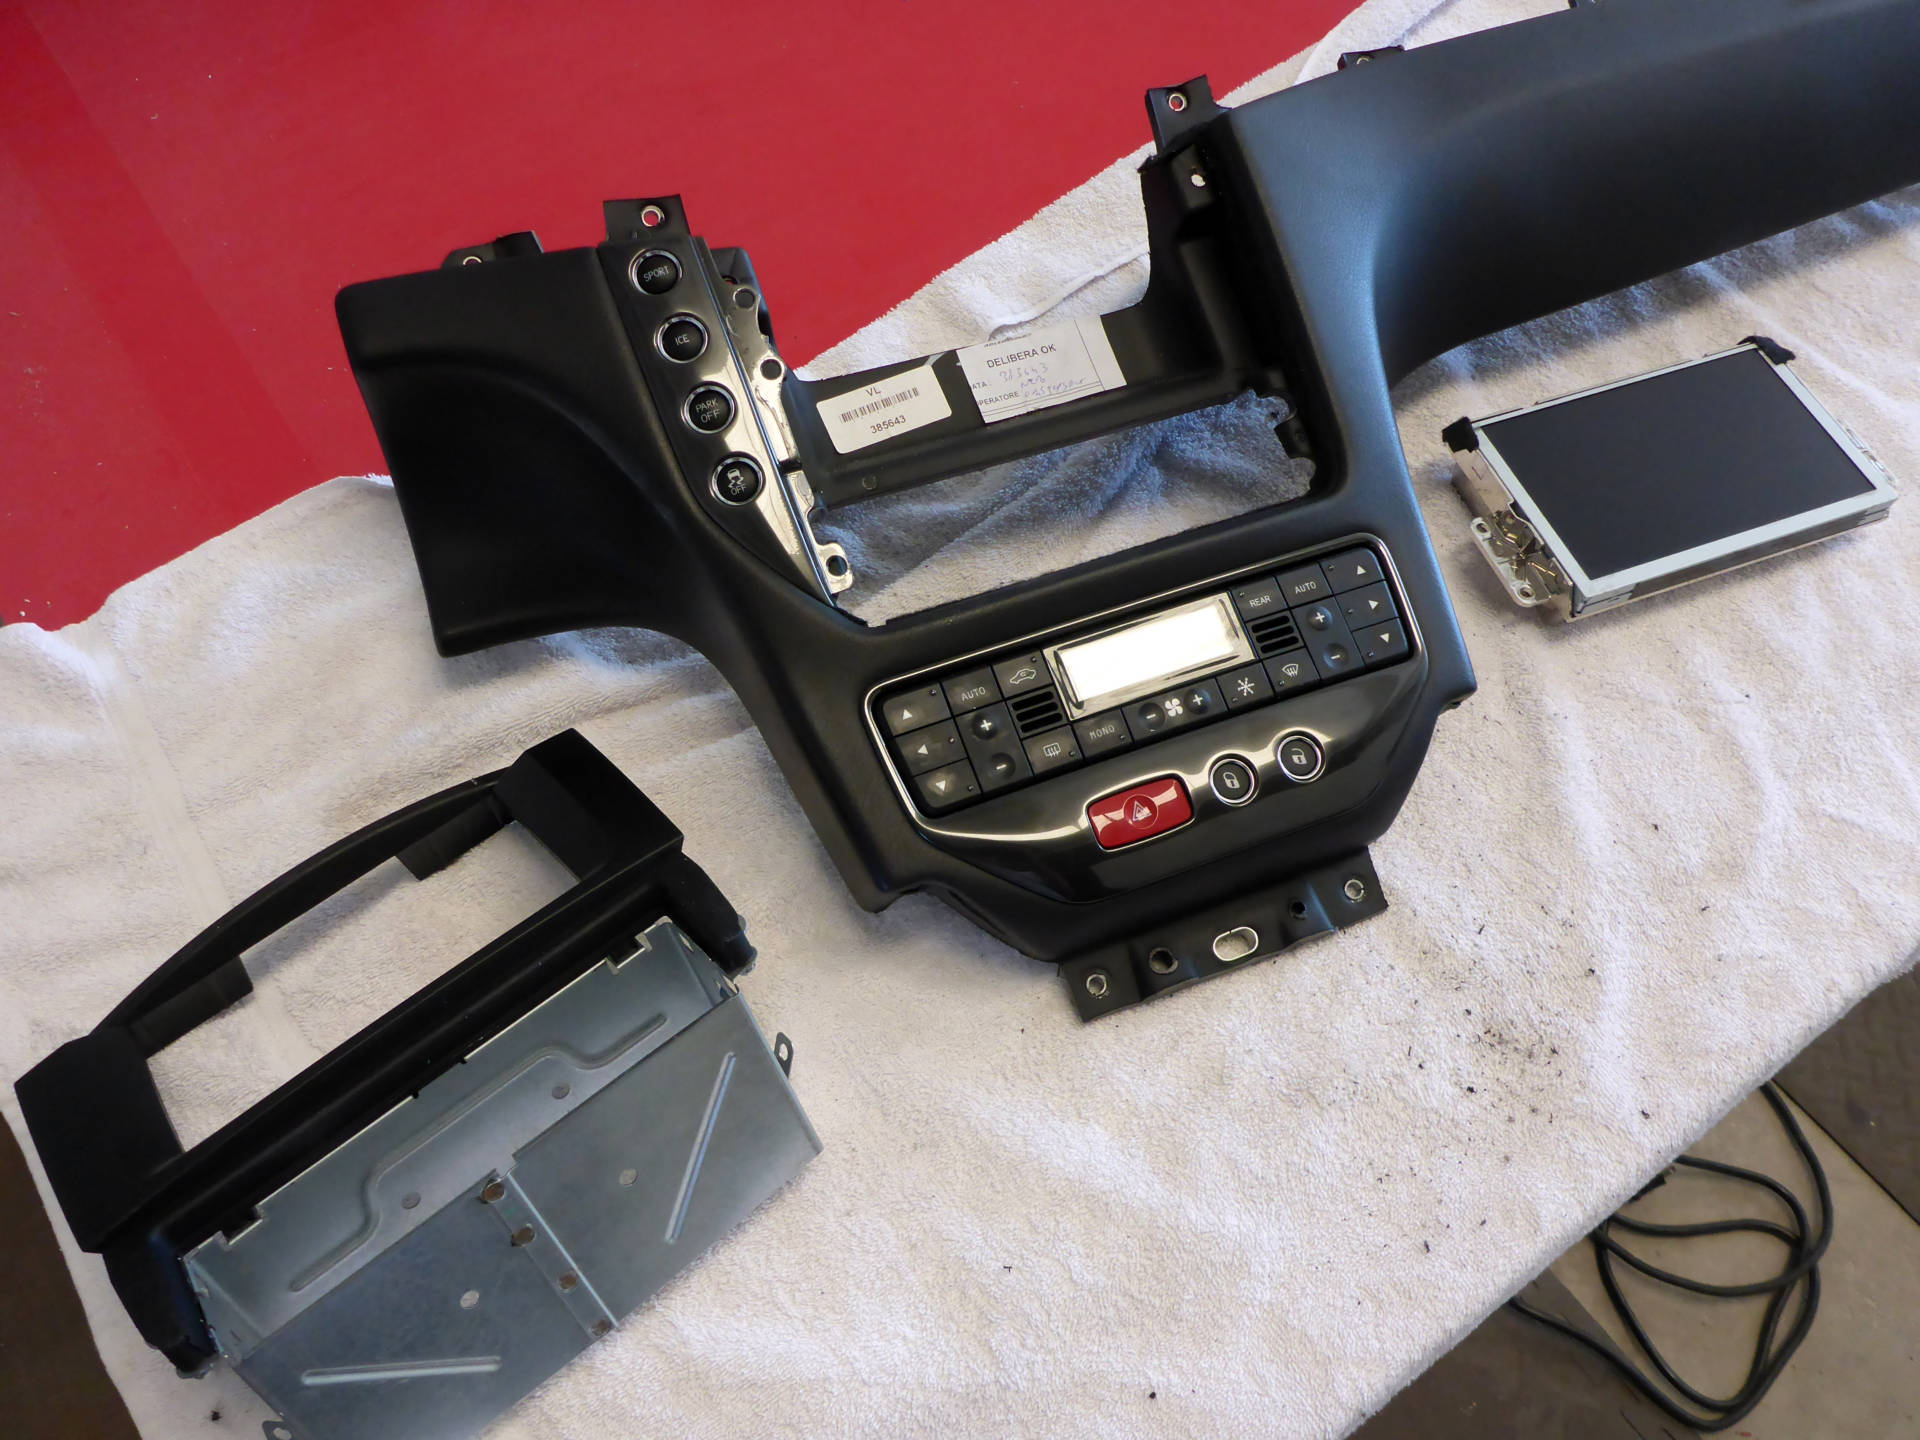
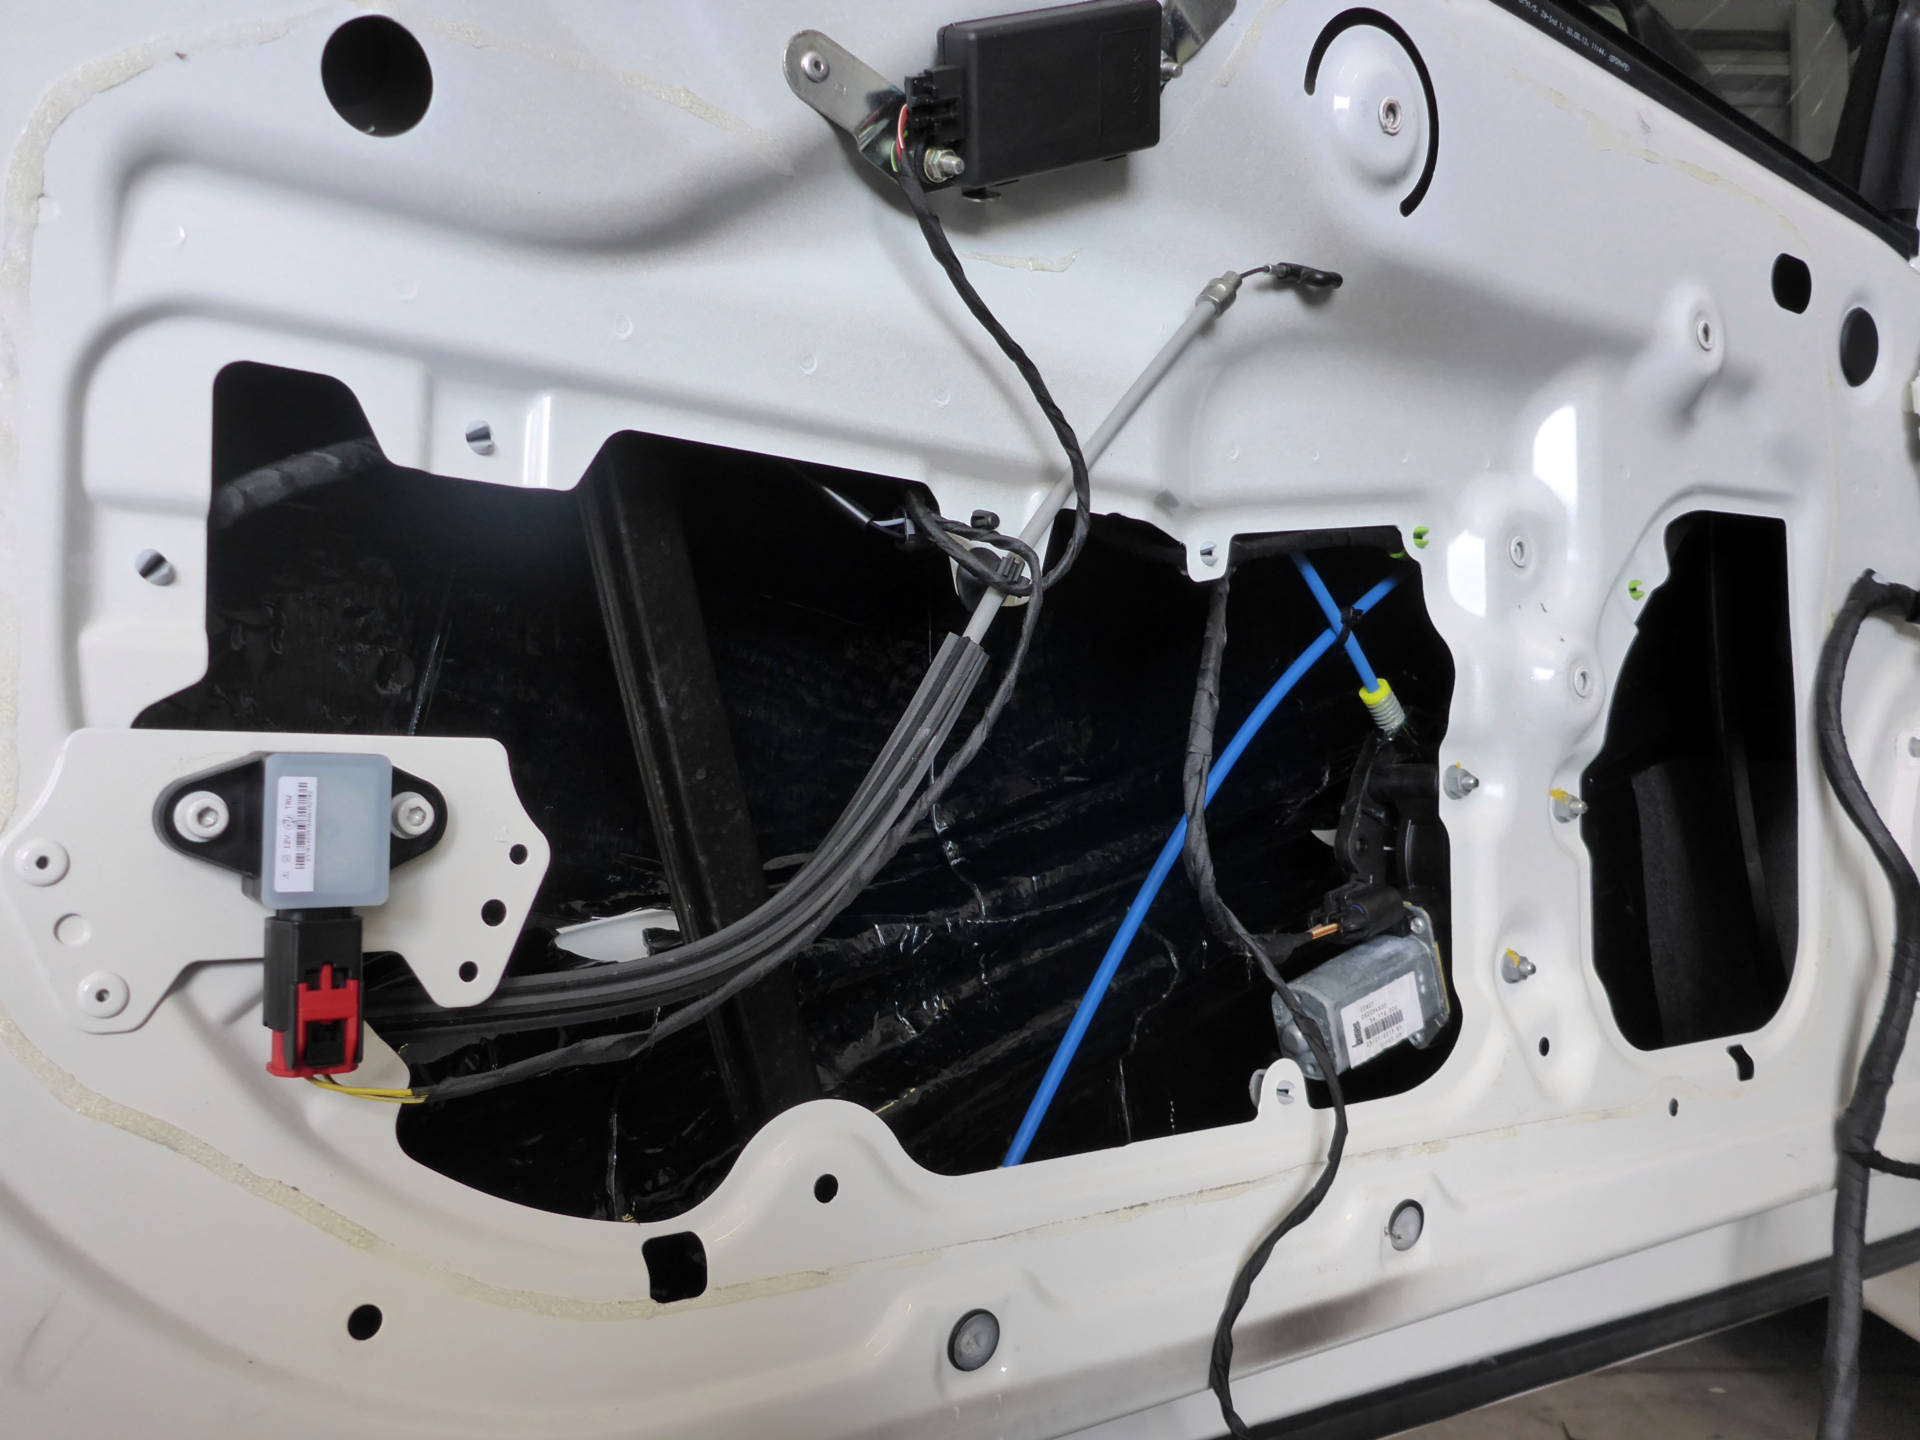
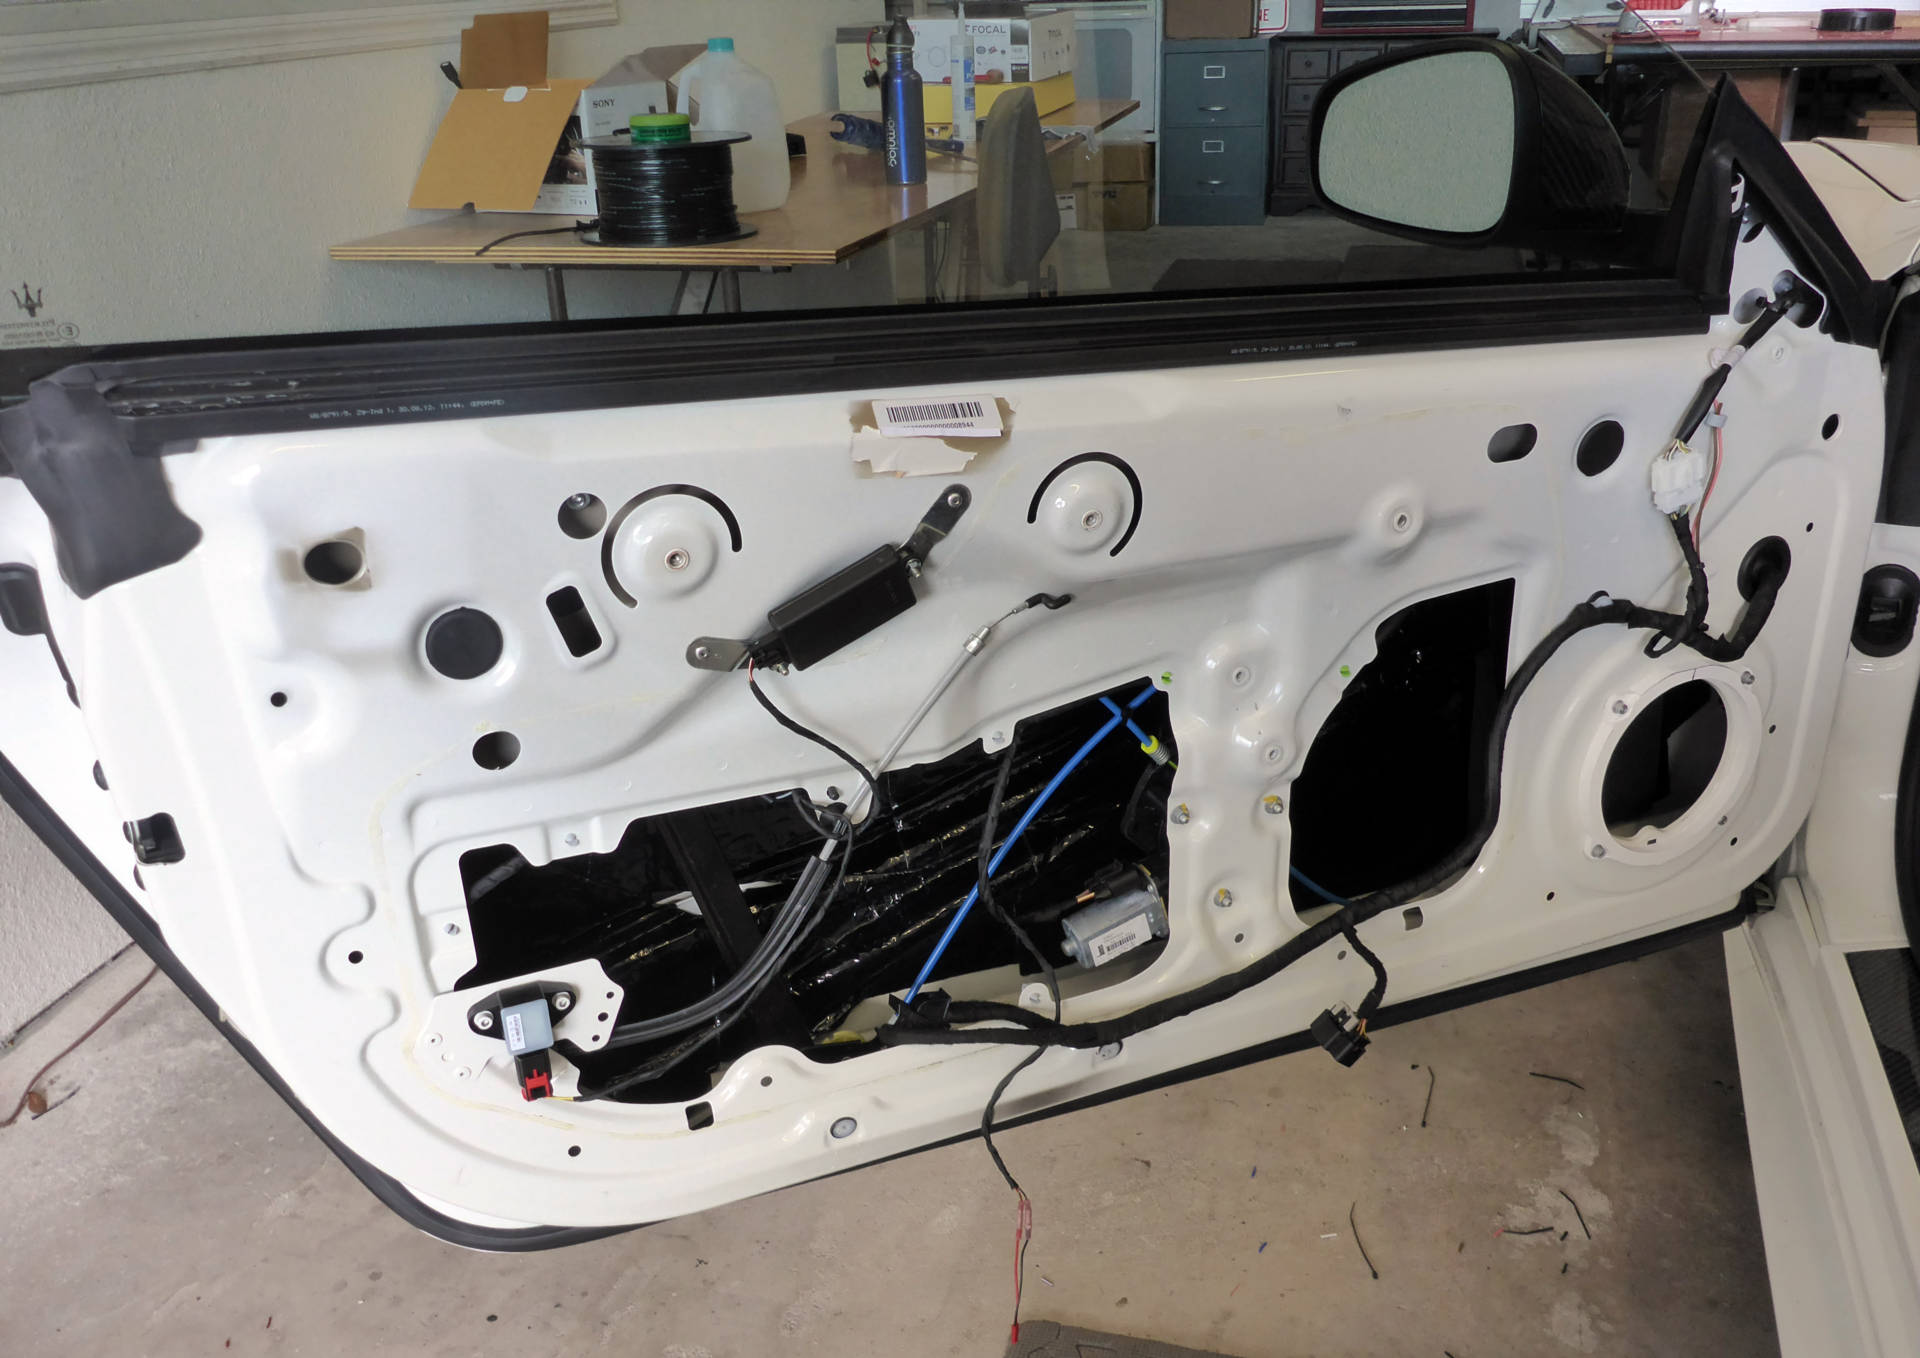
Commence disassembly:
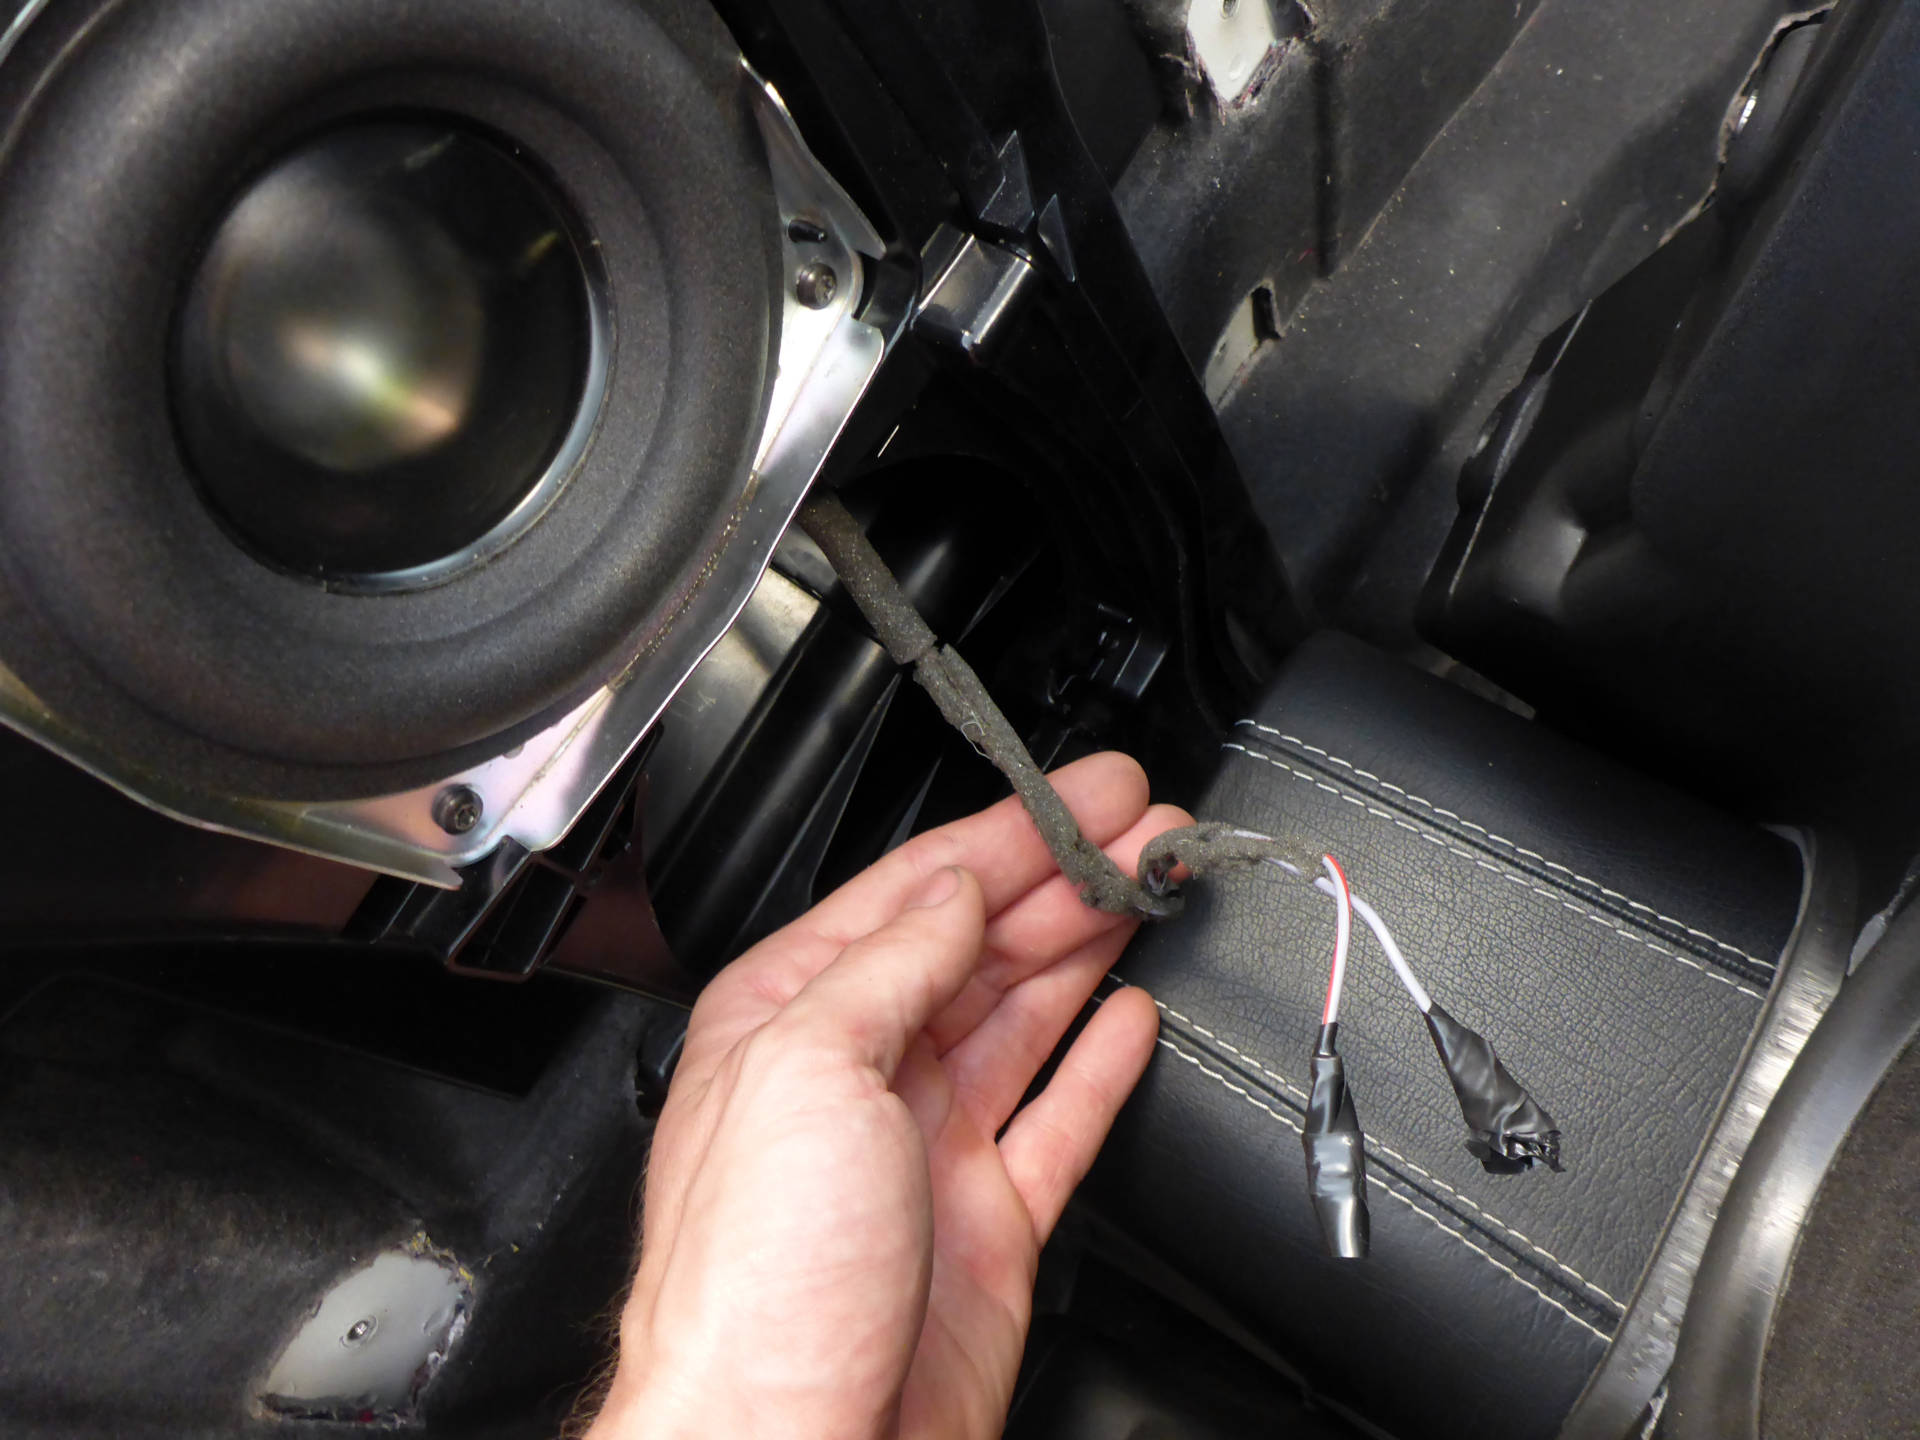

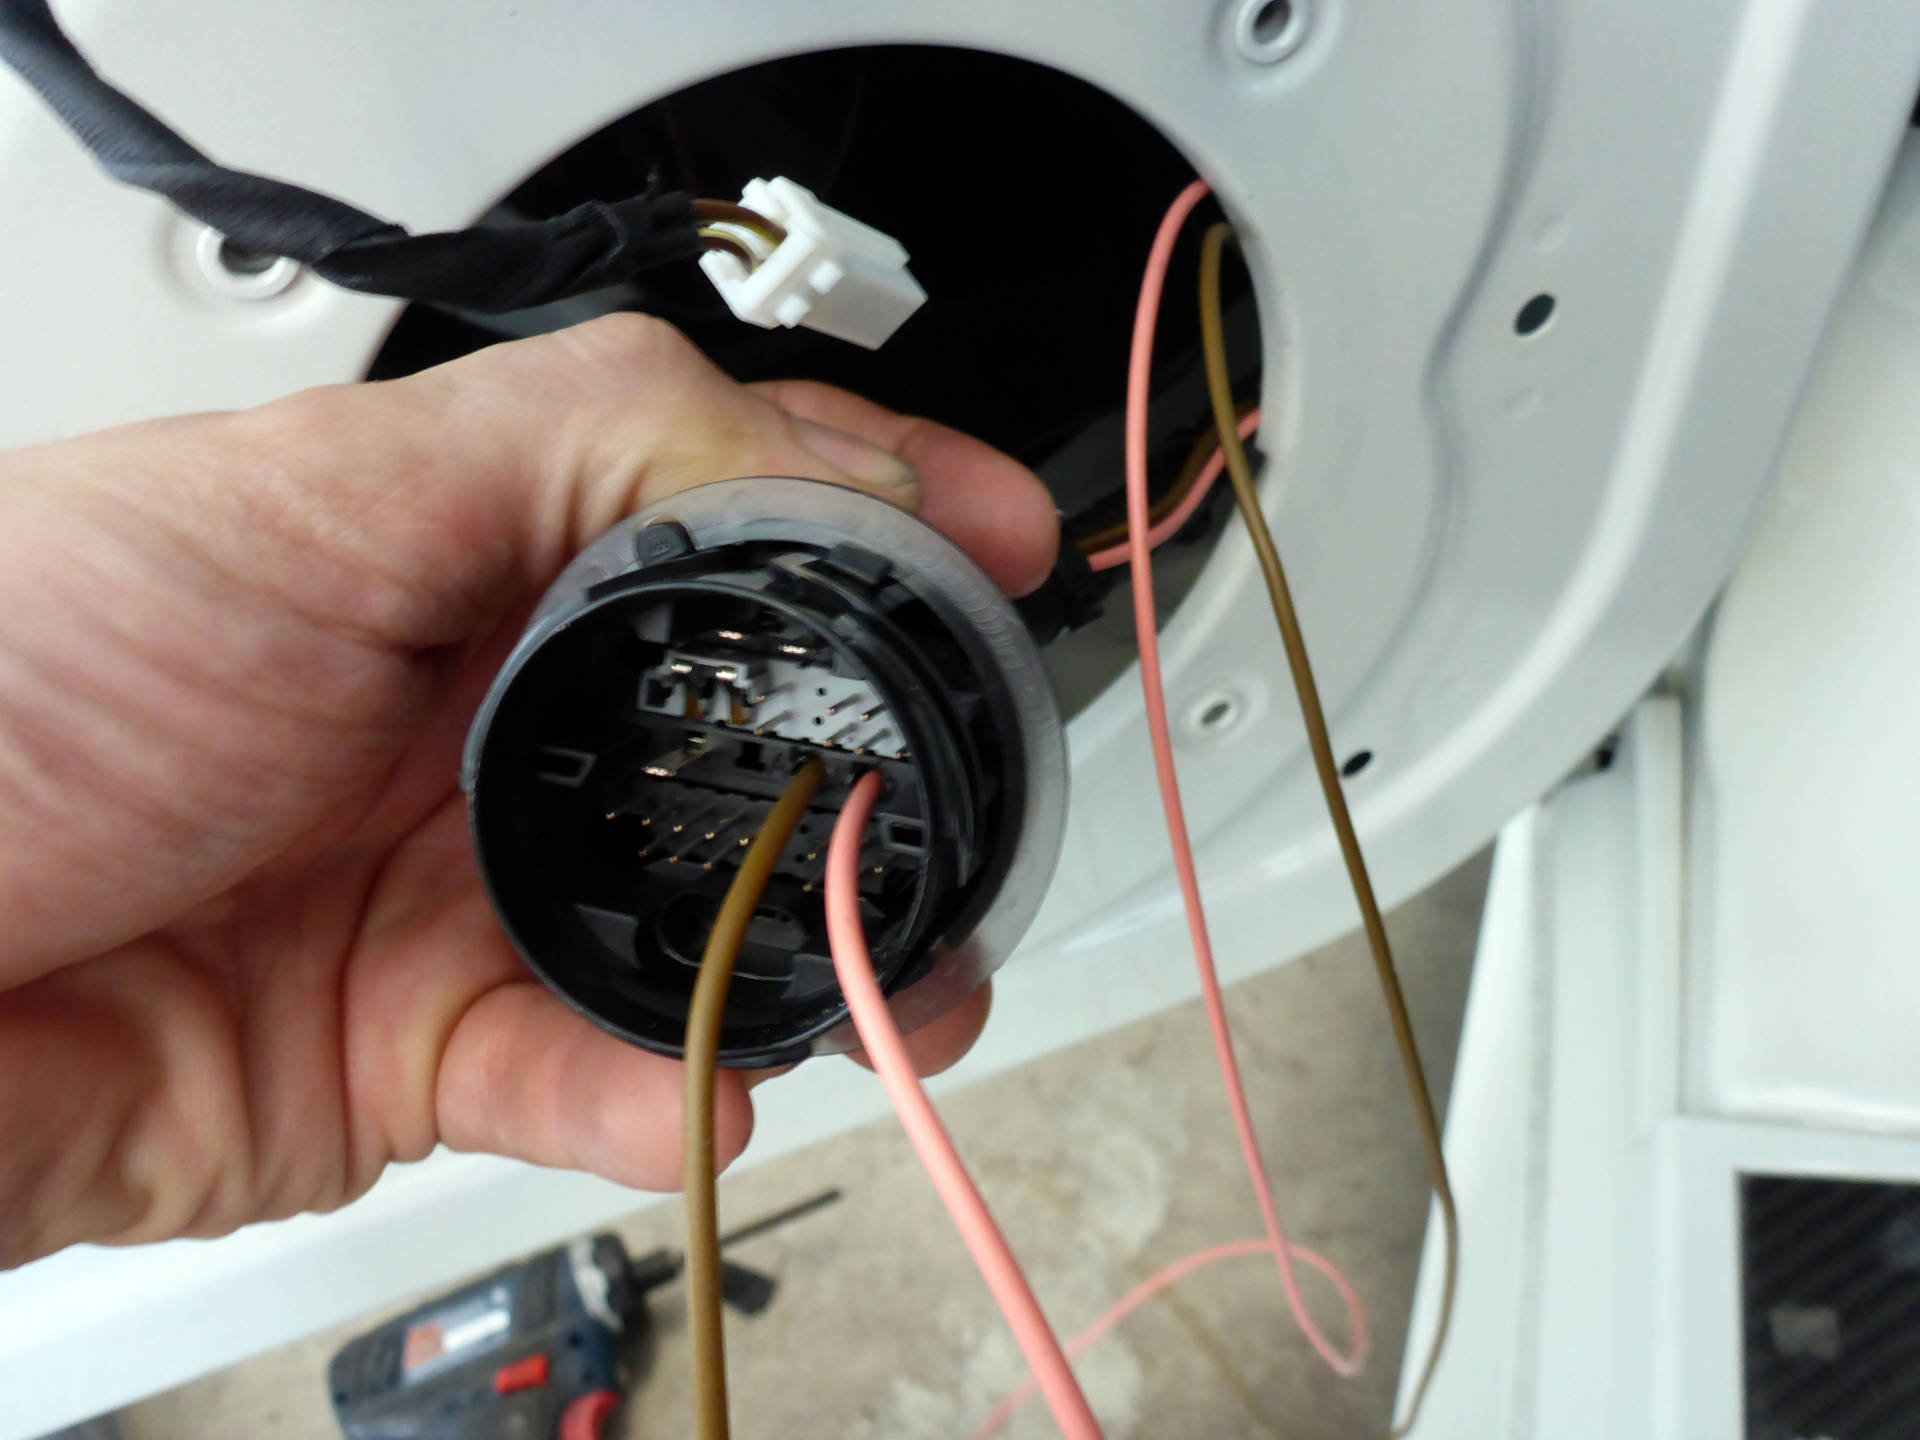

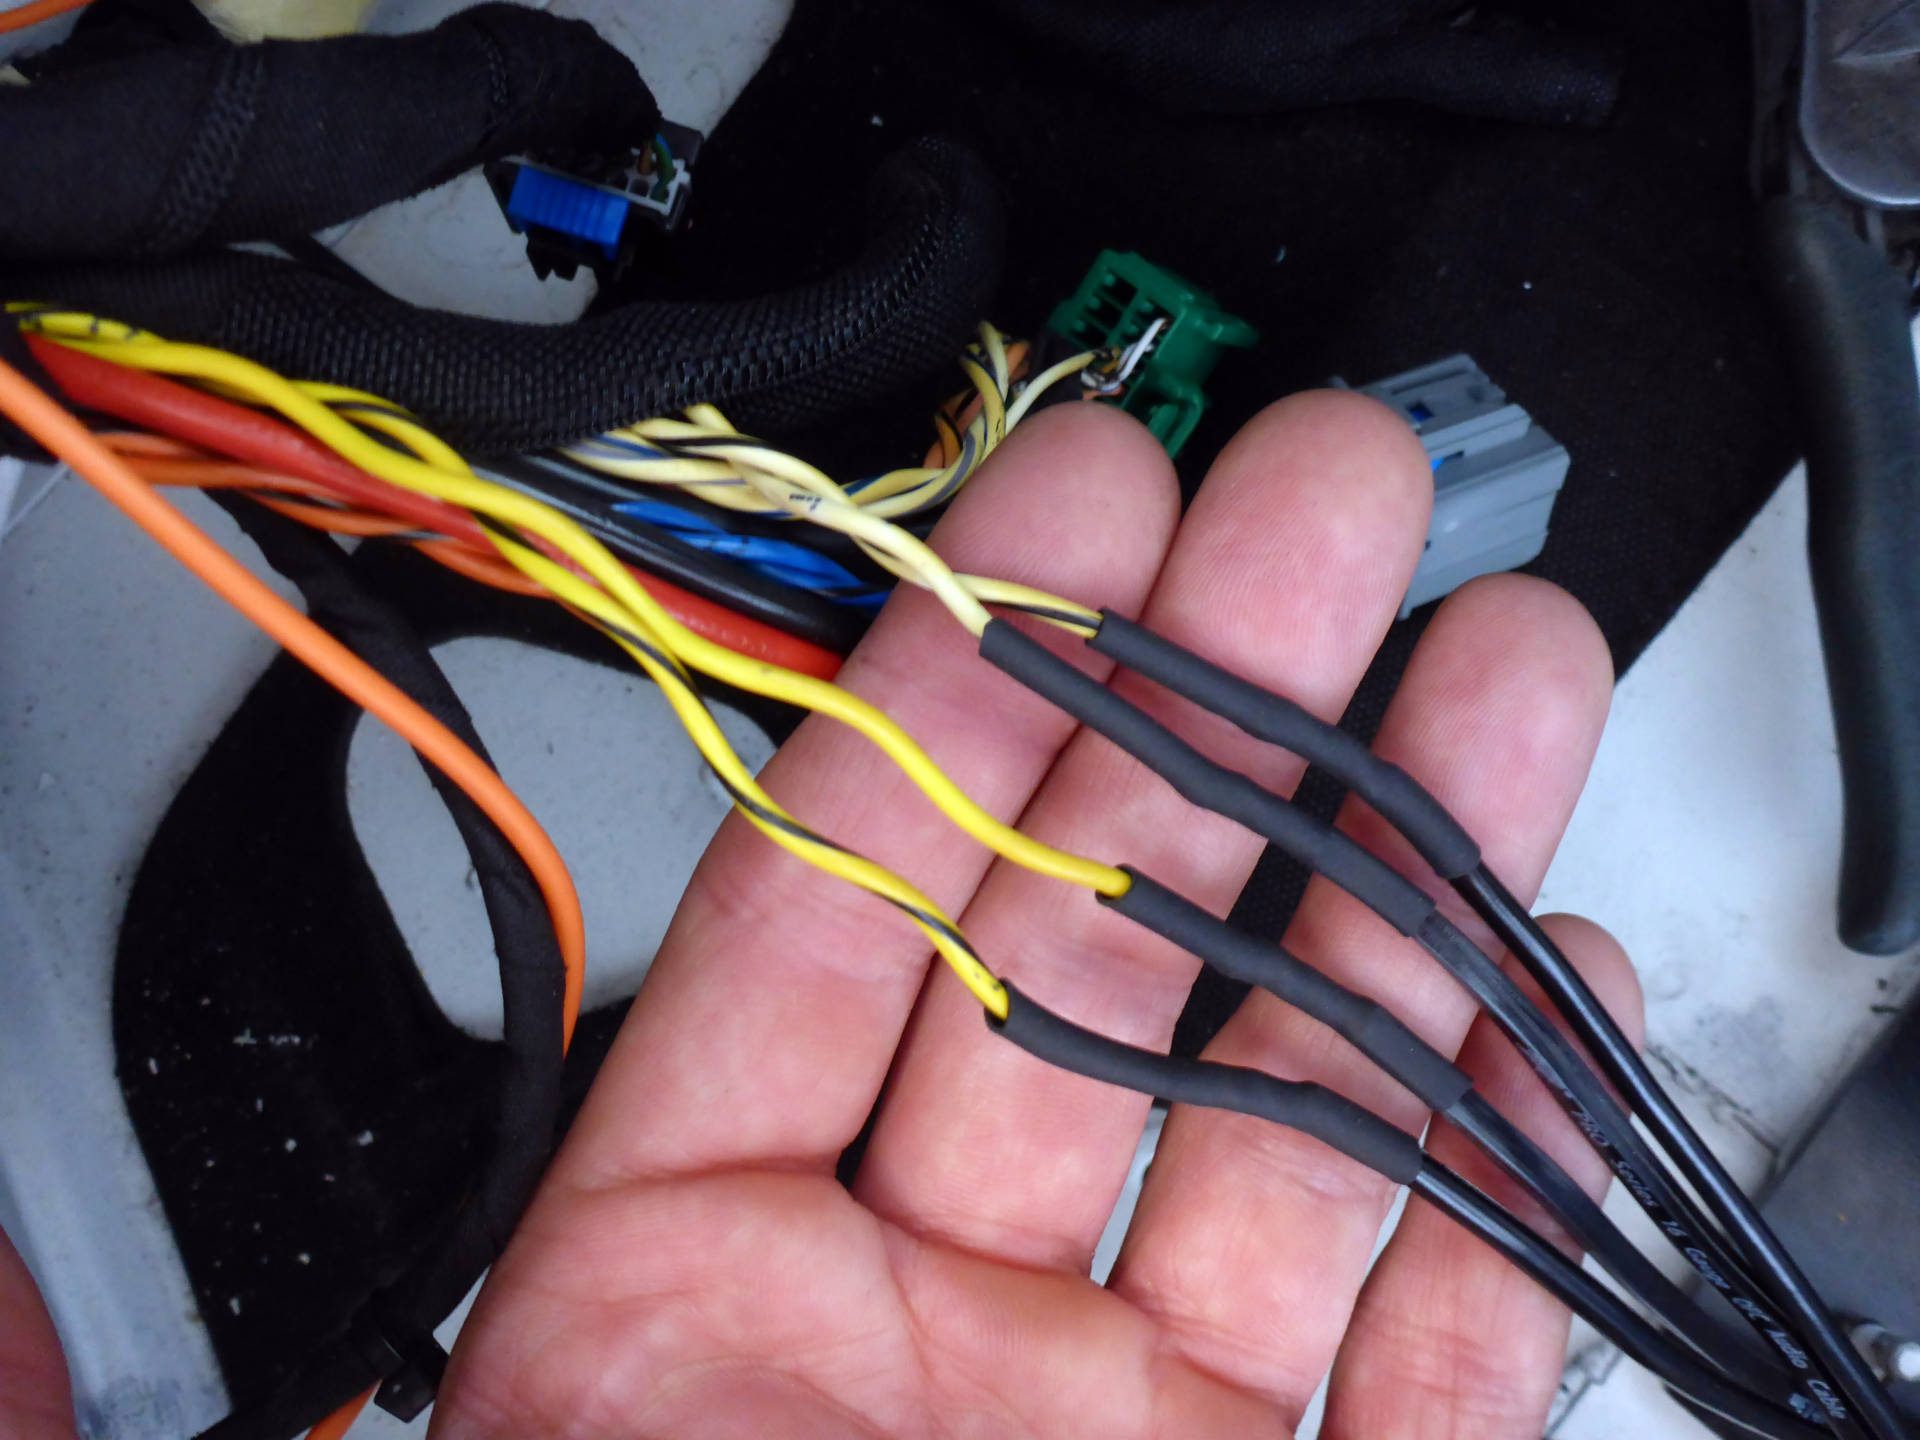
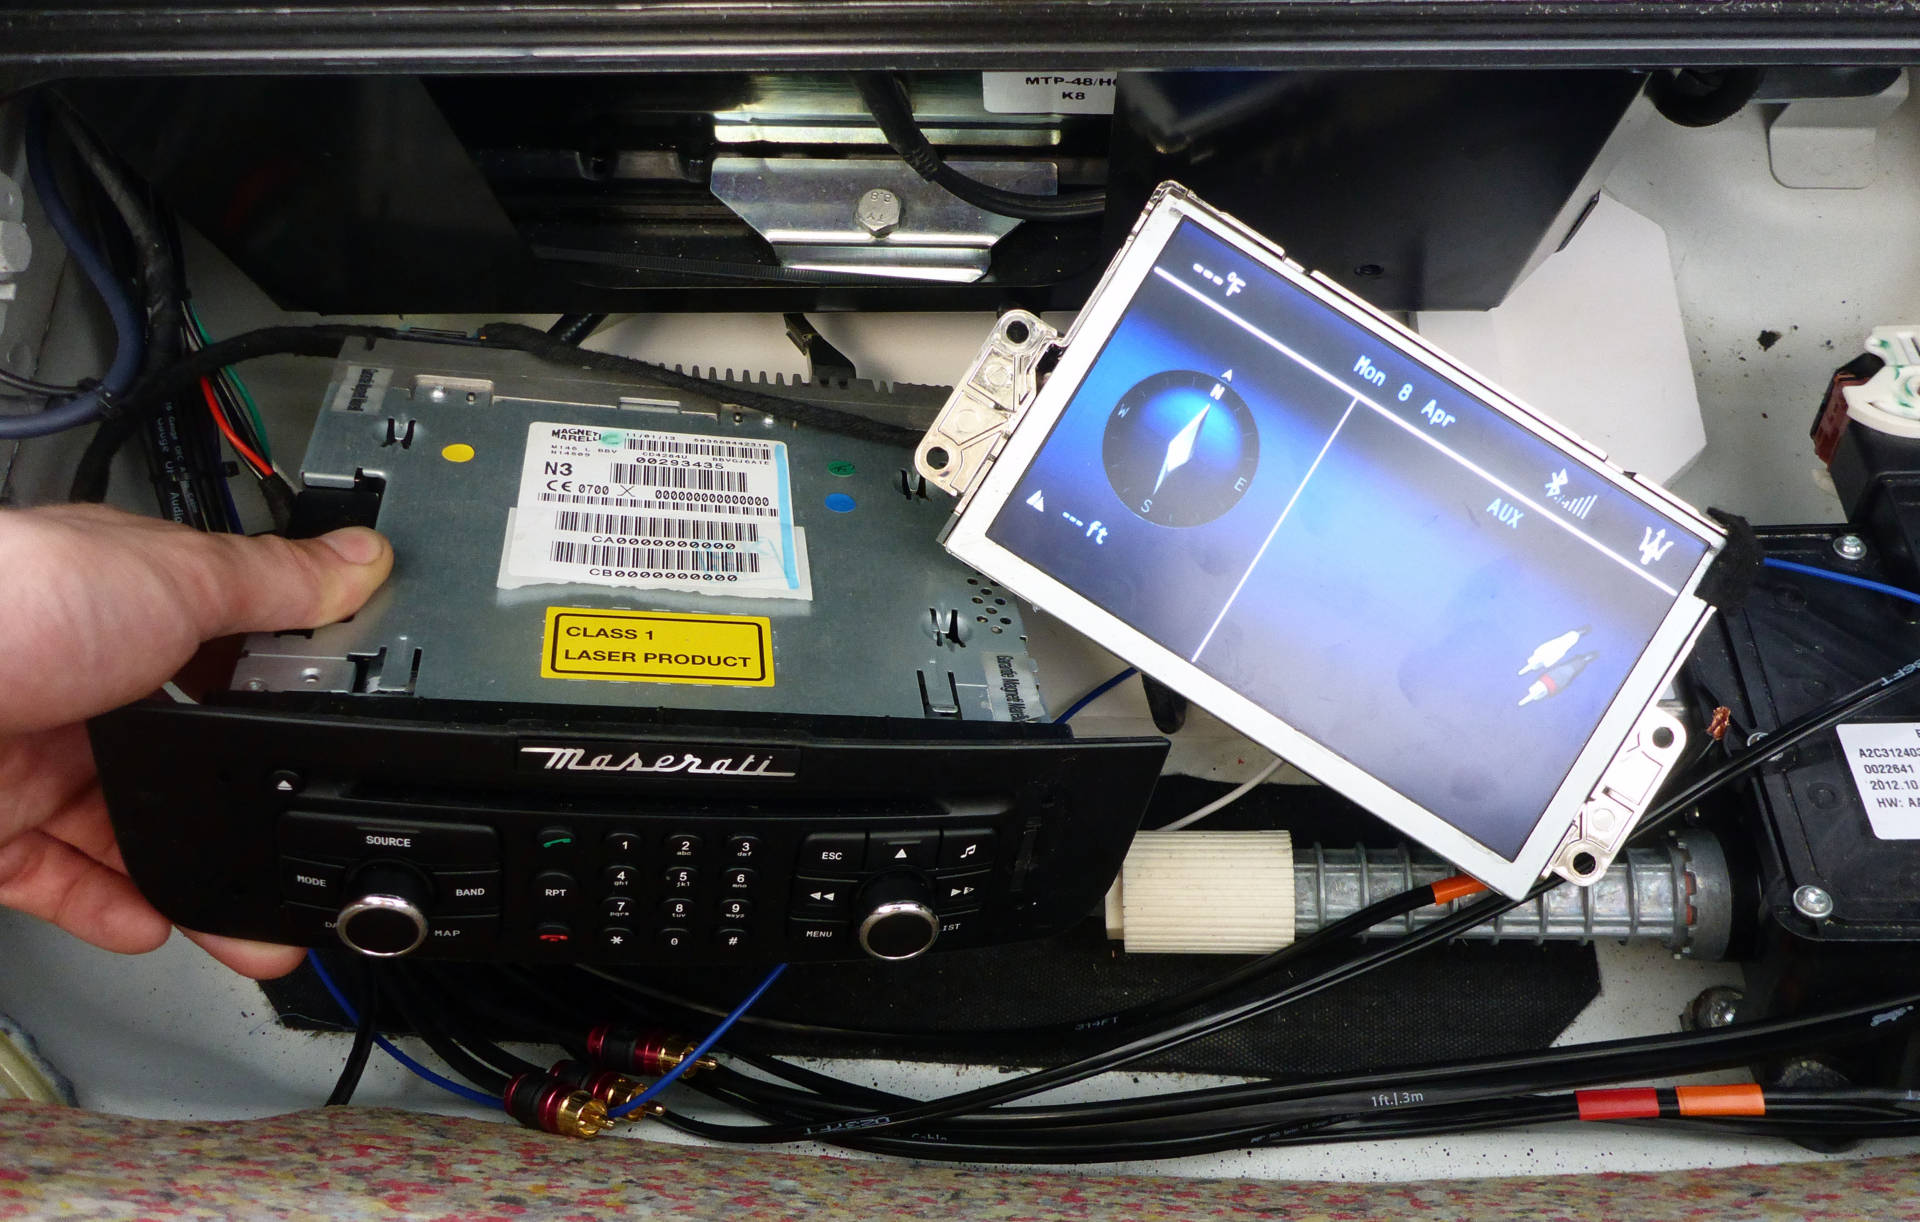
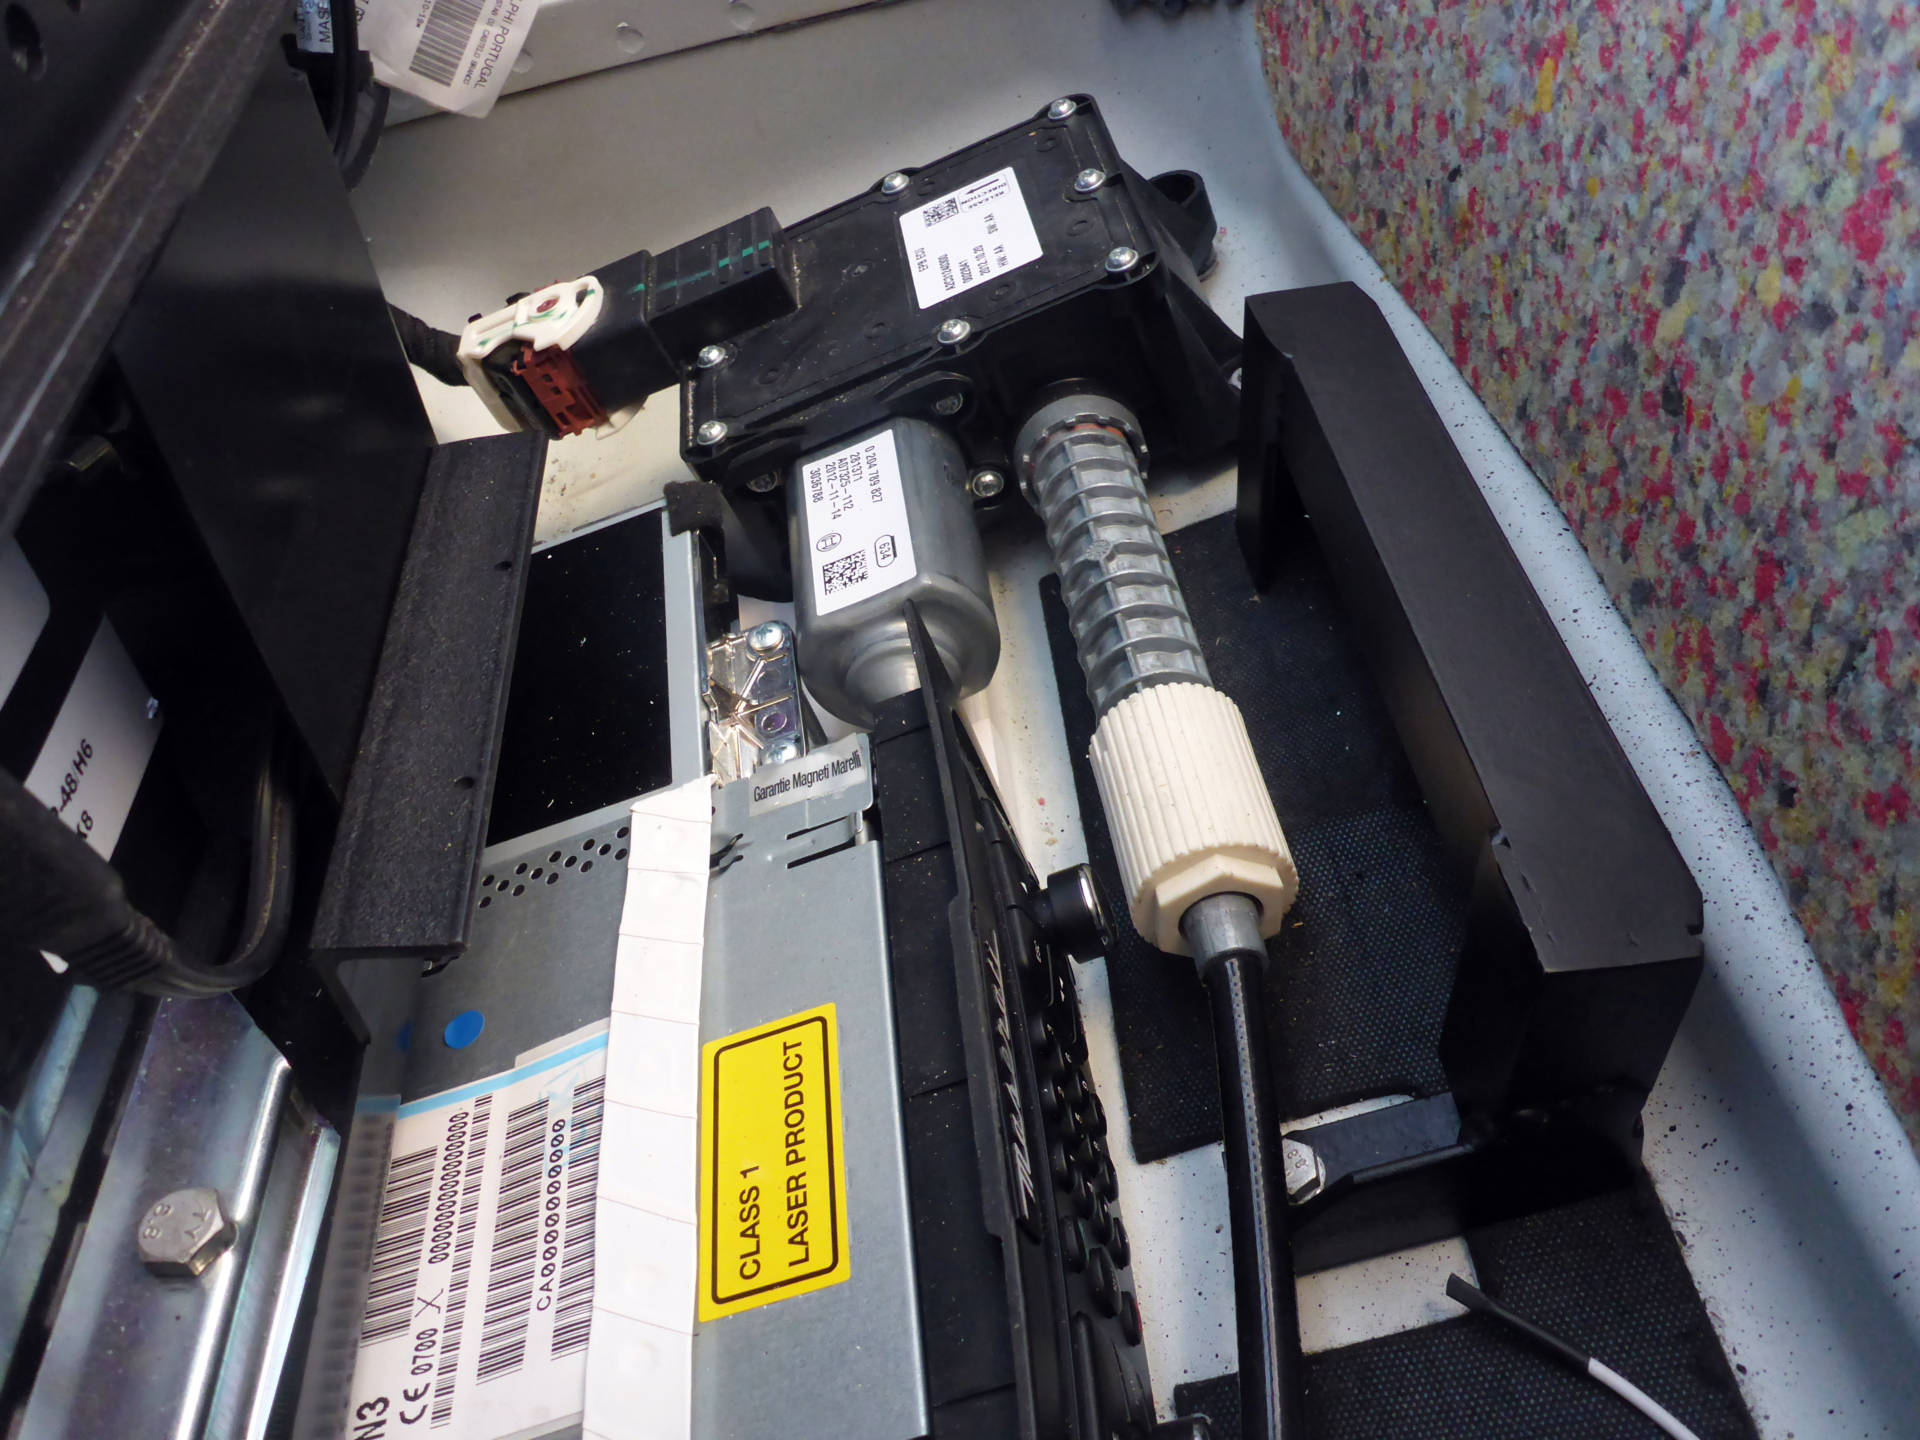
The first step was to relocate that OEM head unit! It took quite a bit of wiring to relocate the radio to the trunk…


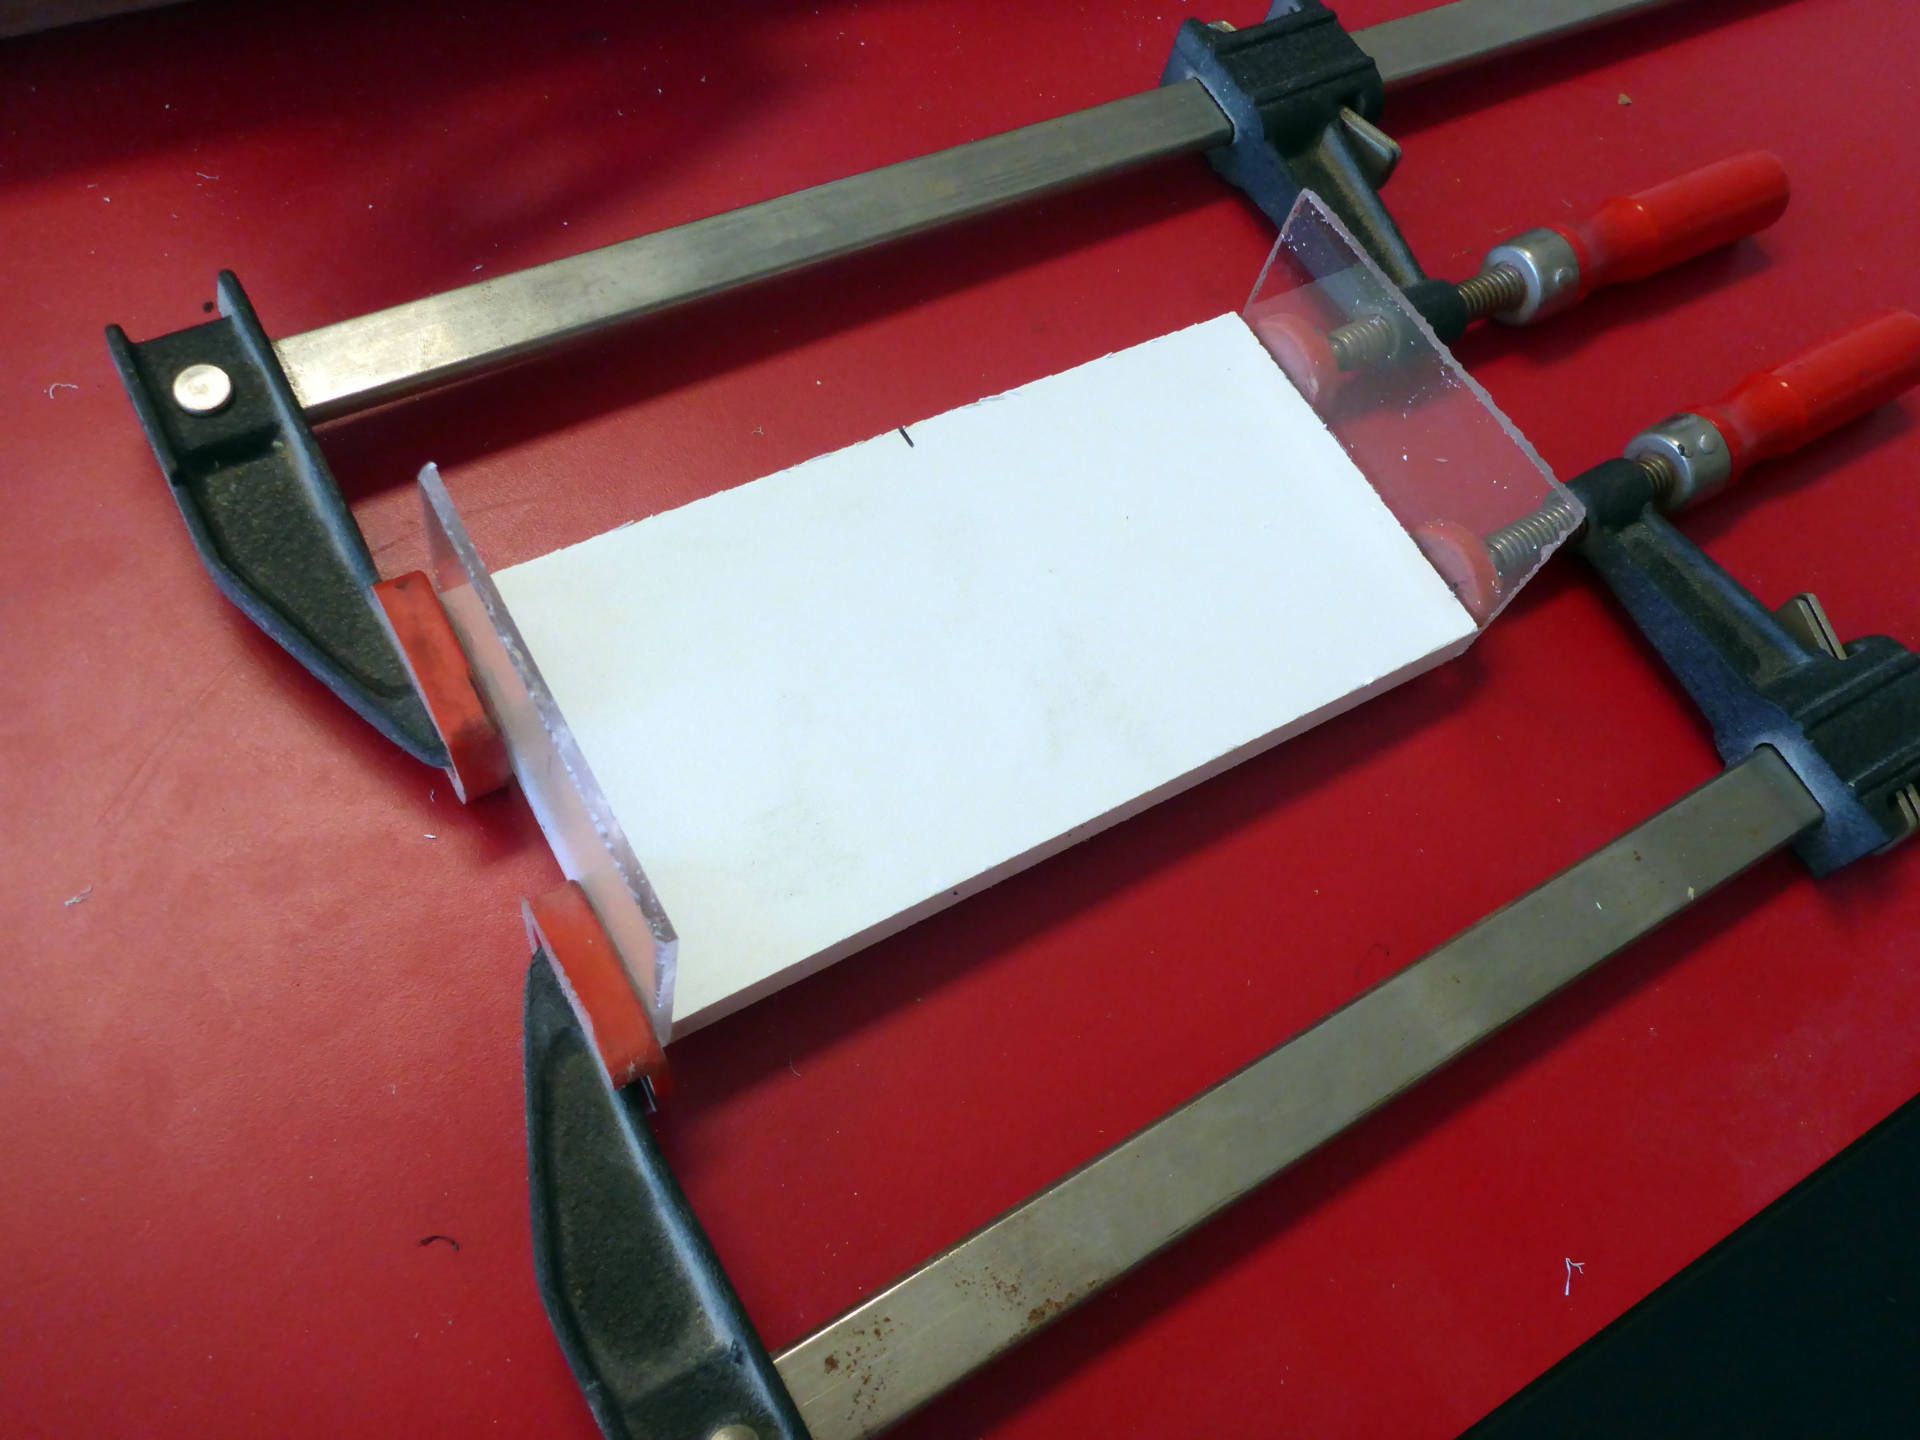
Here’s the mounting bracket I made from PVC to mount the radio safely in the trunk:

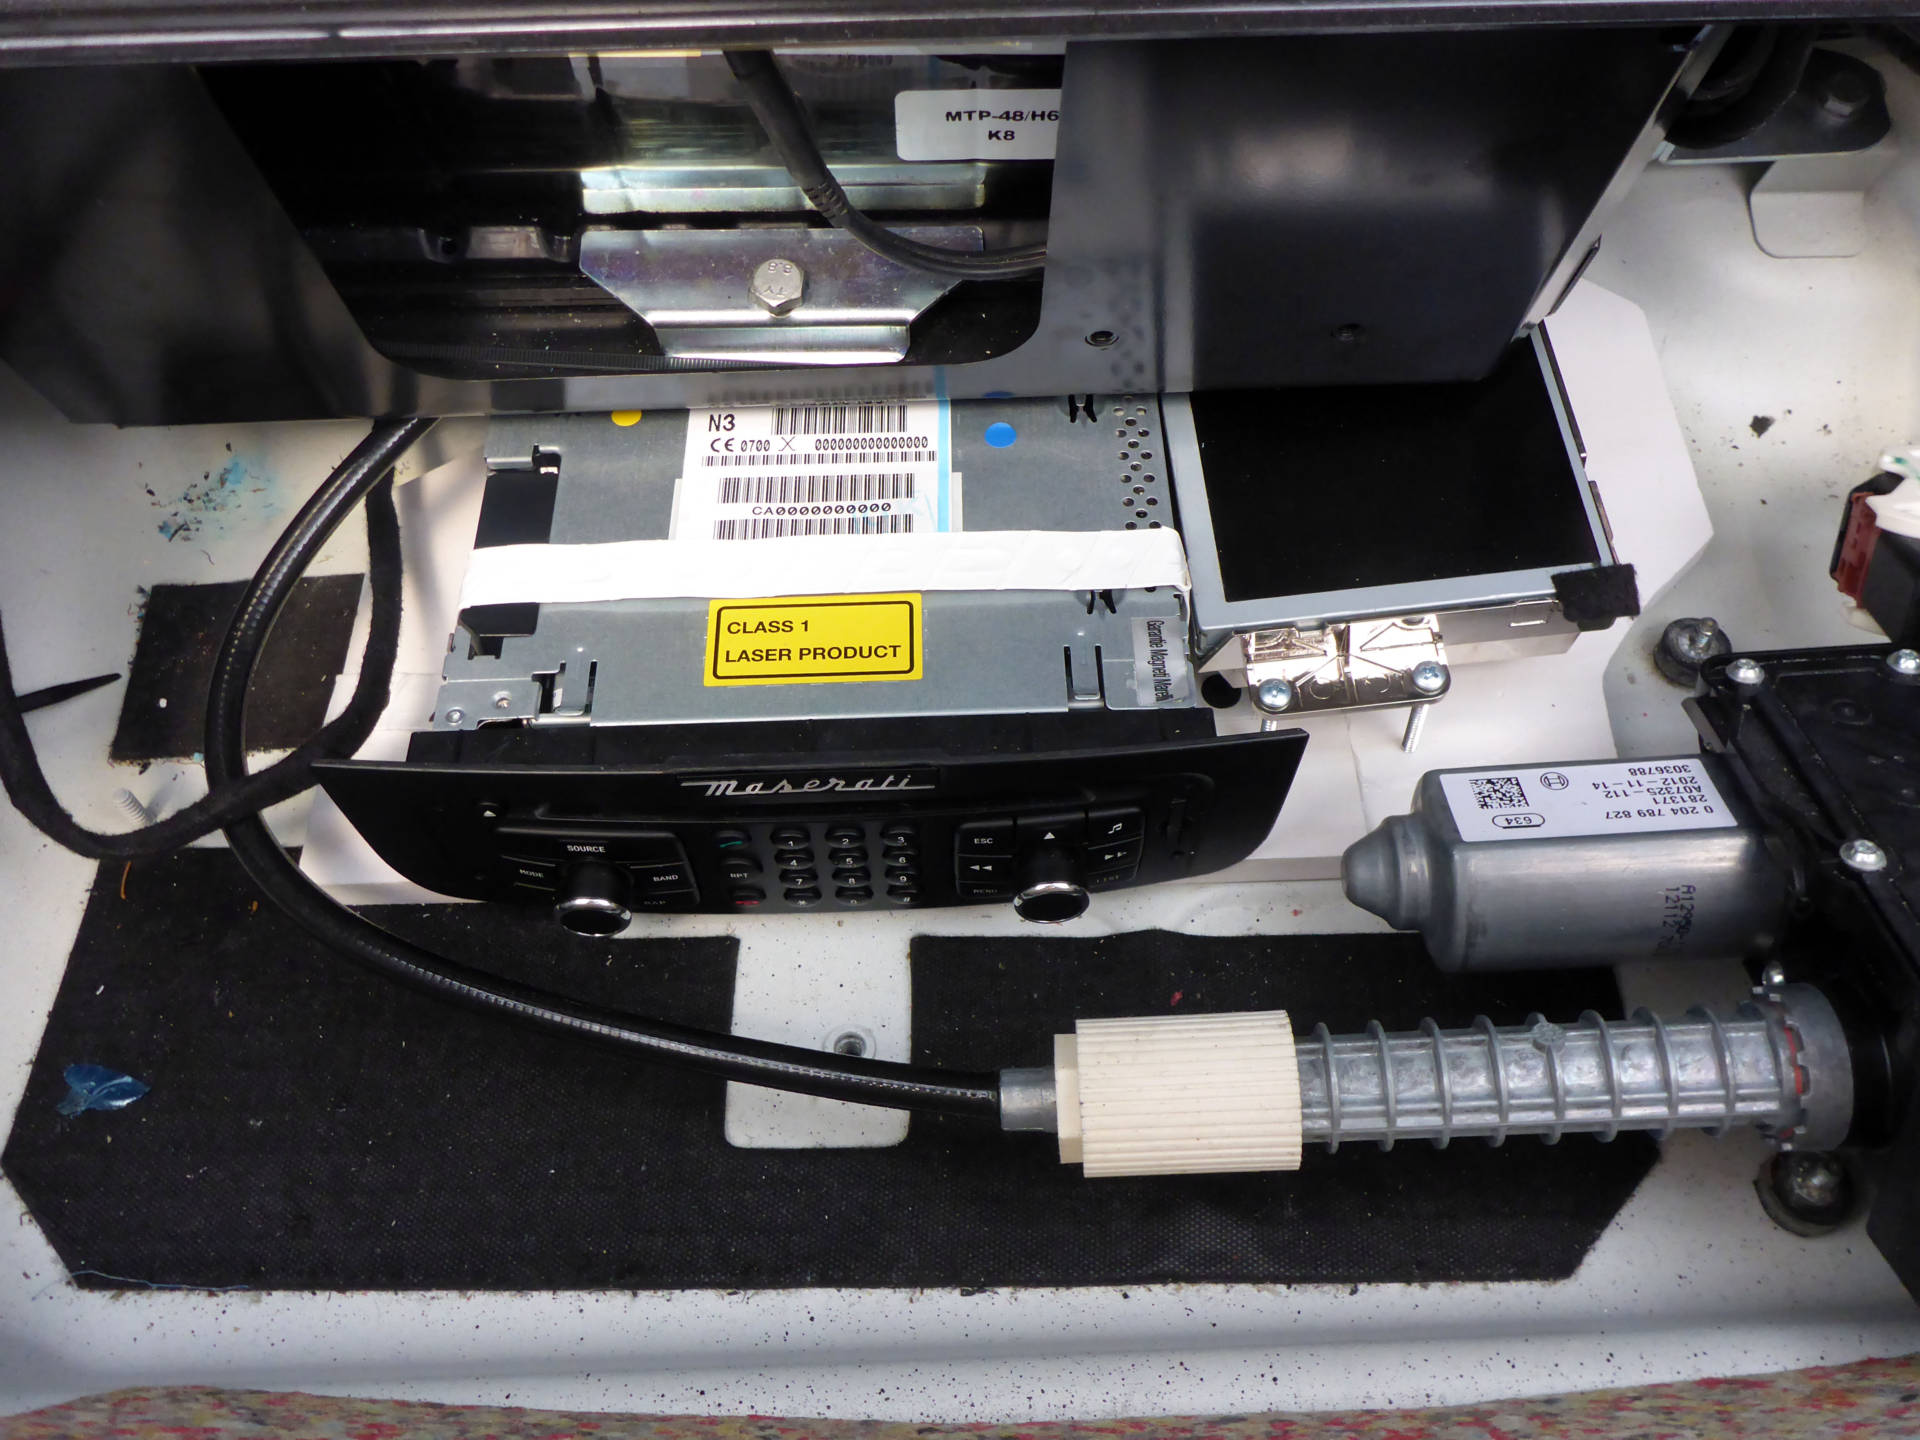
And here’s how it looks all tucked away:
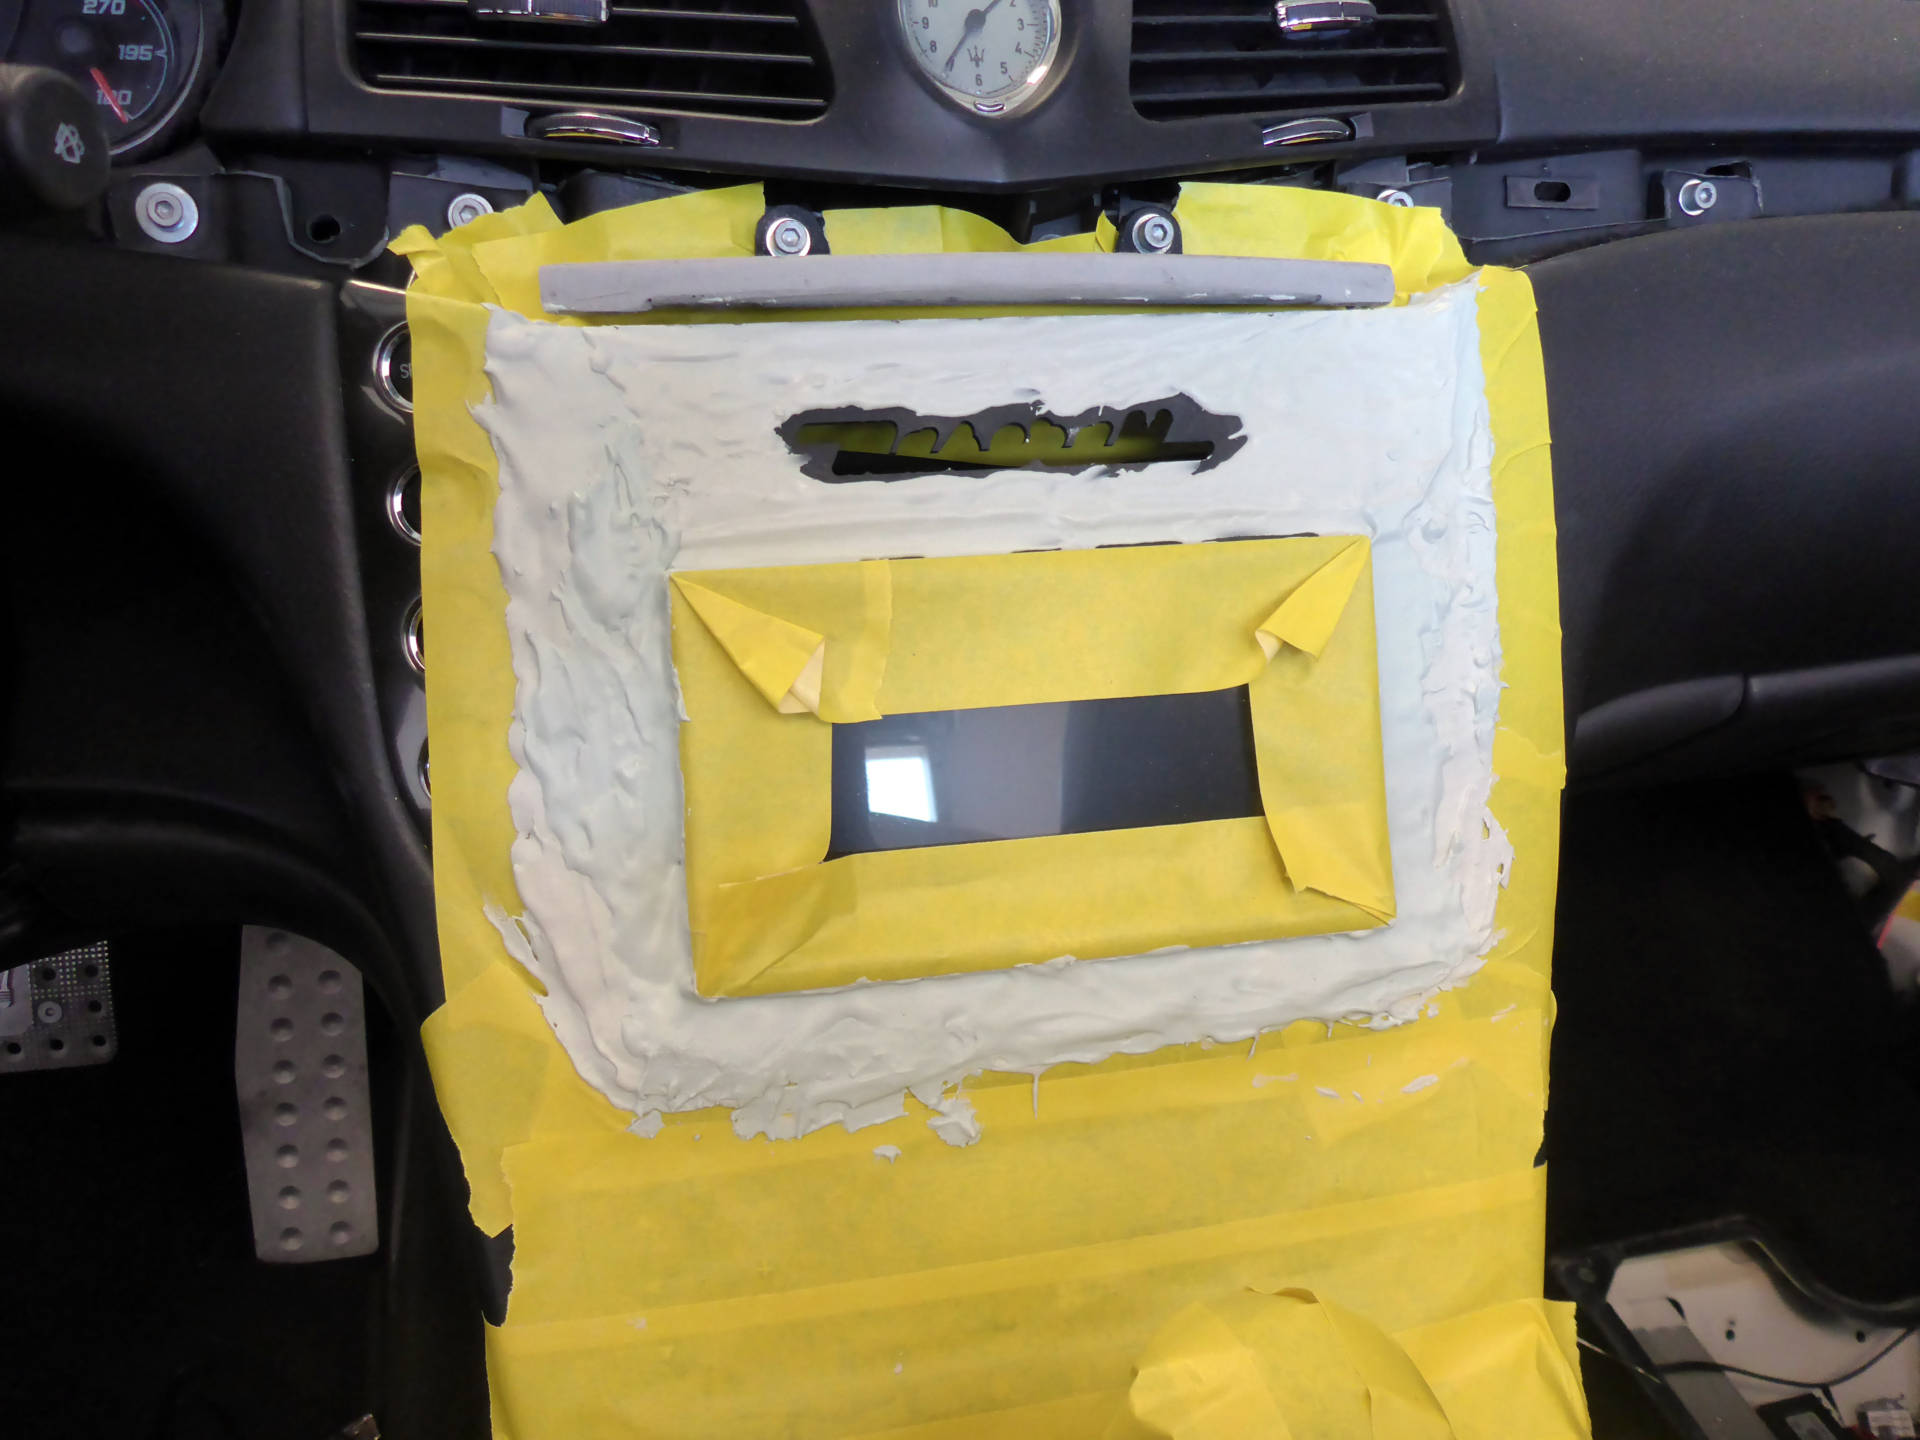
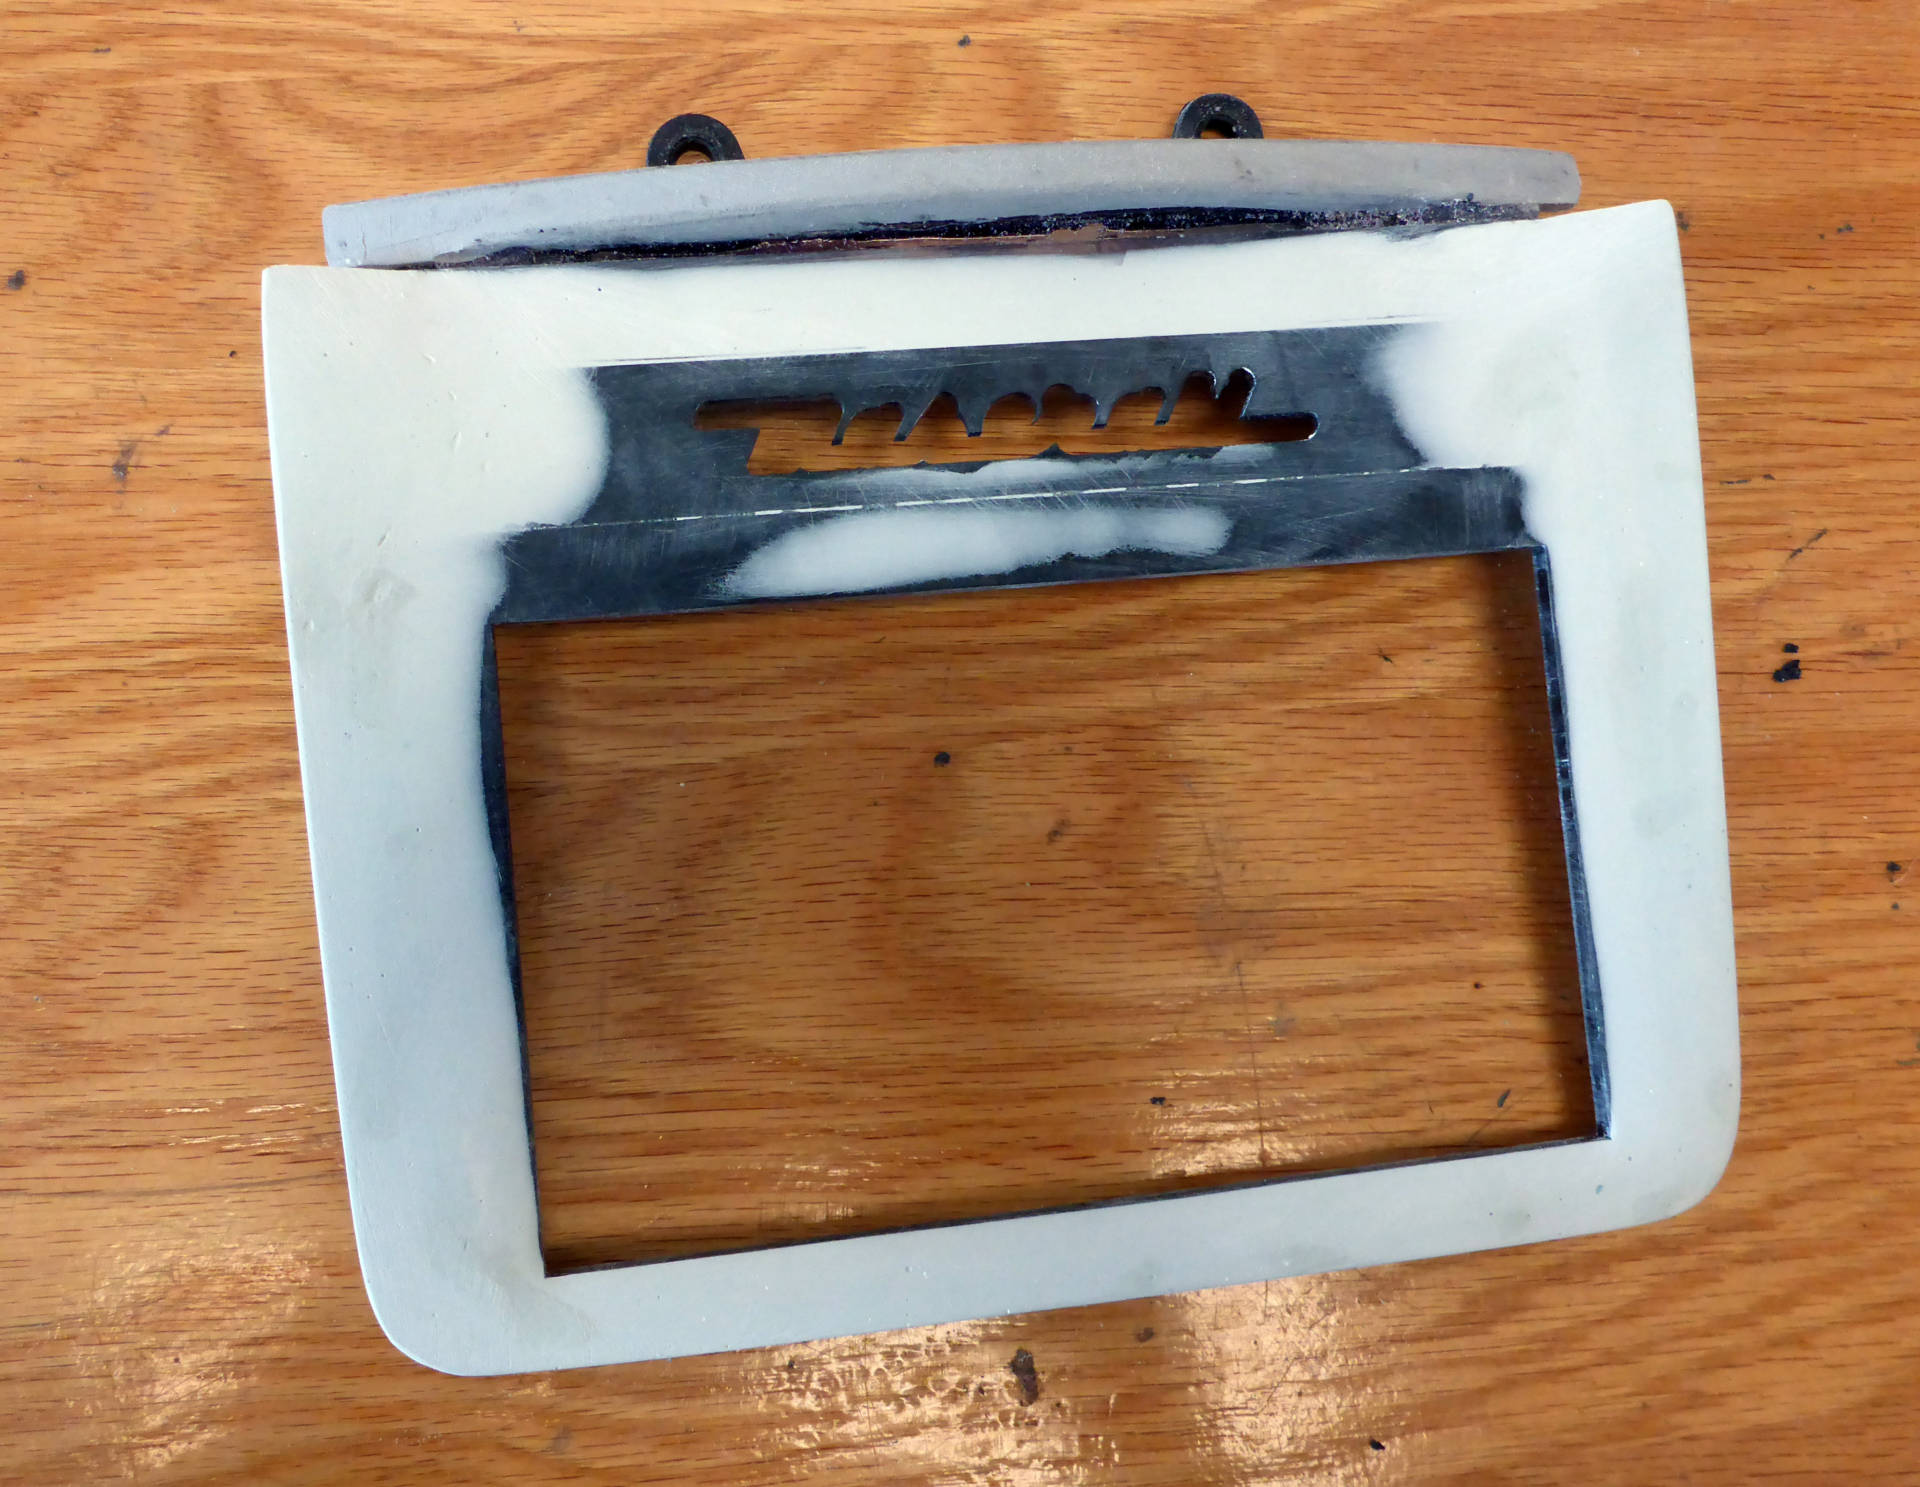
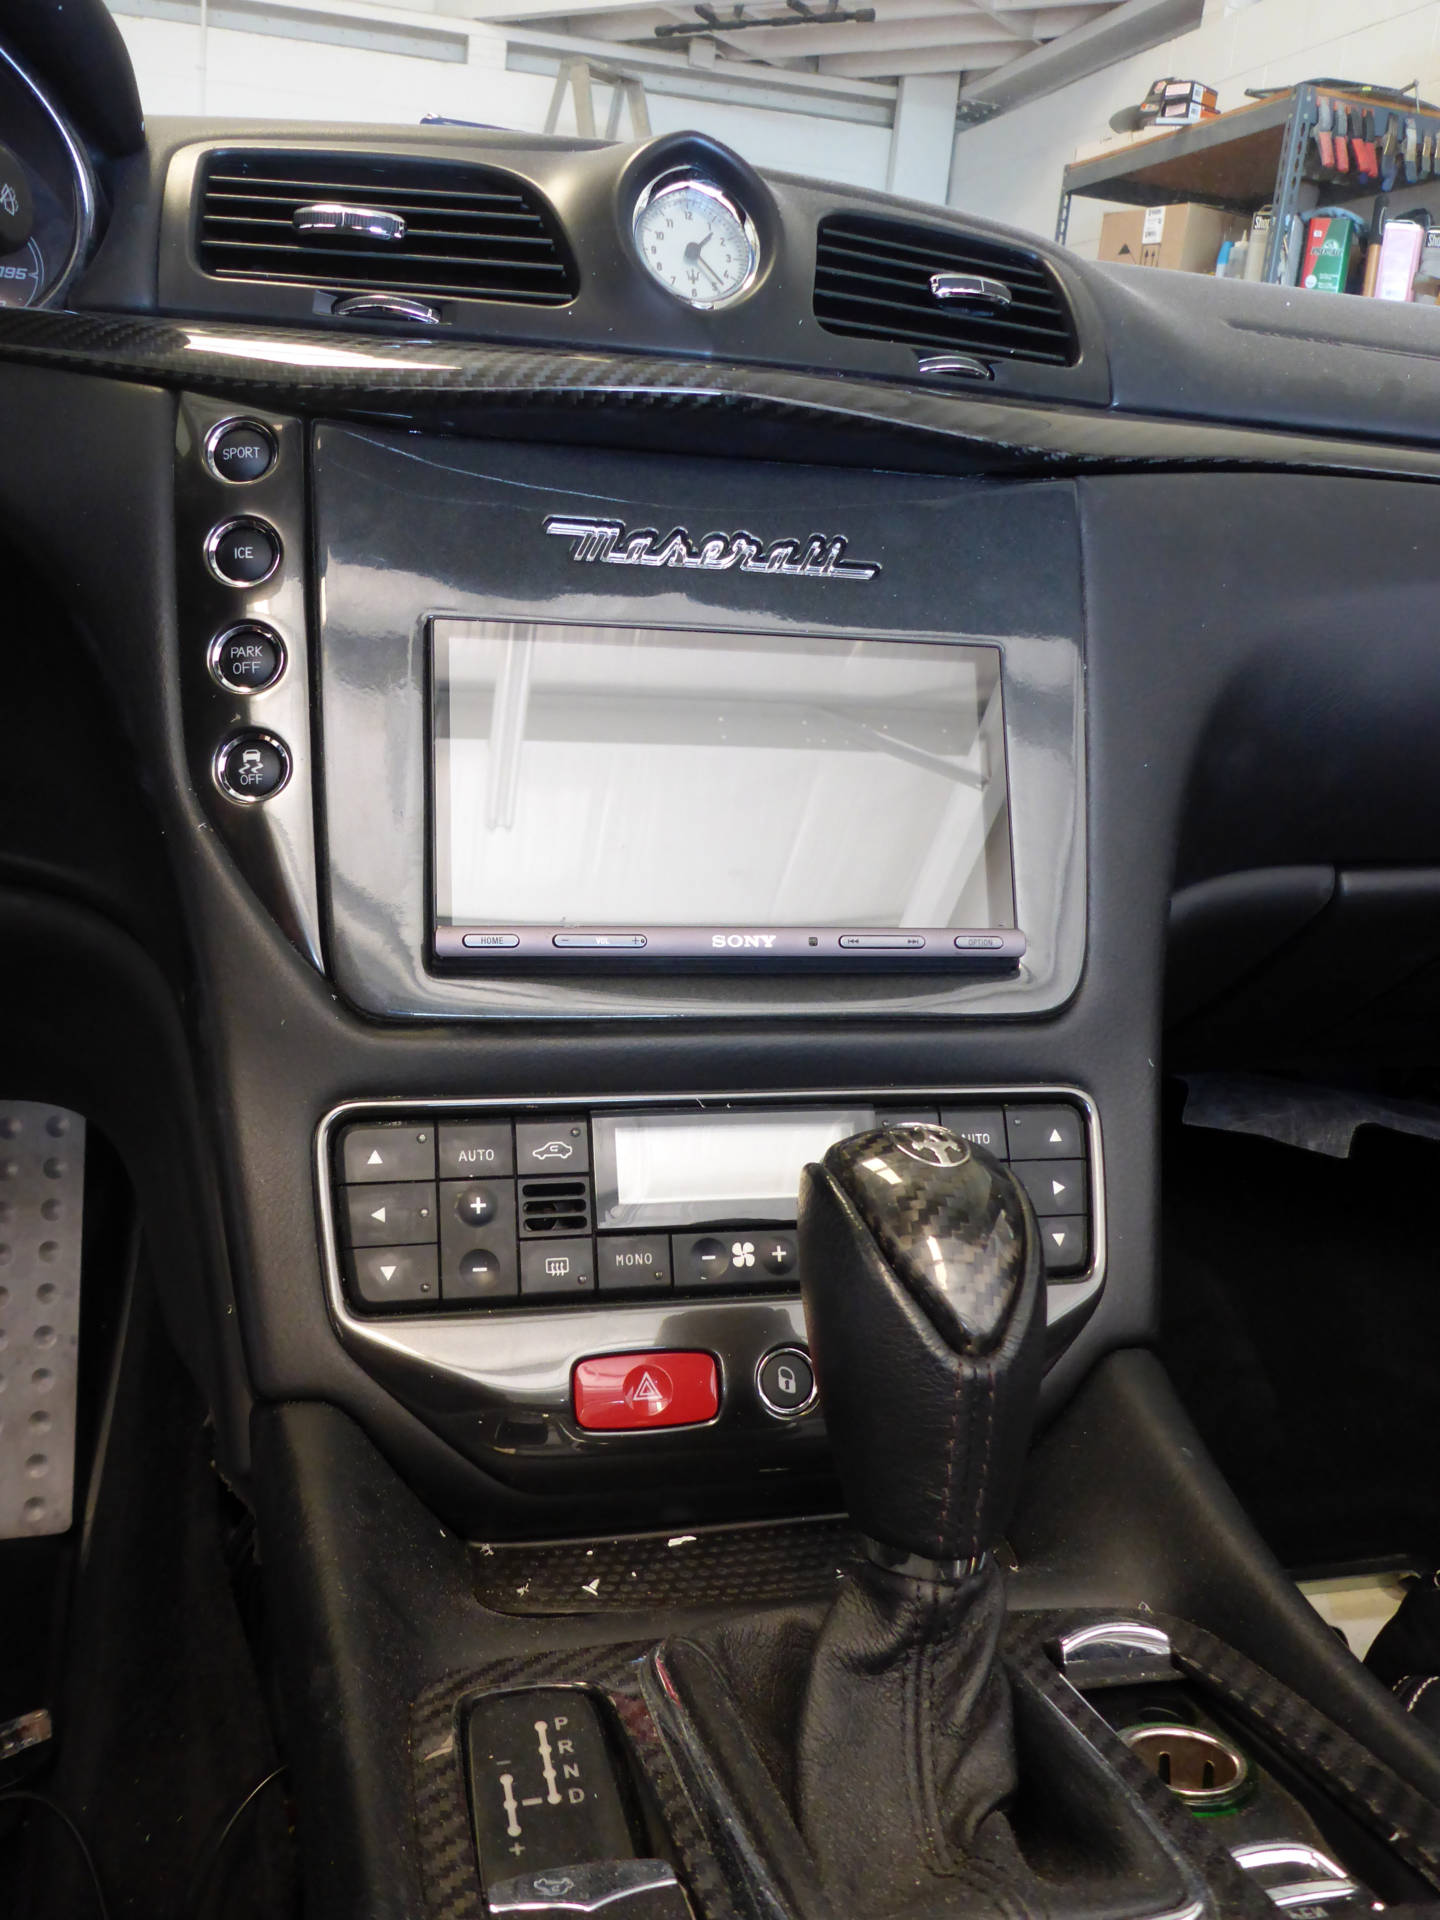
In order to mount the single-DIN AX5000, I had to build some sort of bracket. I used a variety of plastics I had on hand (acrylic, PVC, and ABS) to form a reliable and stable assembly that utilized factory mounting points to hold the new radio in place.

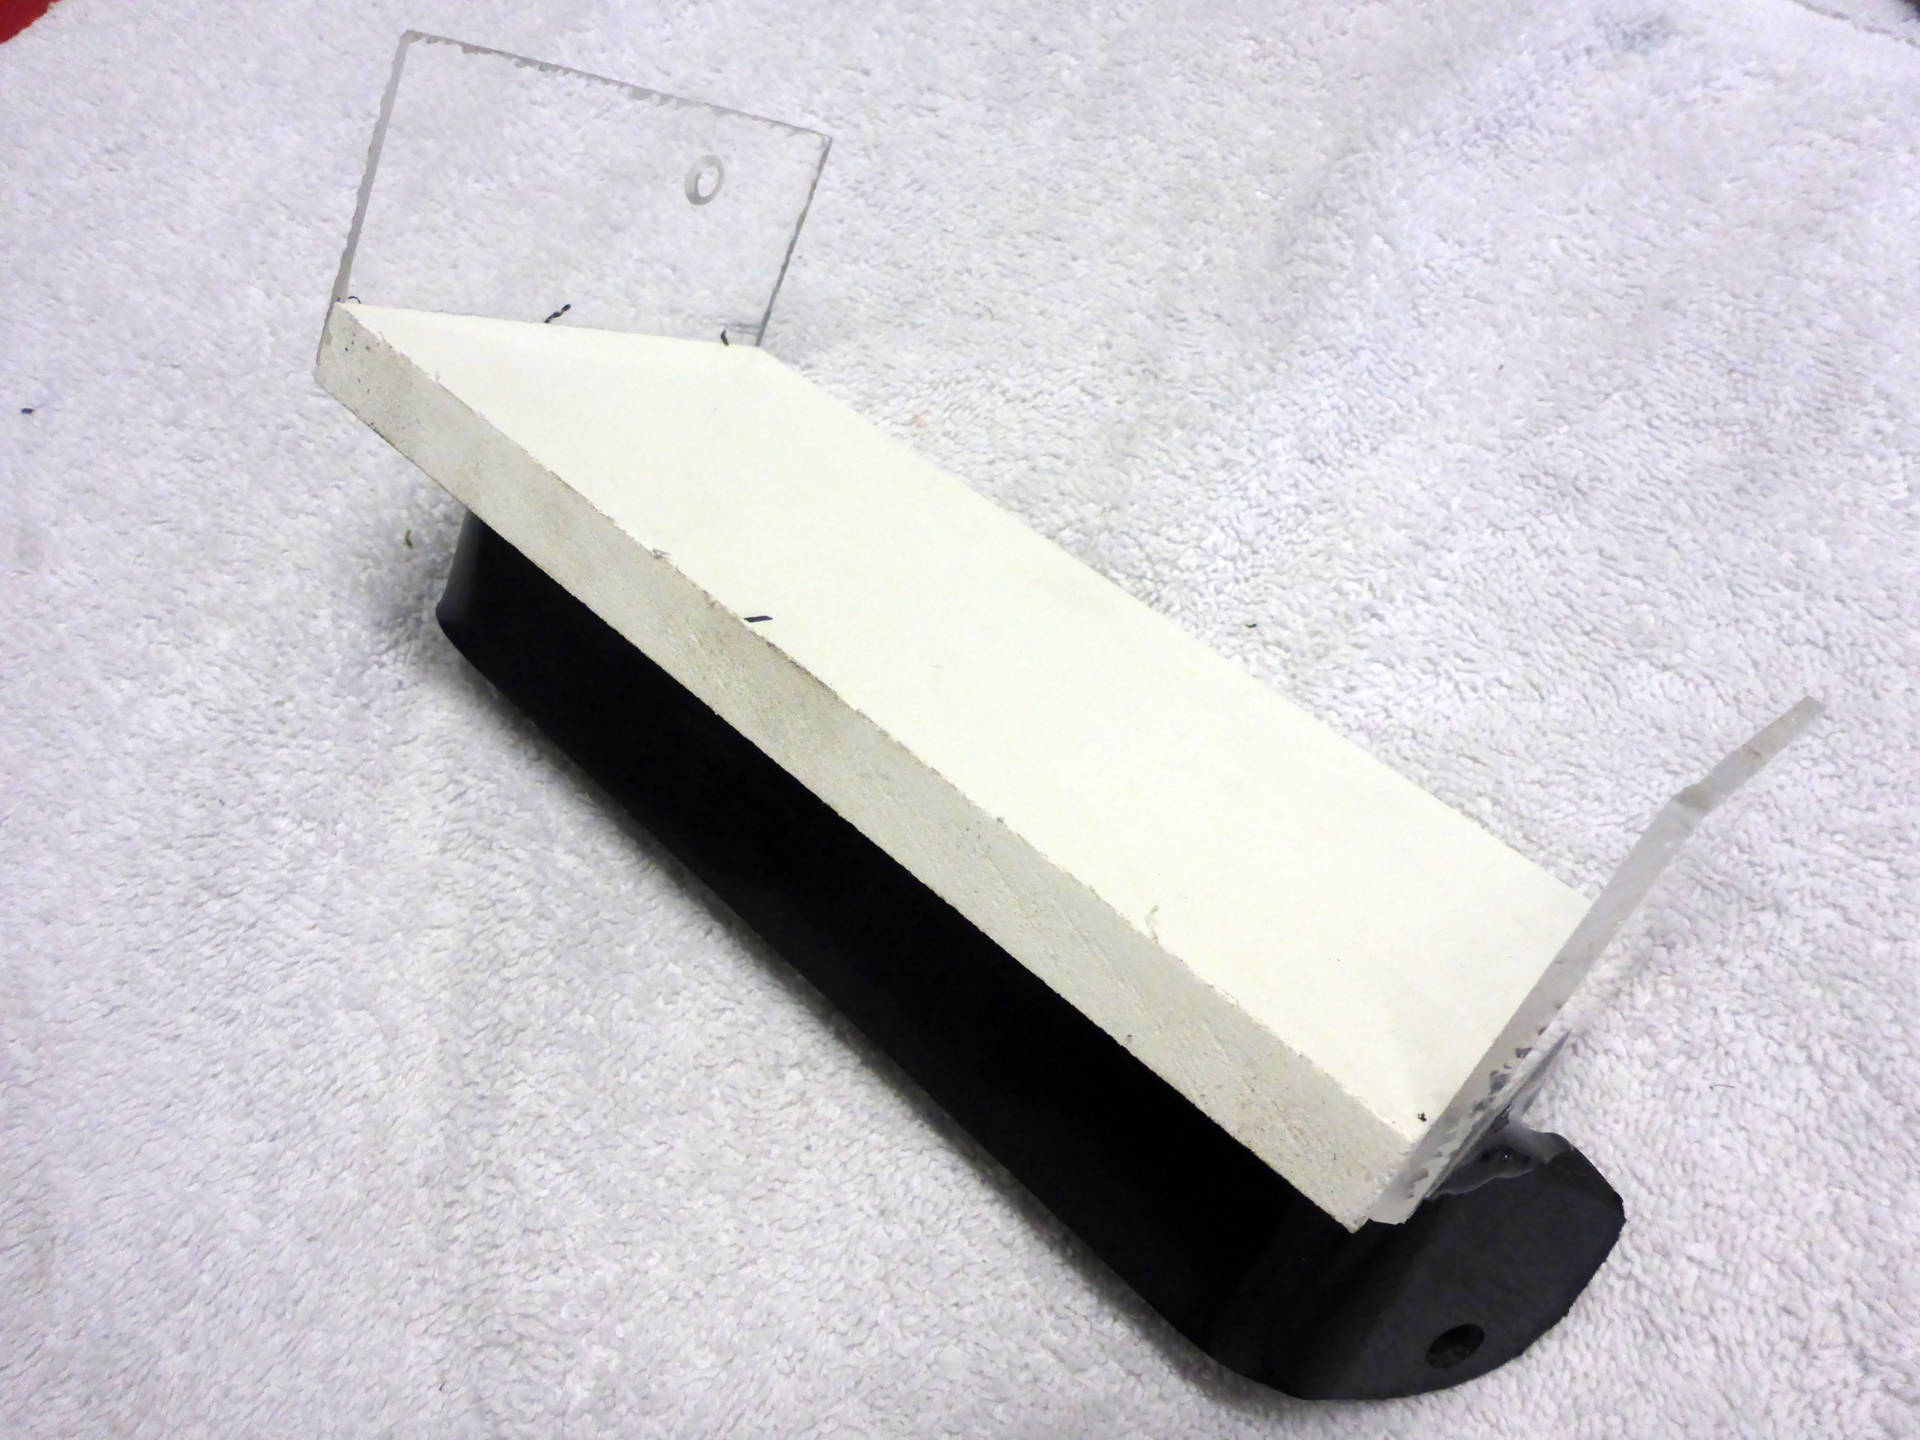
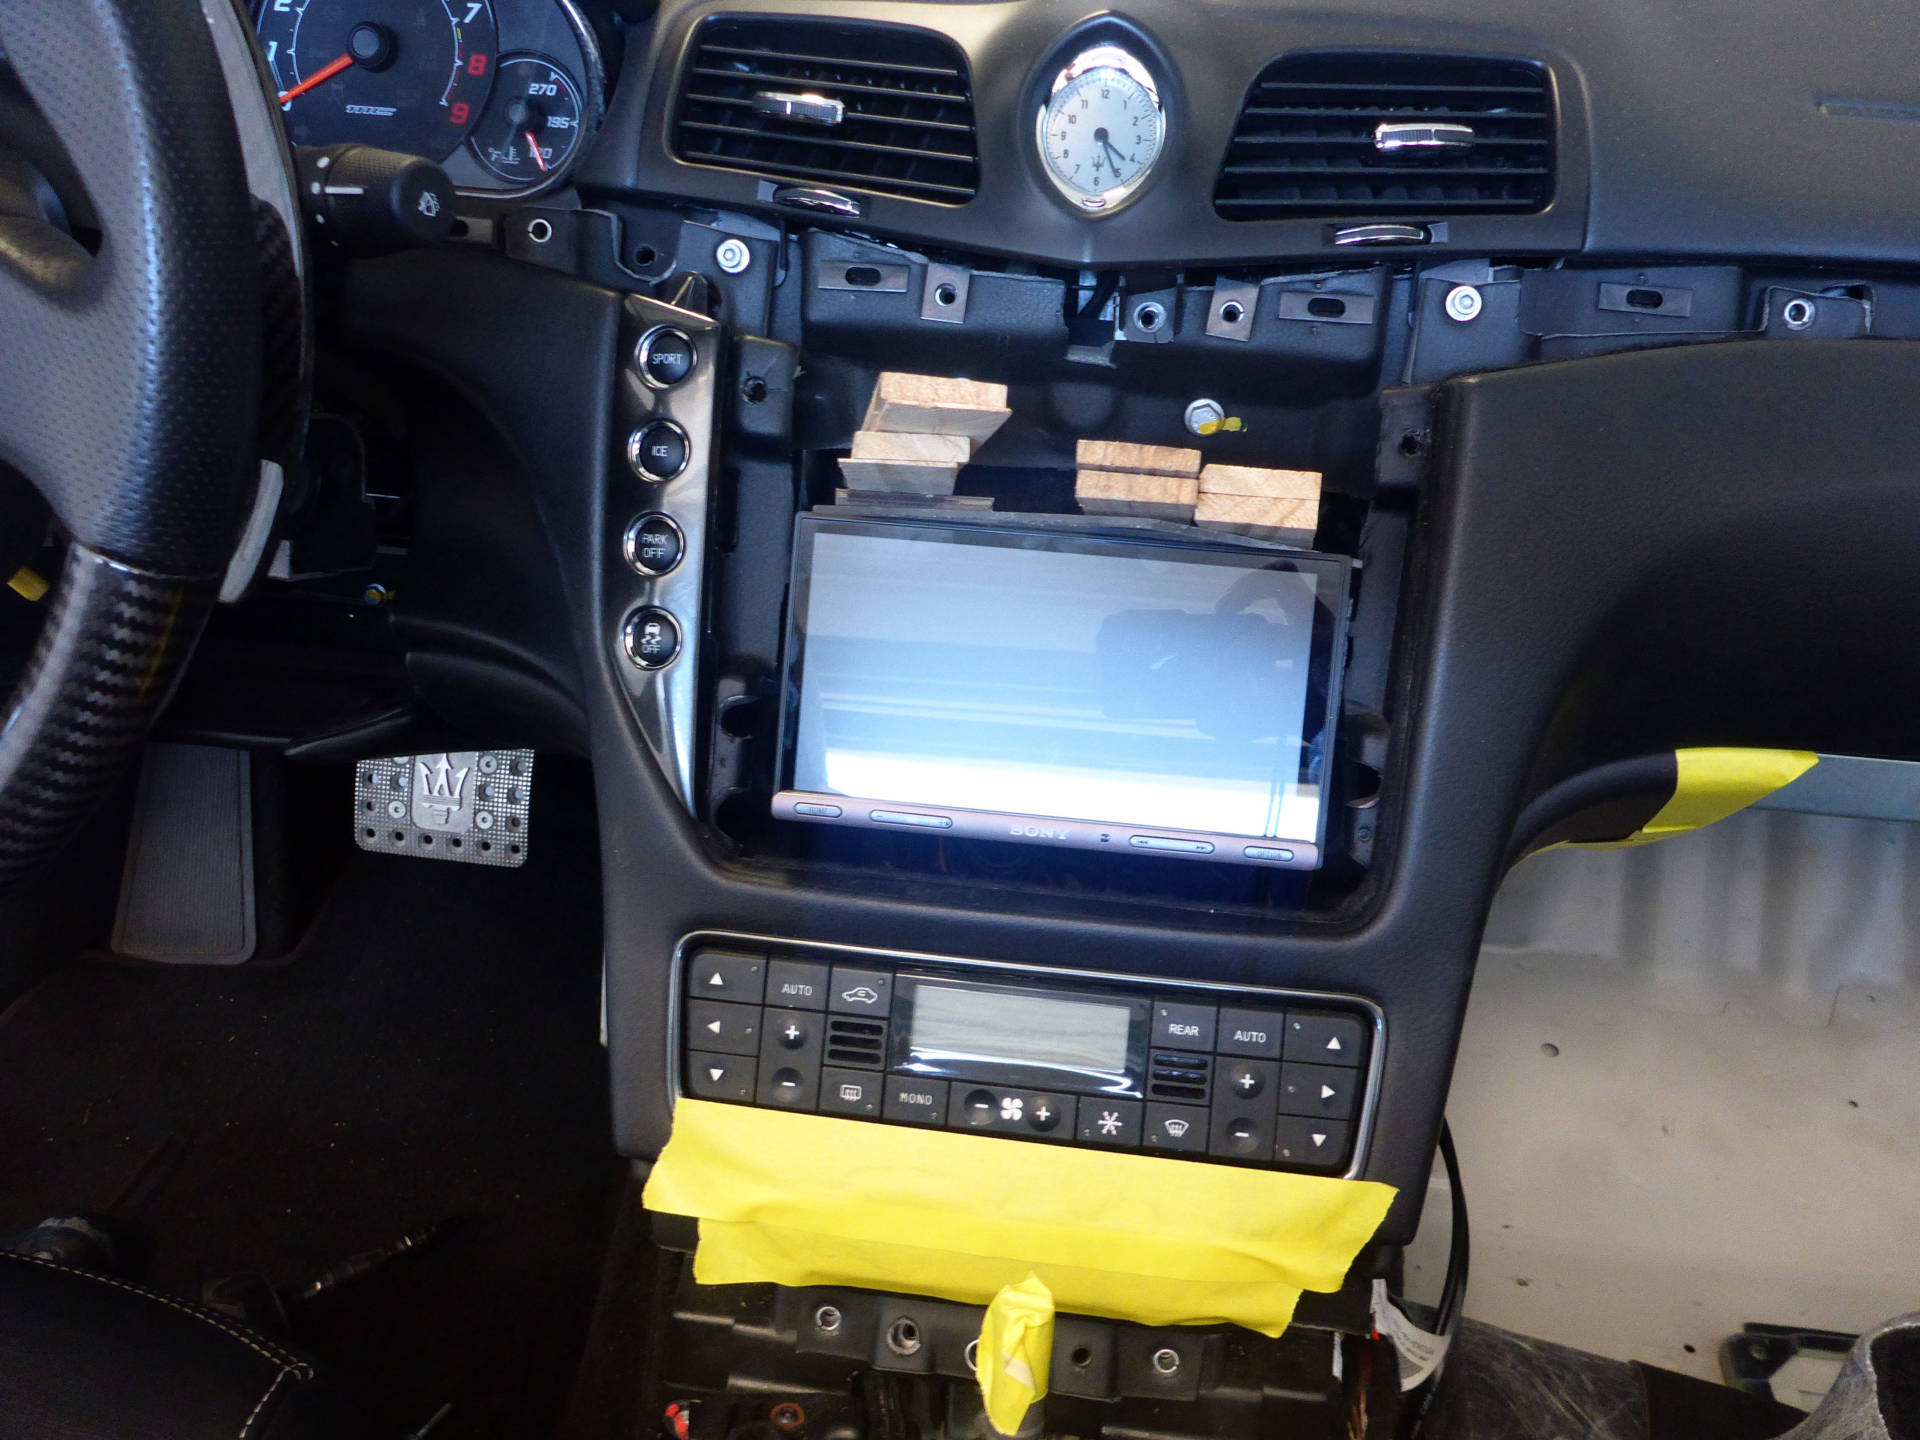
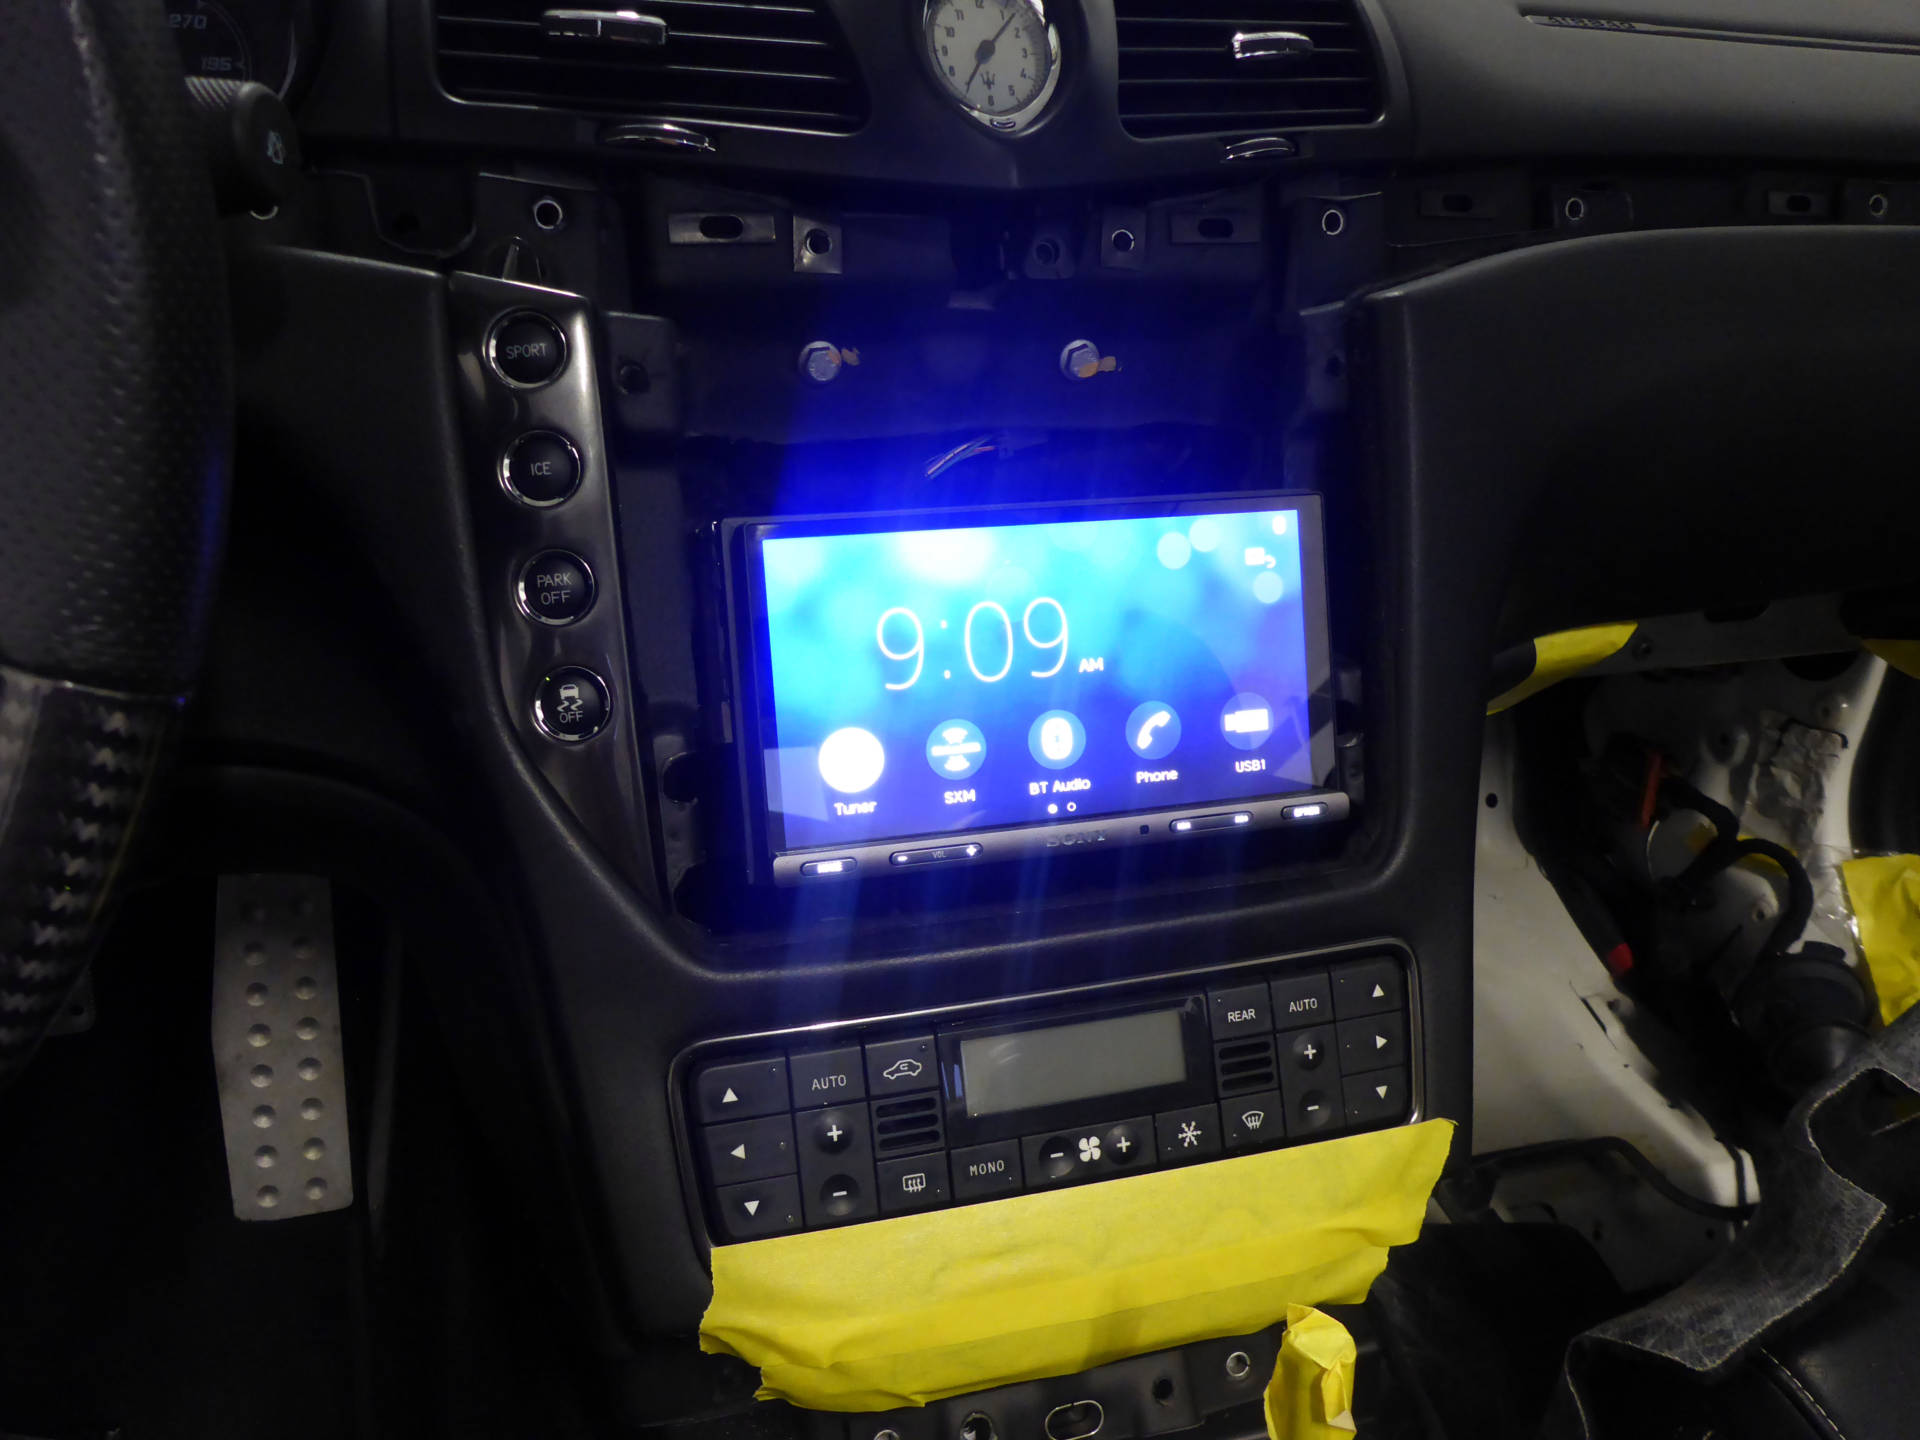
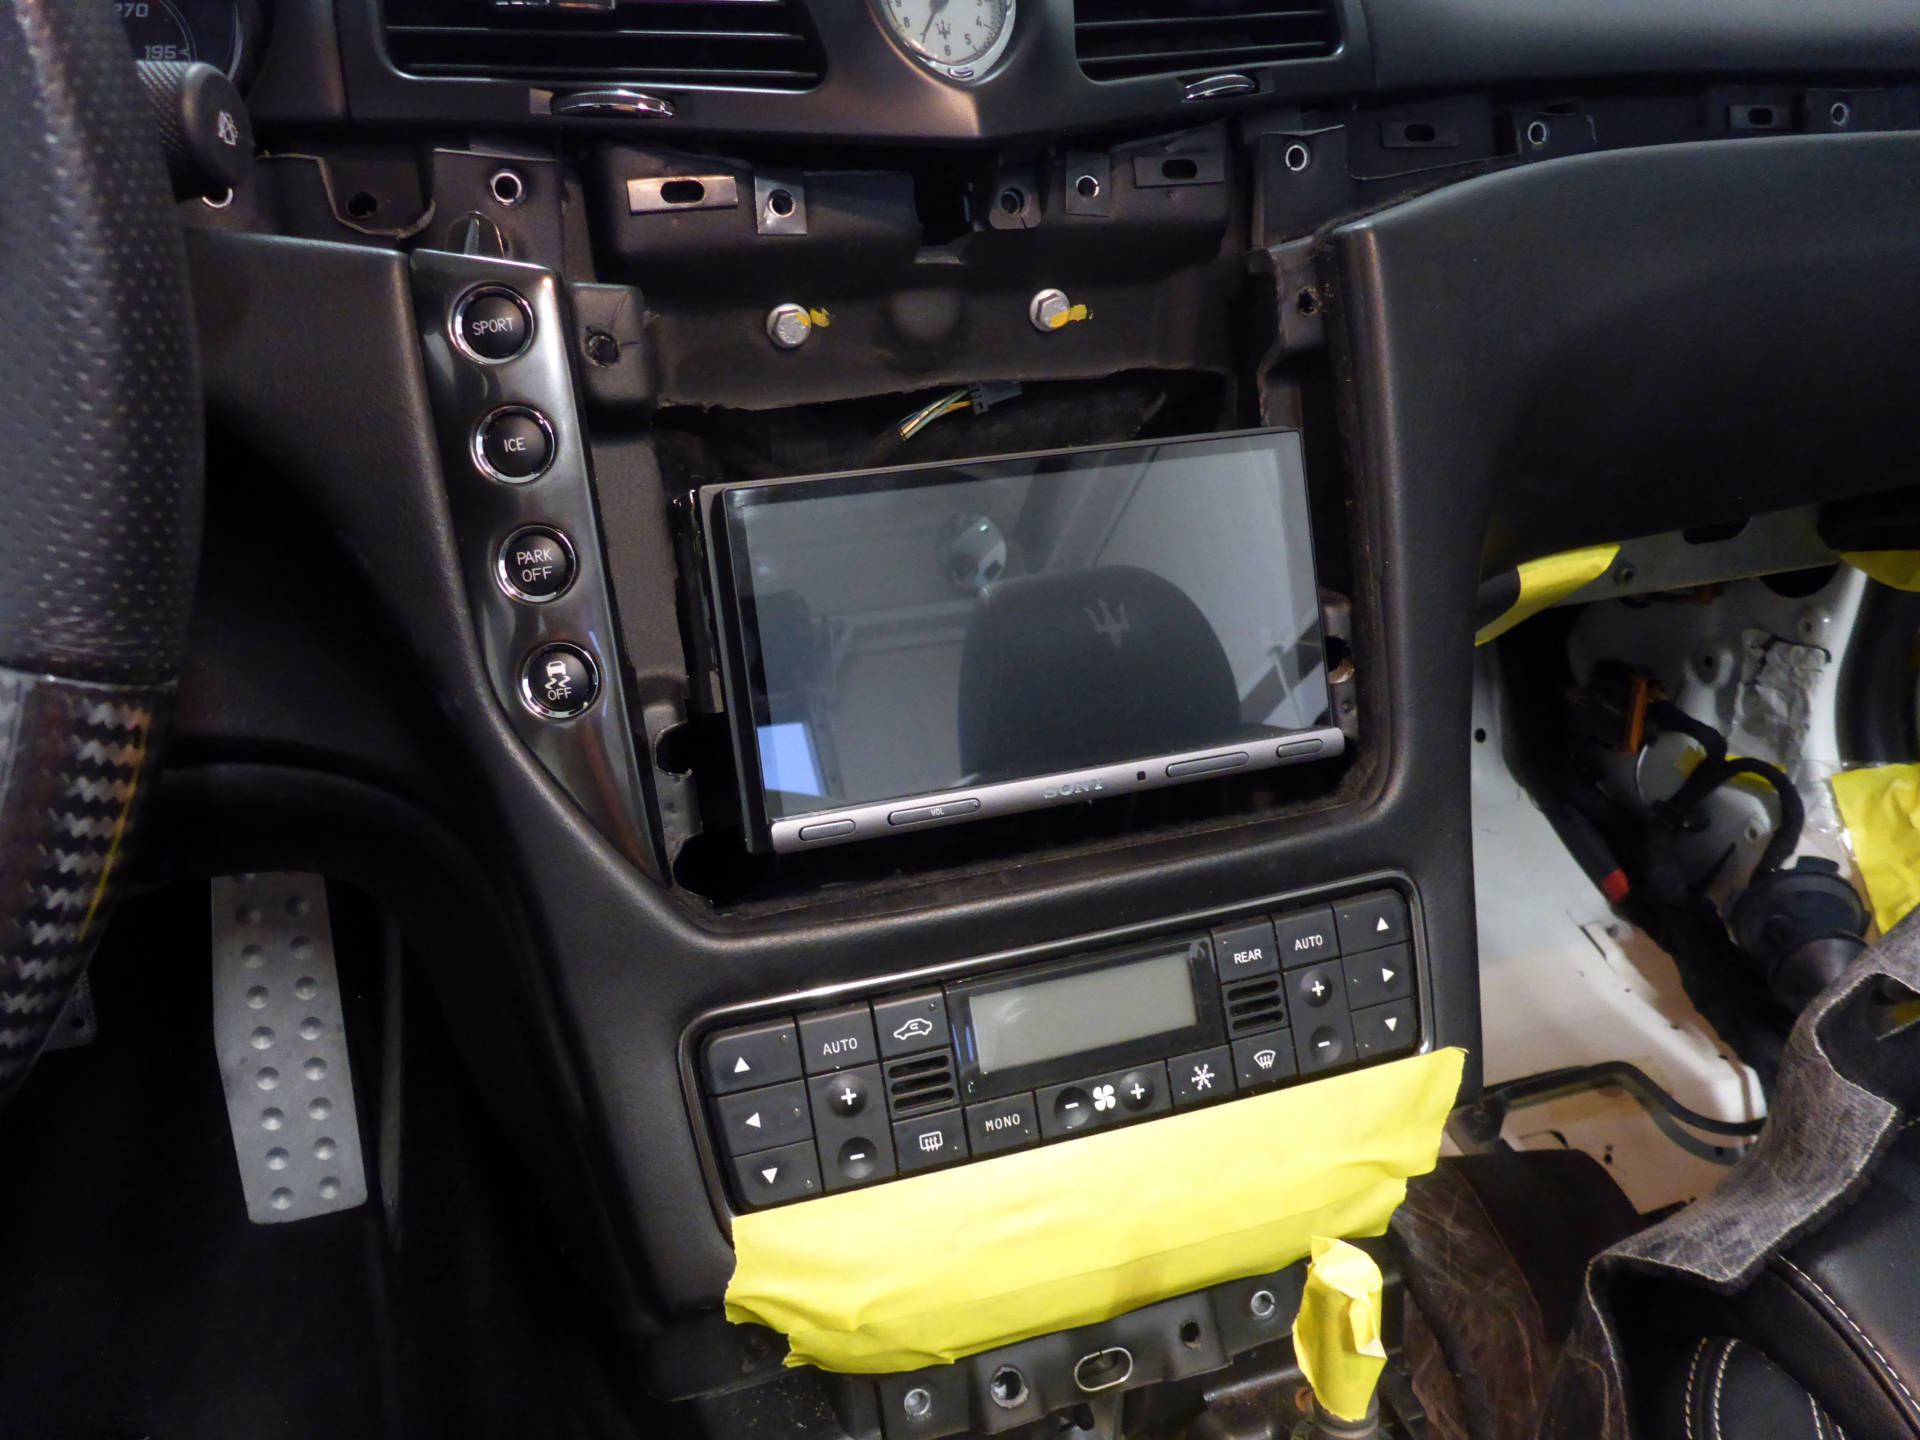
Time to trim it out and make it look like the radio belongs! Several pieces of acrylic and a bit of body filler helps get the exact shape that I desire.

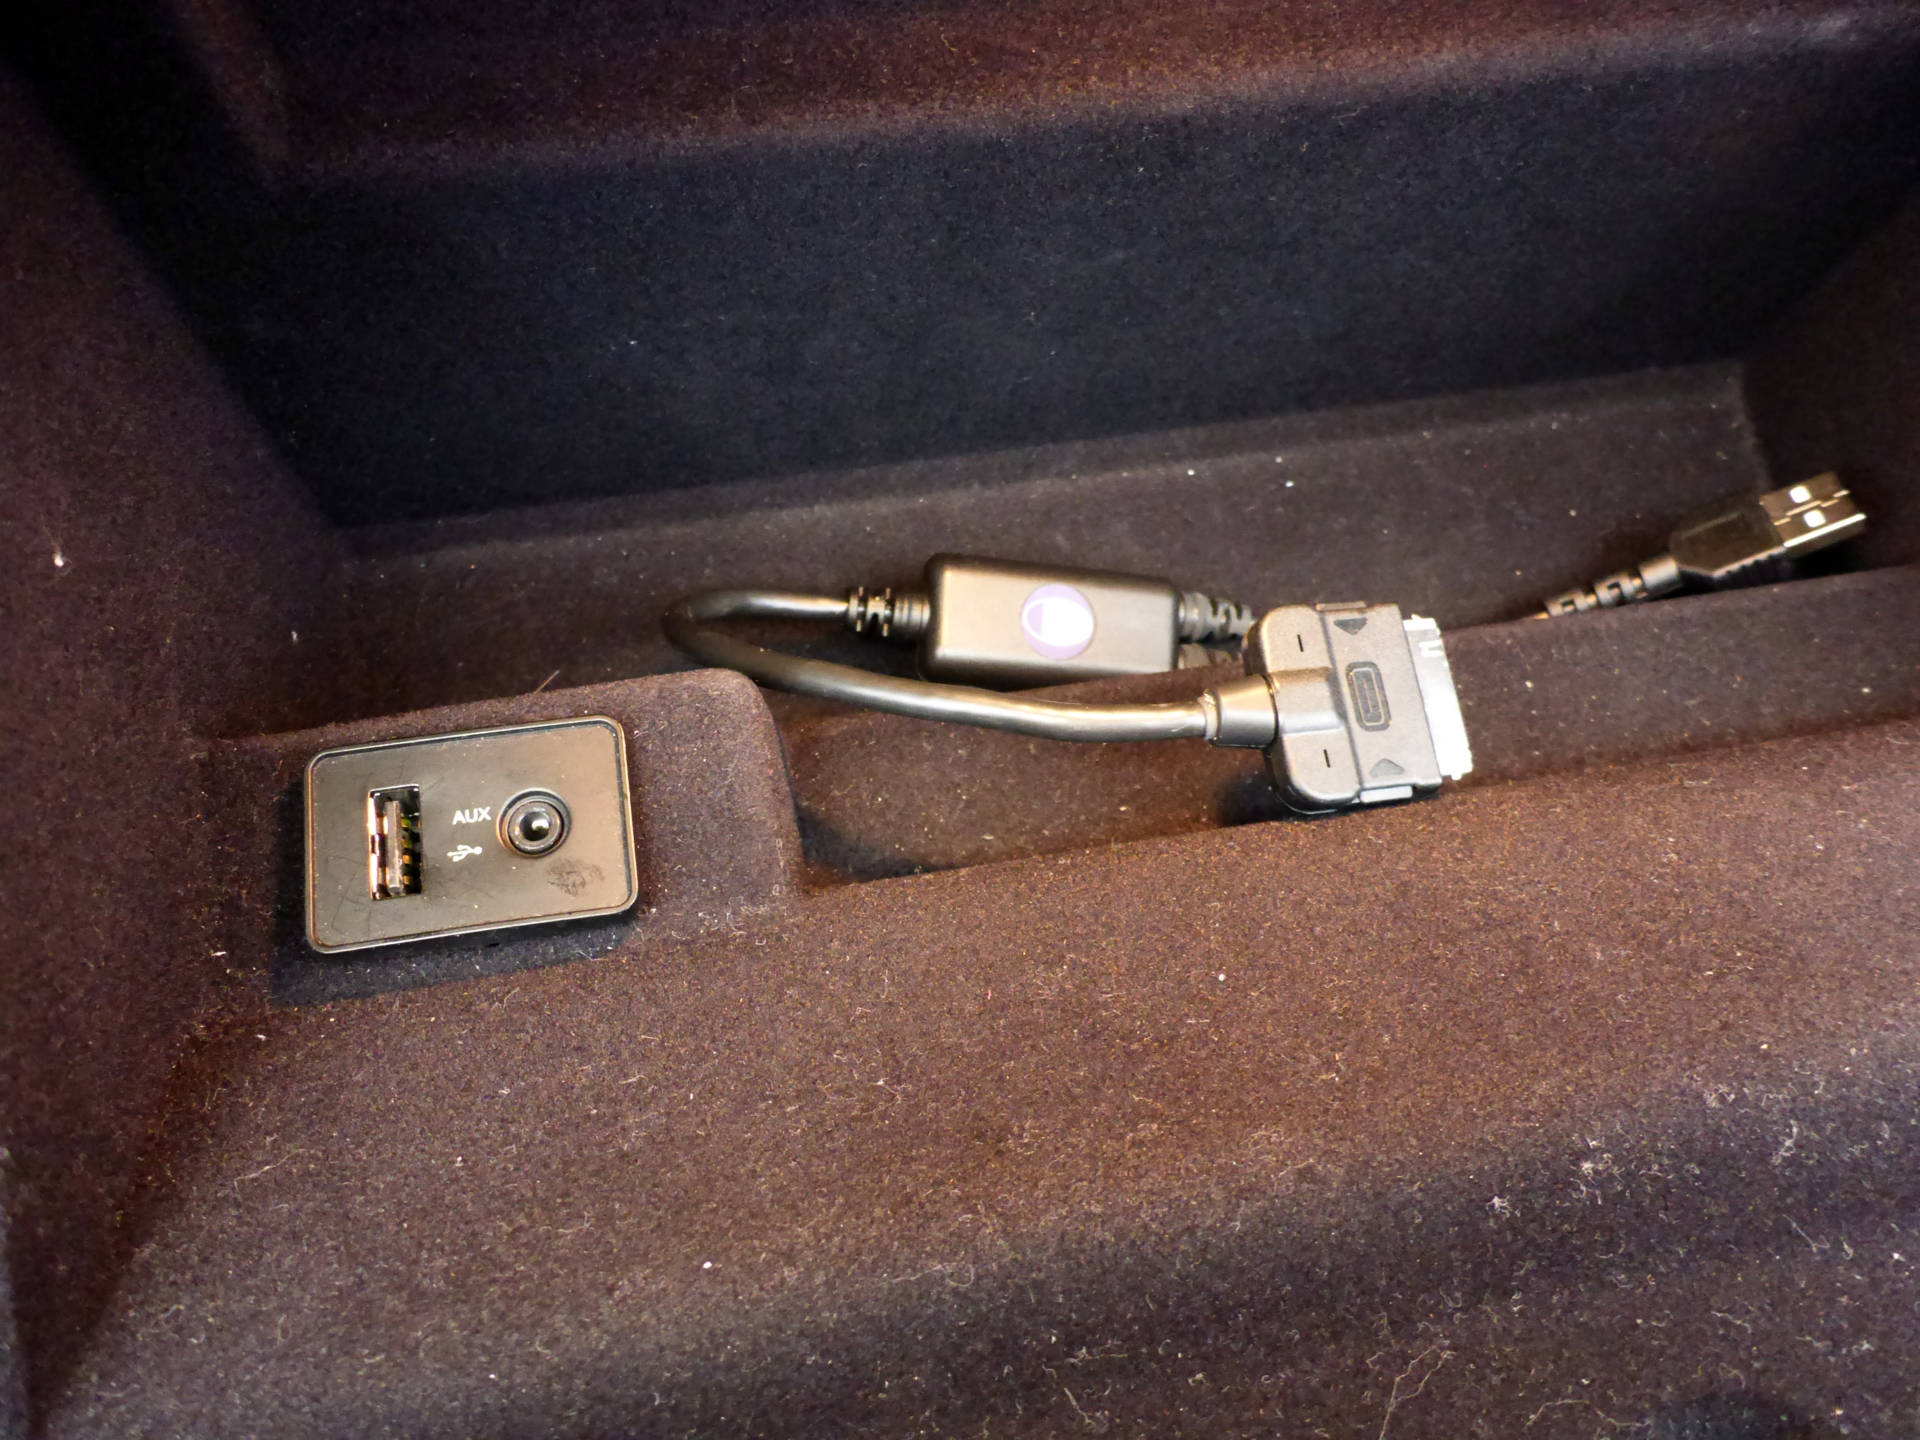
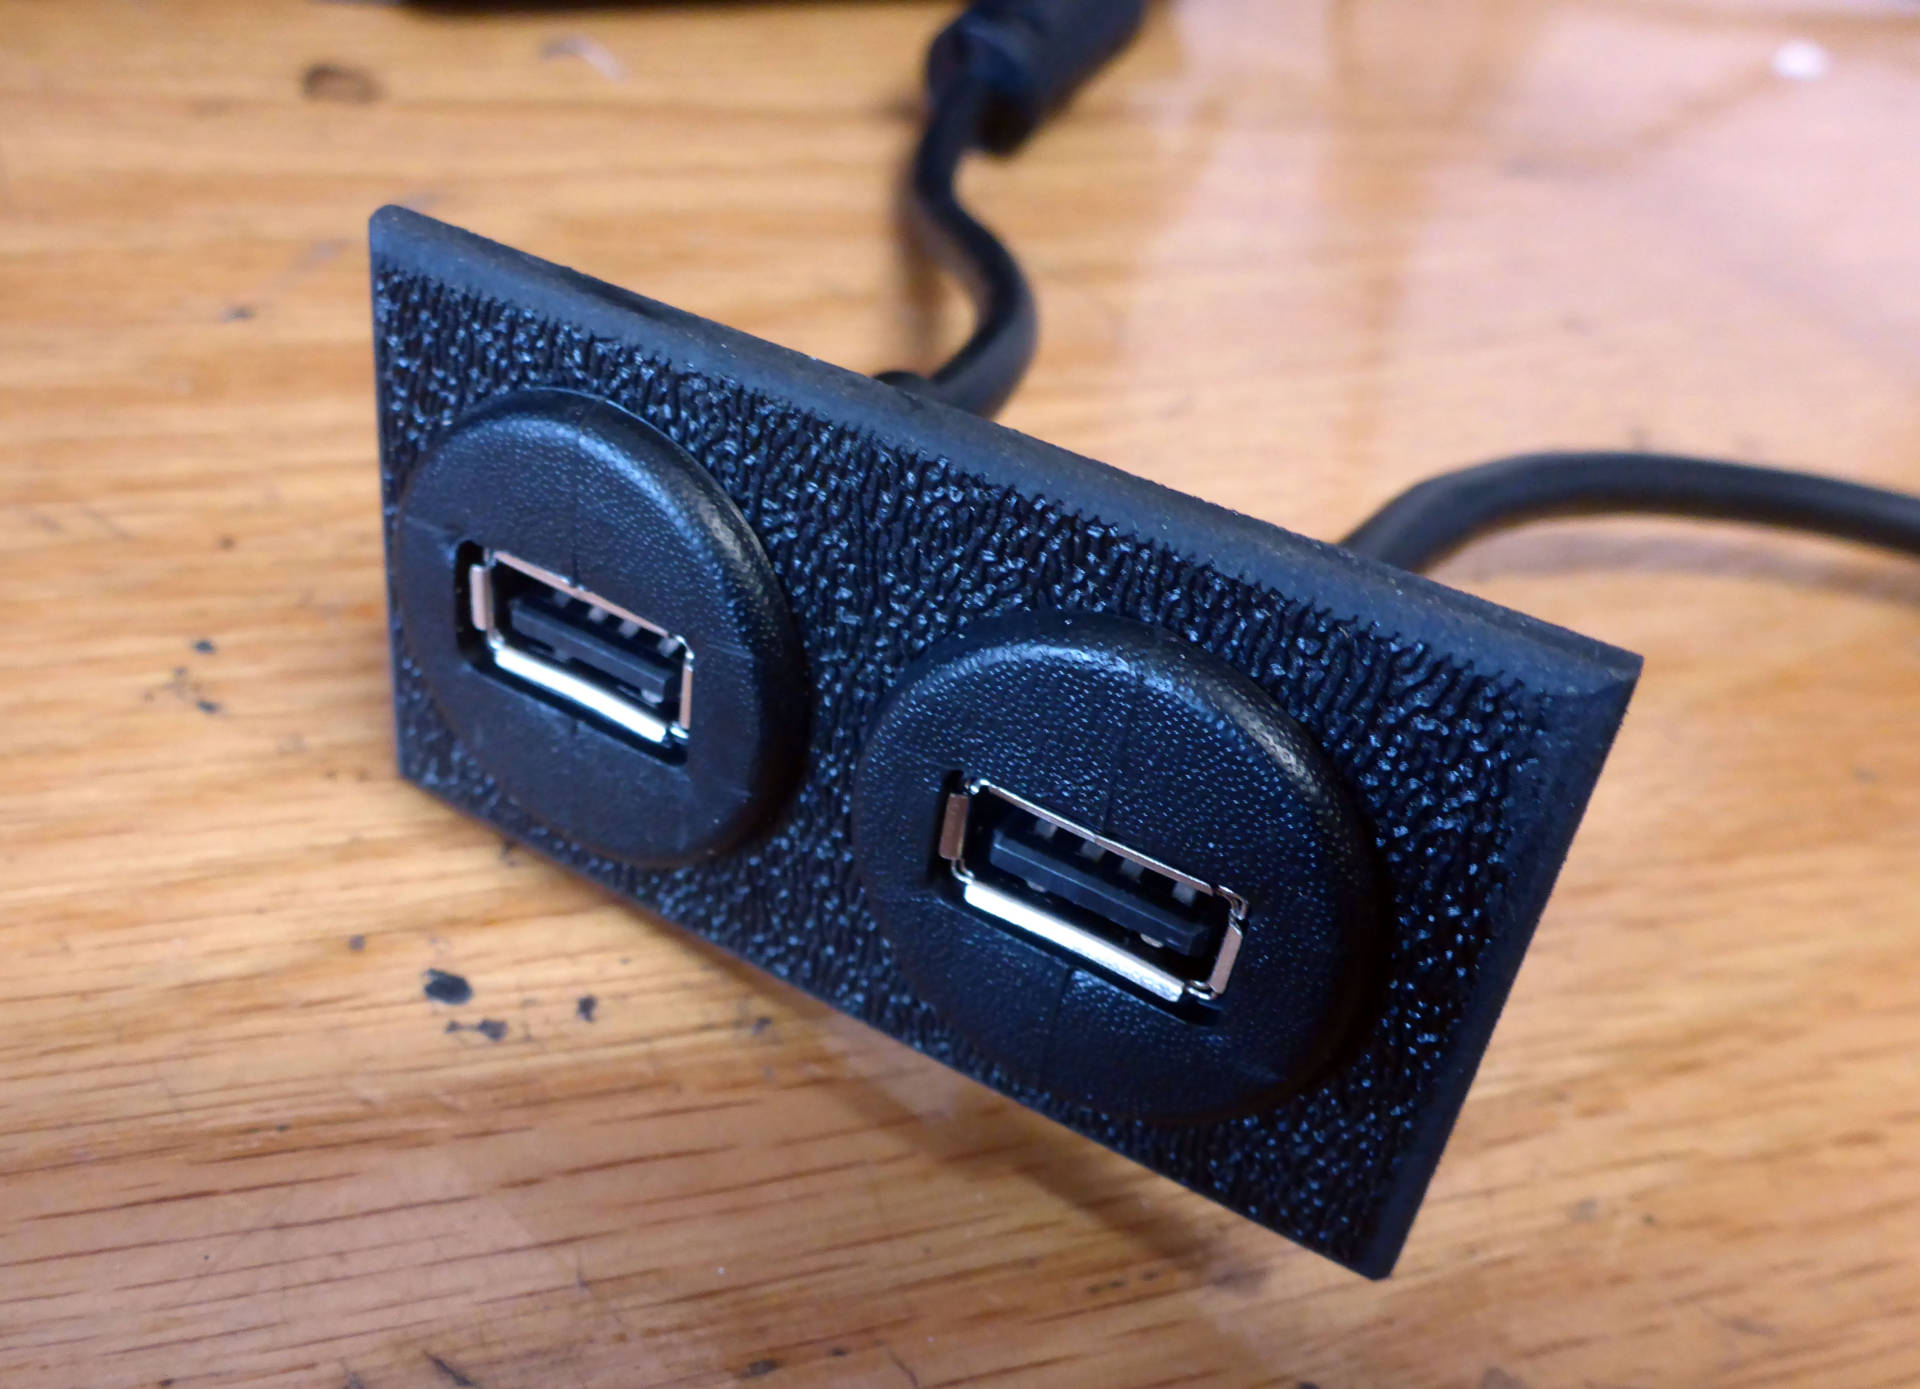
Side project: here are the new dual USB ports, to be accessed in the glovebox:
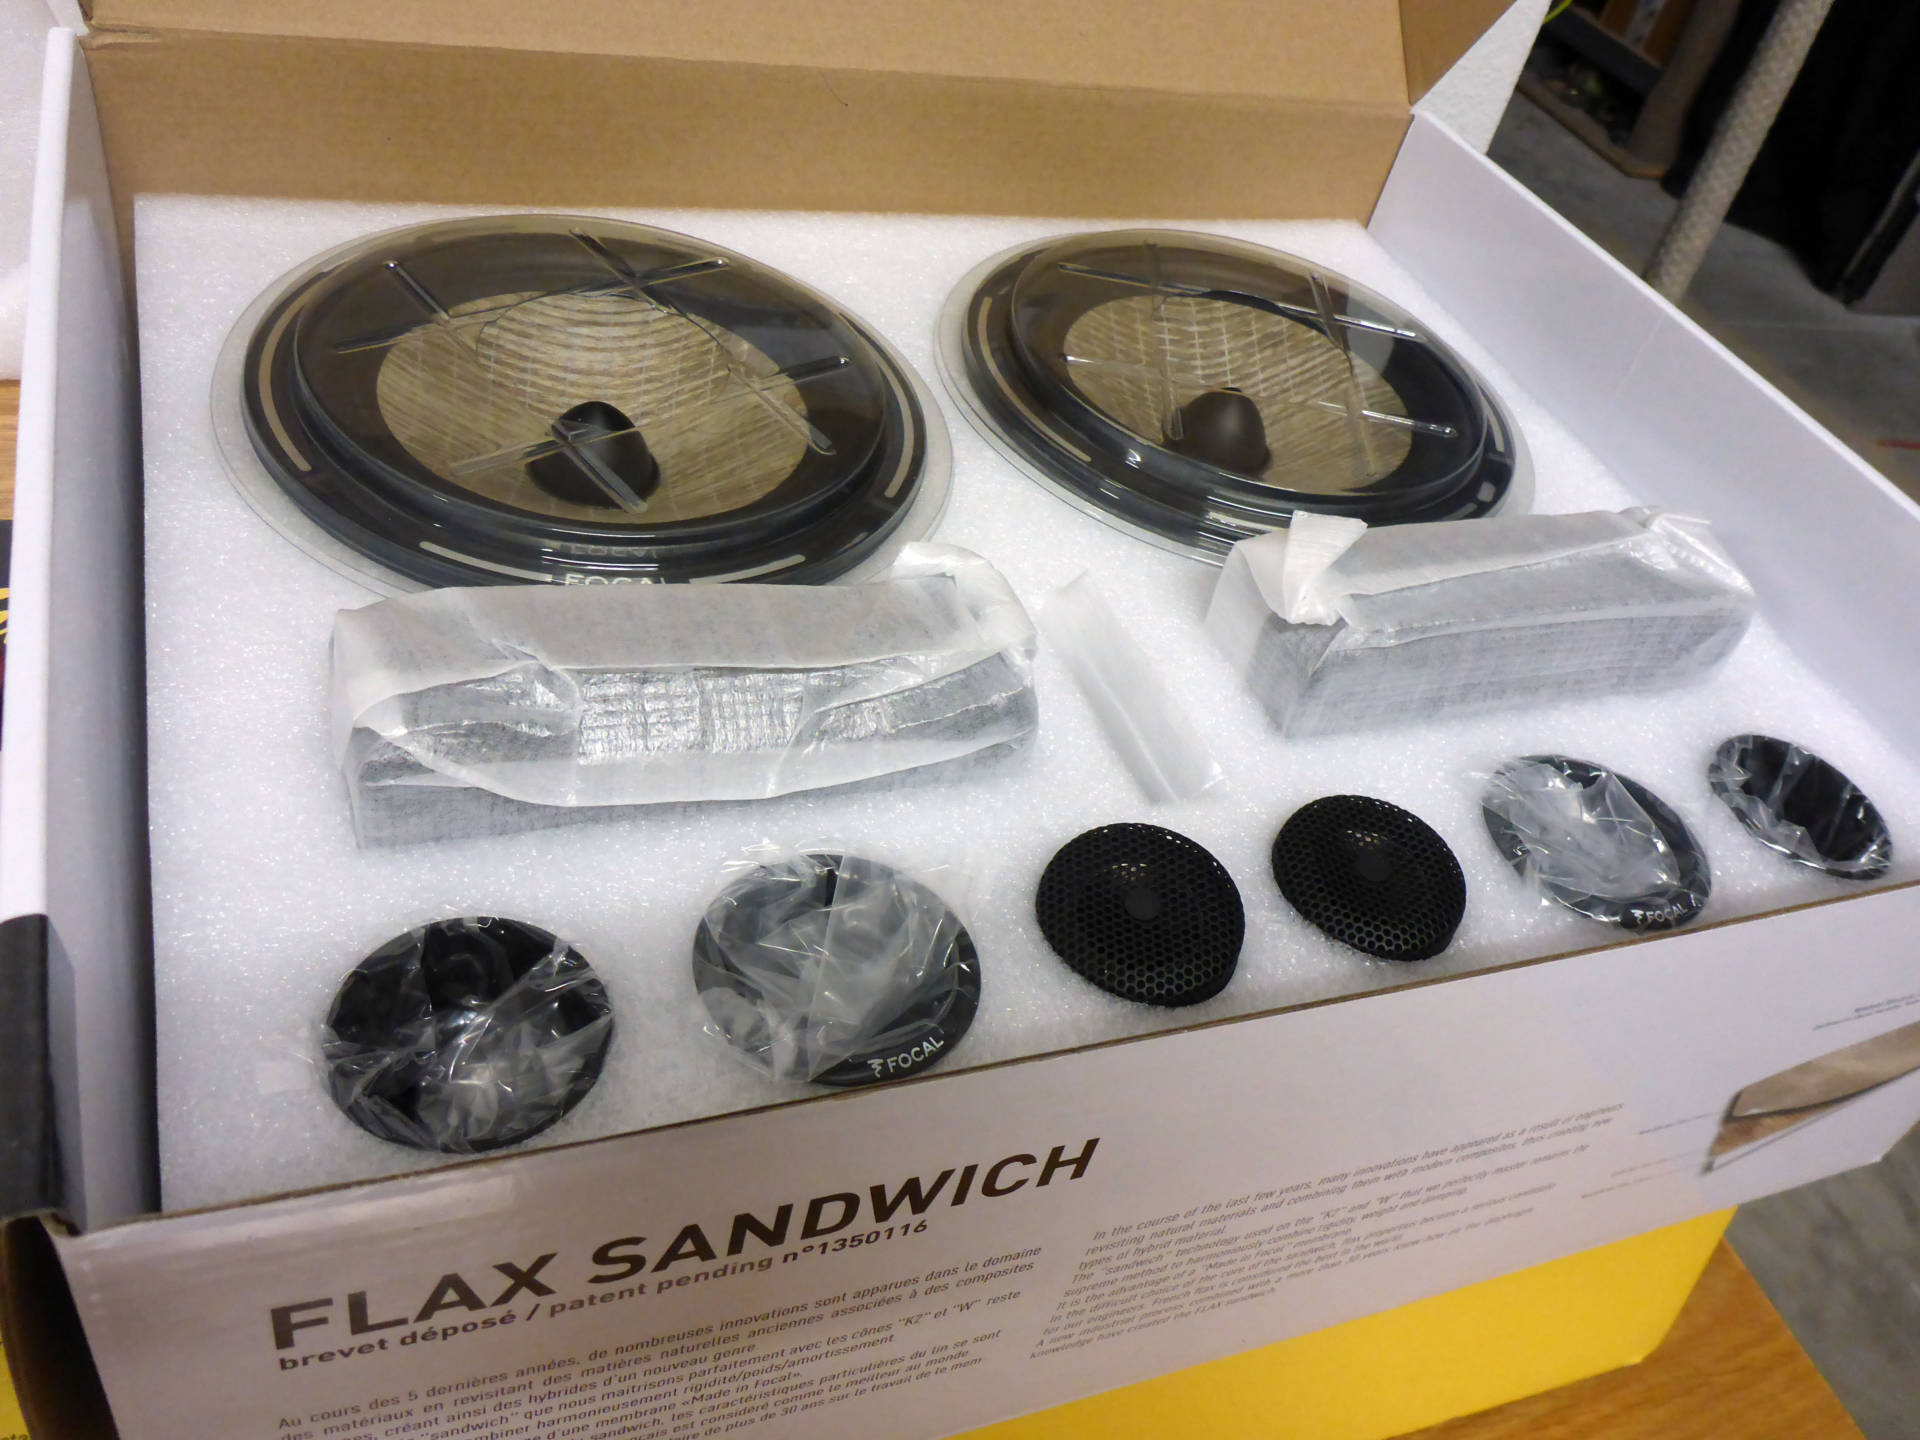
Let’s hop over to the doors for a minute now. These are the delicious Focal Flax component speakers we’ll be installing:

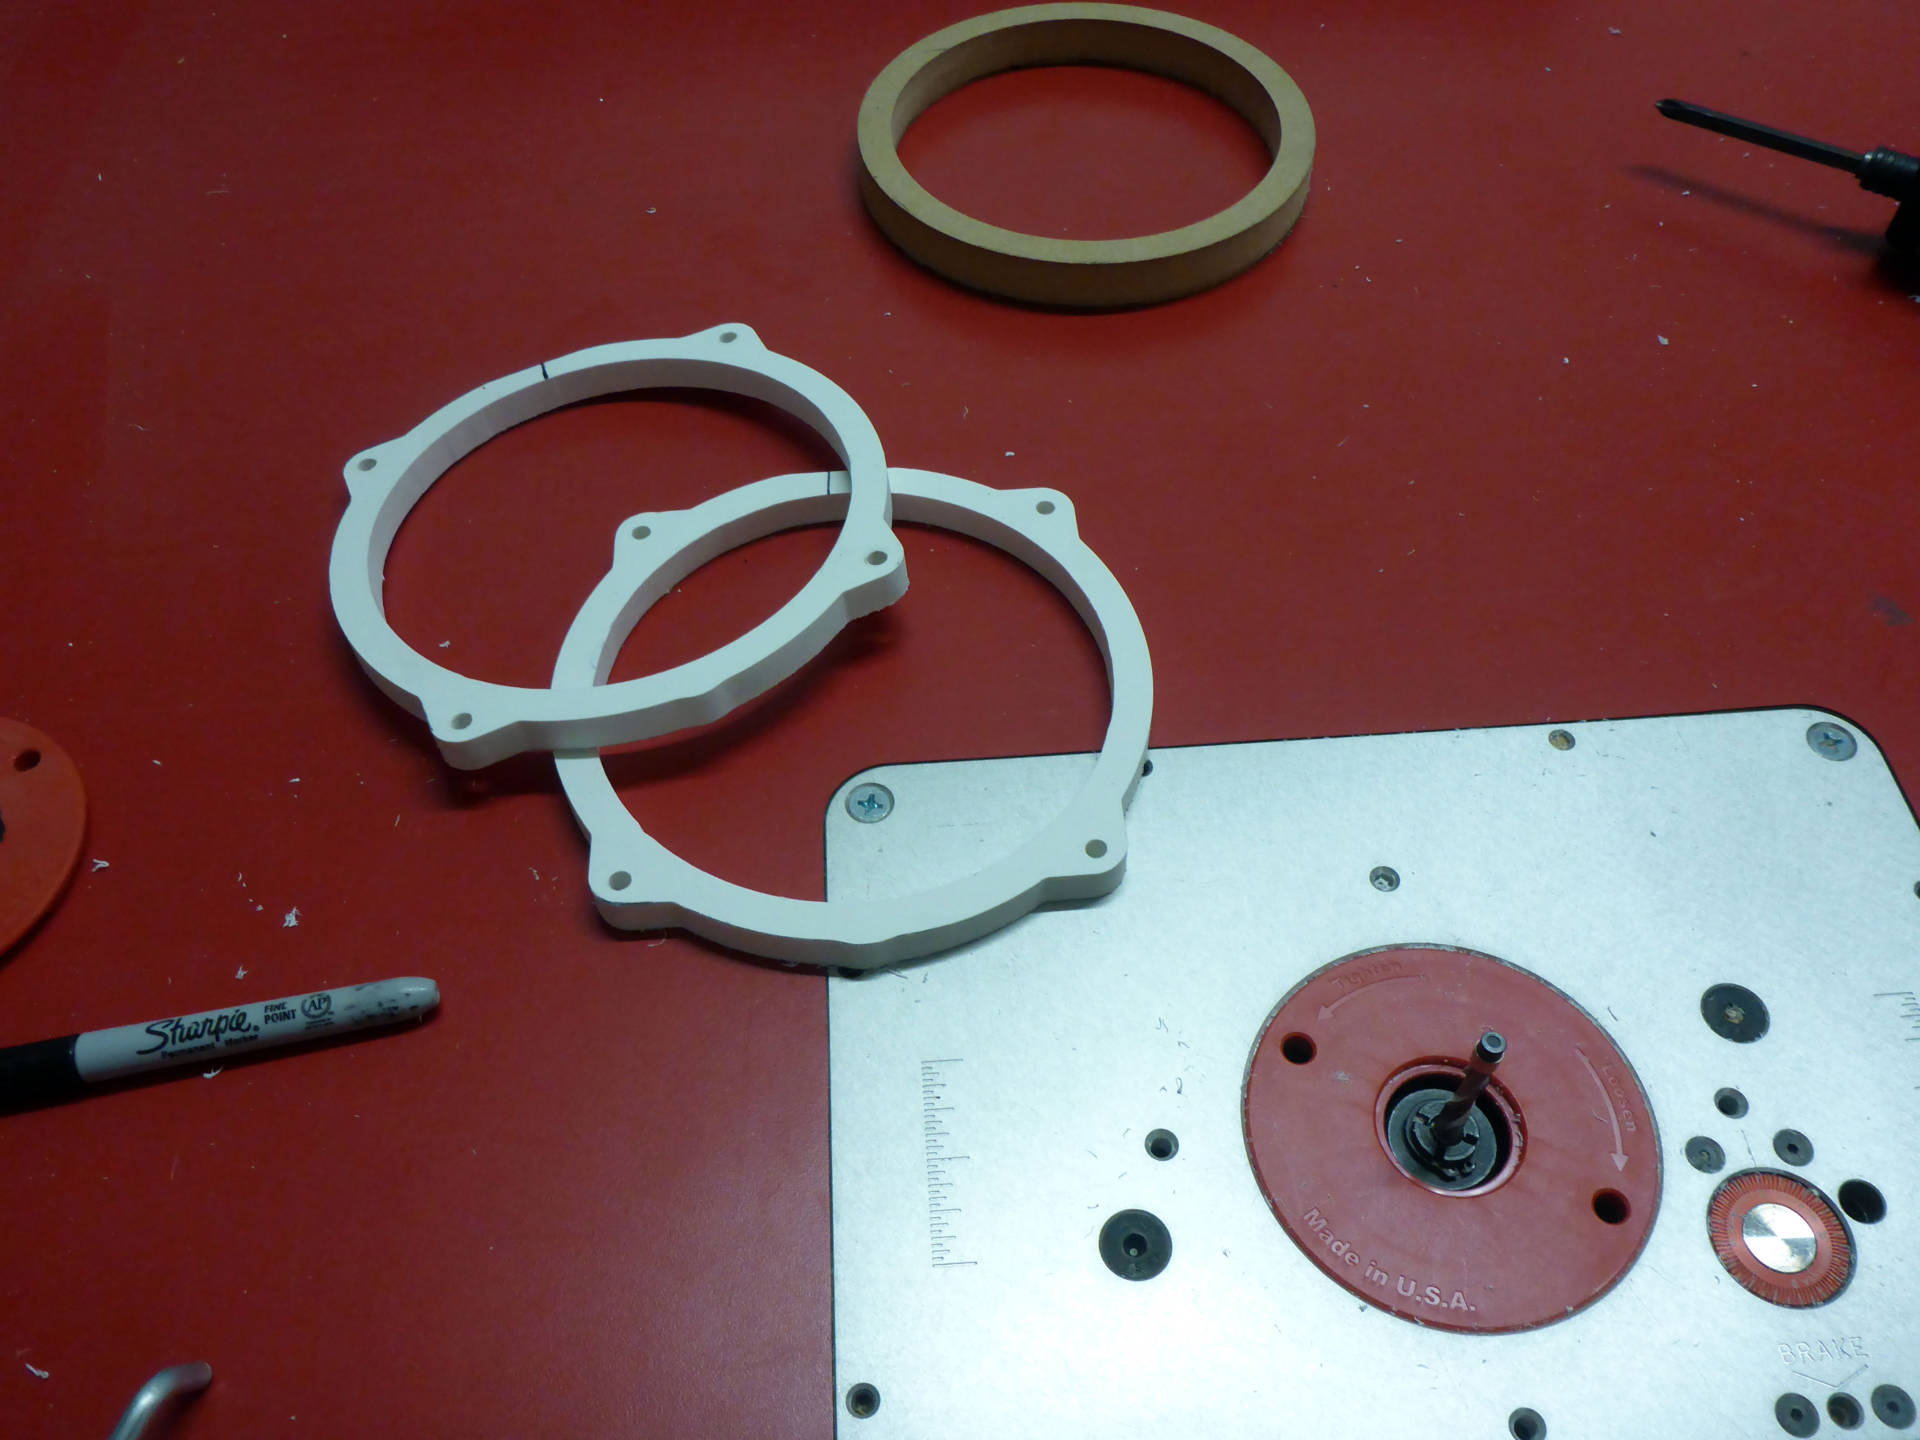
Mounting rings machined and PVC adapter plate mounted:

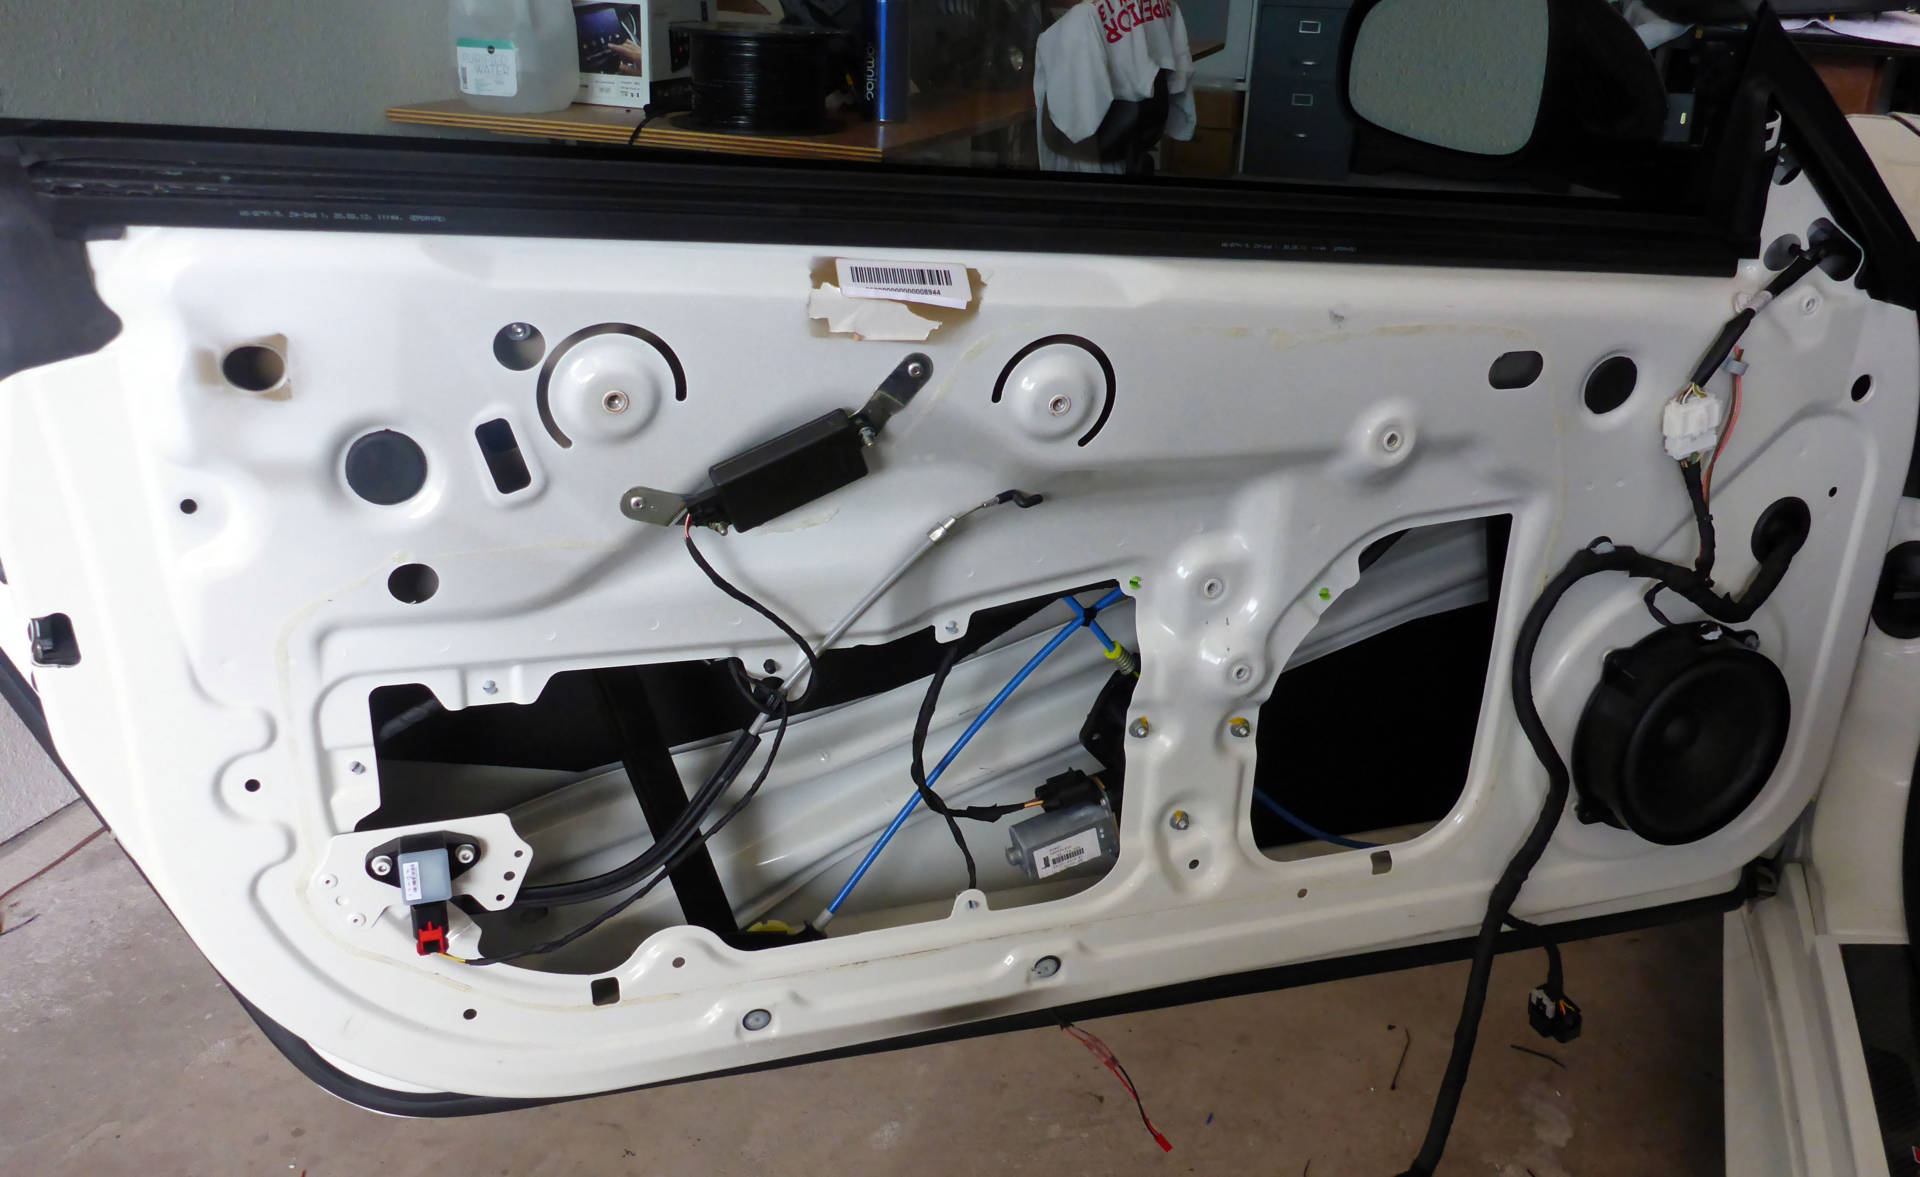
Outer door skin damped with appropriate sound deadener:
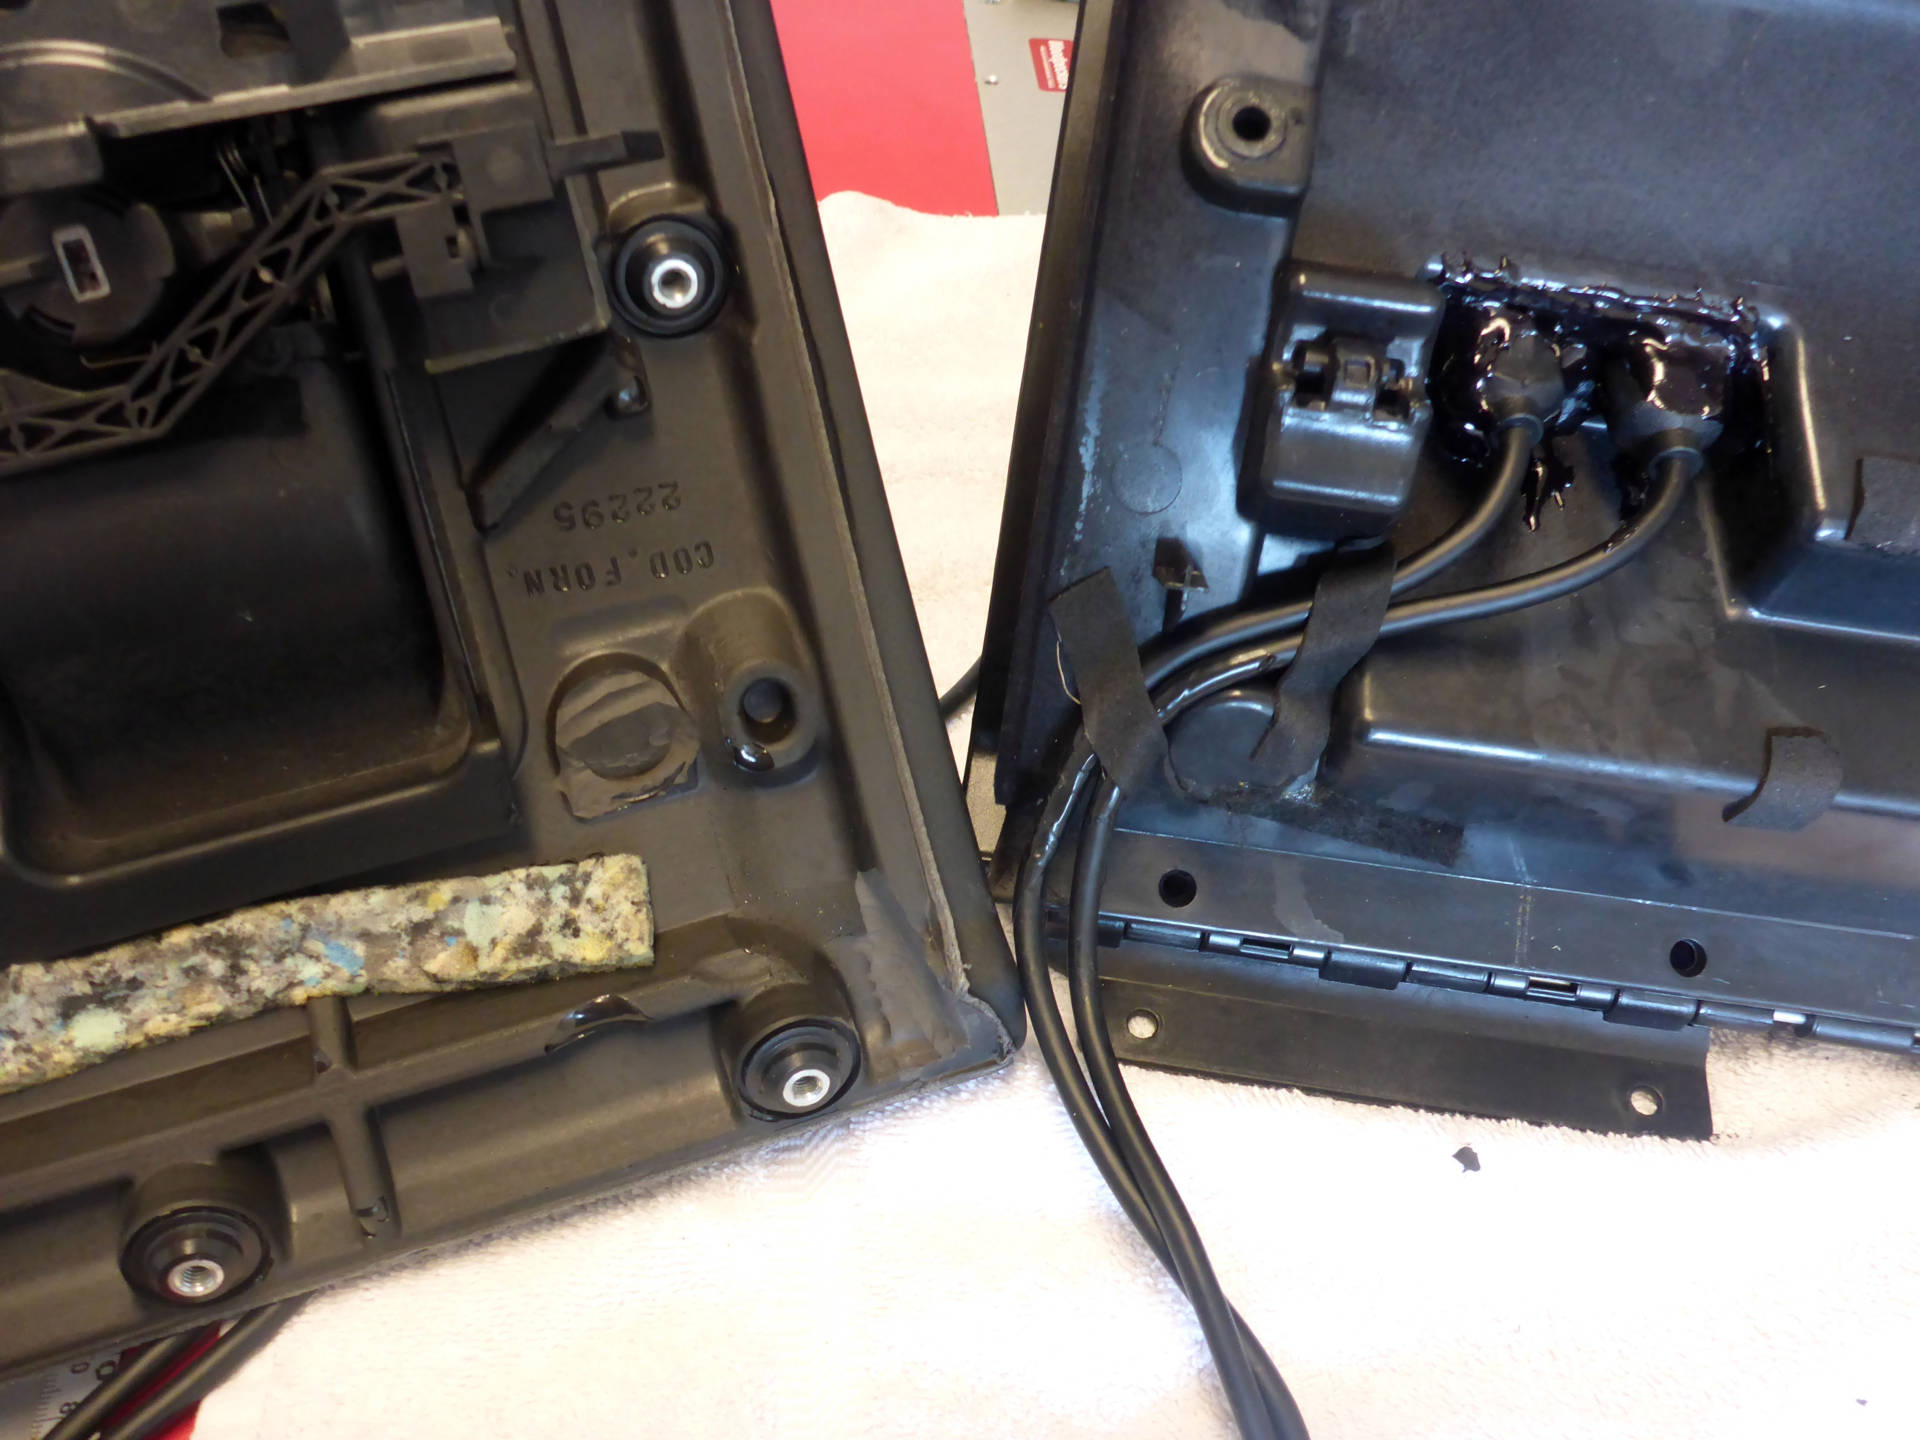
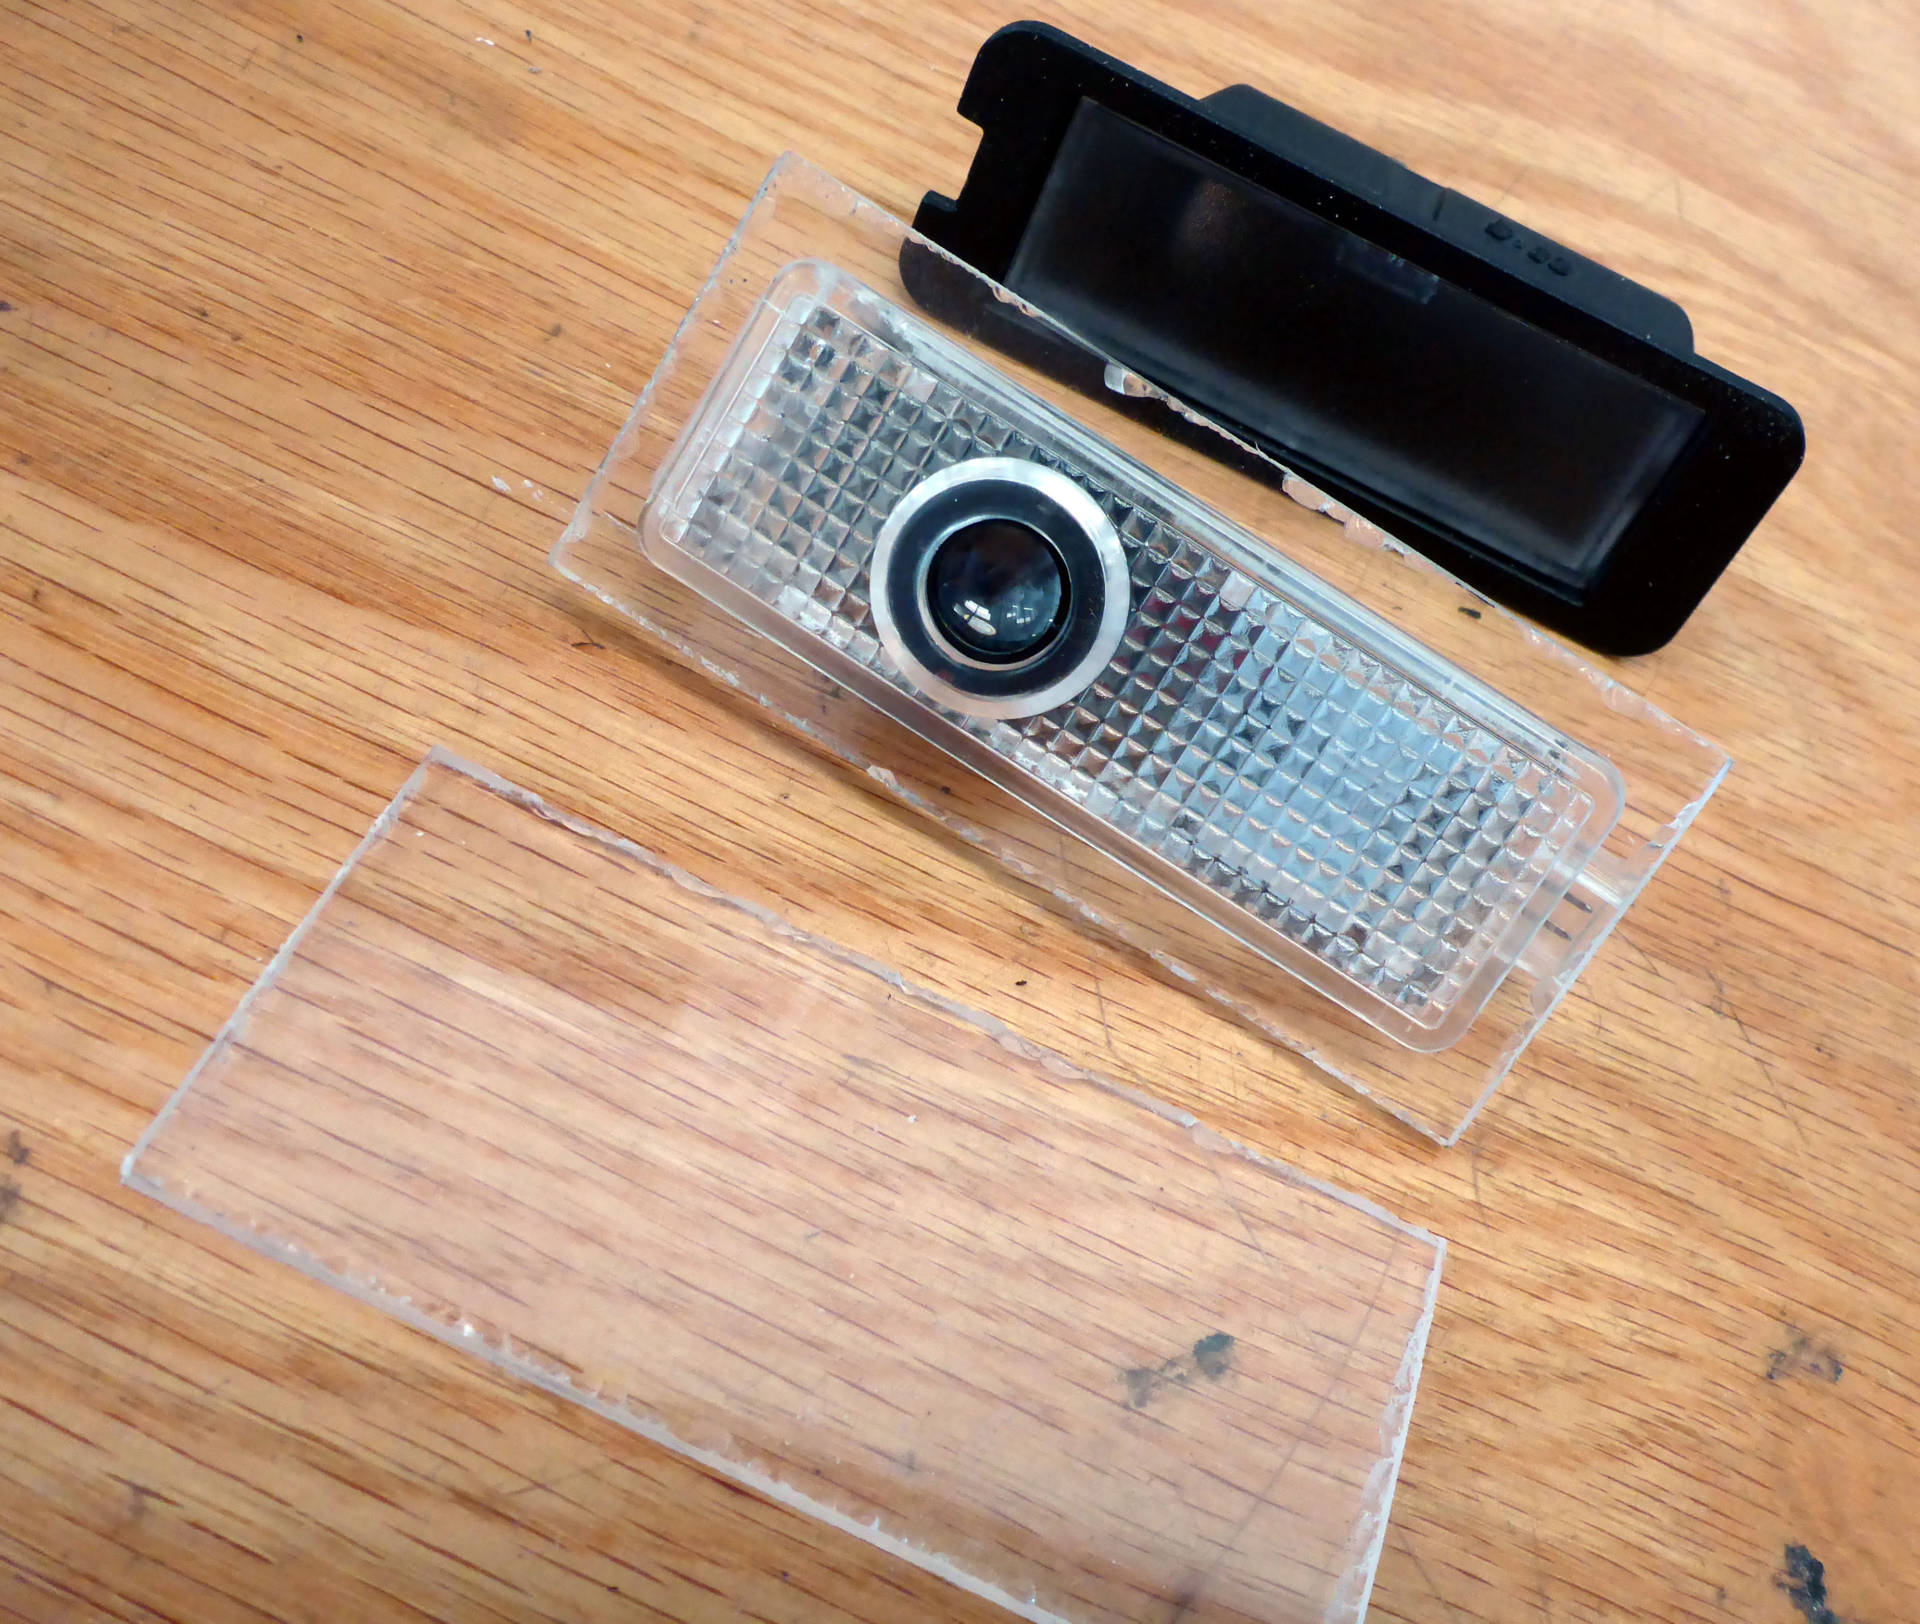
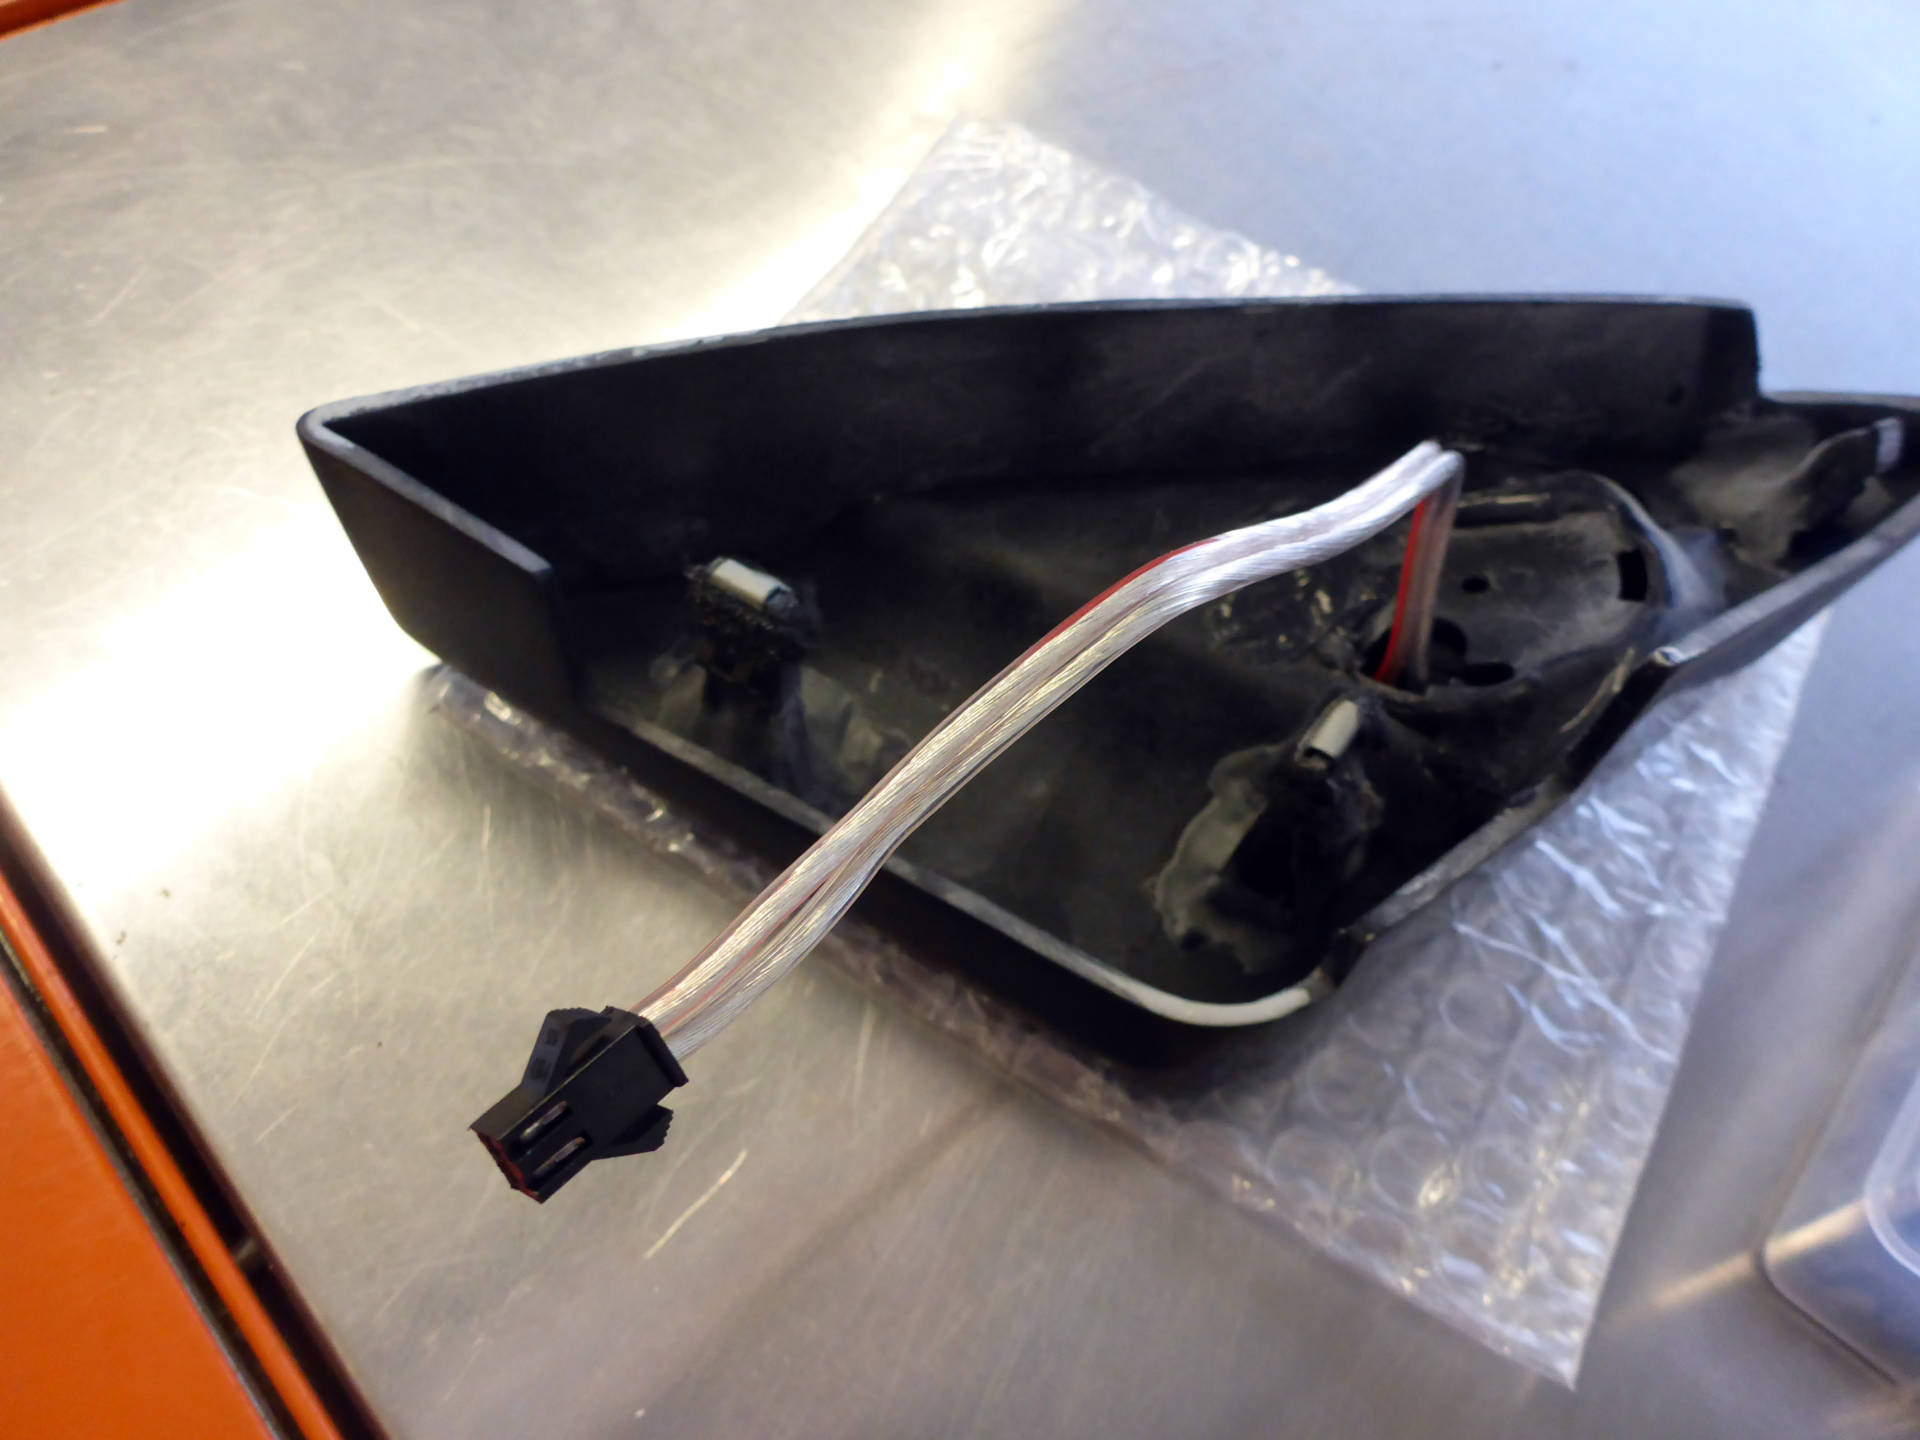
While the door was apart, I took the opportunity to install these universal puddle lights which required a minor amount of acrylic work to make them fit right:

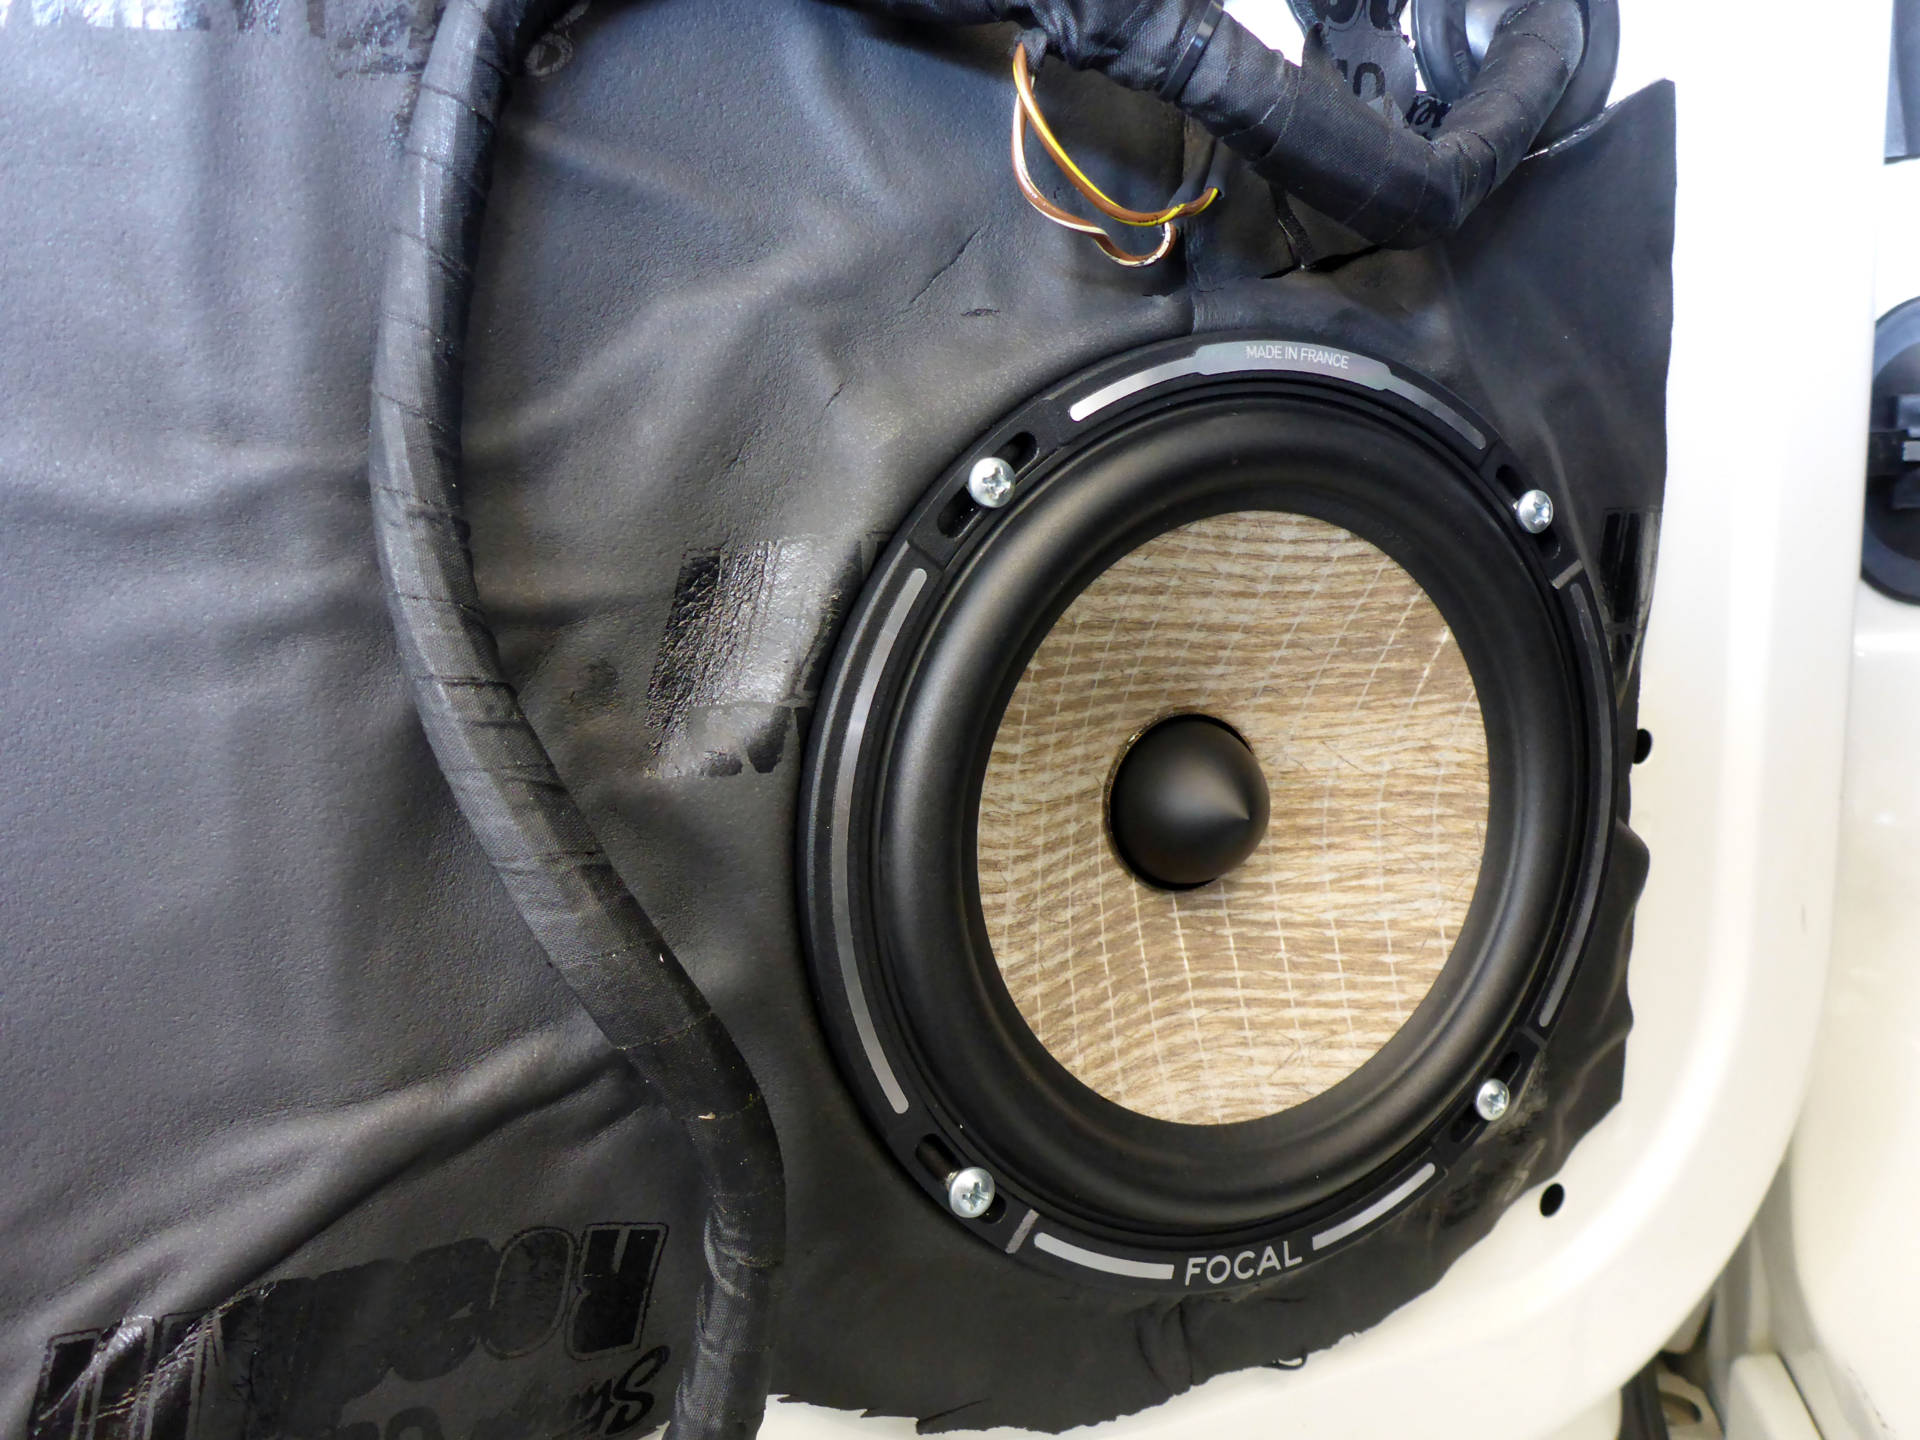
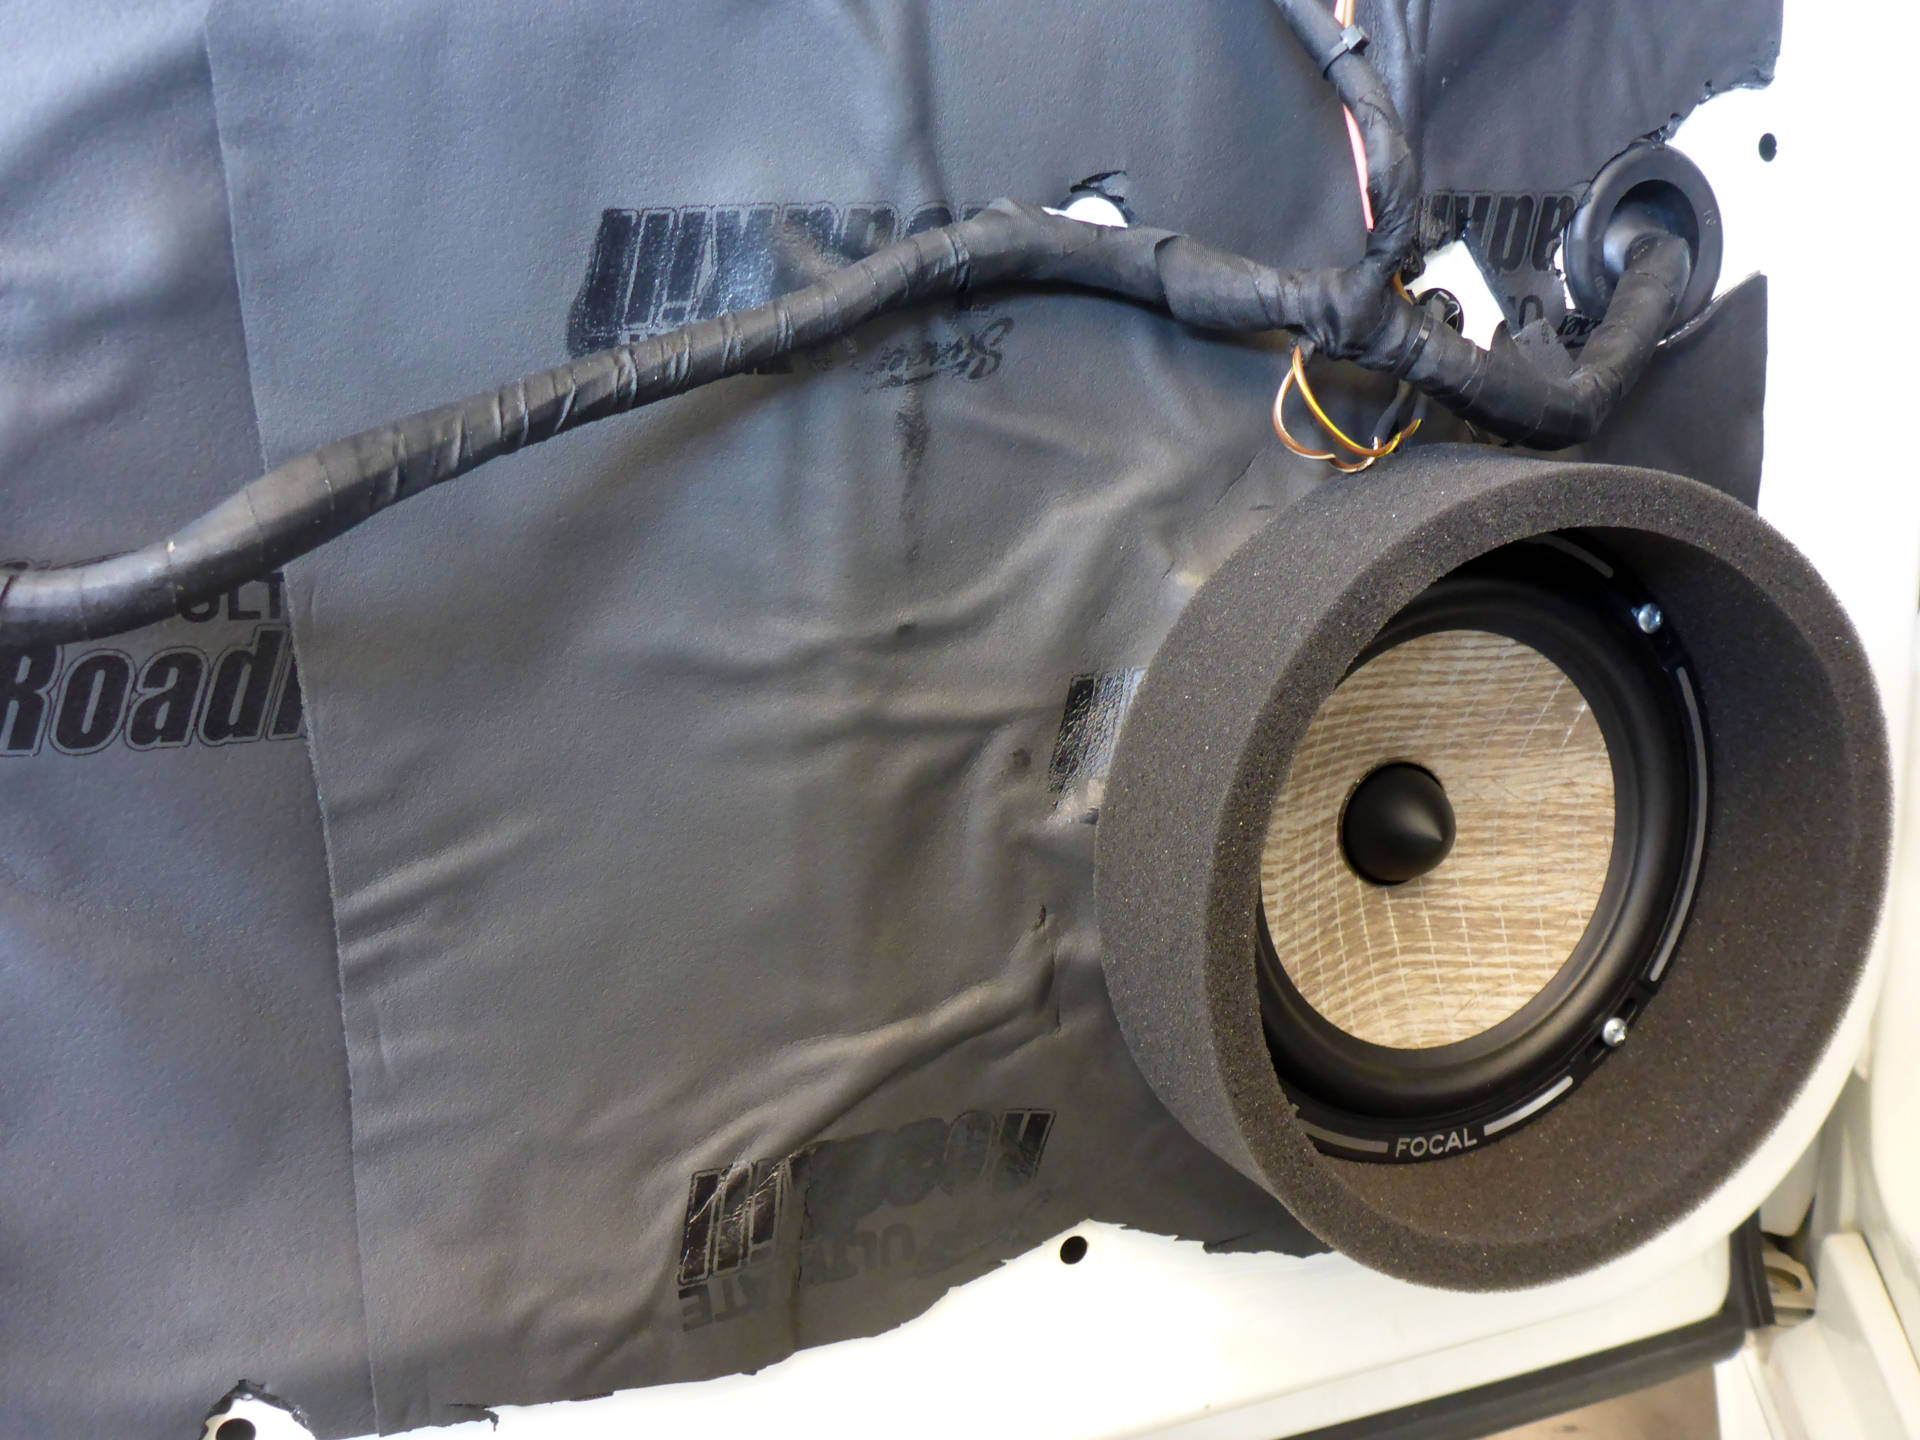
Inner door skin damped and woofers installed:

Fast rings installed to couple speakers to the door, and door reassembled:

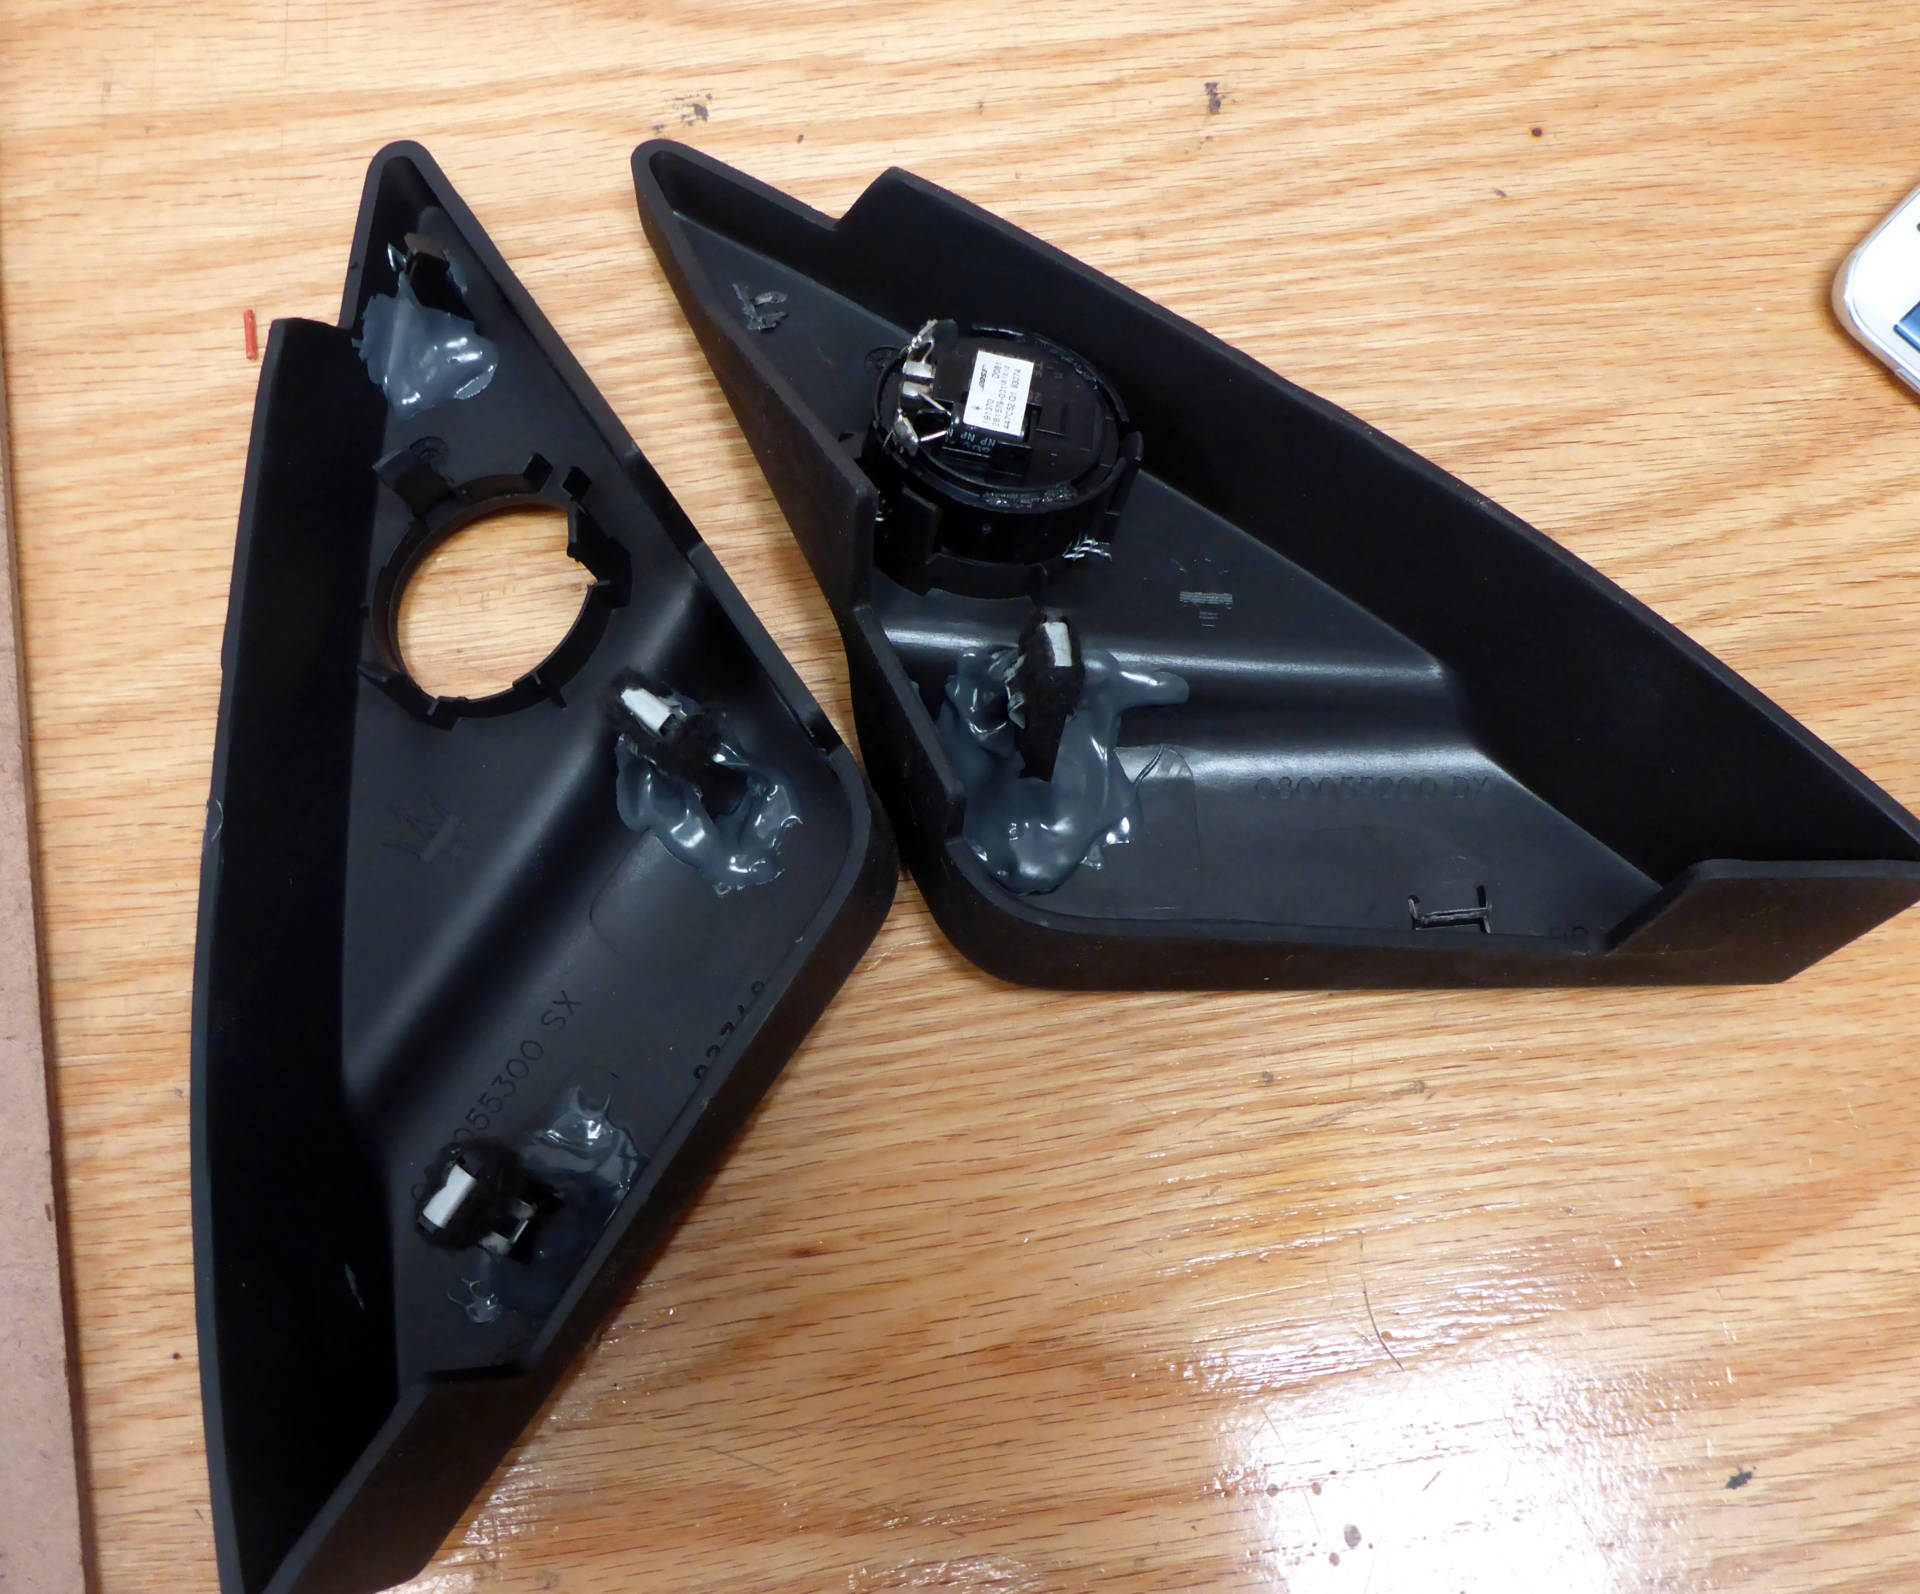
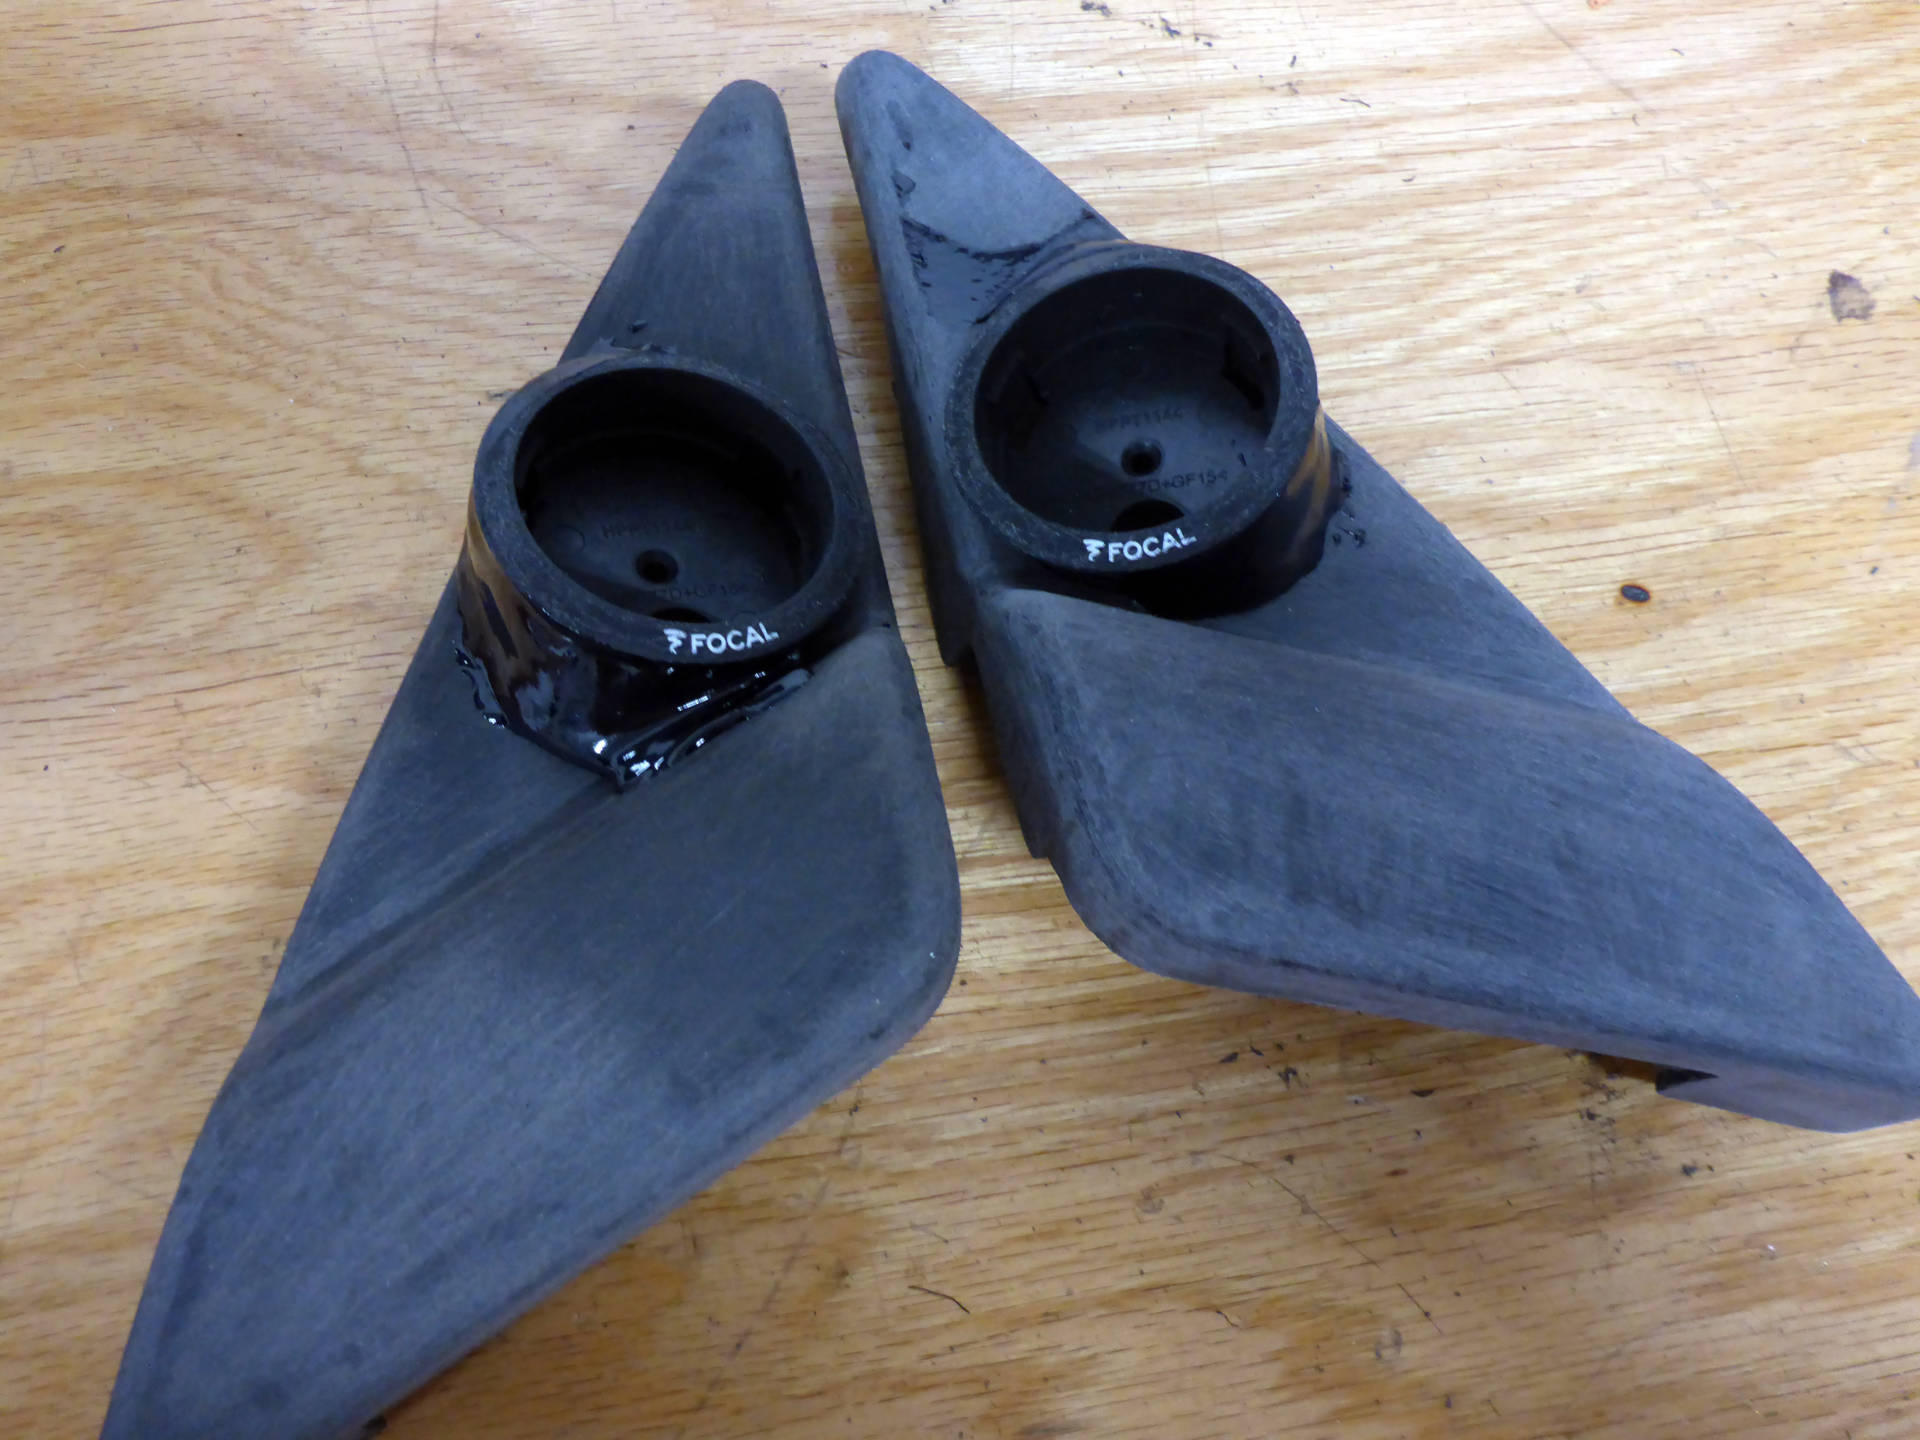
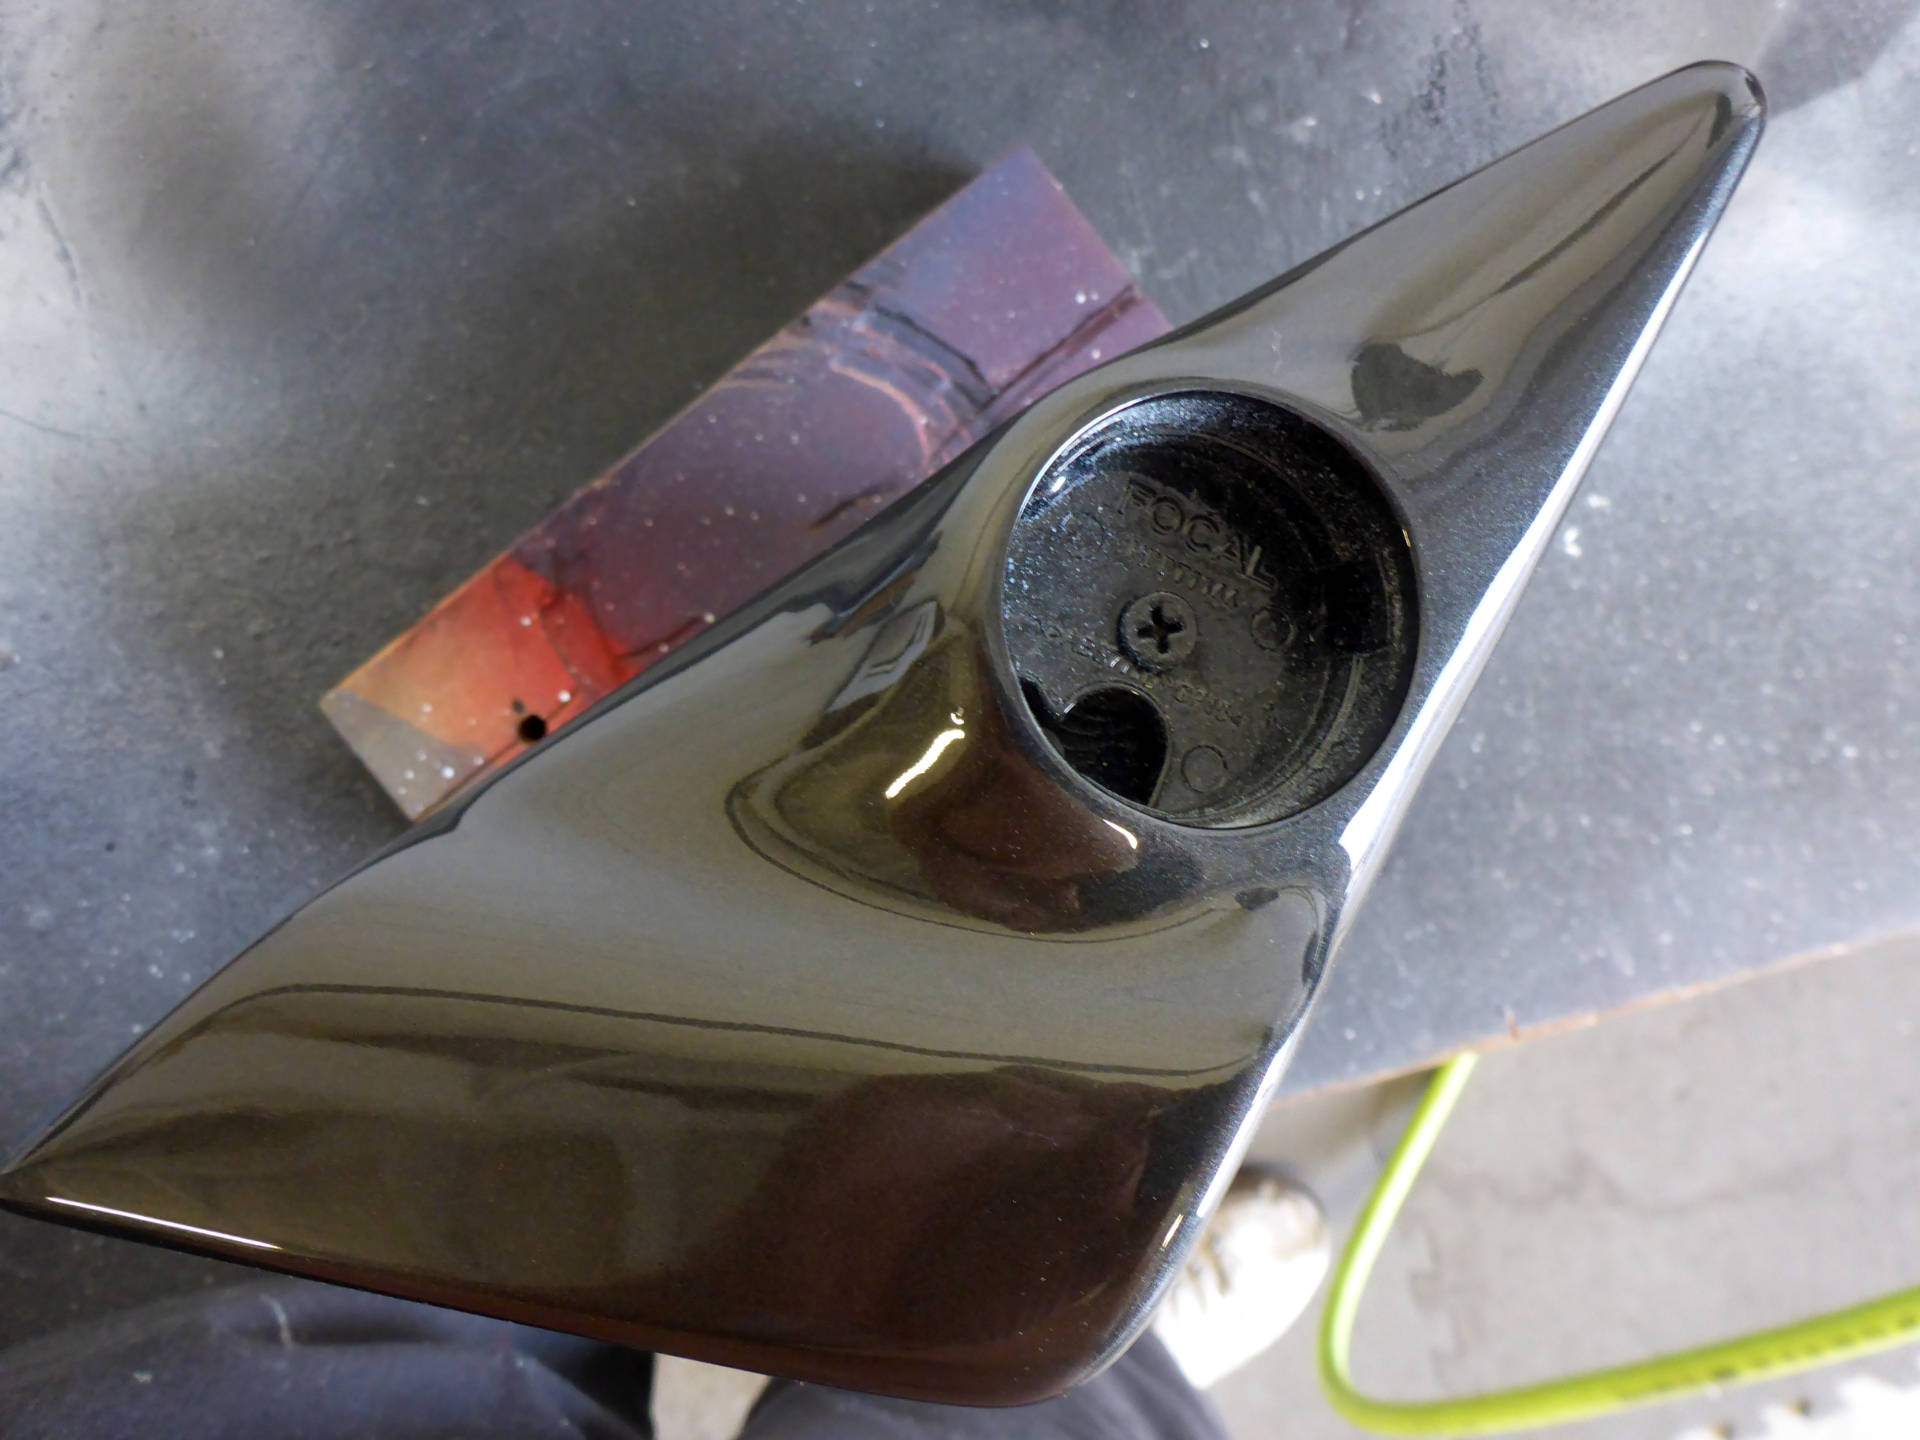
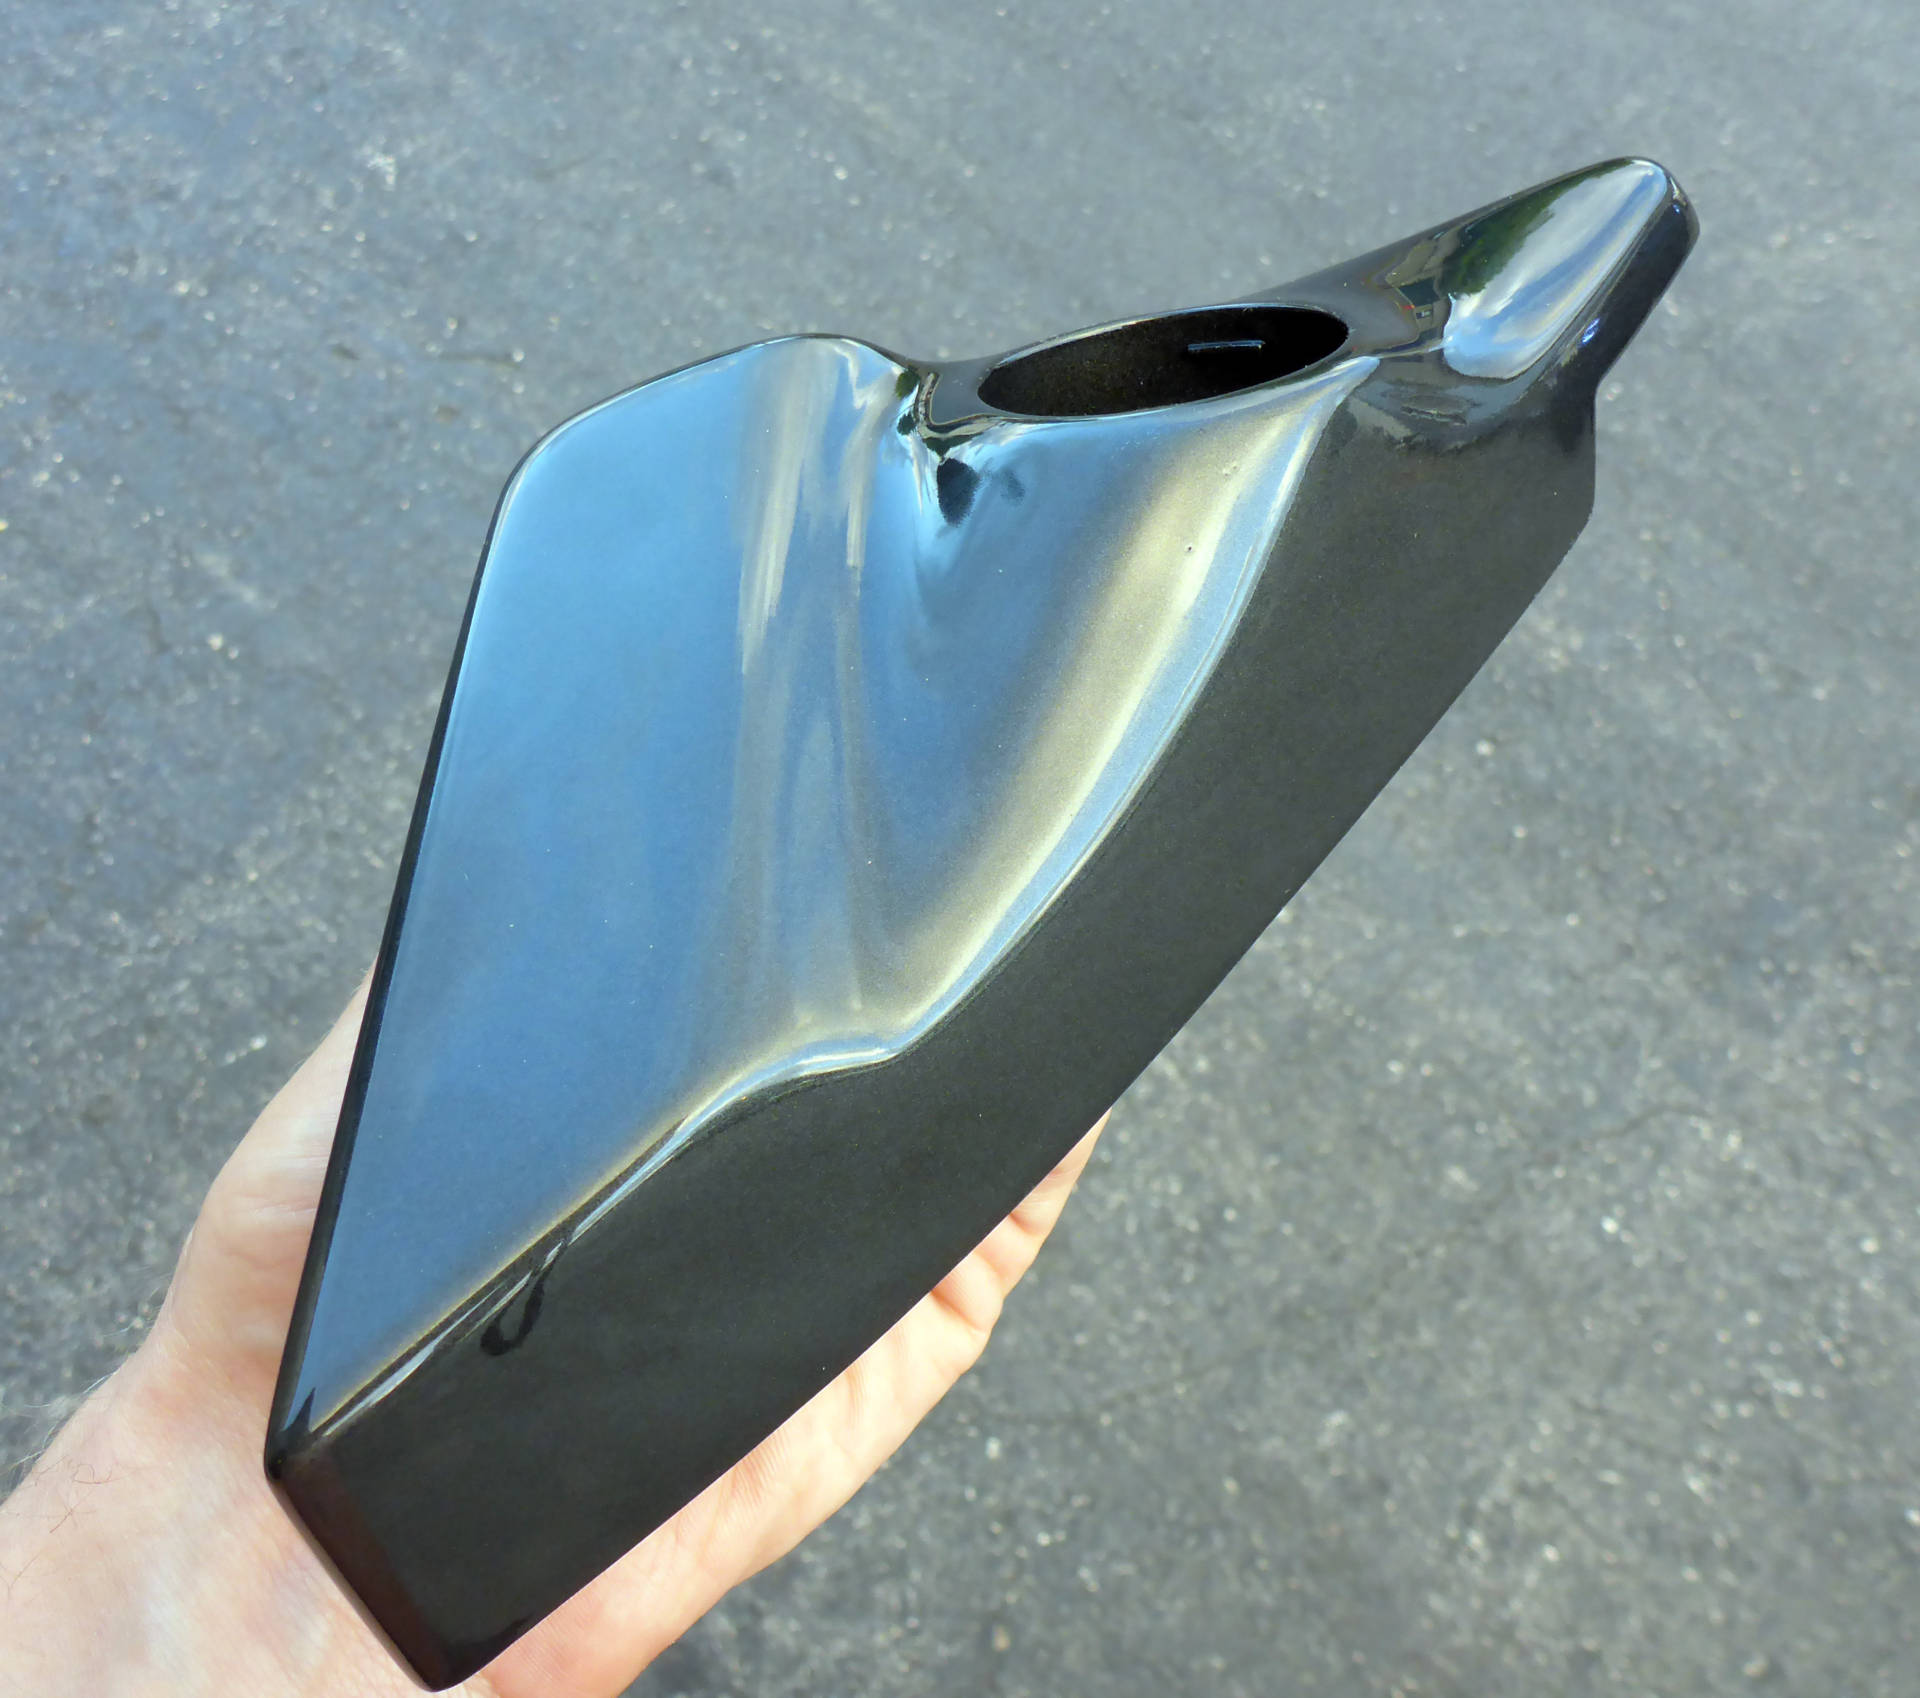
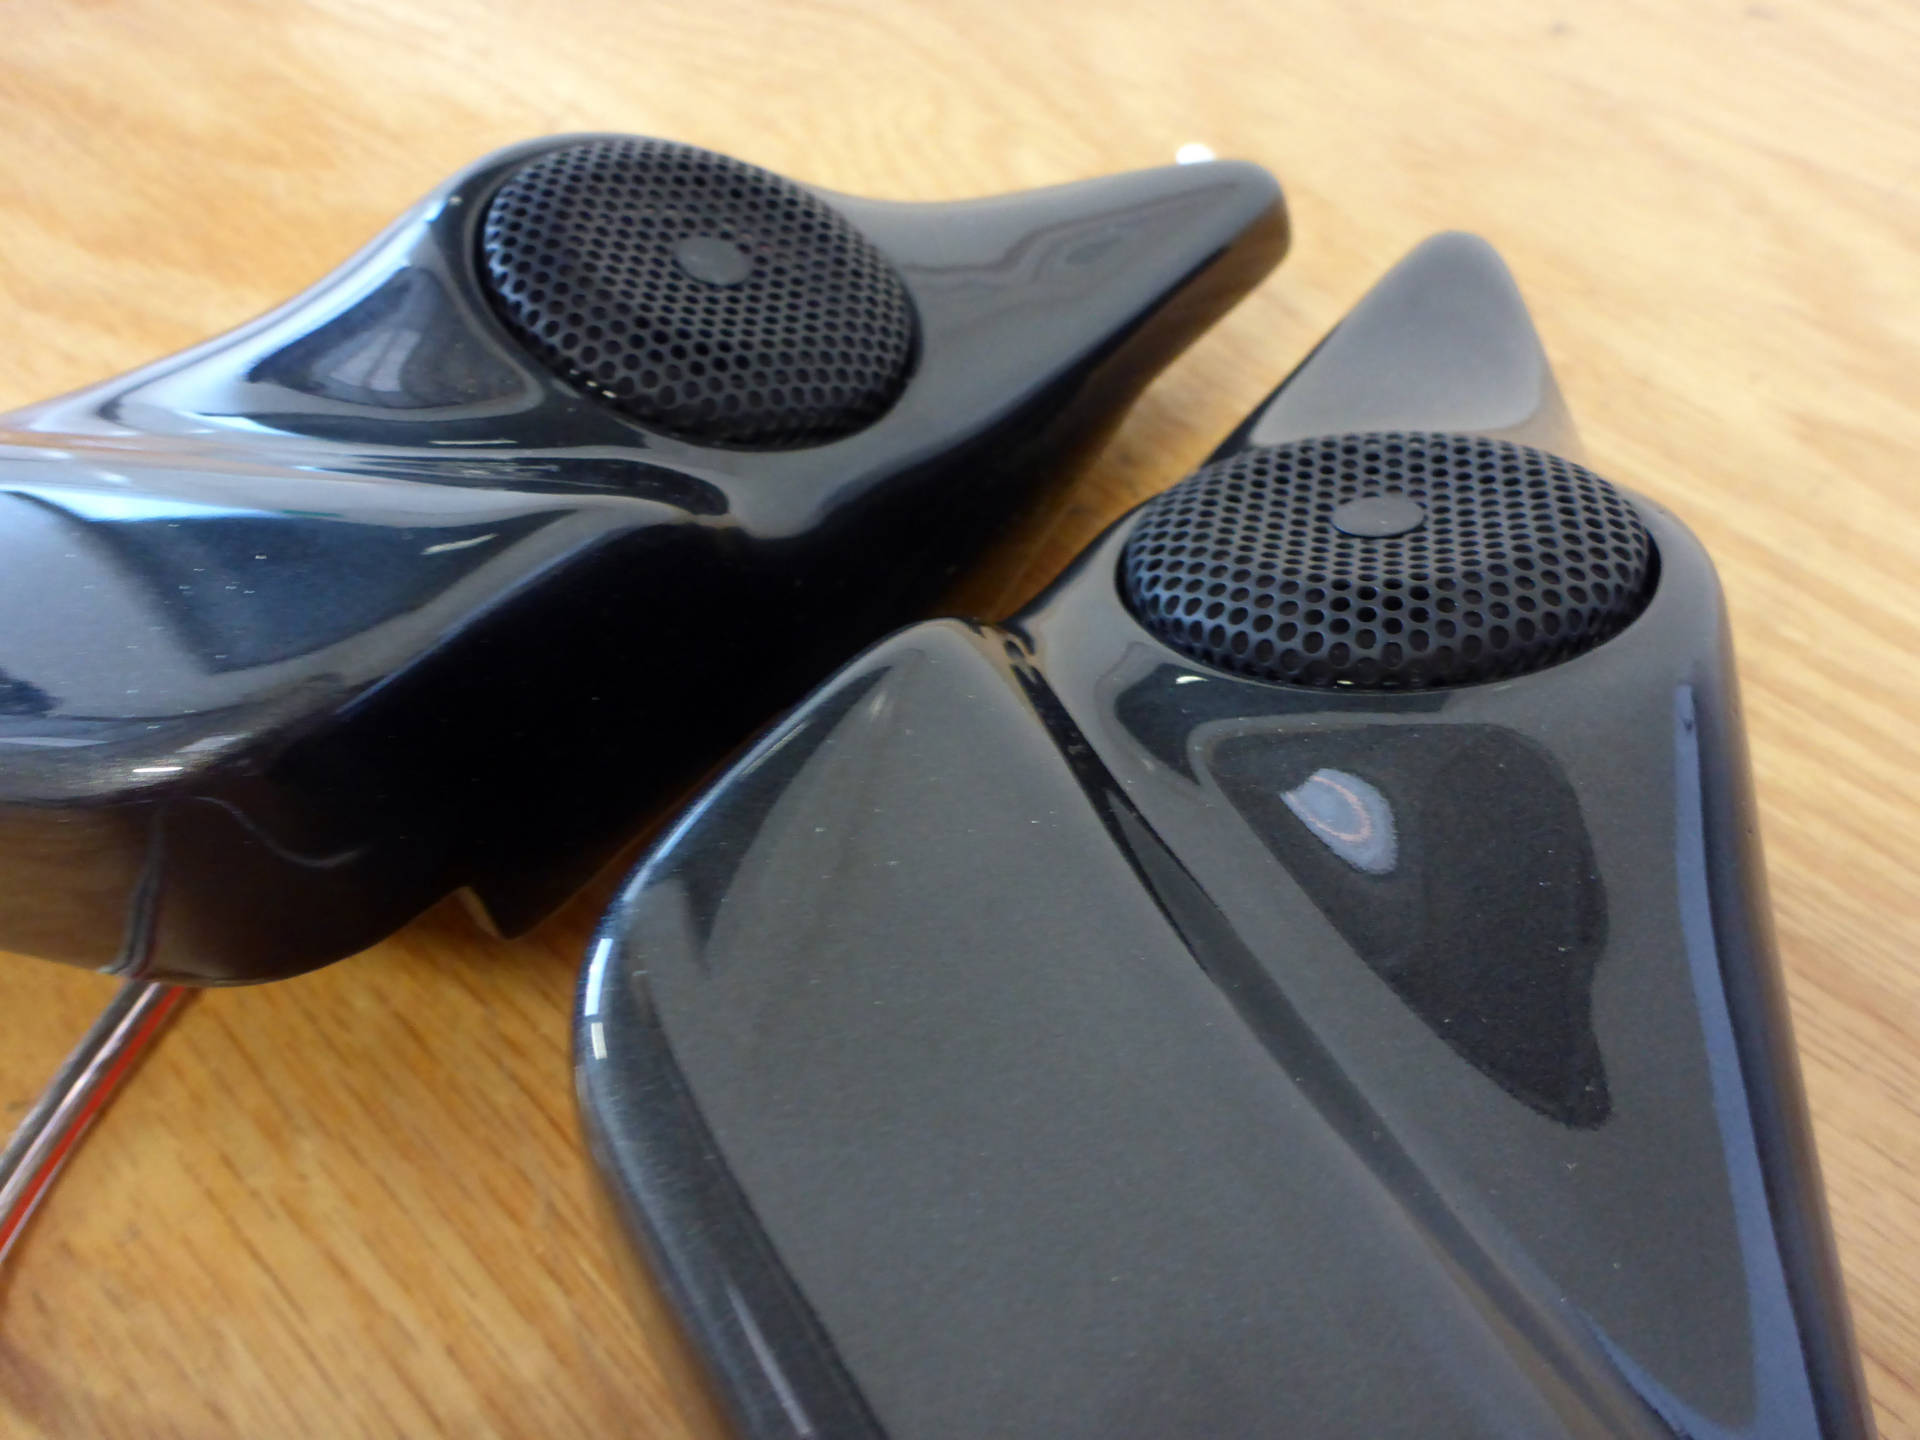
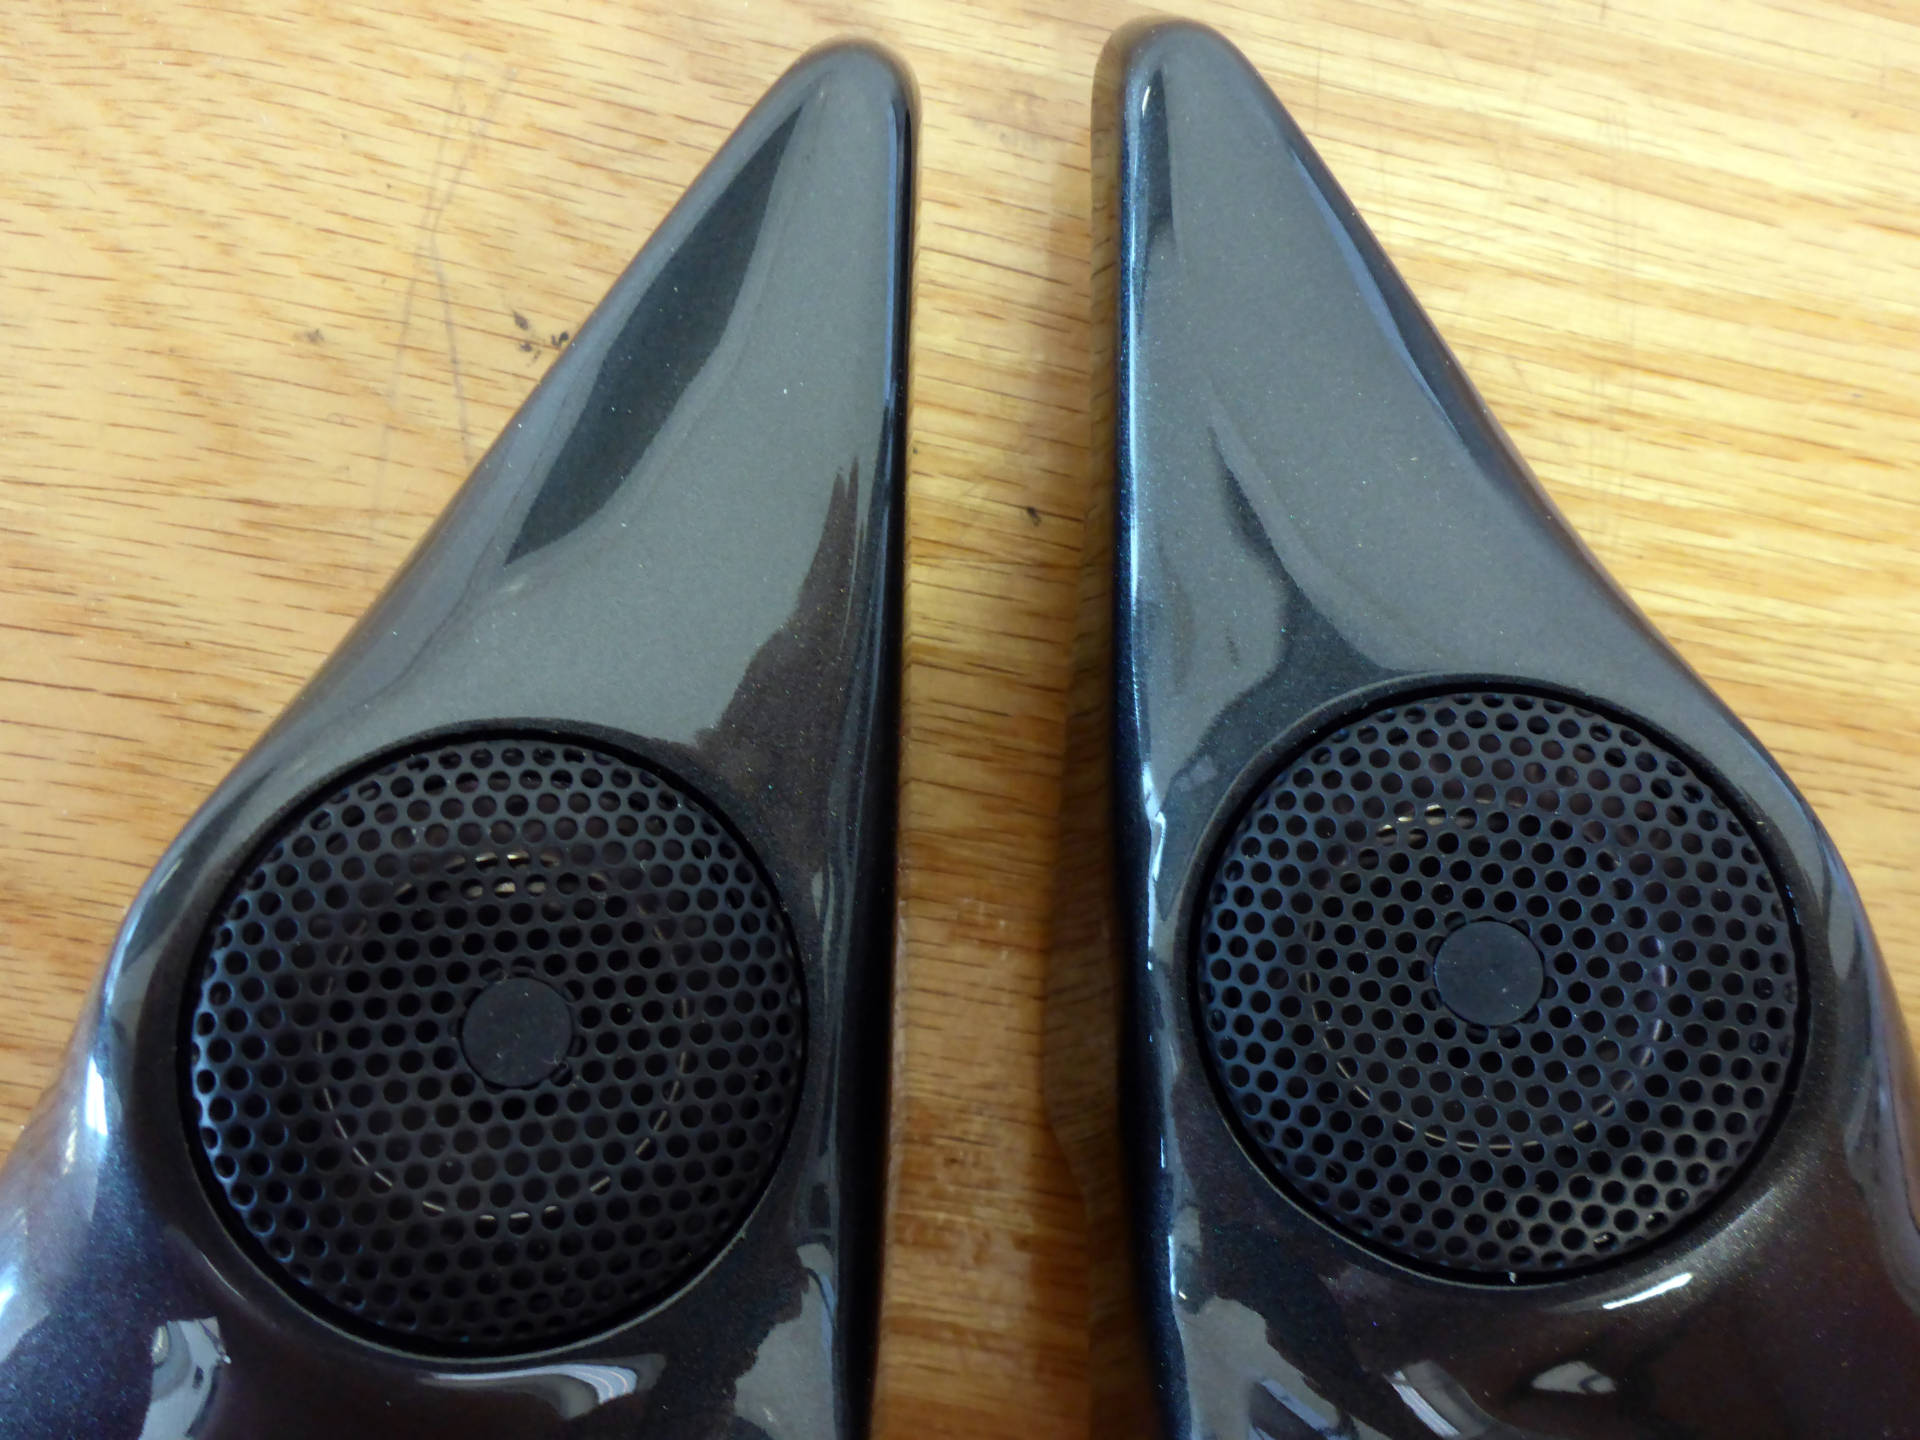
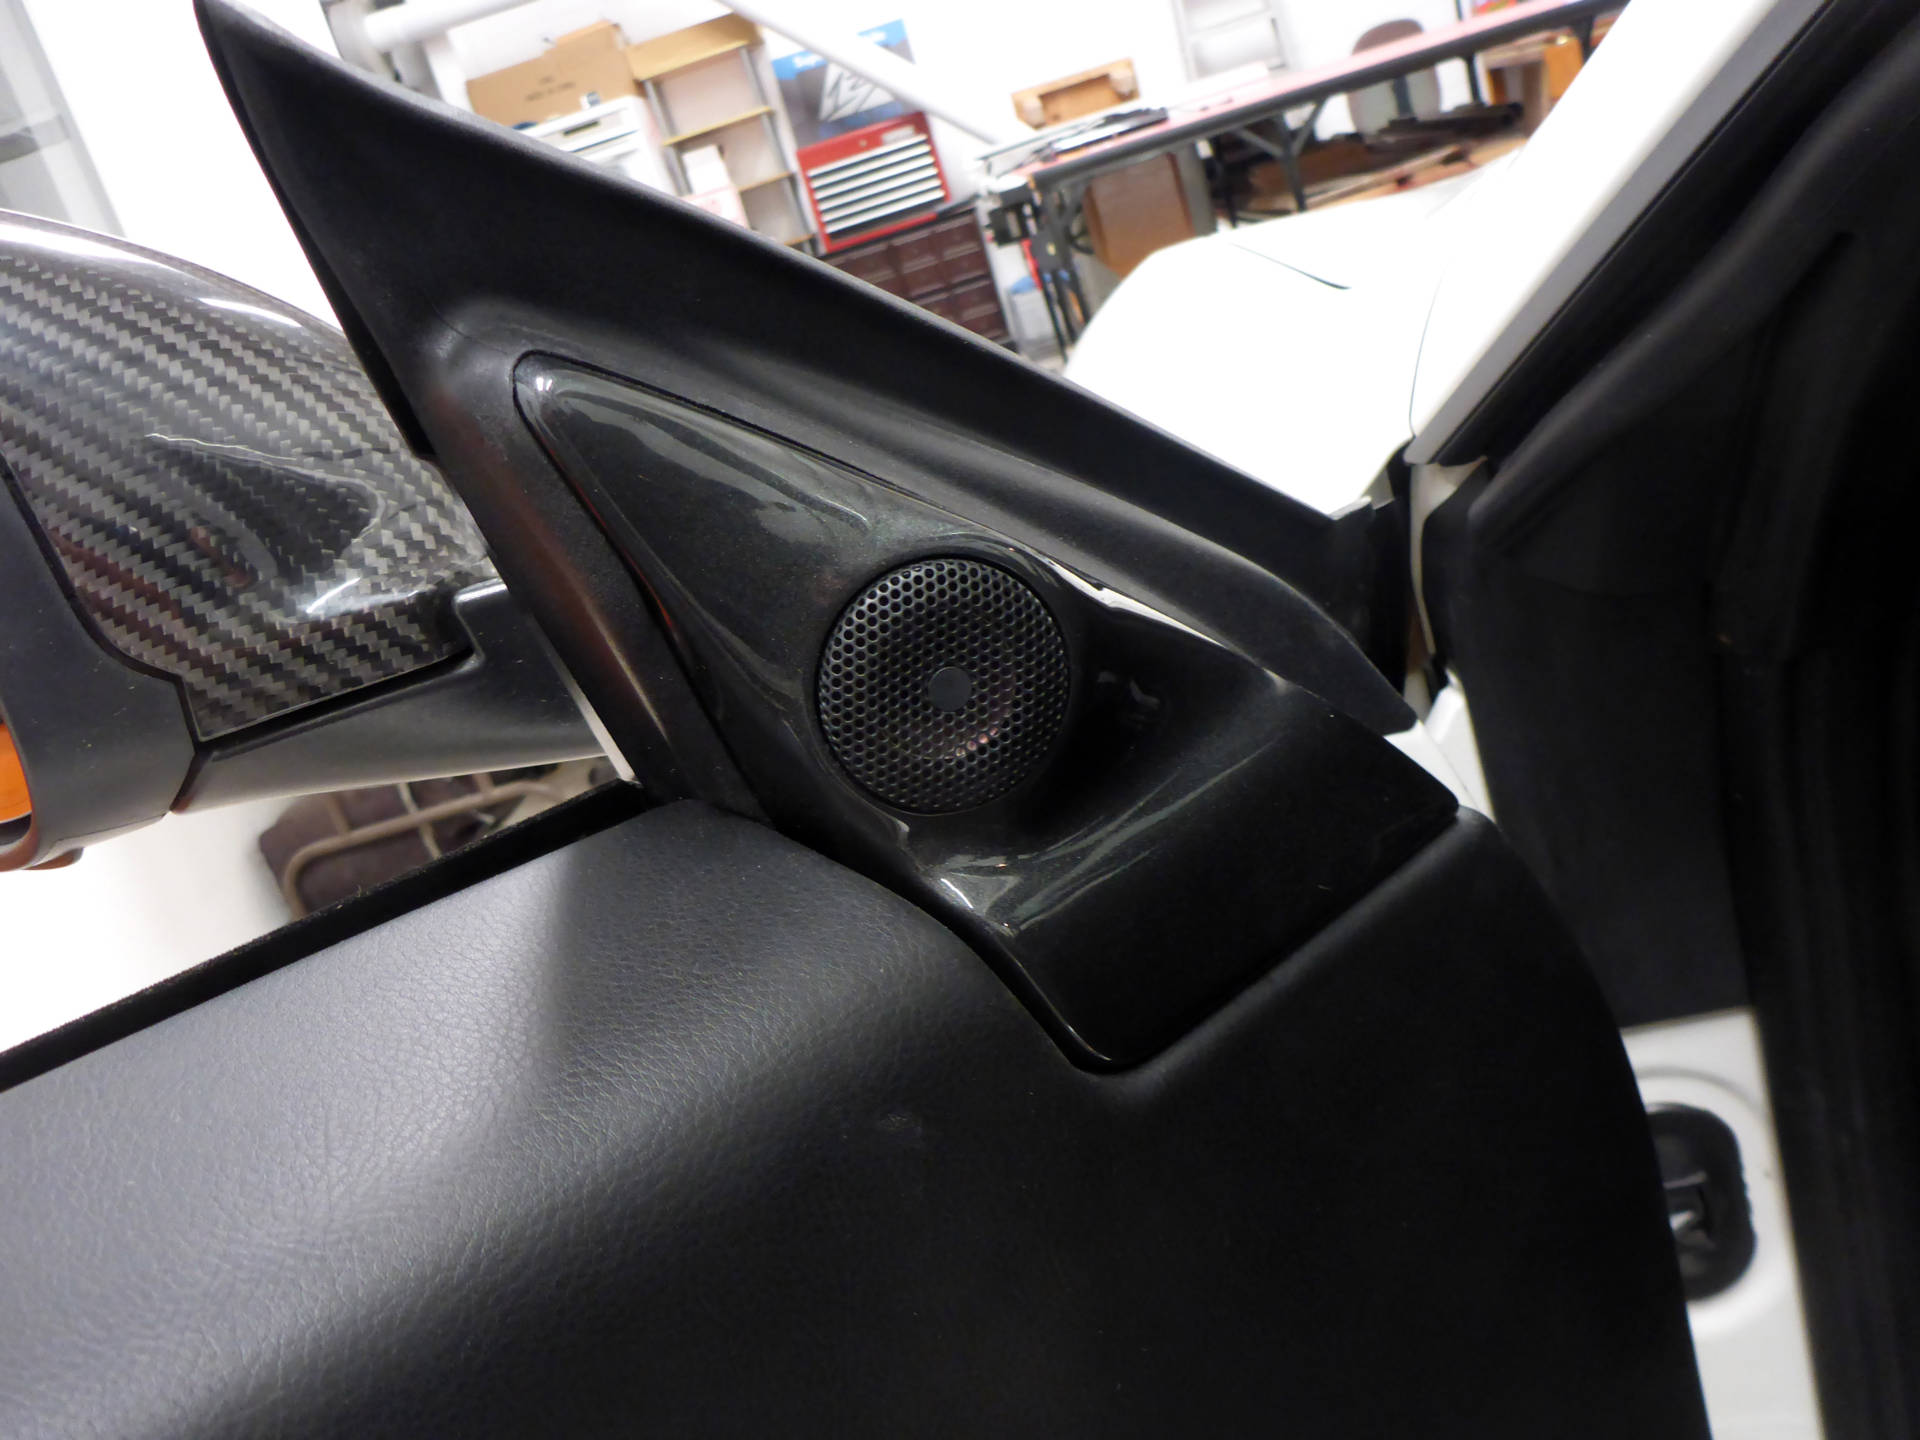
Sail panels repaired, rubbery coating removed, cups mounted, and shaped:
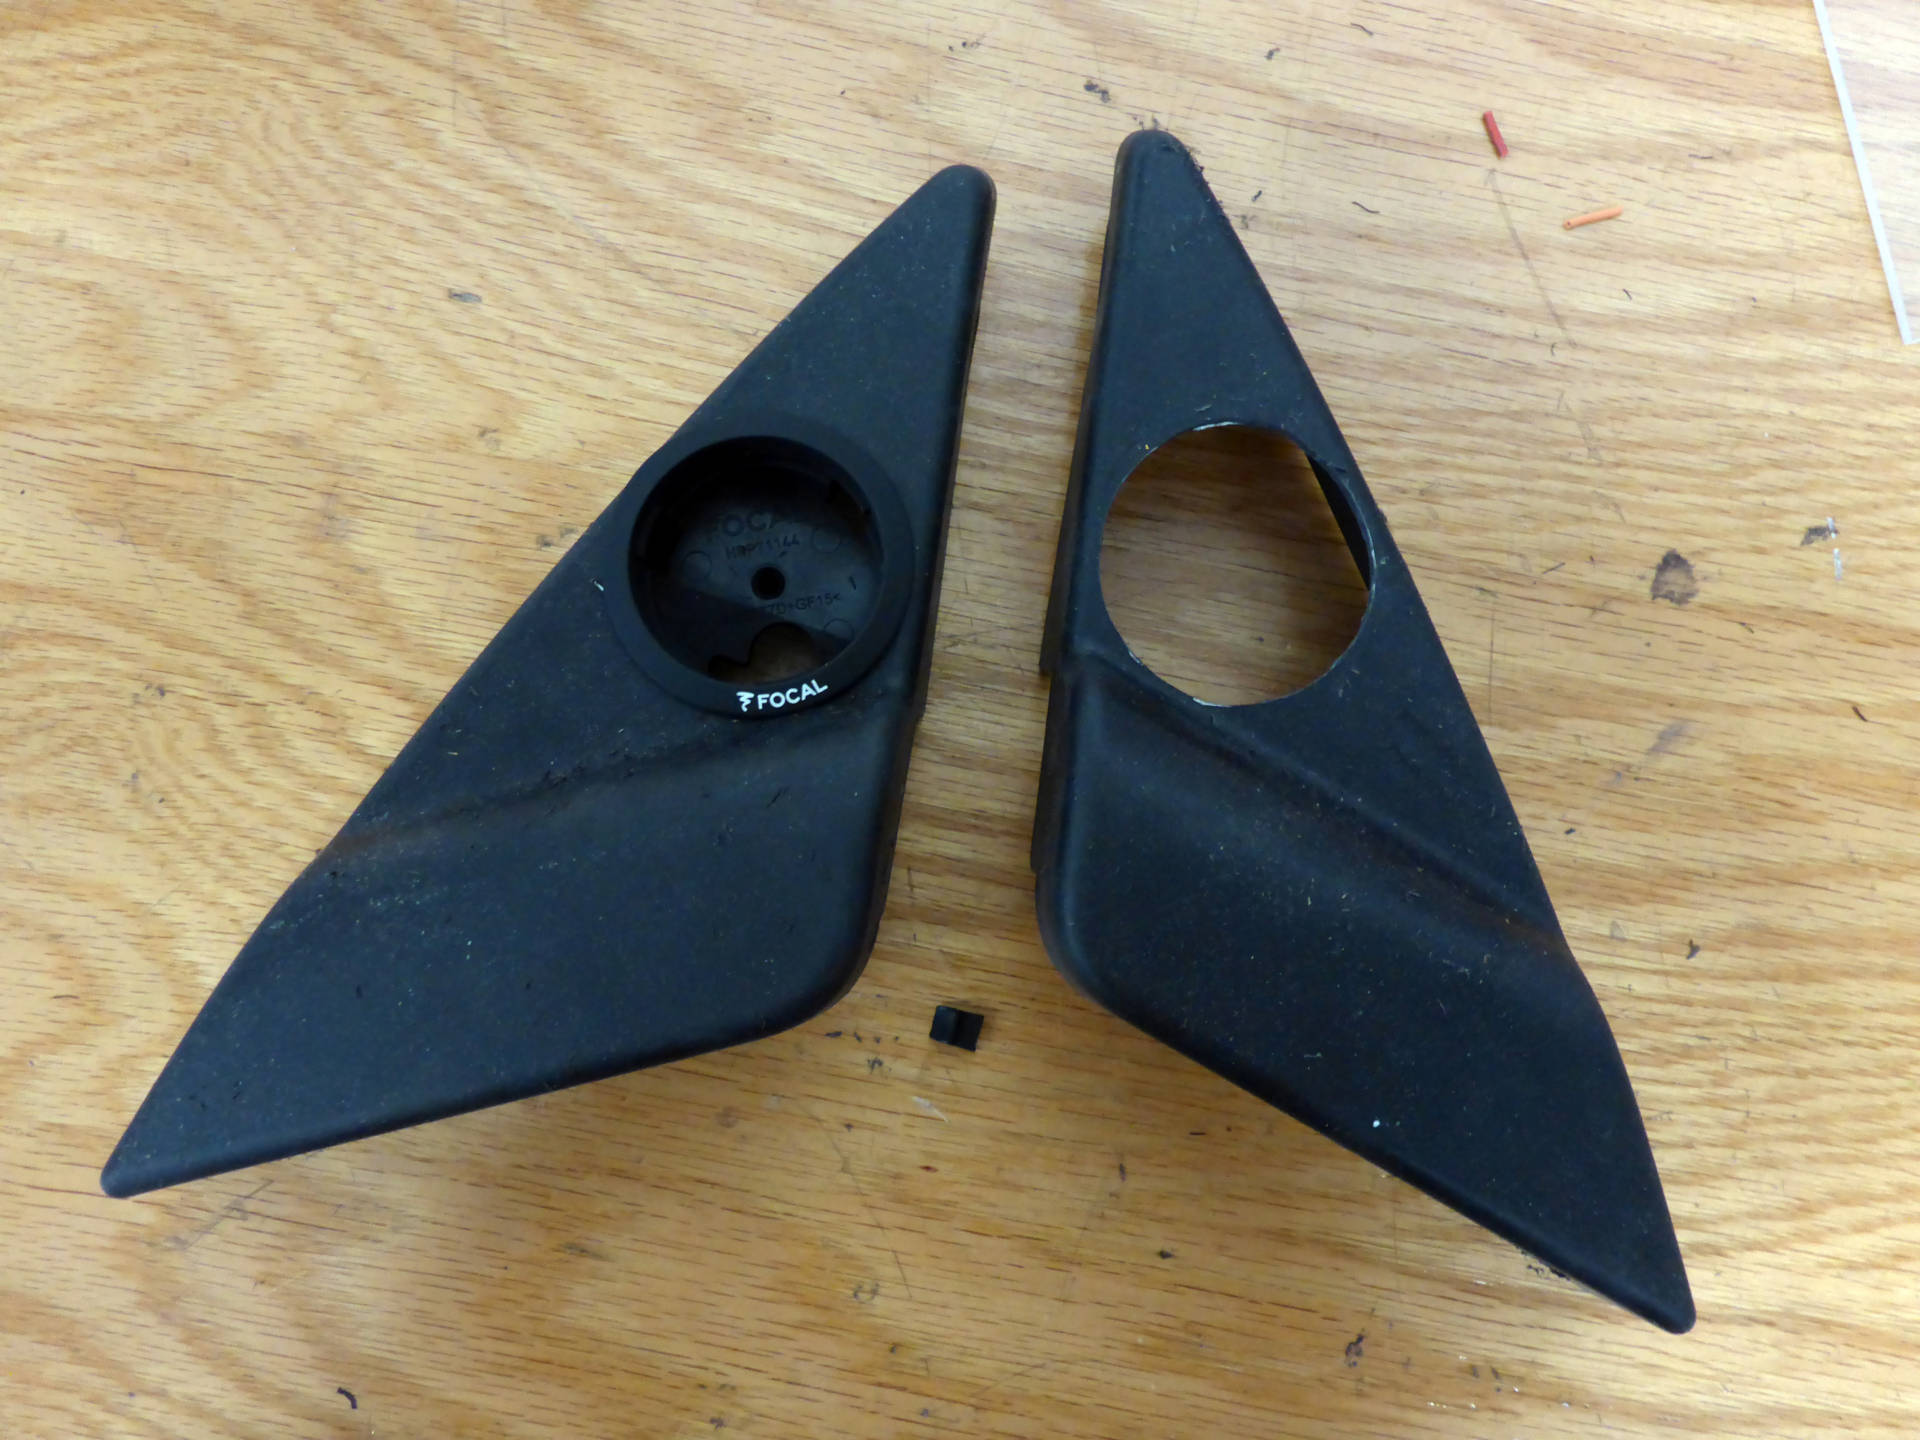


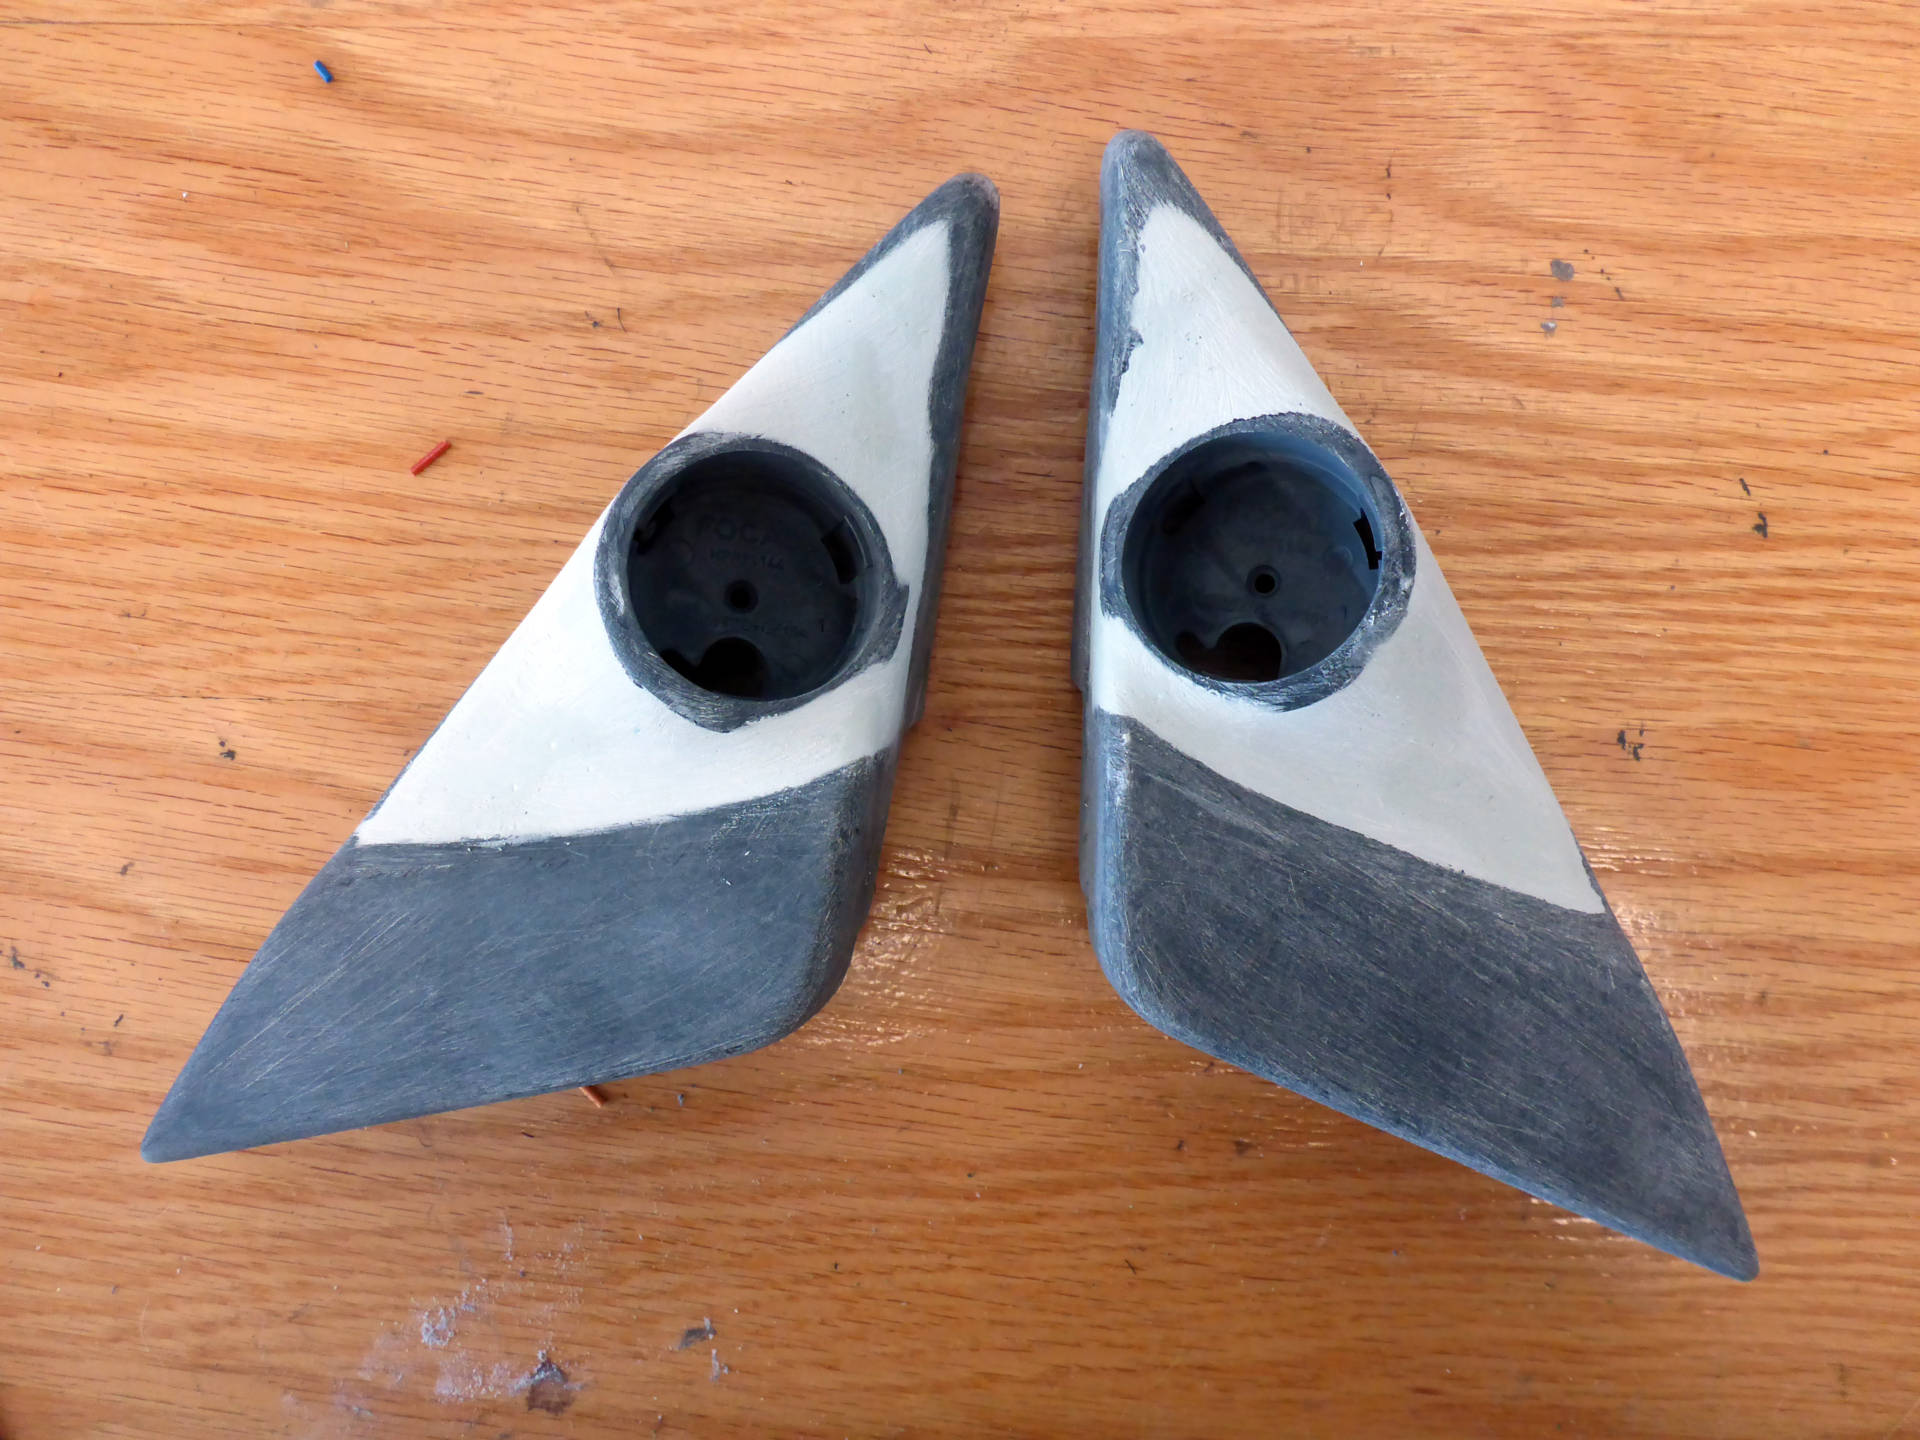
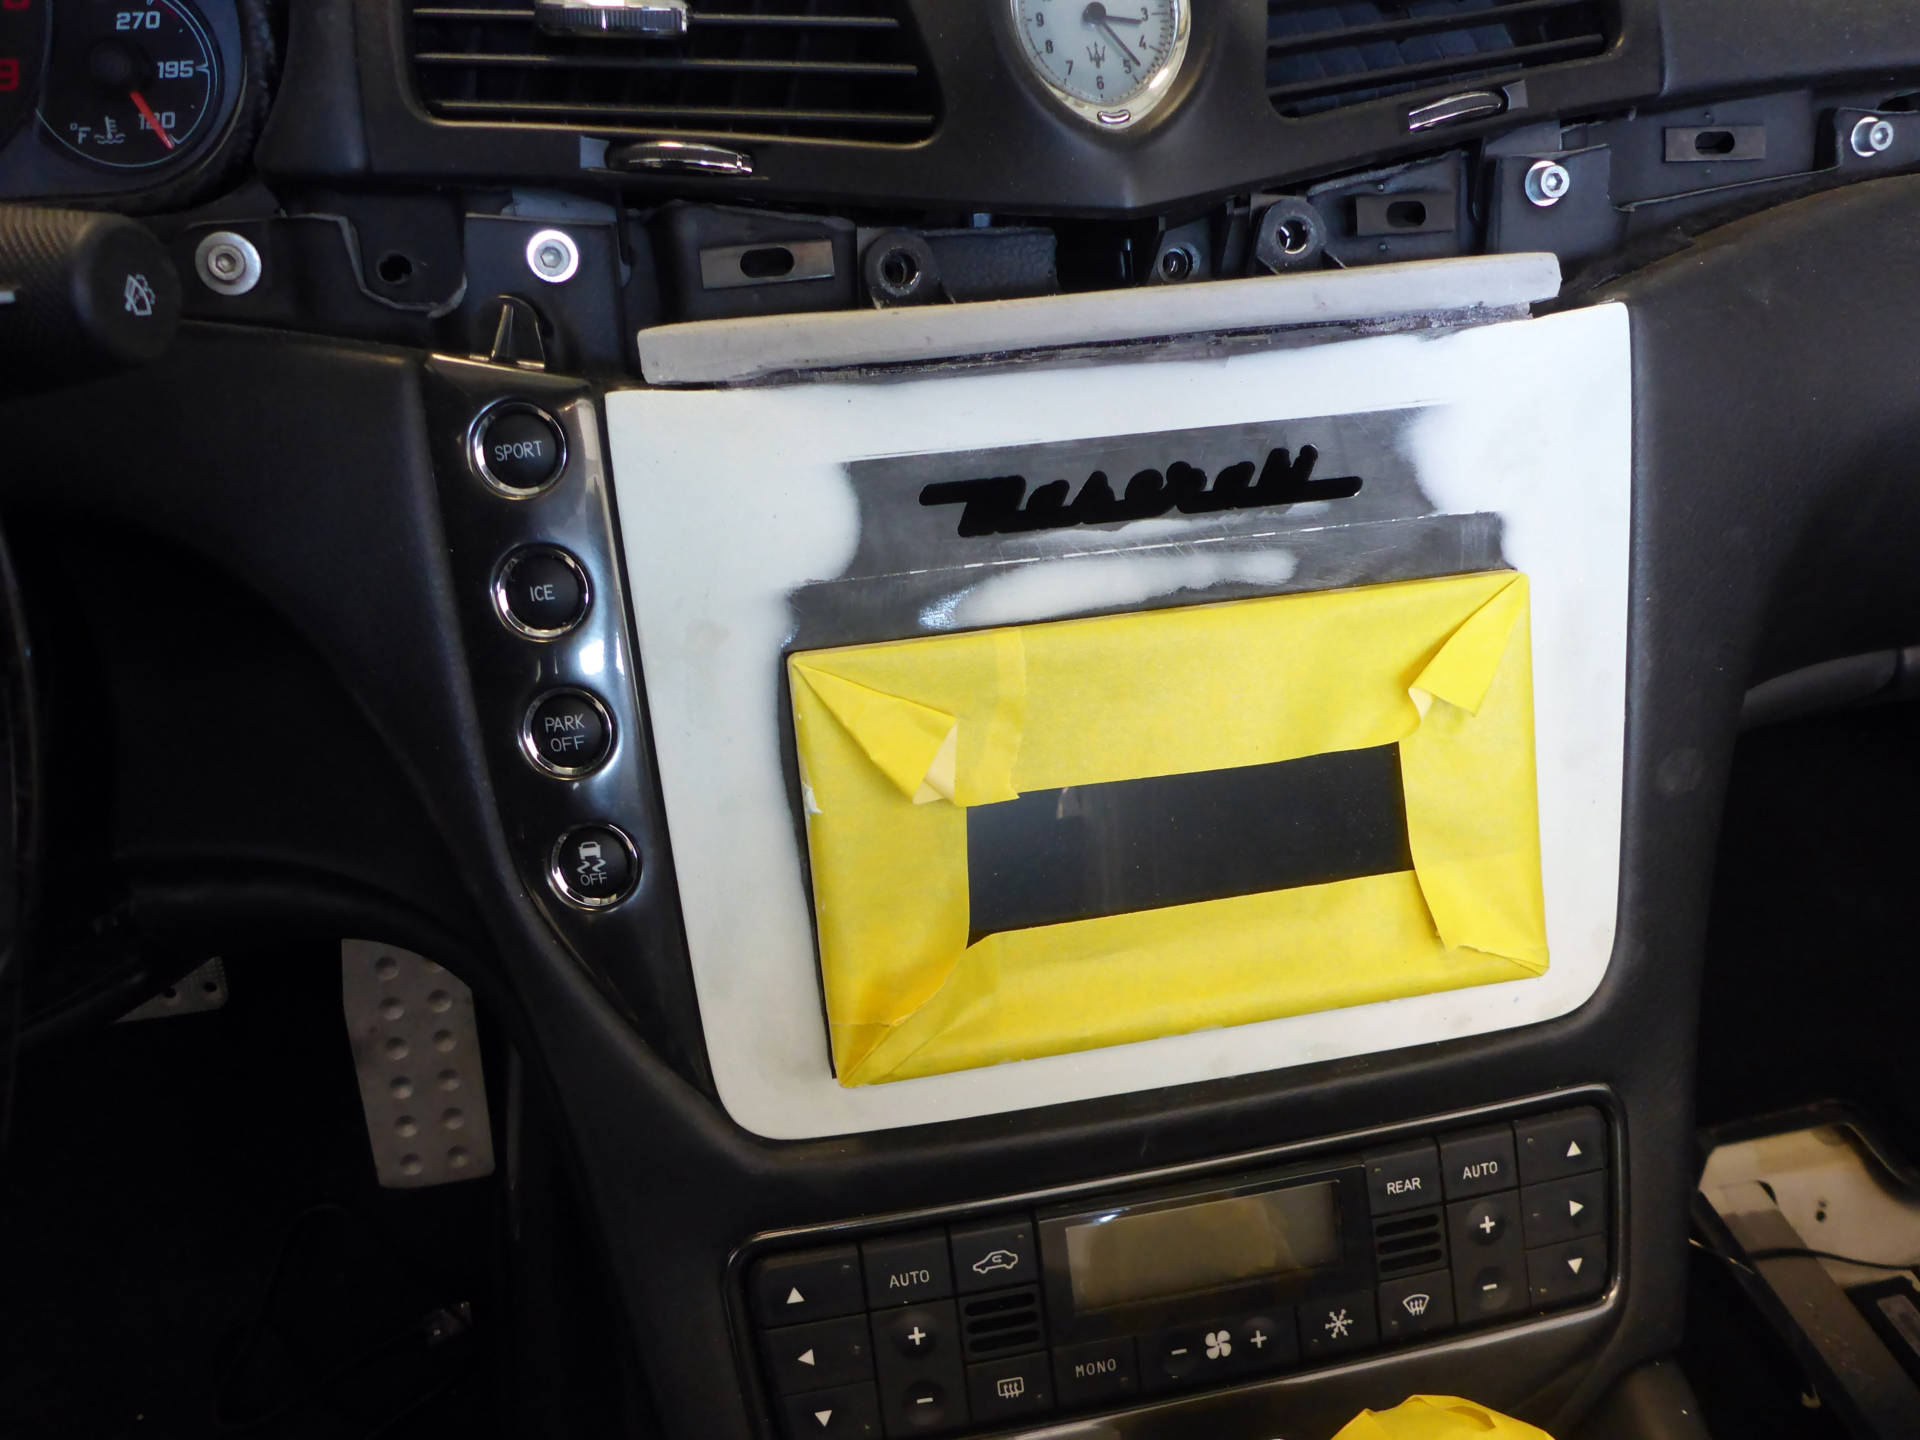
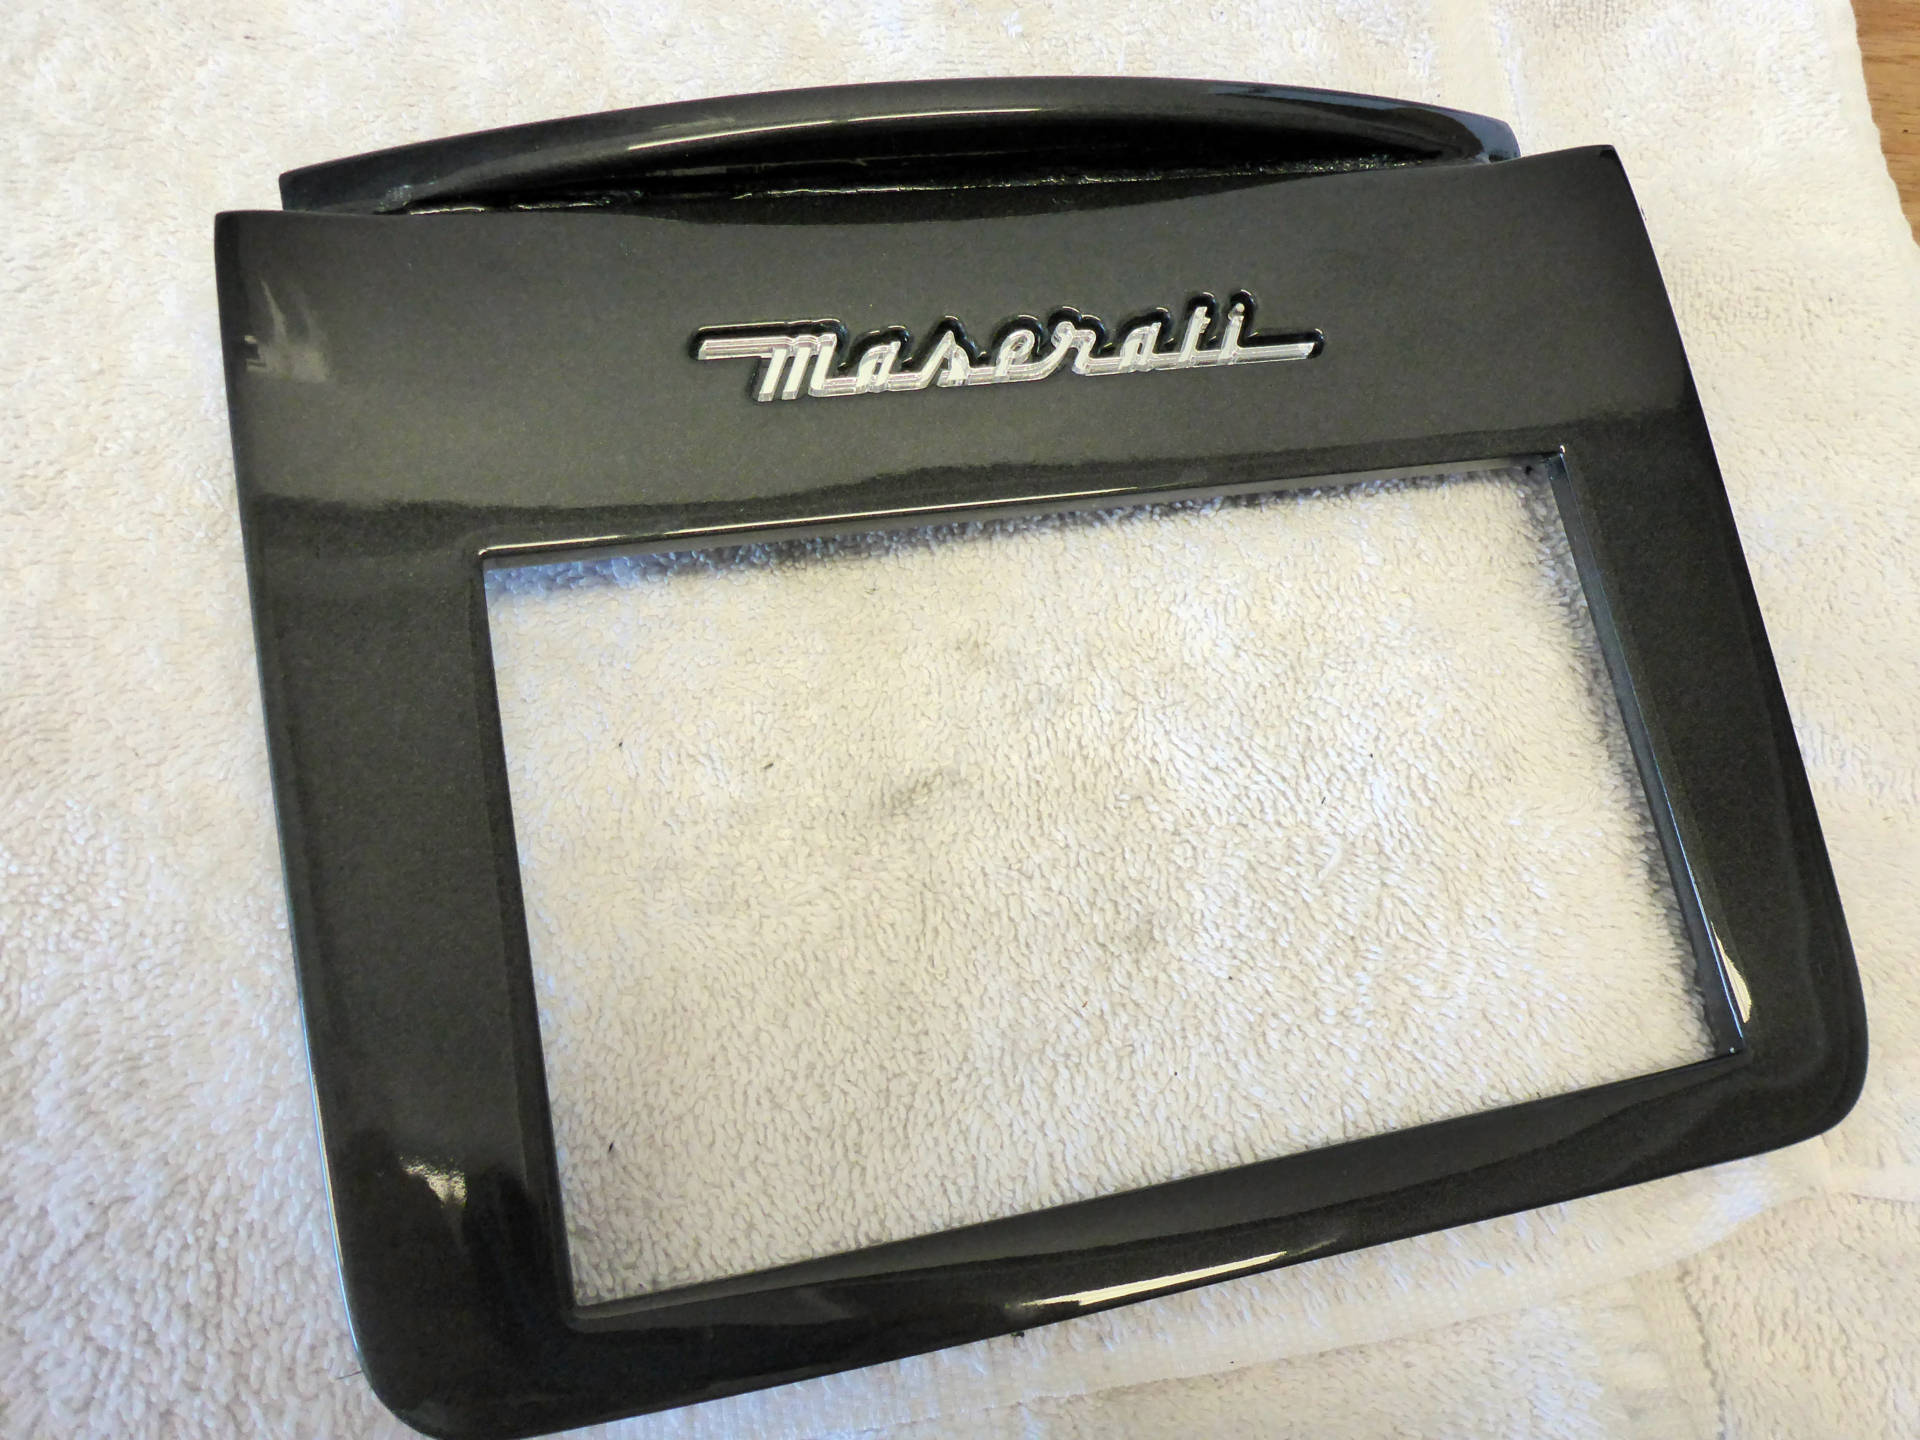
Now the dash trim panel and the sail panels can be painted together to match the existing OEM panels. Primed, sanded, and painted:

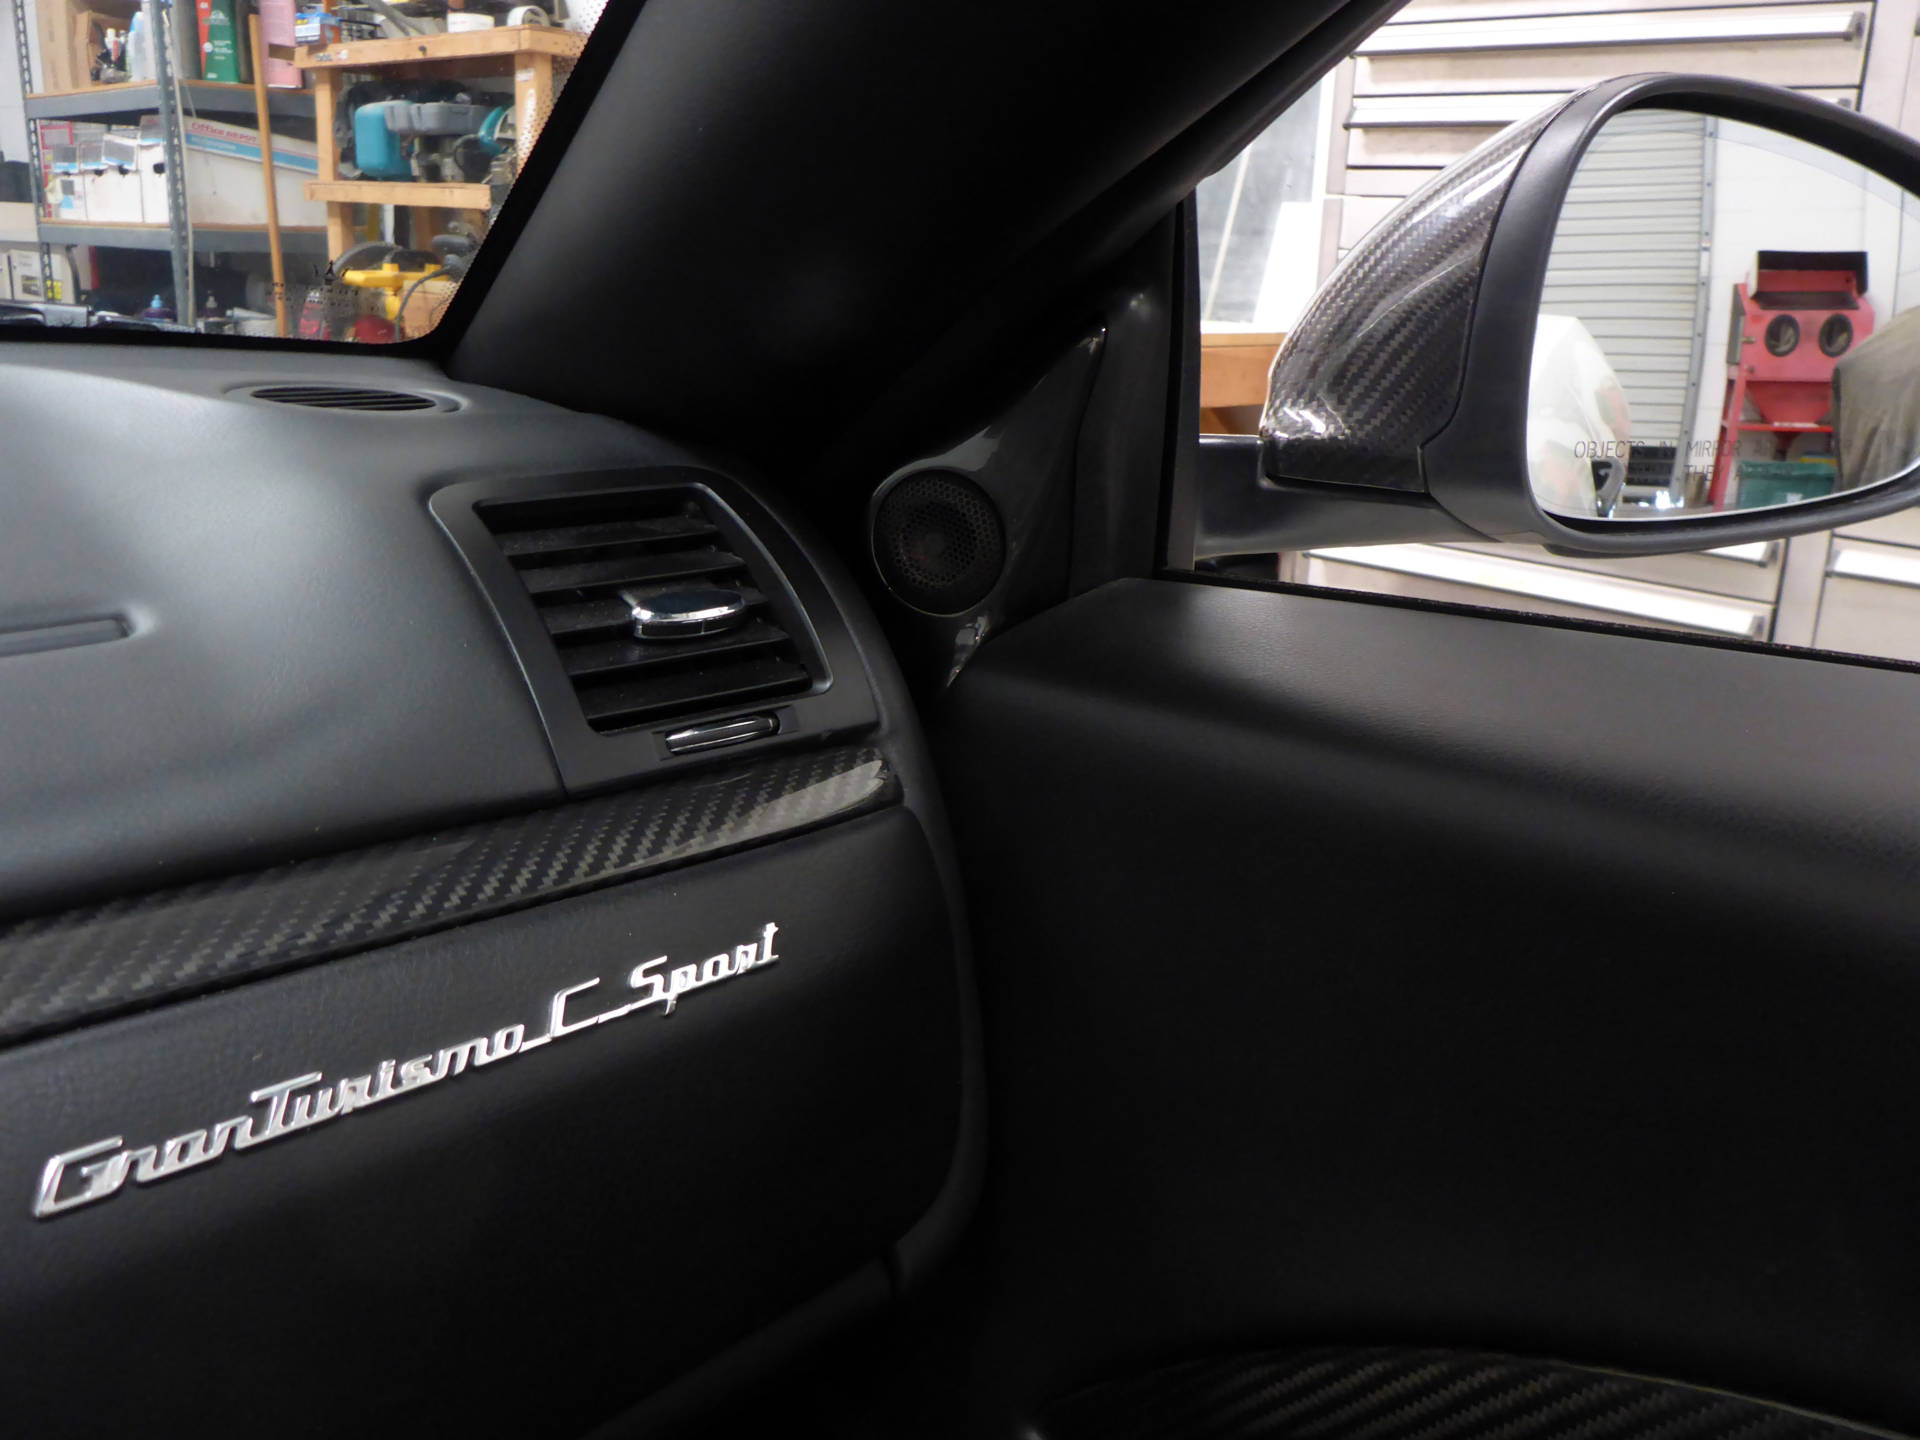
Tweeters installed and plugs added:
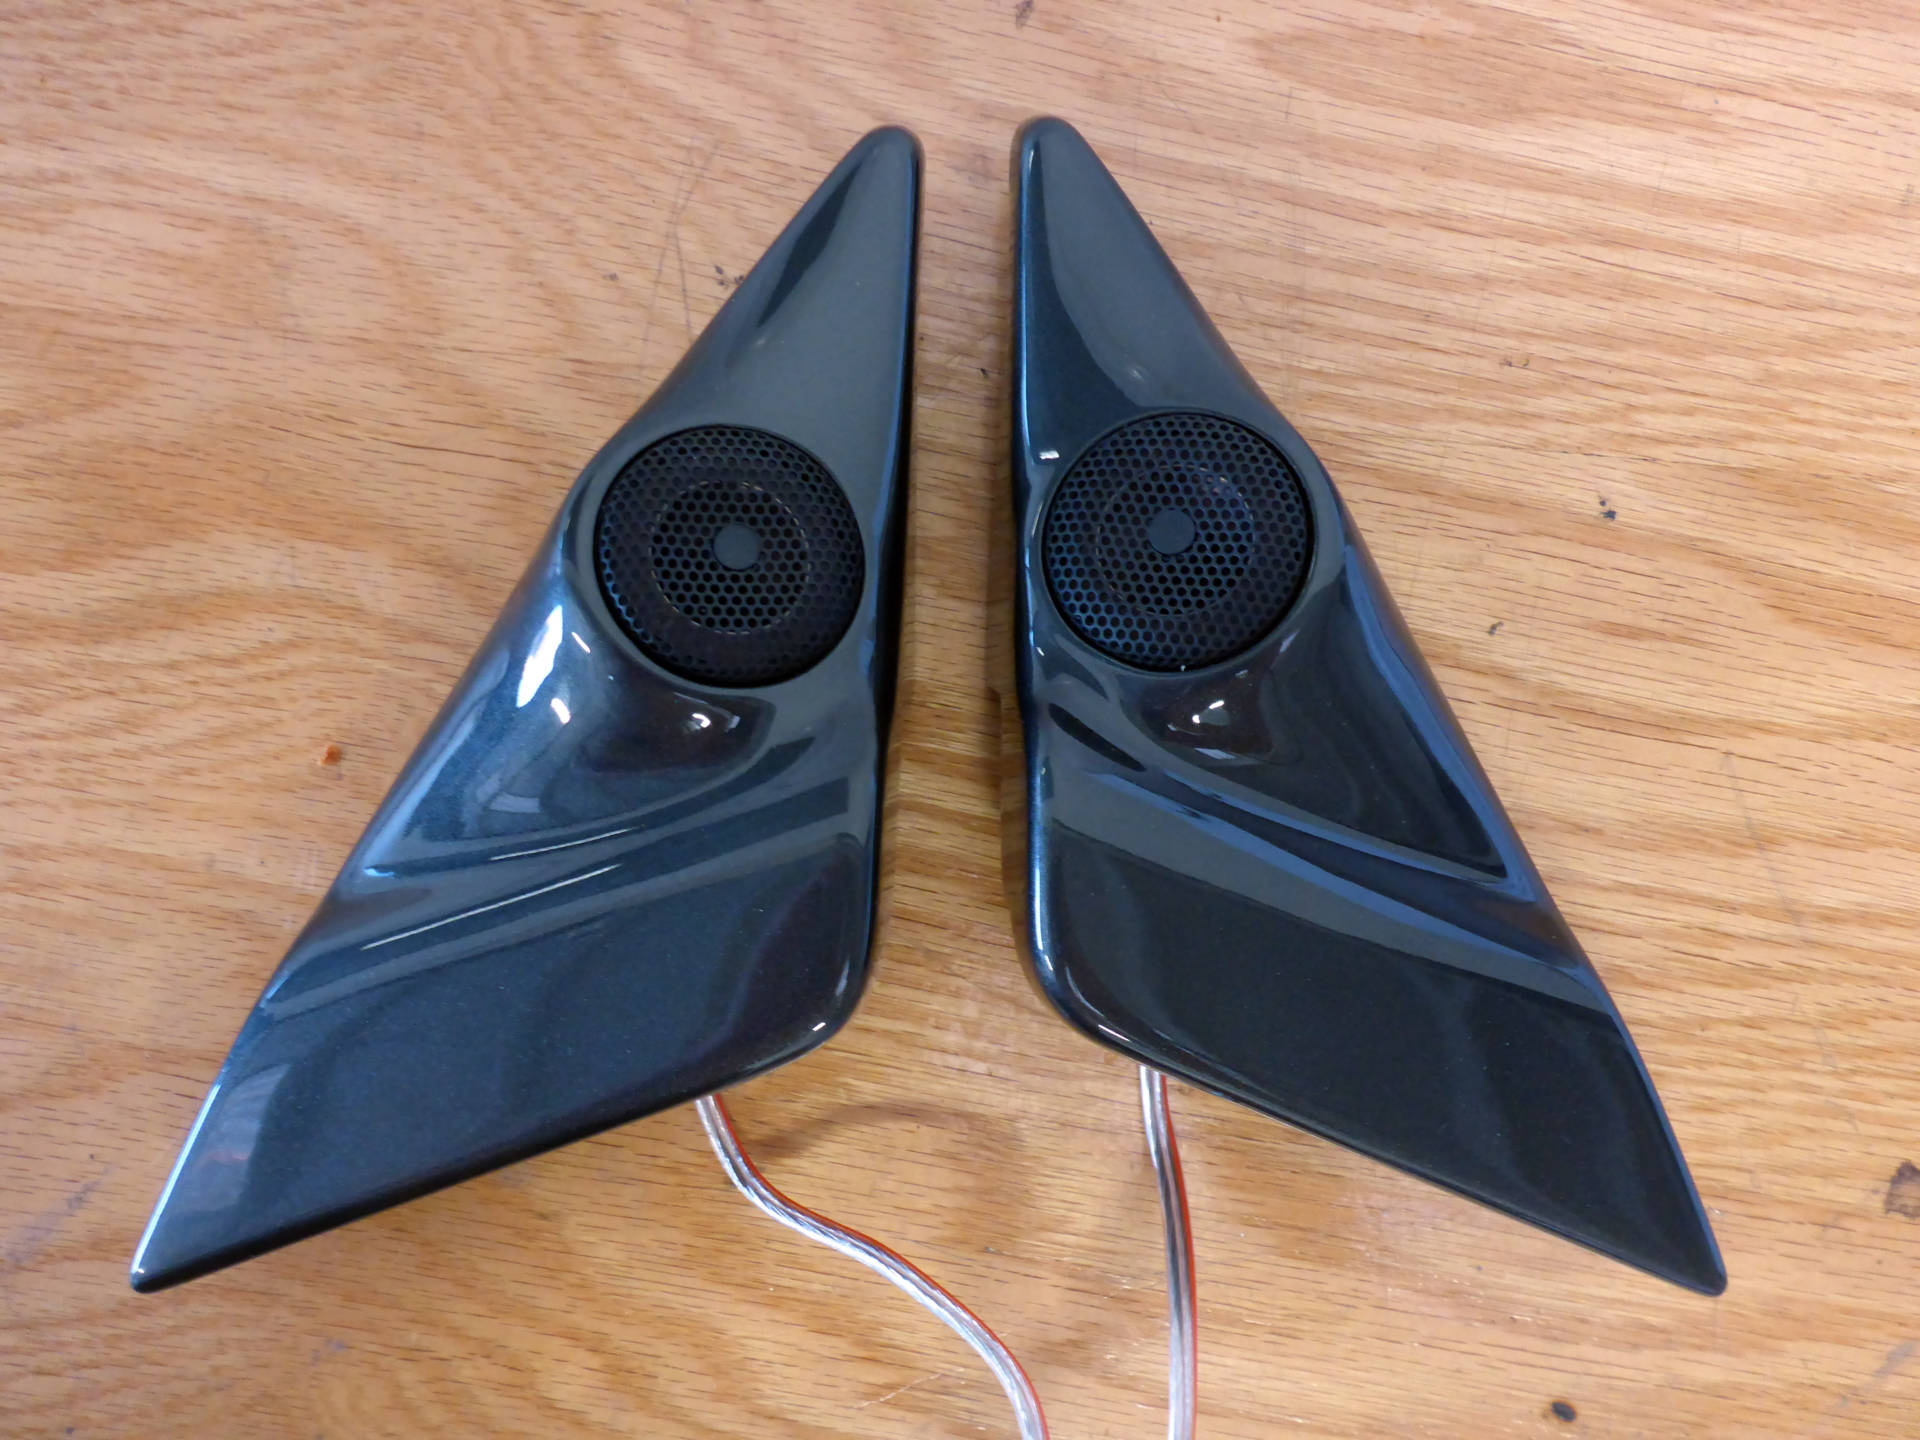

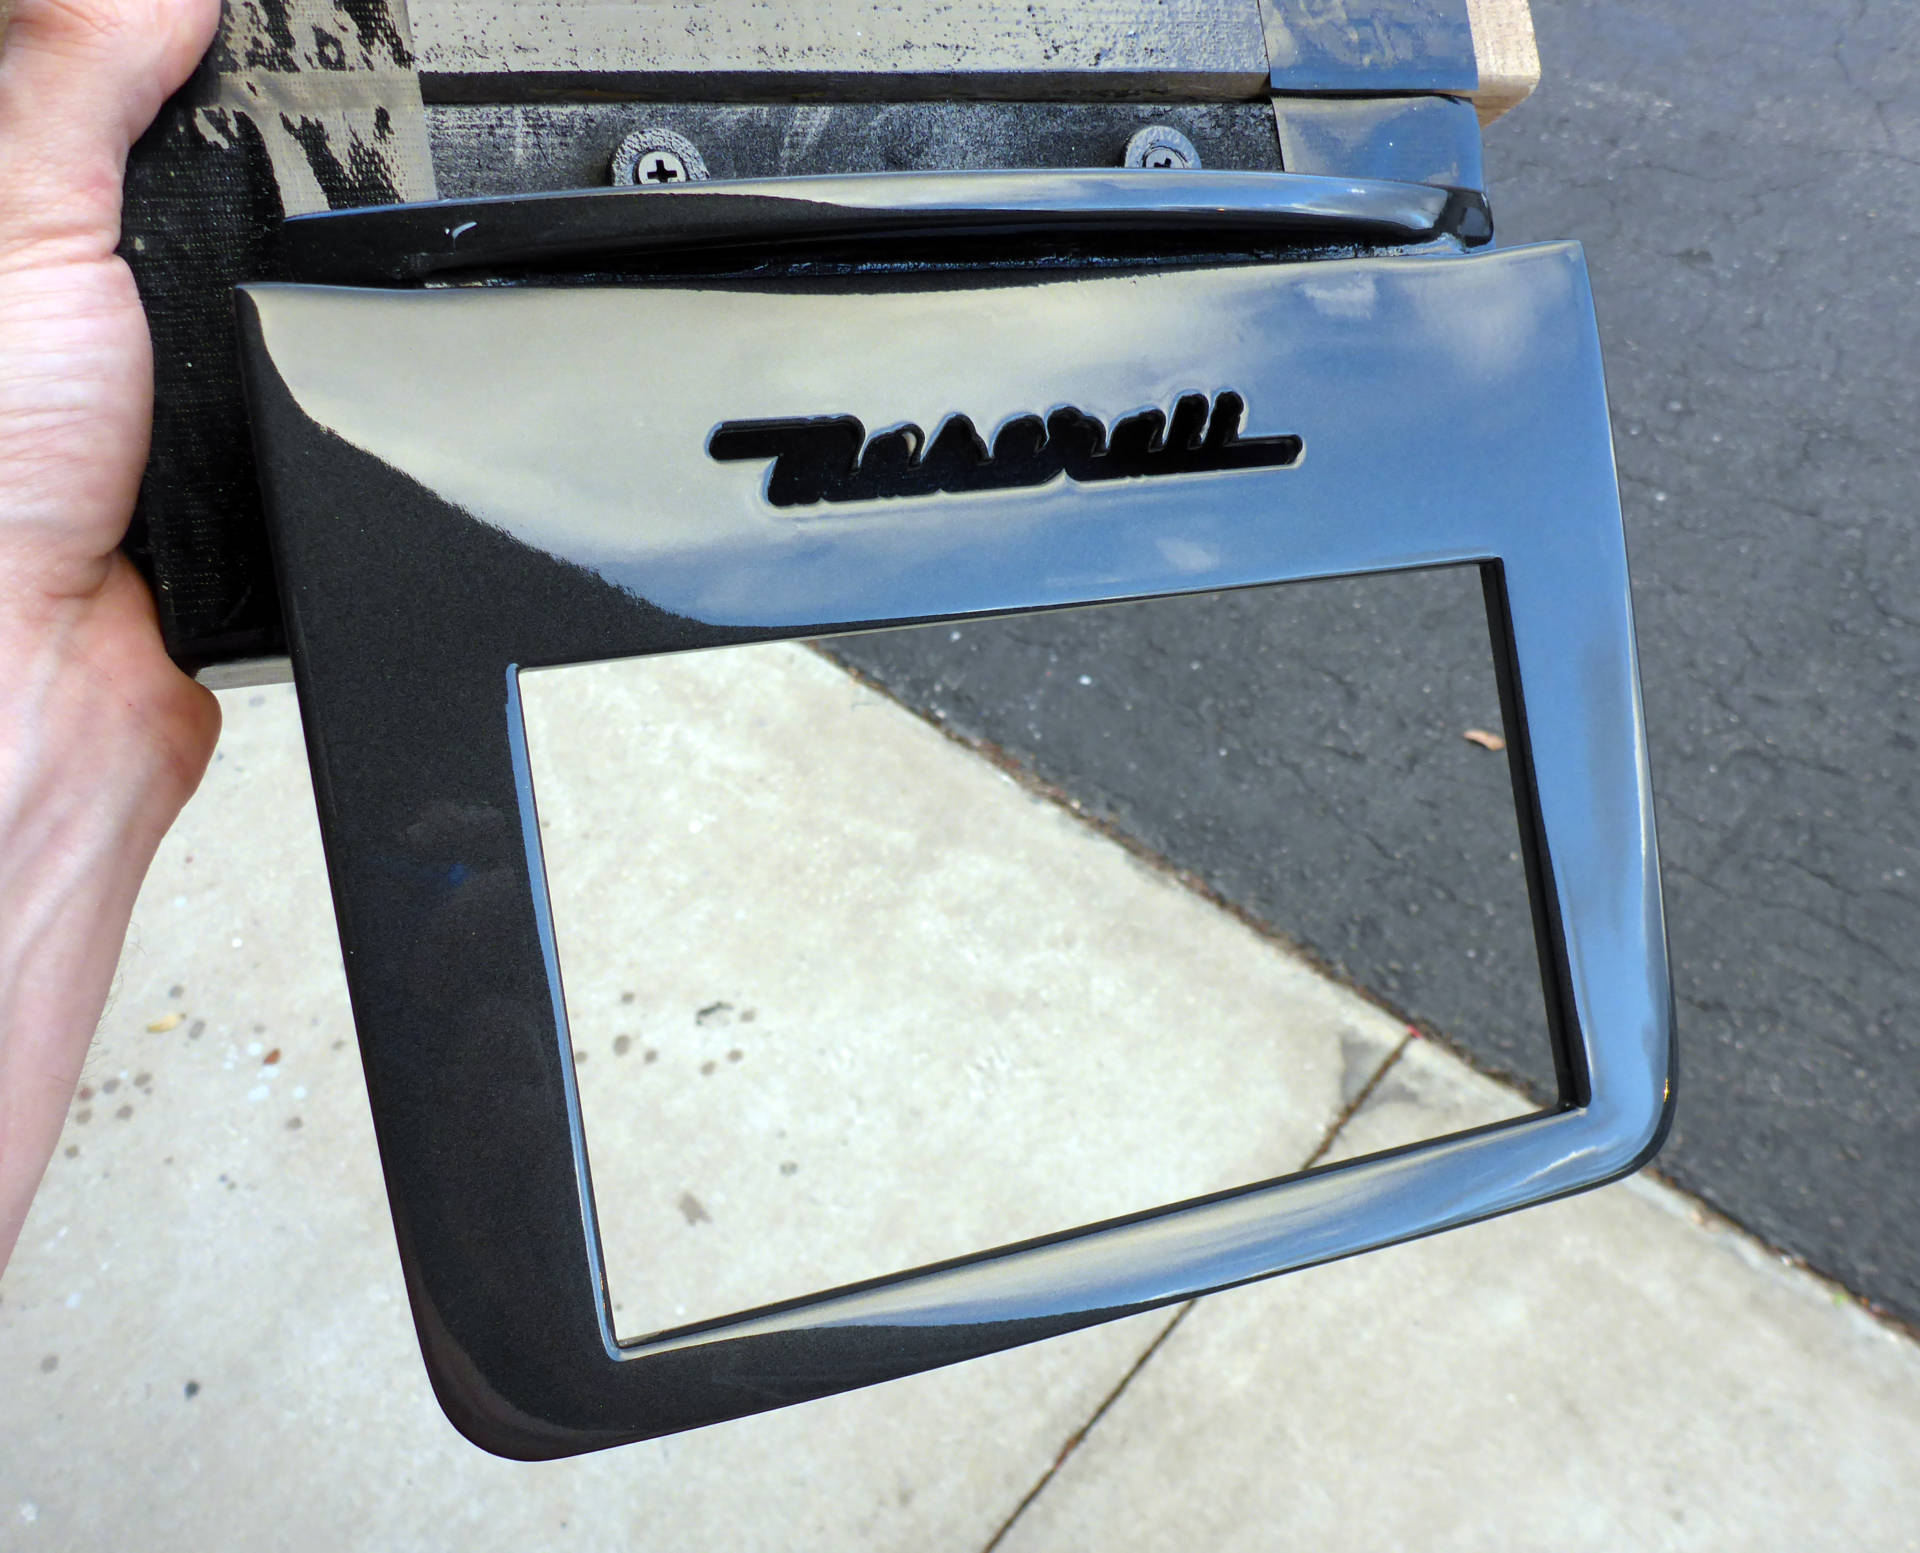
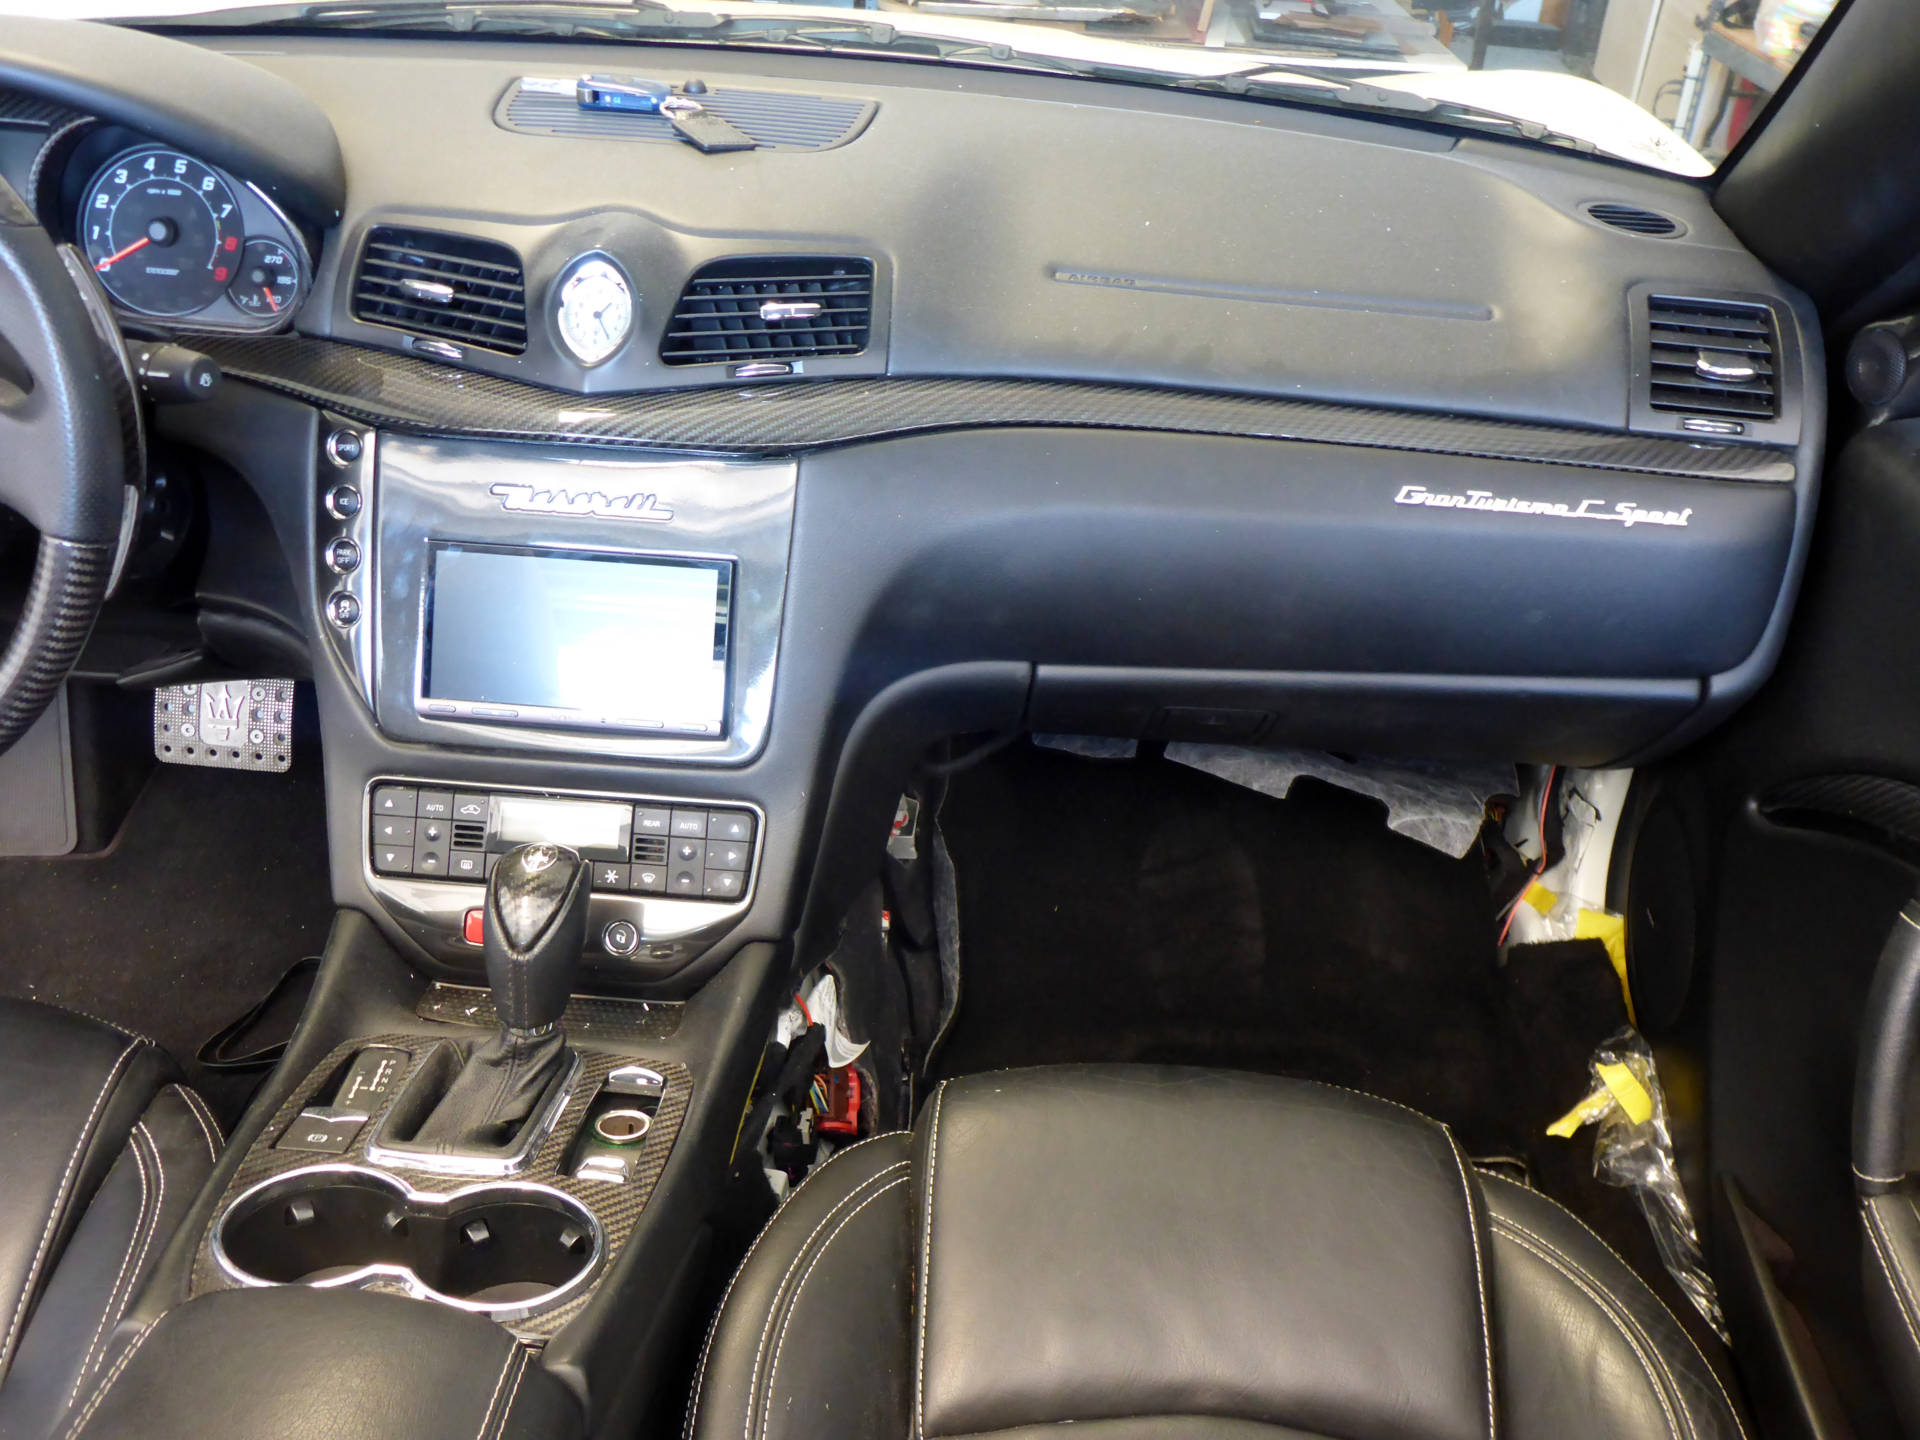
Backing plate installed, inlay done, and dash put together:

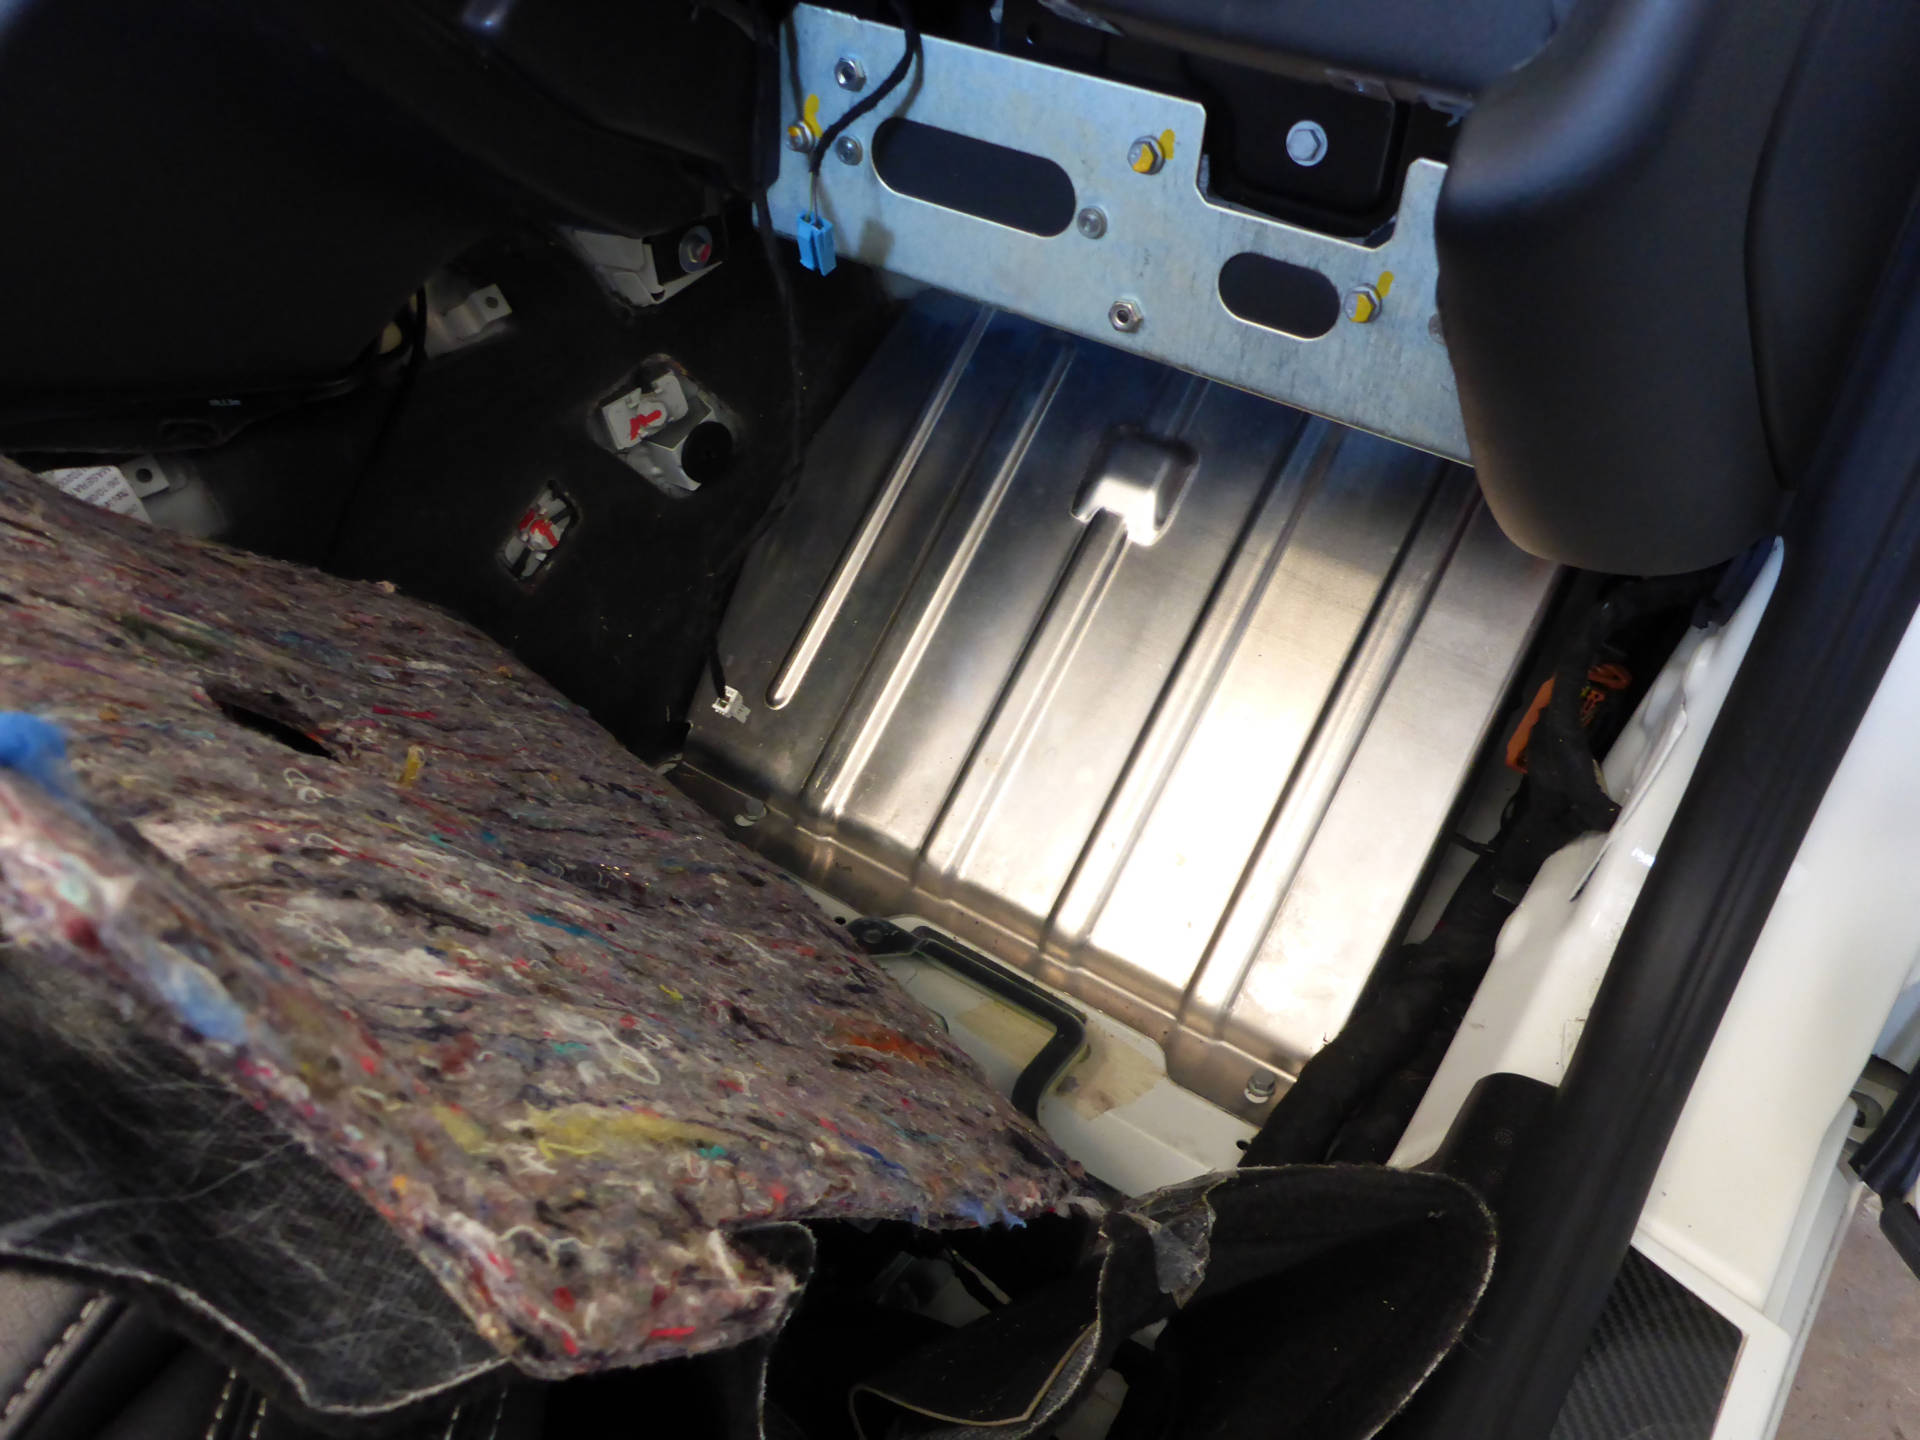
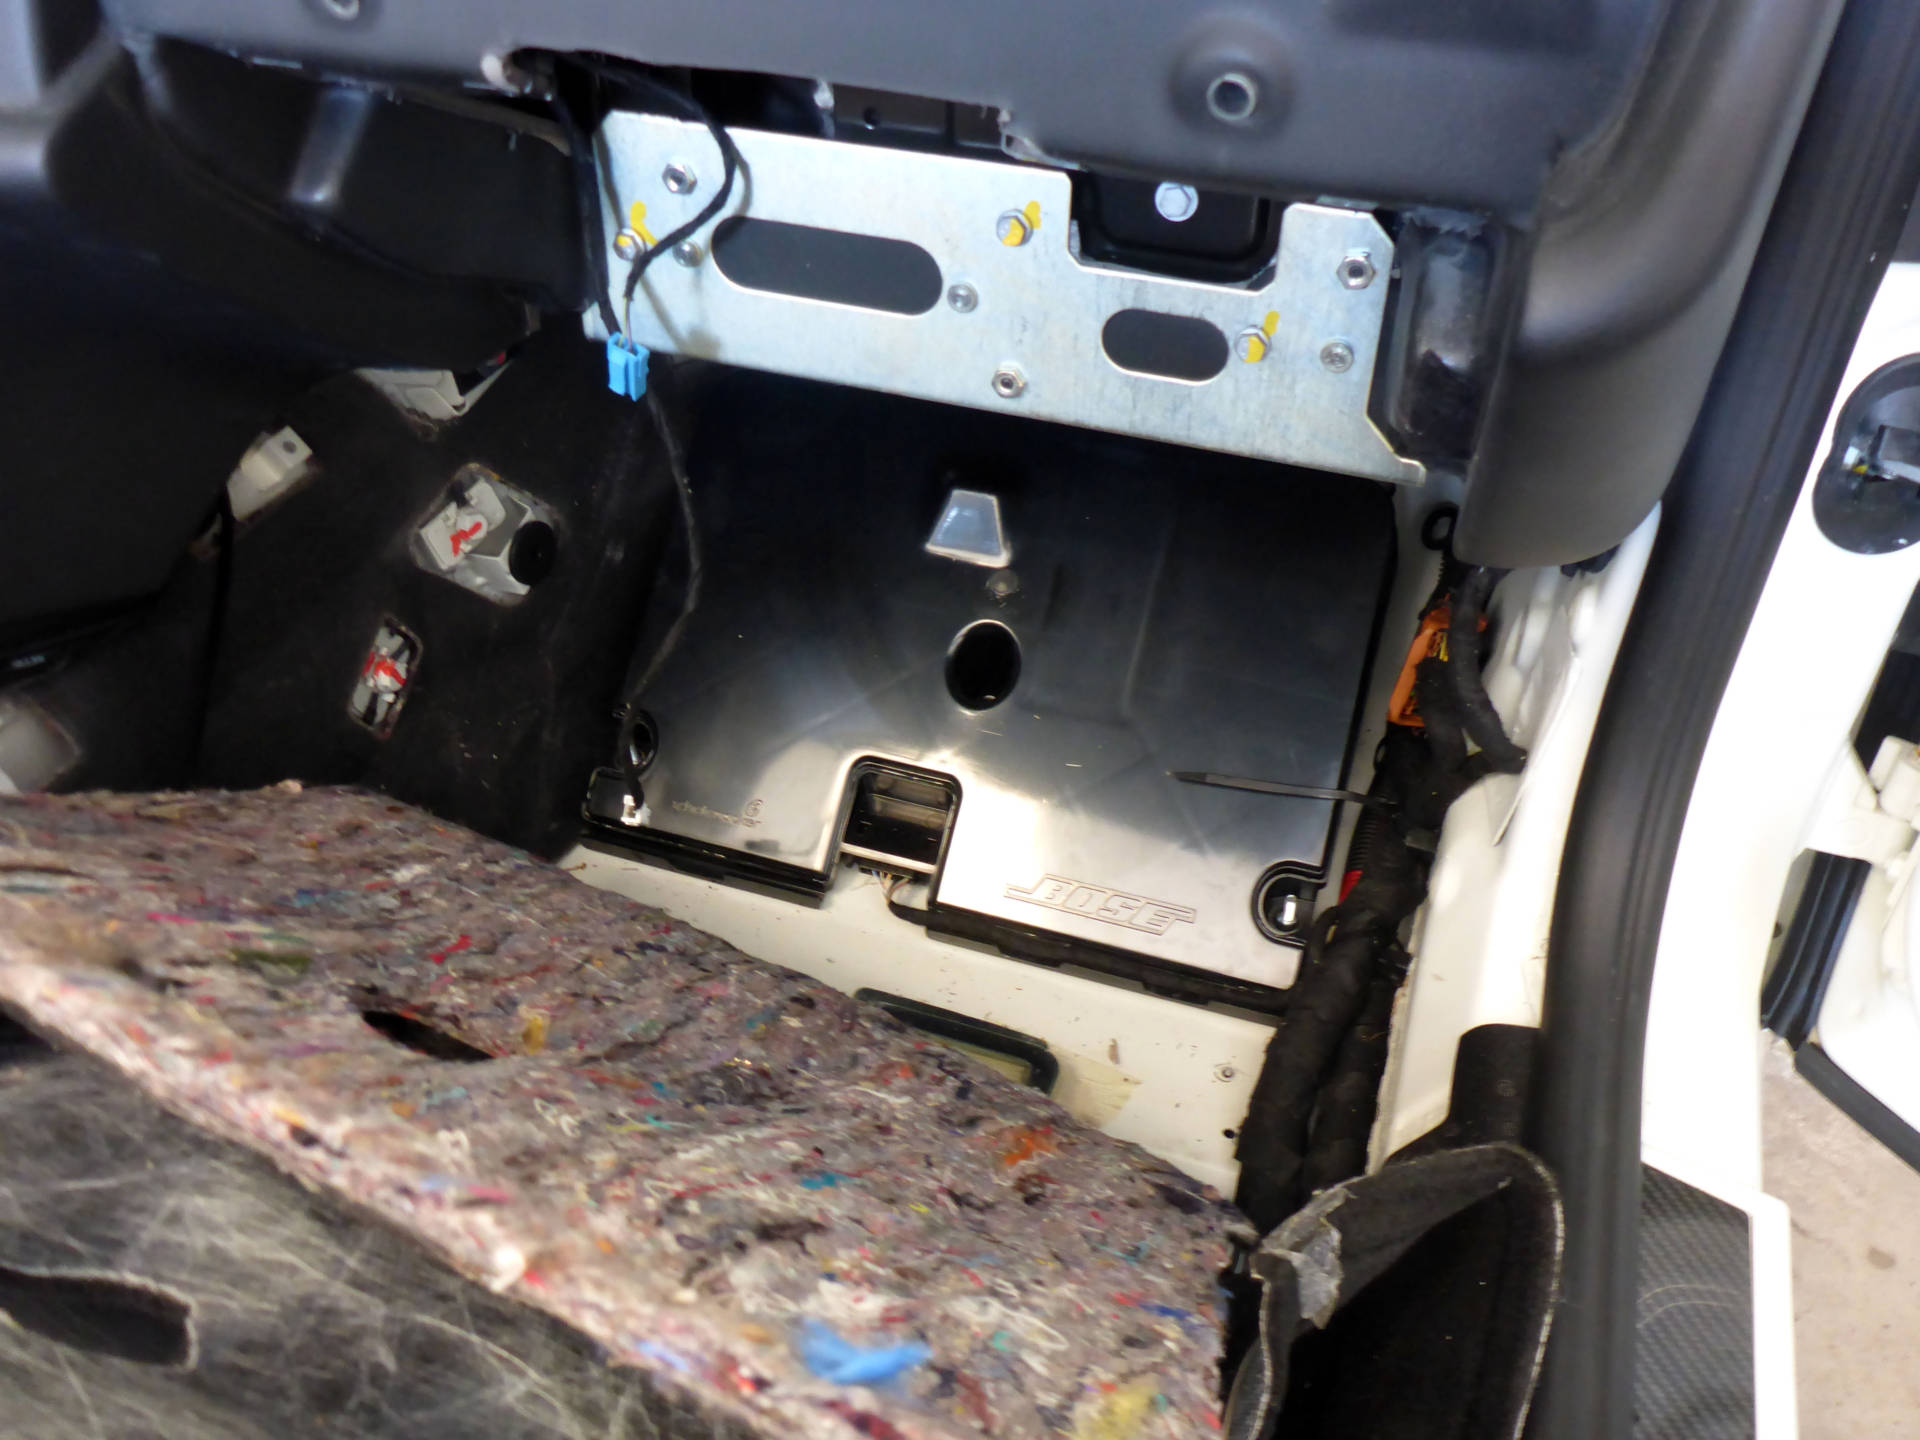
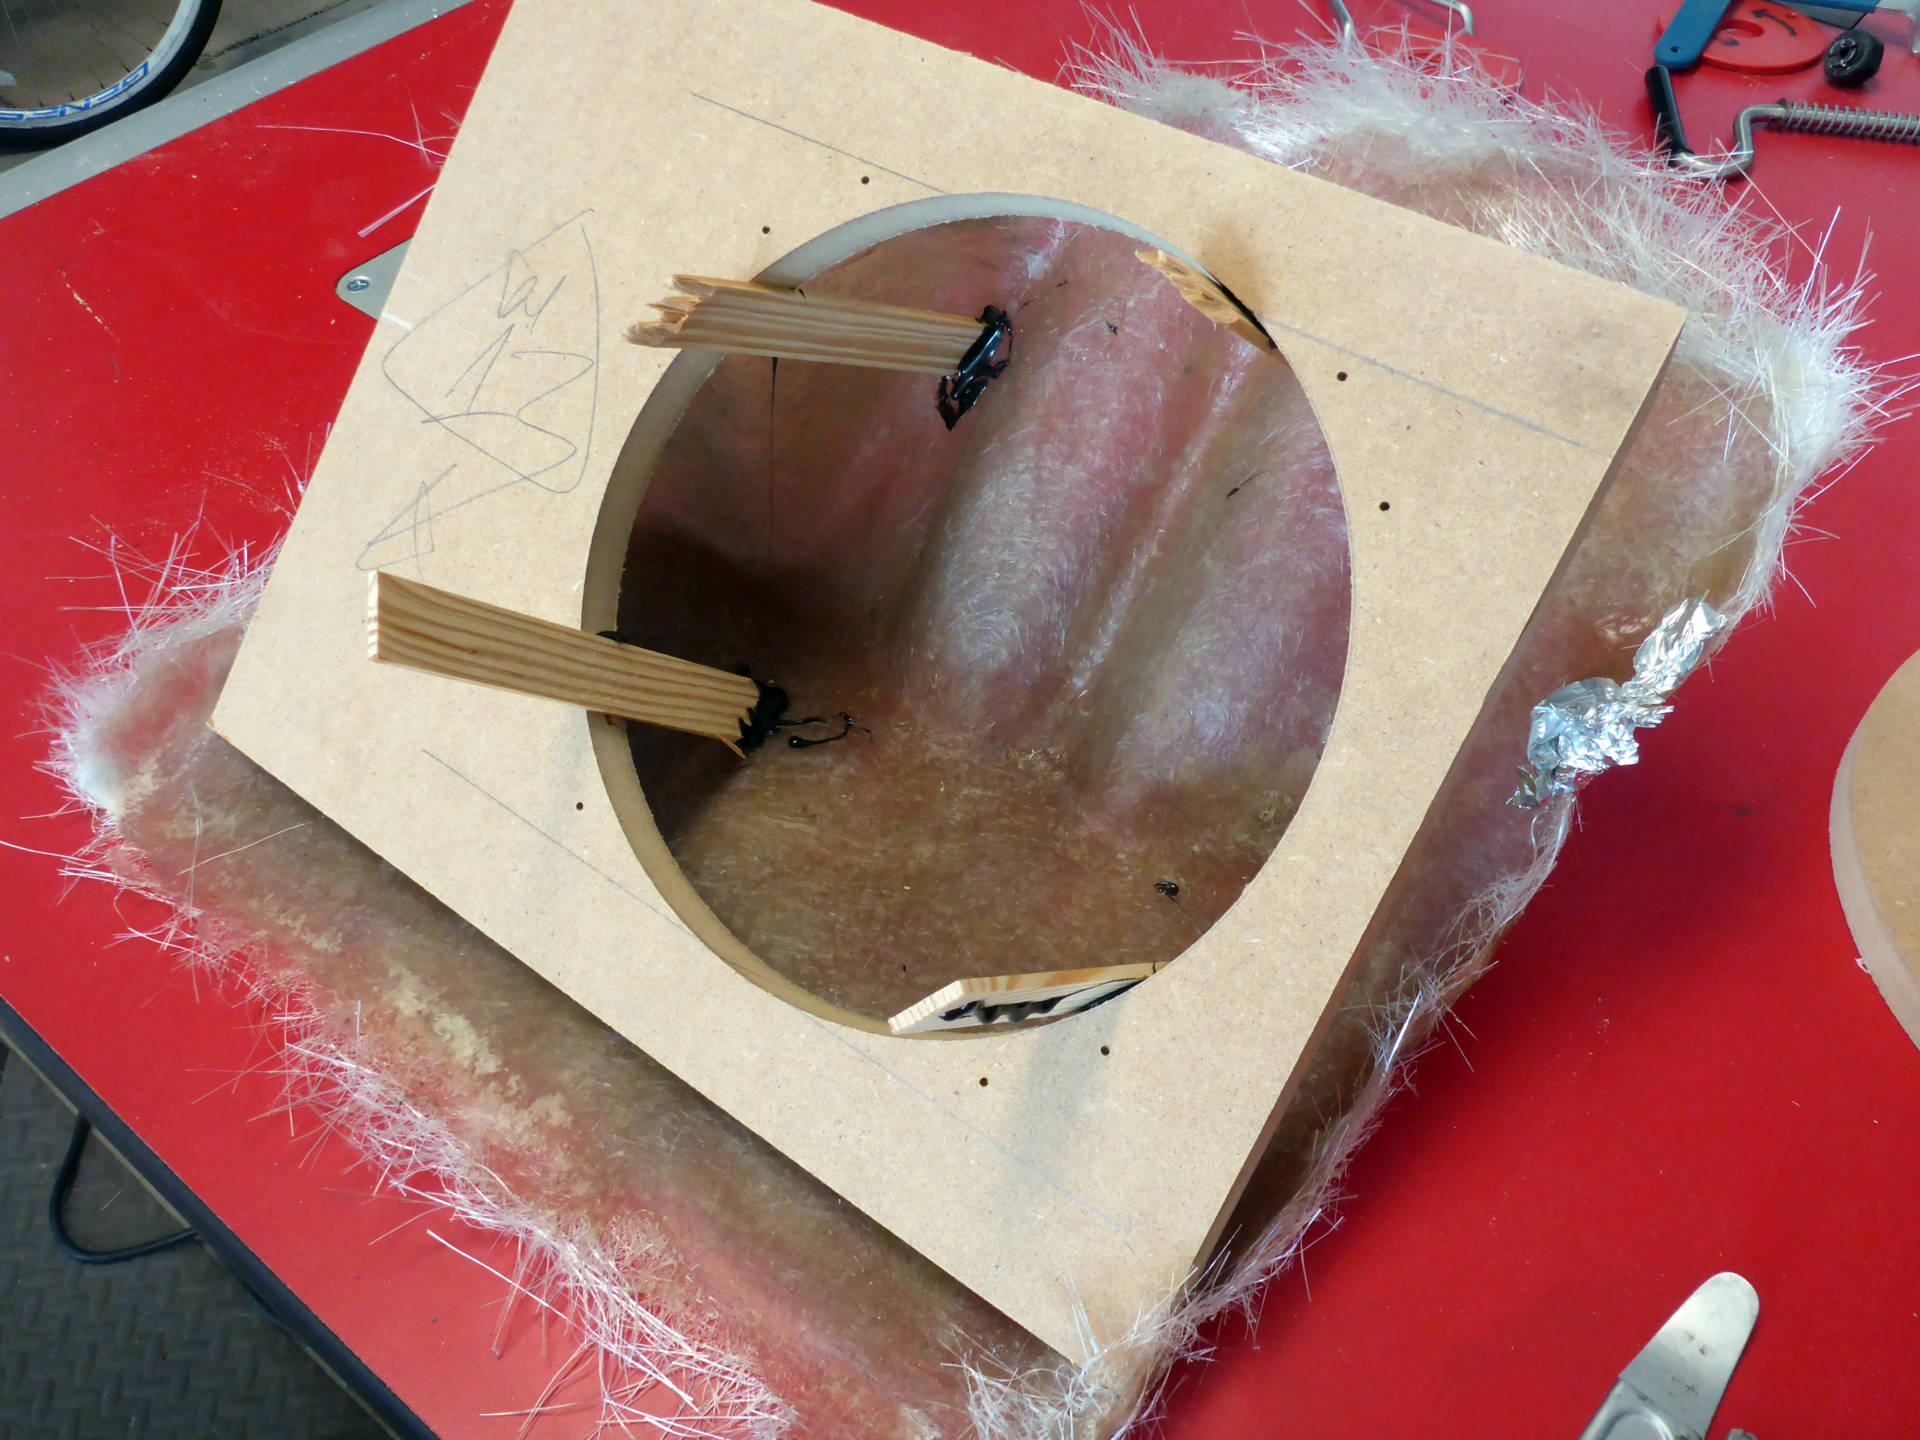
Now that the mids/highs and radio are complete, let’s approach the low-end extension. Uncovering and removing the original teeny subwoofer:
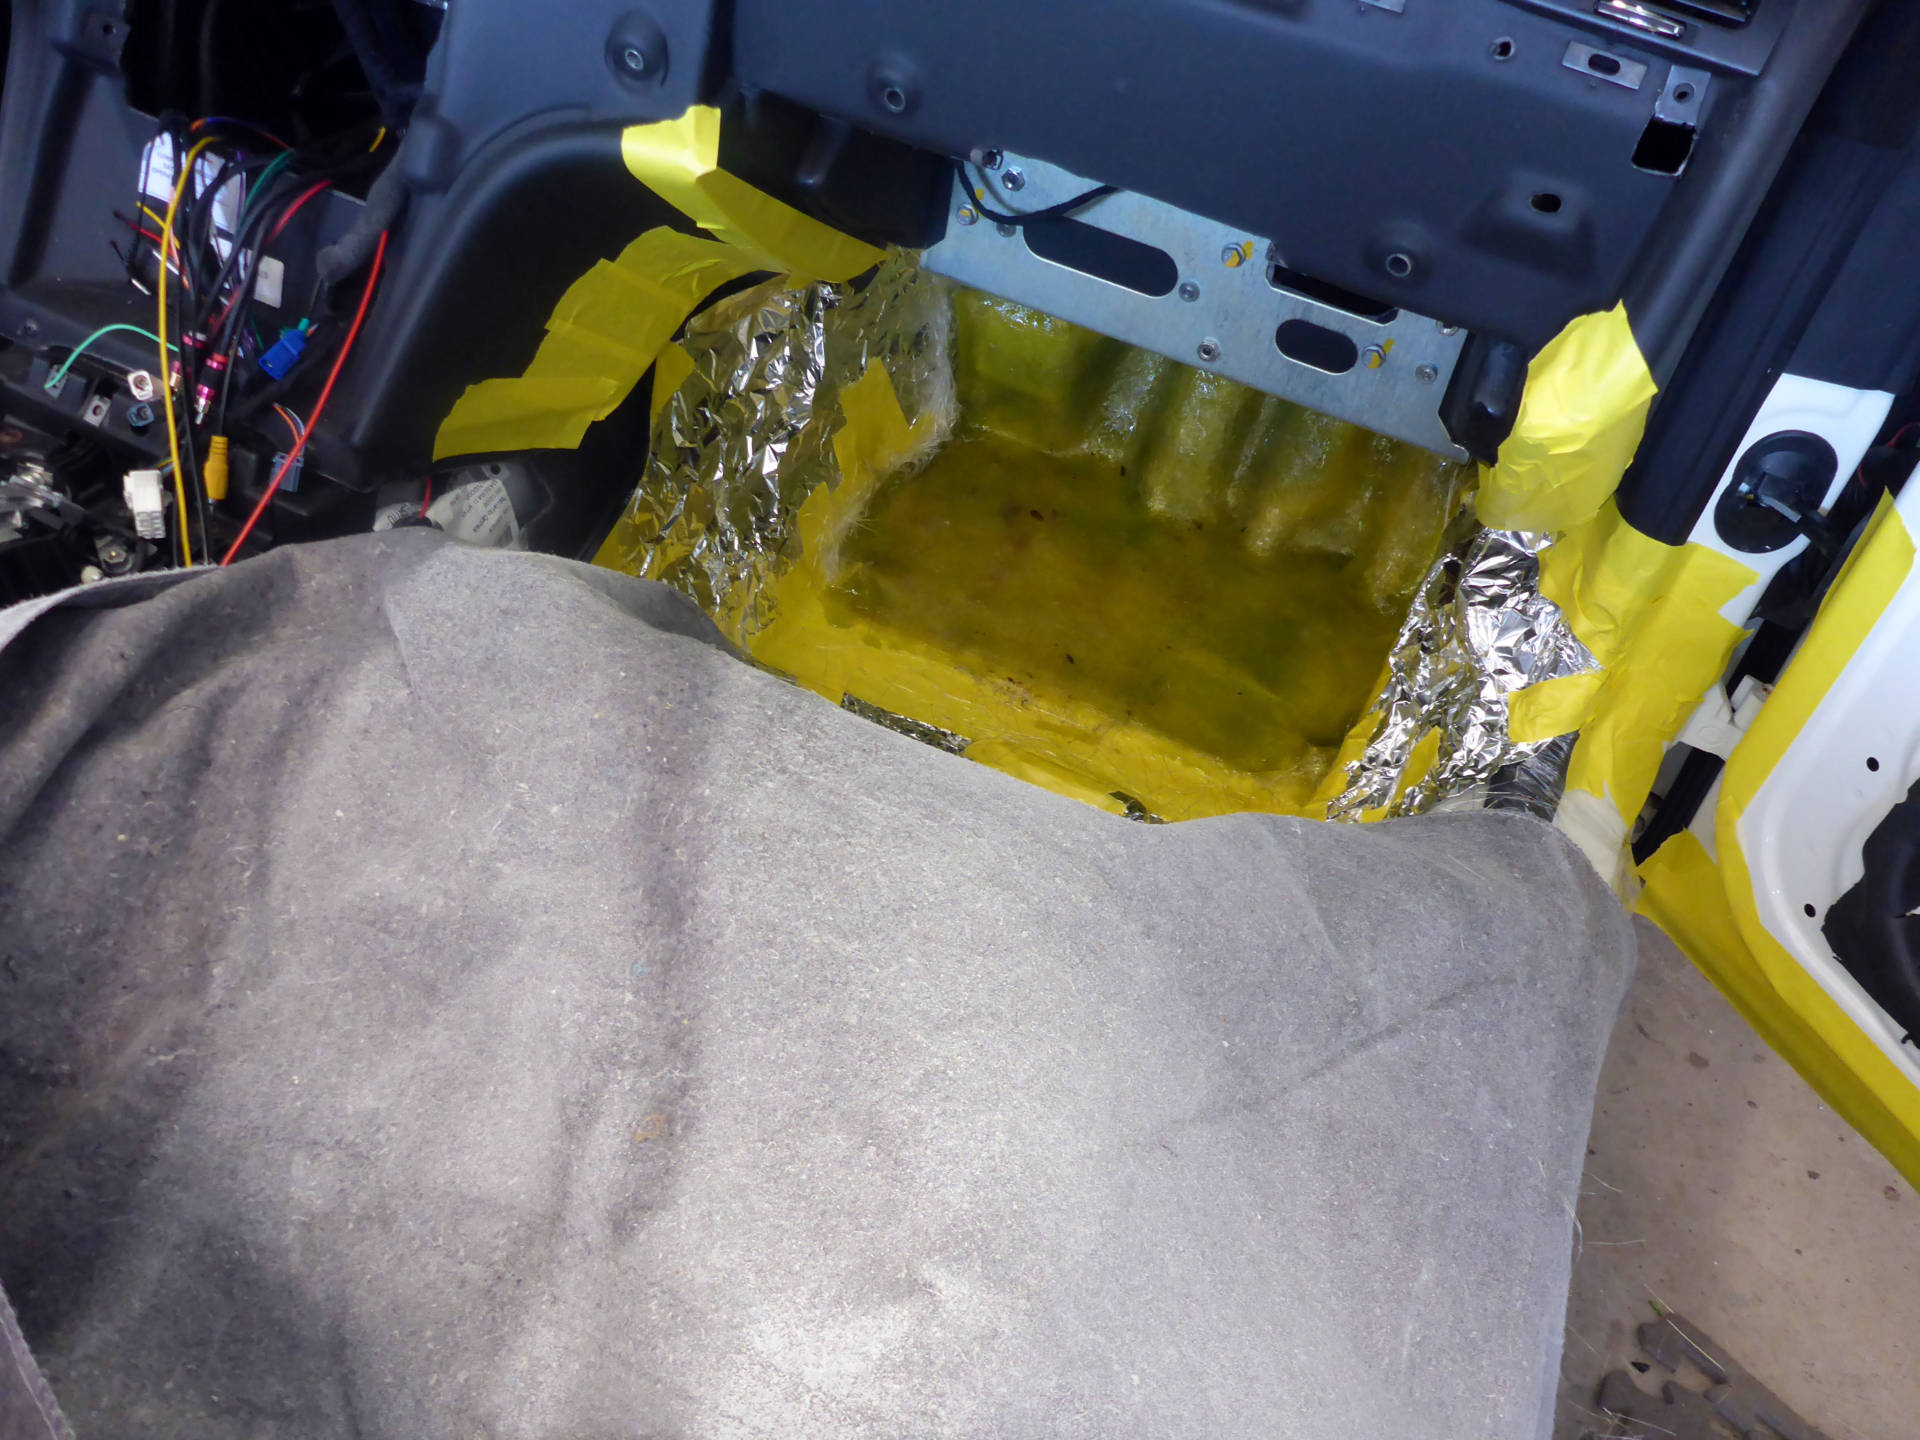
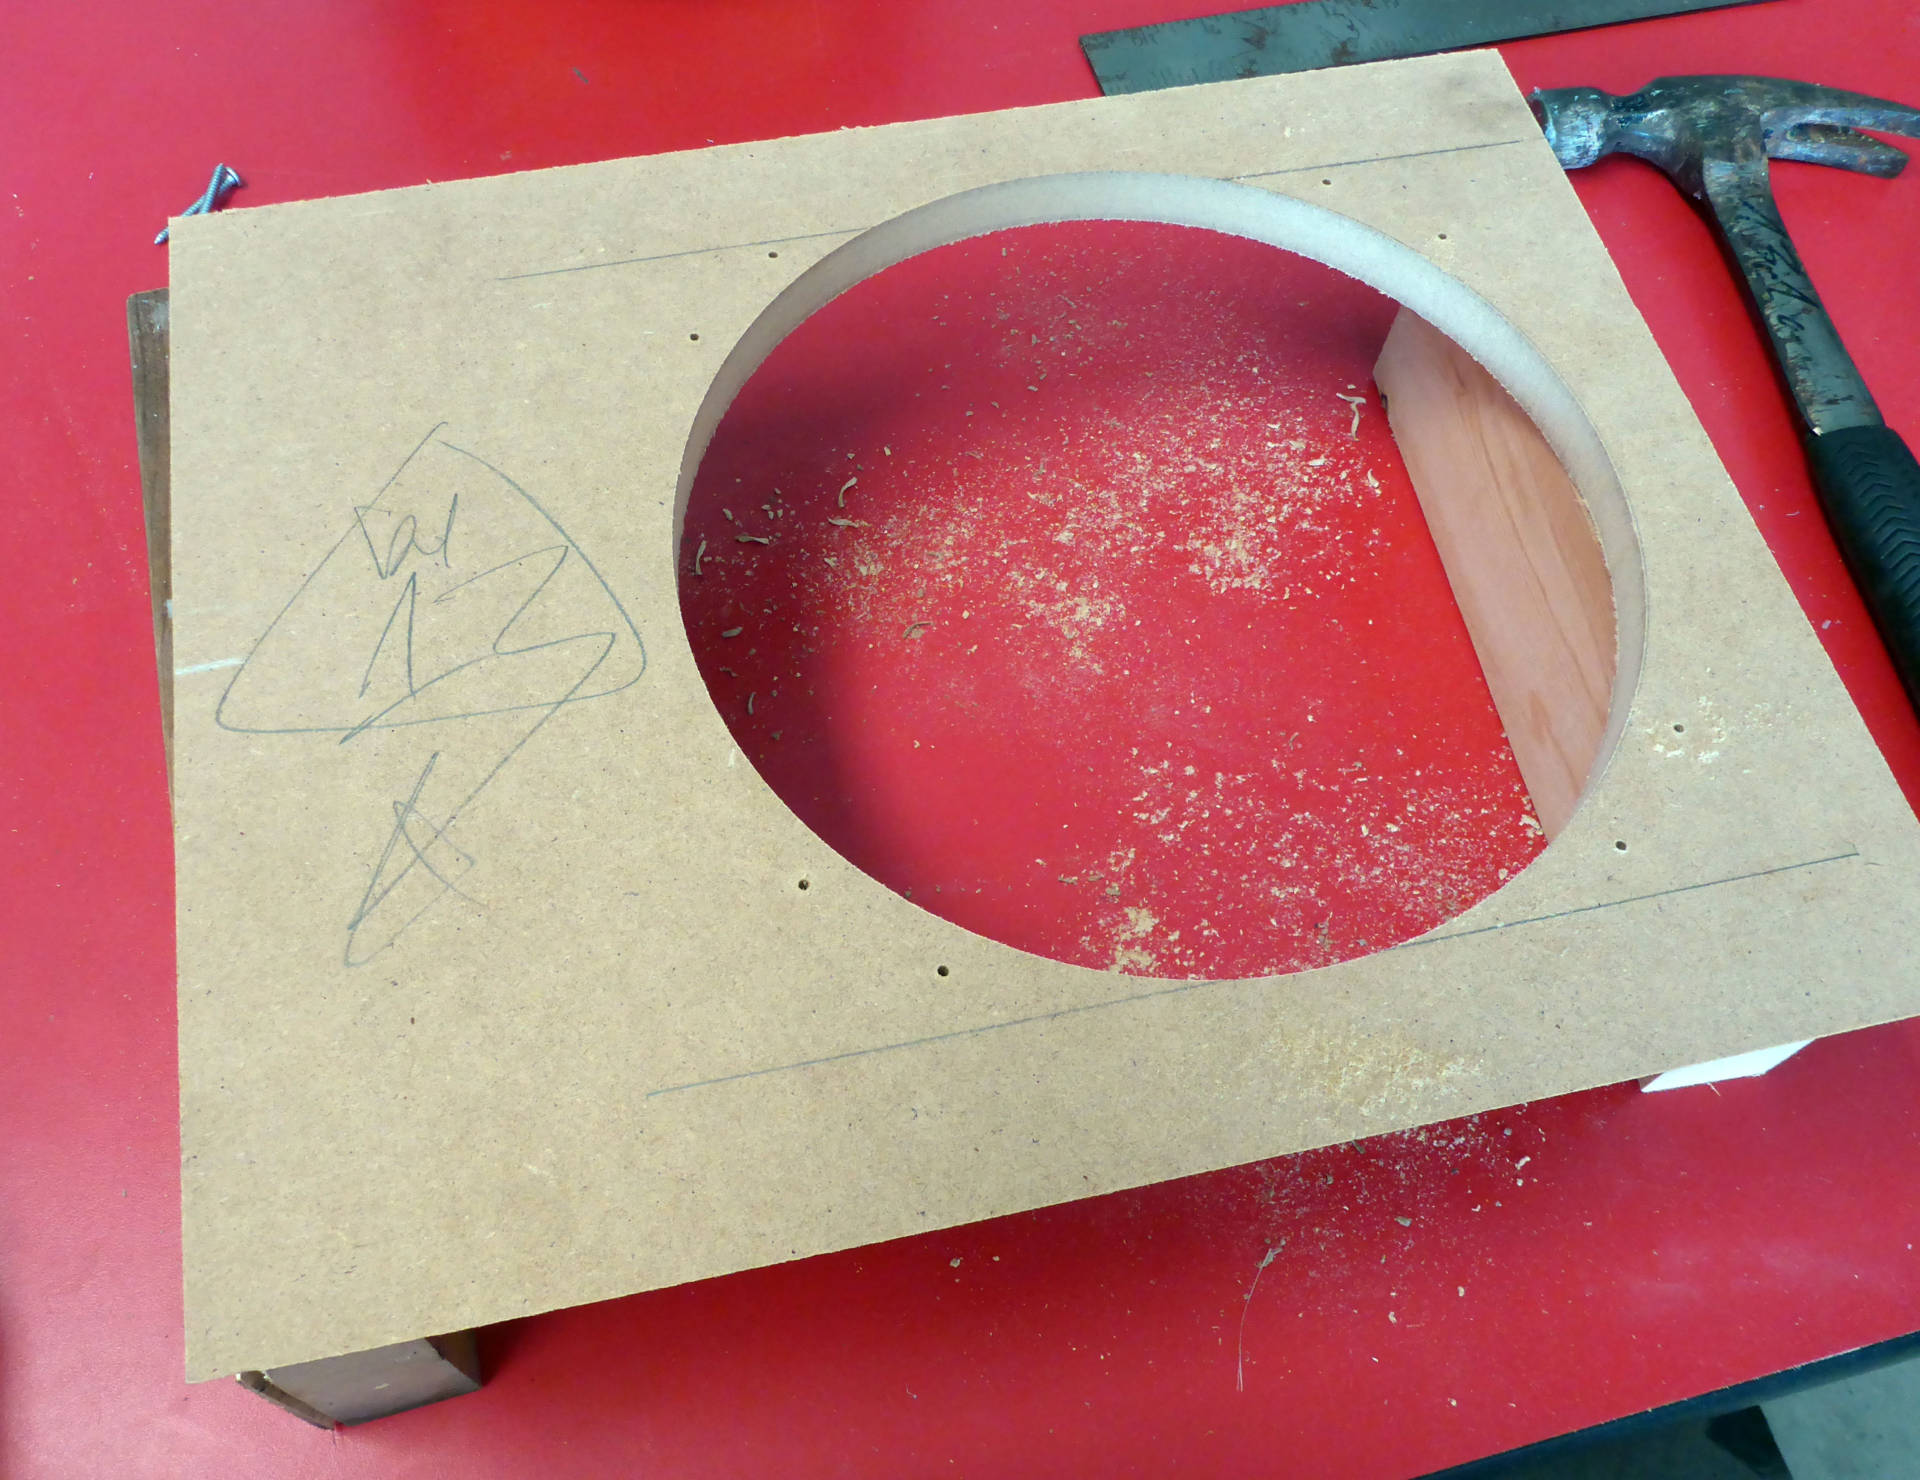
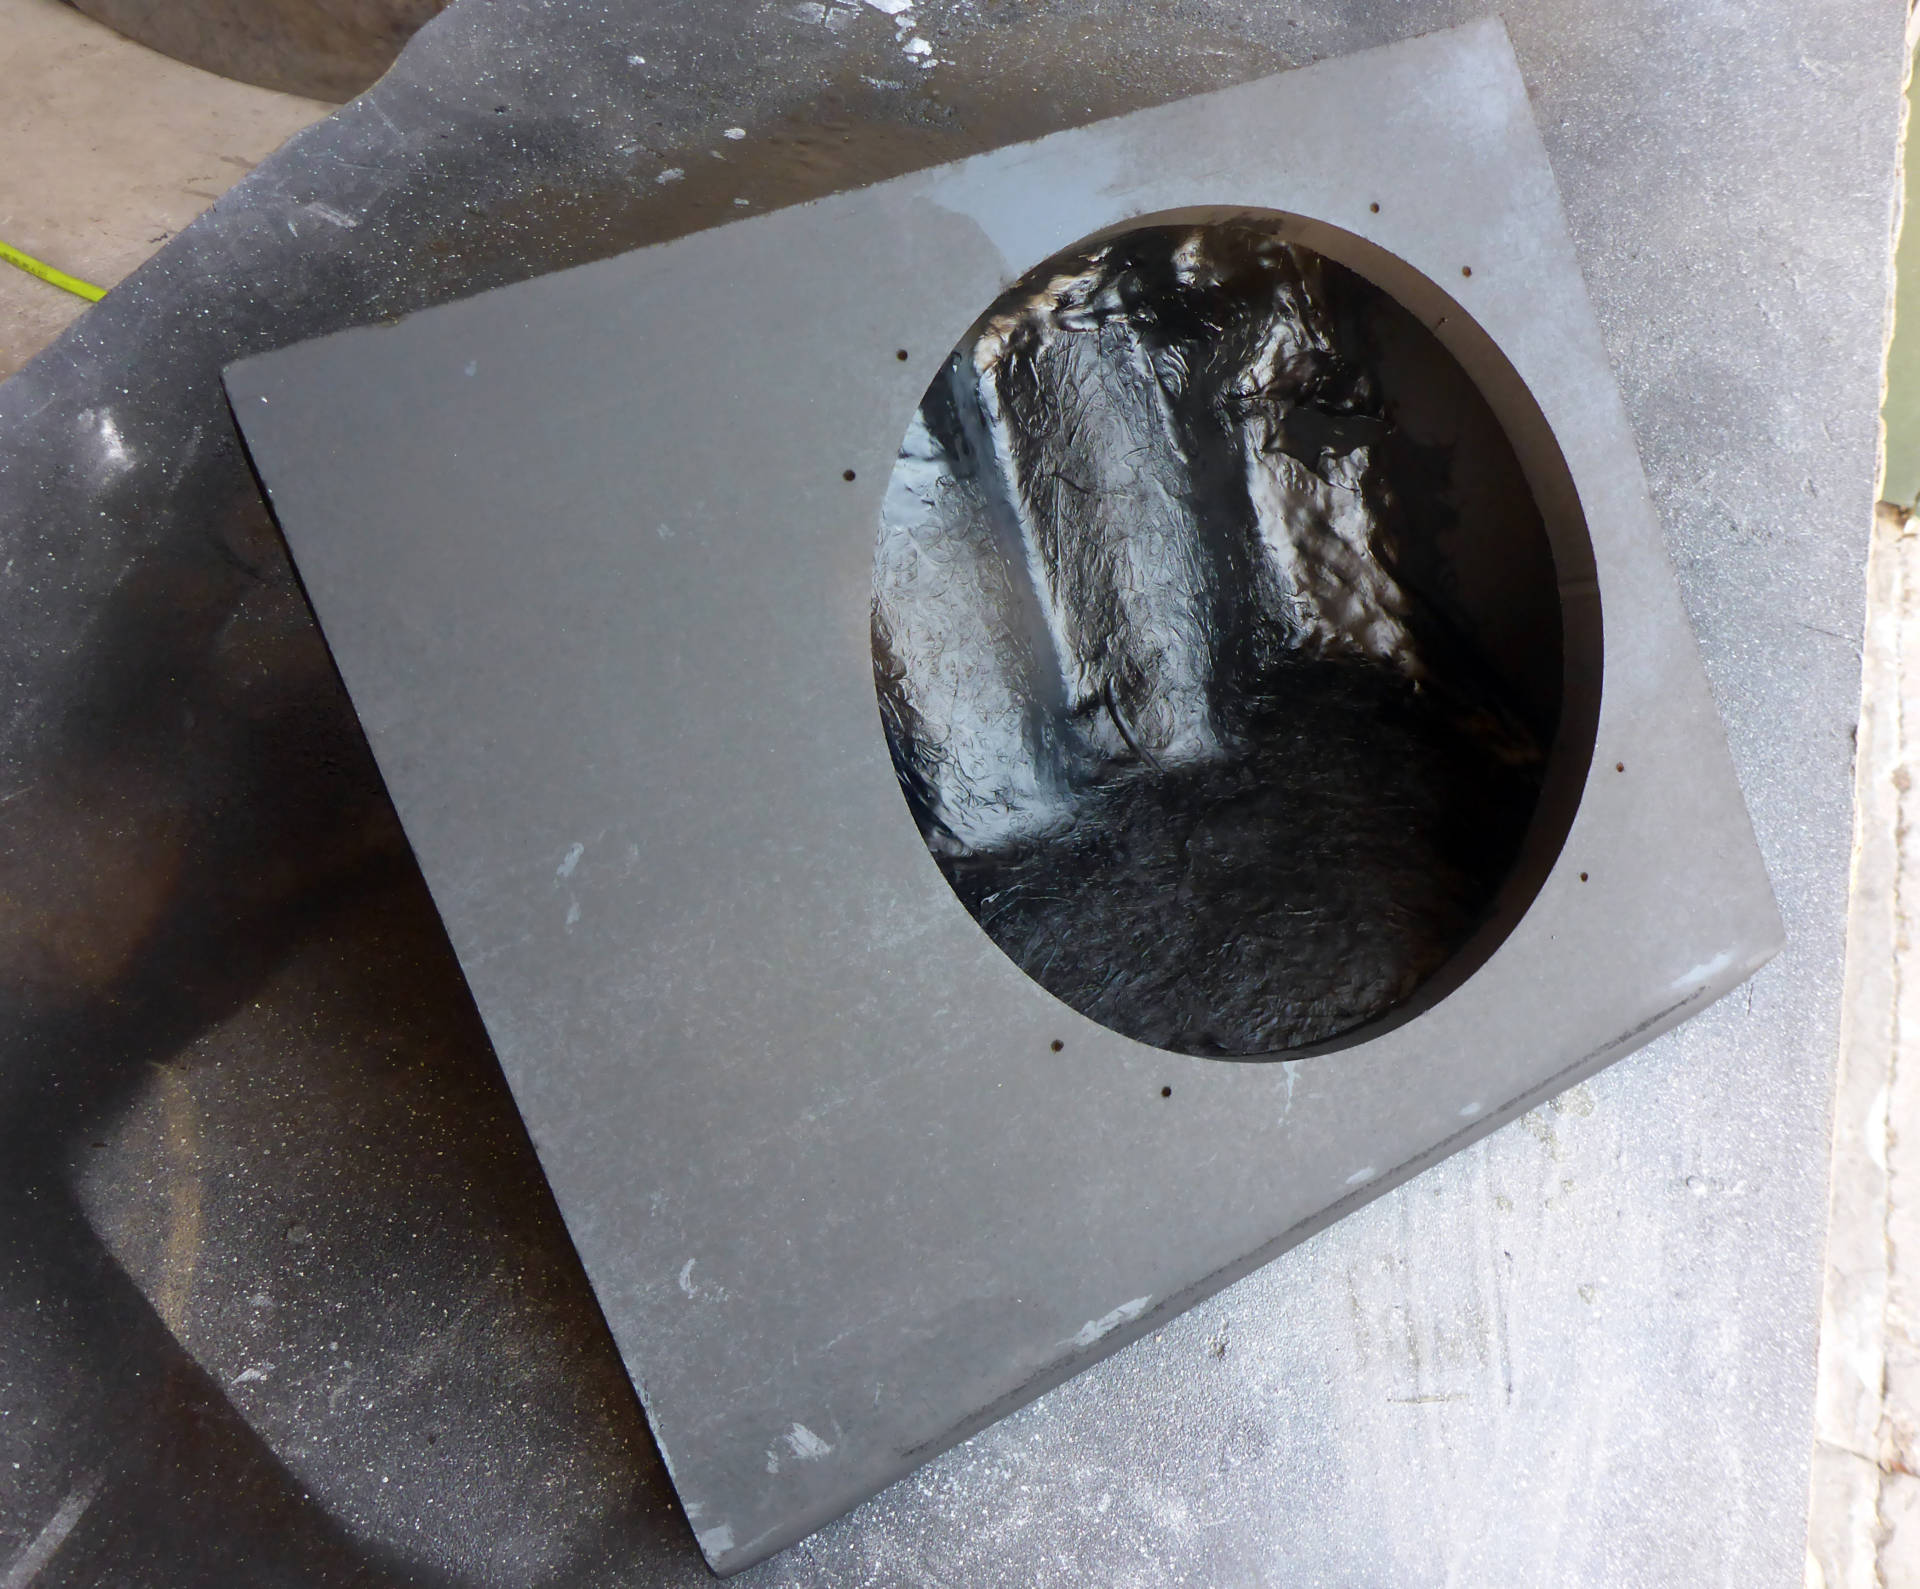
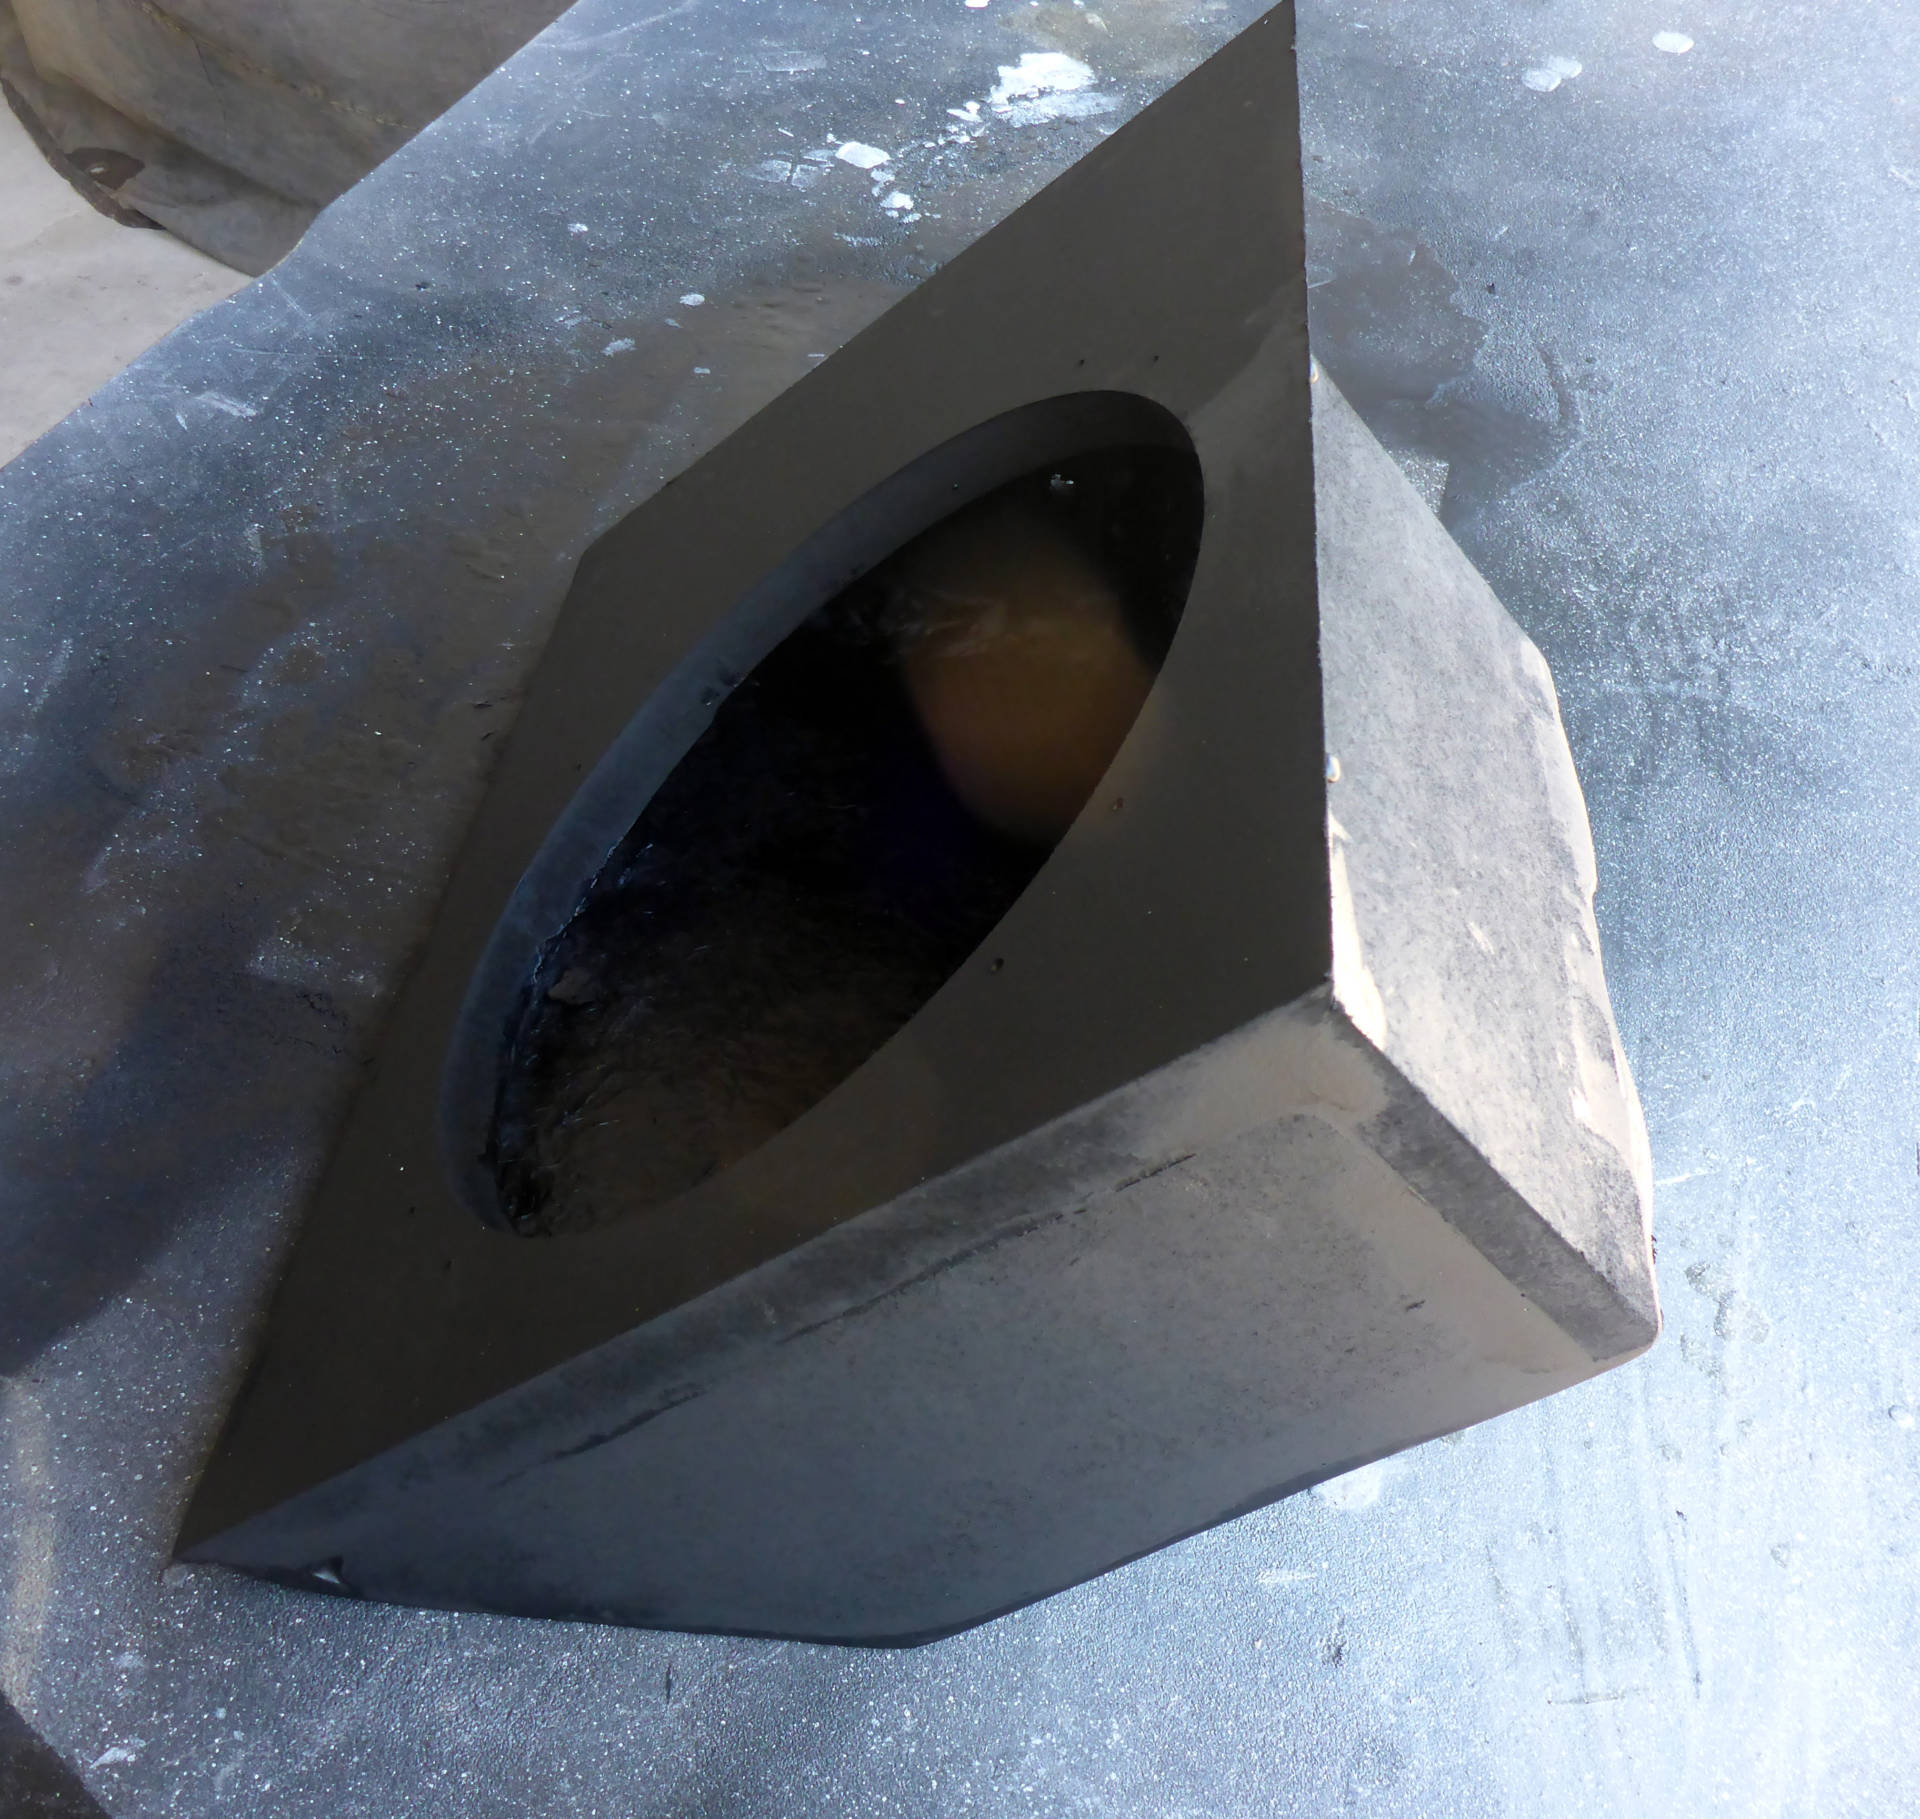
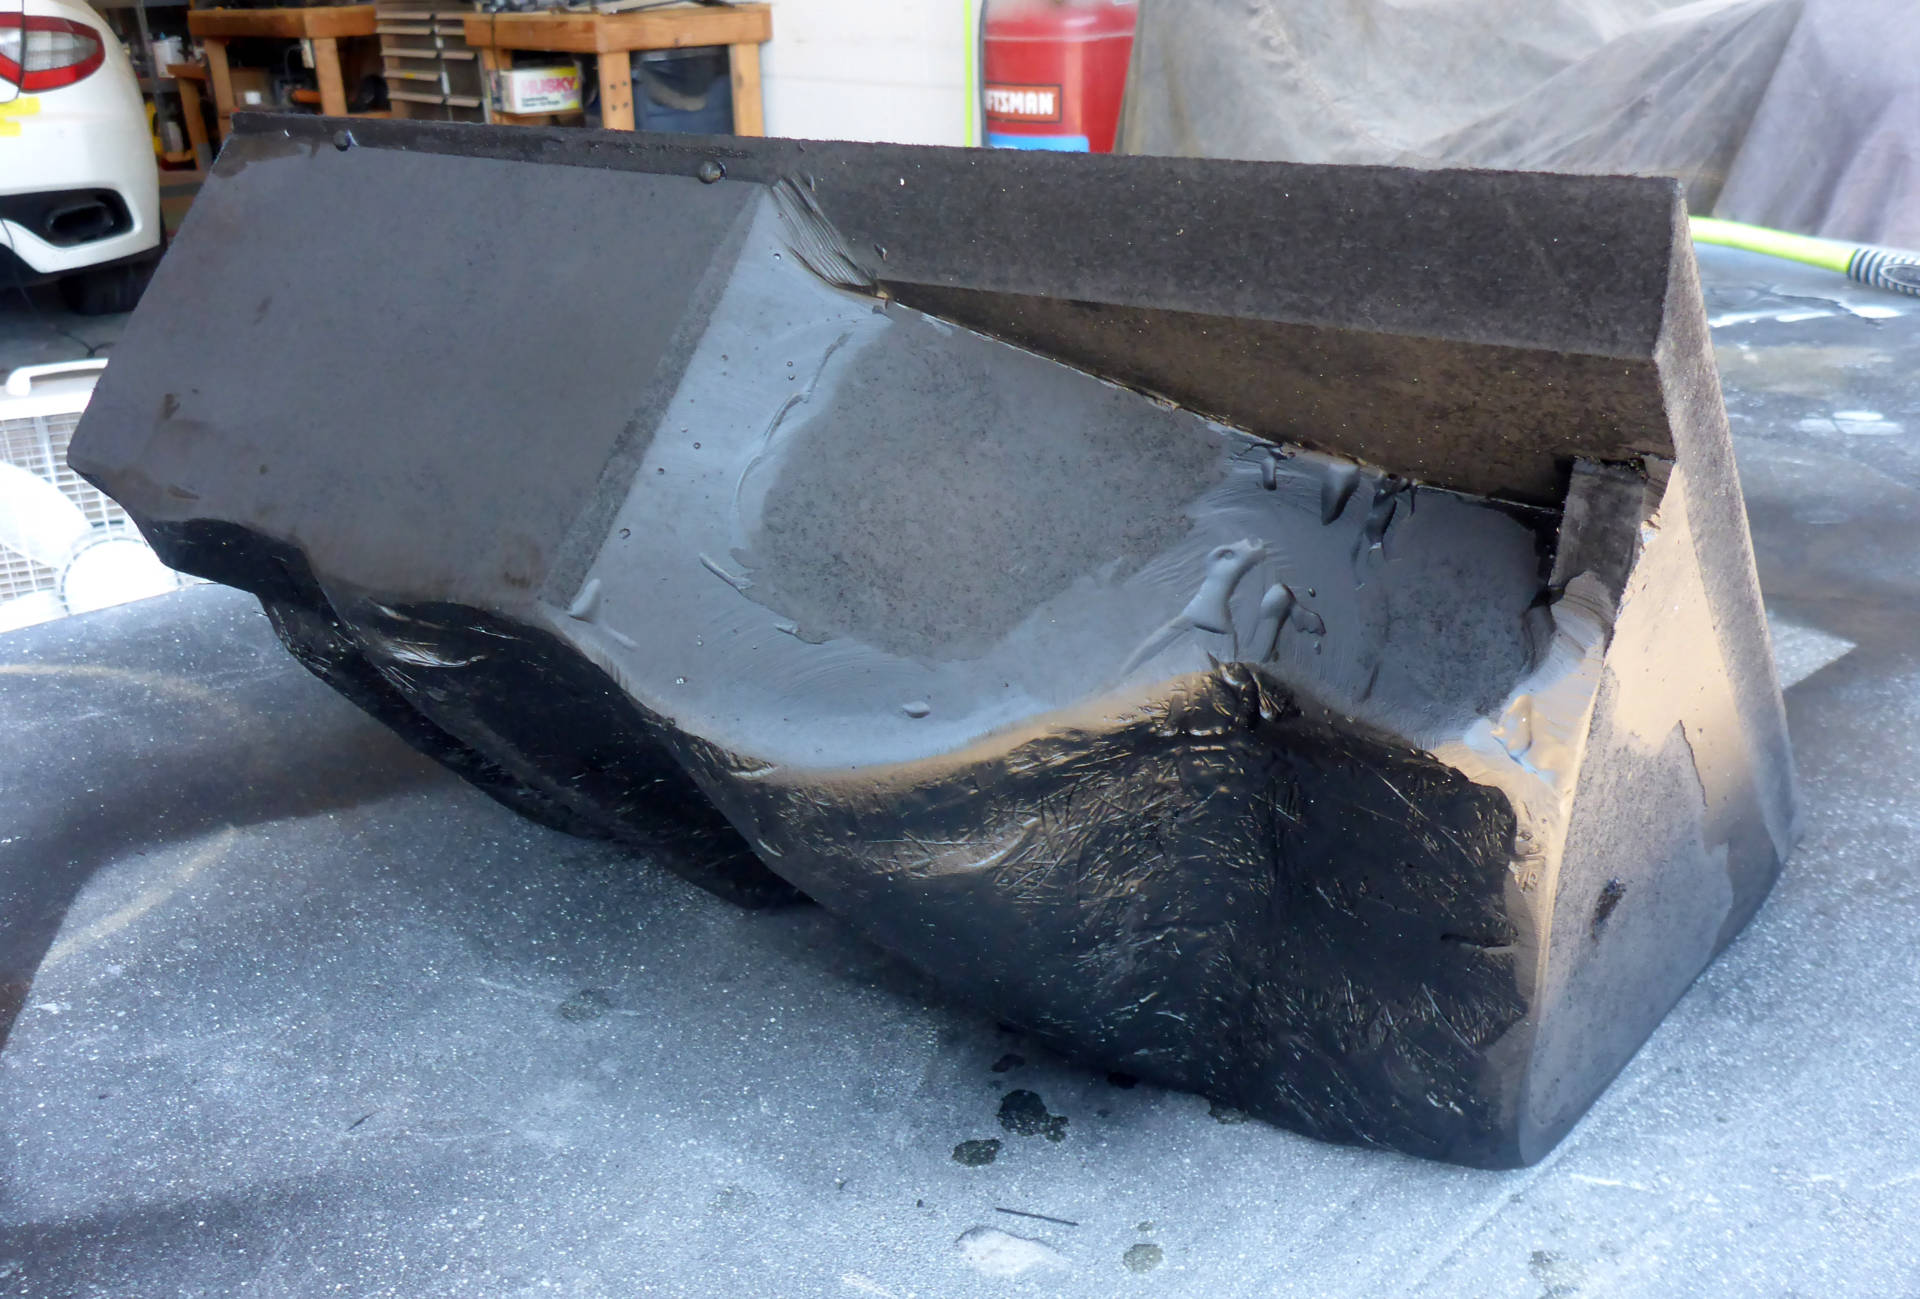
First step was to take a fiberglass mold of the footwell to maximize the airspace for the sub. Then a front baffle was designed and bonded to the backing. The sides were filled in, gaps were sealed, and an enclosure was born. Everything gets painted black for a clean finished look.


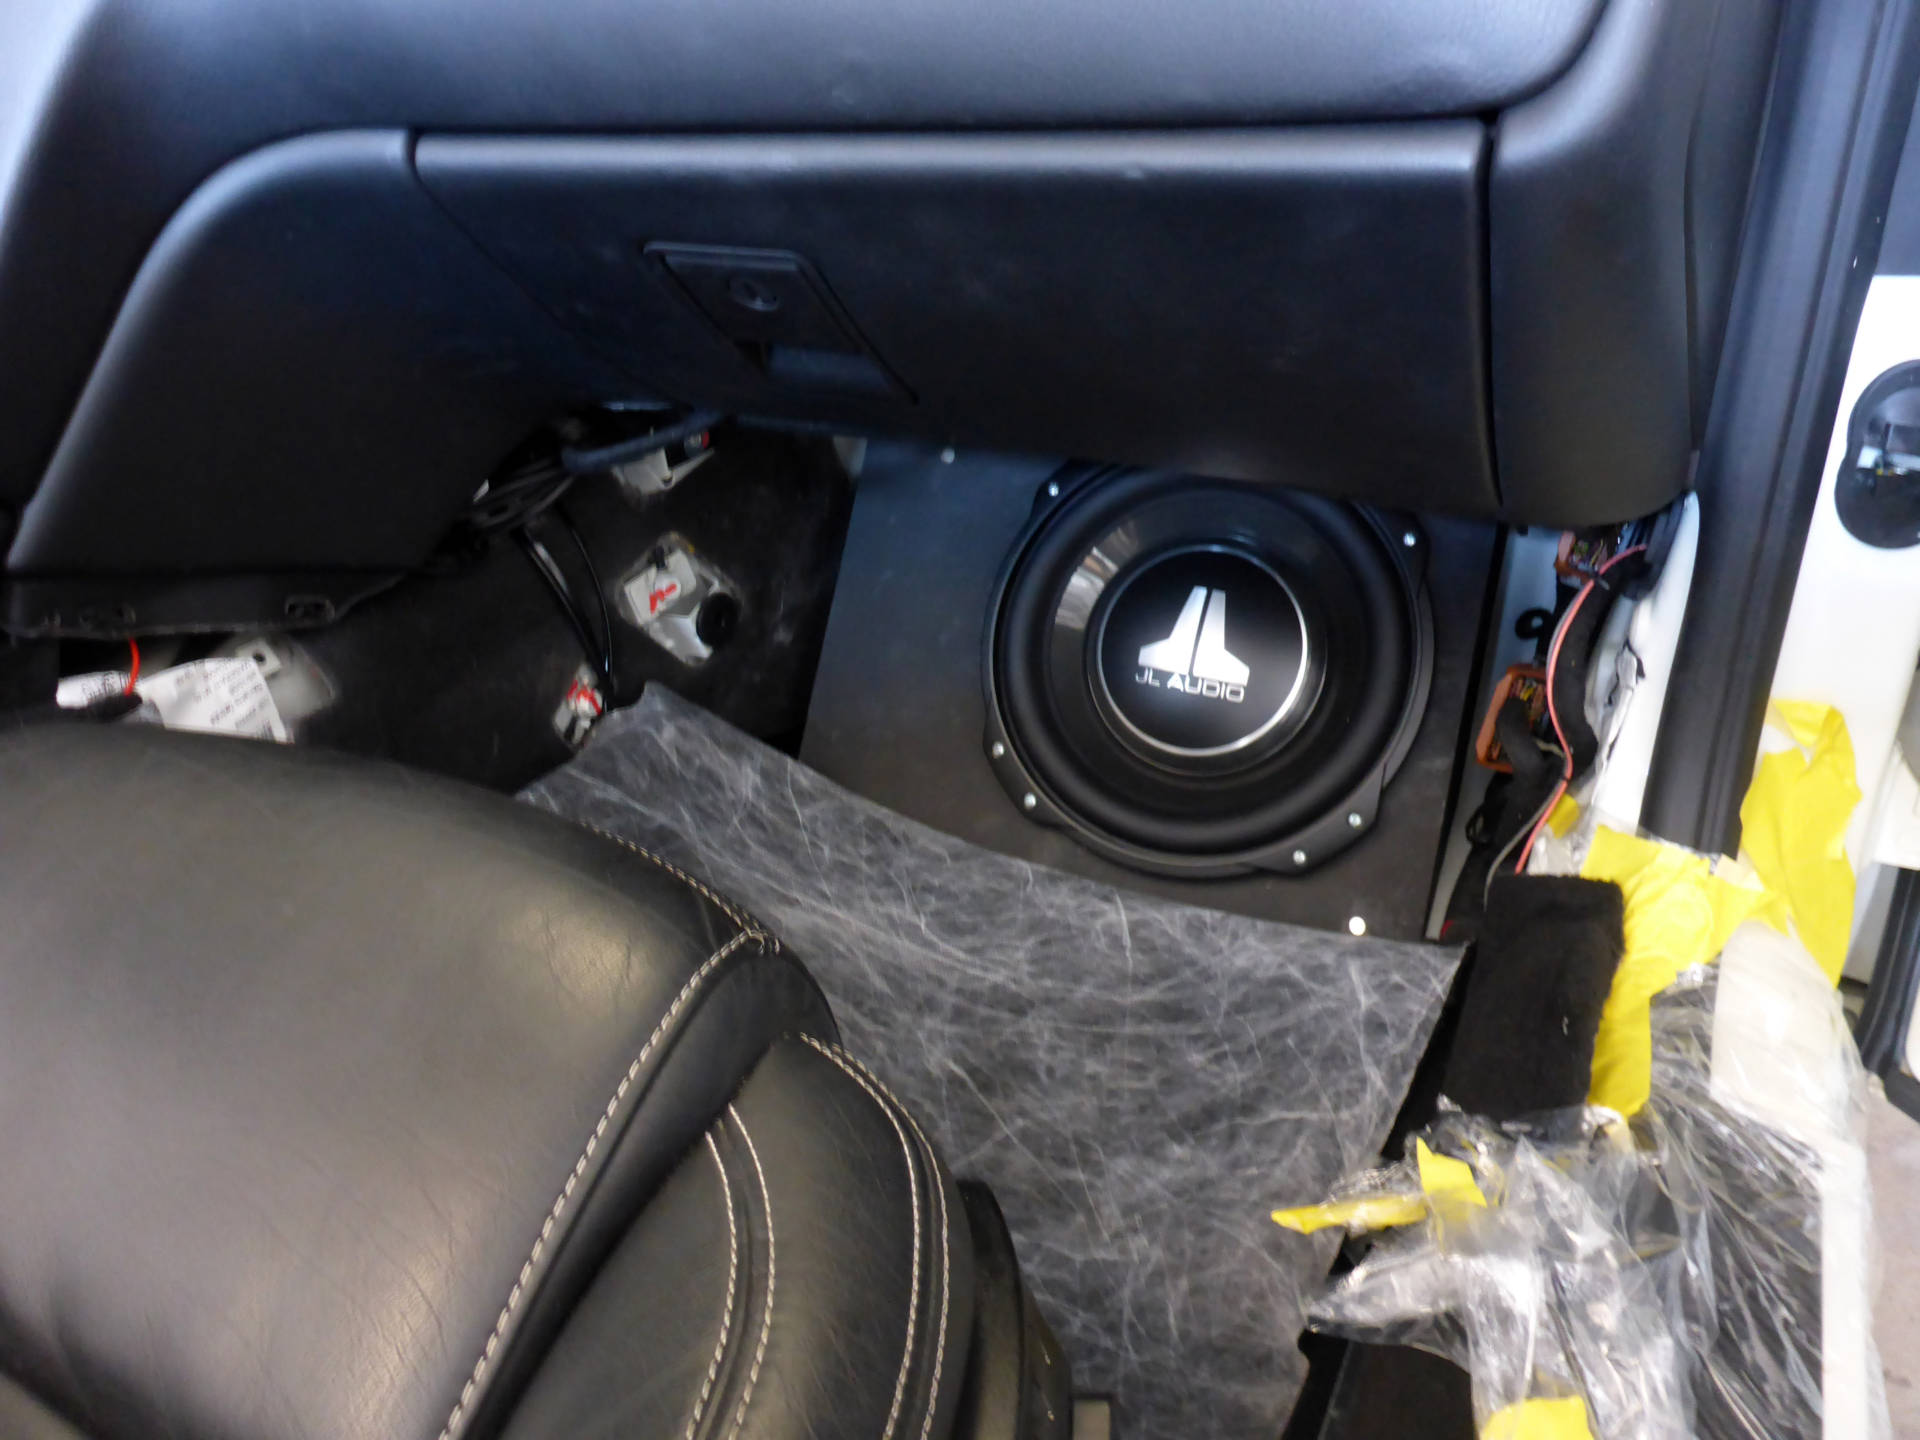
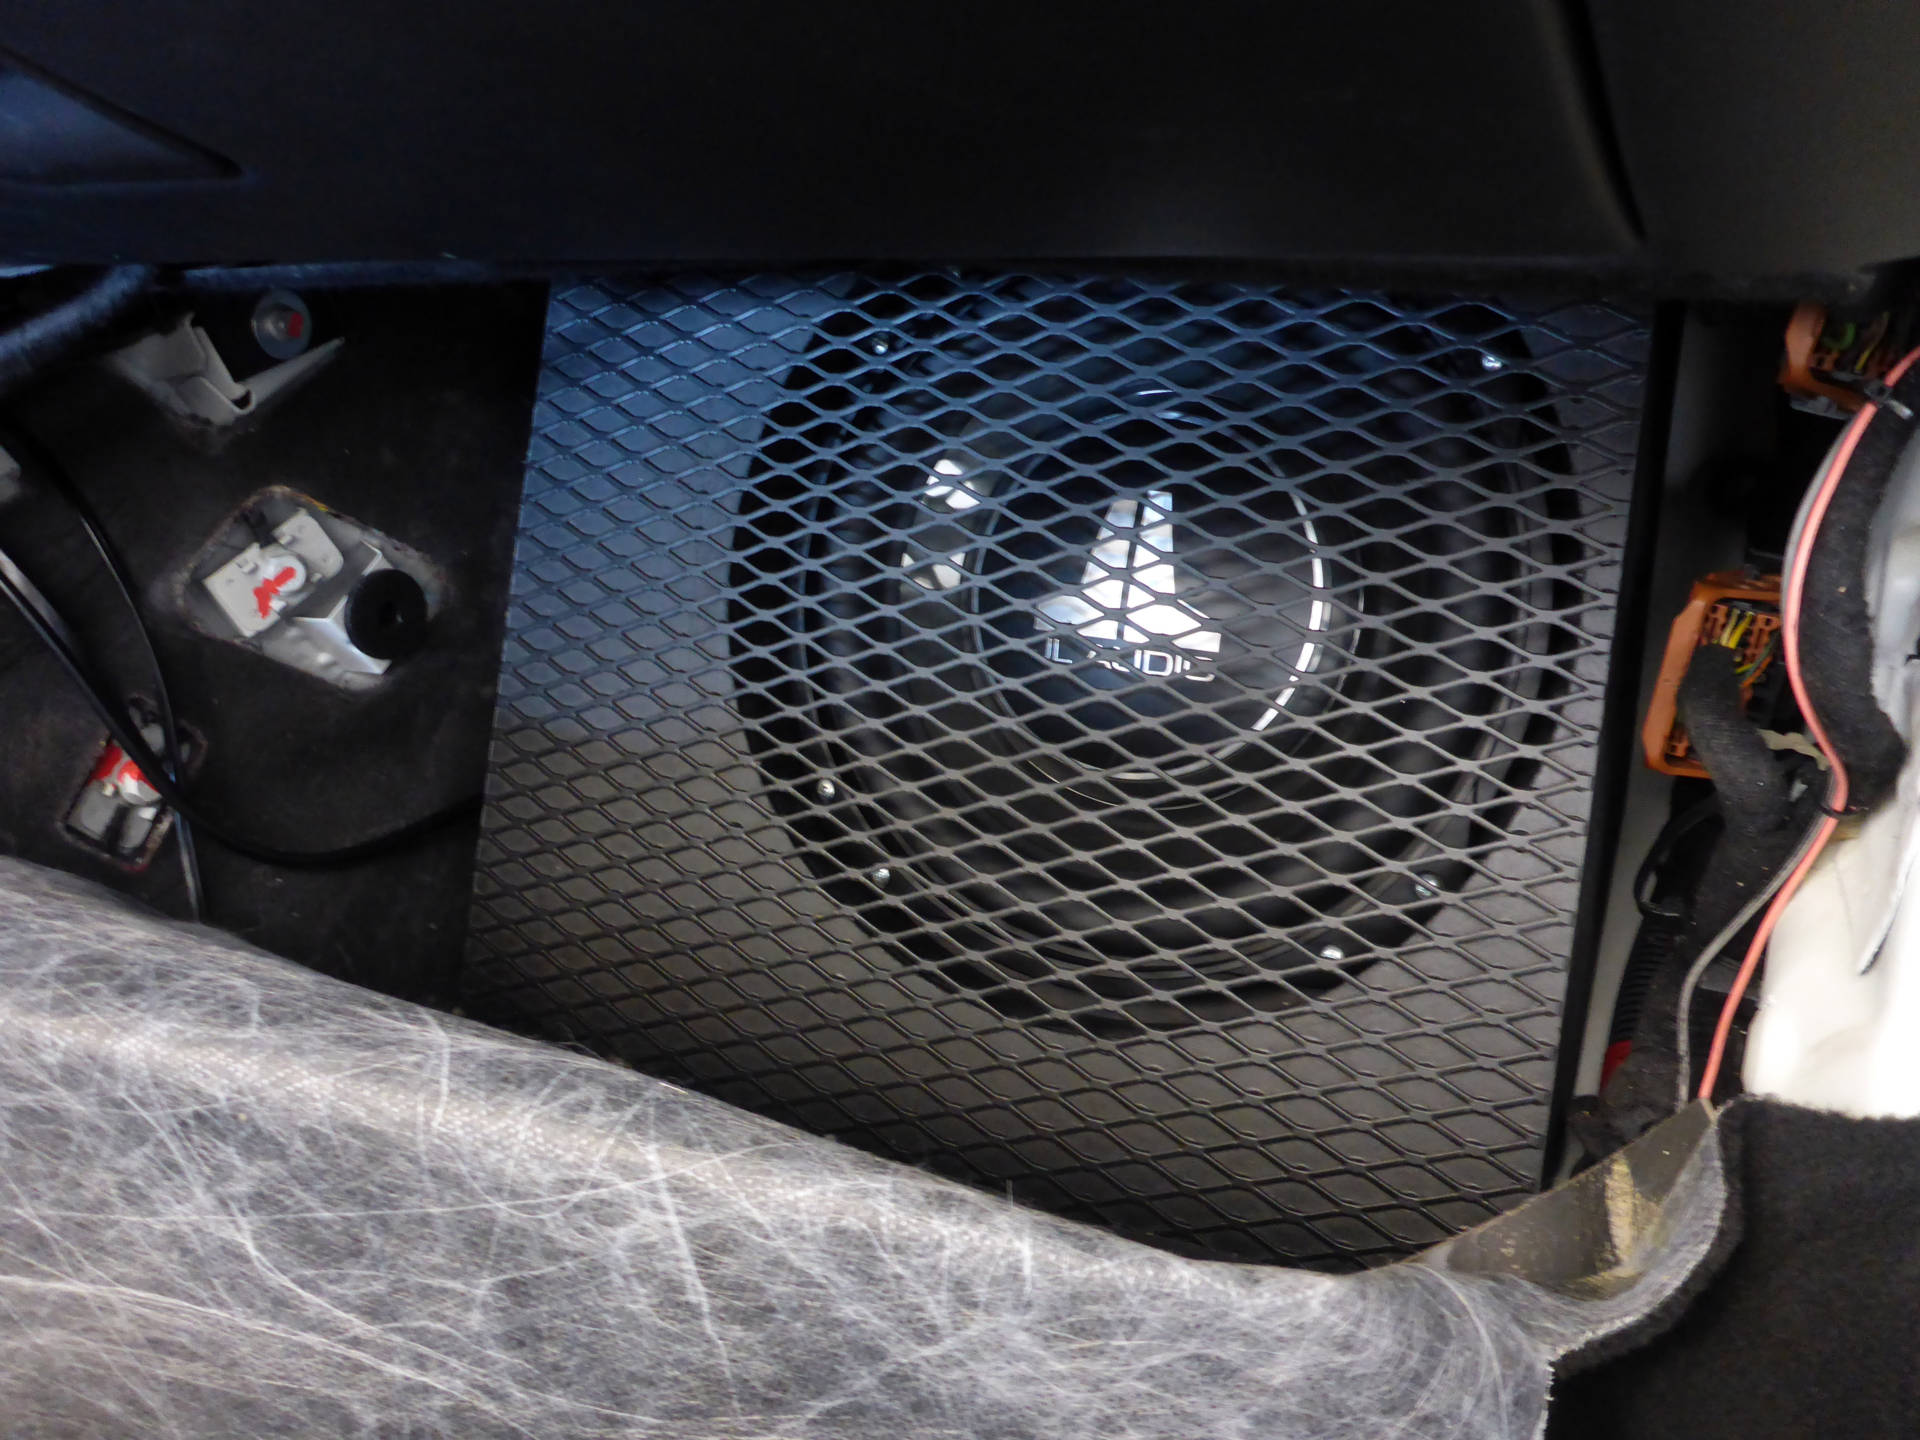
Building up the protective trim so no accidental damage will occur:

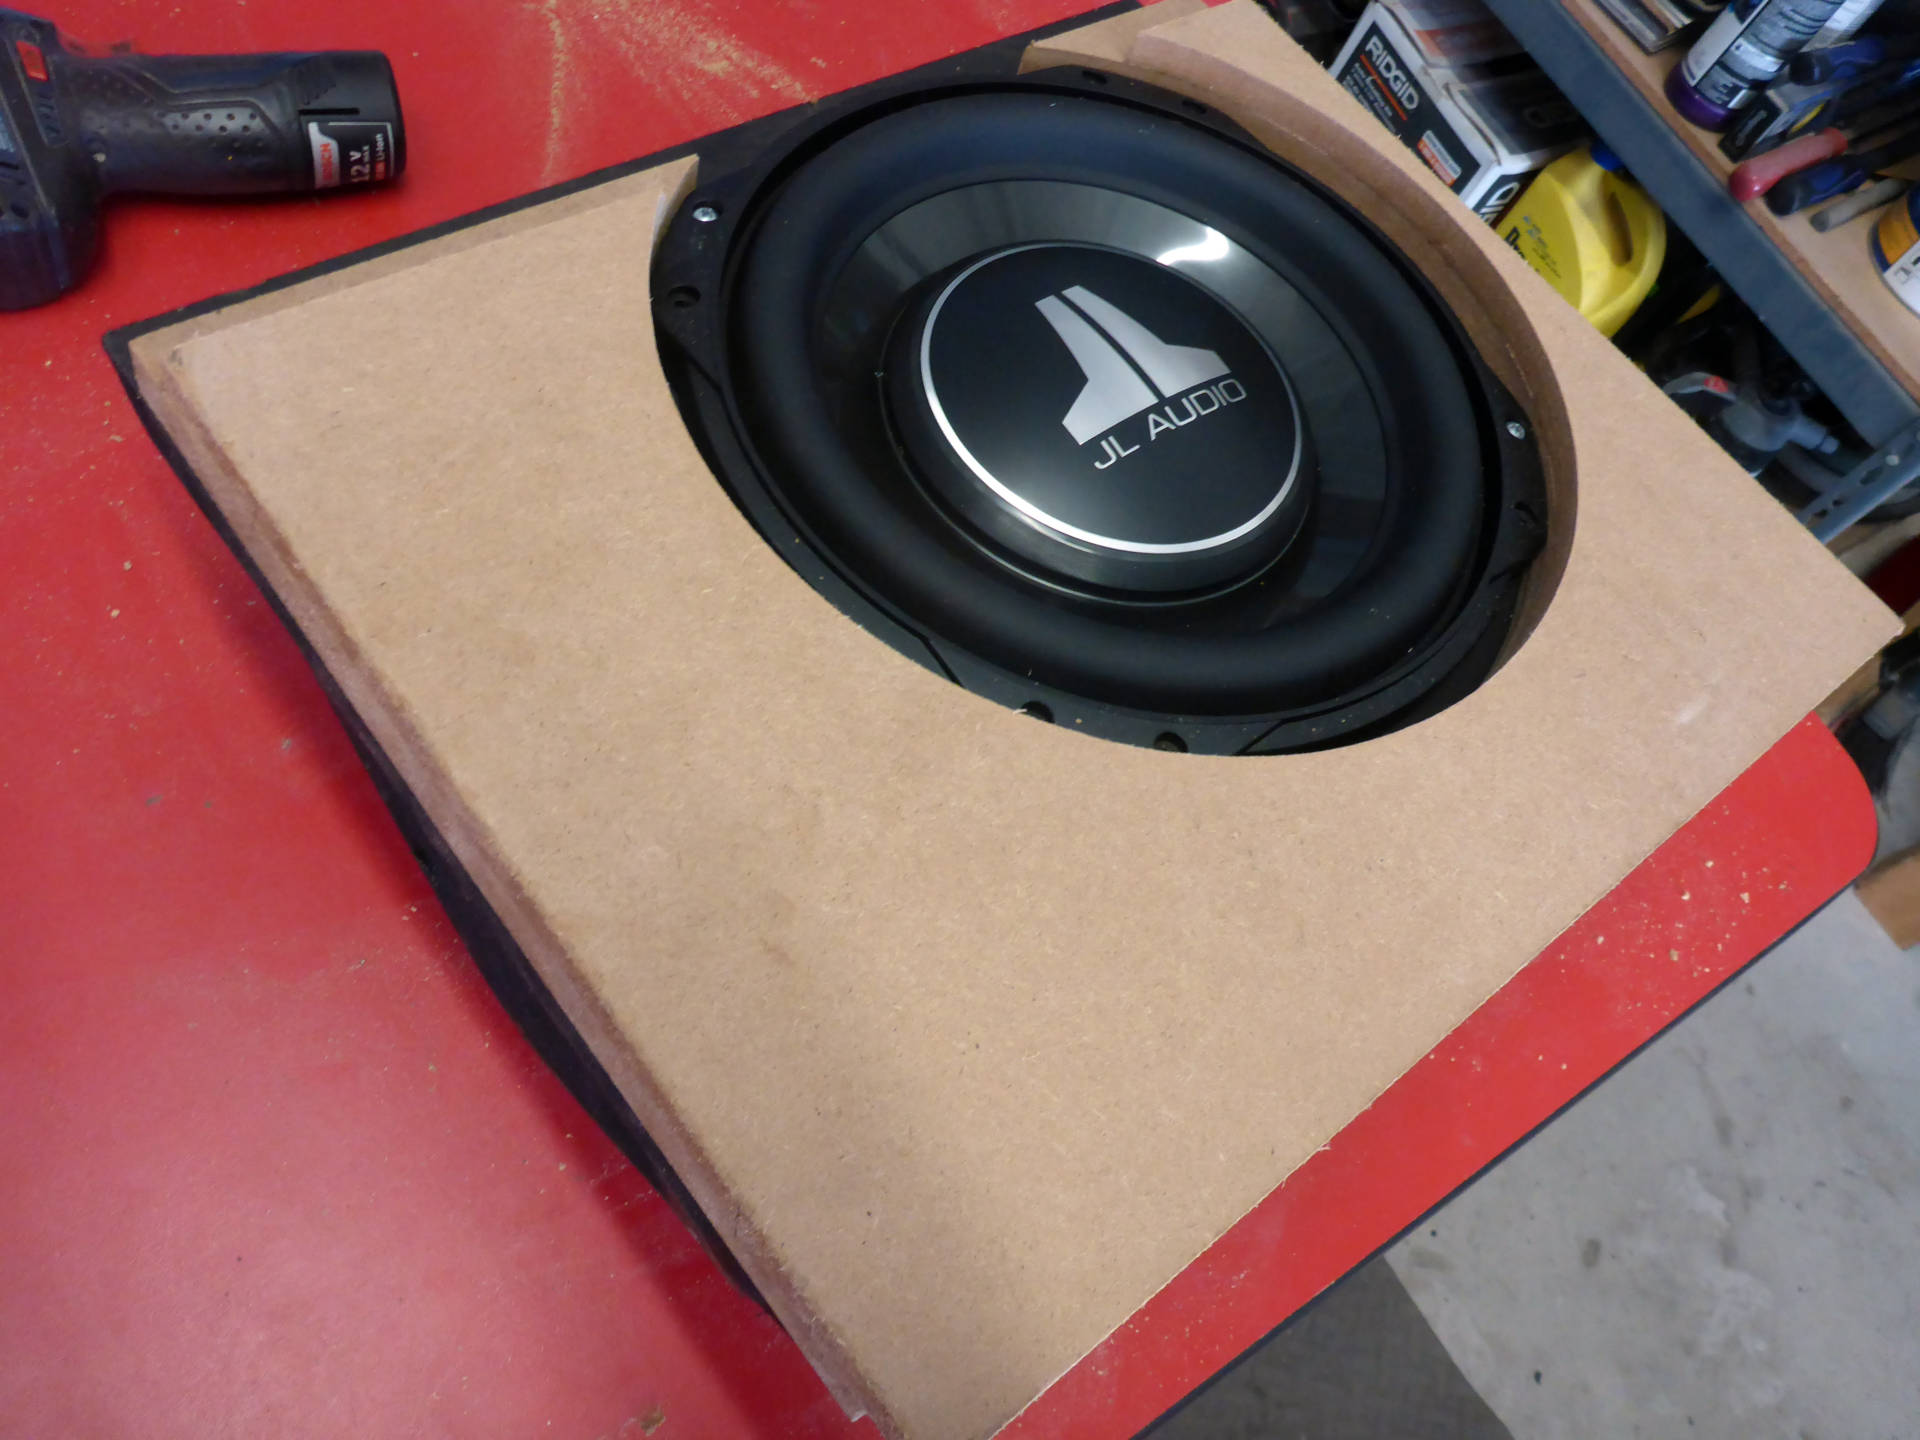

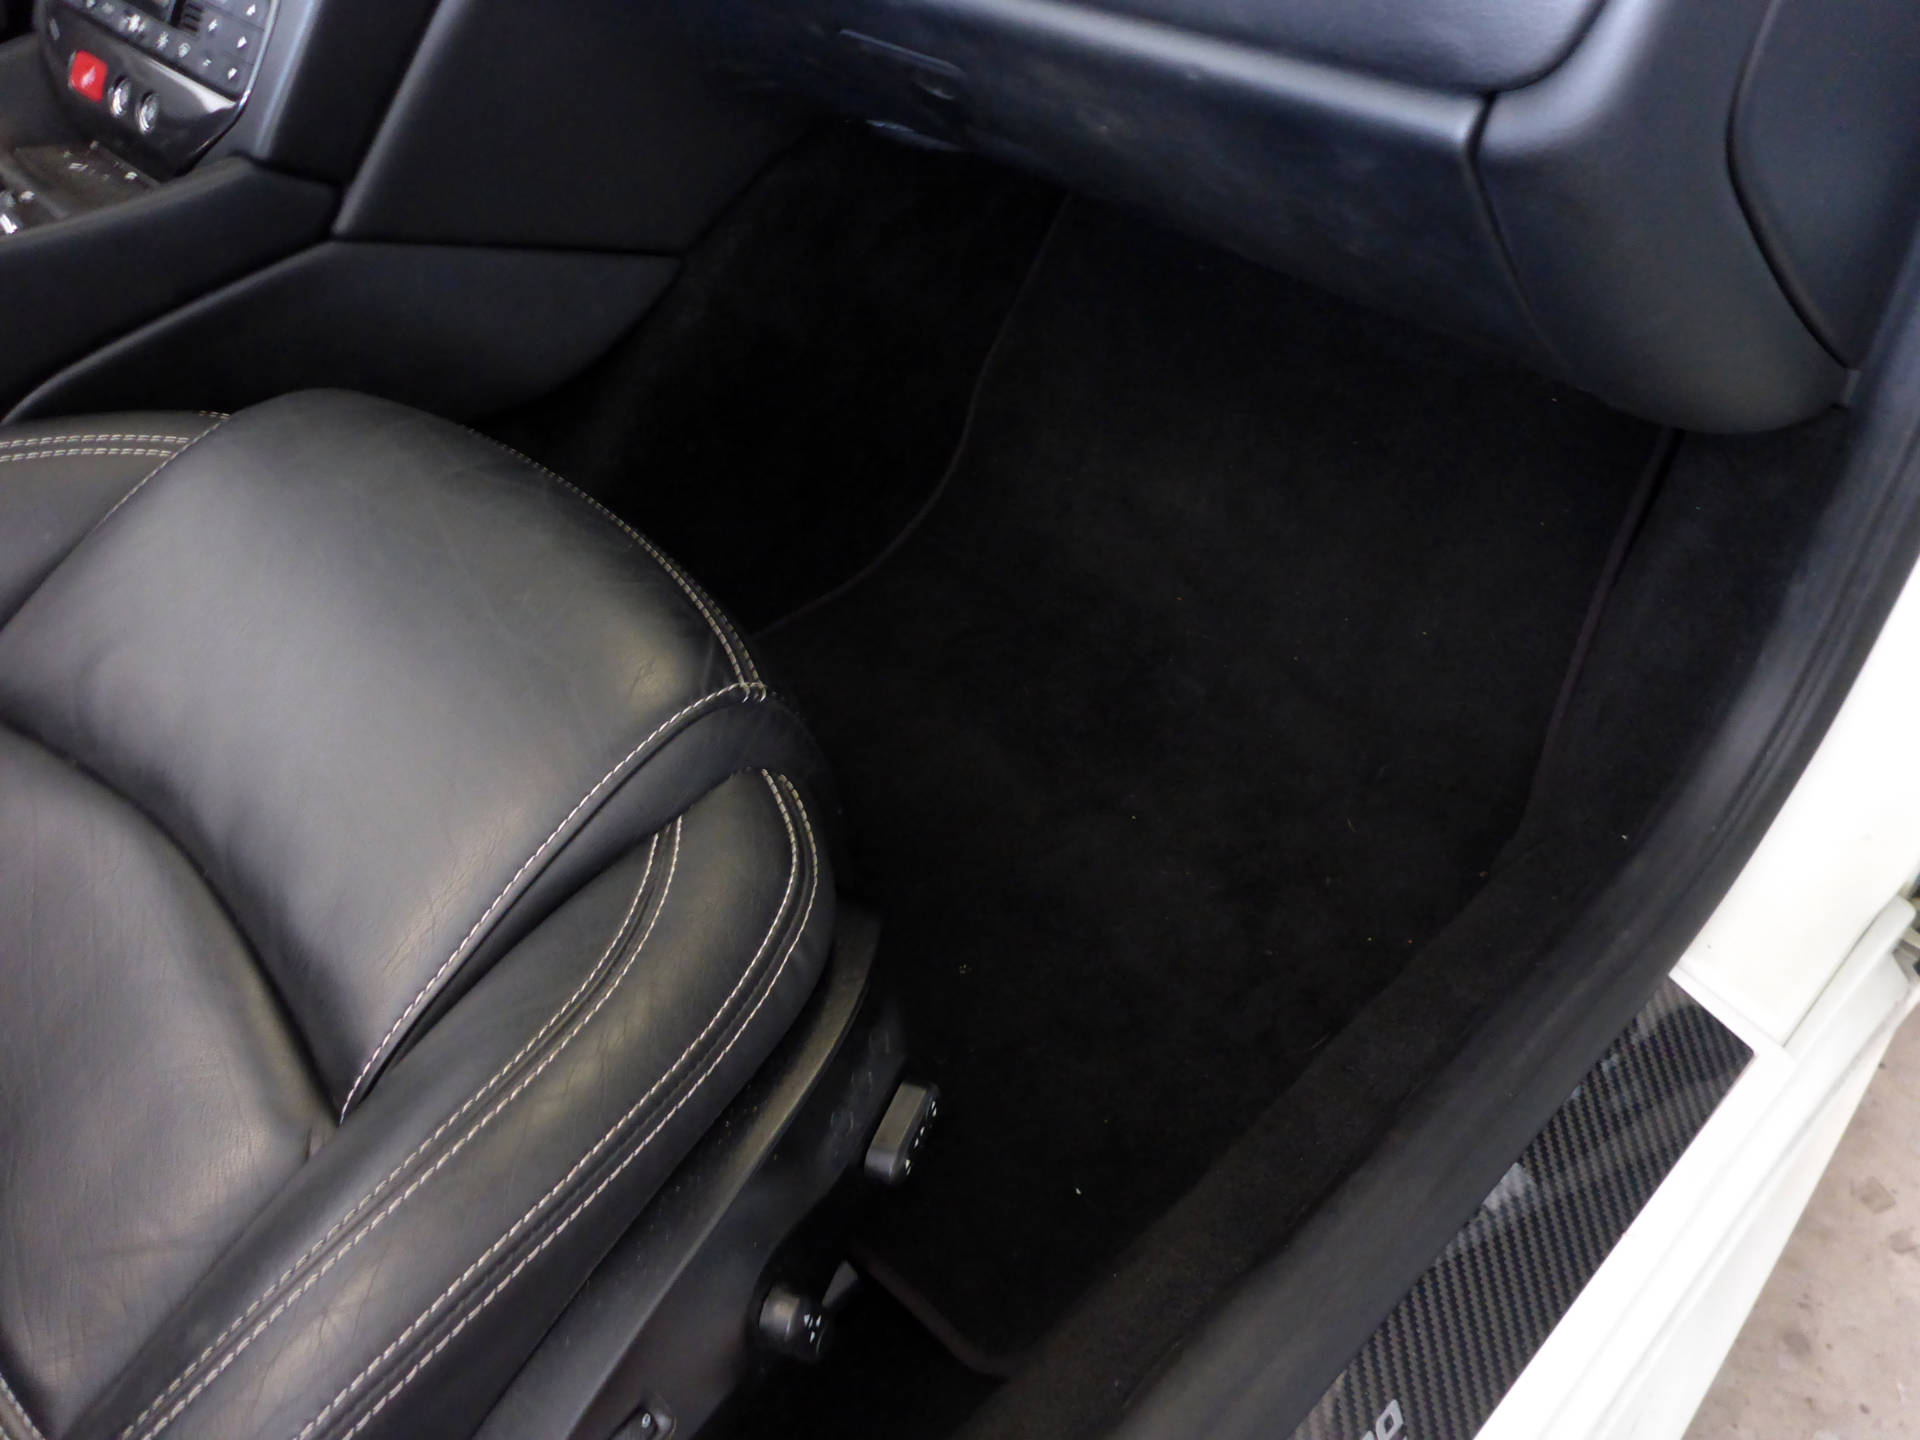
A significantly larger and more powerful subwoofer (JL Audio 10T3D4) is now installed in the same overall space as the OEM sub and still completely hidden with no loss of legroom:
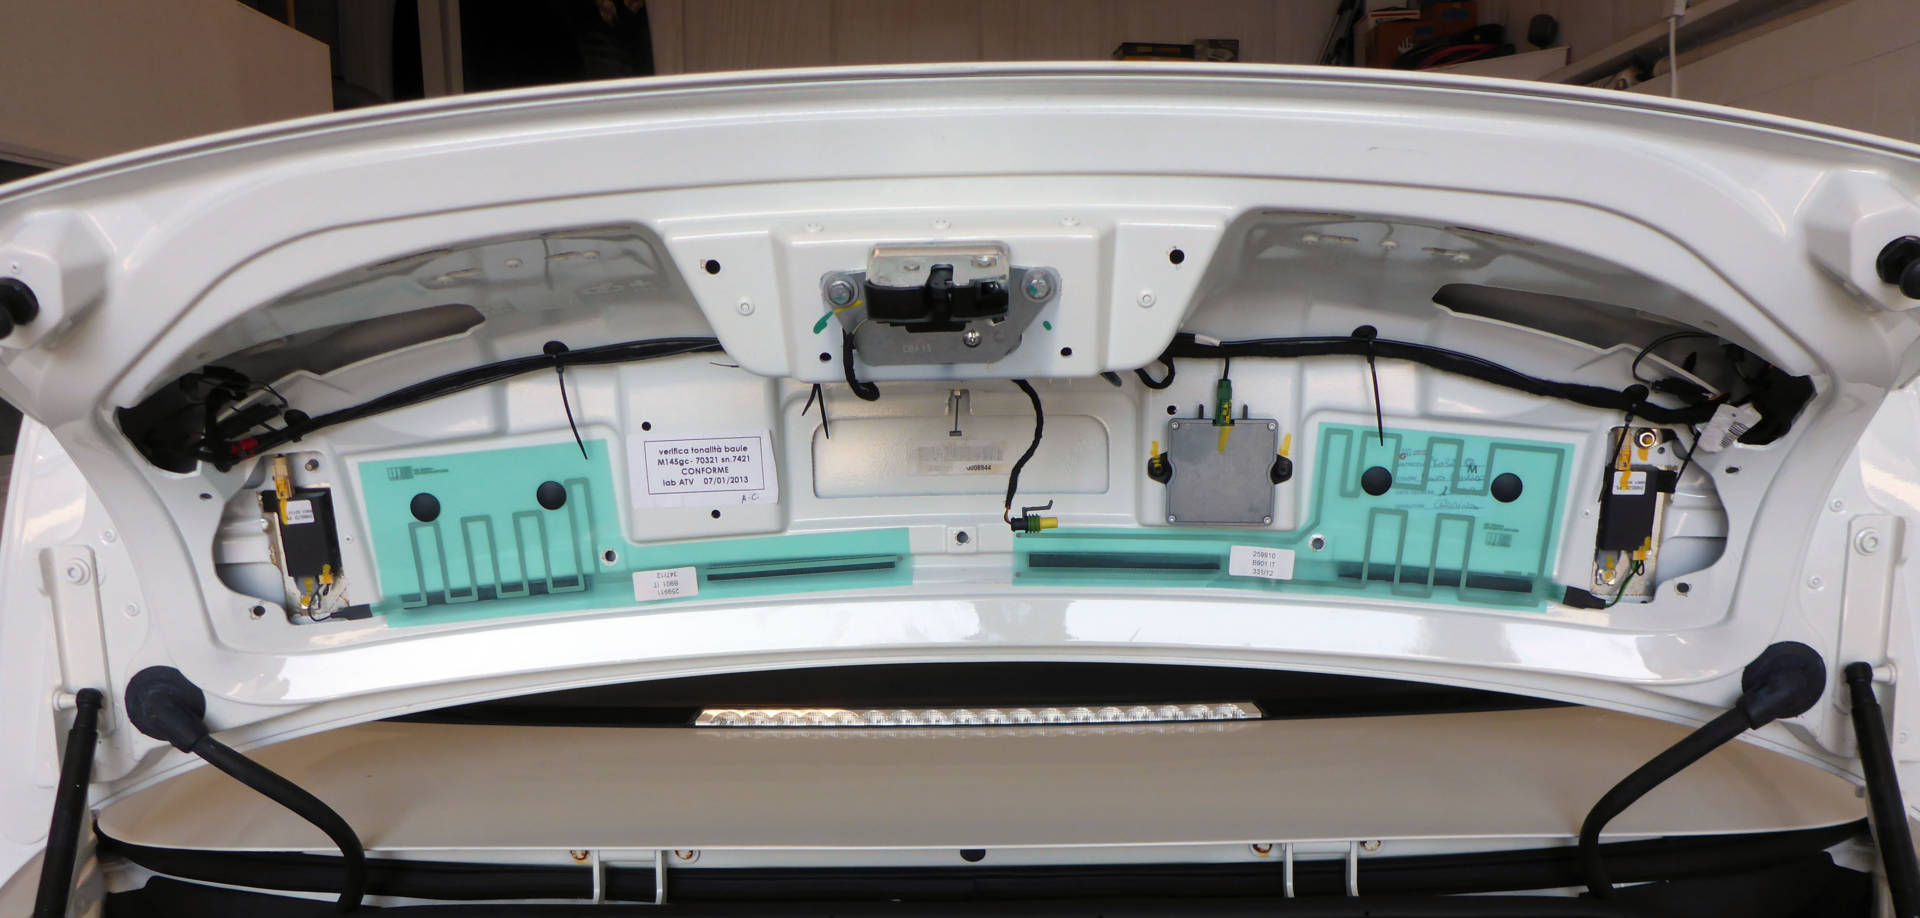
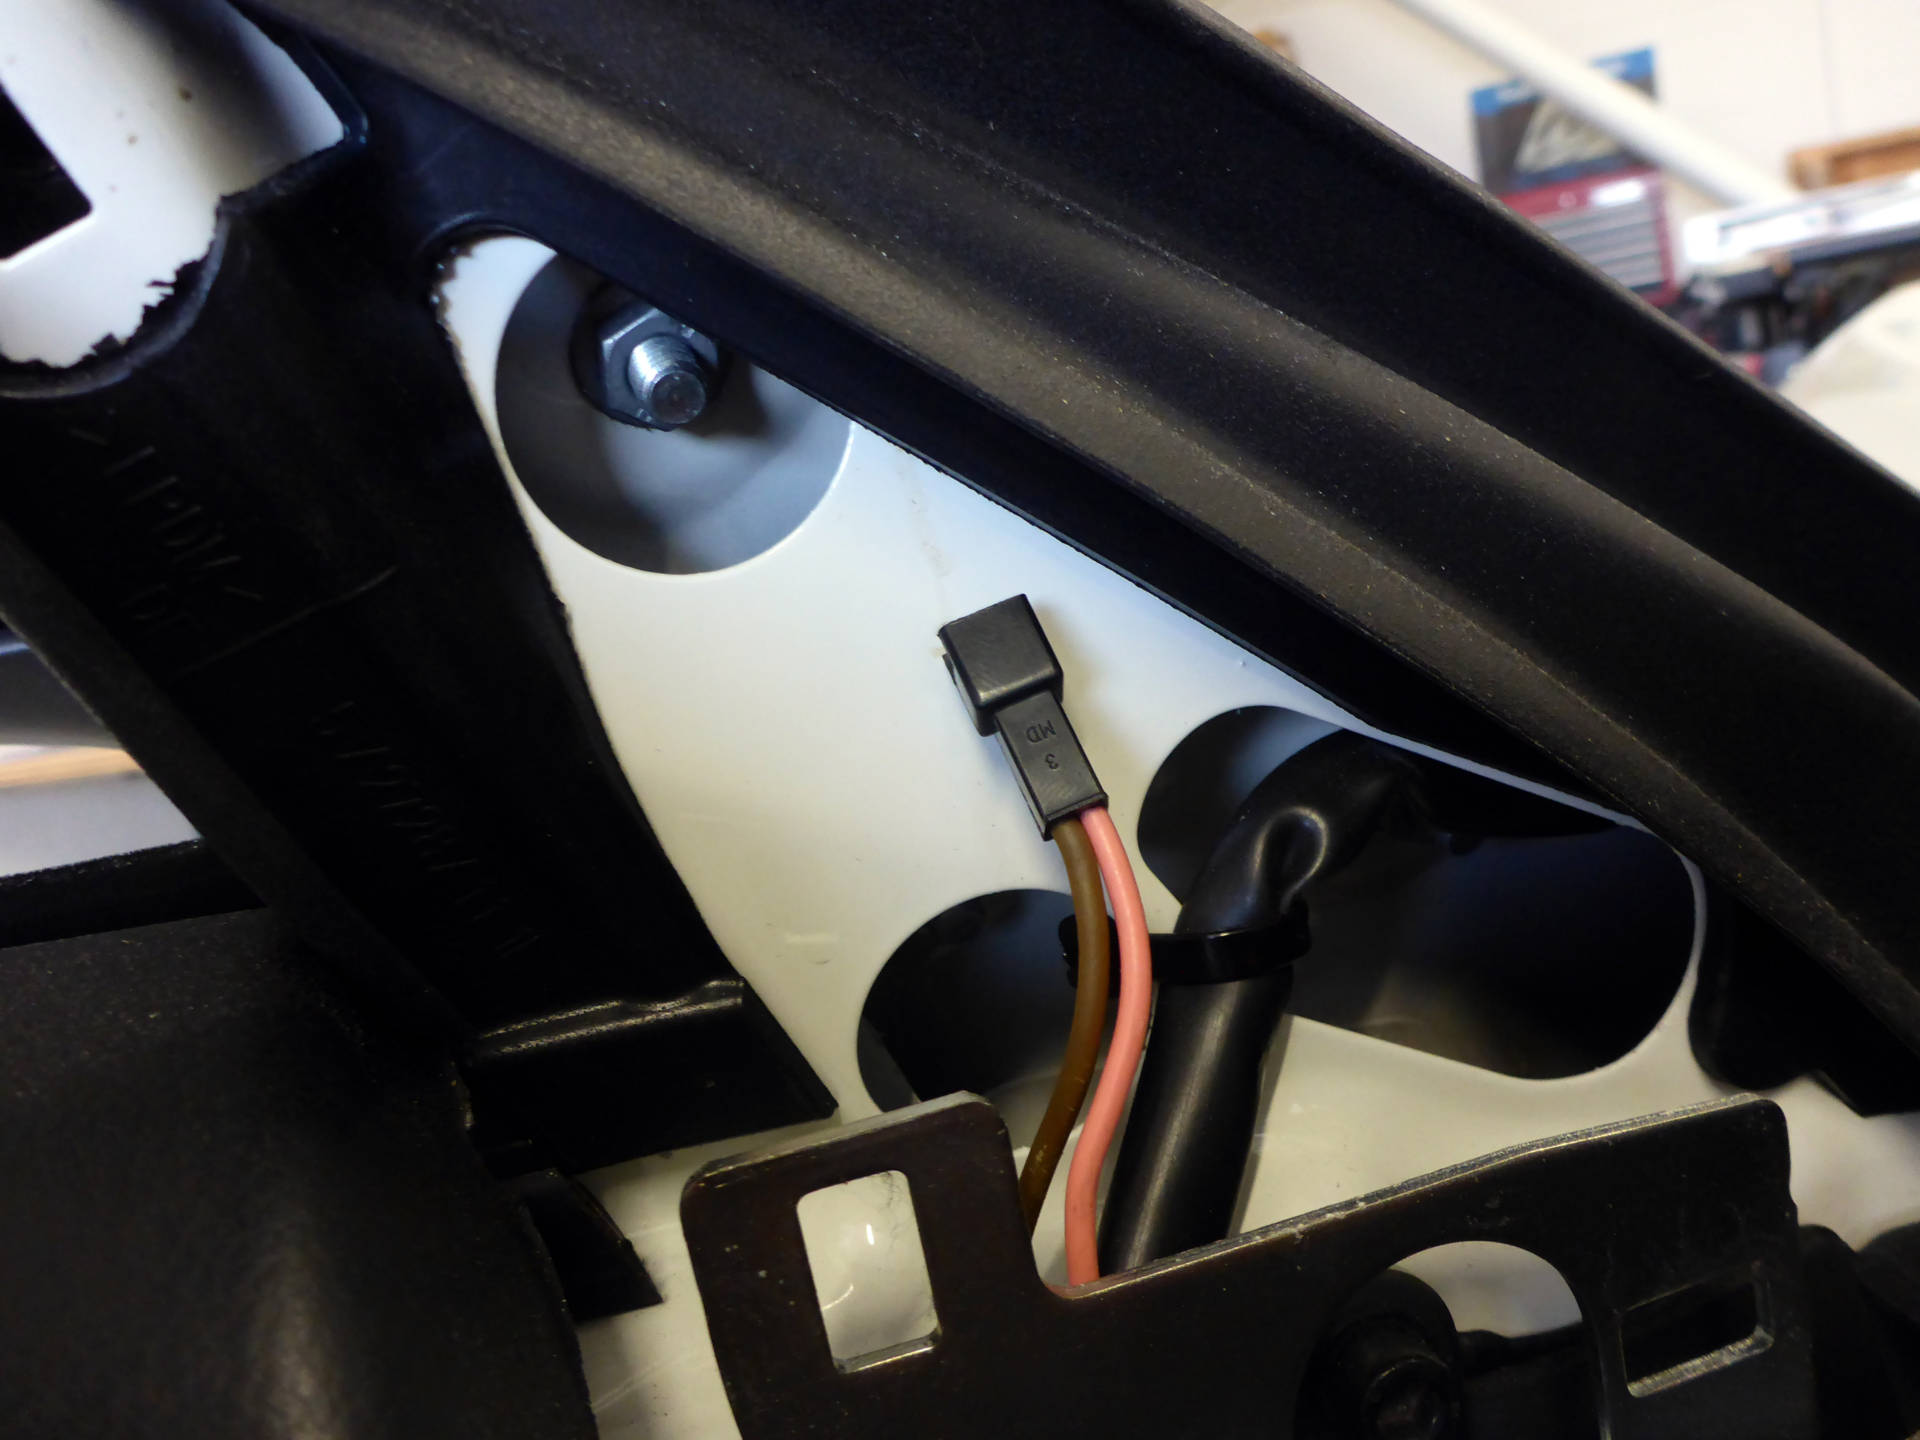
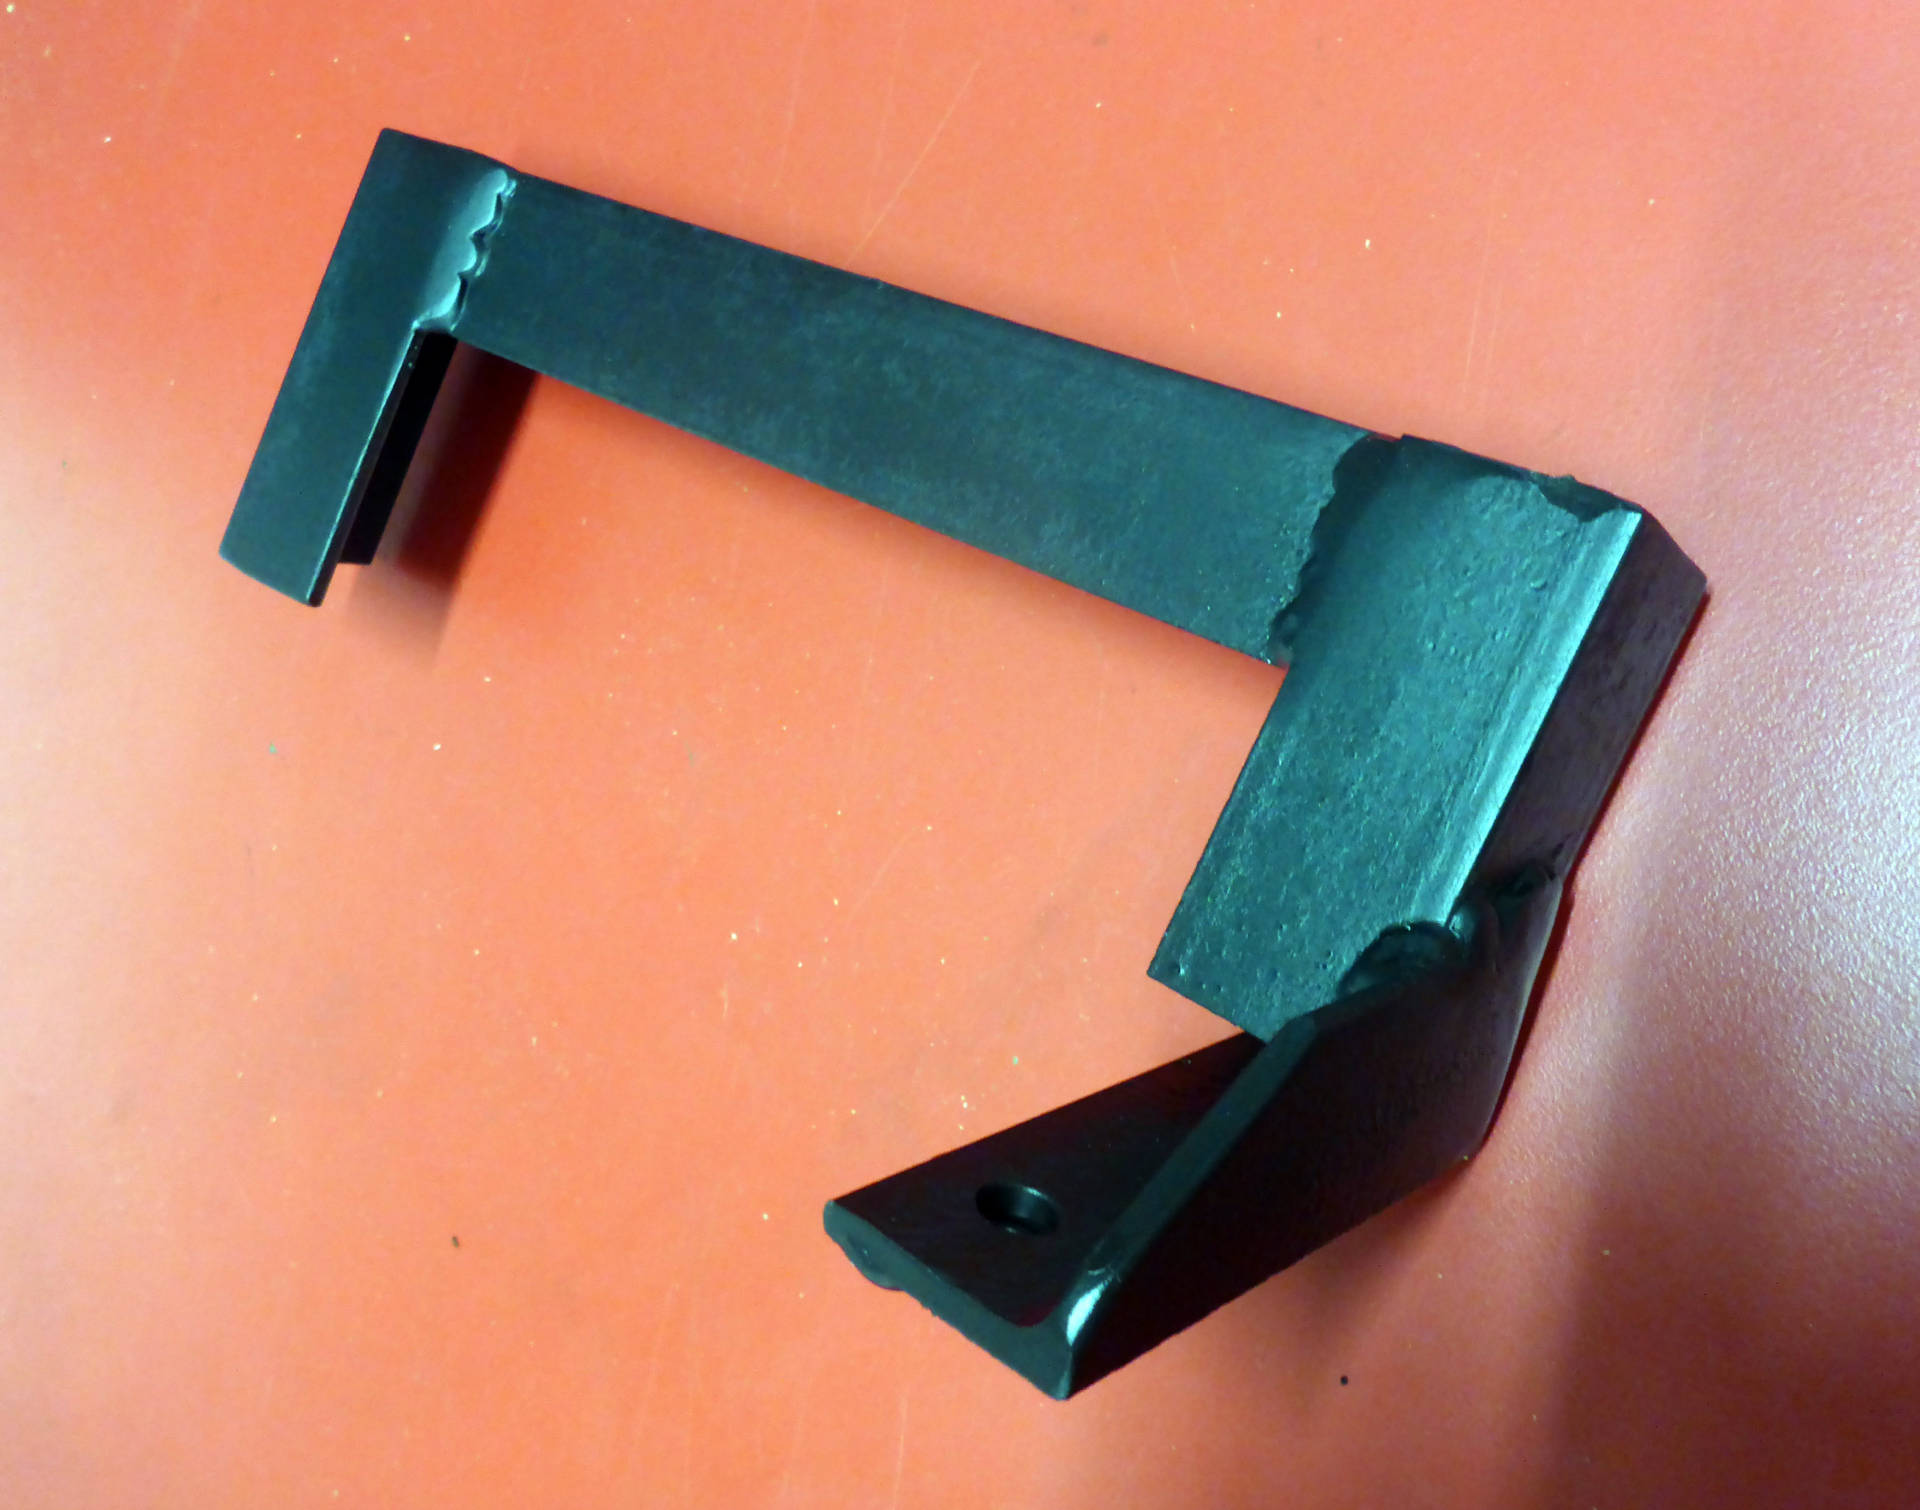
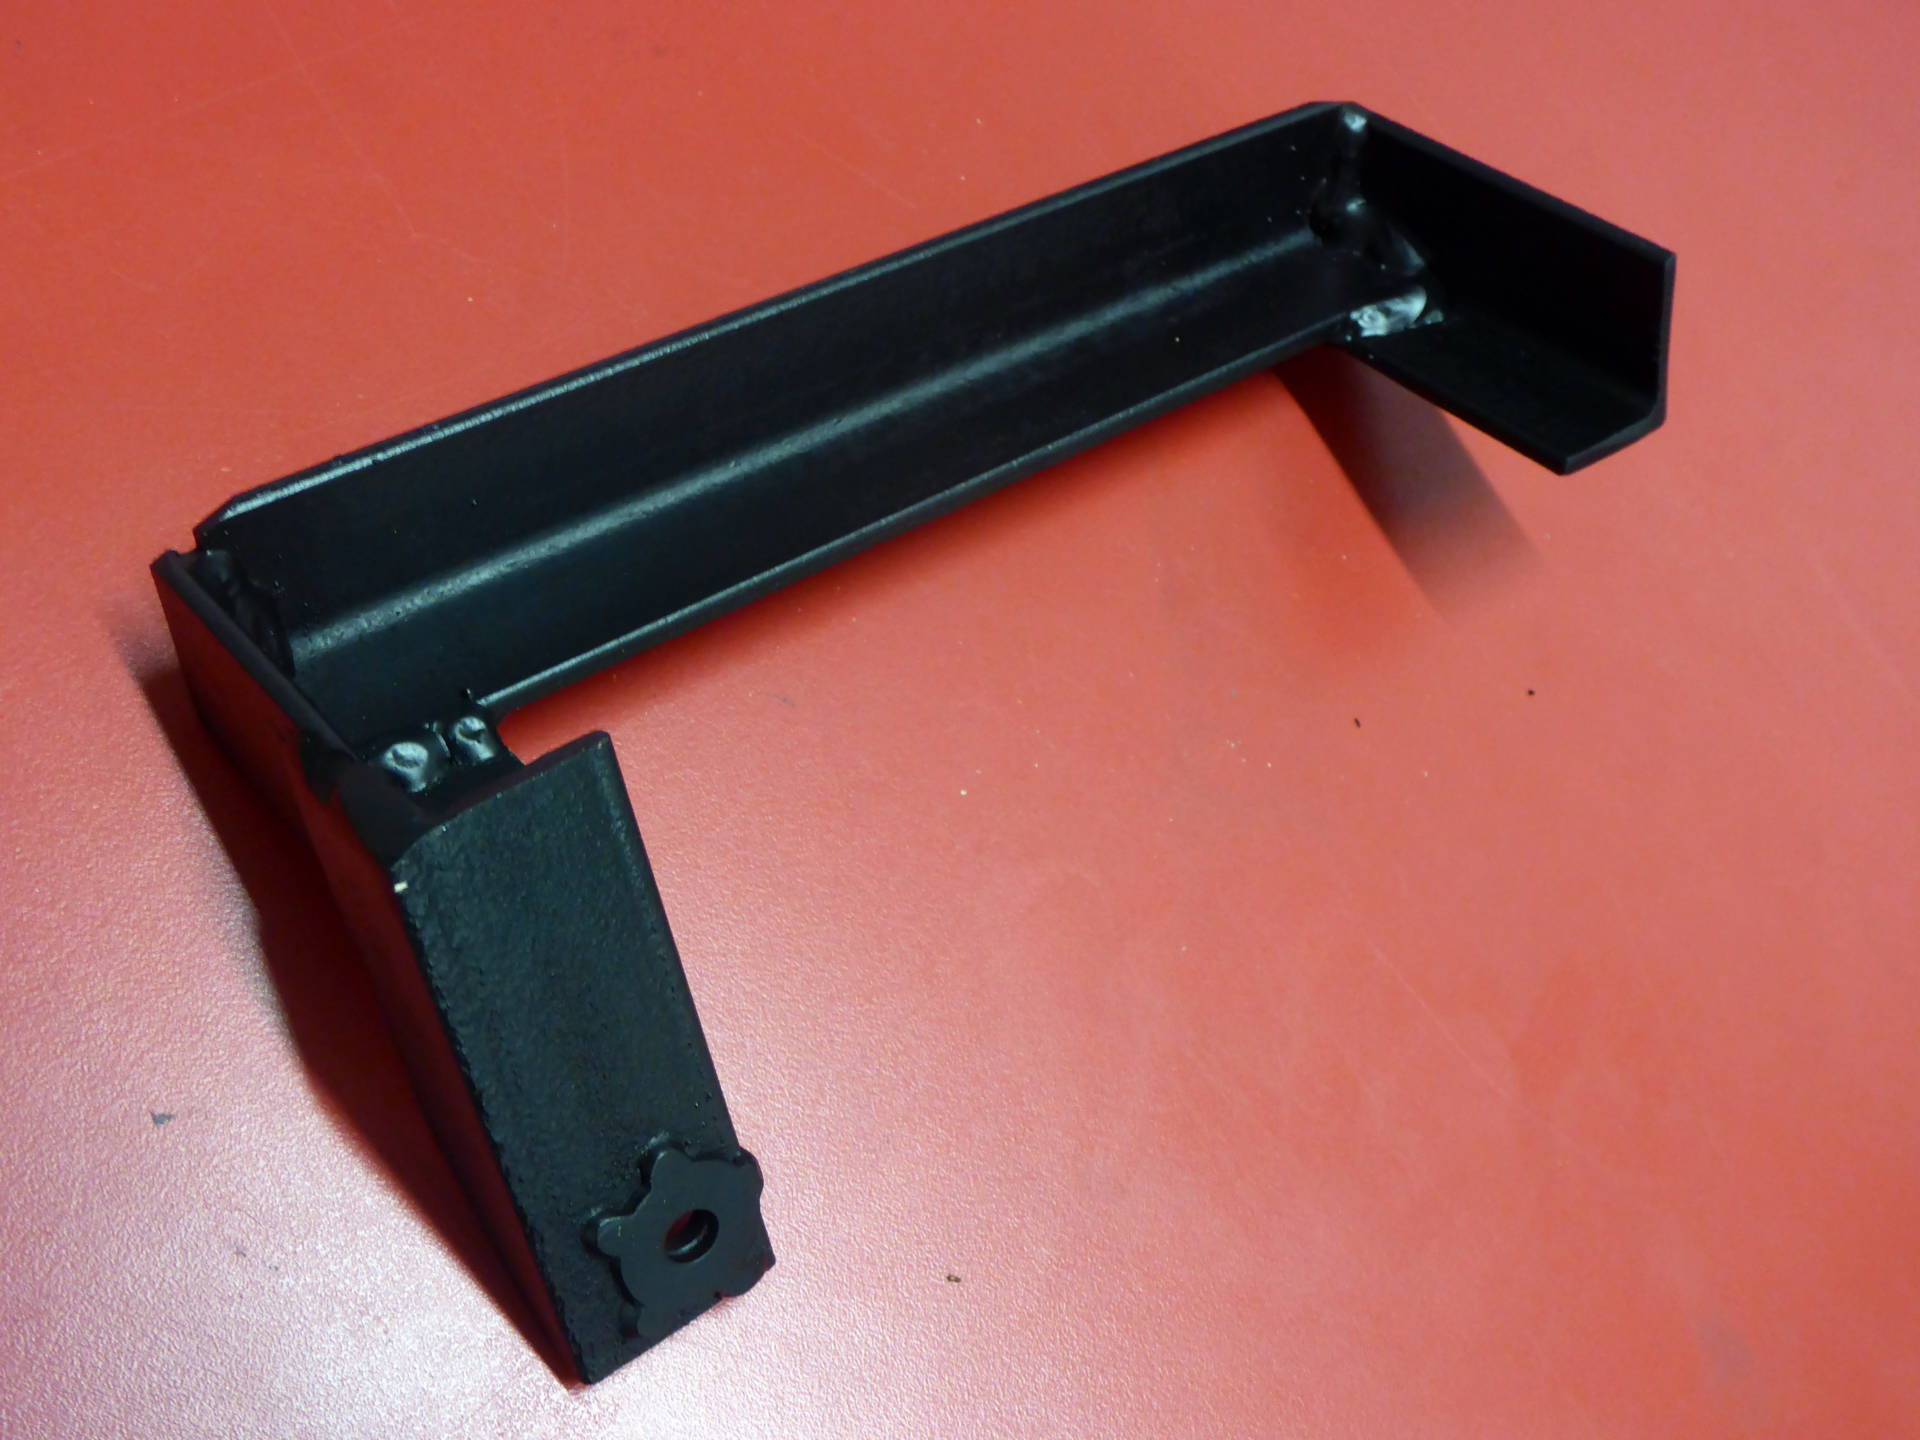
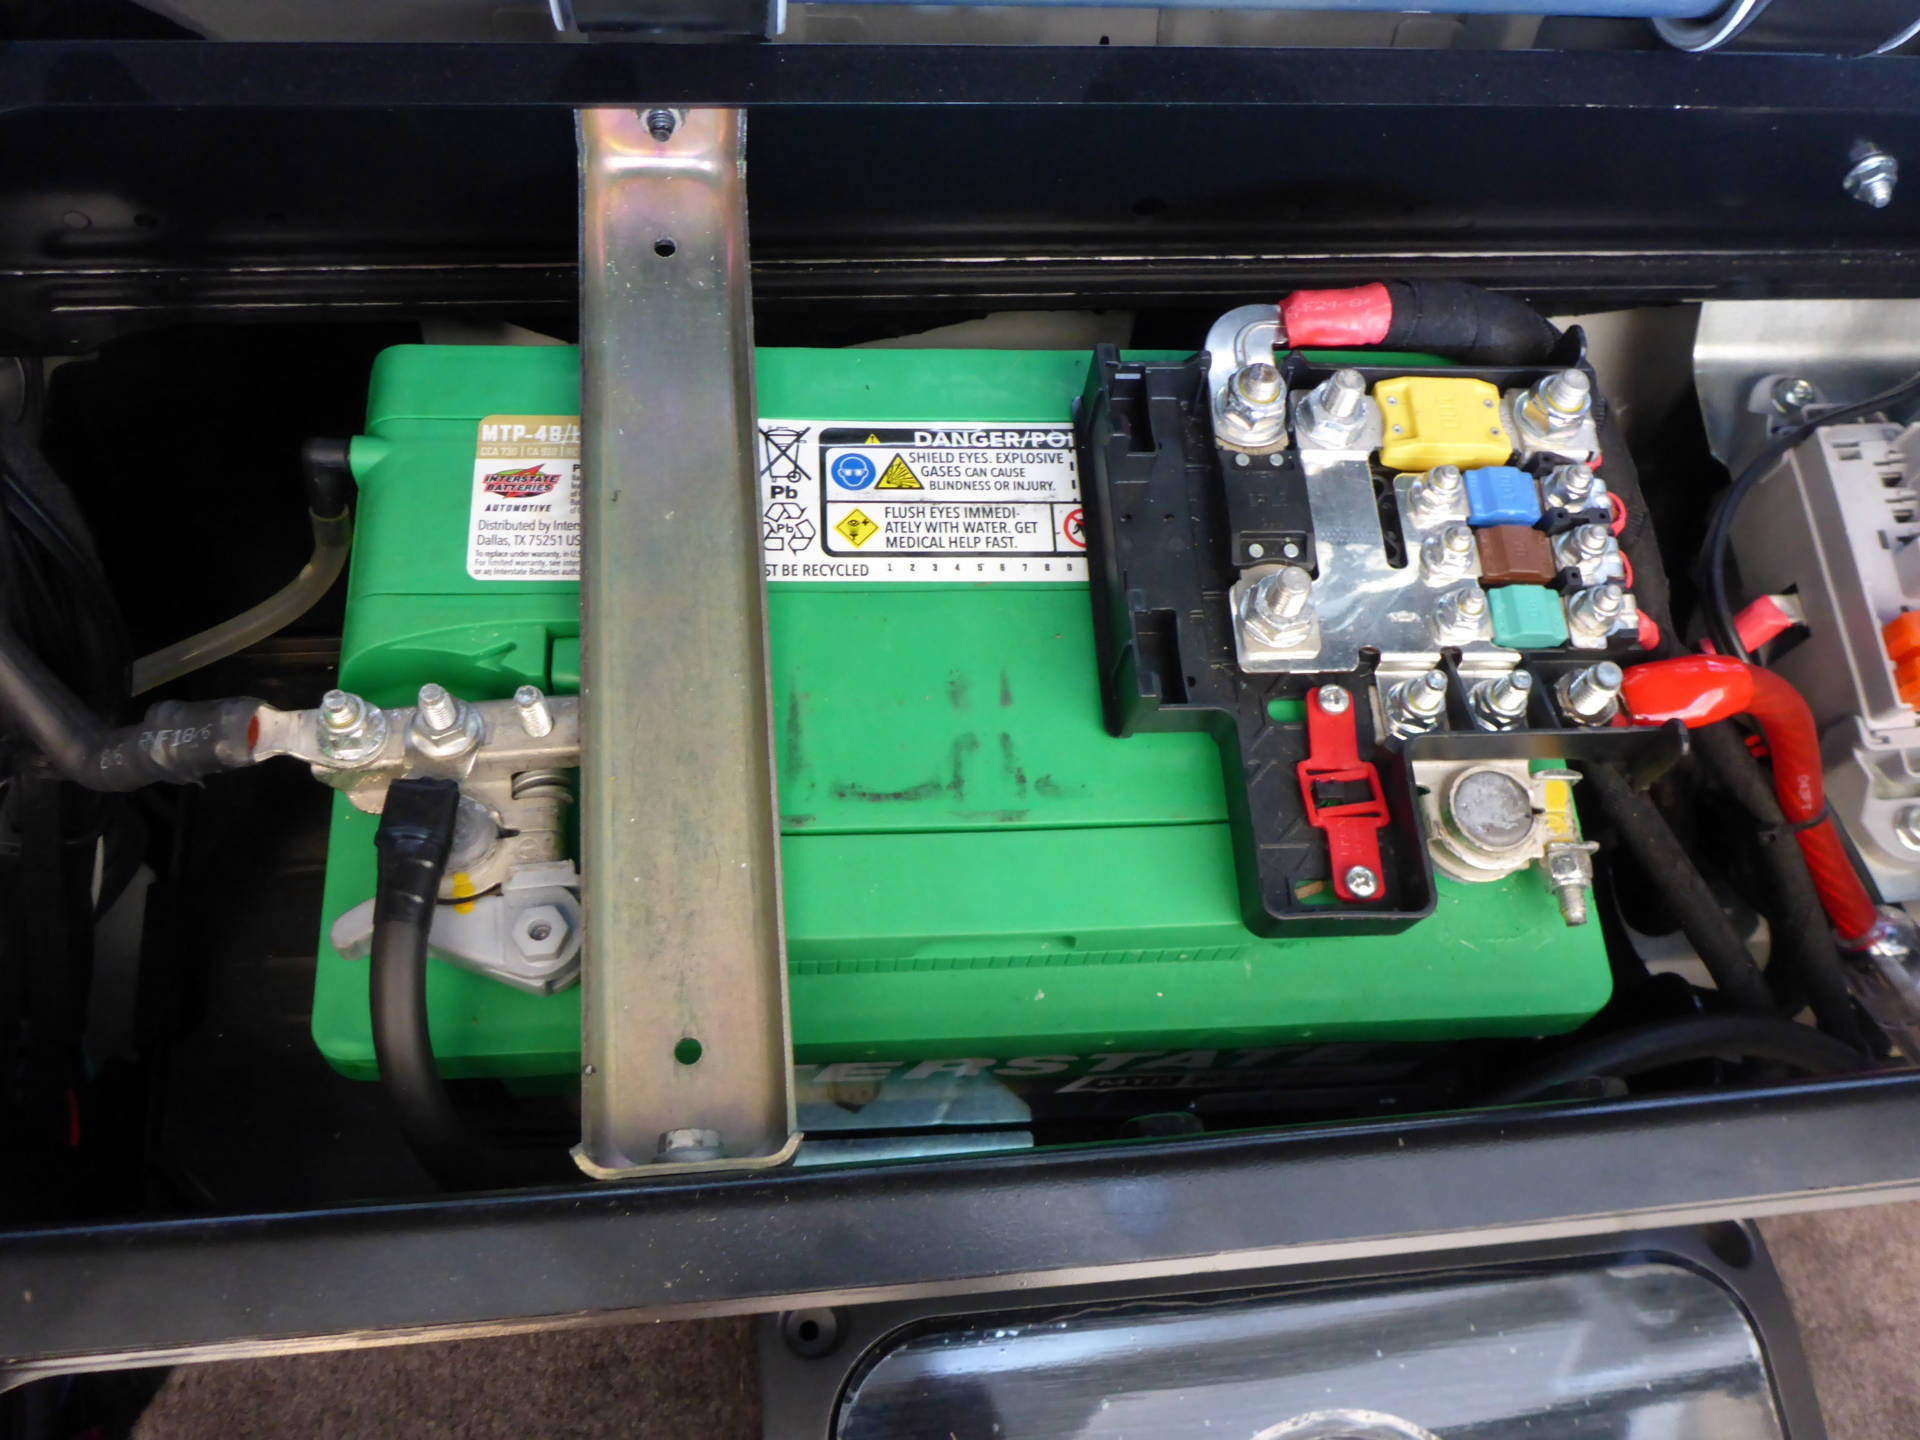
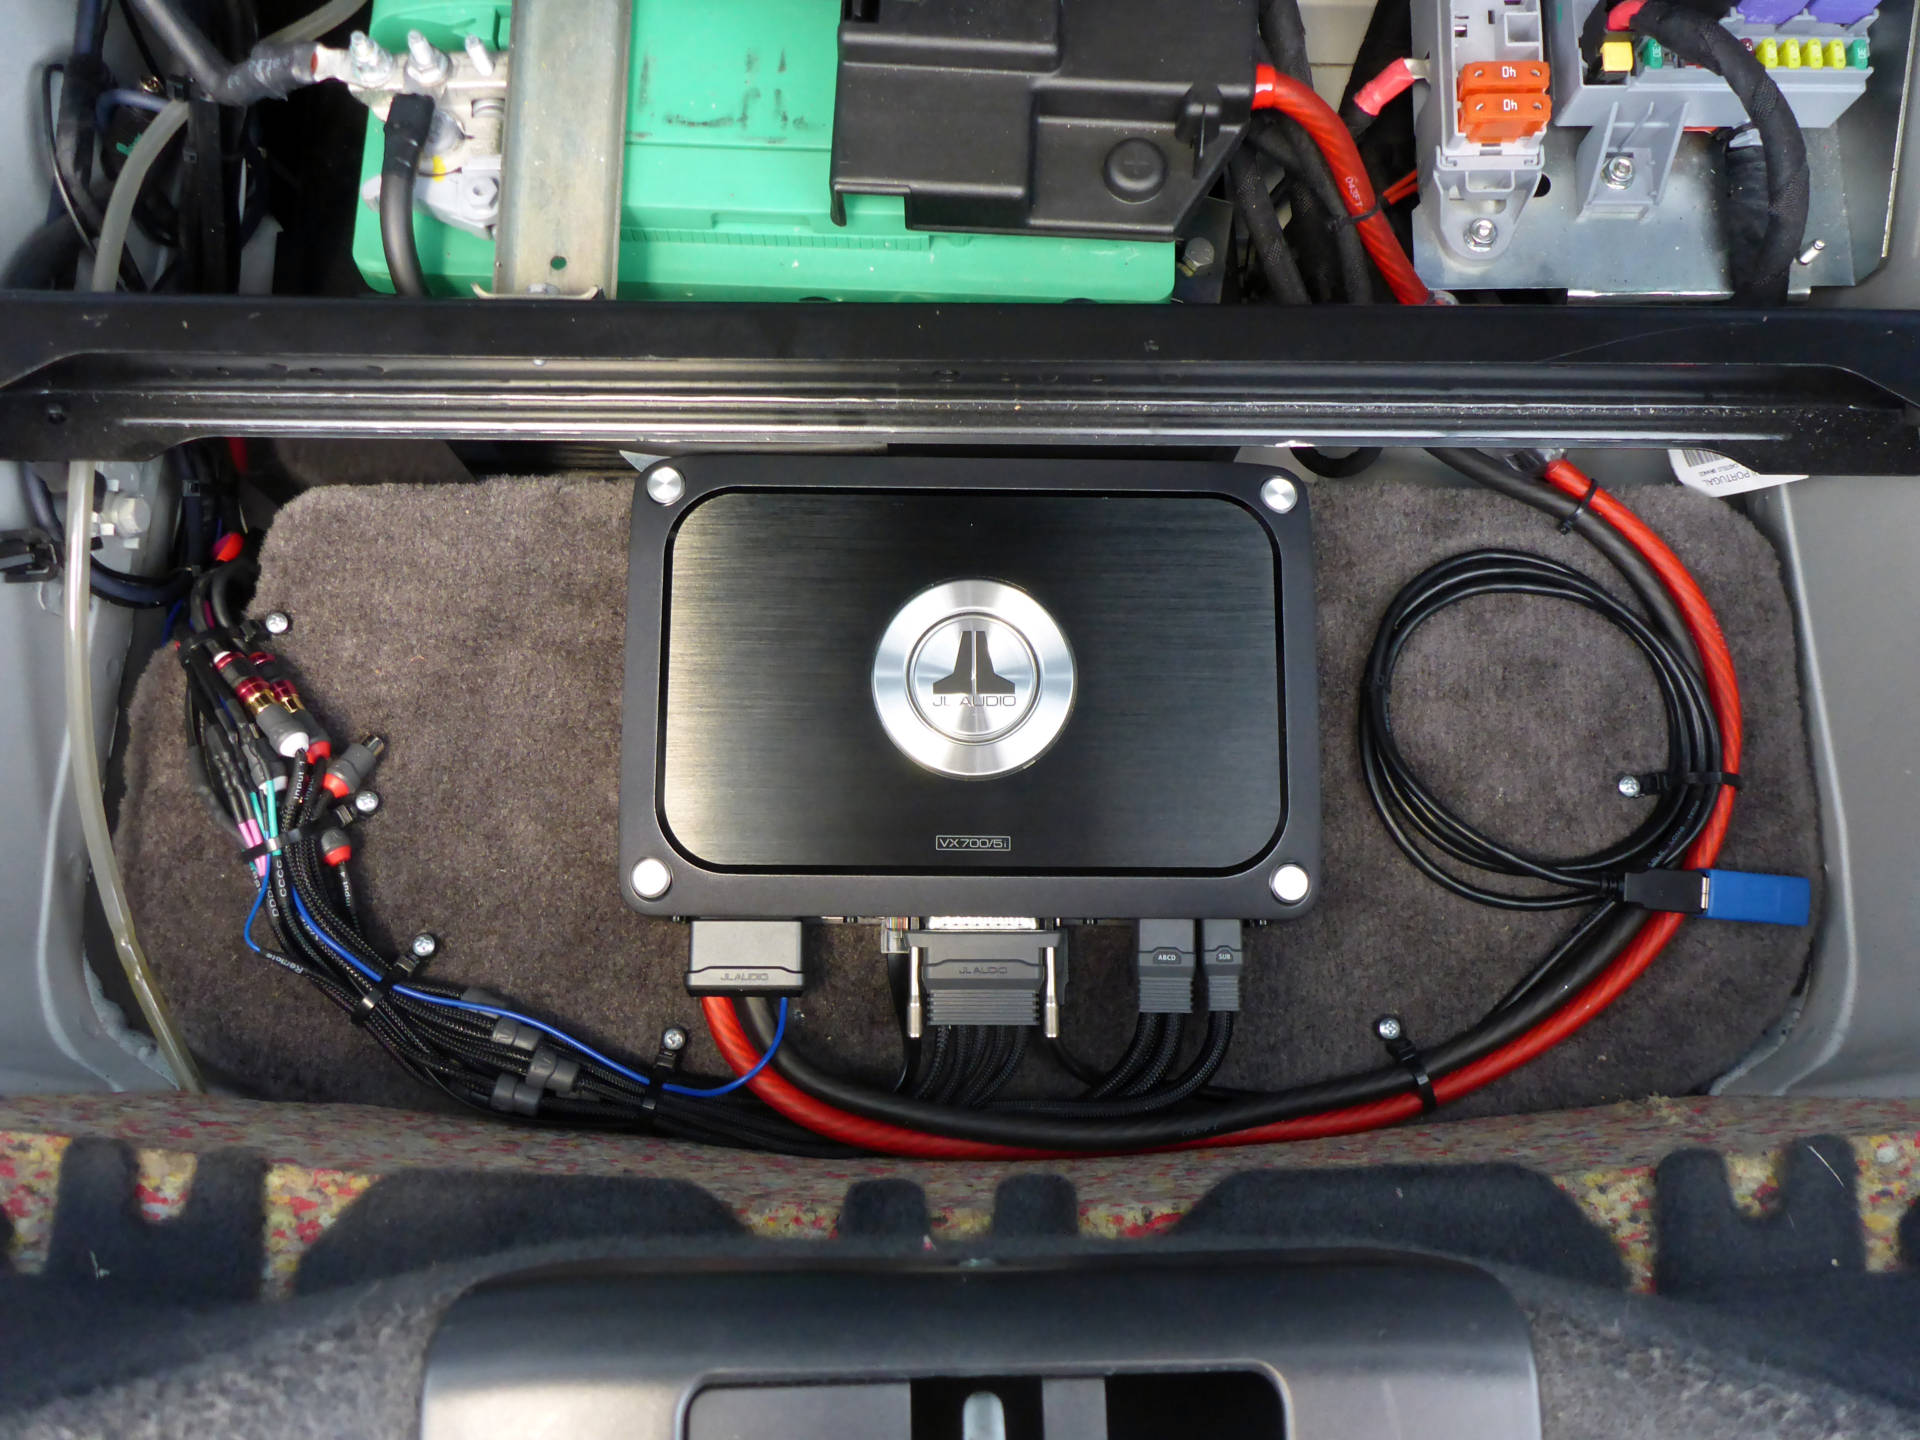
Onwards to the trunk! First I had to weld up a bracket to use OEM holes and provide a perfectly level and sturdy mounting surface:

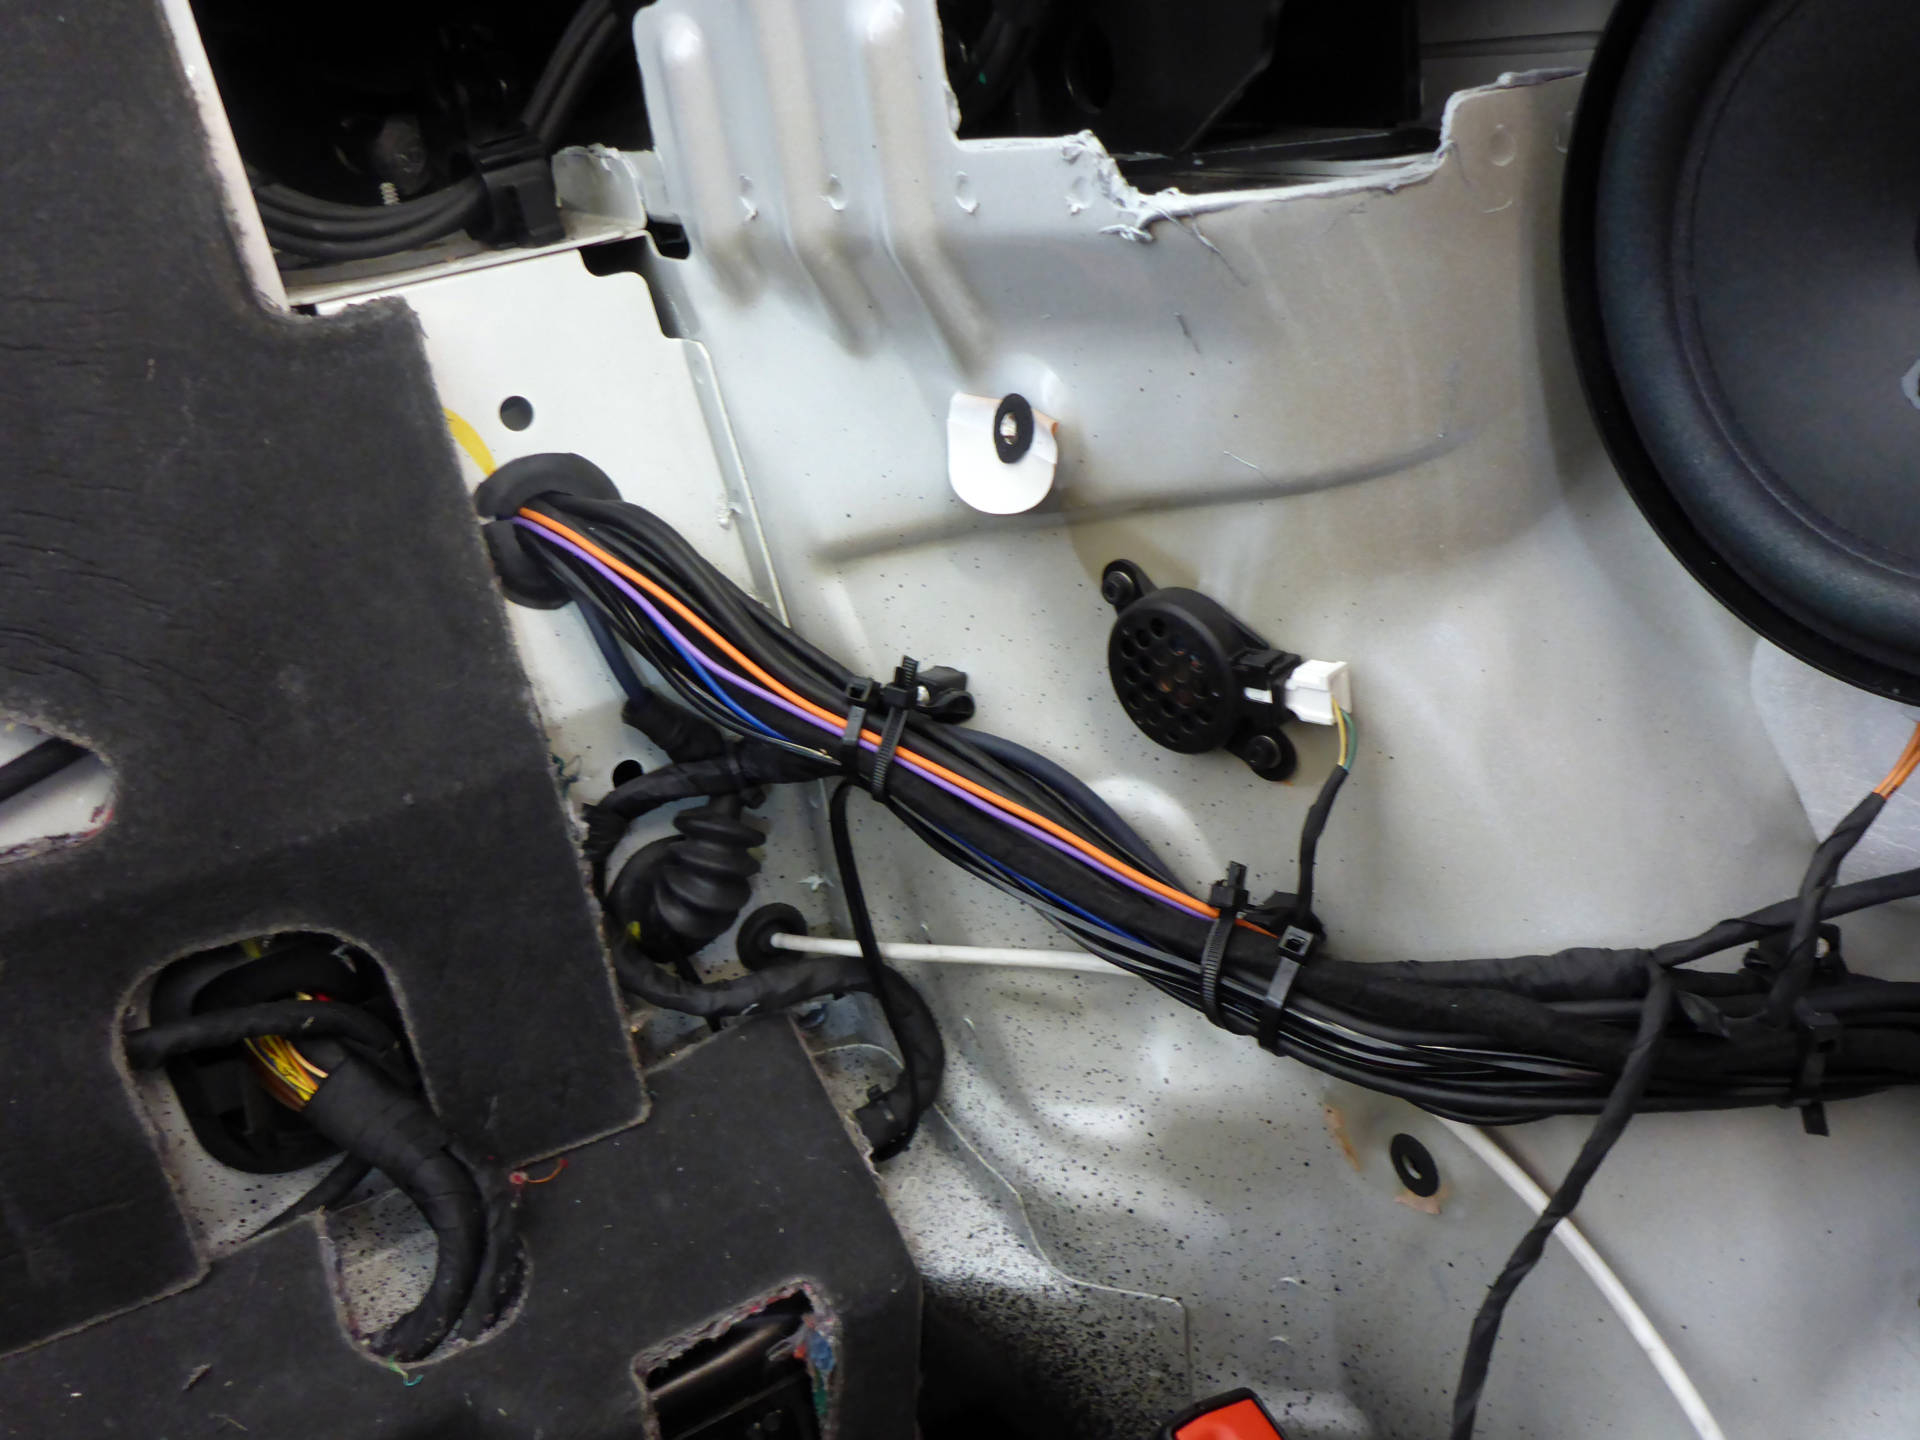
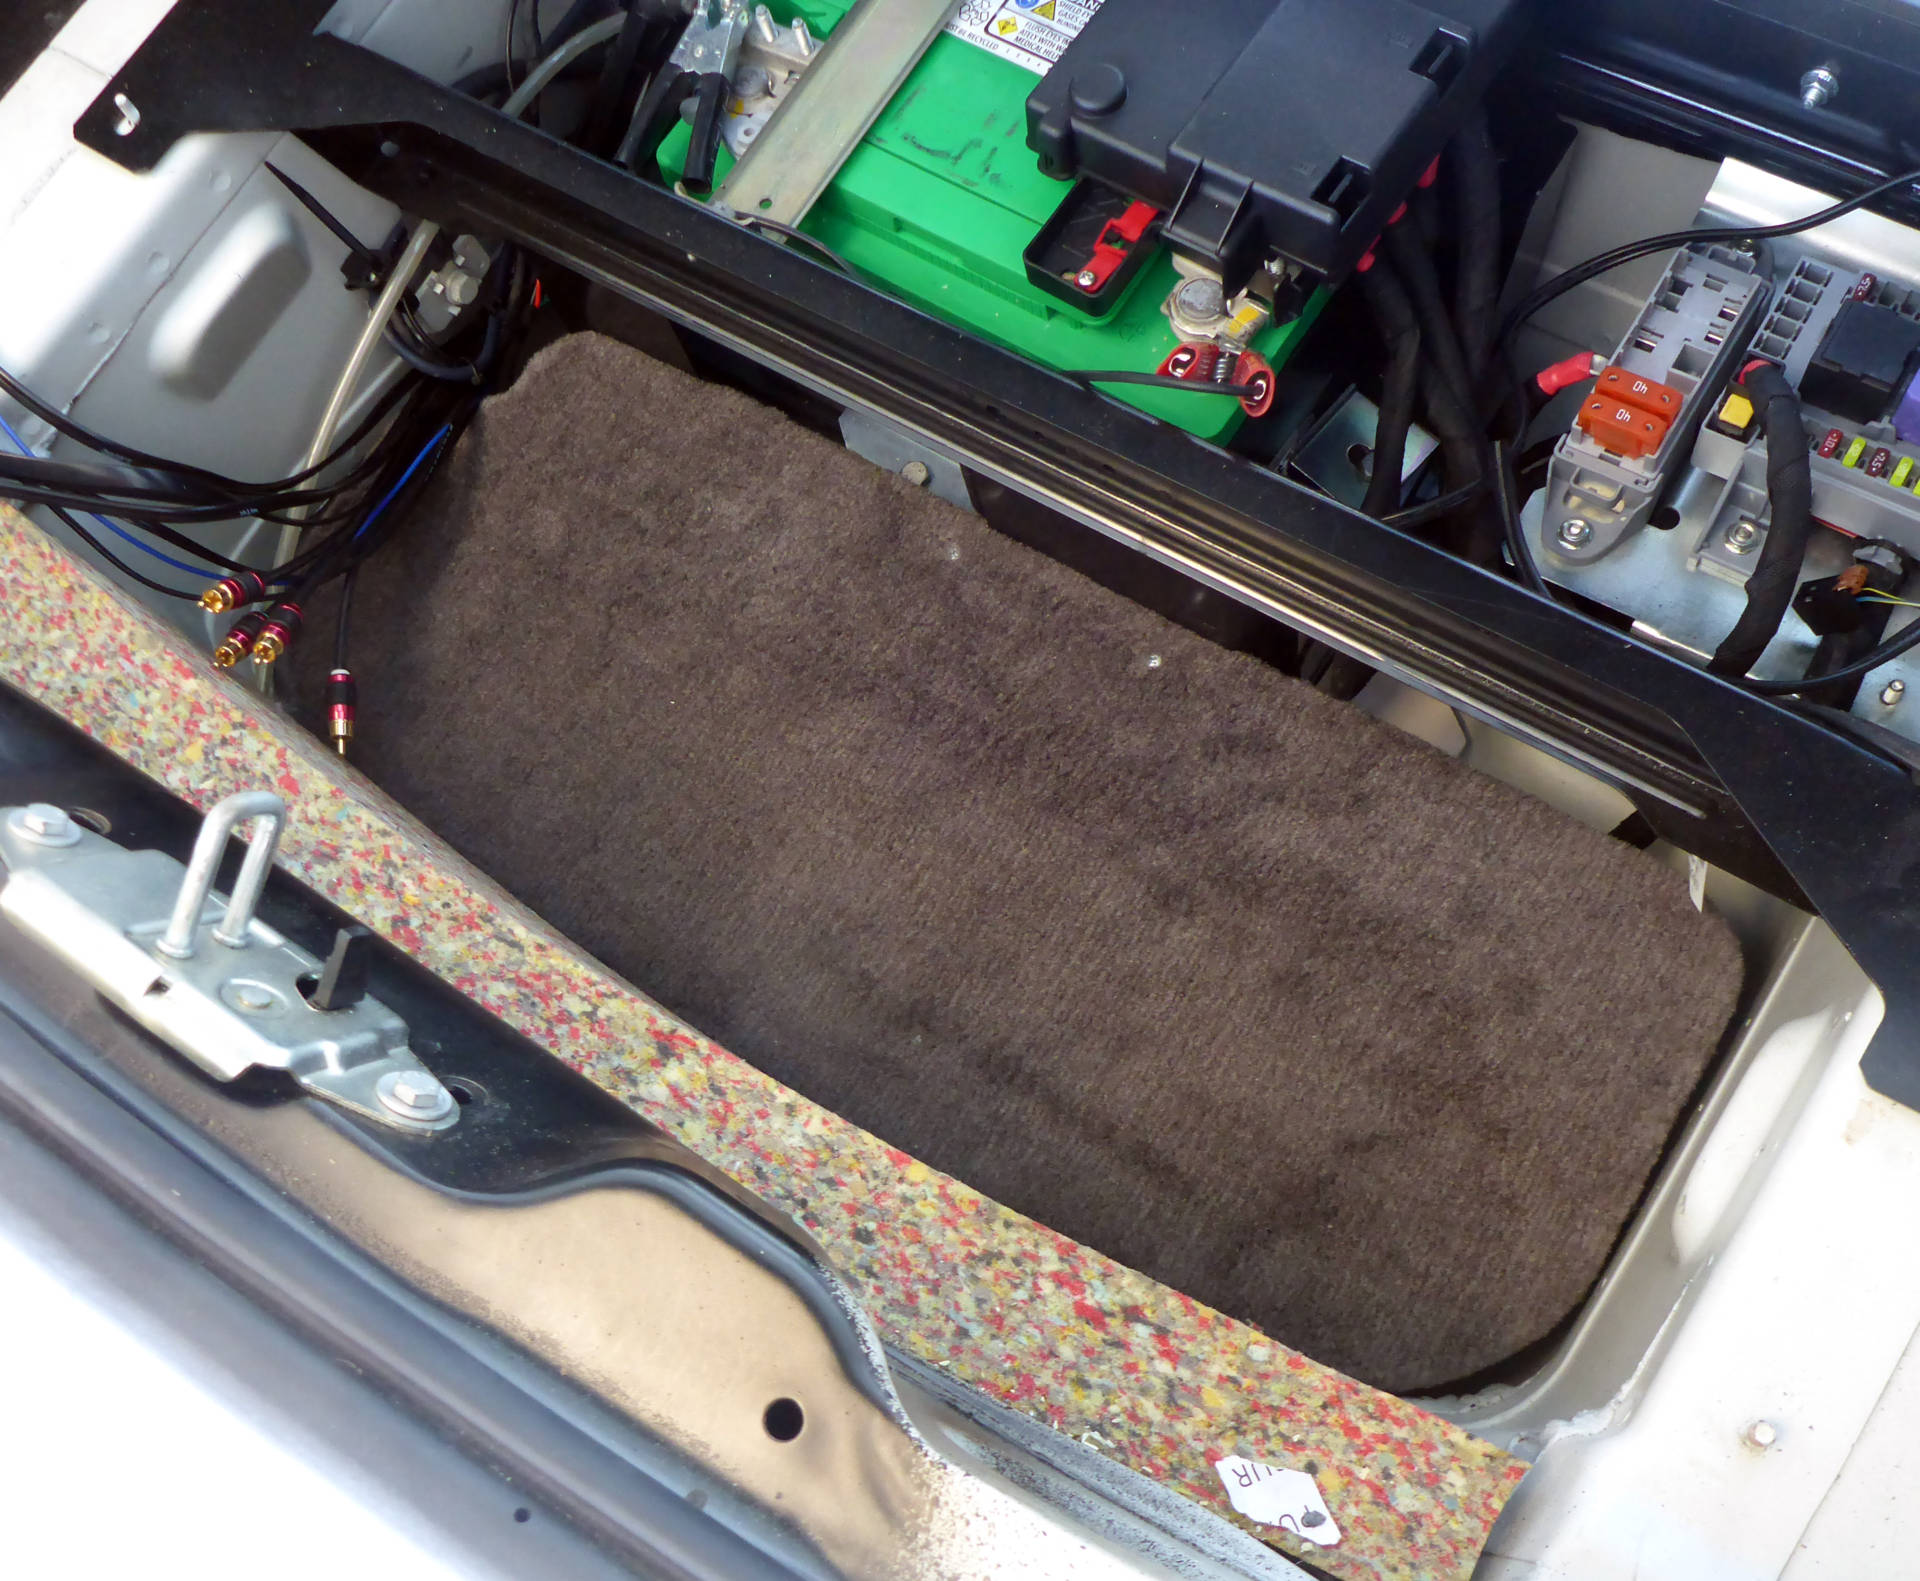
Once the false floor was installed, the new JL Audio VX700/5I amplier is installed. Wiring is kept as neat as possible, despite being a large bundle.
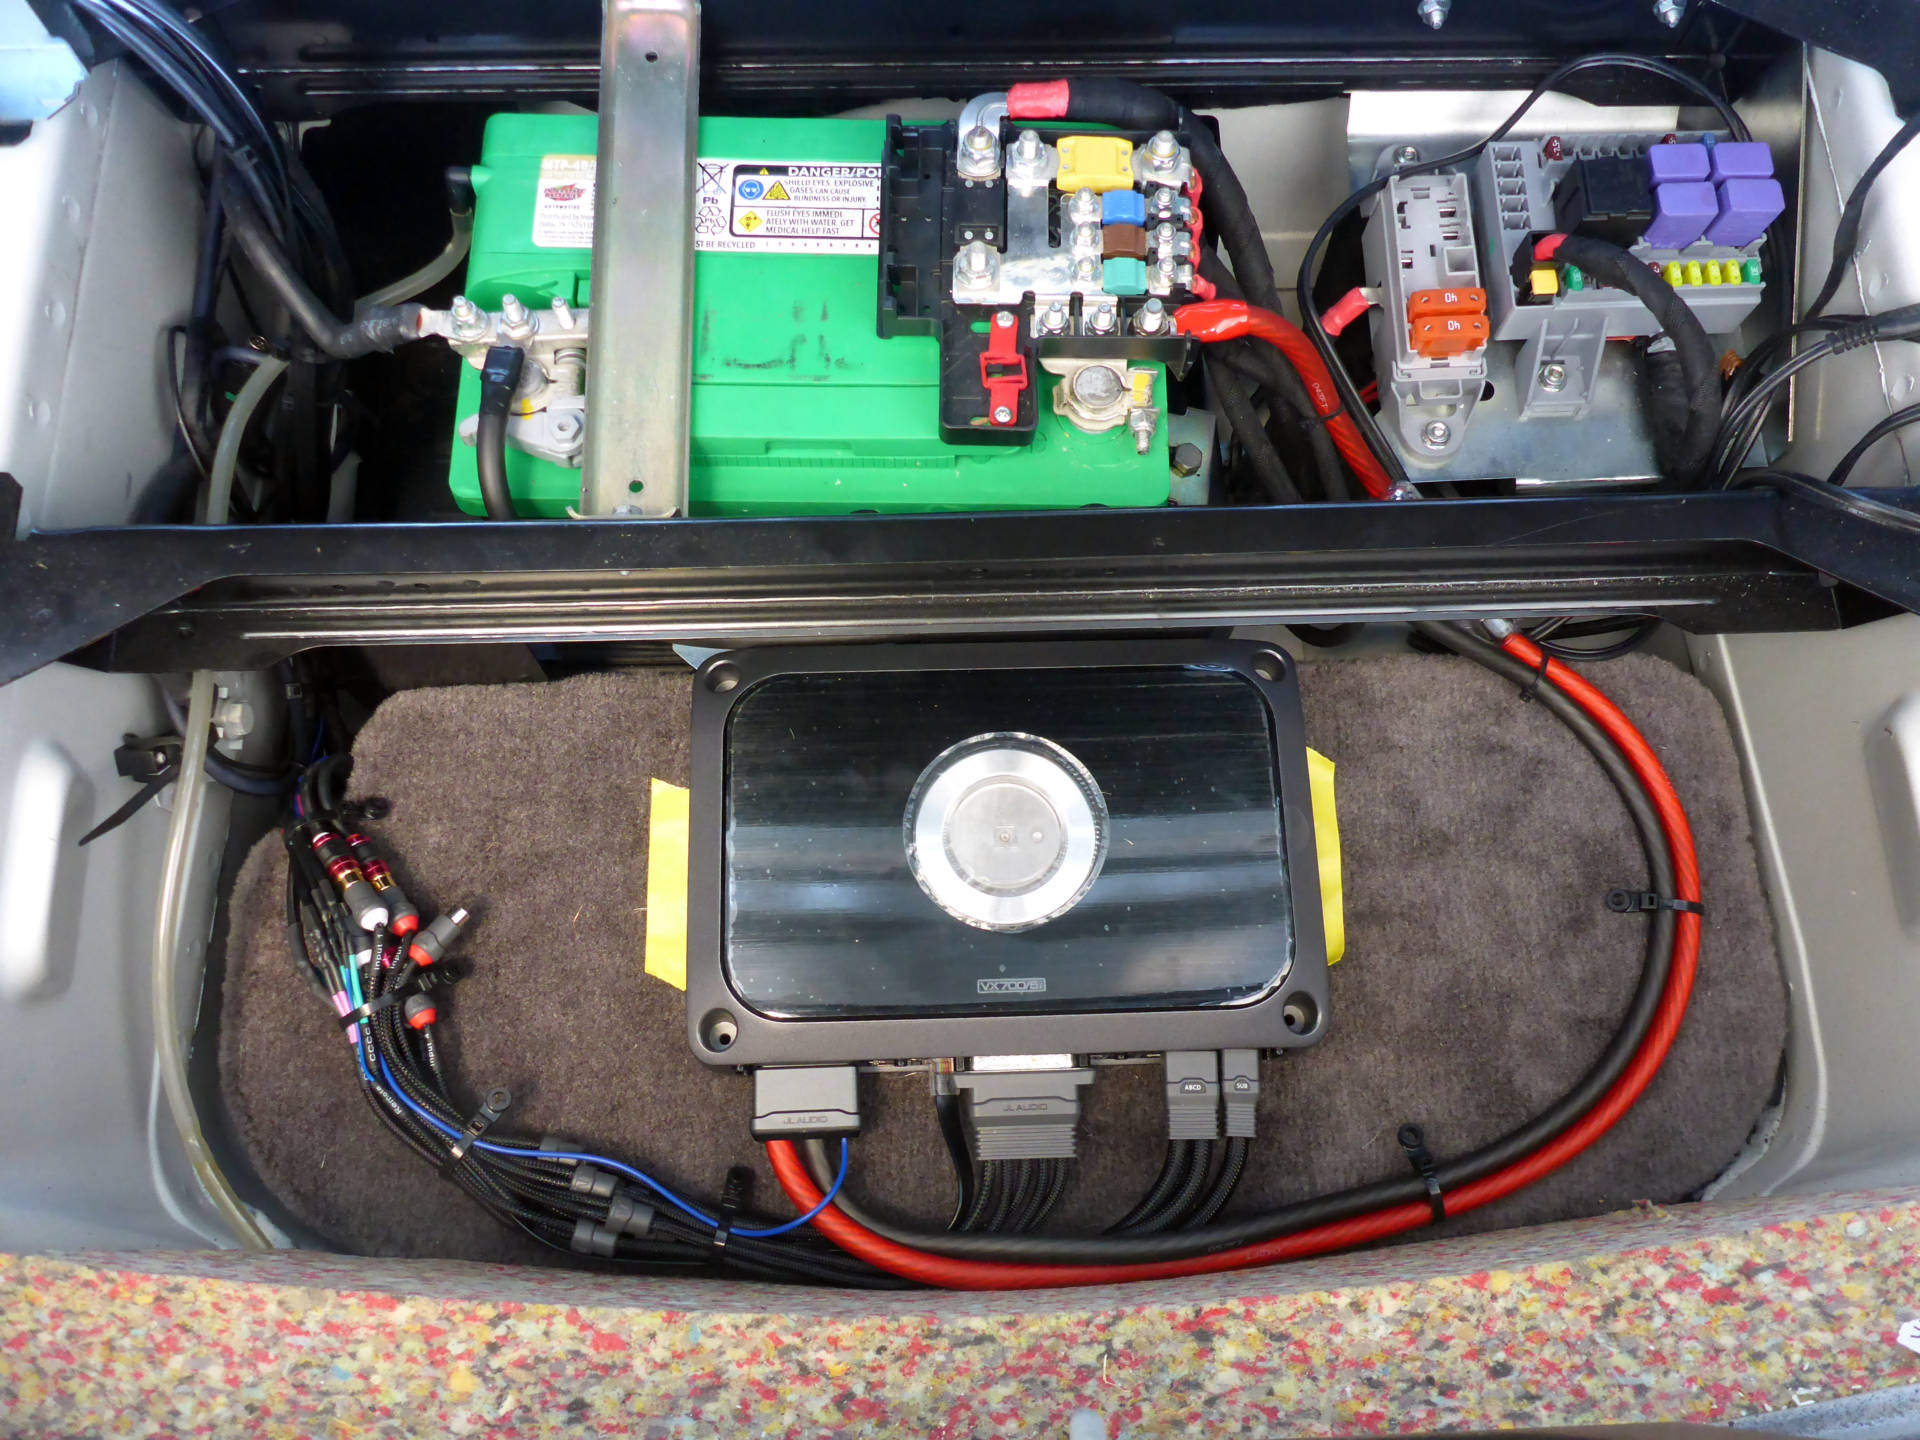
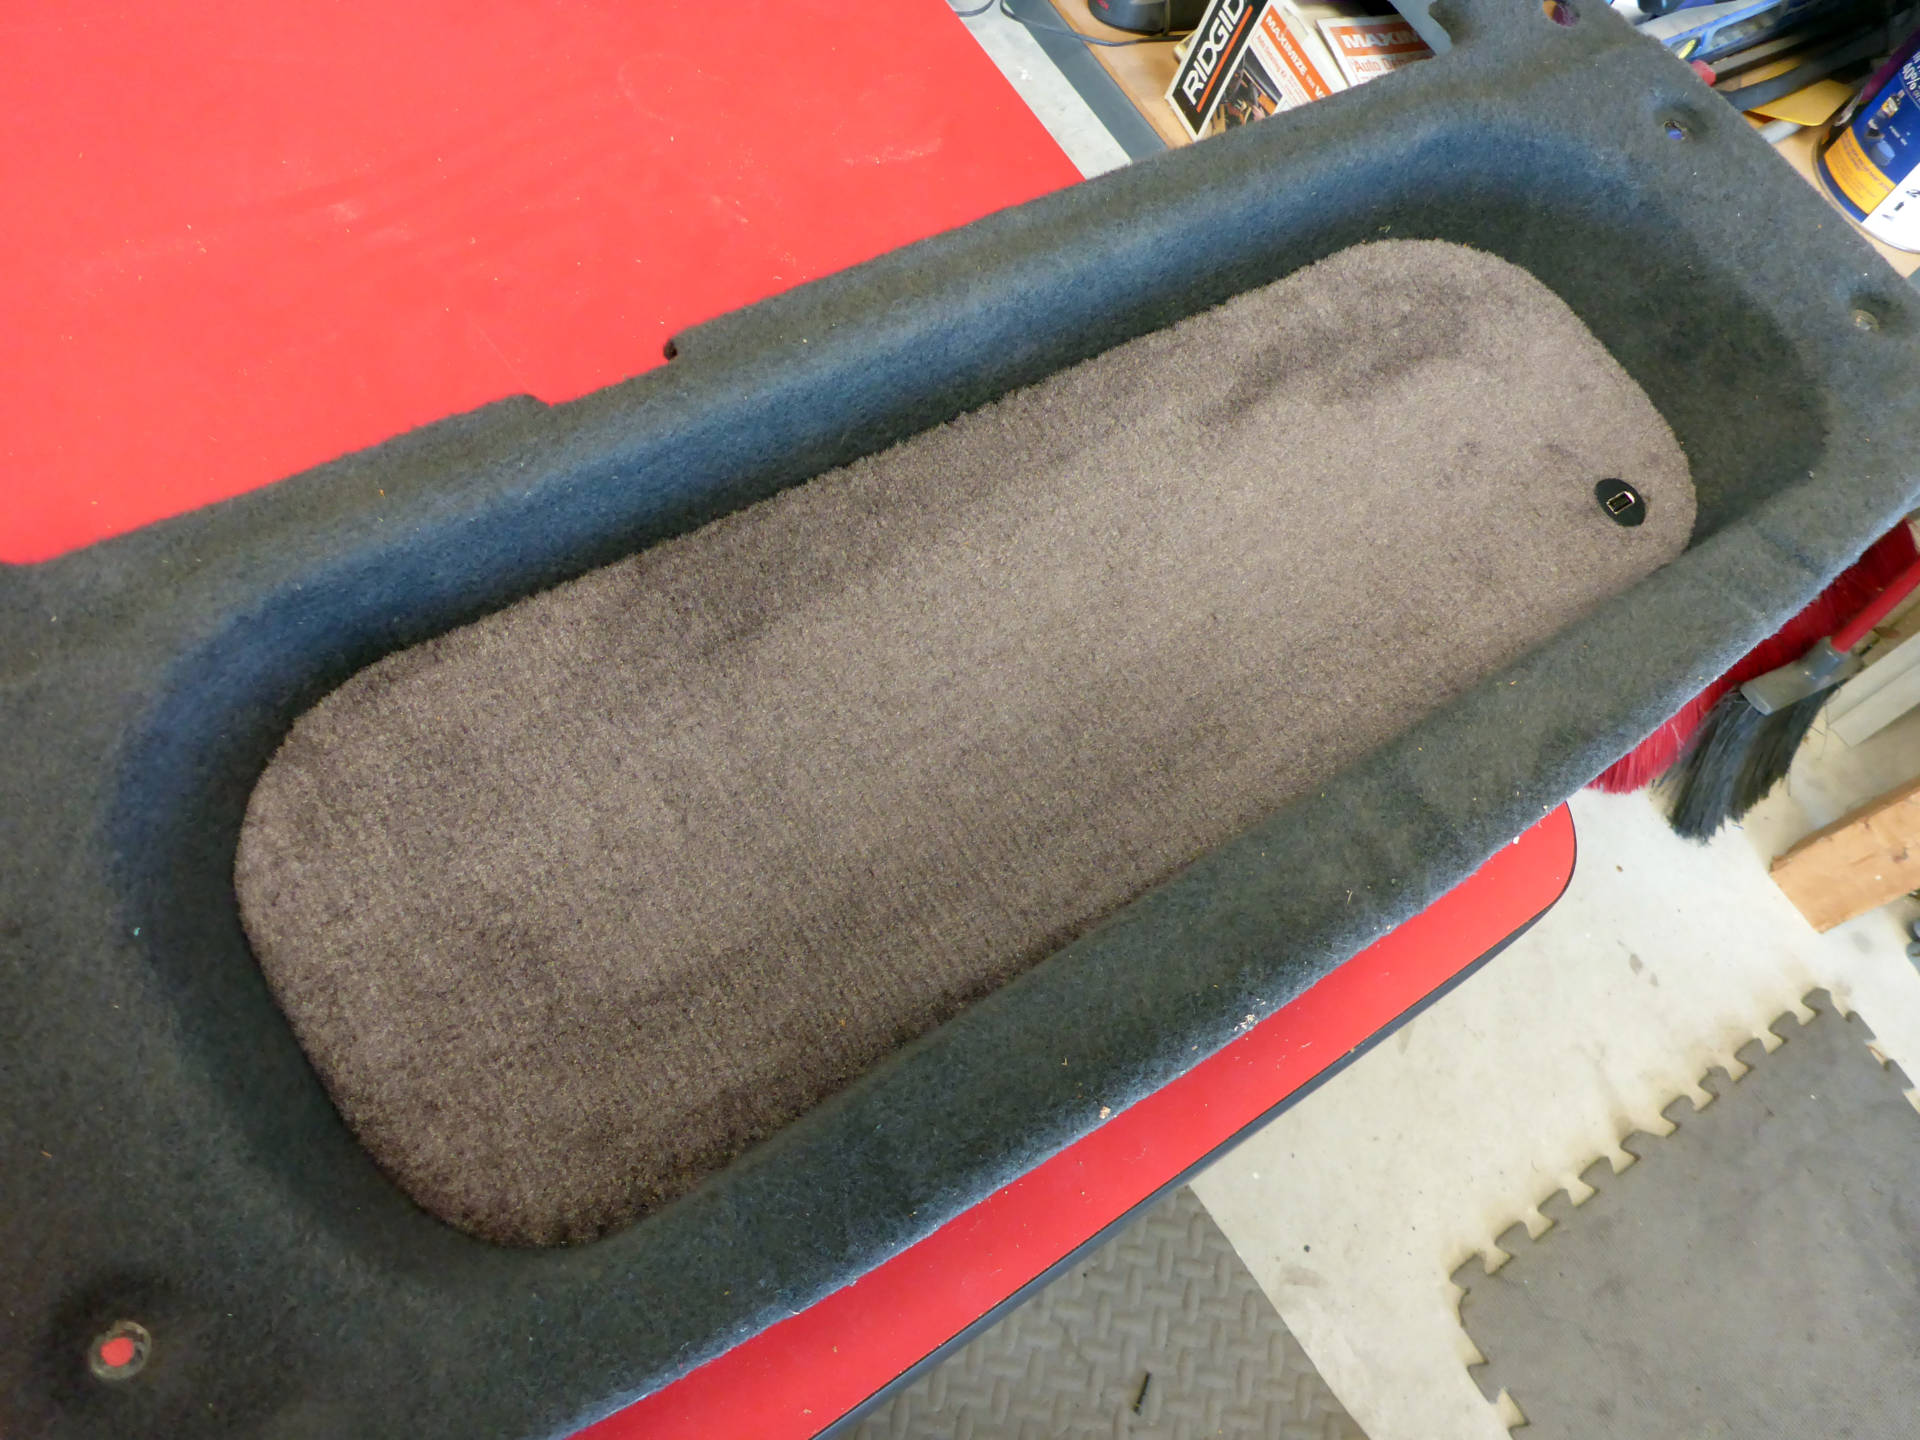
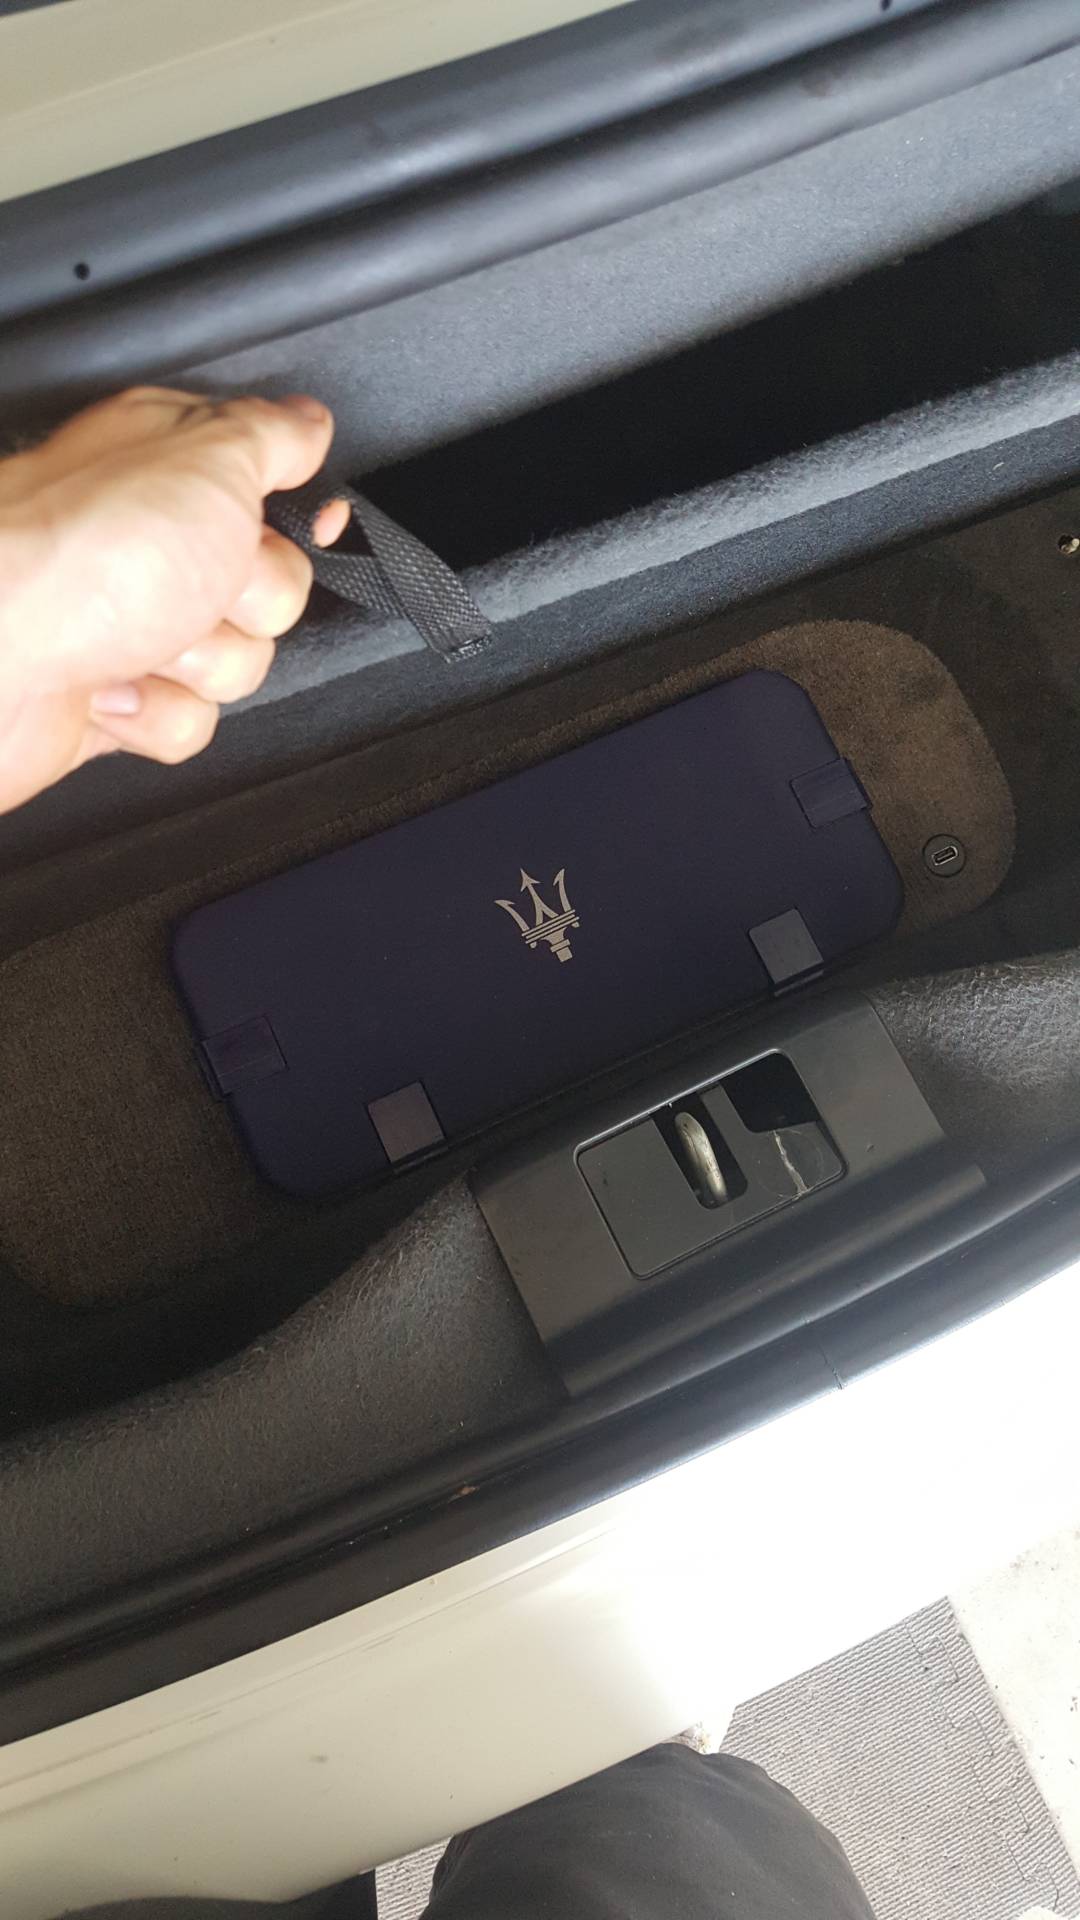
The OEM trunk floor trim panel is raised slightly and a USB access port is added for future tuning to the amplifier. A remote controller is mounted up under the dash off of the center console which will allow the client to easily change different preset EQs: sound quality oriented driver-centric, SQ w/passenger, top down driver-centric, and top down w/passenger.


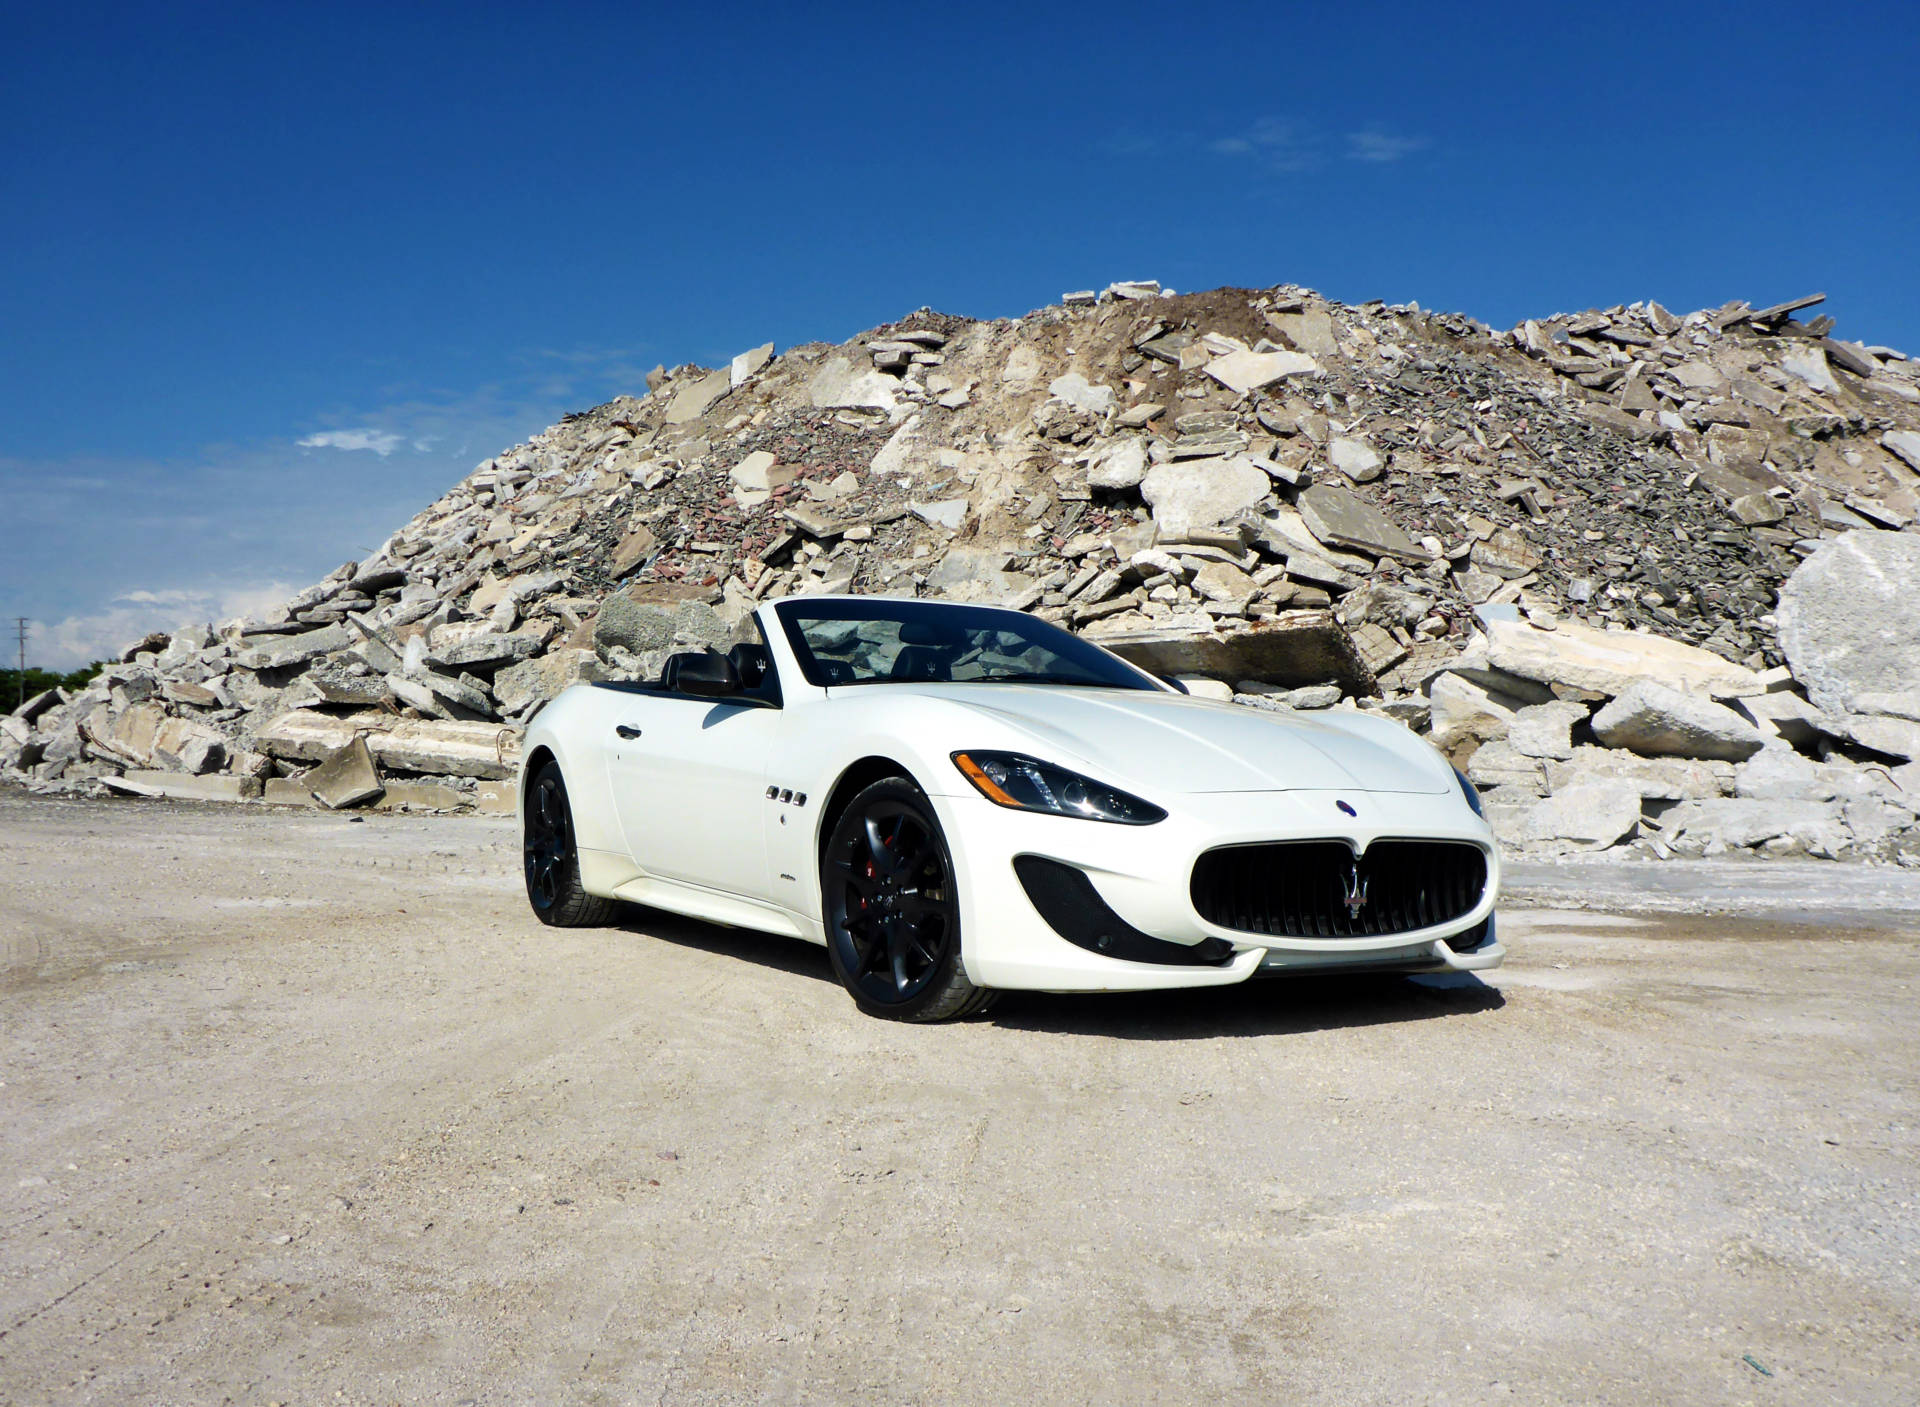
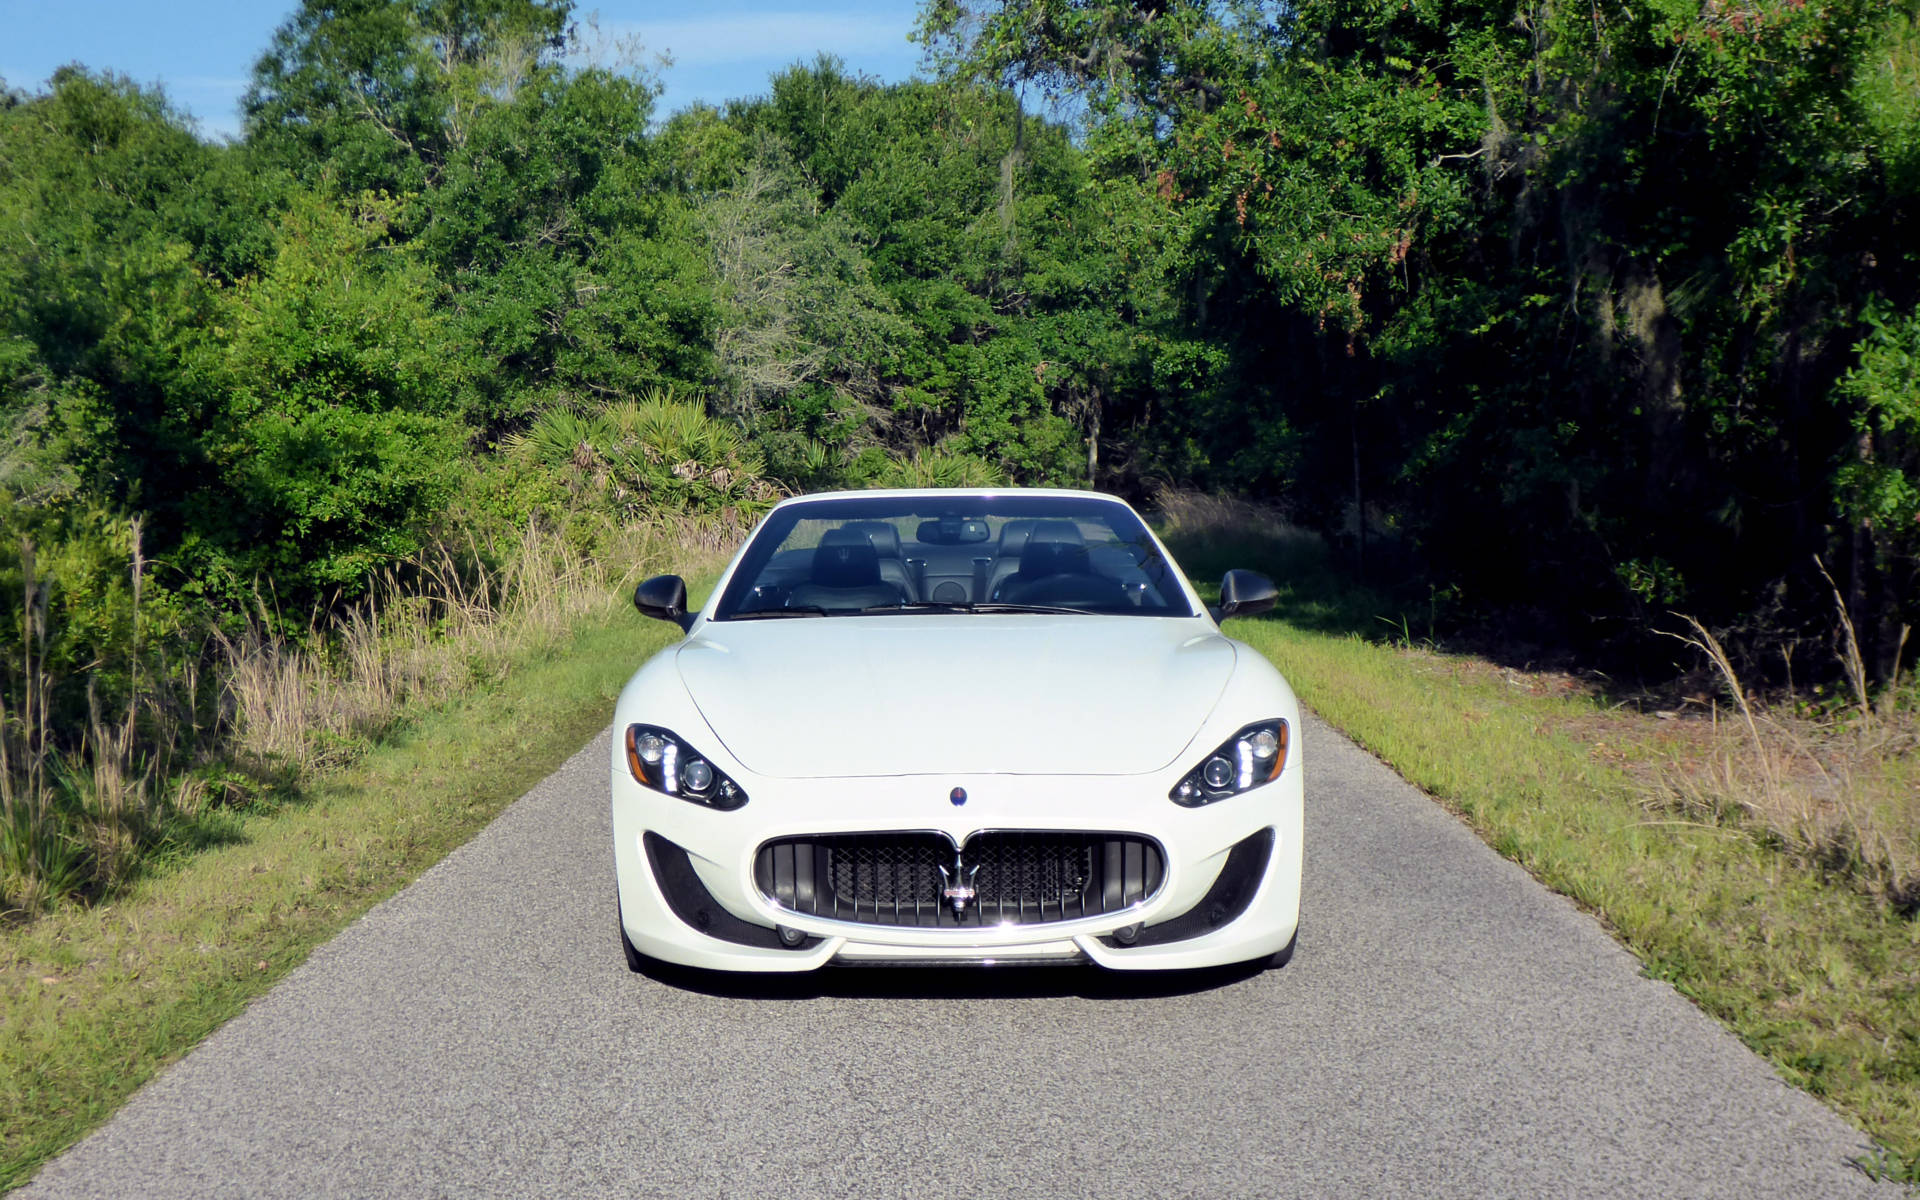
All done! Extremely pleased with how this system came out.

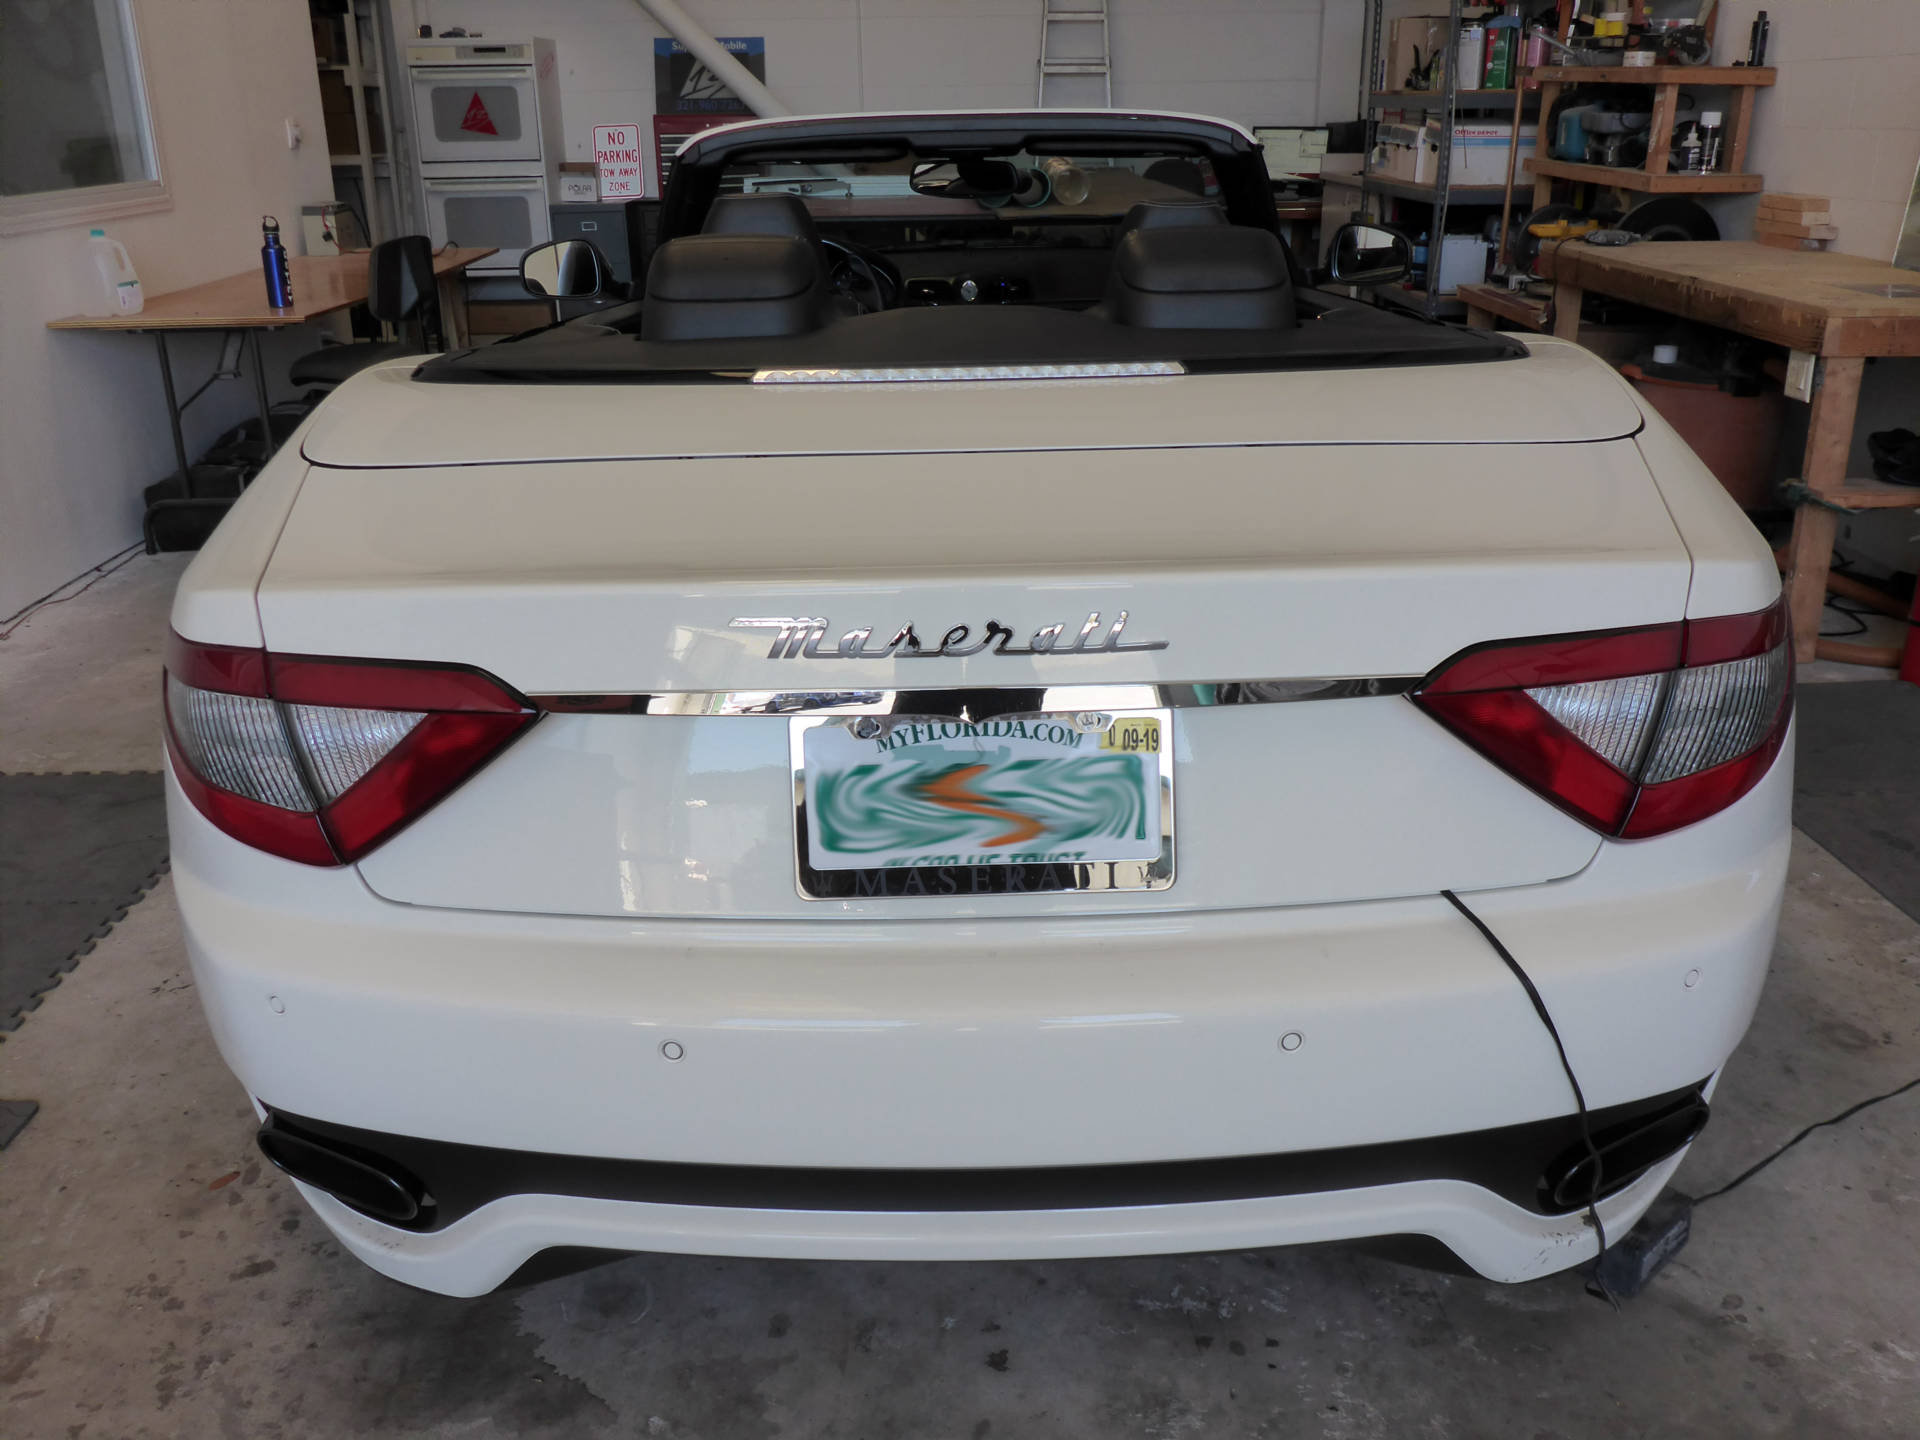
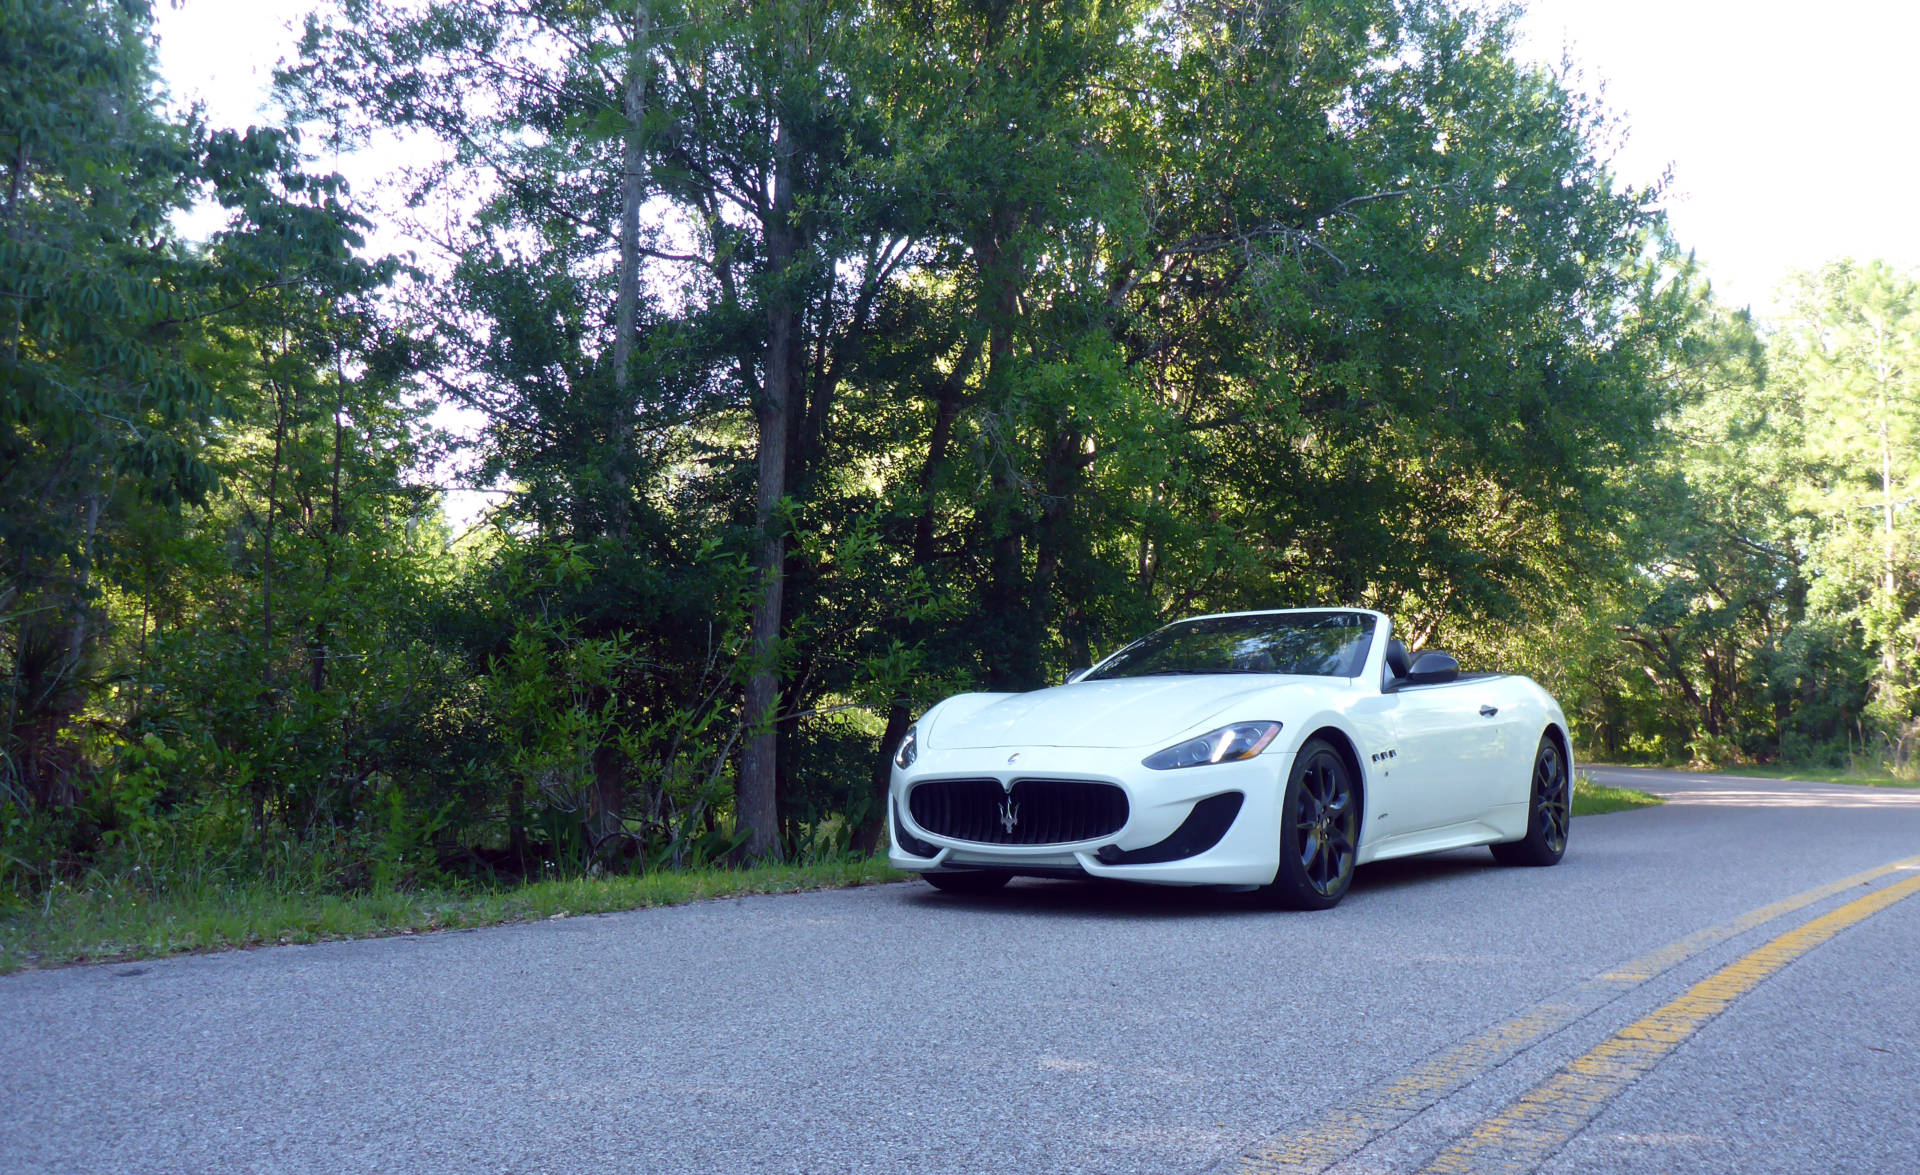
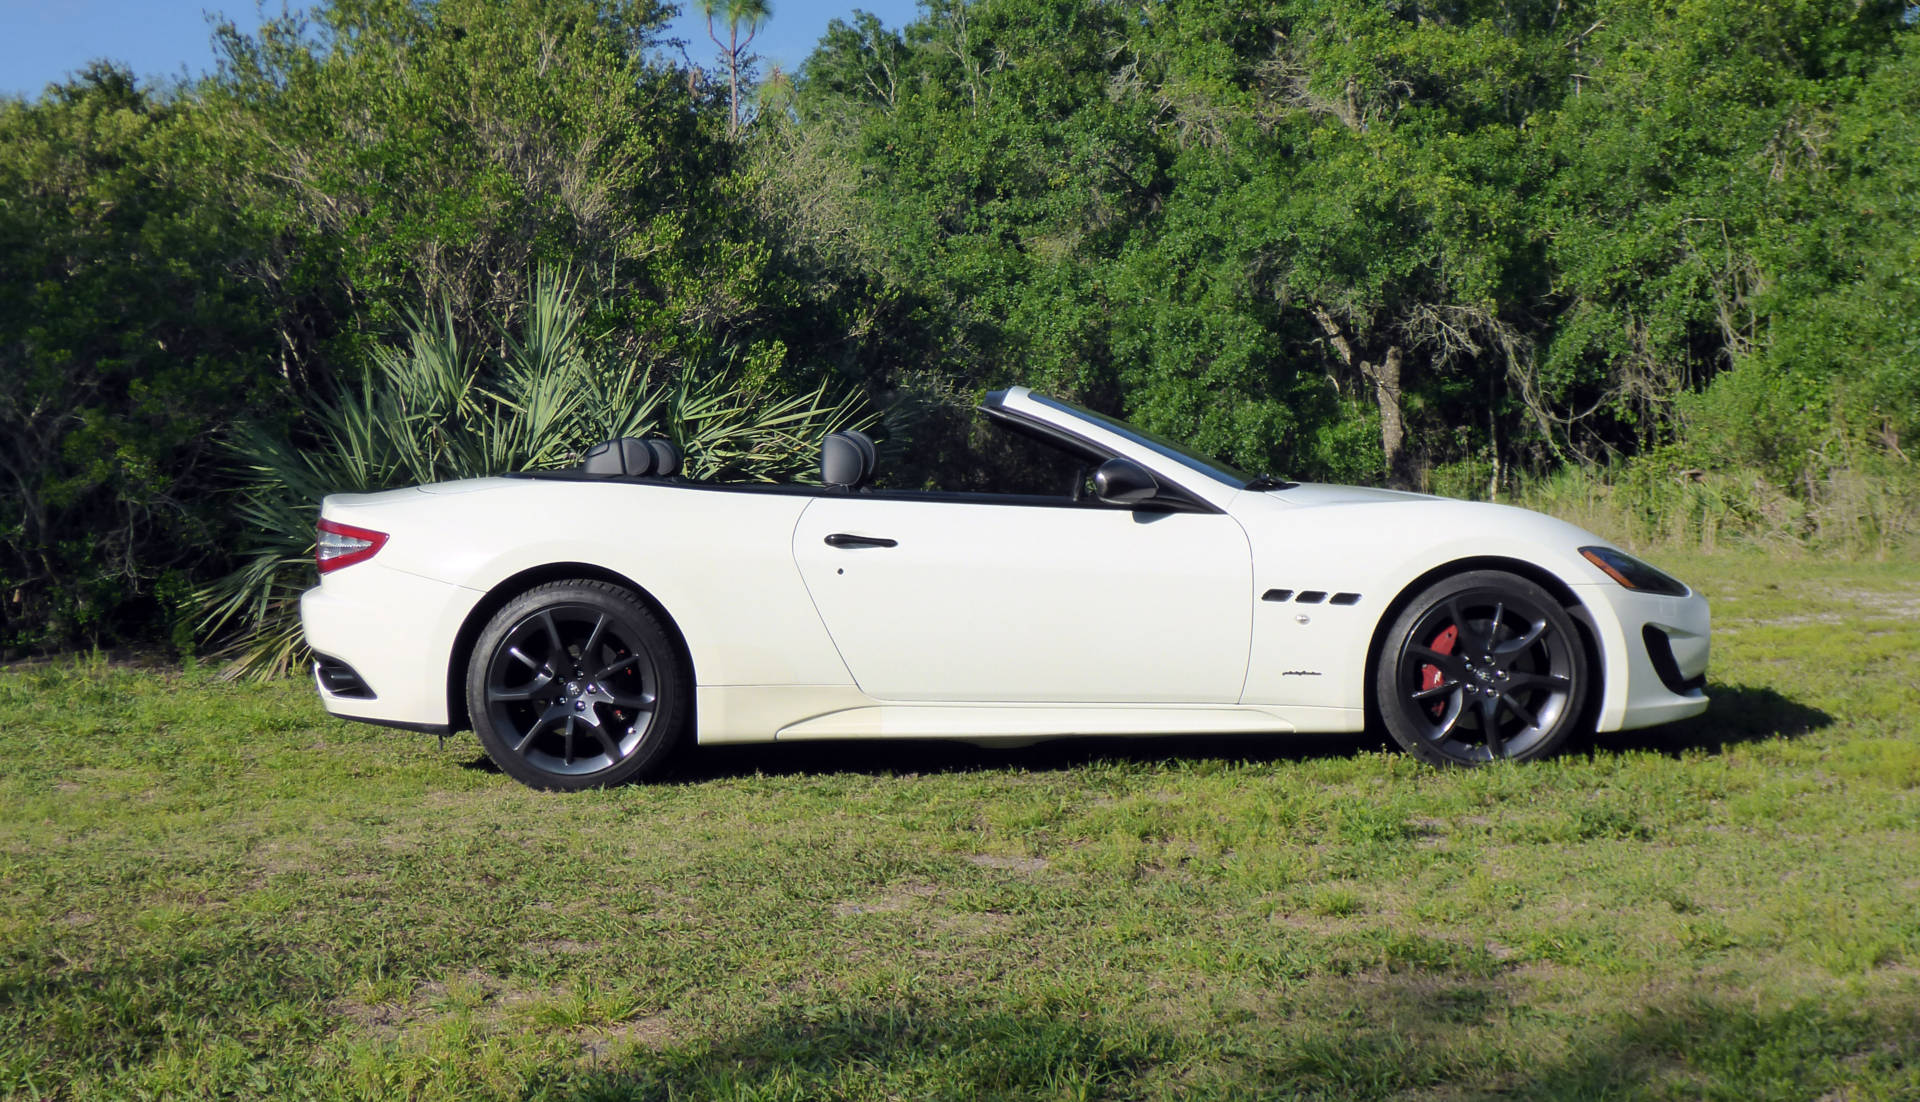
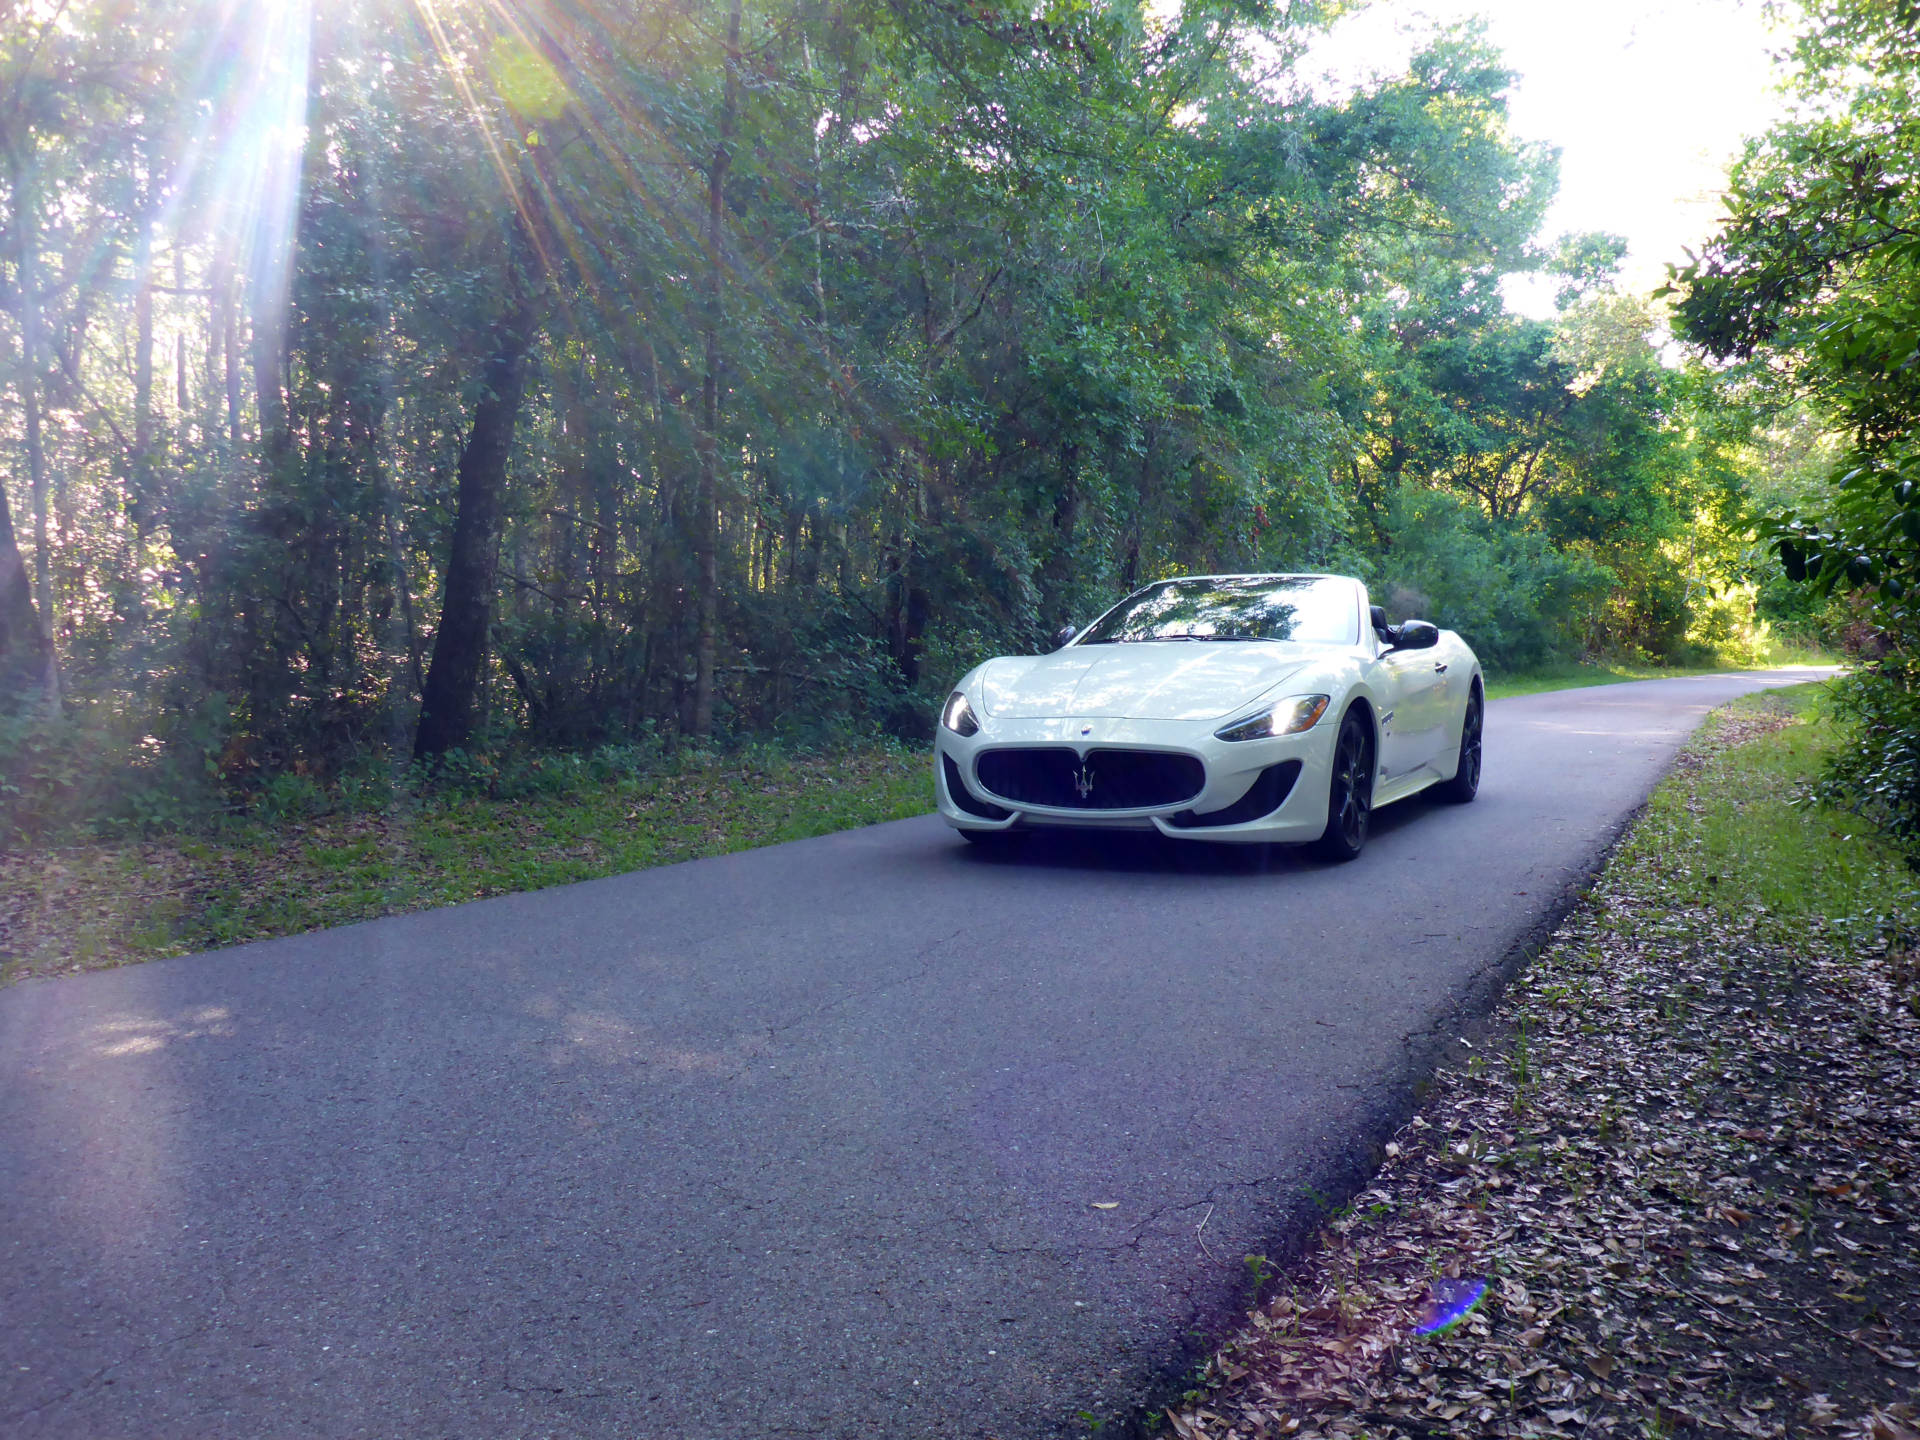
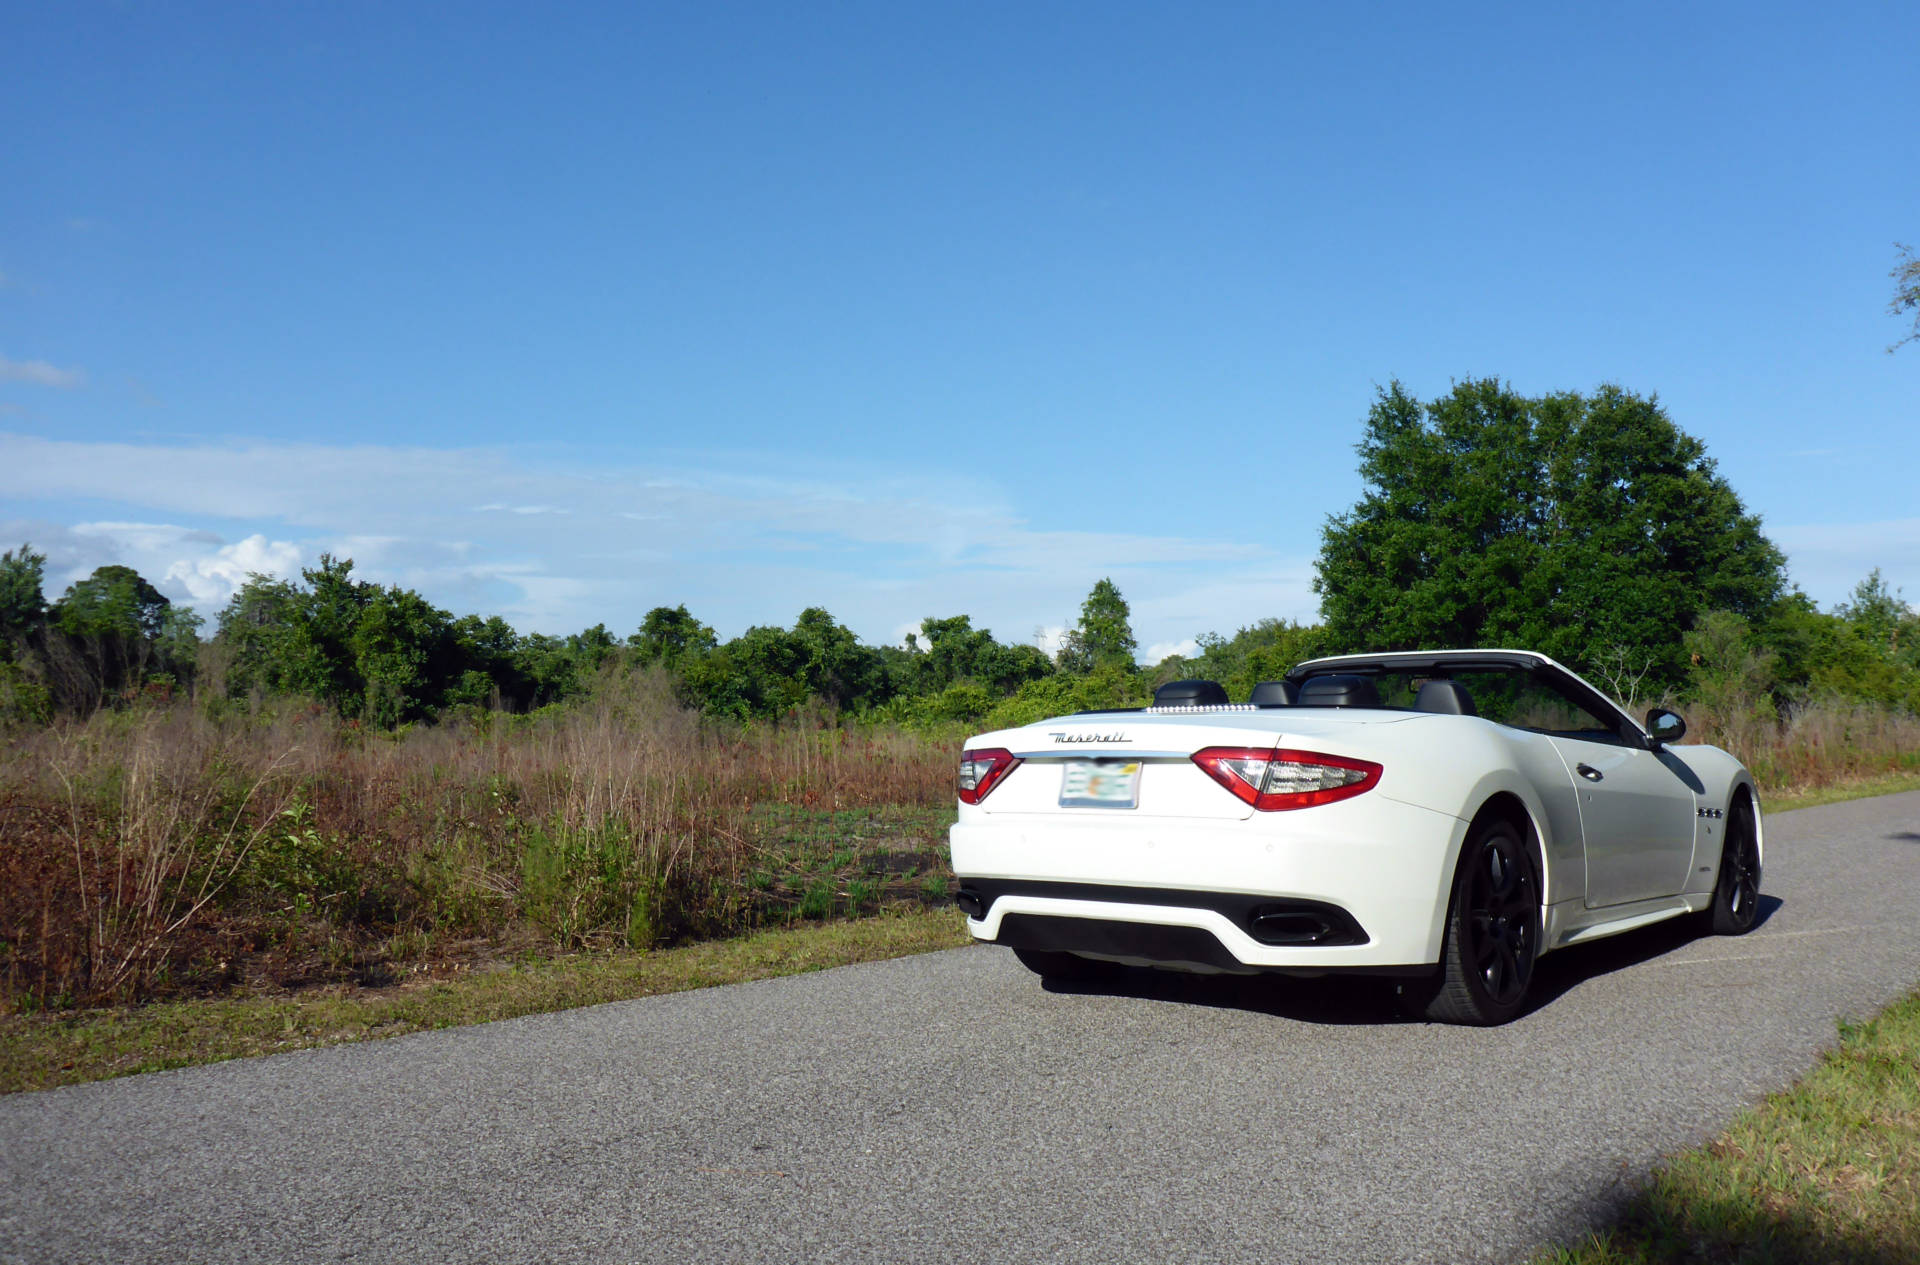
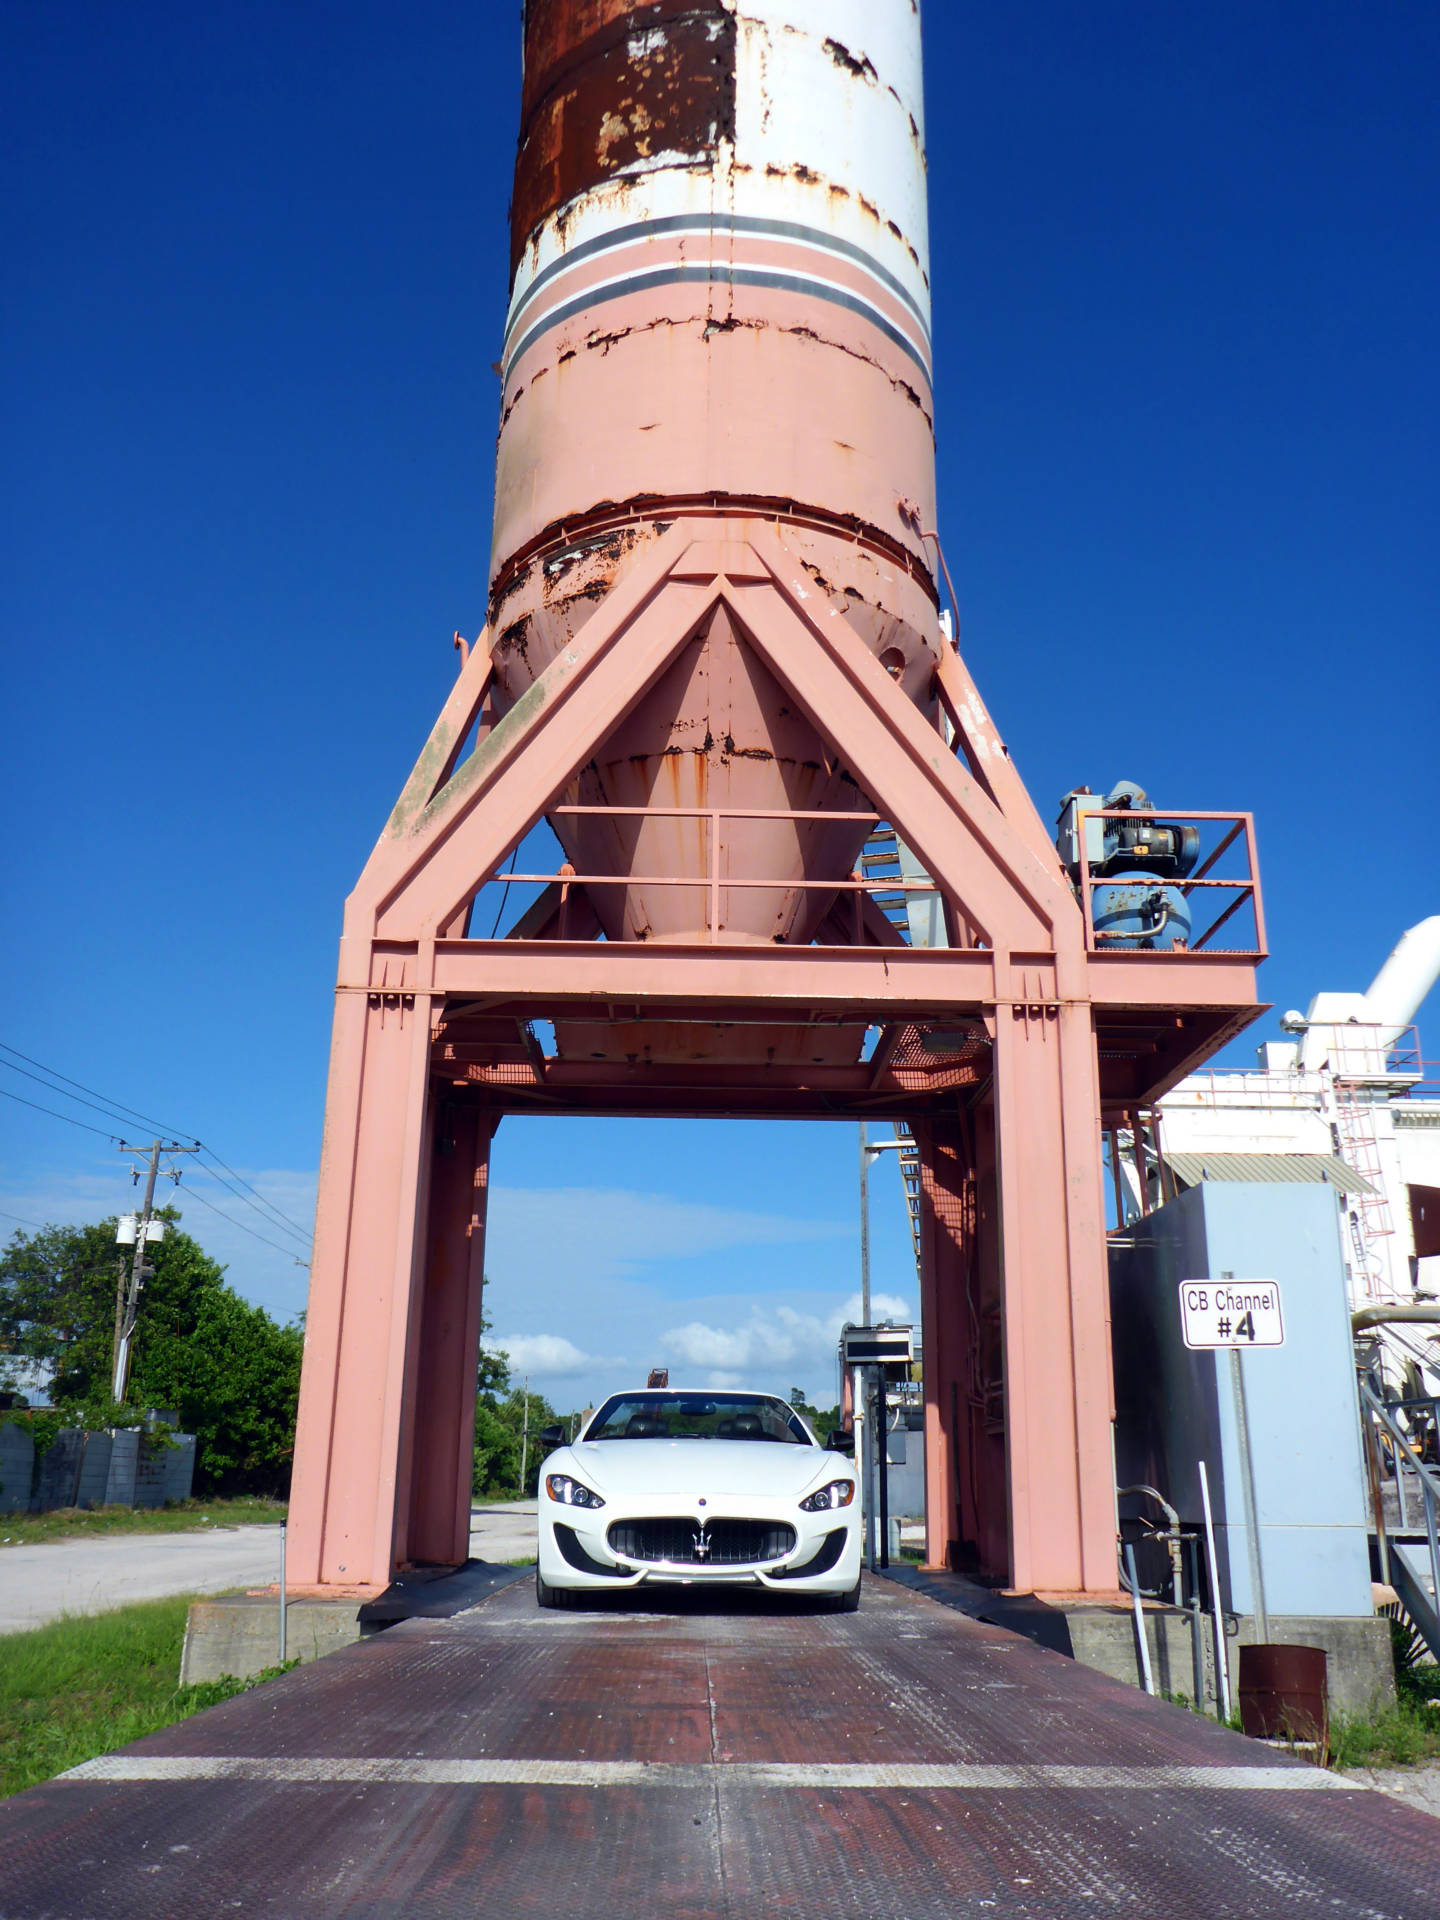
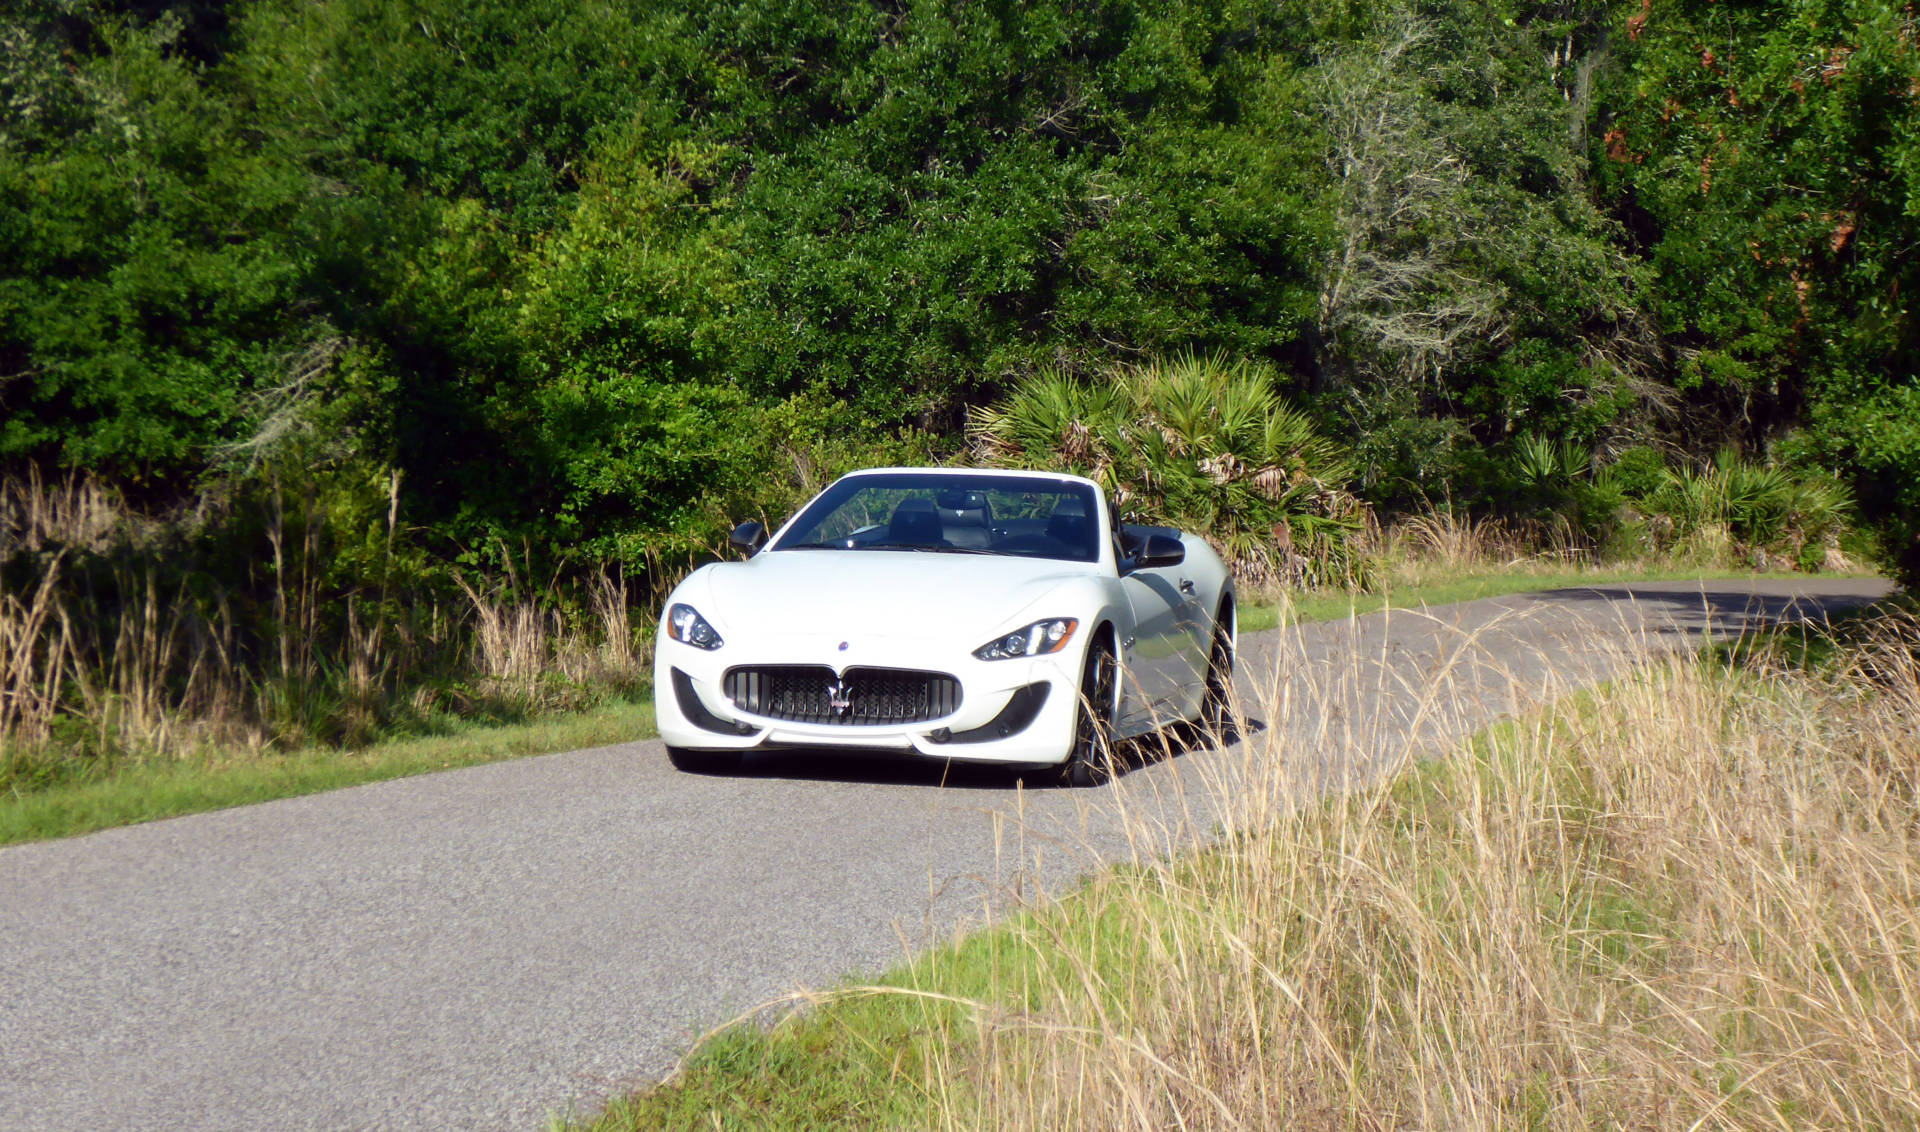
Time for a photoshoot:

The following time lapse shows a small snippet of the amount of effort that goes into a high fidelity car audio system installation. This video covers door panel removal, outer door skin treatment, inner door skin treatment, speaker installation, door boot removal (the worst part of this entire vehicle IMO), adding terminals, running new wiring, and reassembly. All at supersonic speeds!