2015 Nissan Juke Custom Headlights
Lens Etching, Paintwork, Projector Swap
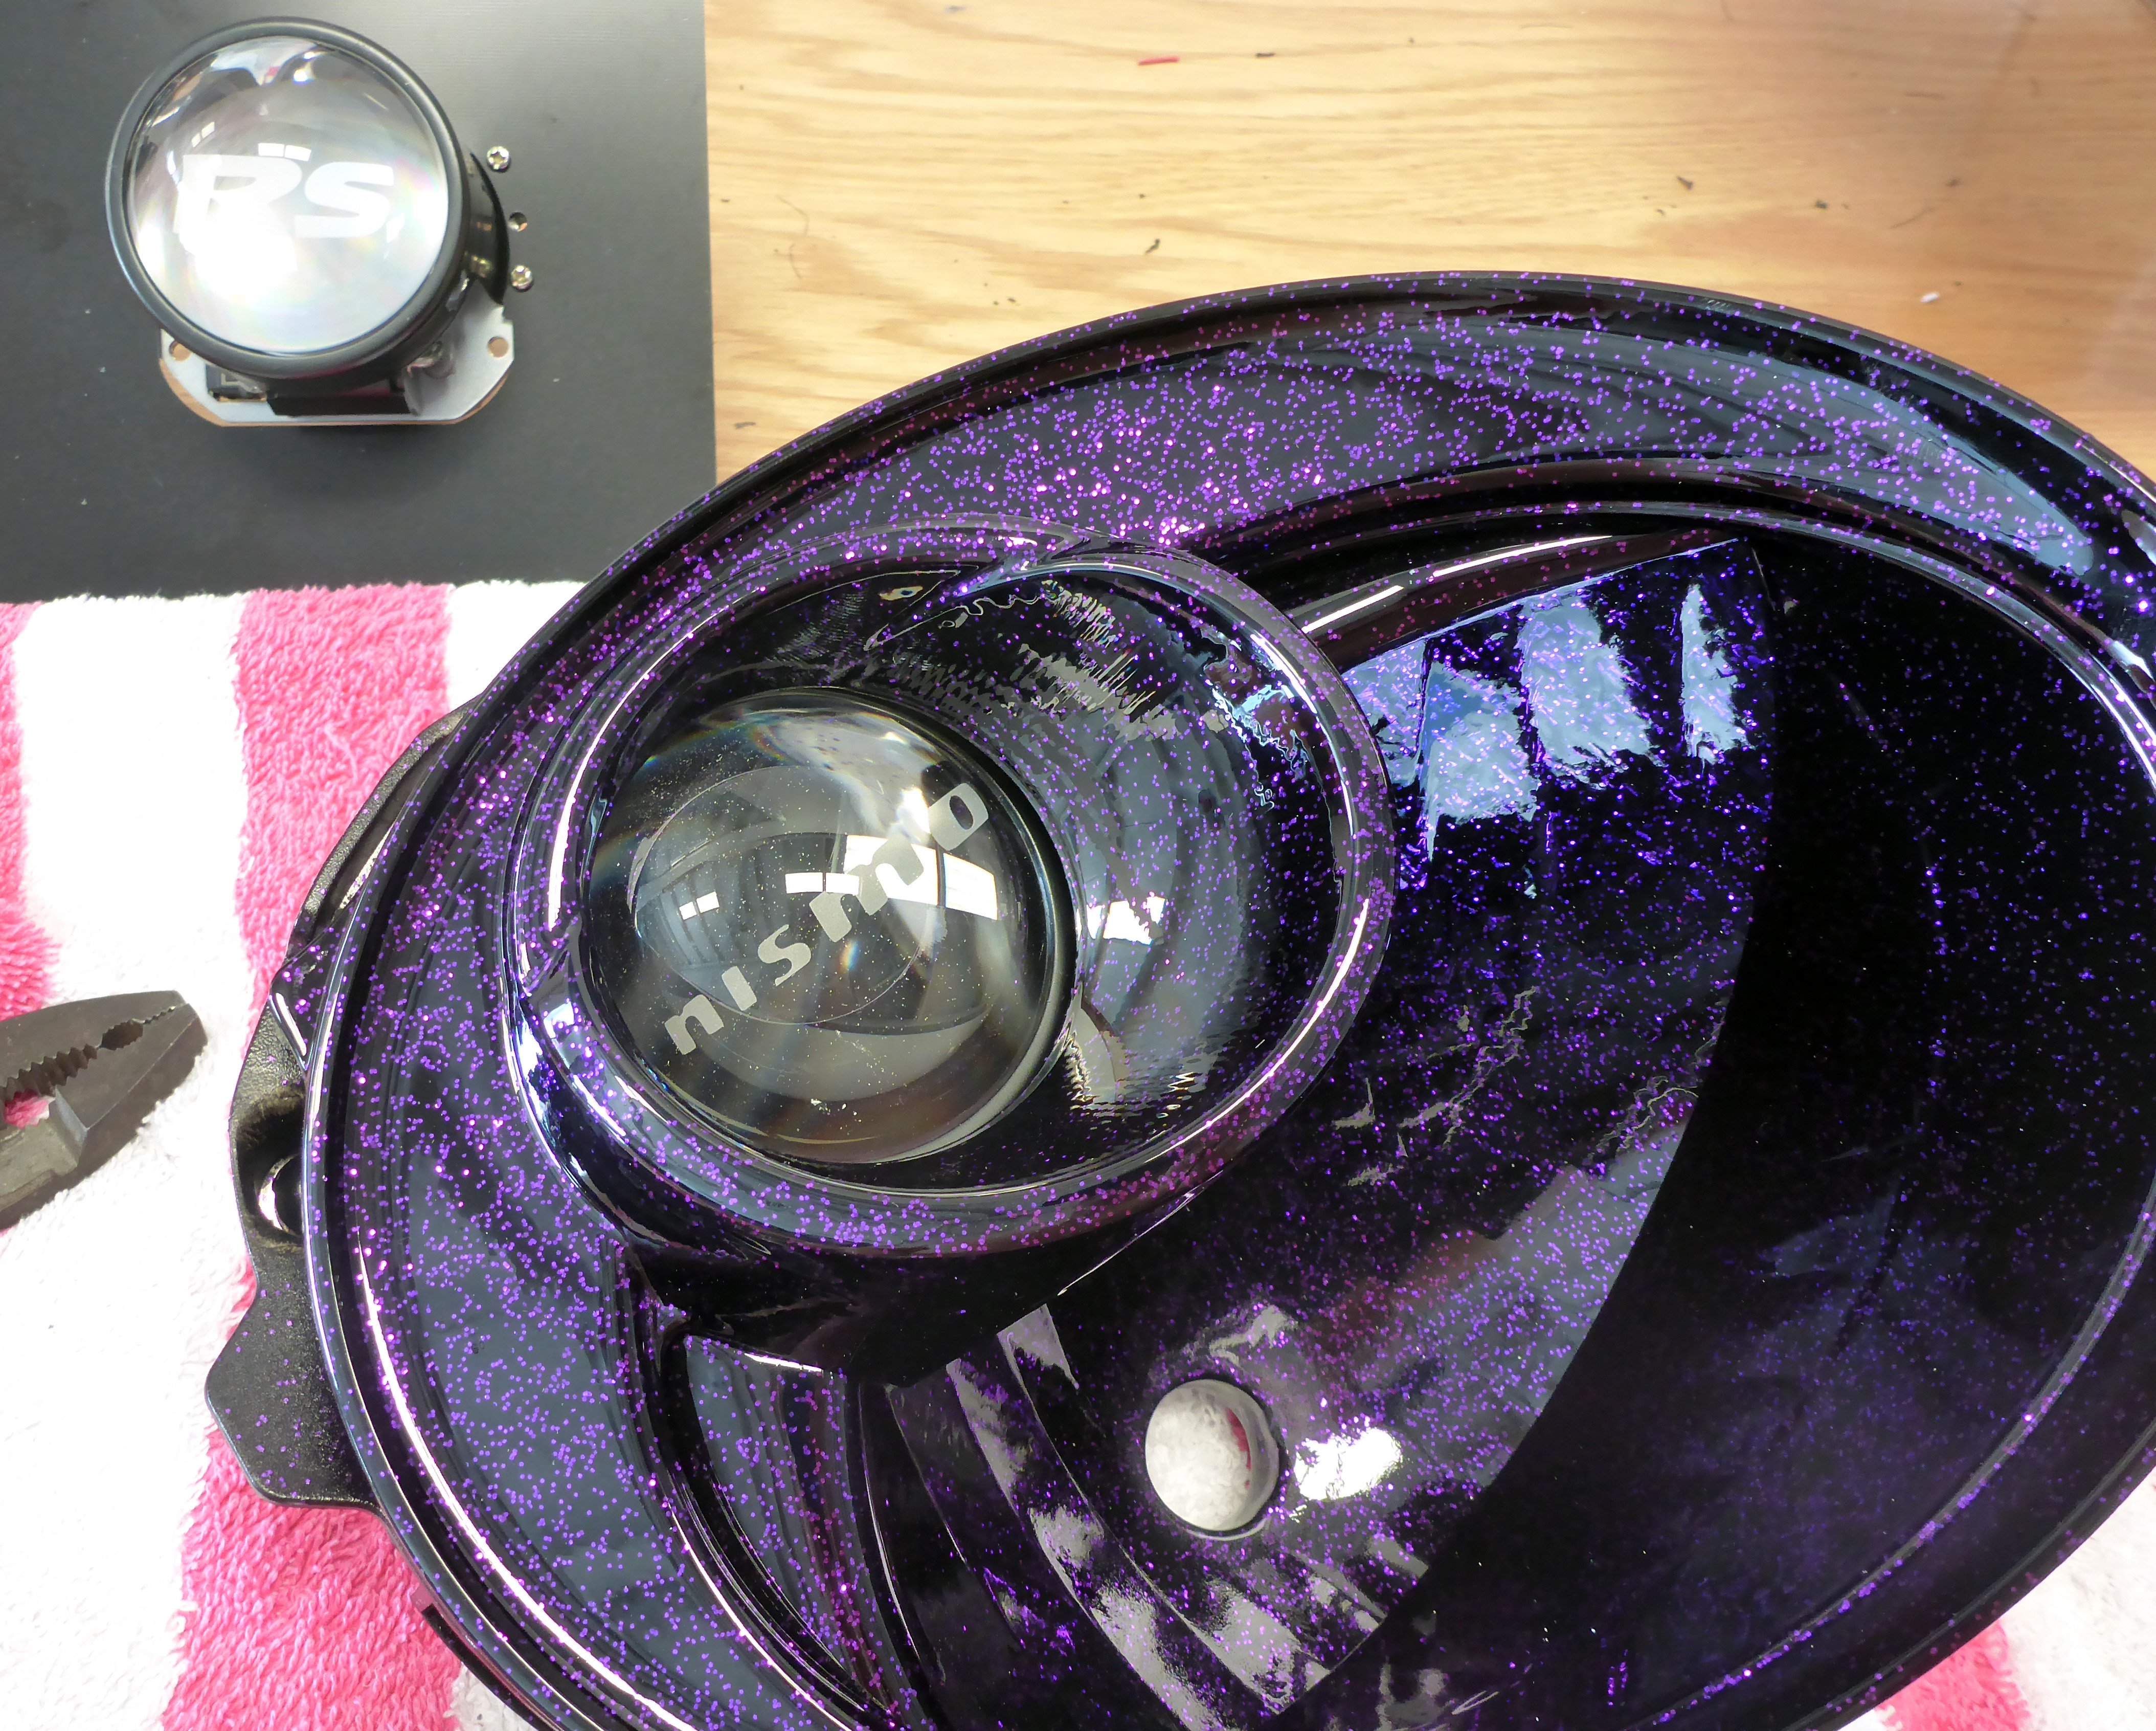
There were a couple factors that made this build particularly important to me. The first was that it was going to be my first 2ndGen (post face-lift) Juke headlight build. I had been questioned a lot about this style of headlight (stop window shopping 2ndGen guys and just buy some already!) ever since the first 1stGen Juke build. So finally I could say with conviction what was inside of the revised headlight style and what modifications were plausible. Secondly, it was my first build with asymmetrical lens etching. Not a huge deal but something that had been on my bucket list for a while. We etched Nismo on the passenger side and RS on the driver side — both brand new custom designs. Finally, I got to use purple flake. Purple, being the traditional color for royalty, happens to be my favorite color for luxurious things.
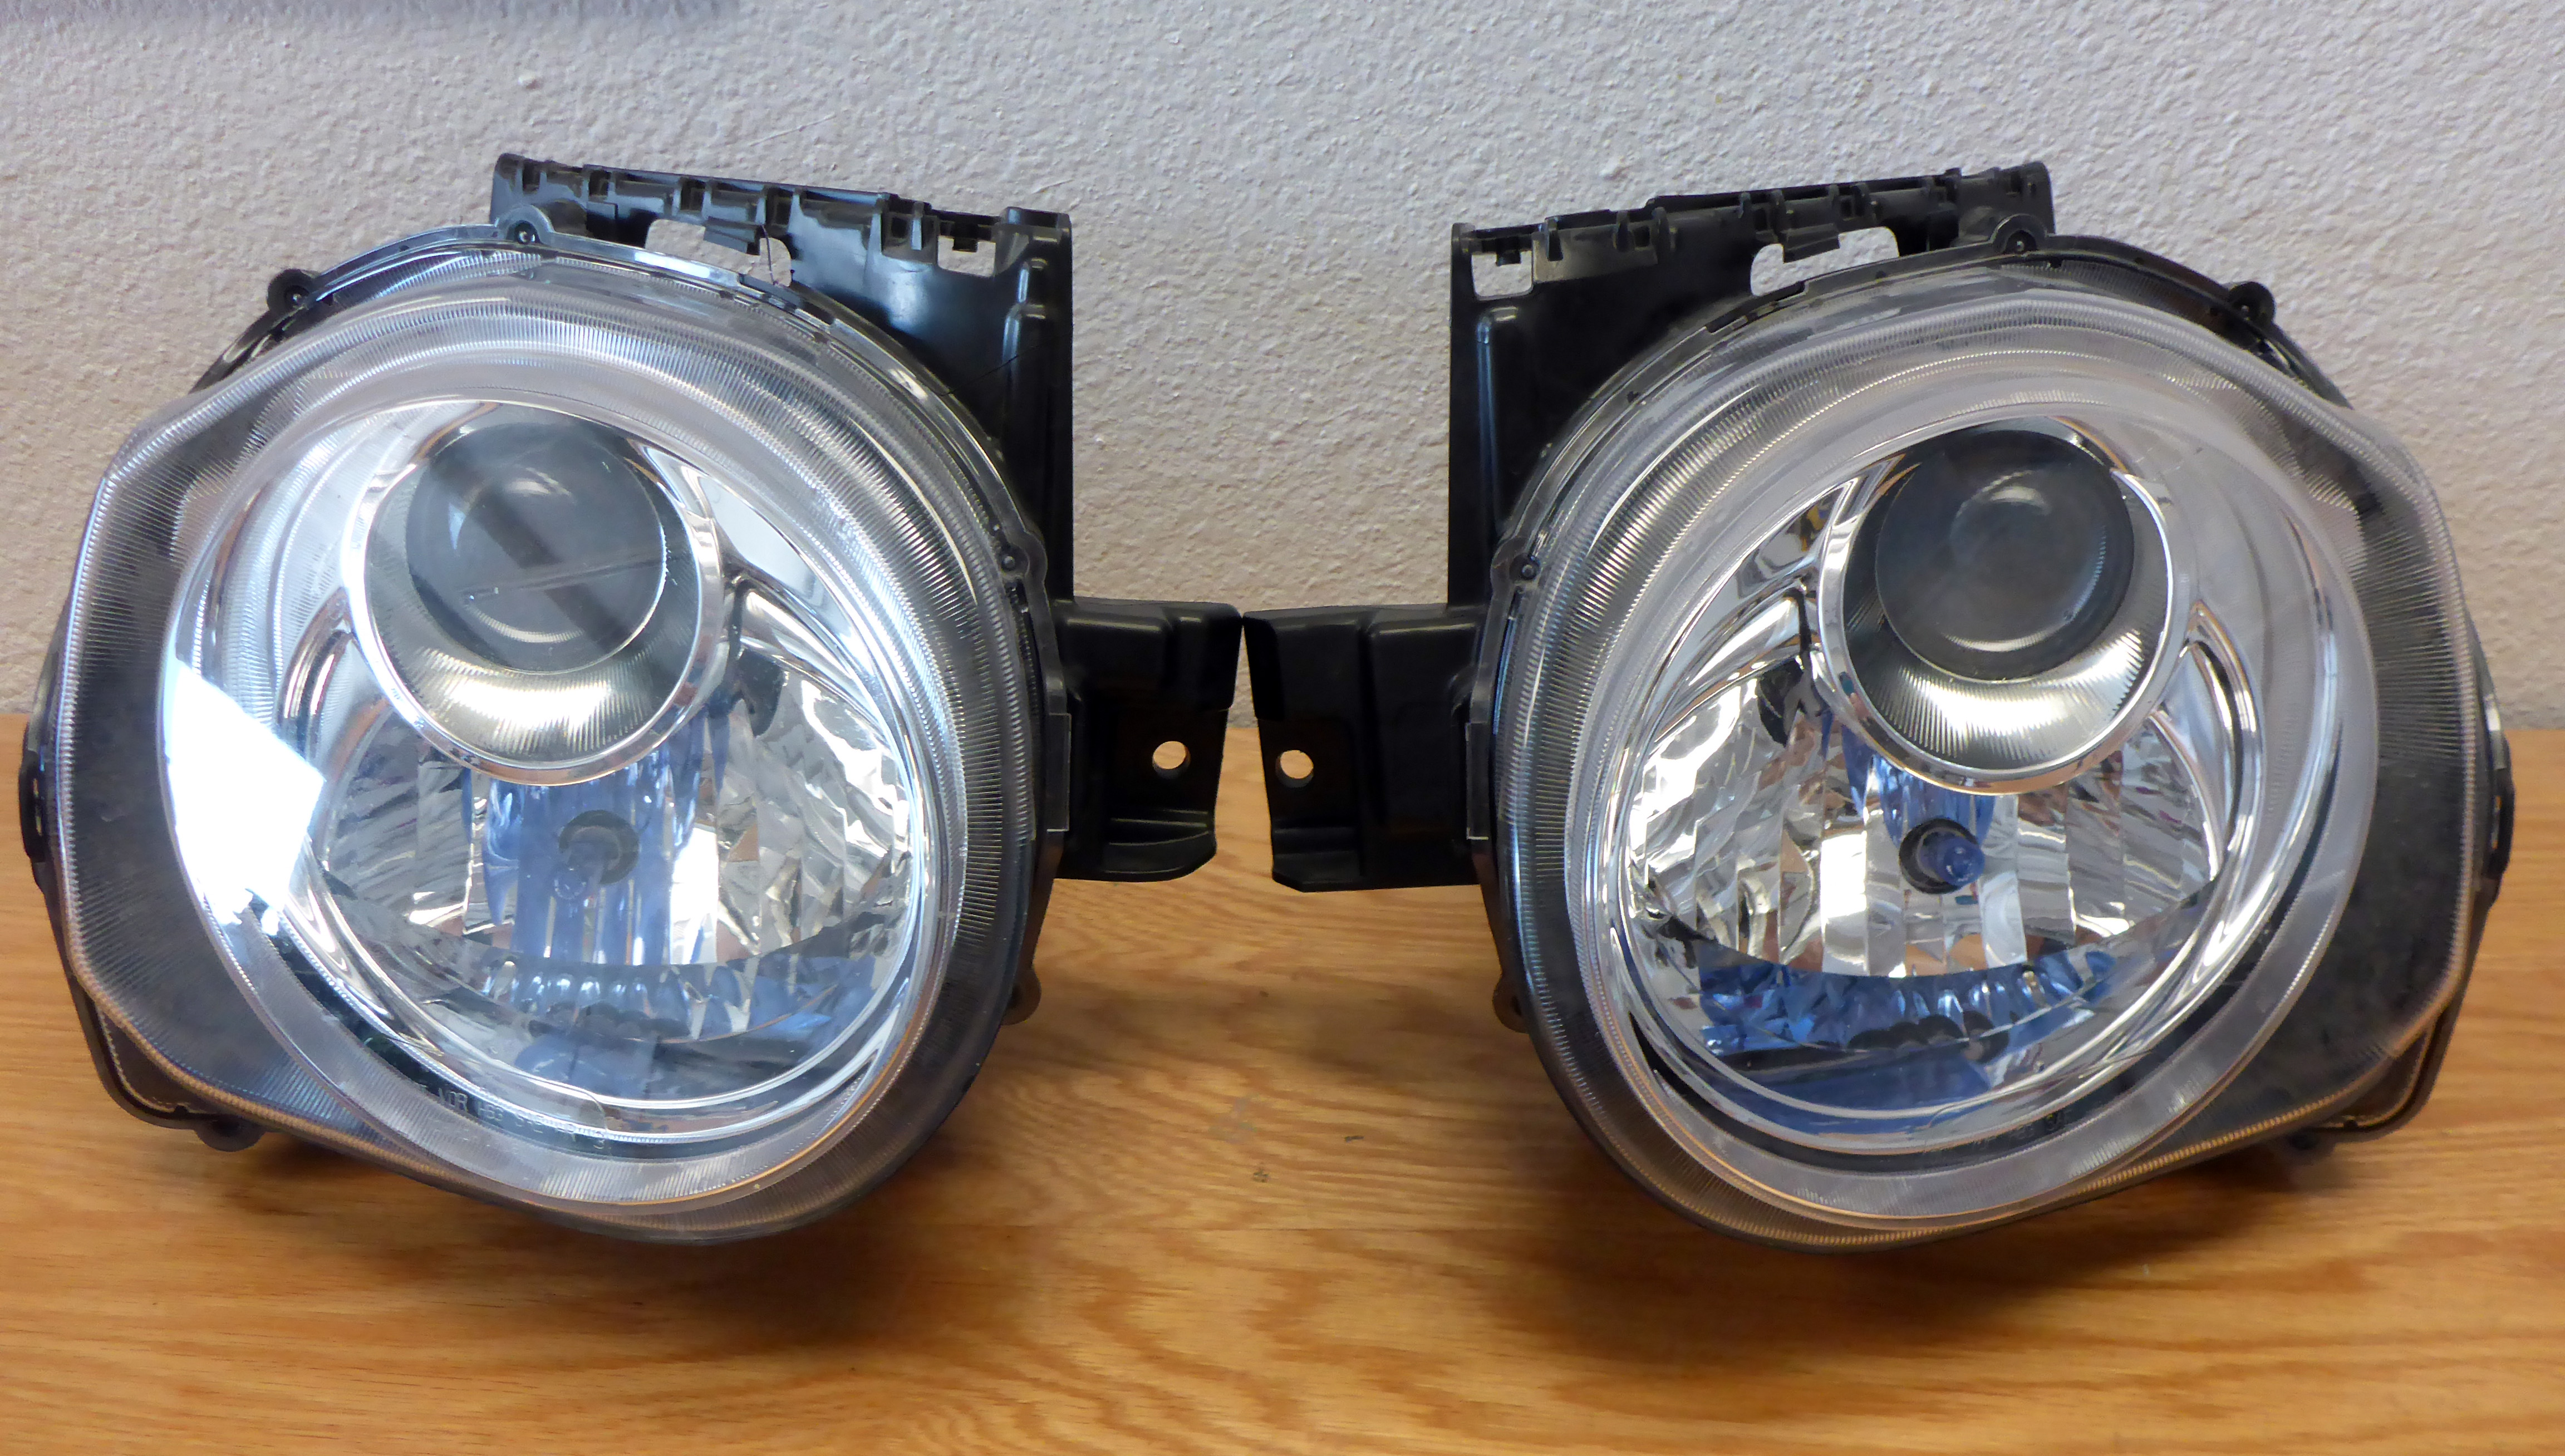
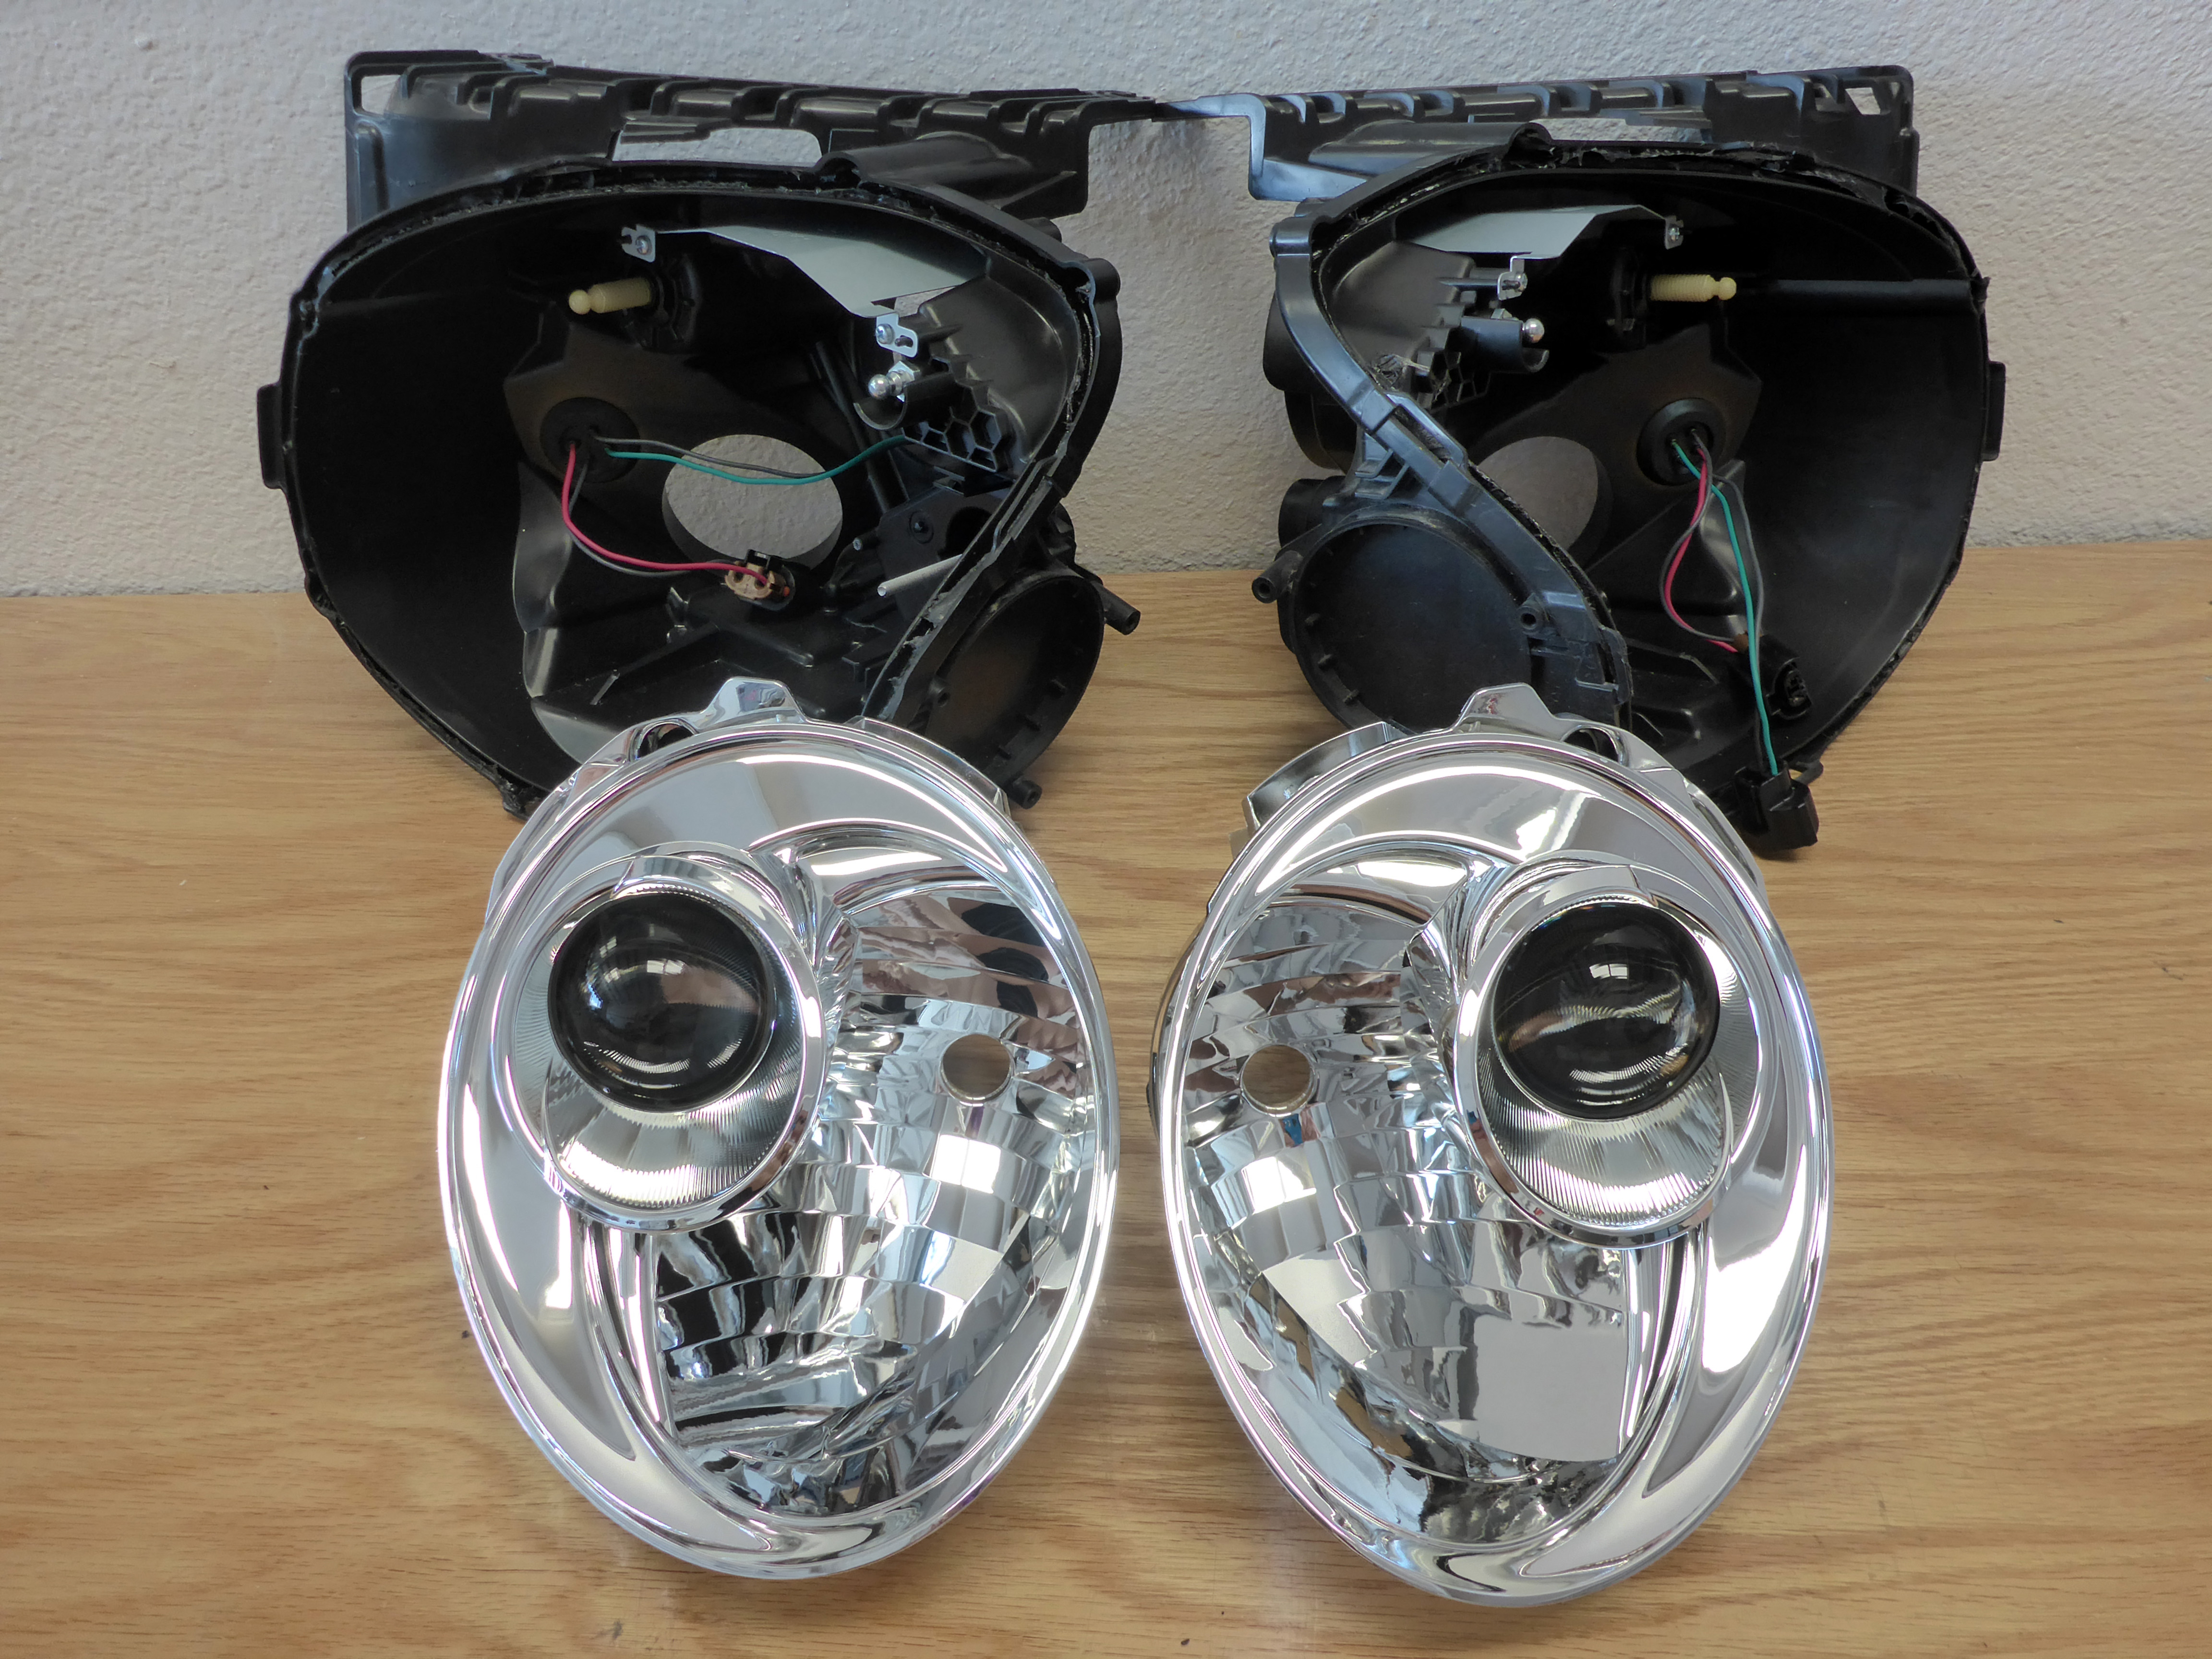
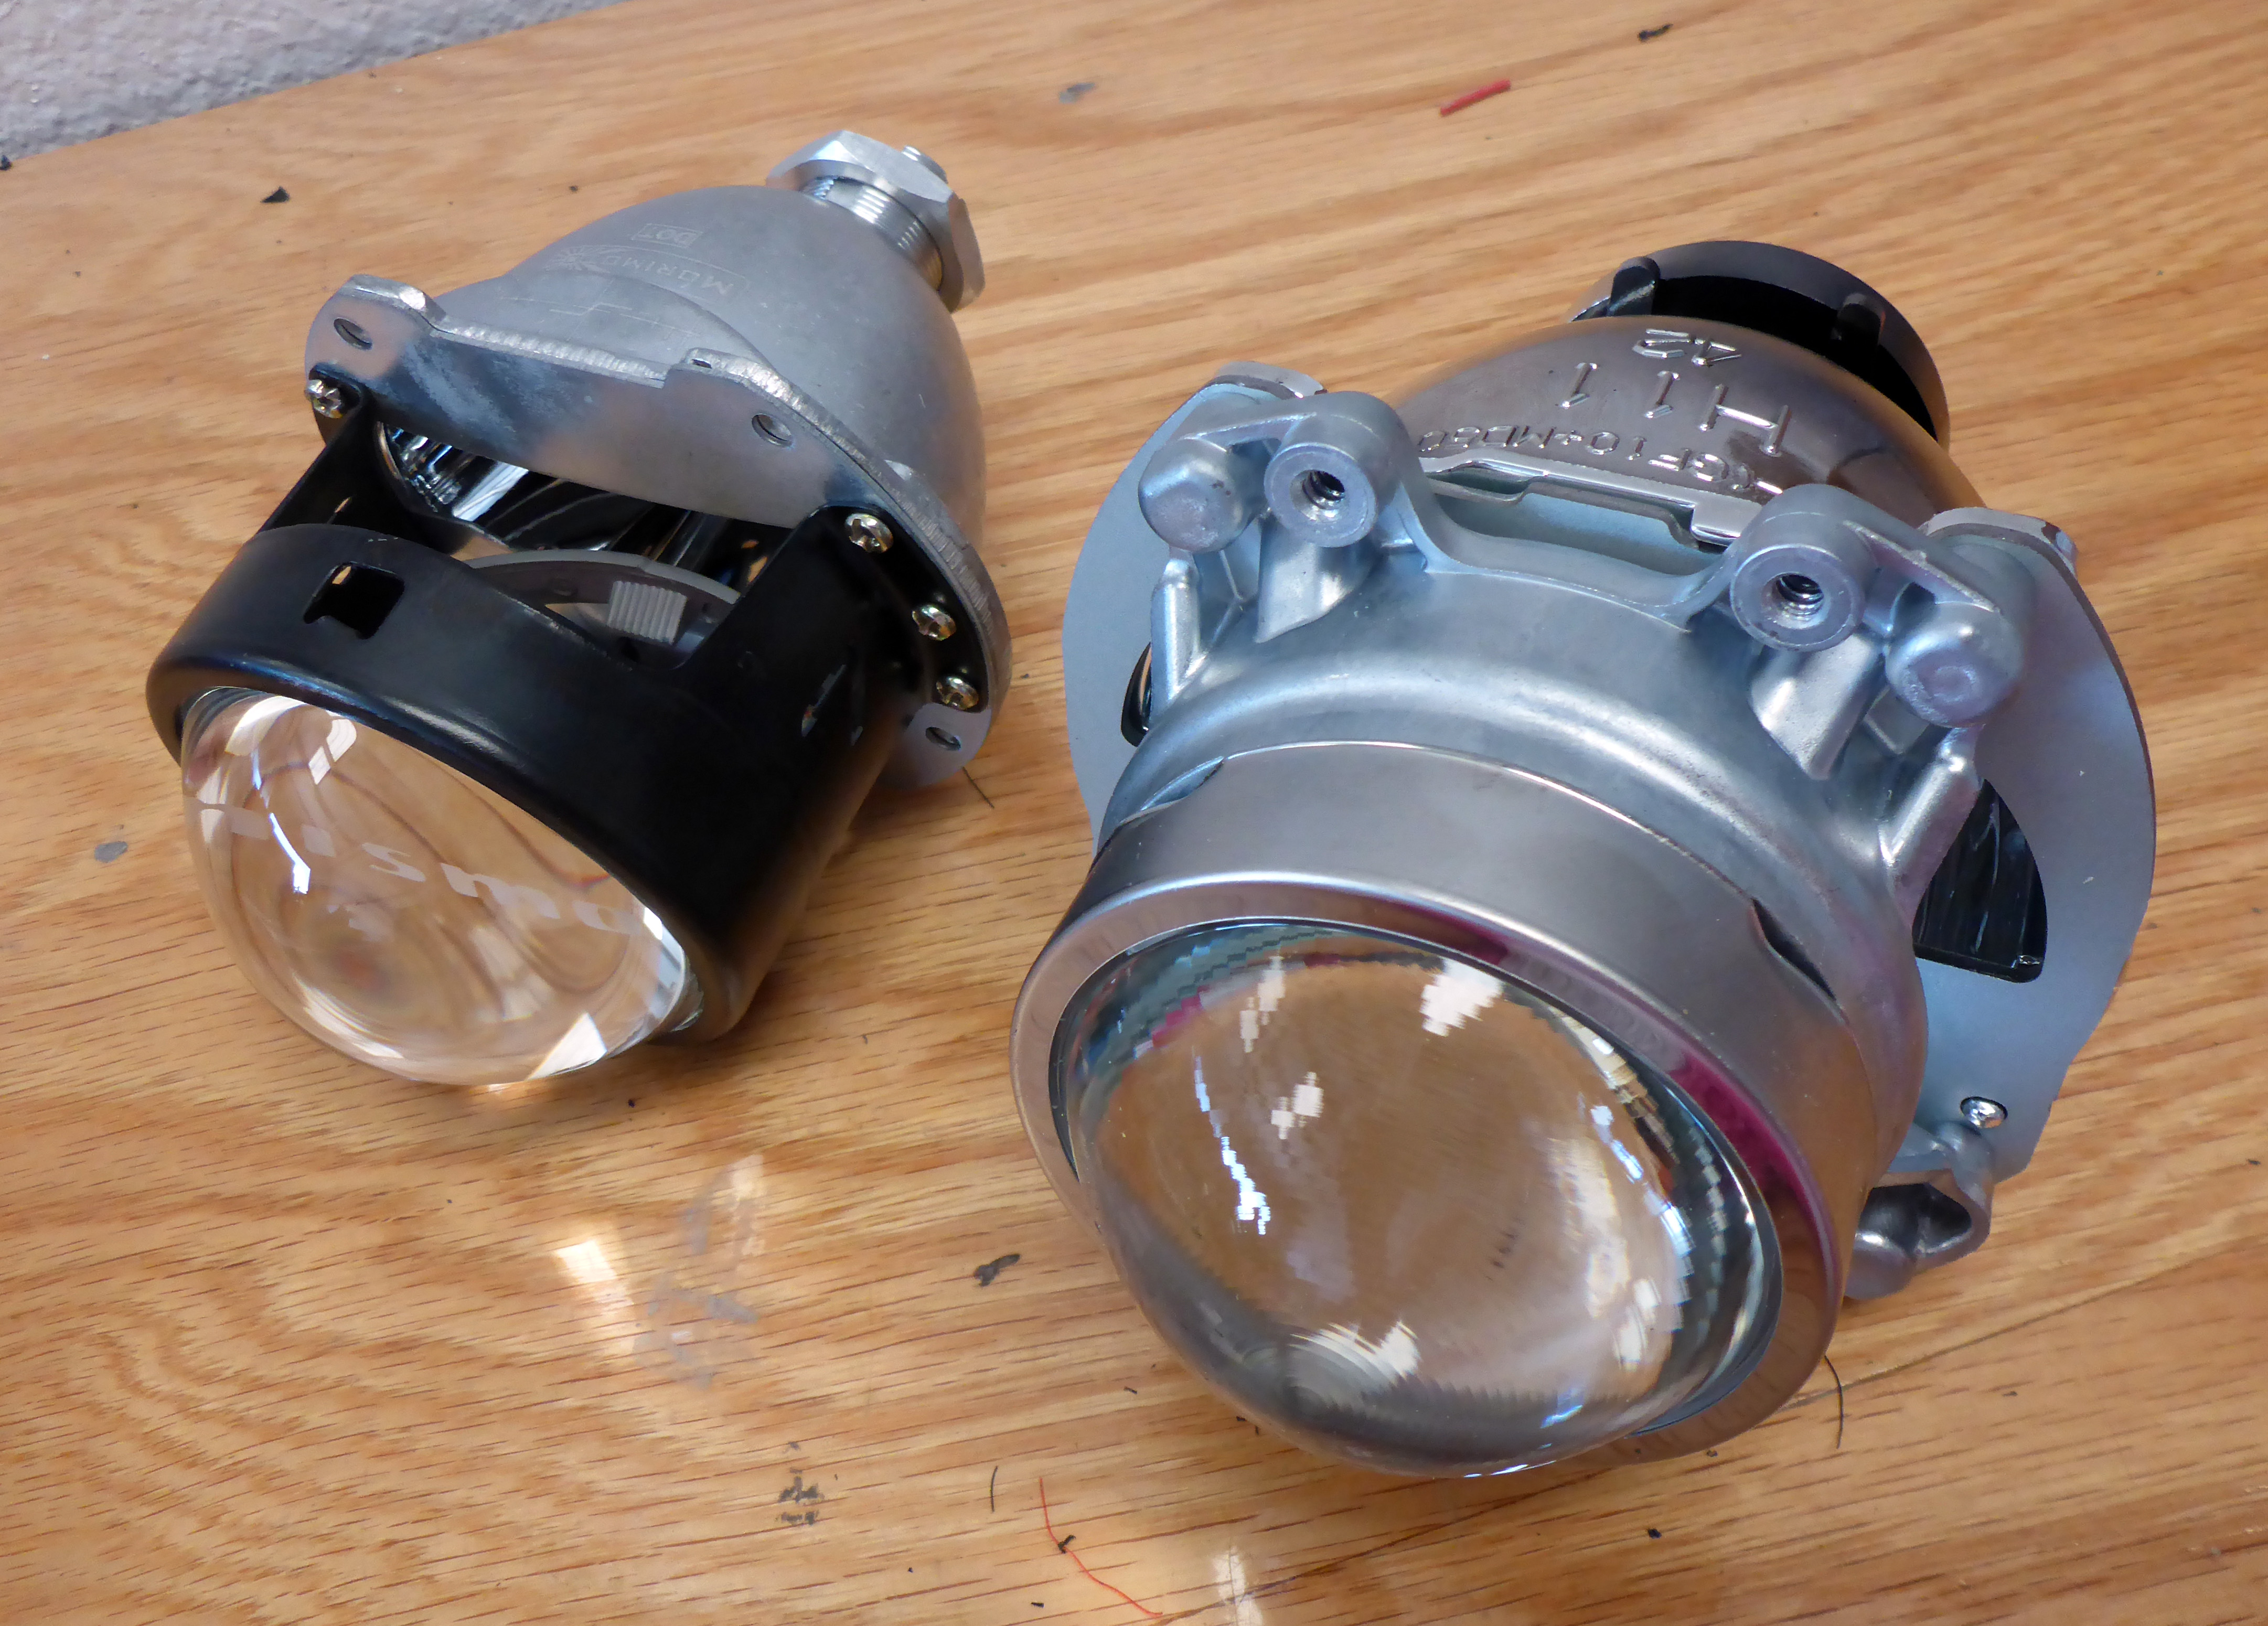
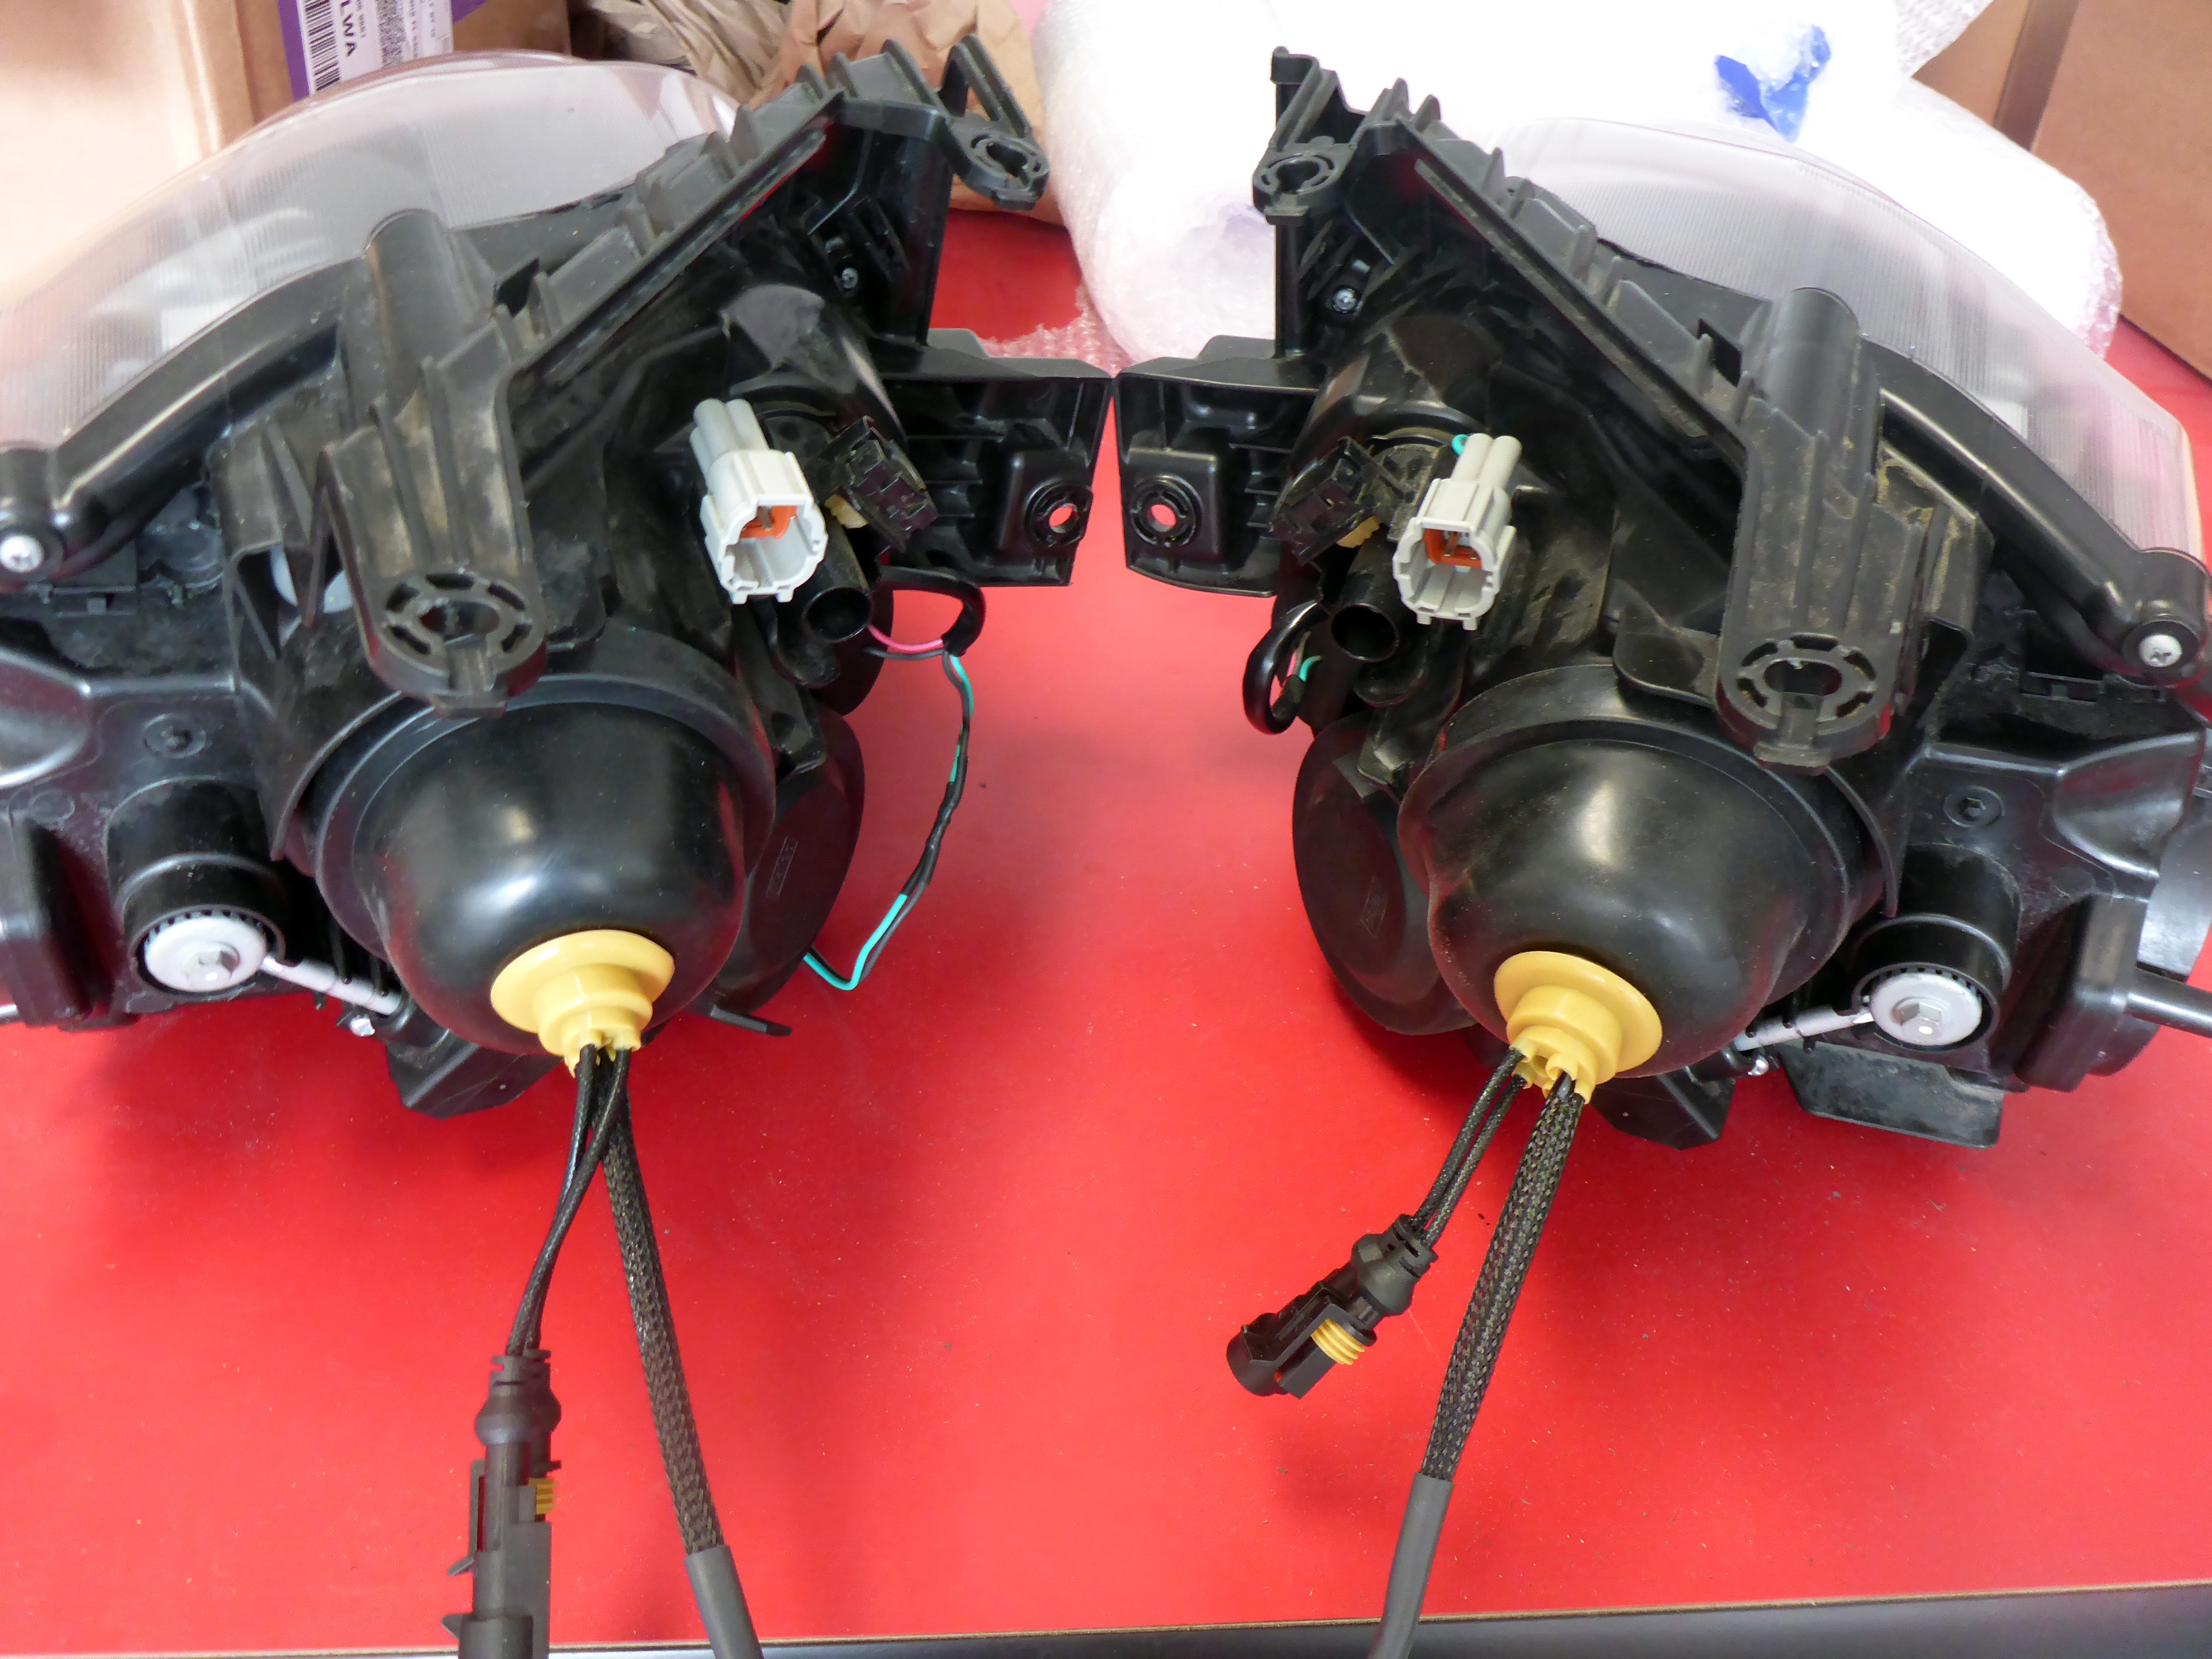
So let’s get started! Once I had received the housings, they were disassembled with great curiosity. The headlights have a 2.5″ halogen low-beam projector assembly and a large lower halogen reflector bowl for the high beam. There is no glitz or glamour to these housings: very simple, very cost-effective, very basic.
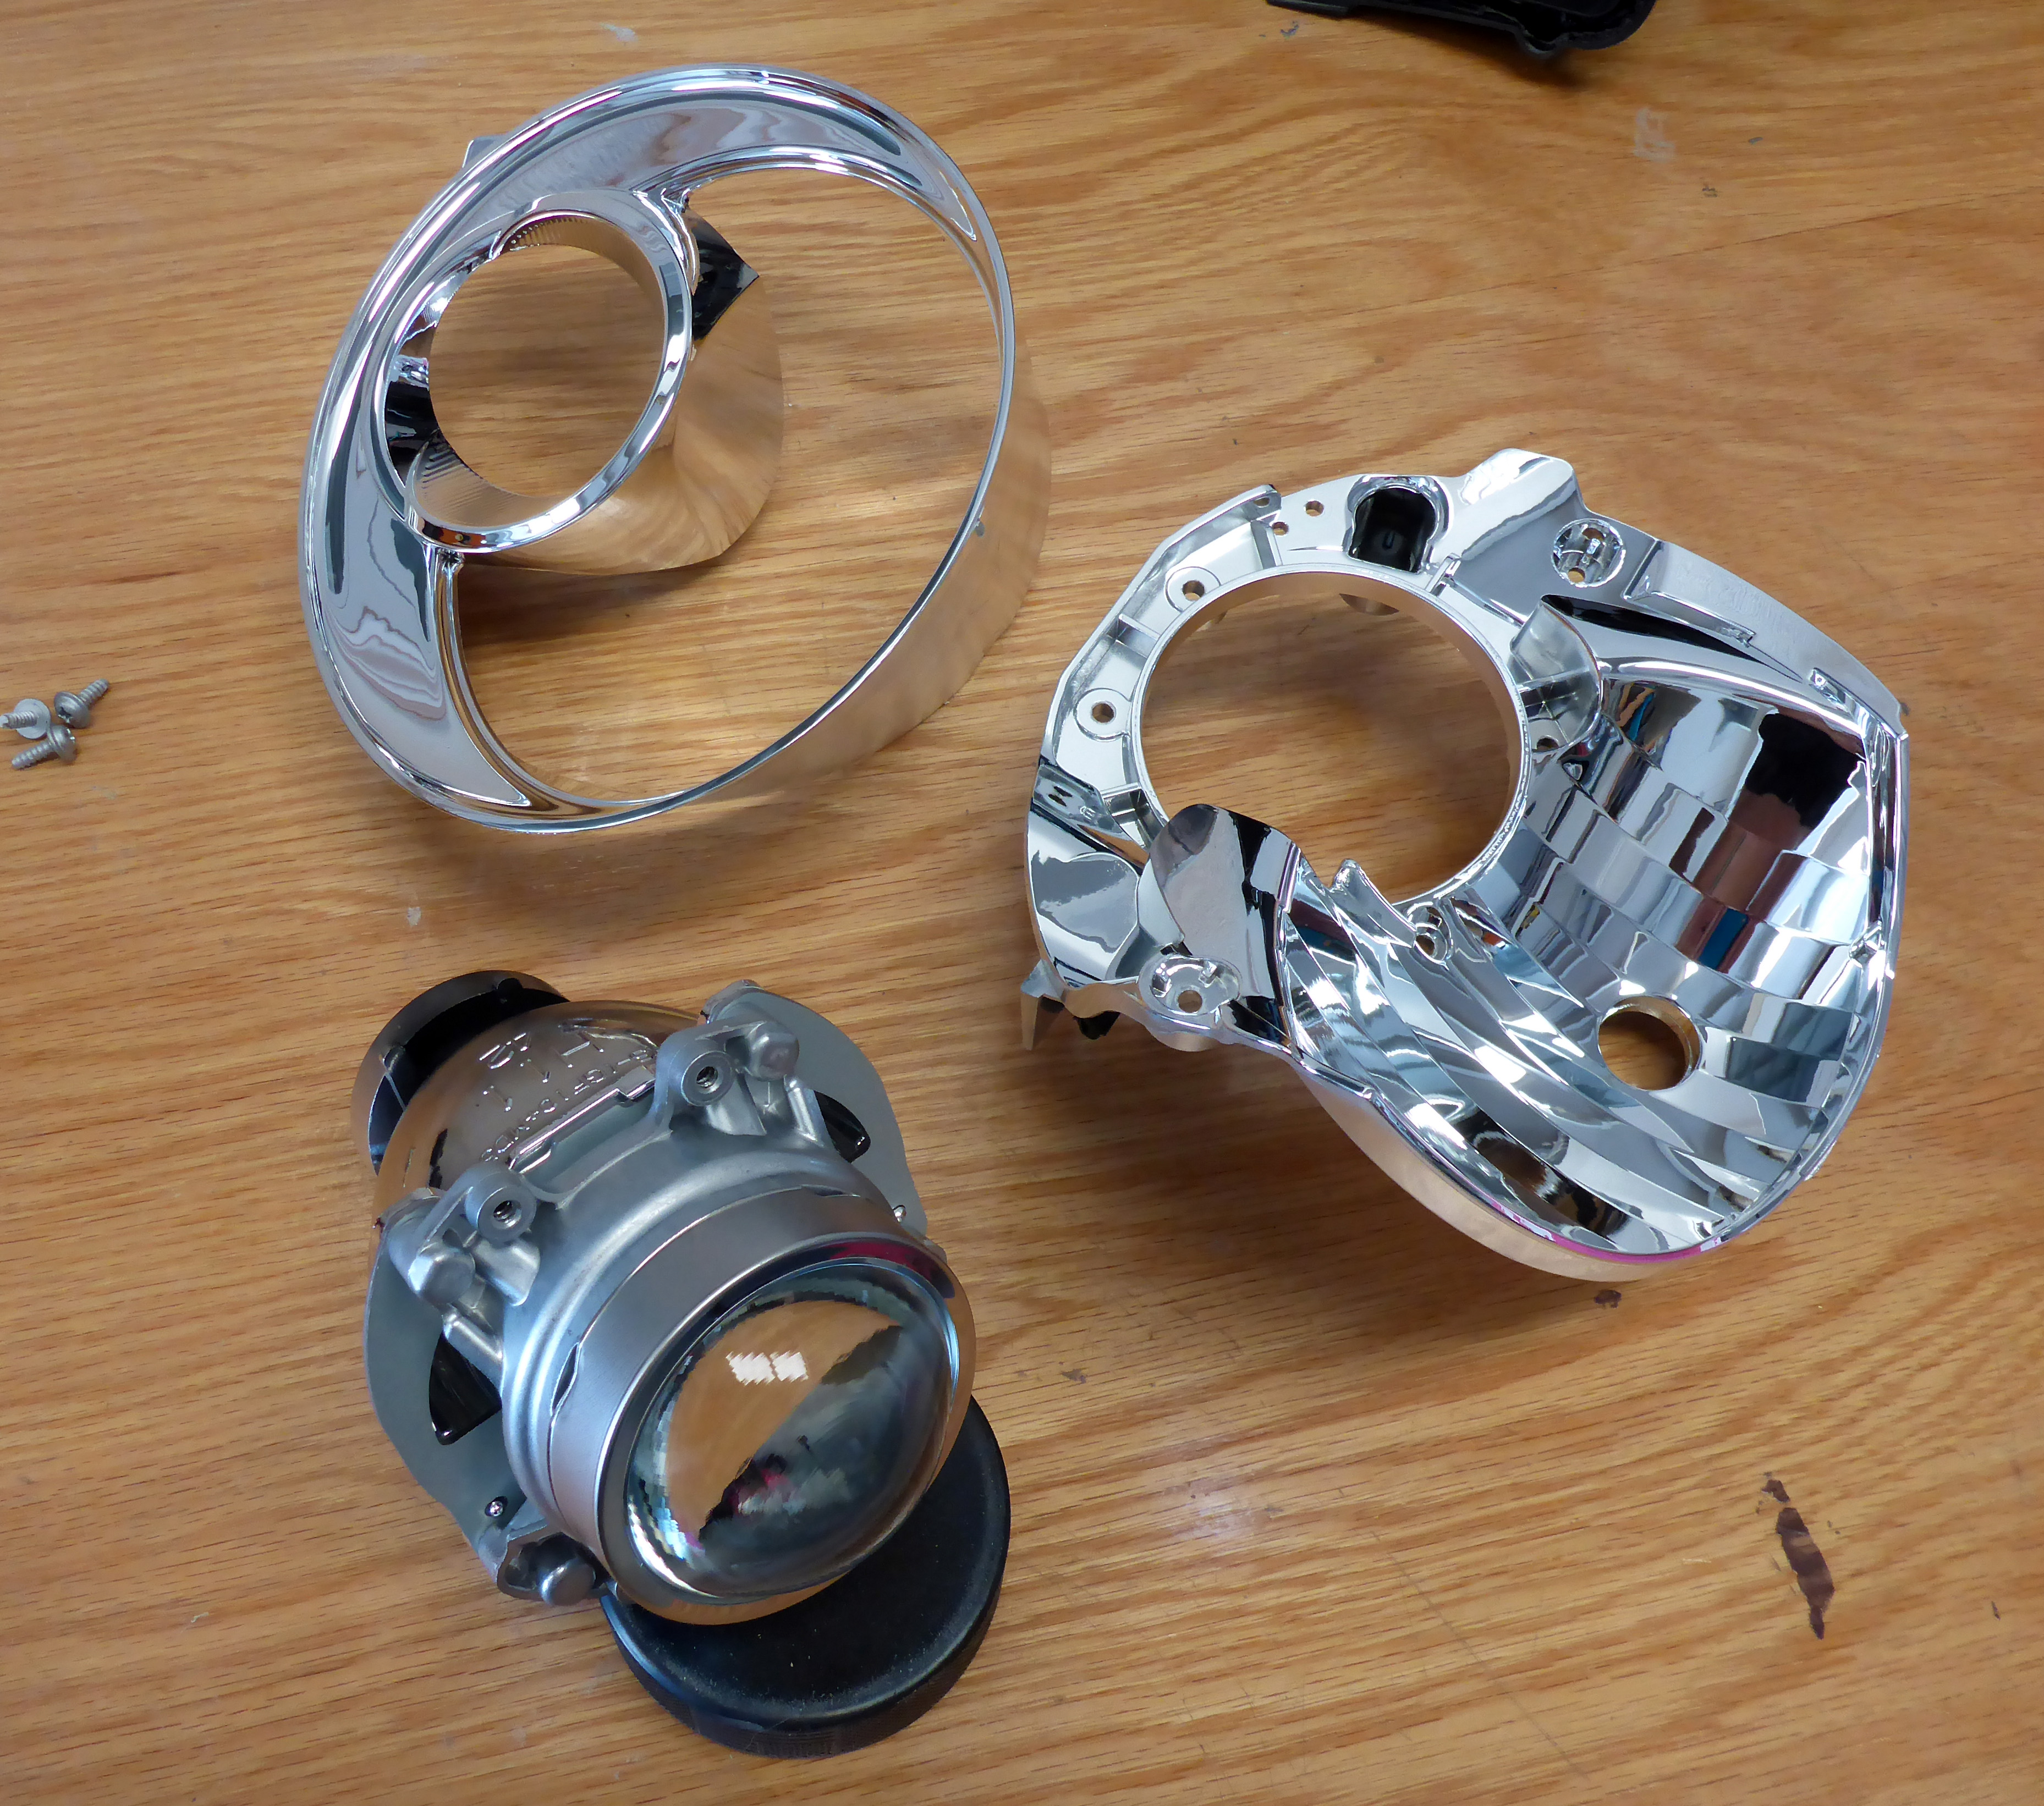
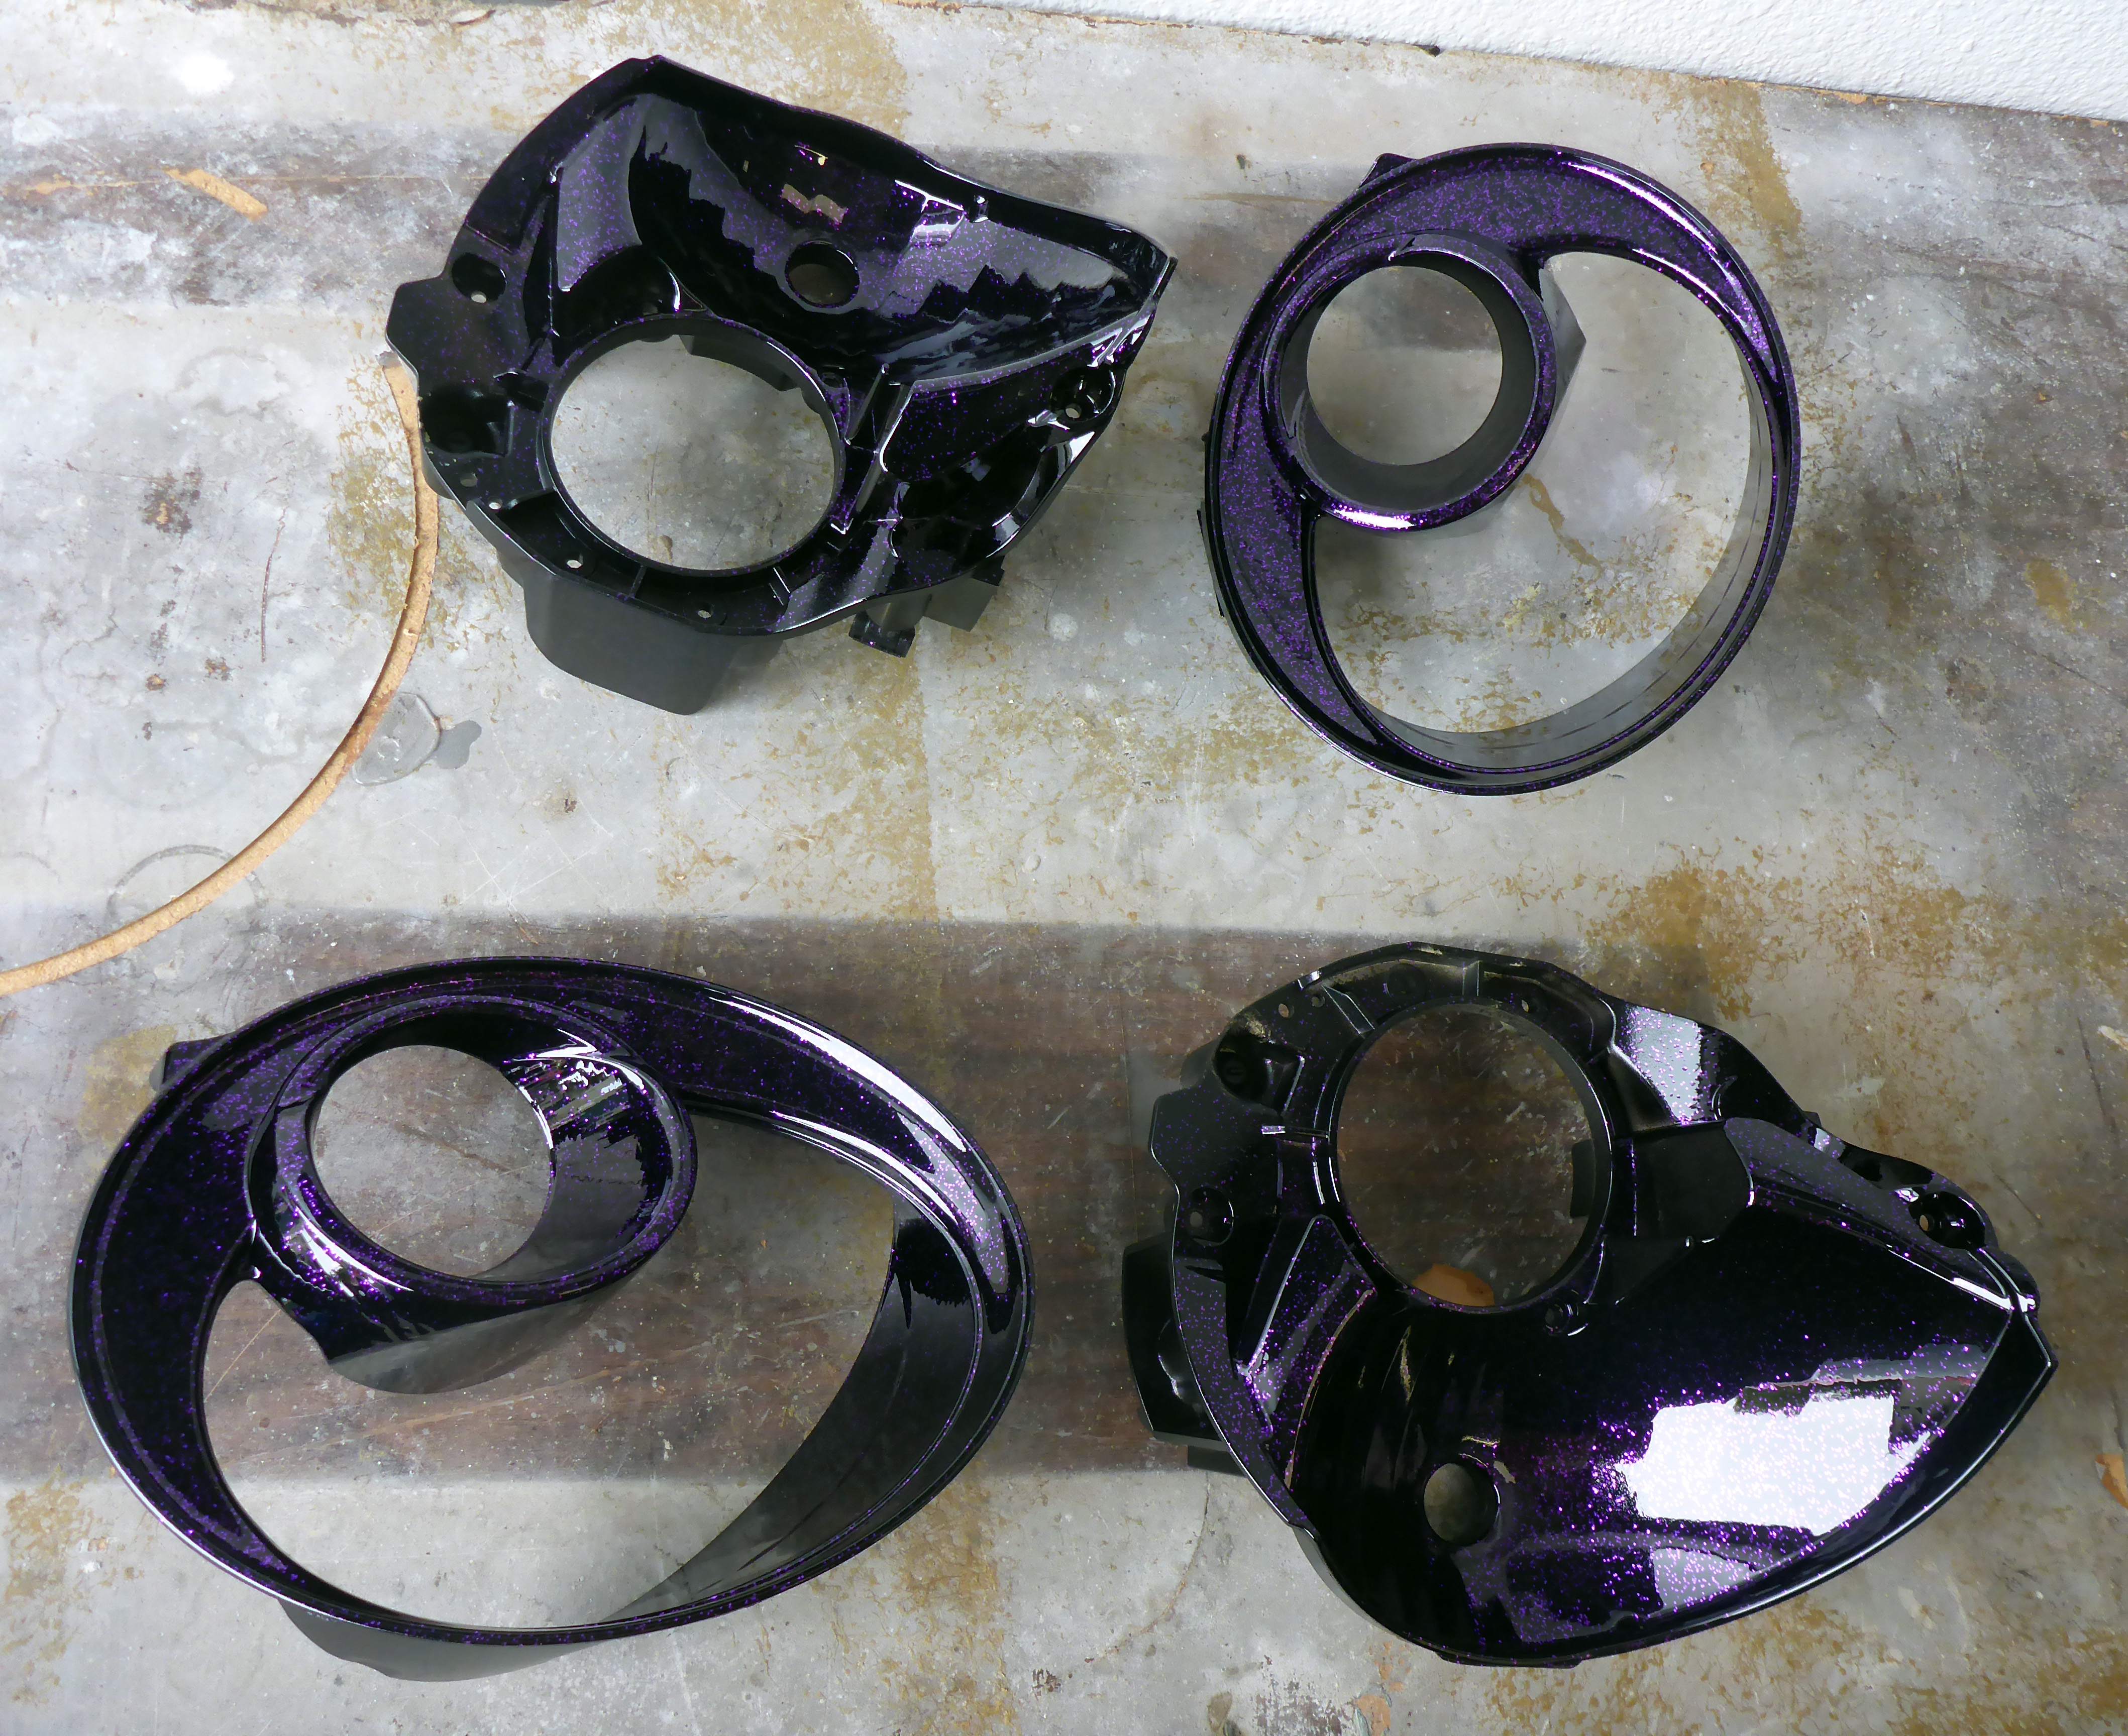
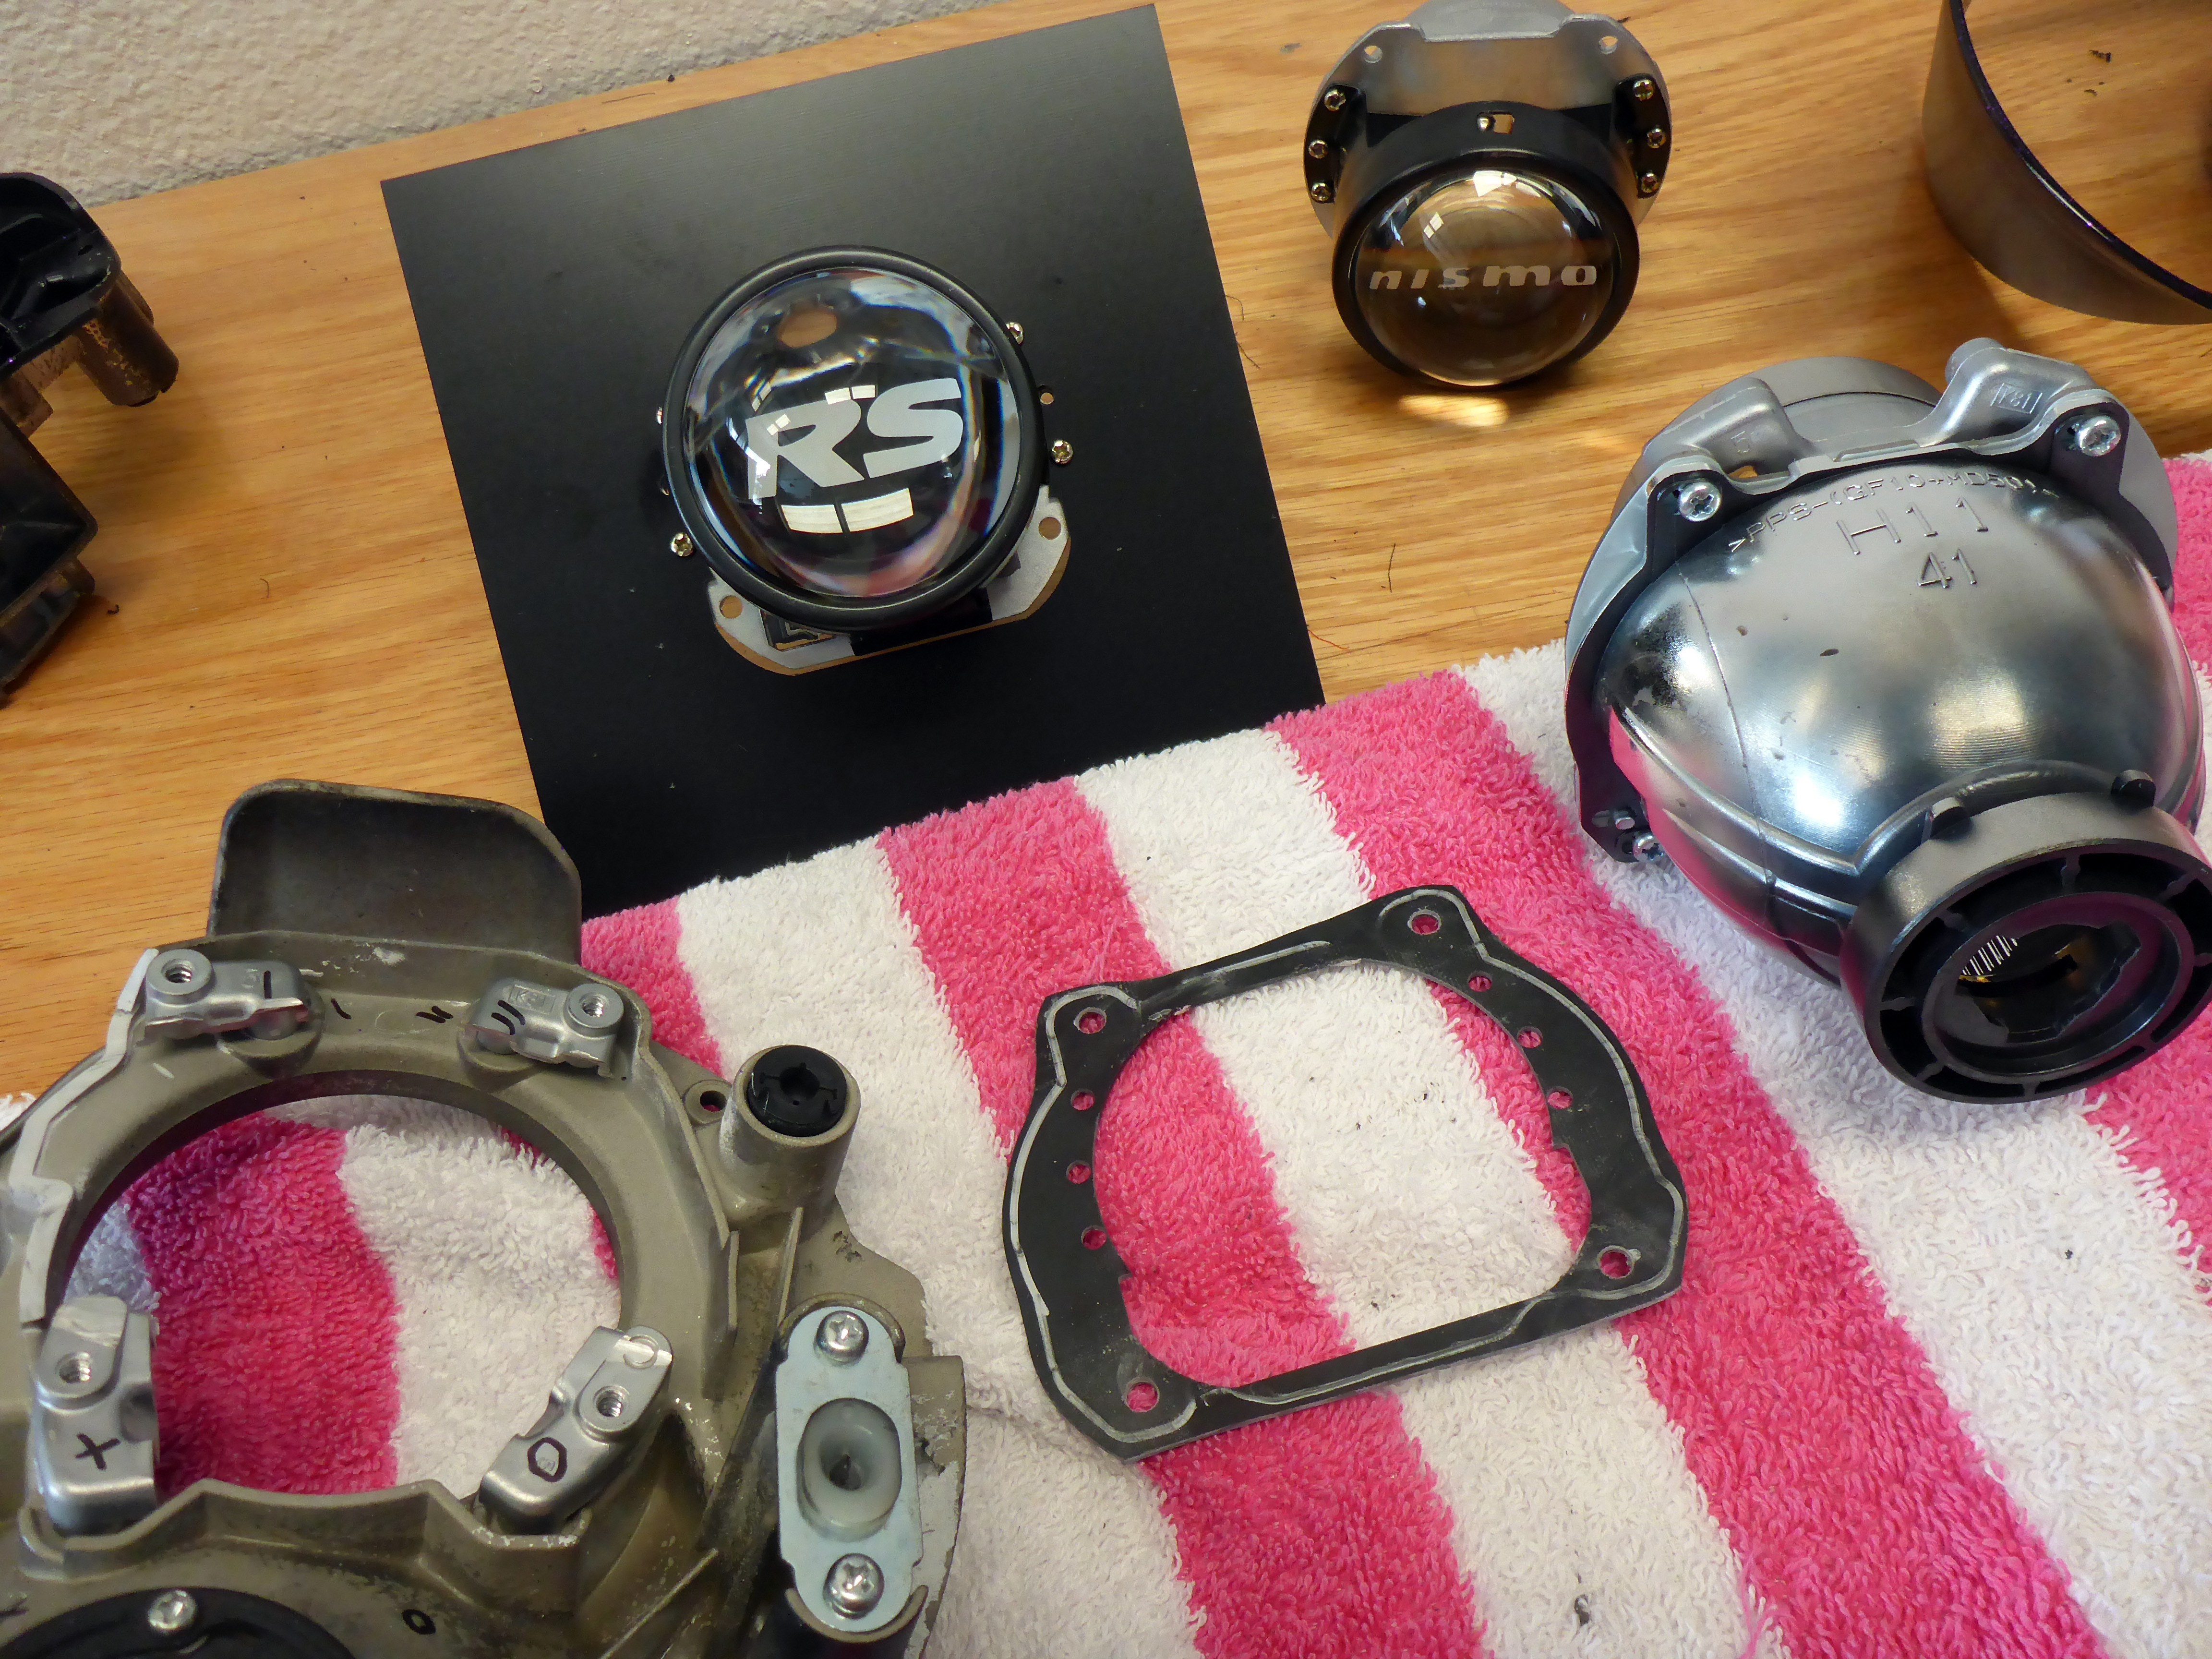
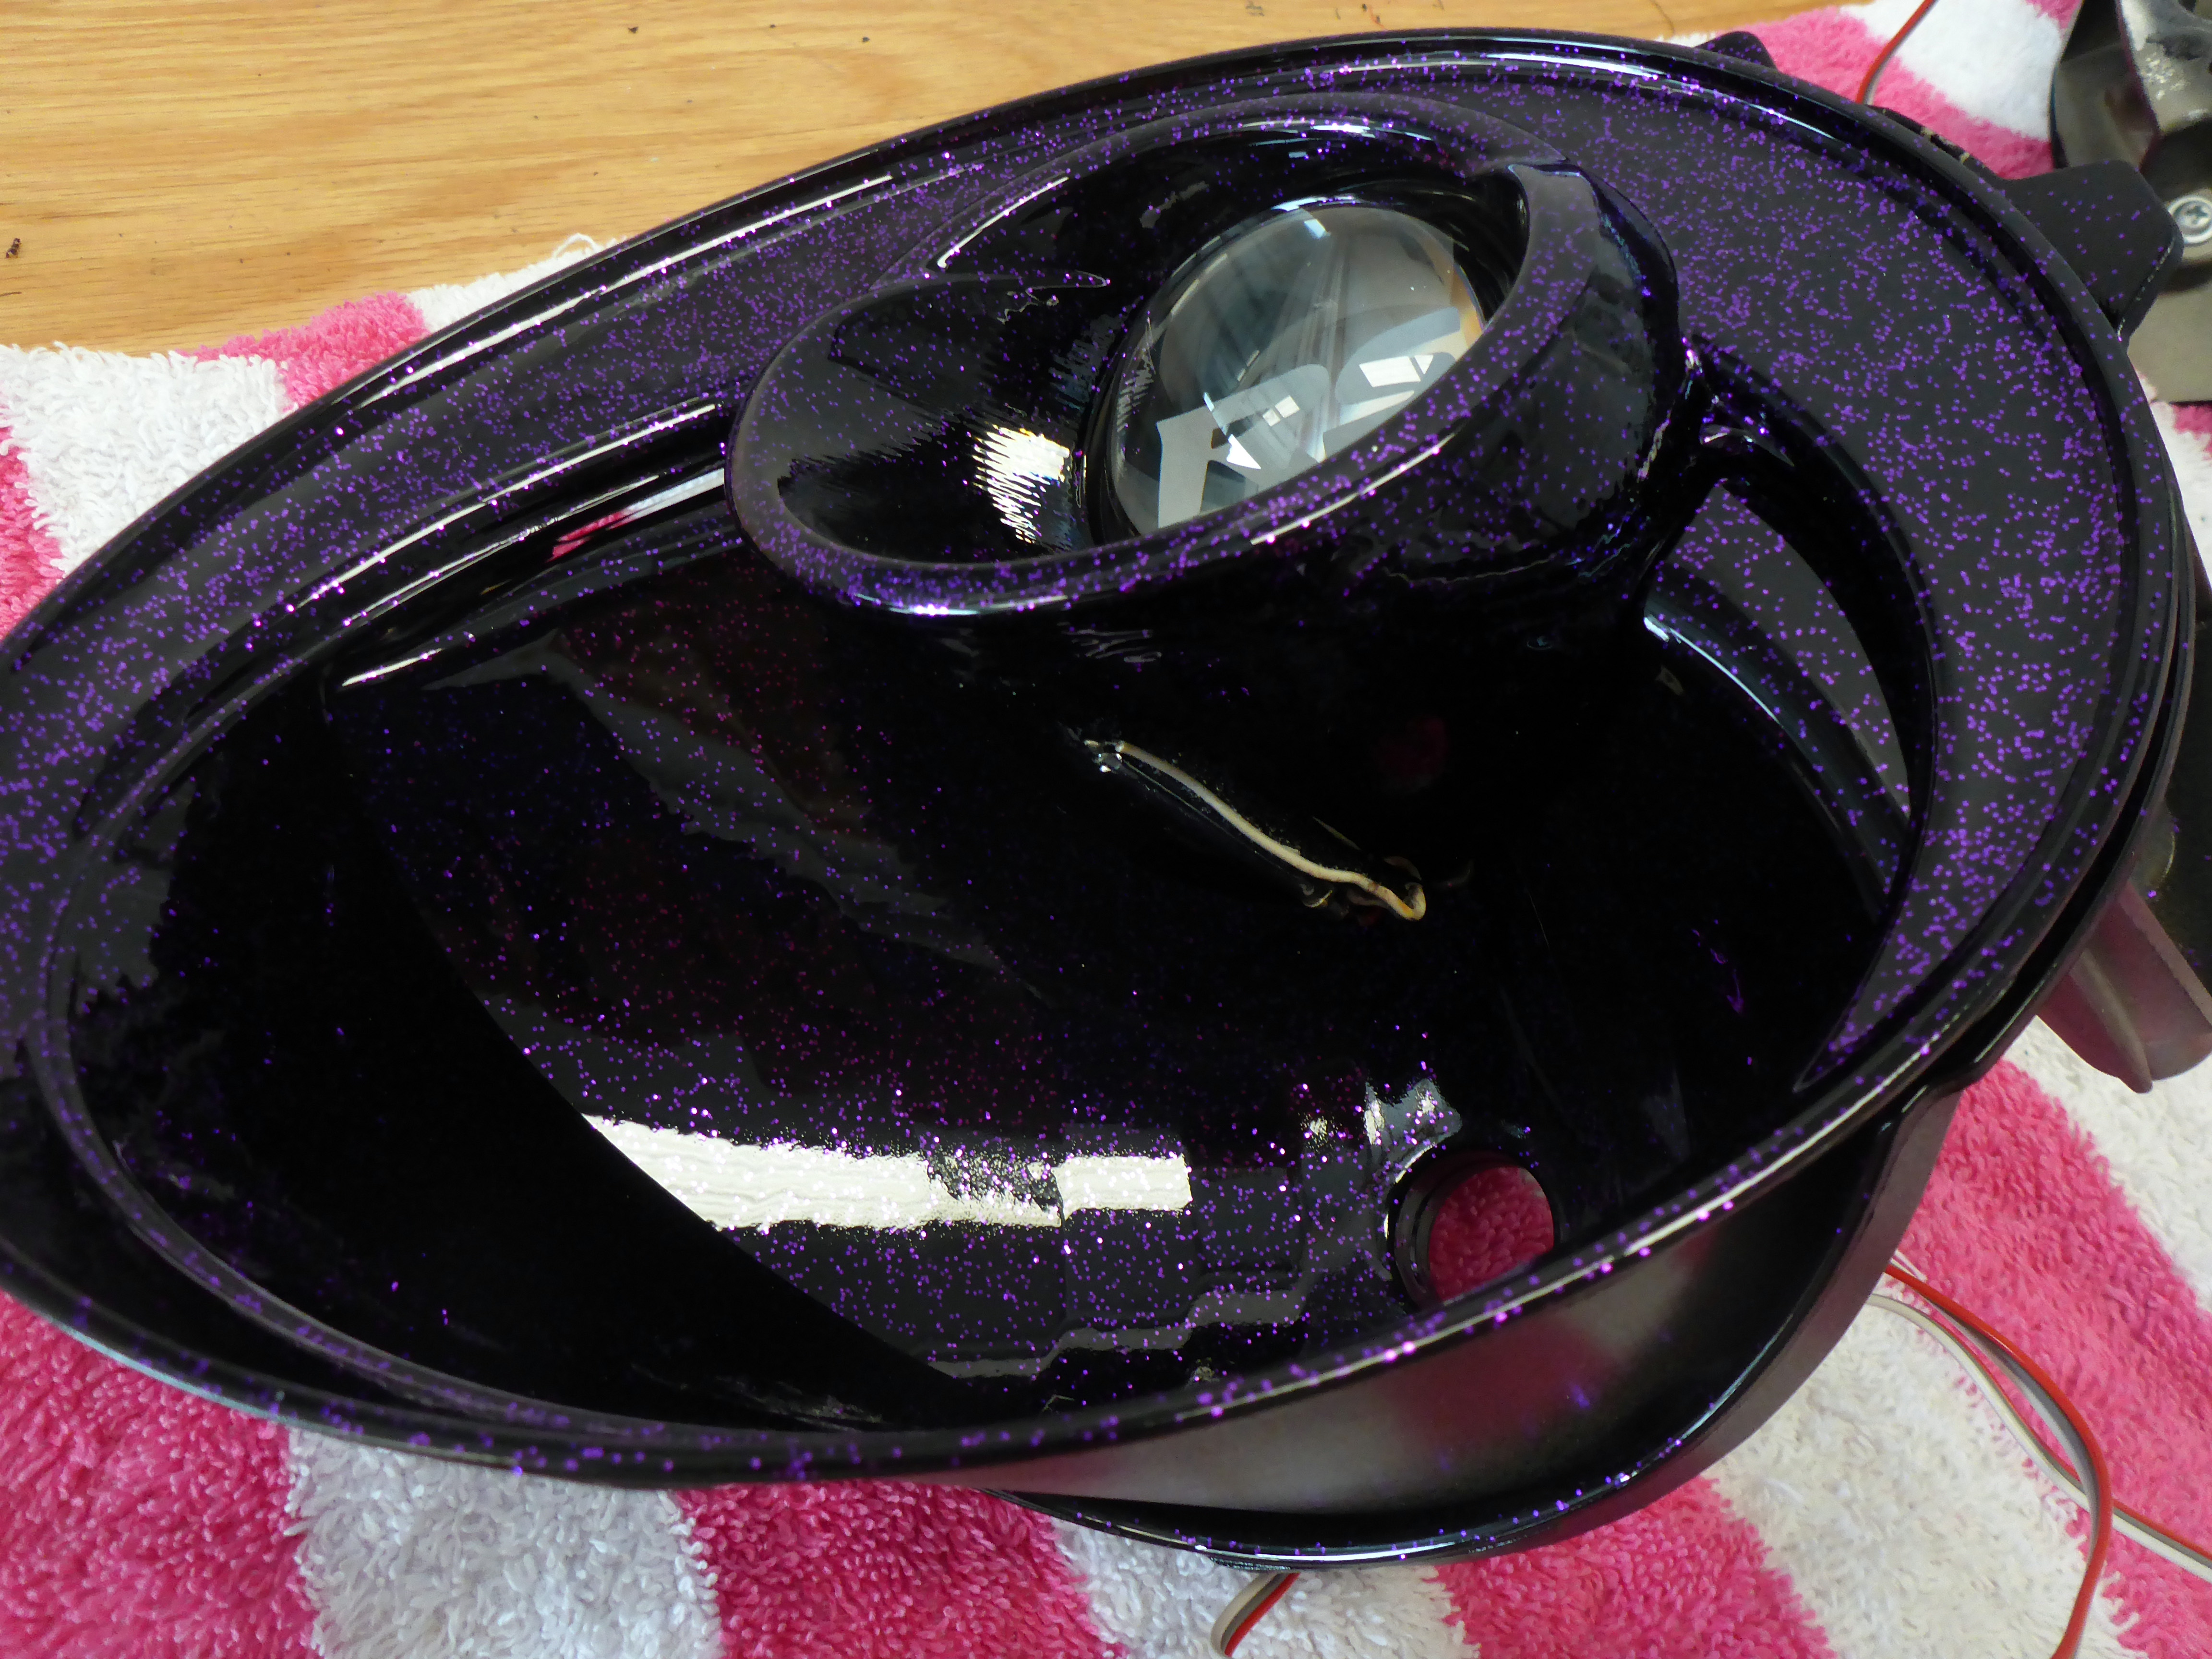
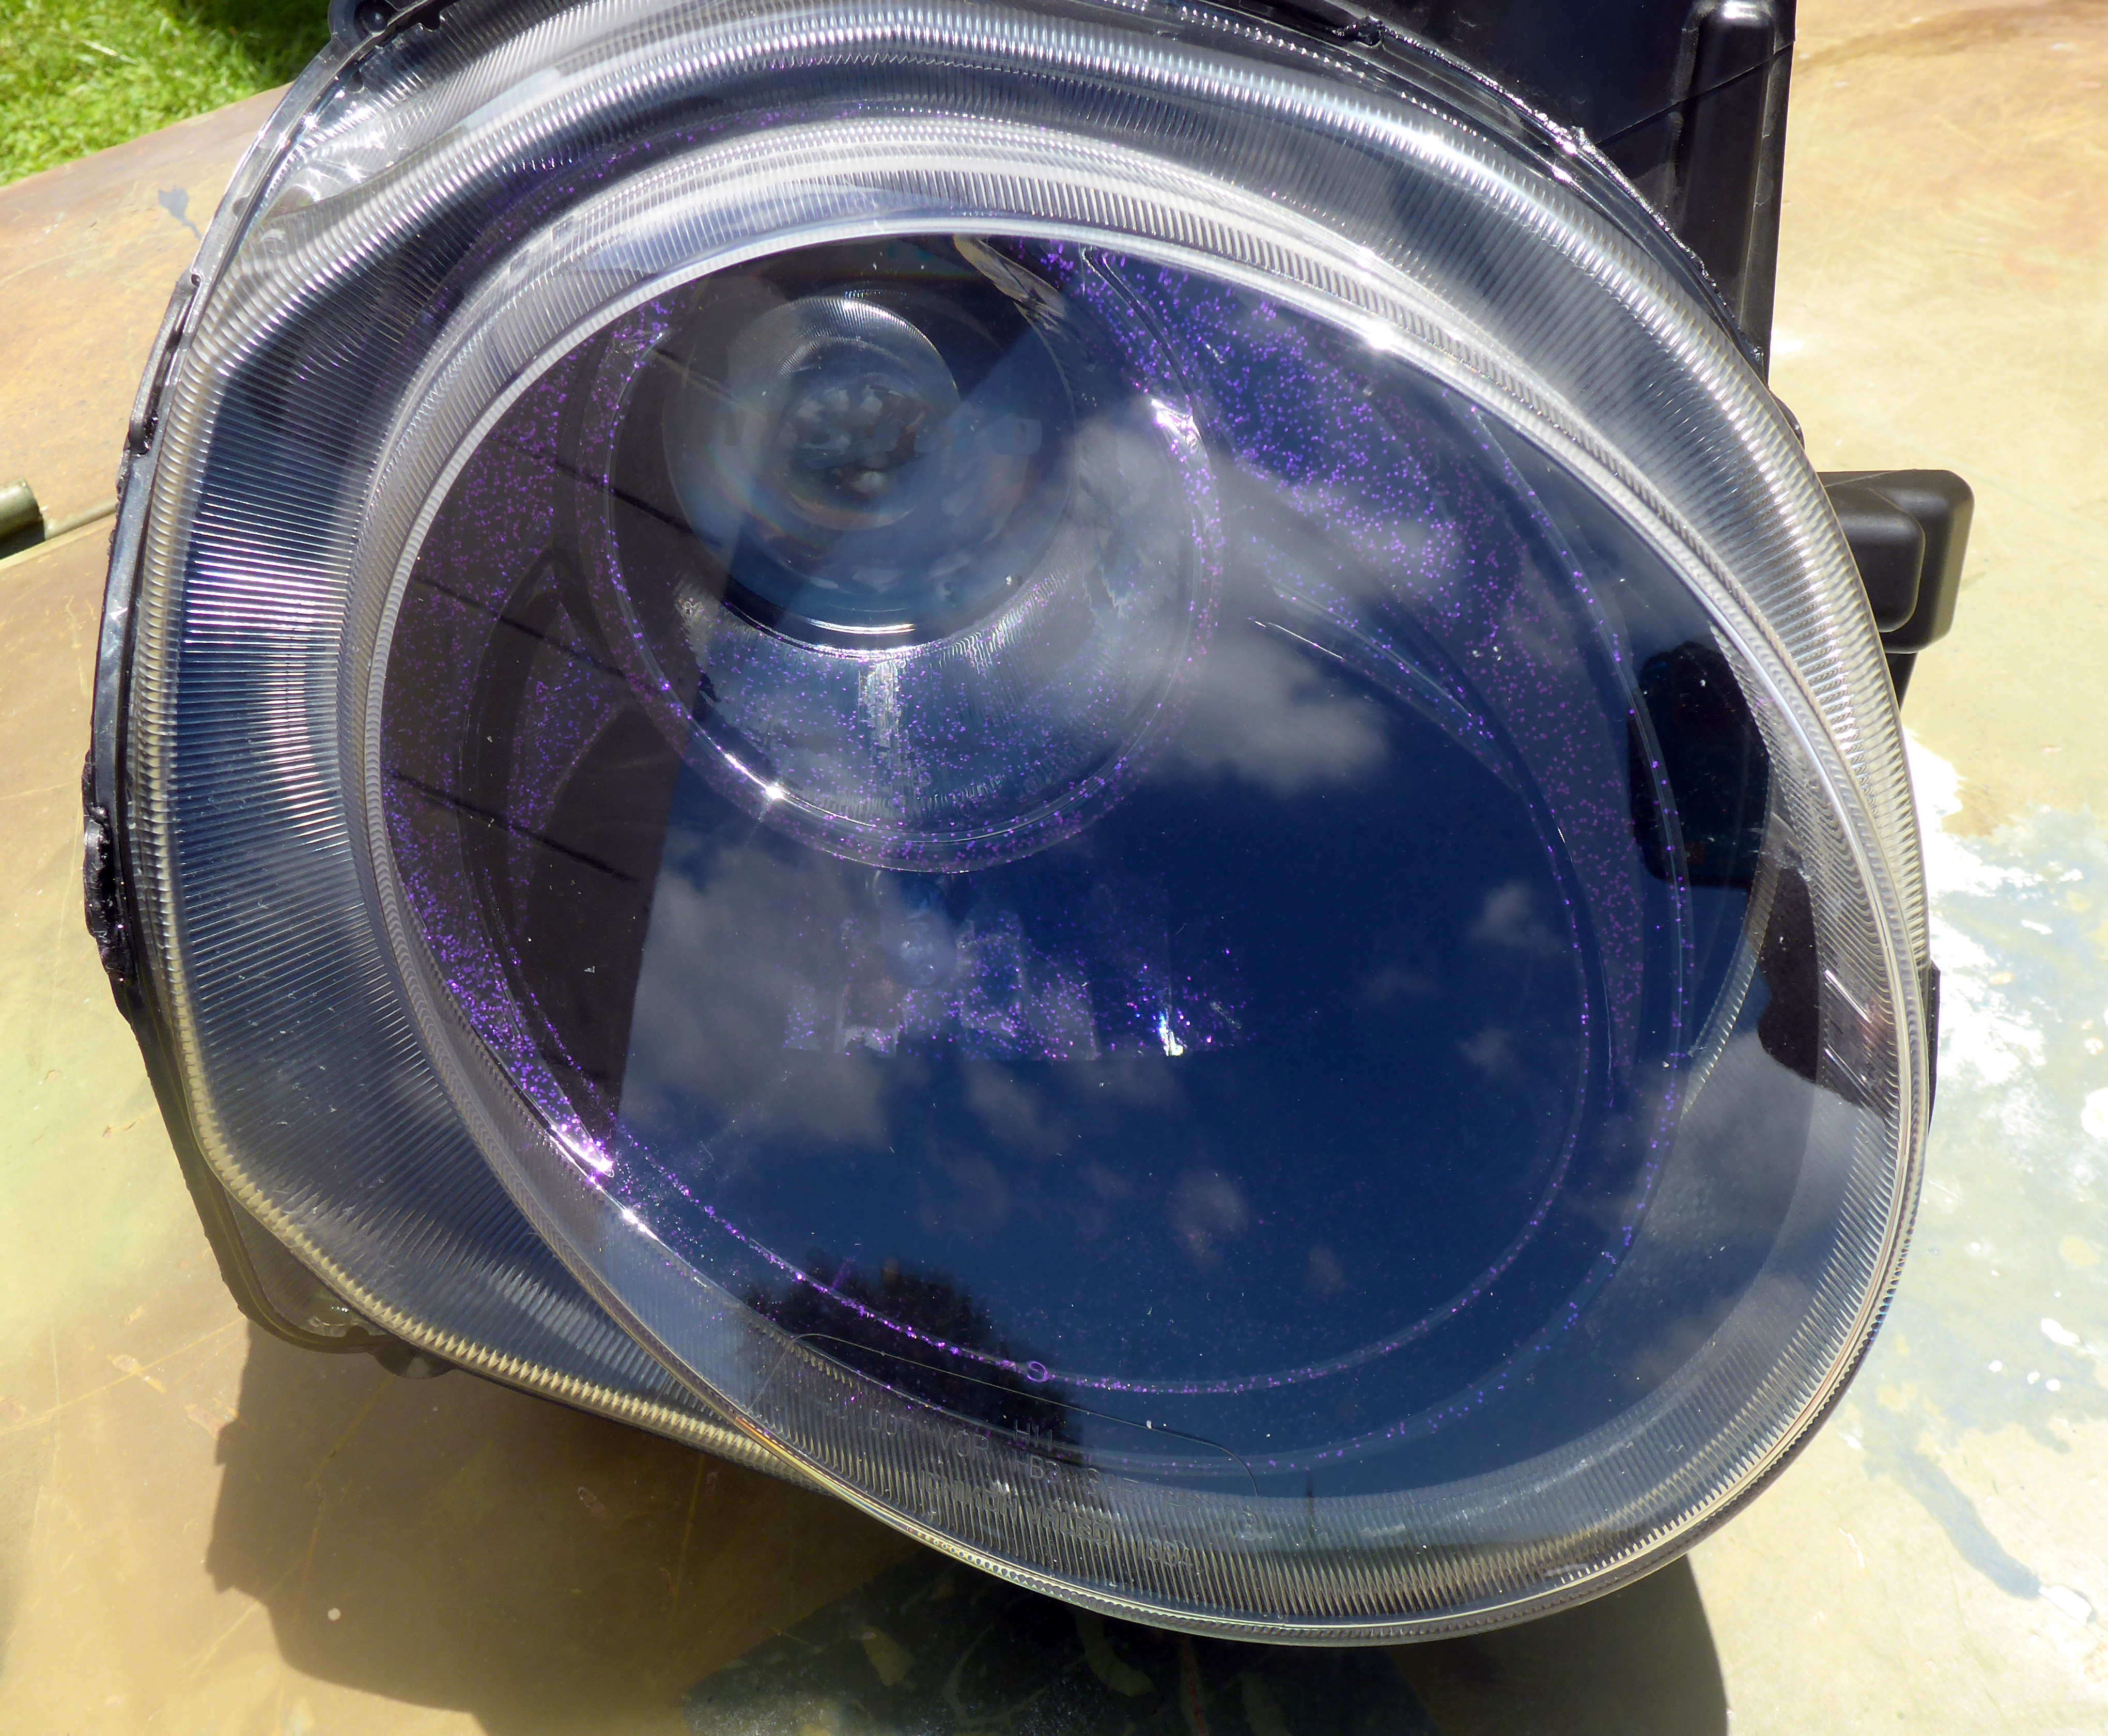
Once the headlight was apart, I needed to get all of the parts painted while the projectors were off being etched. I stripped off the chrome, applied a black base coat, a heavy midcoat full of purple flake, and then an equally heavy clear coat. This 3-stage approach offers a LOT of depth and brilliant color.


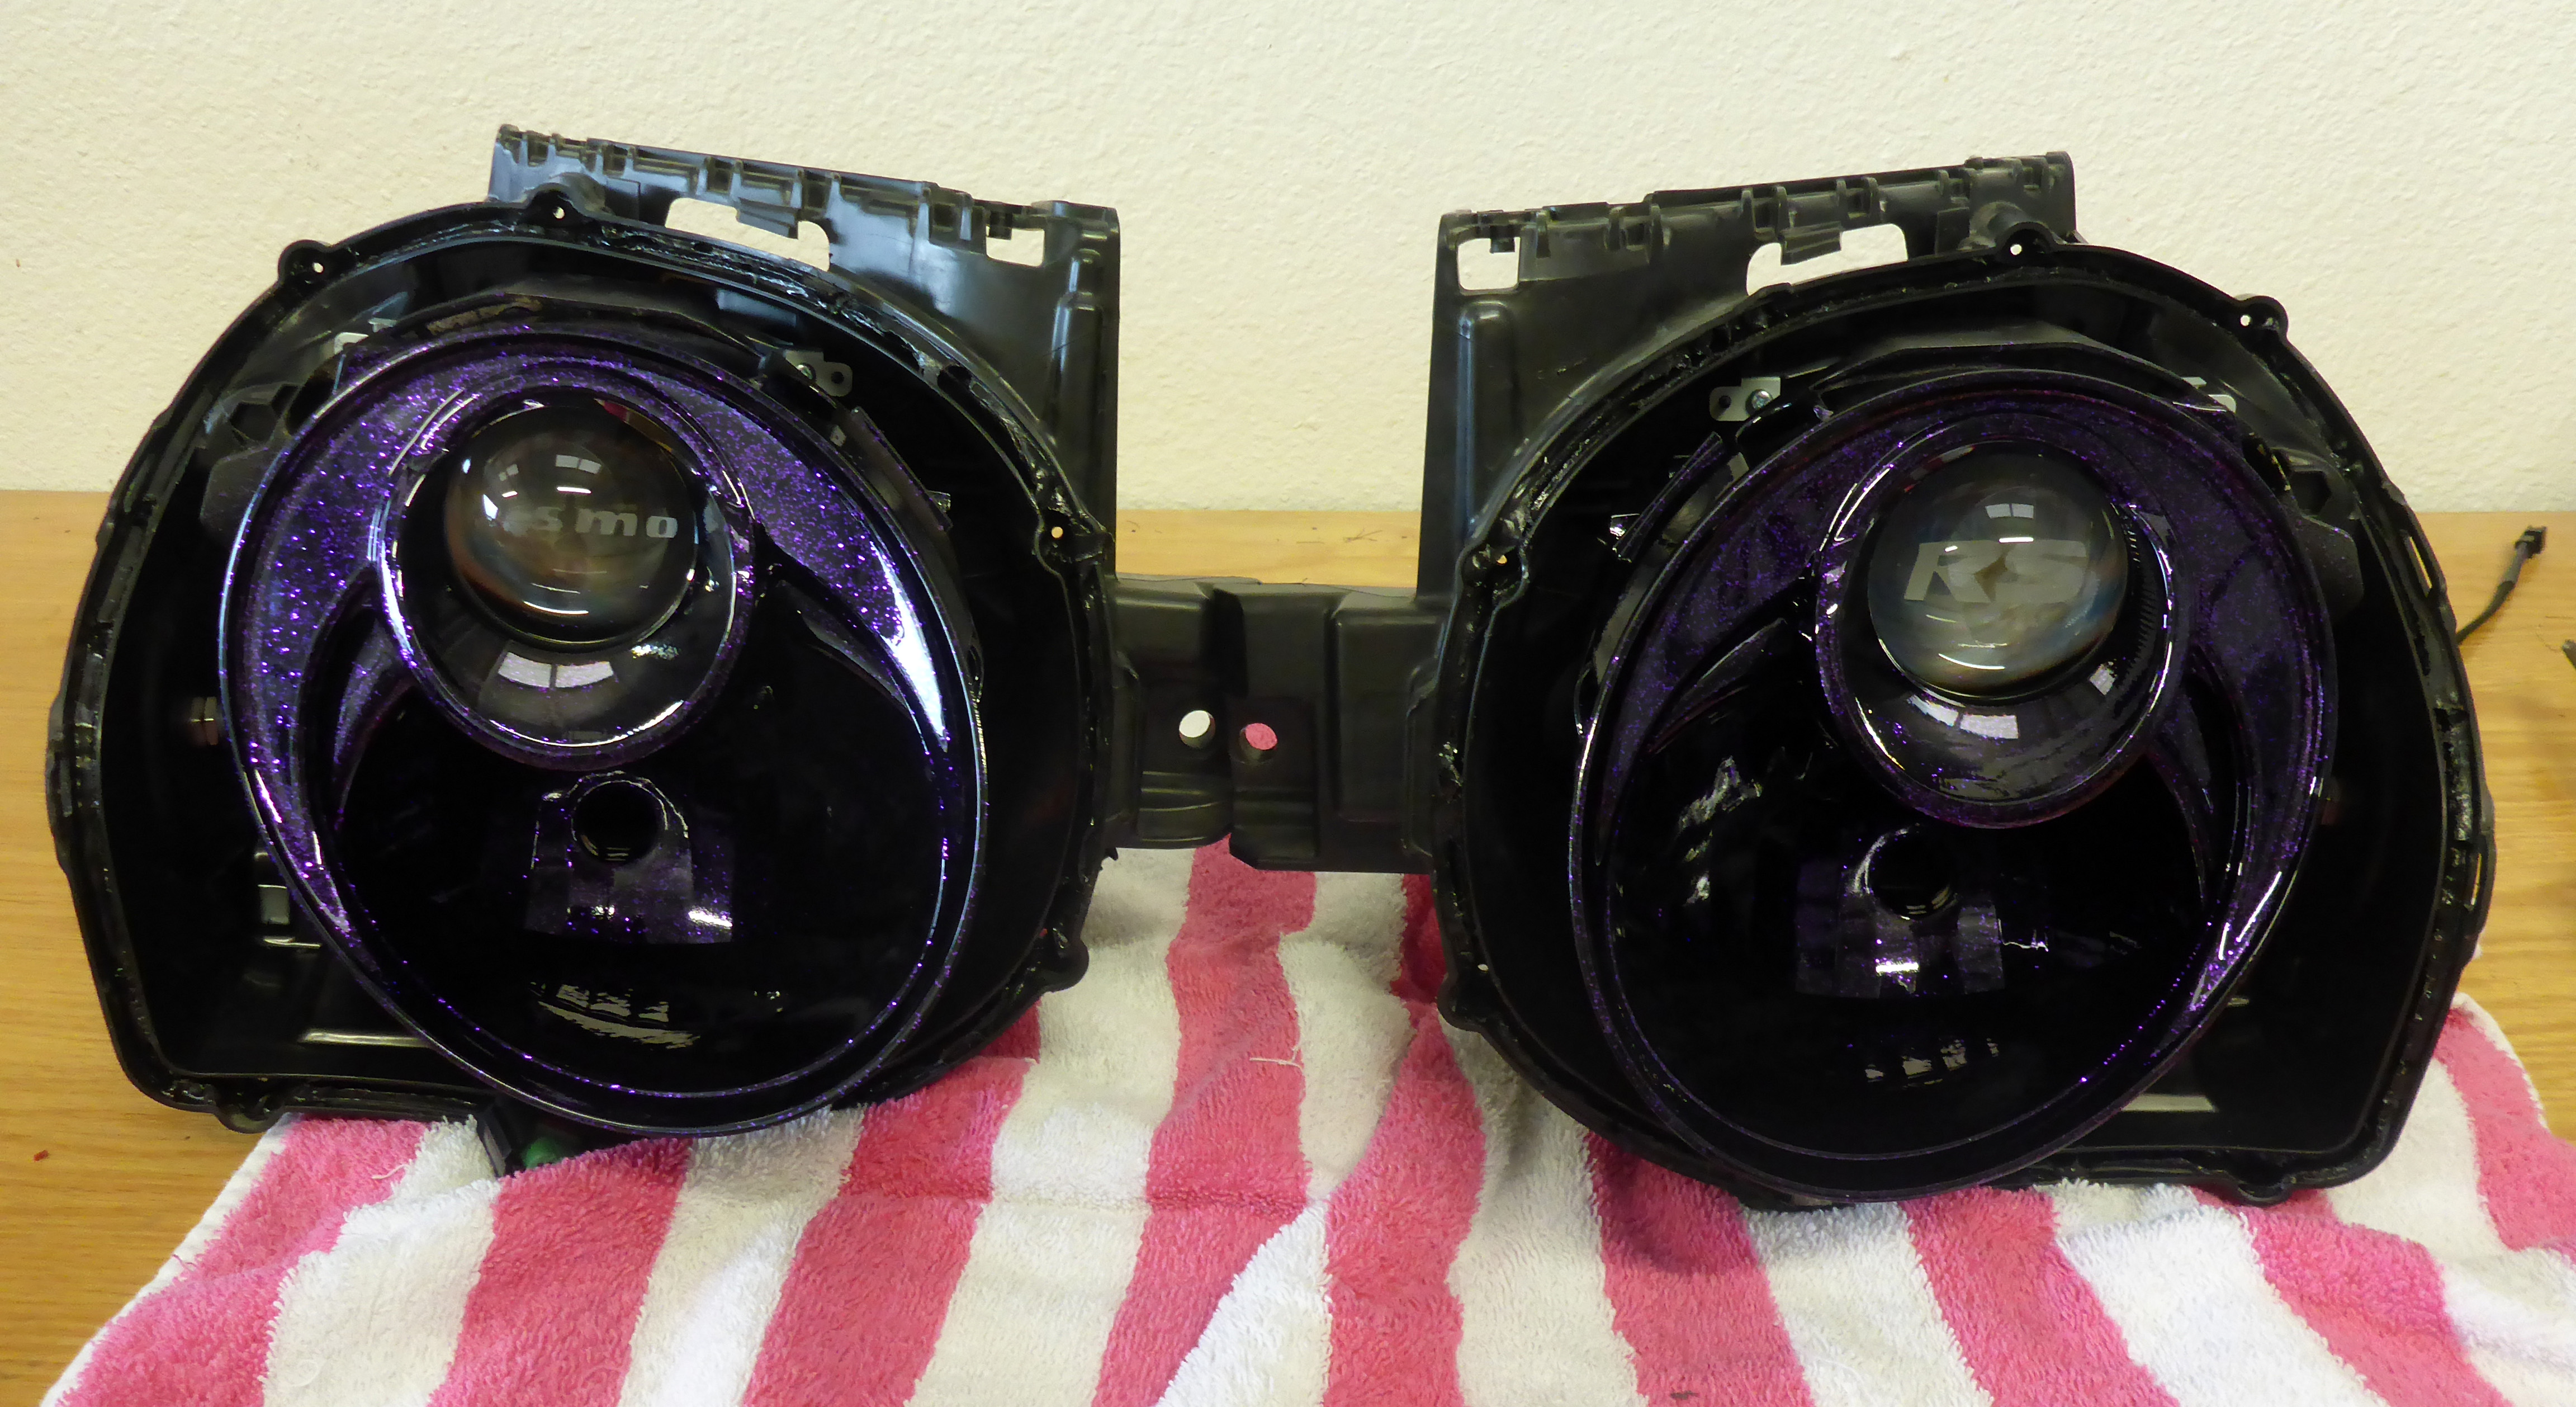
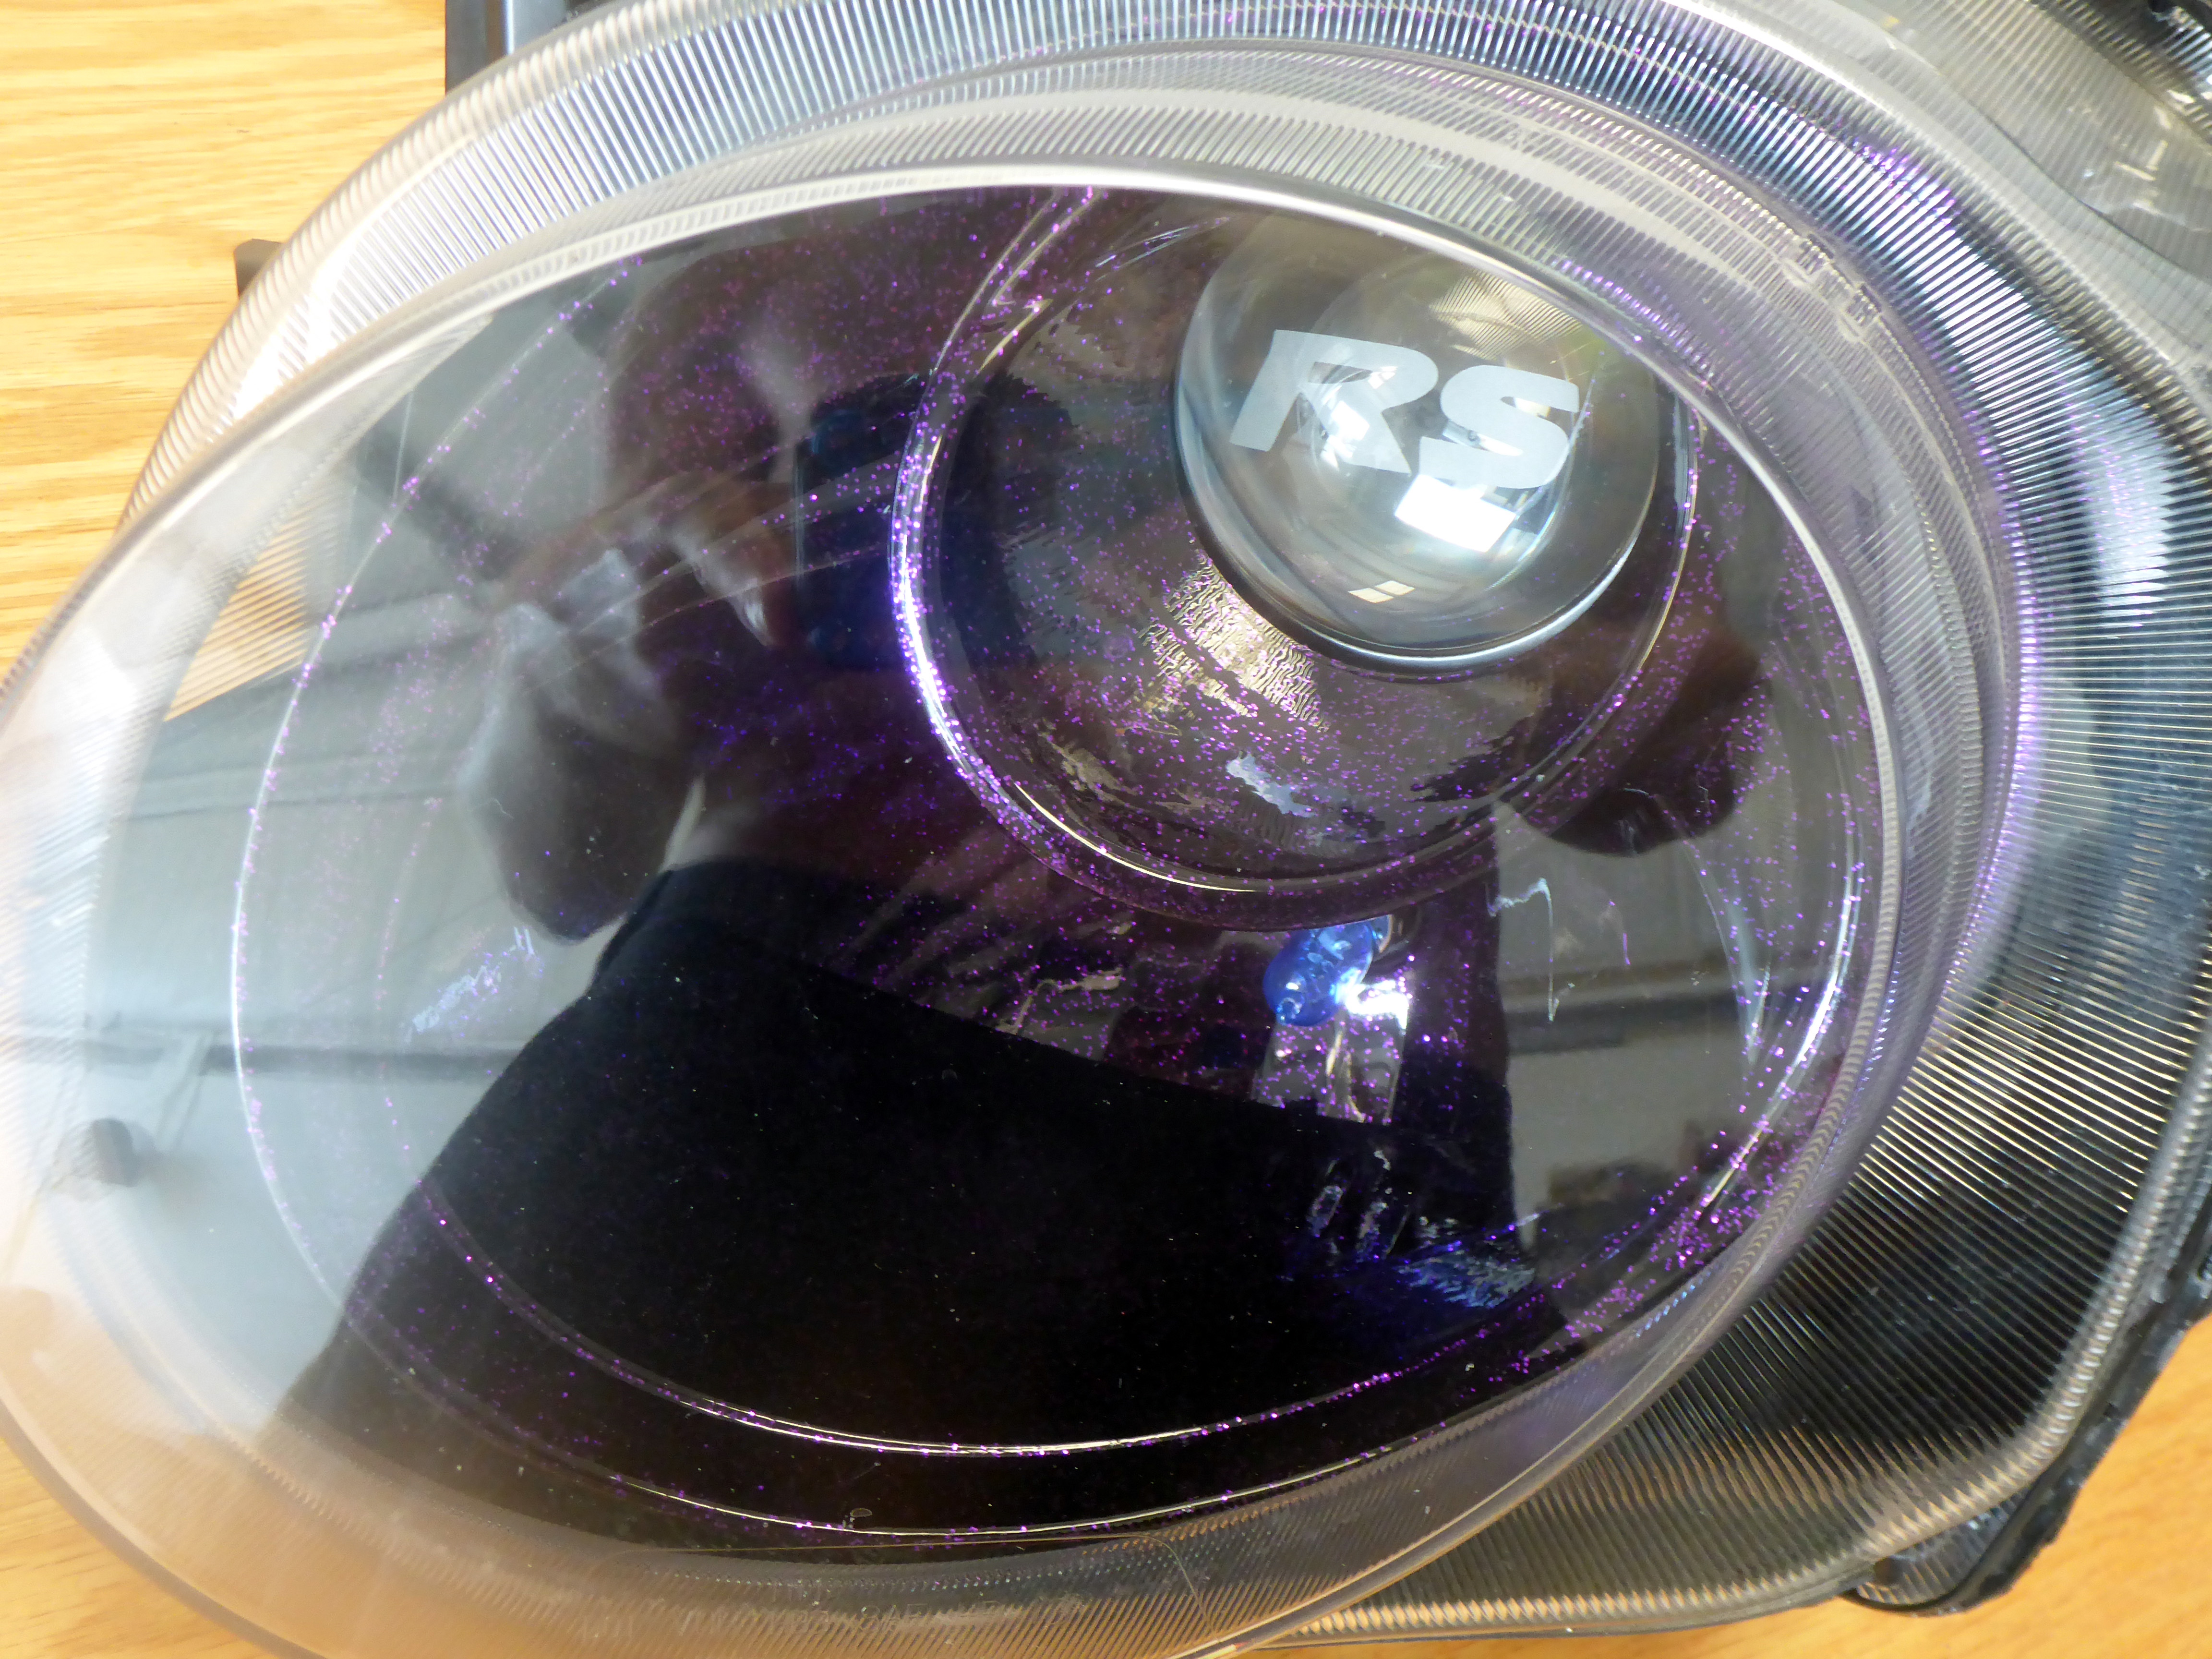
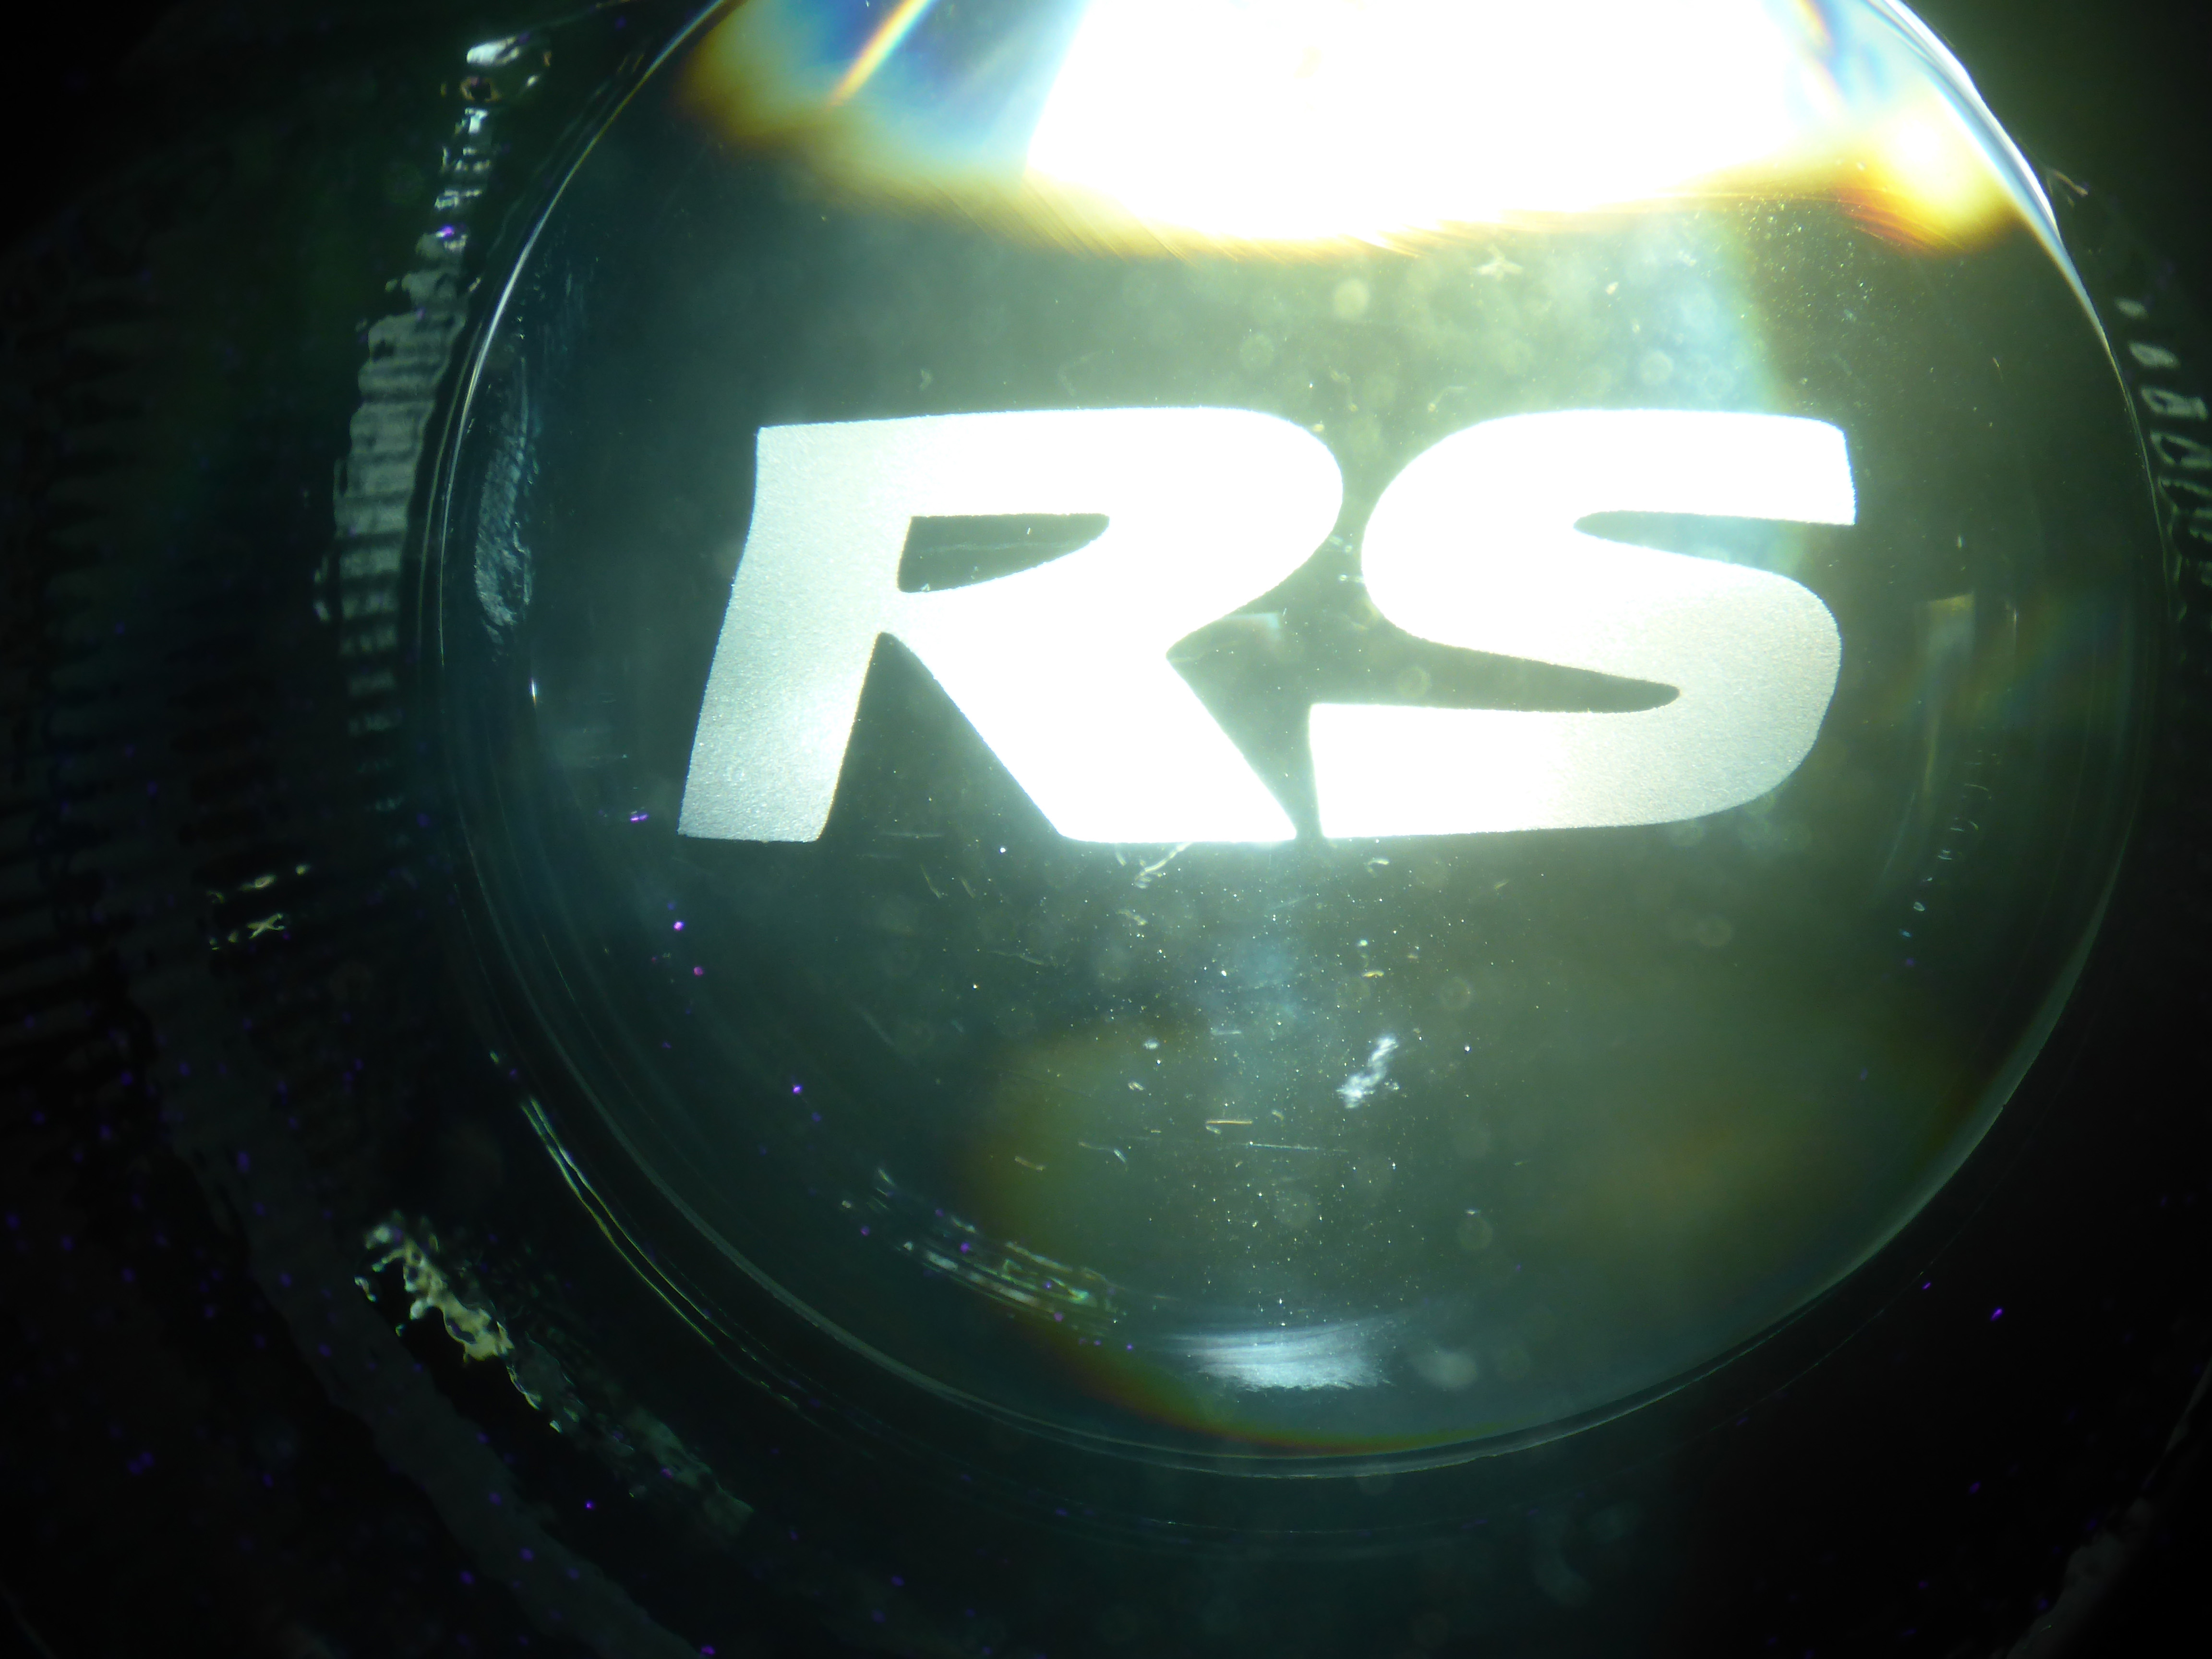
Being a 2.5″ OEM projector lens, I opted to go with the Morimoto MH1 projector and a universal retroquick bracket kit to make the new projector mount up correctly. There projectors will utilize an H1 HID bulb rather than the H11 halogen bulb meaning MORE light output. The optically clear smooth lens on the MH1 will outperform the OEM’s fresneled lens with sharpness of cutoff as well as color flicker, which means better CONTROL over that additional light. Finally, as an added bonus, the MH1 is bixenon, meaning it will operate as both a low AND high beam. In short: the OEM projector is seriously out of its league here. As previously mentioned, we got two different lens etching on the new assemblies: Nismo on one and RS on the other.

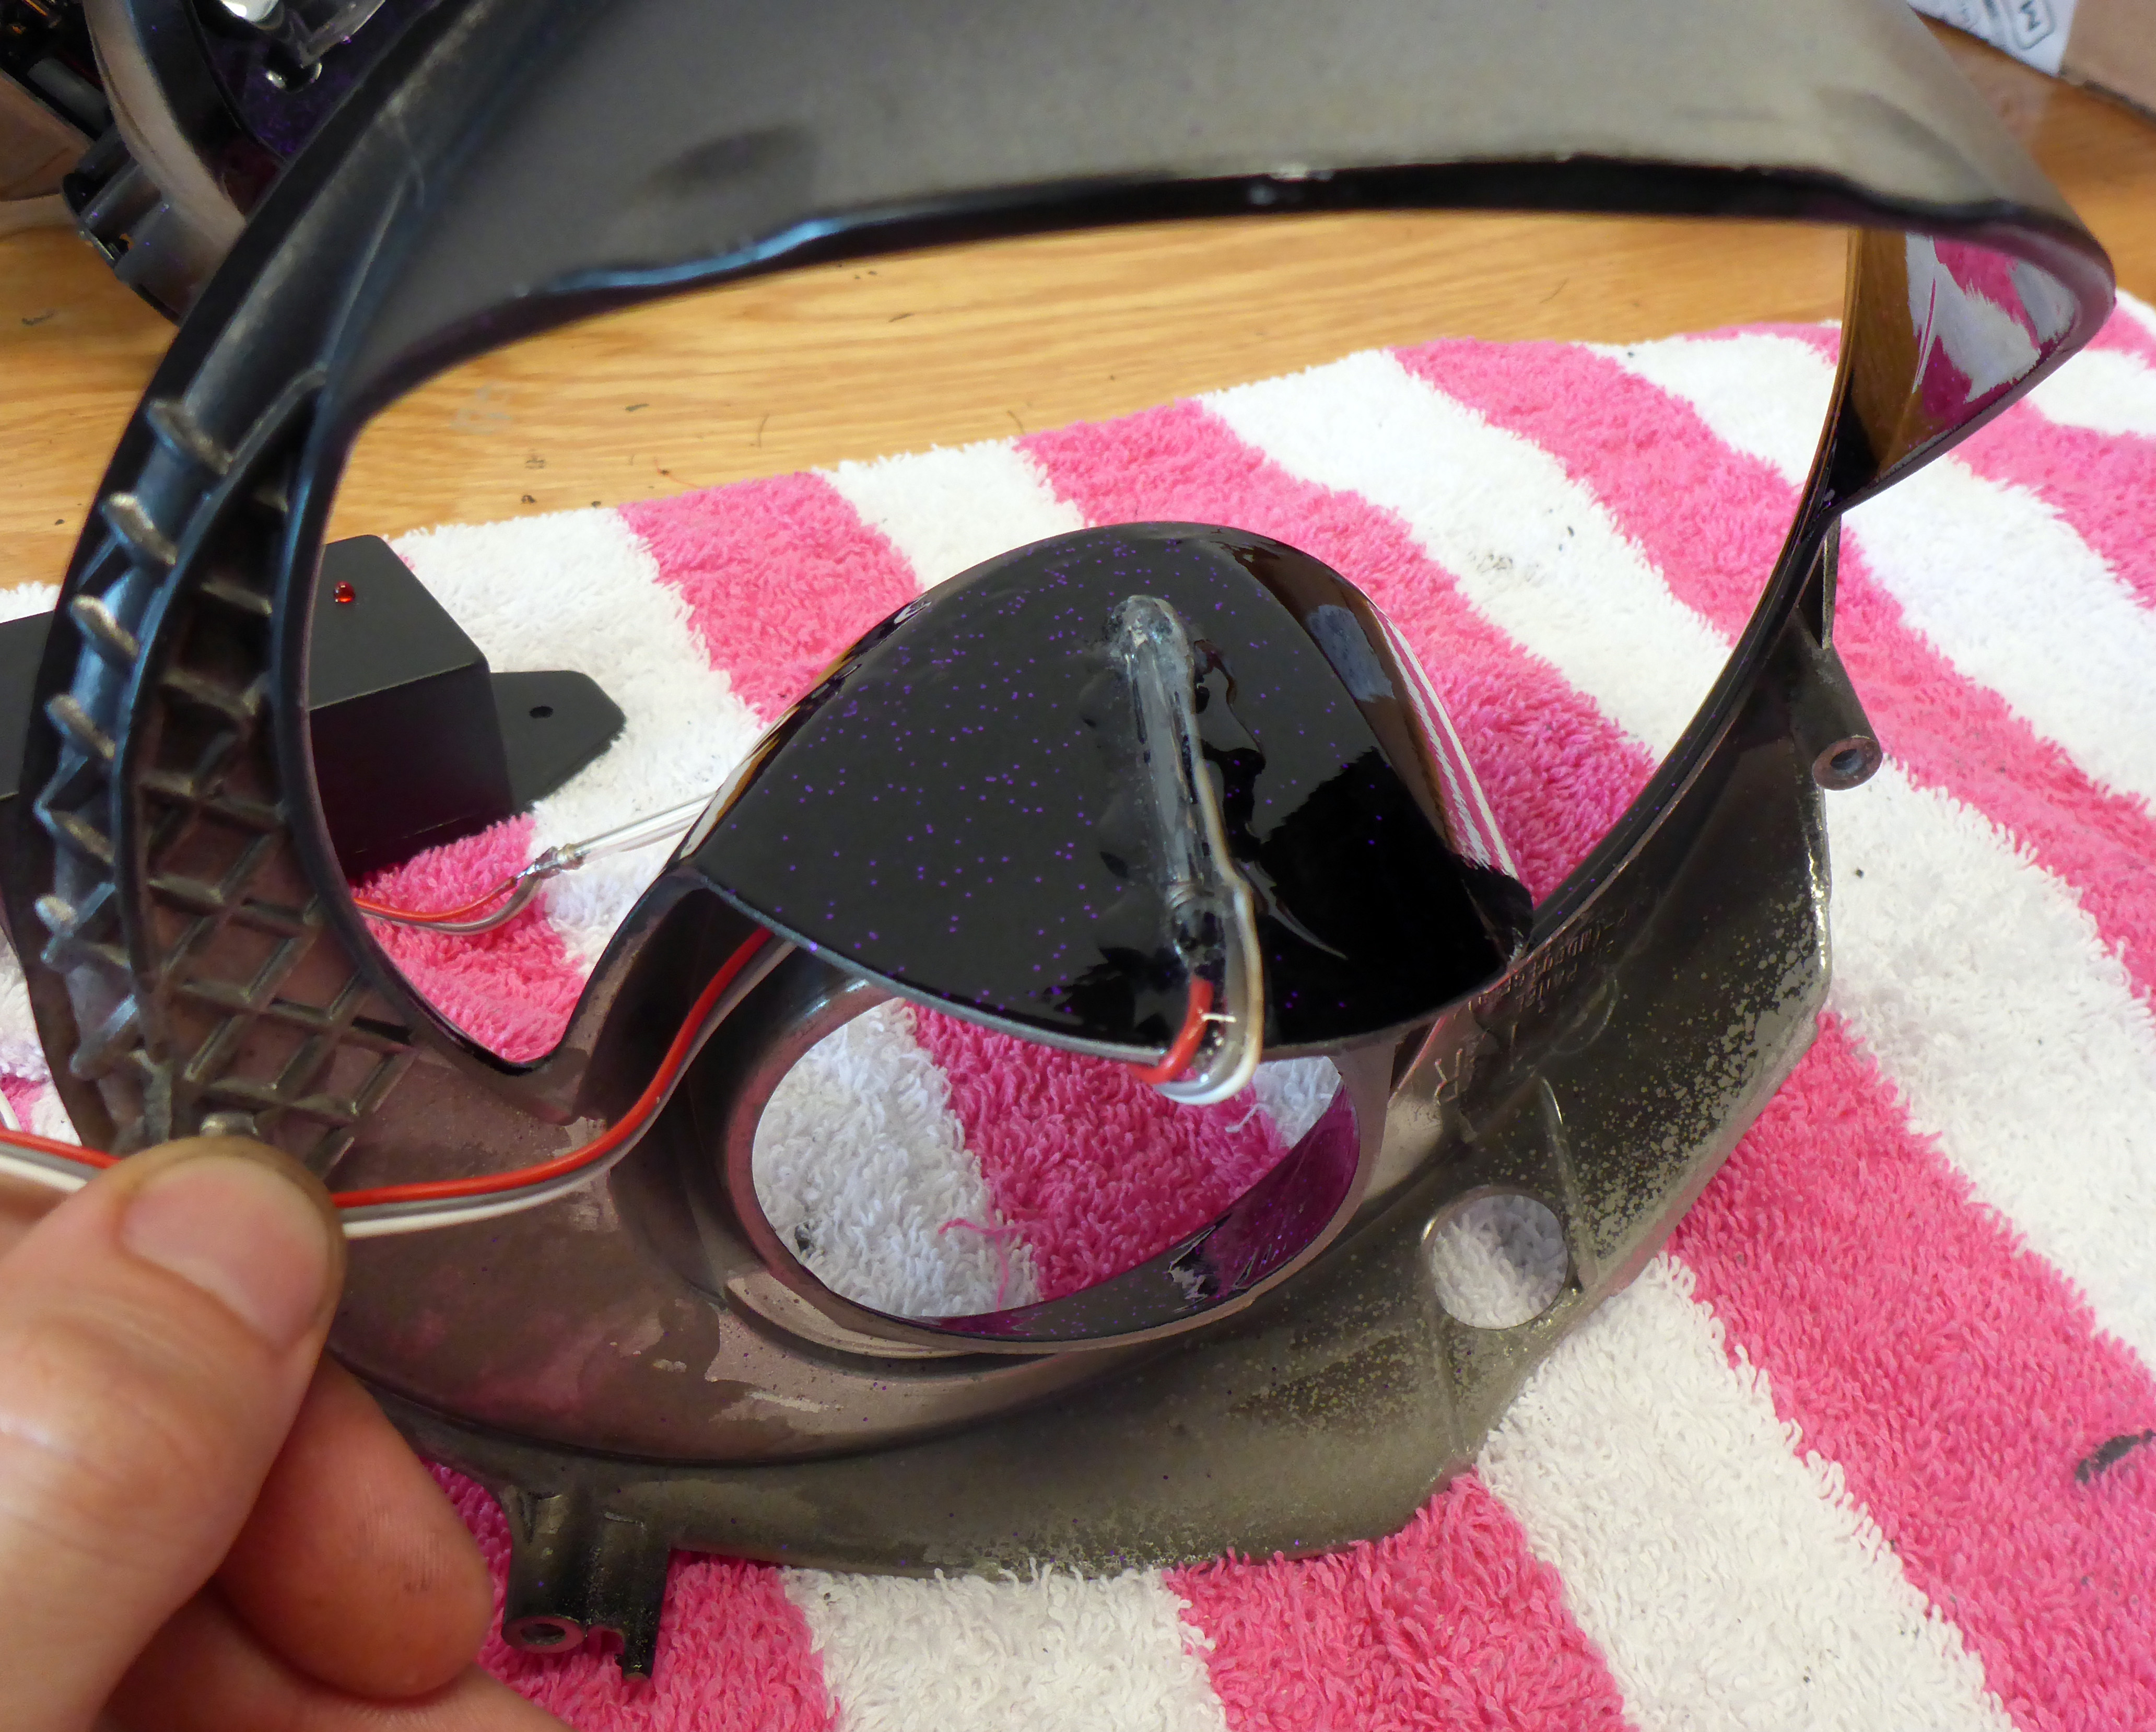
There was one more fun gimmick to employ on this build: strobe lights! Truthfully I haven’t put strobe lights in headlights since high school, but hey, I’m about whatever the client wants to help him stand out from the crowd. I disassembled a strobe light assembly to get the bare components and clear epoxied them on the underside of the projector shroud lip.
With the new projectors swapped in and the strobe lights in place, it was time to start doing some assembly.


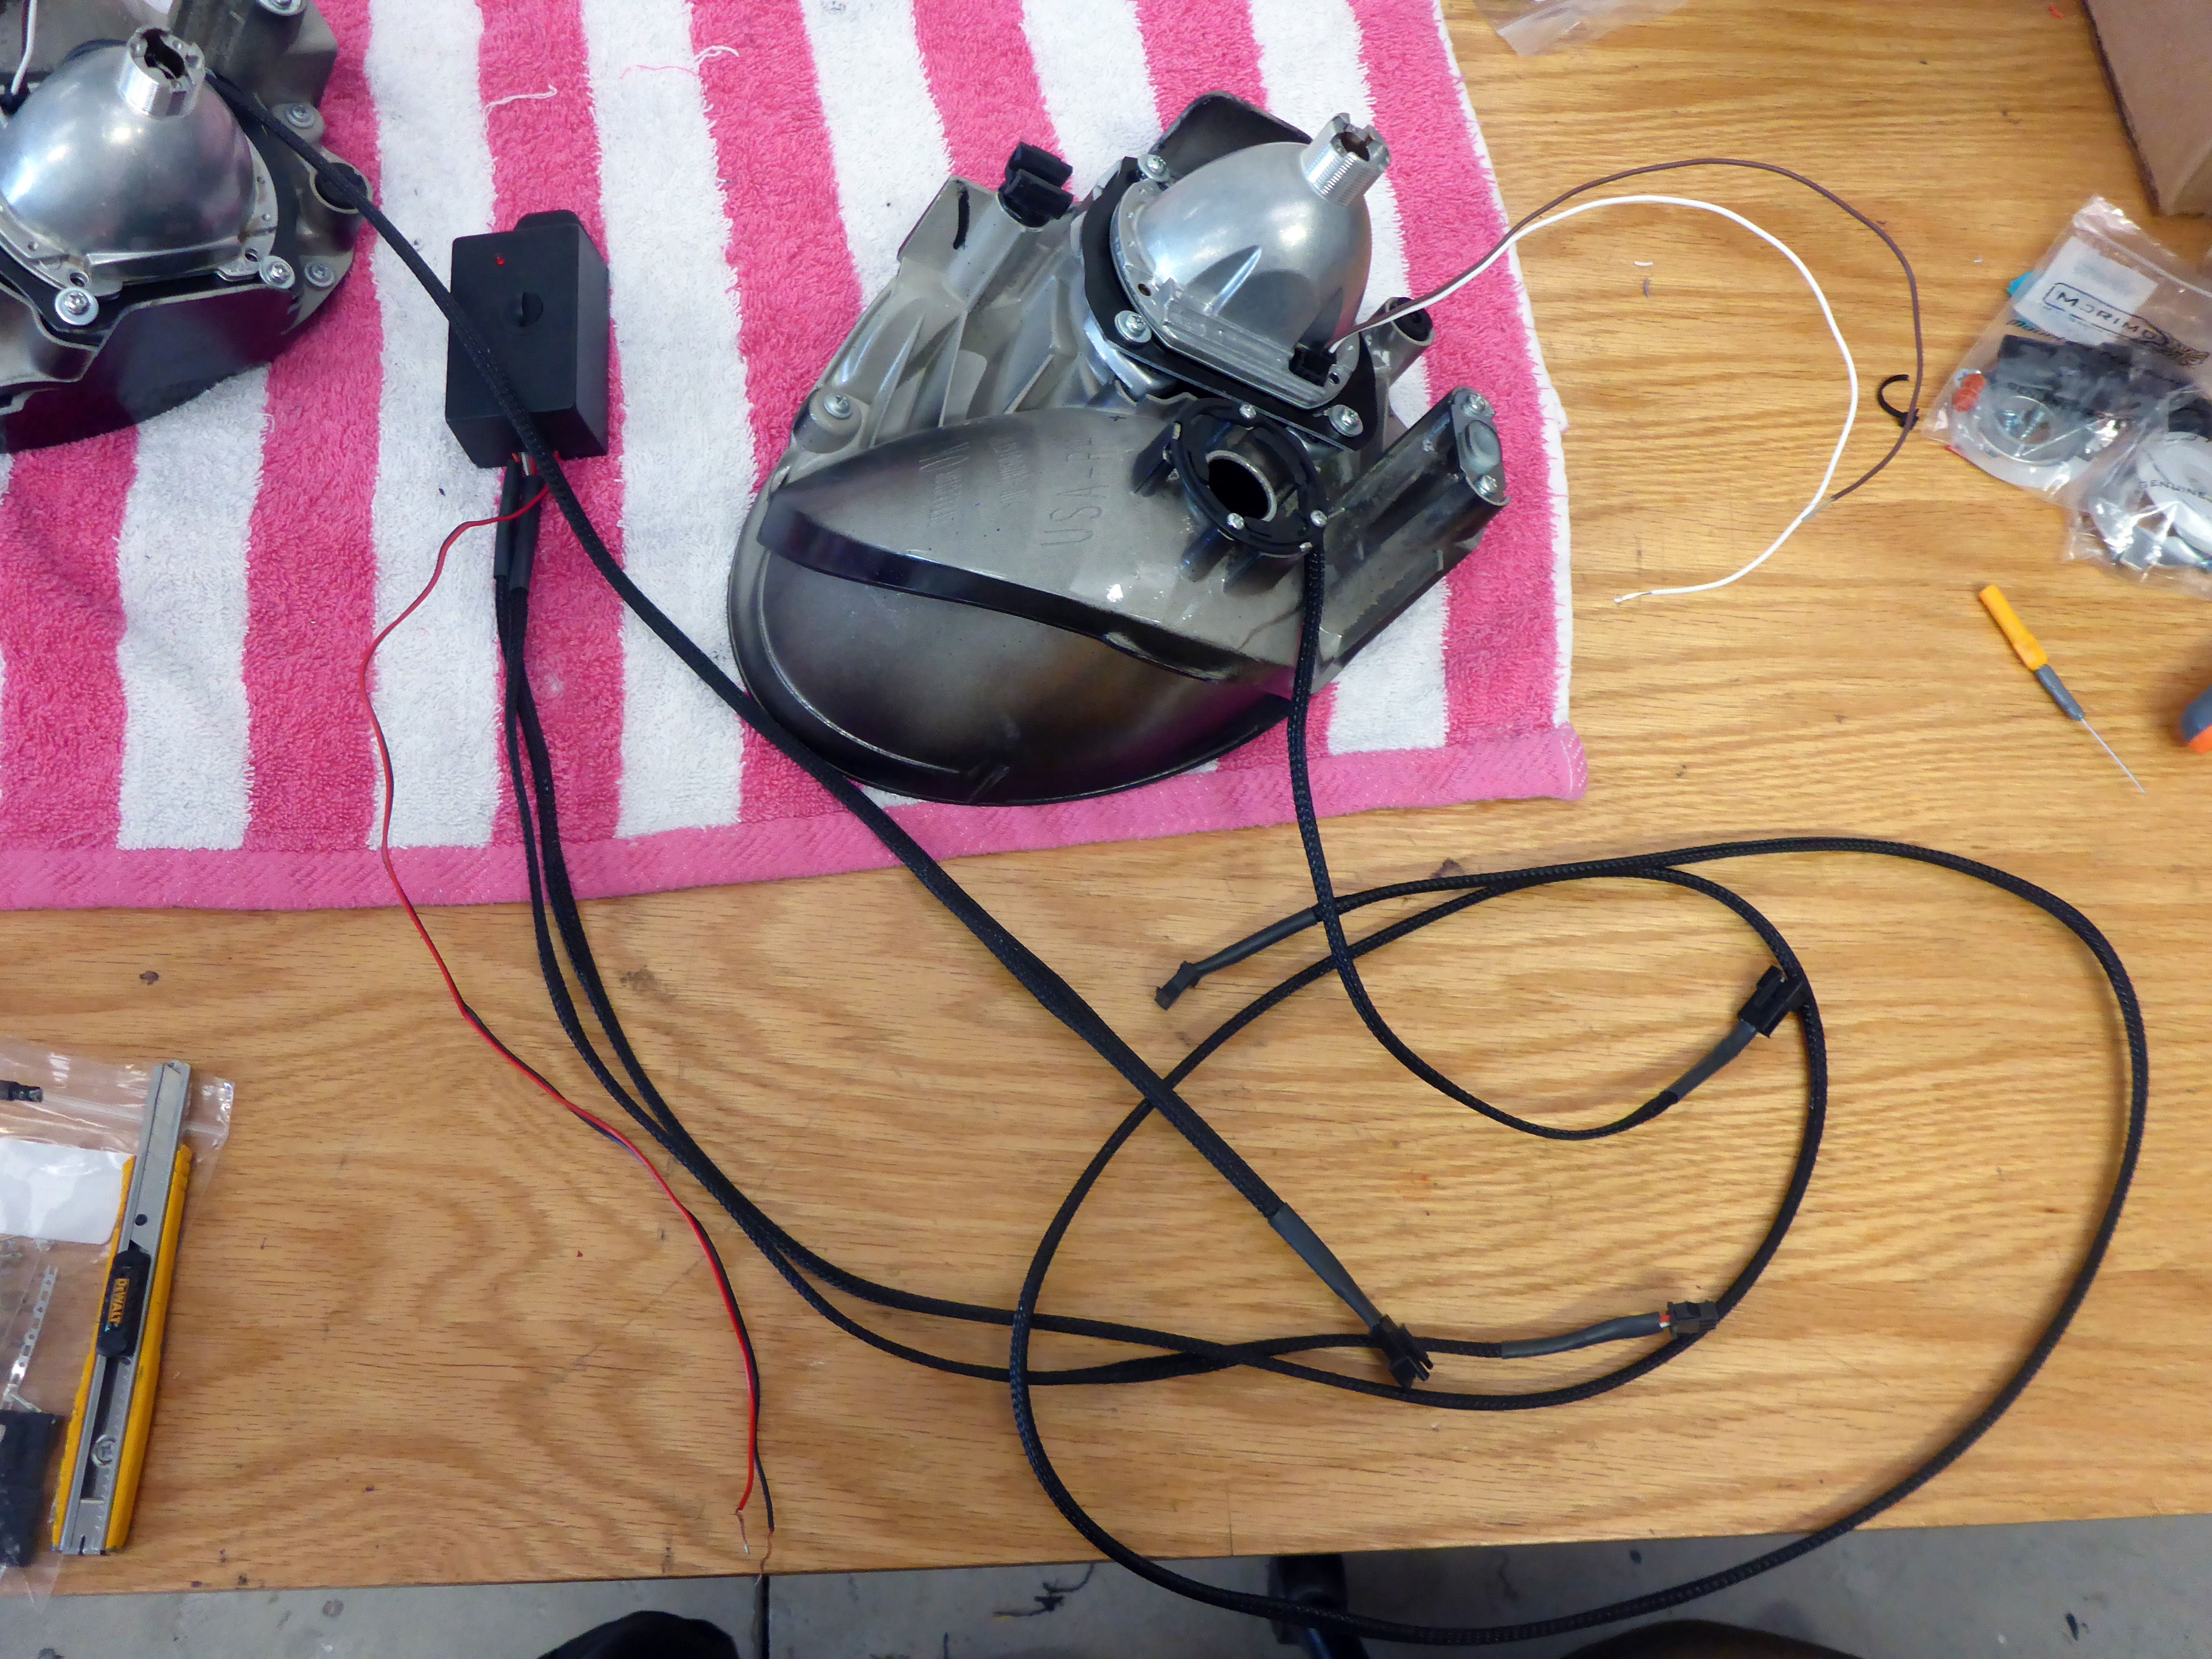
On the backside I had to create a wiring harness for the strobe light kit. I added JST connections for headlight serviceability and also a long extension for installation options. Everything was sealed up in TechFlex and heat shrink to keep it looking beautiful. The high beam solenoid from the MH1 was connected into the high beam bulb wiring so no additional wiring would be needed outside of the housing to have dual HID+Halogen high beam output. (Not pictured)

Cool, so let’s put these back together and take some pretty pictures! These were quite difficult to photograph once the outer lens went on so I hope you don’t mind seeing reflections of me holding a camera.
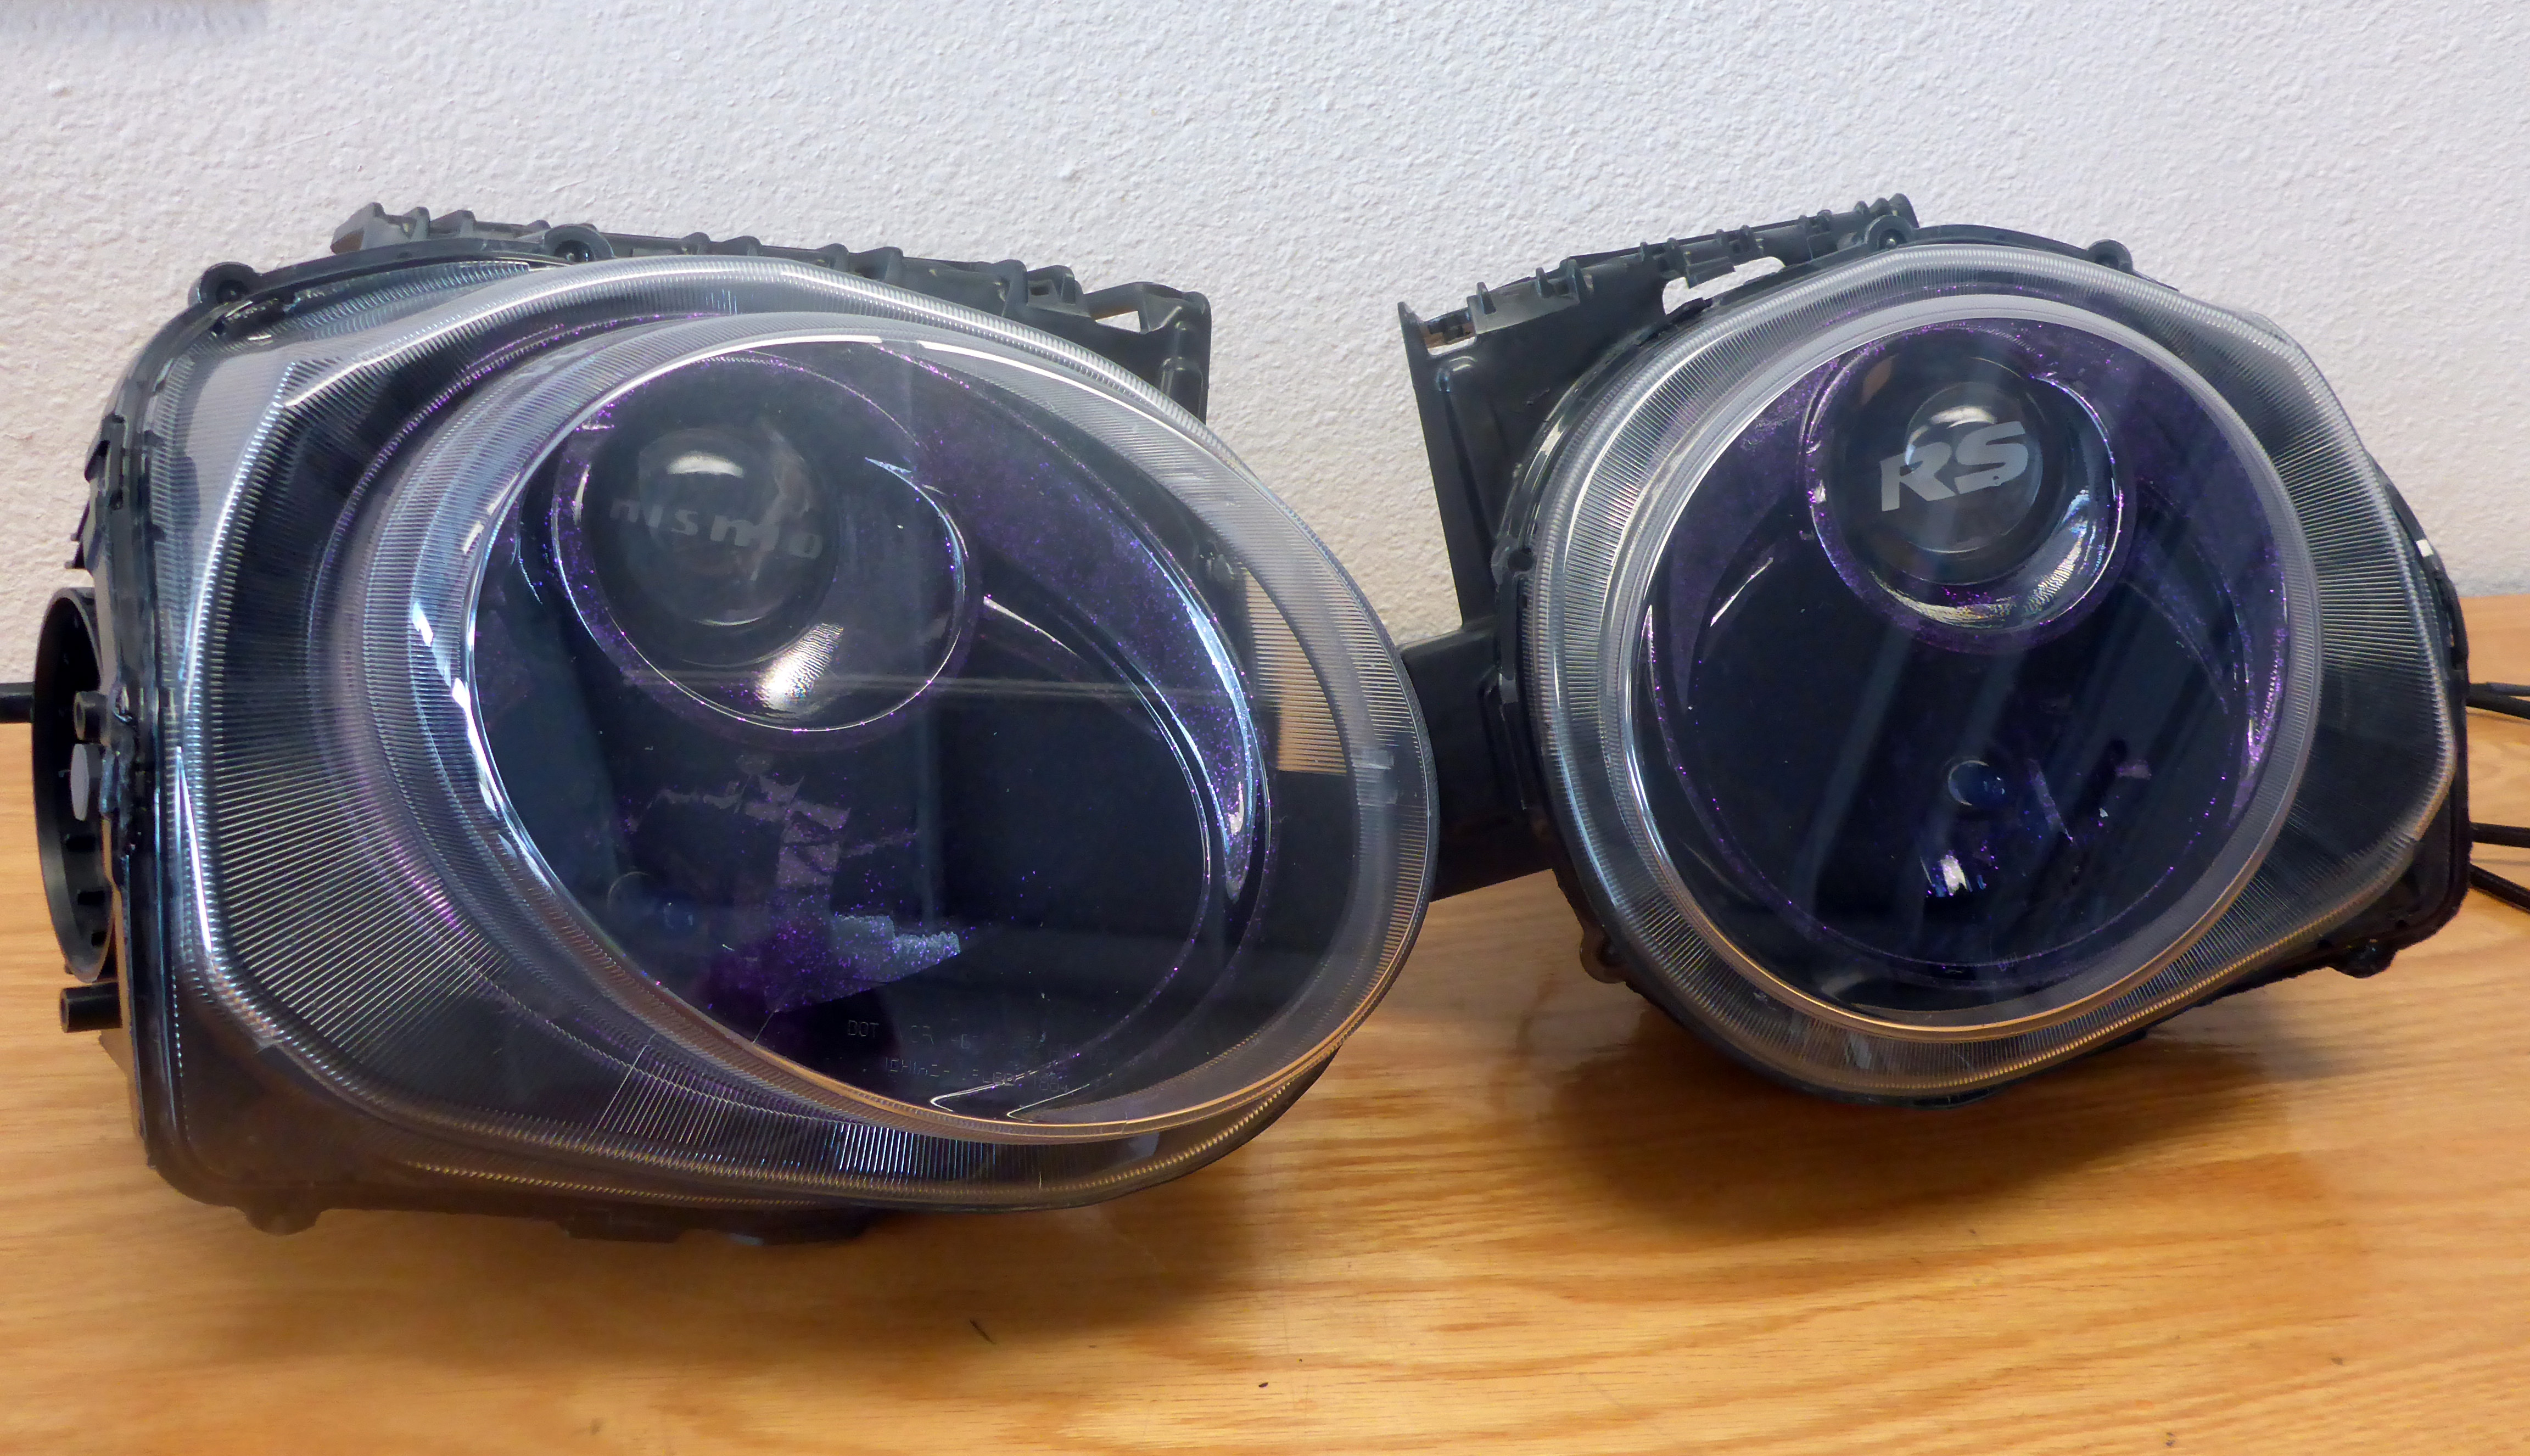

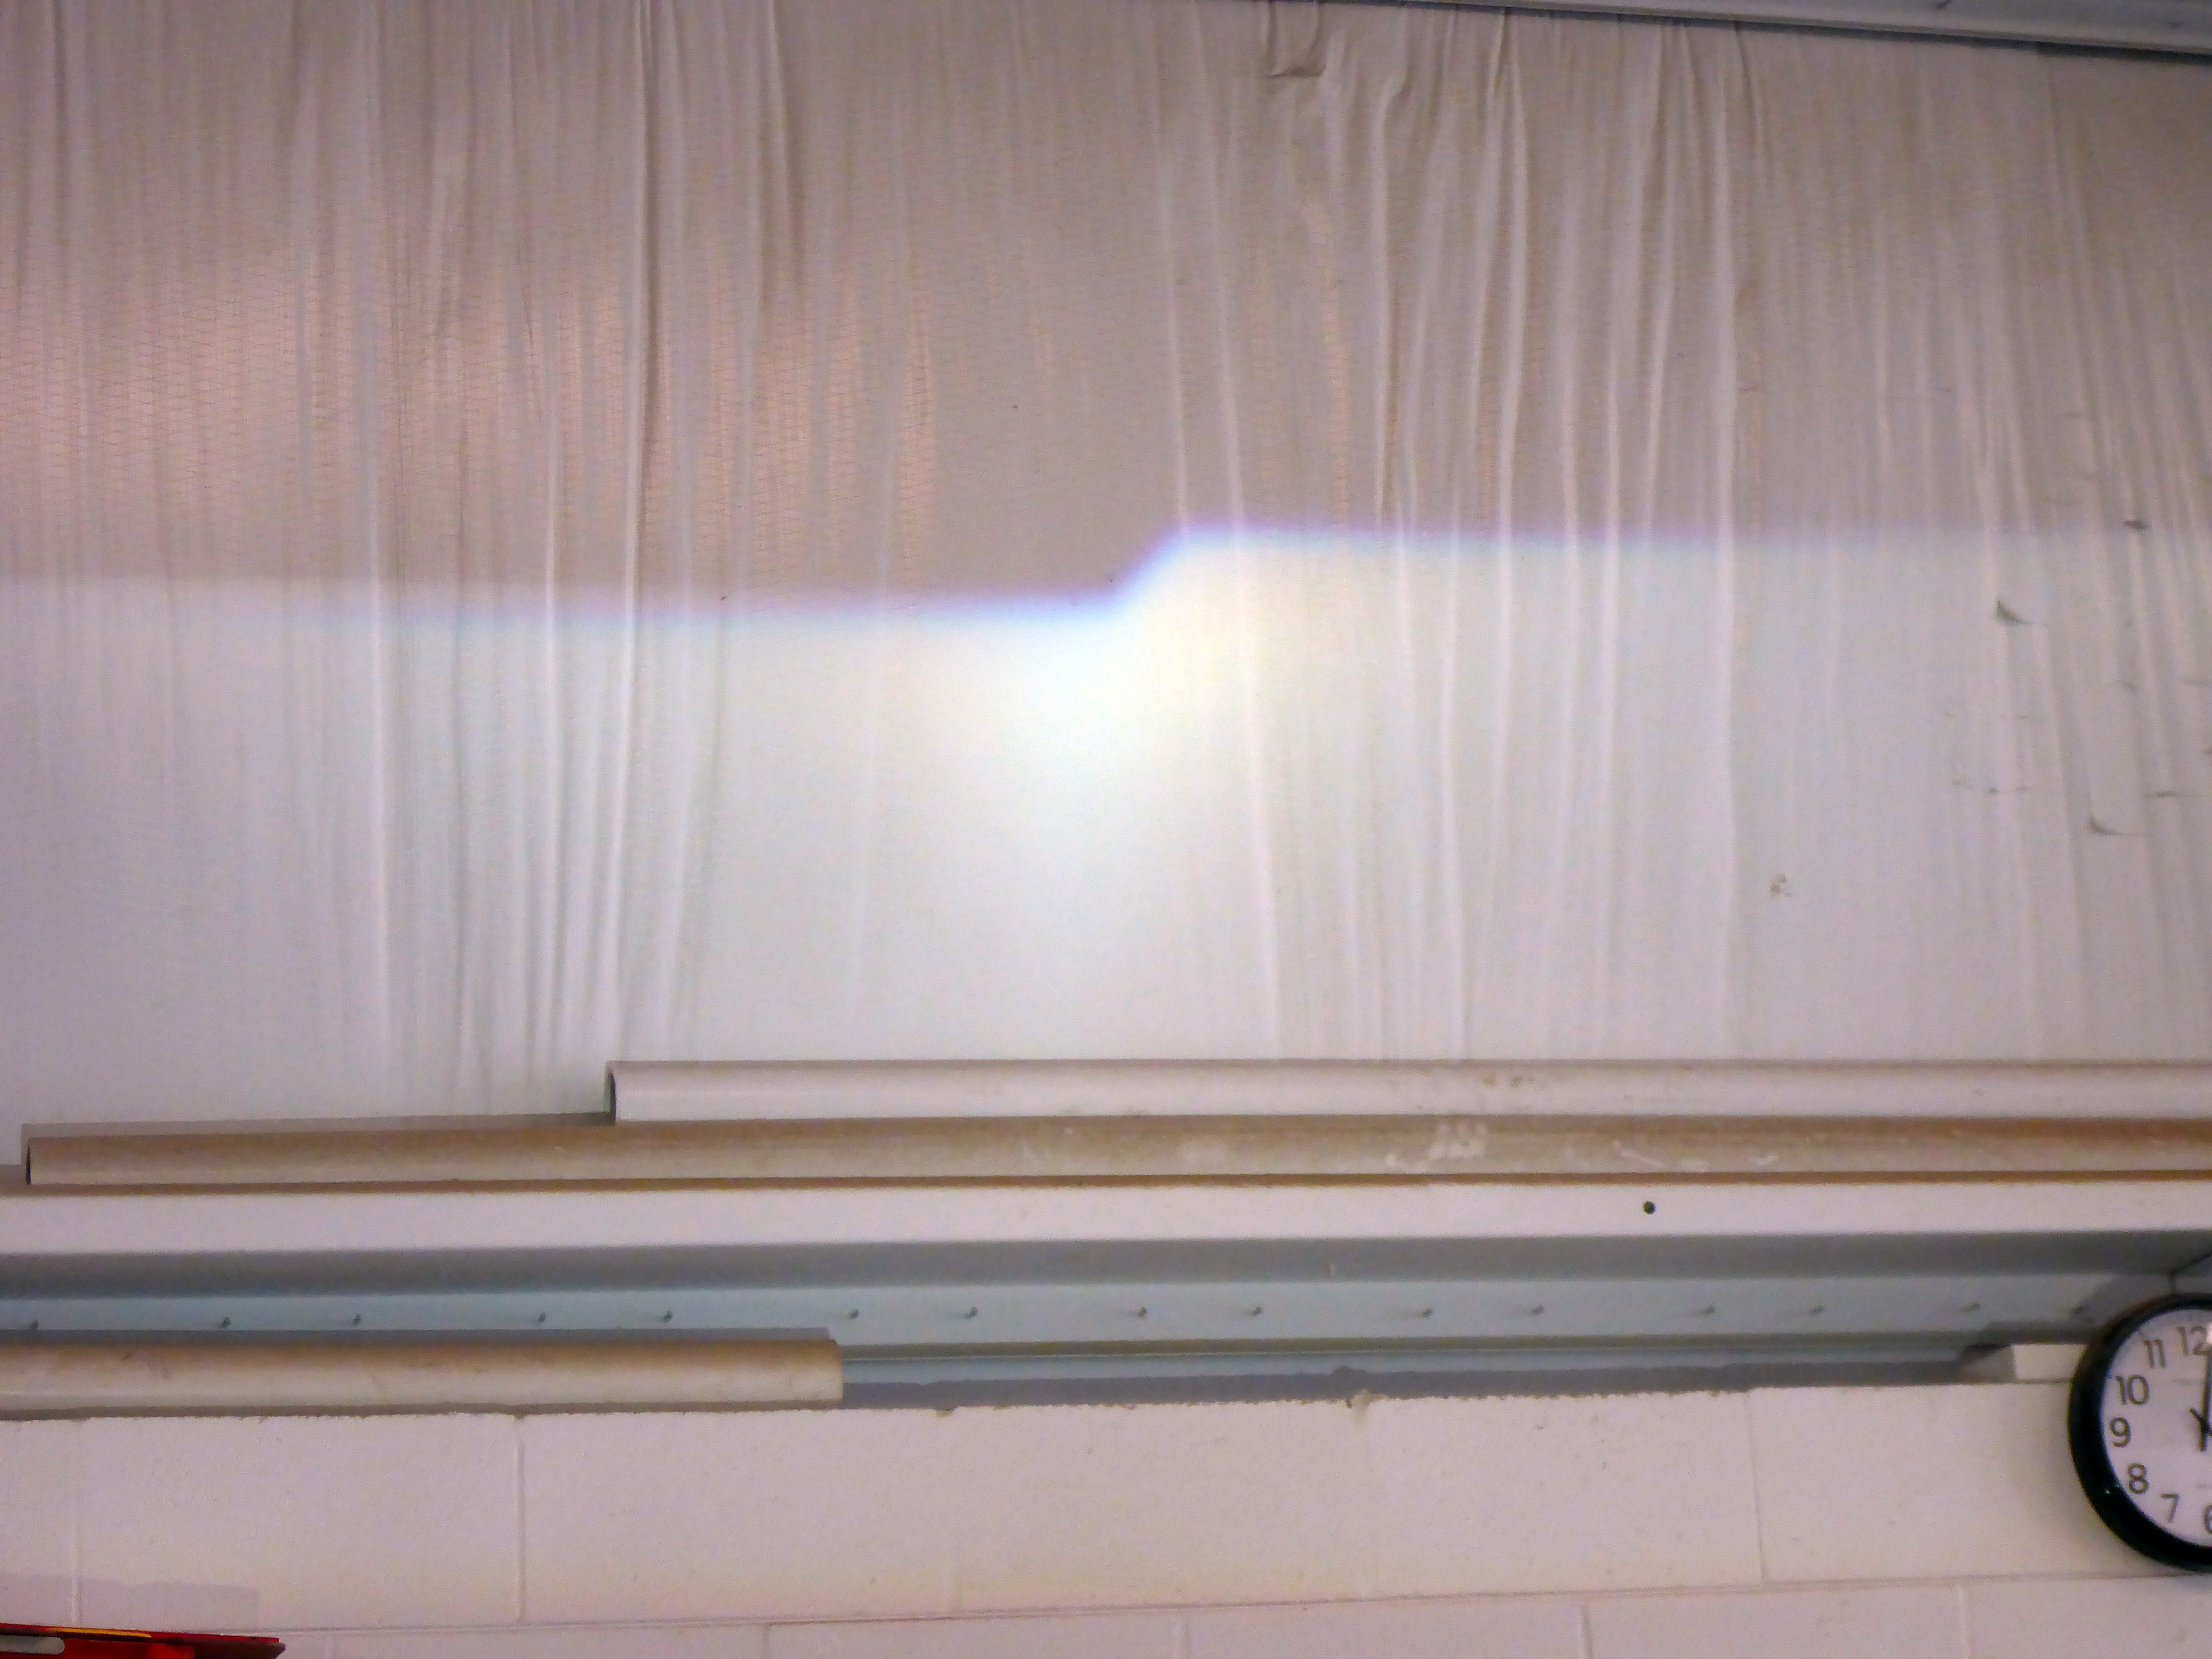
Now to power these bad boys on to showcase the lighting performance increase that results from quality projector swaps.

And for good measure, here’s a backside picture where you can see everything sealed up properly.
Viola! That’s the end of the show. You don’t have to go home but you can’t stay here.
-13-