2017 Chevrolet Silverado Custom Headlights
Amber Reflector Mod, Fog Lights, Interior Lighting, Lens Etching, Projector Swap, RGB Halos/Strips, Rock Lights
This is honestly one of my favorite builds to date. Mostly because I adore the patience and passion of the client to make his truck unique in a world of modified trucks. We’ve done multiple phases of lighting modifications to date with several more future phases in the works. However this build log is going to focus primarily on the headlights… and fog lights… and rock lights… and interior lighting… of this 2017 Chevrolet Silverado 1500 Z71… Okay, so ALL the lighting. Let’s get to work!
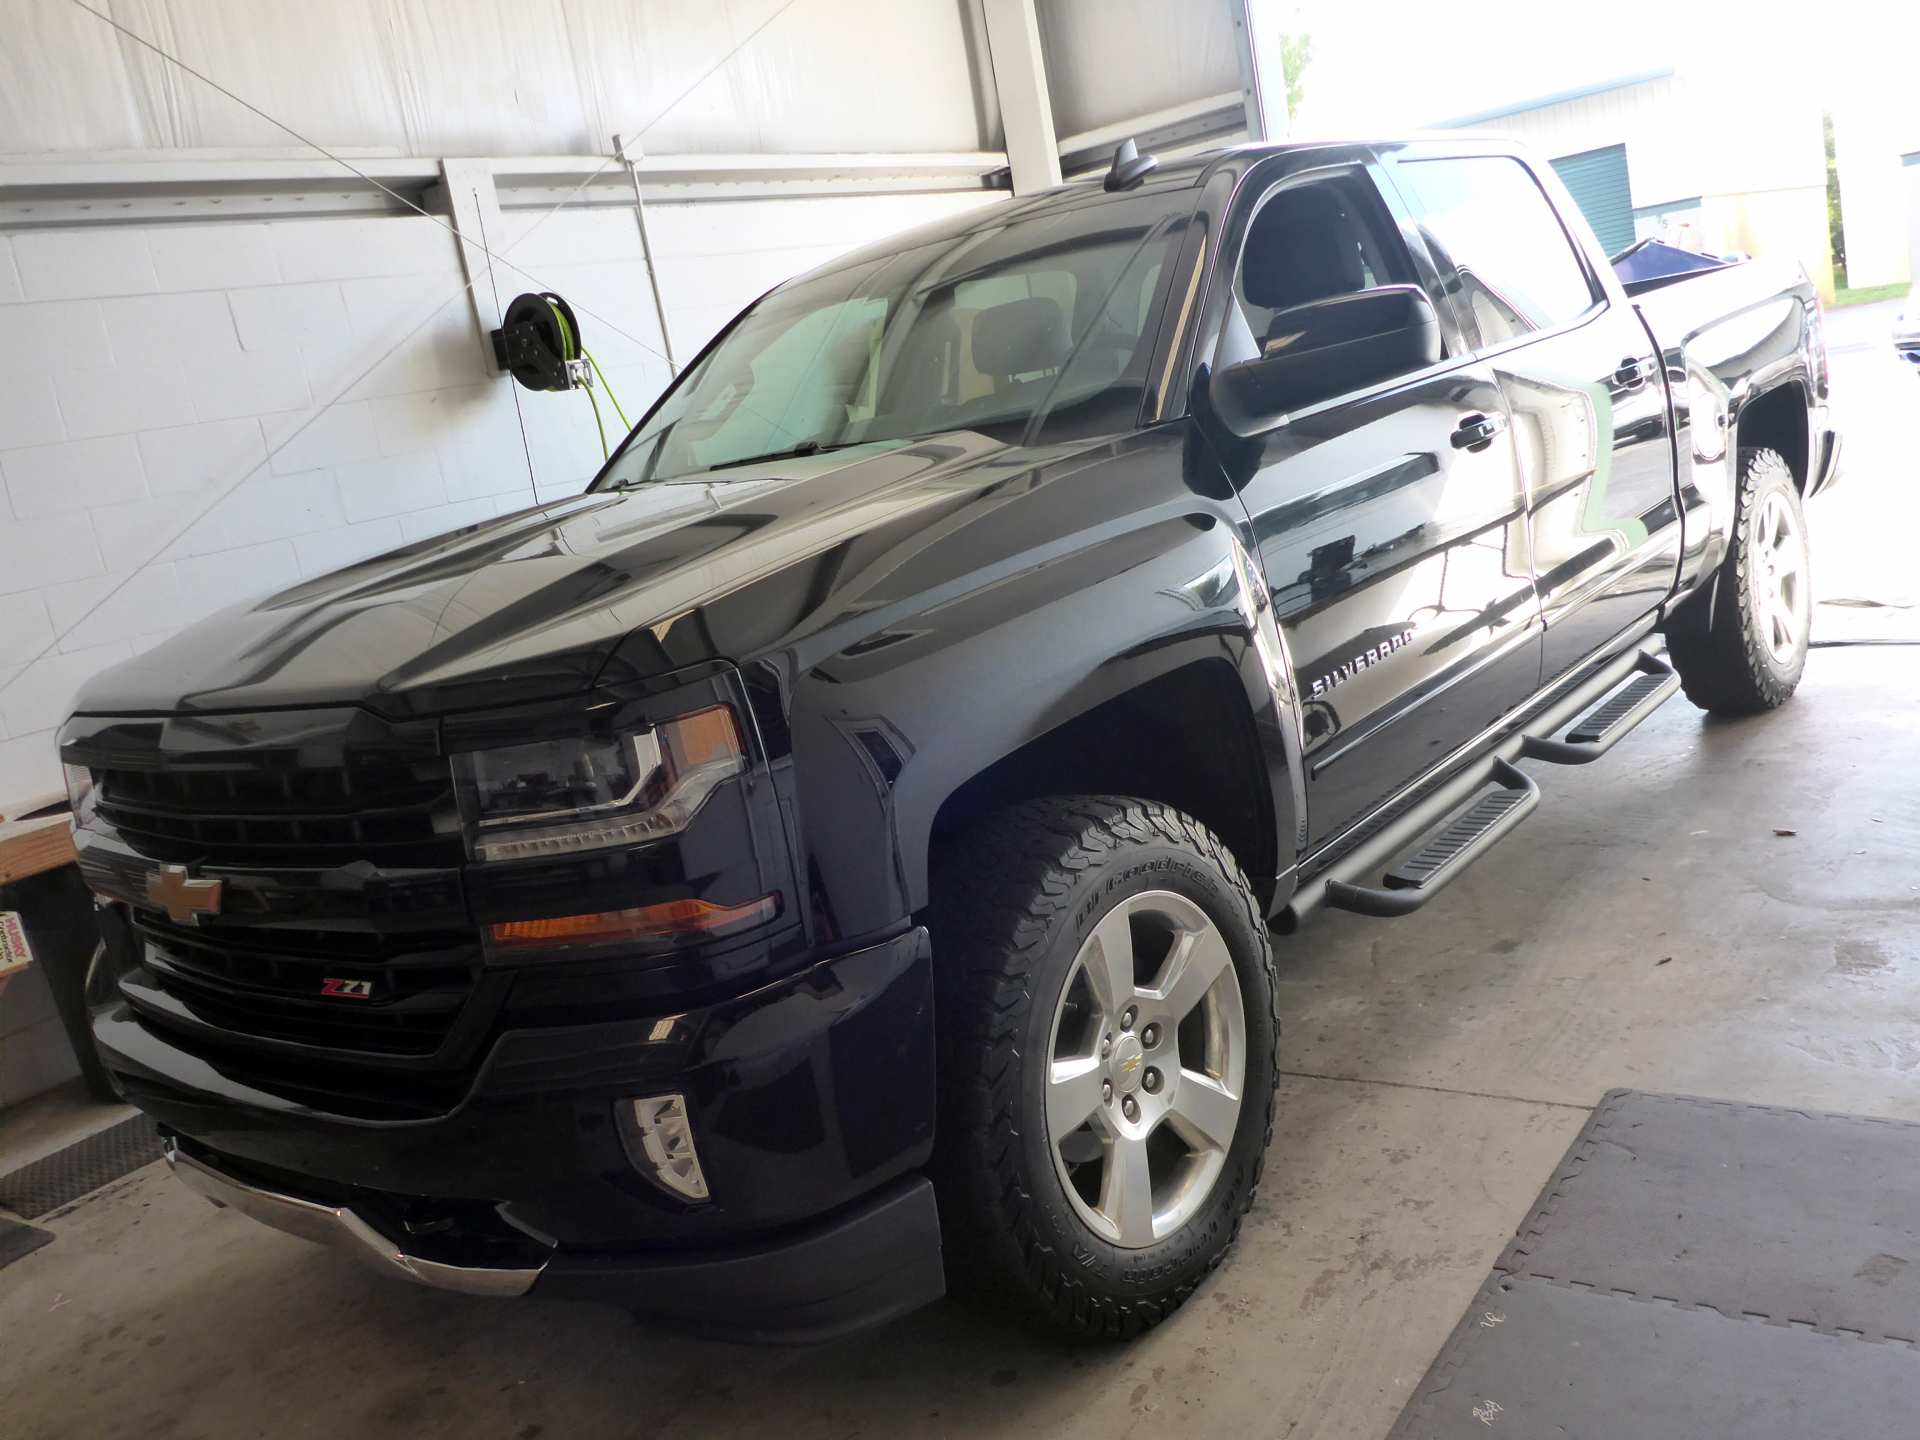
Here’s the truck when it first showed up: stock! (laaaame)
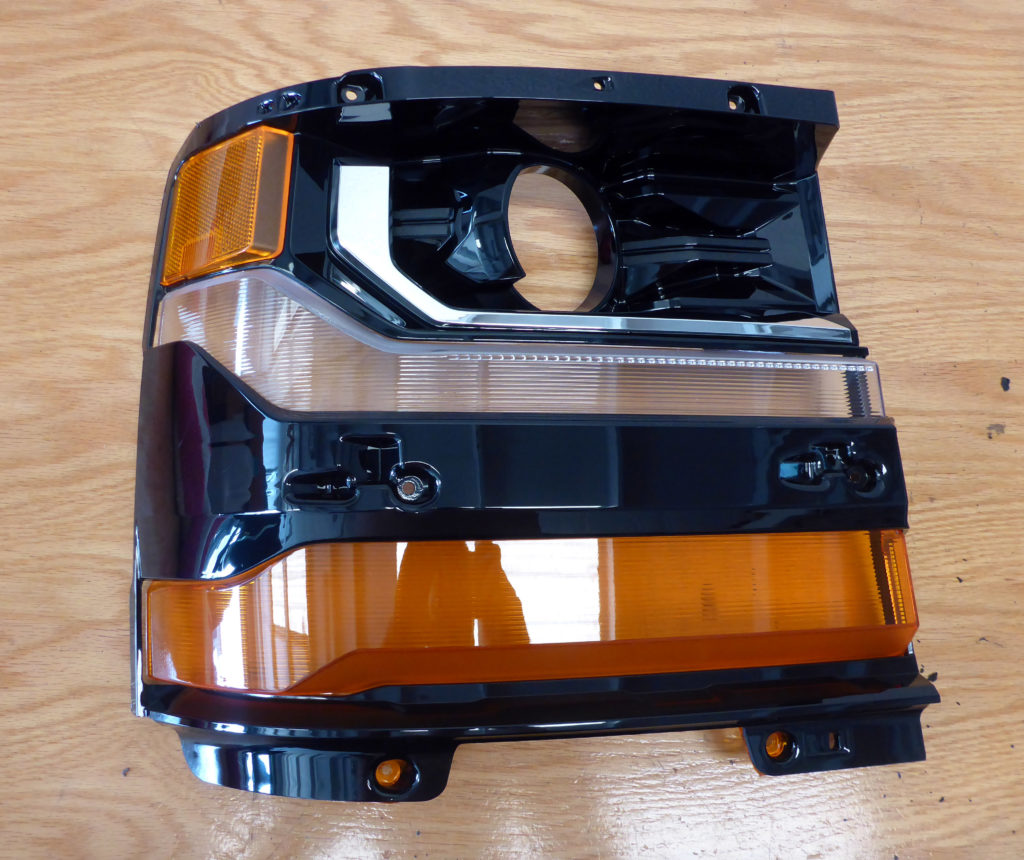
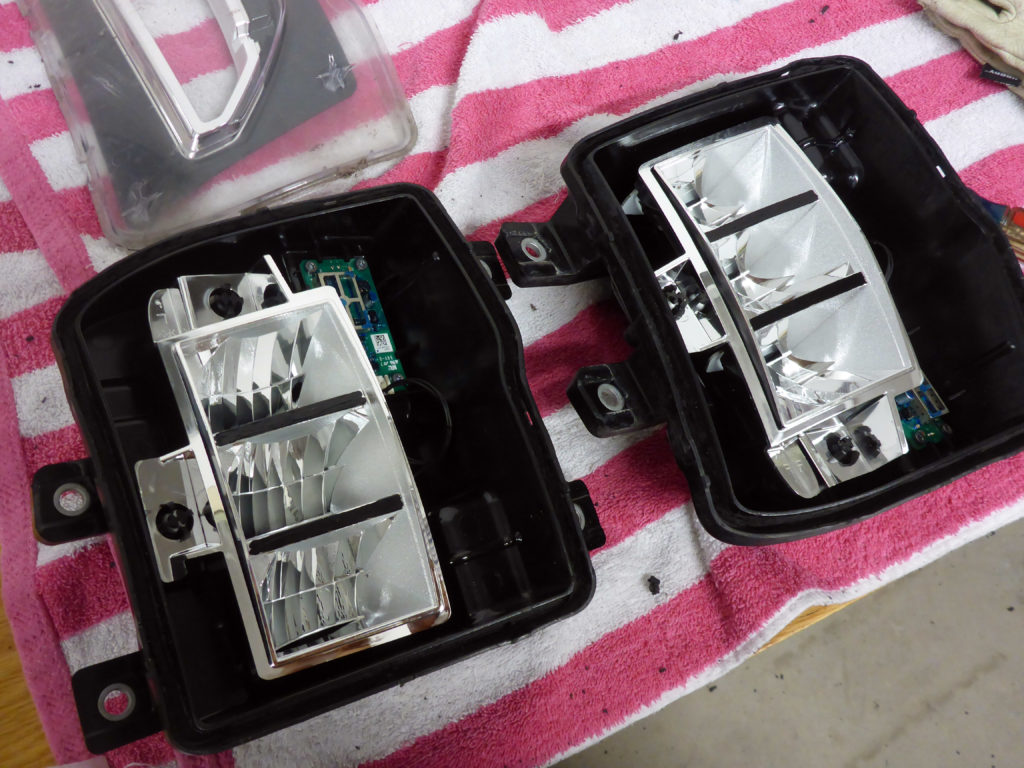
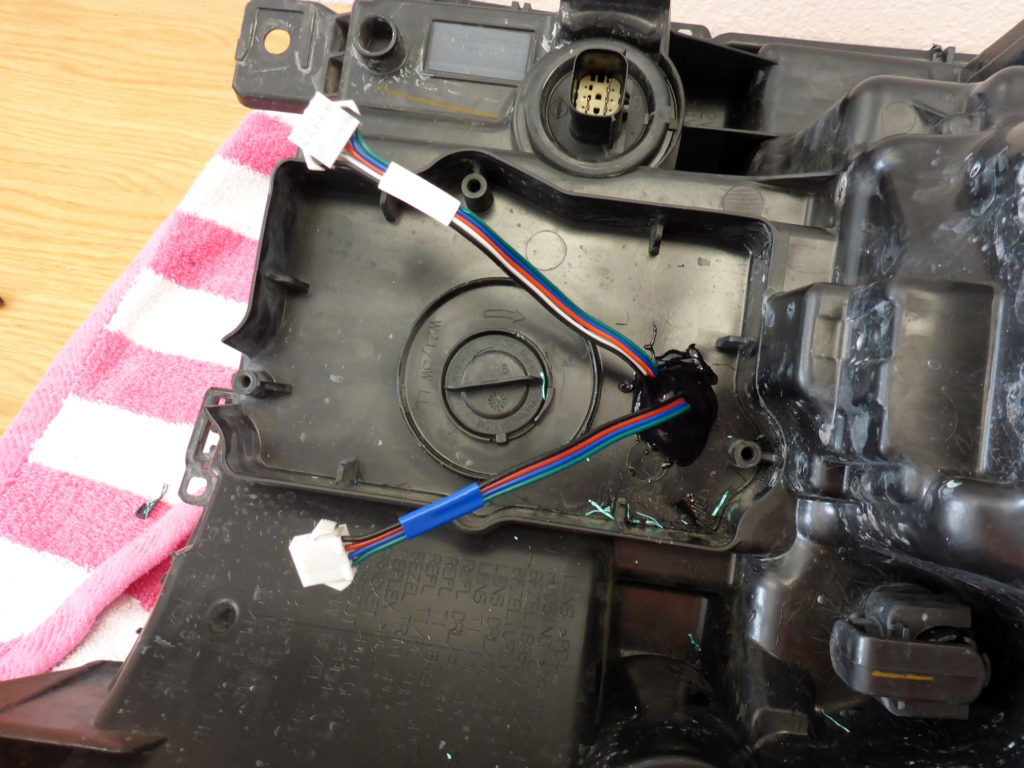
And the work begins. The headlights were removed from the truck and taken apart. These are permaseal housings, so not for the faint of heart. Also one needs to be very careful with removing the plastic trim off the housing itself as it is held on rather securely with double sided tape.
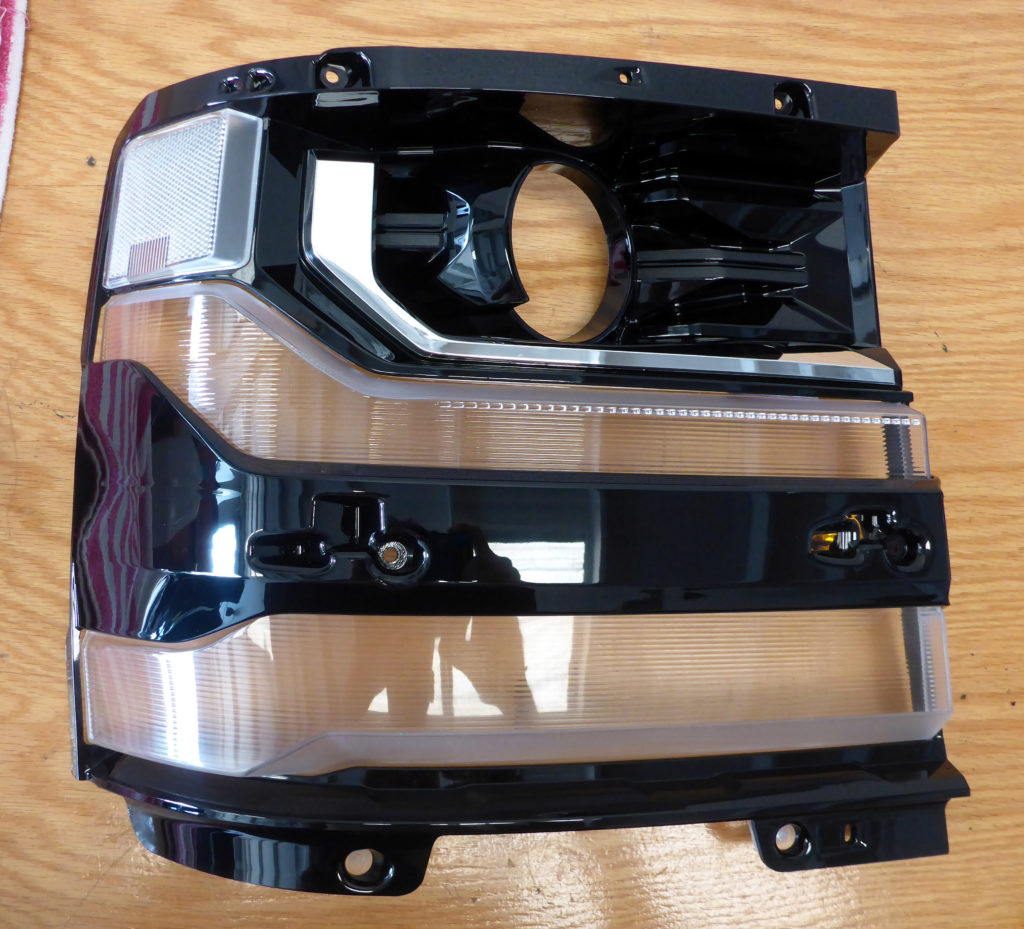
The first modification was easy and offers a massive aesthetic improvement over stock. Swapping out the amber reflector lenses to clear.
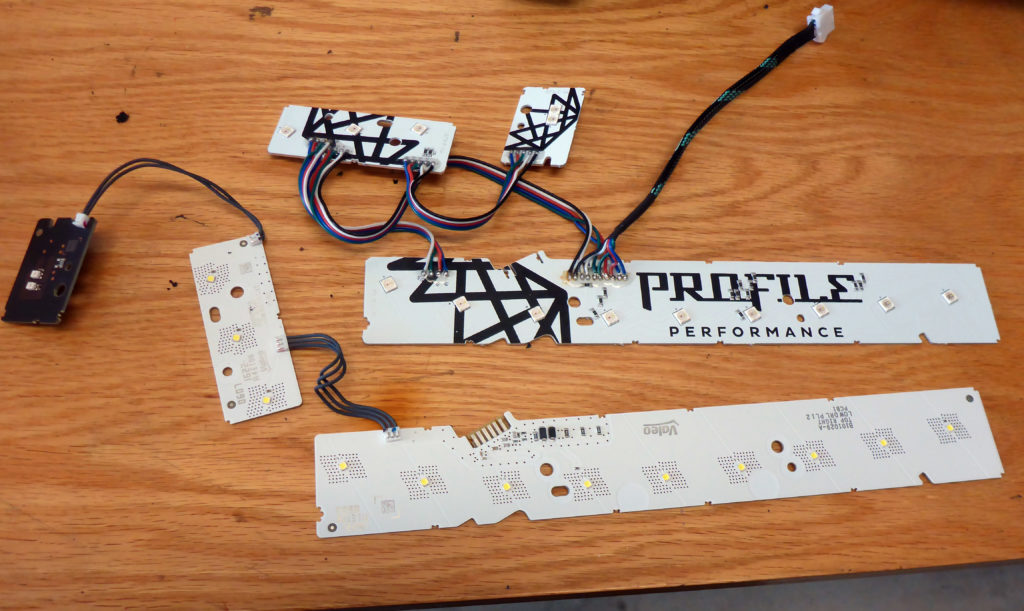
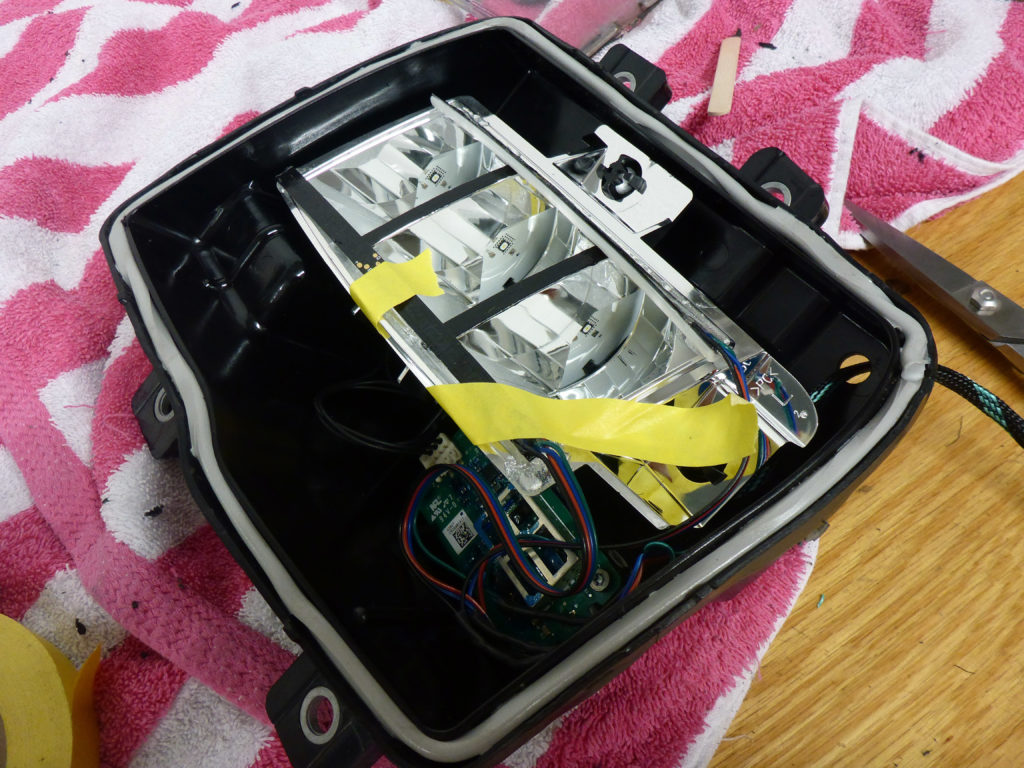
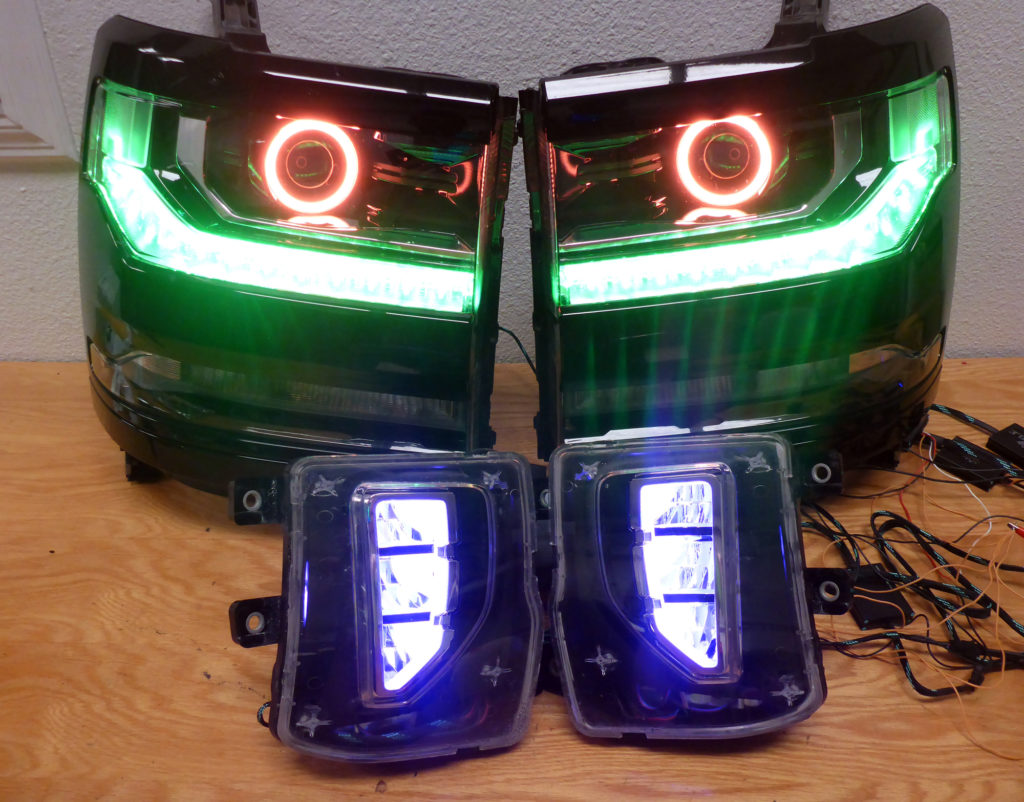
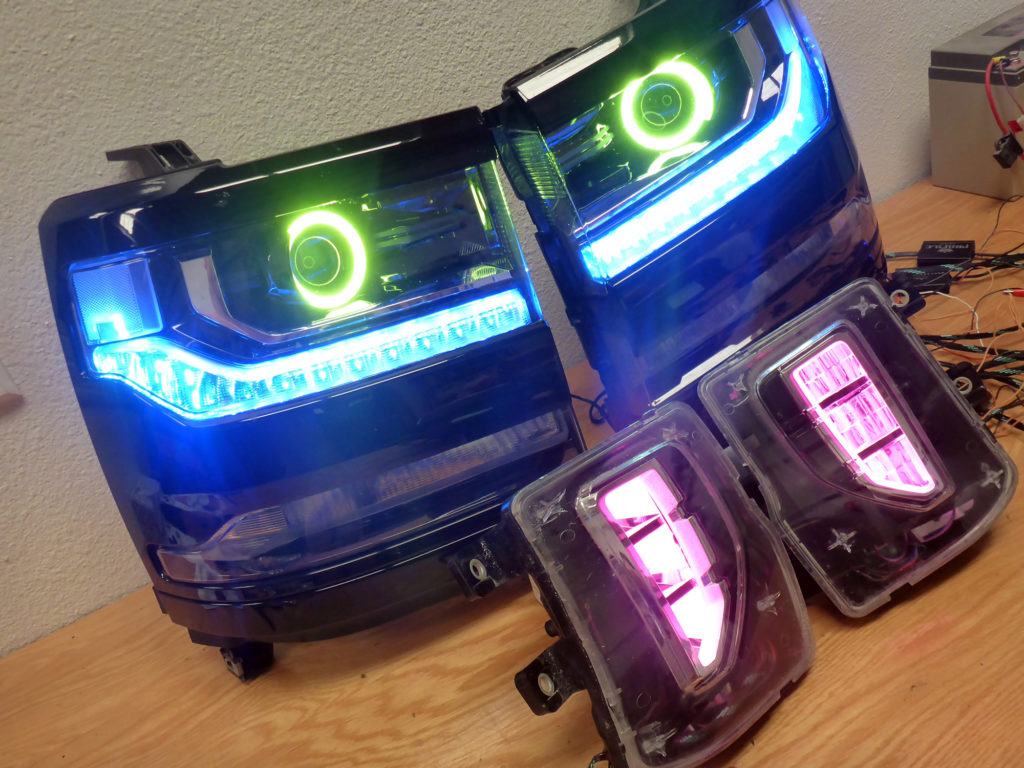
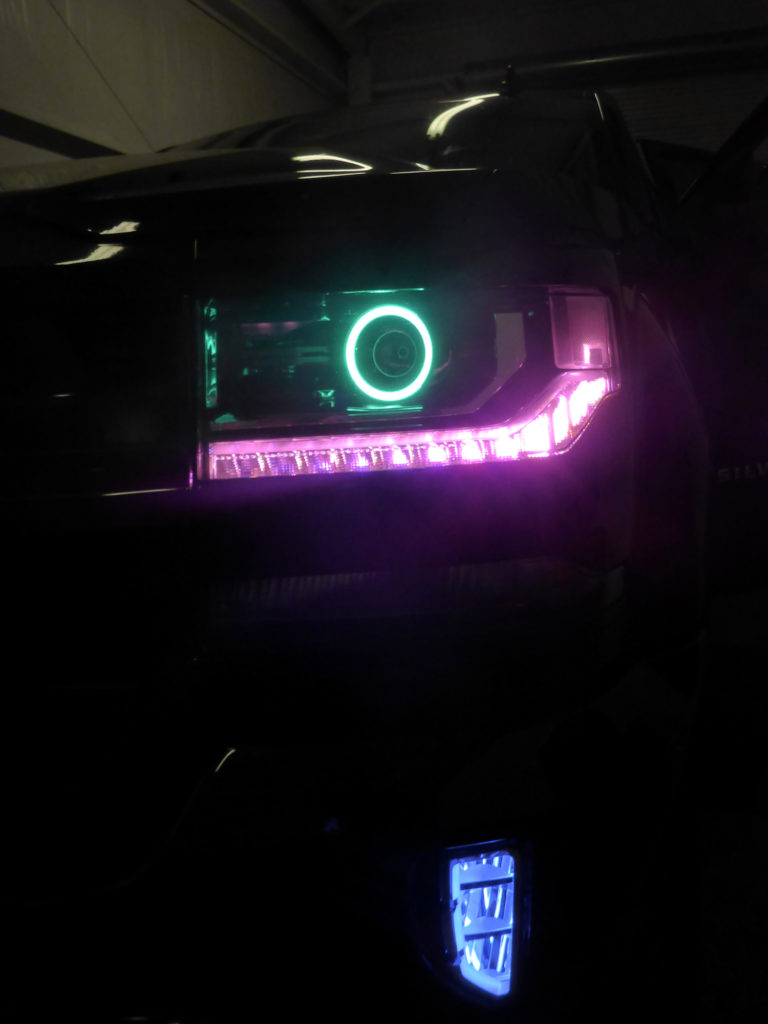
Since this build was for a show truck, we wanted RGB EVERYTHING! The OEM uses a DRL board which can be replaced with an RGB DRL board. I also installed a RGB halo. Both of these products are from Profile Performance and allow for any color to be easily selected with an app on your cell phone.

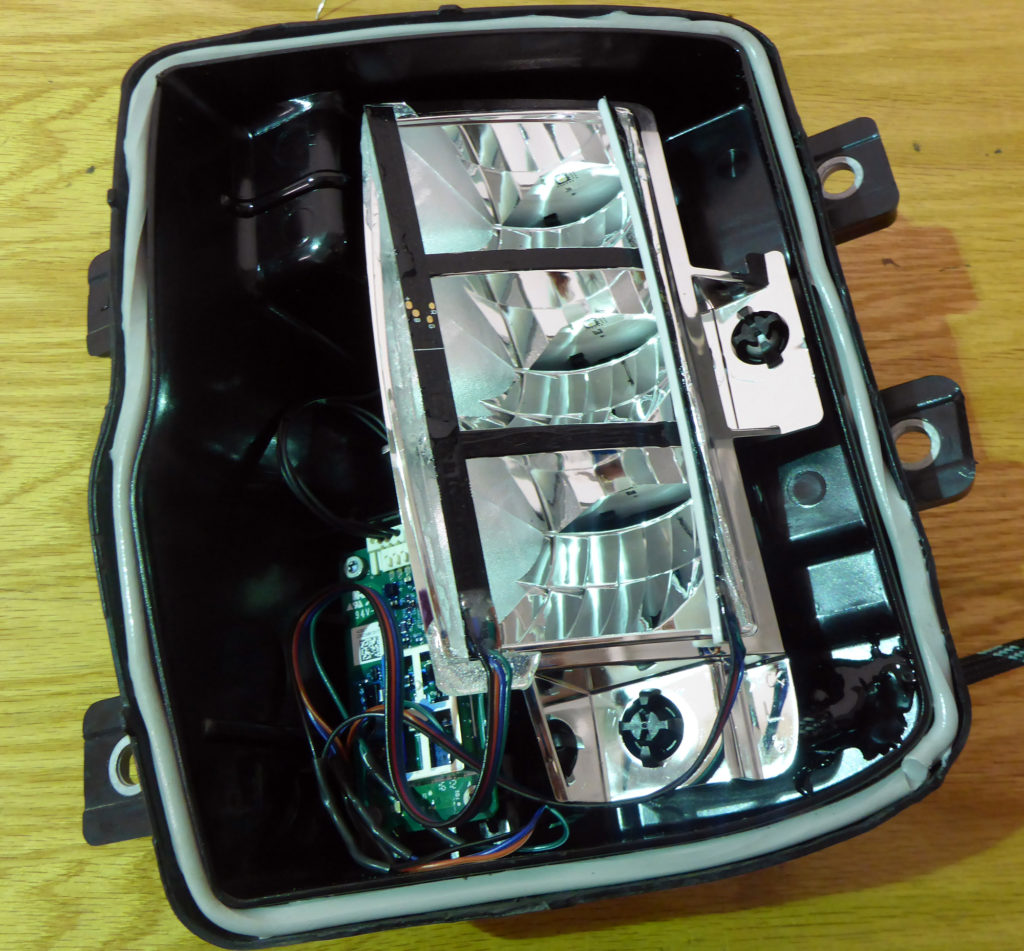
Now onwards to the fog lights! These were fun because I knew the result I wanted to accomplish but wasn’t quite sure how to go about it until I had them opened up. I ended up installing dual RGB strips on the outside perimeter of the reflector bowls facing inwards which gave me a great bright glow without having the strips themselves visible. I also painted the ‘dividers’ black just to add a little subtle touch. Classy.
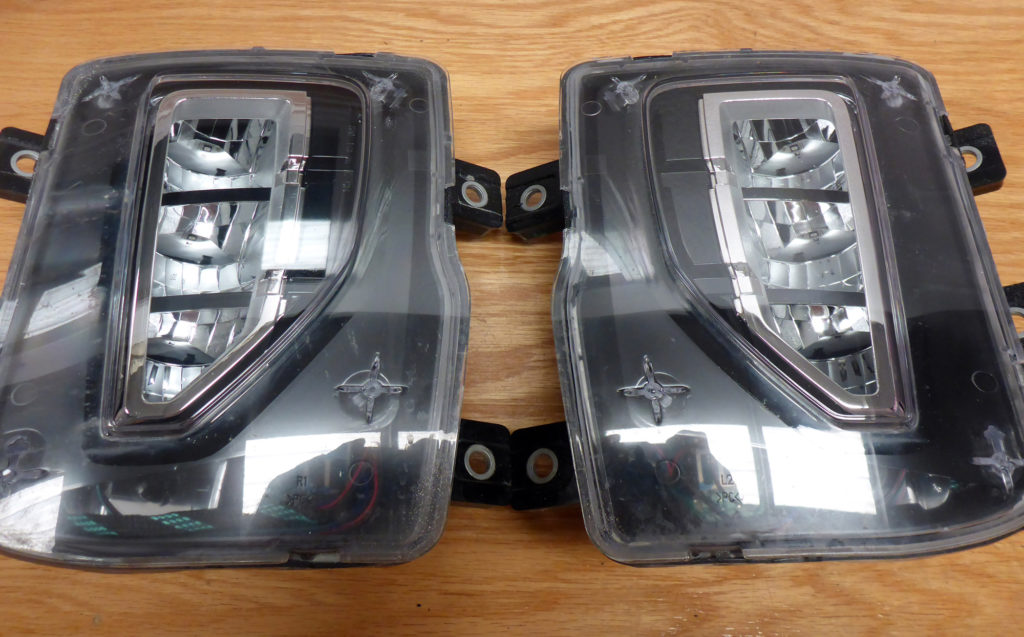
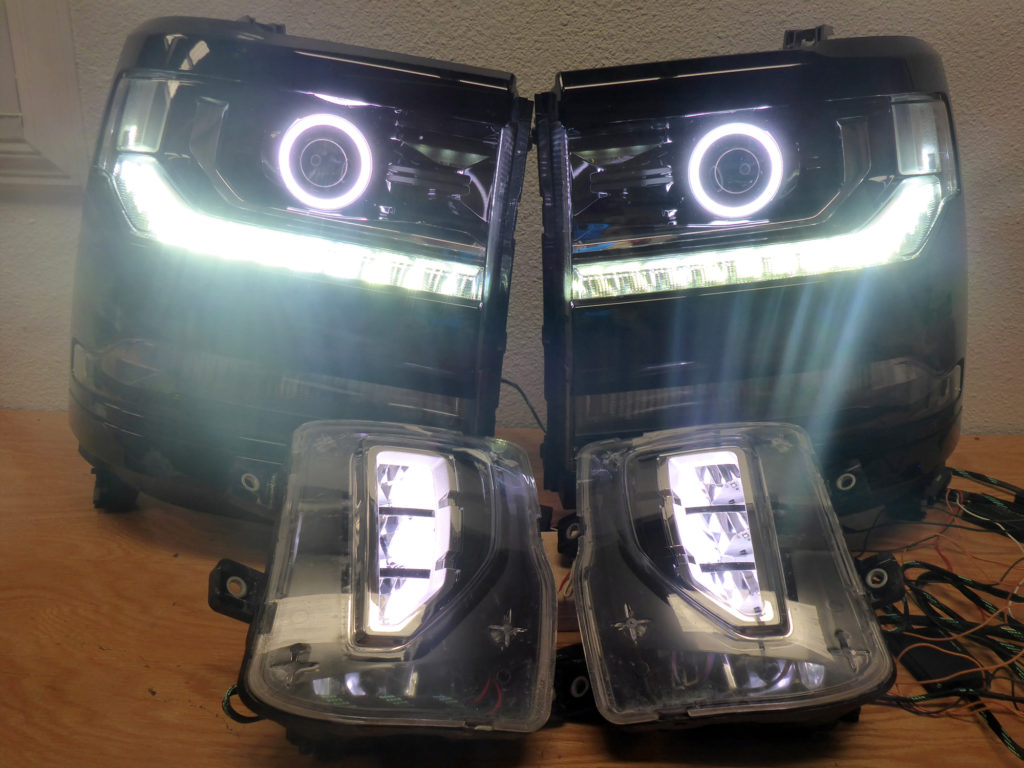
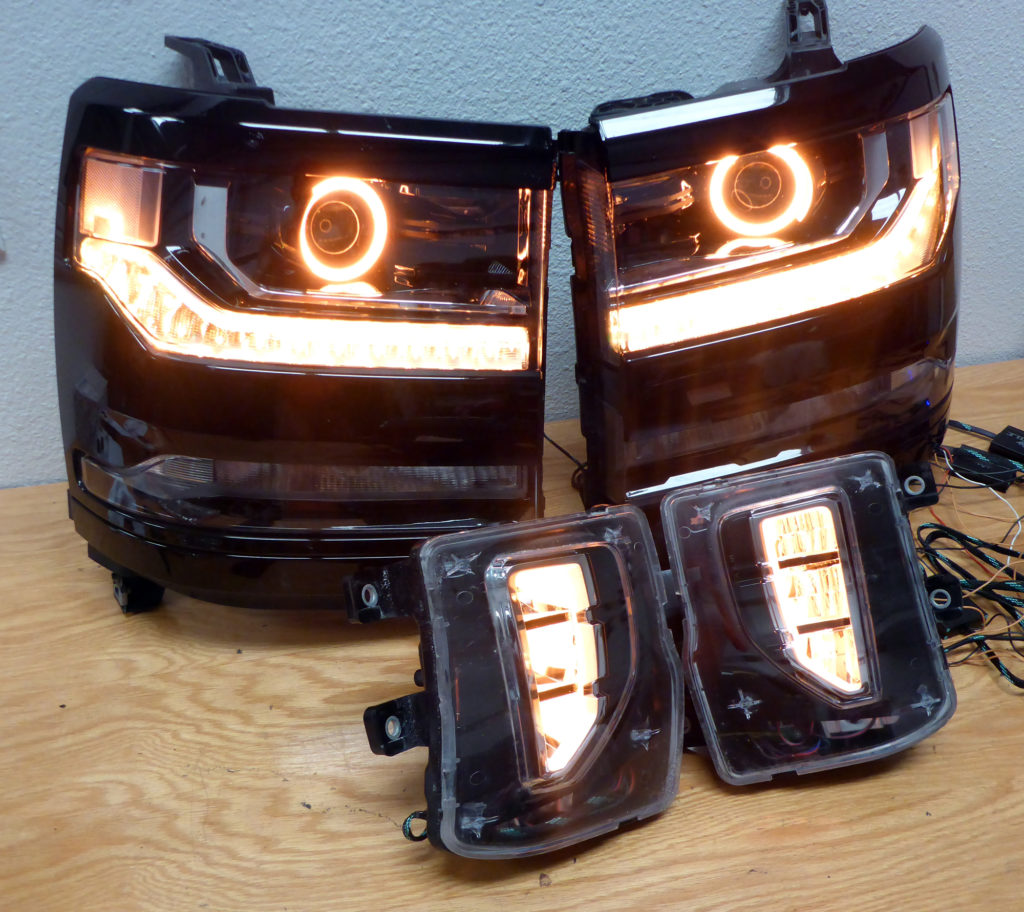
The headlights were reassembled and everything was bench tested. With a single 3 channel Bluetooth controller, the halos, DRLs, and fogs could be controlled independently of each other. As an added bonus, ALL of these products are switchback, so they all blink amber with the turn signal for a very impressive look. Phase 1 was complete!

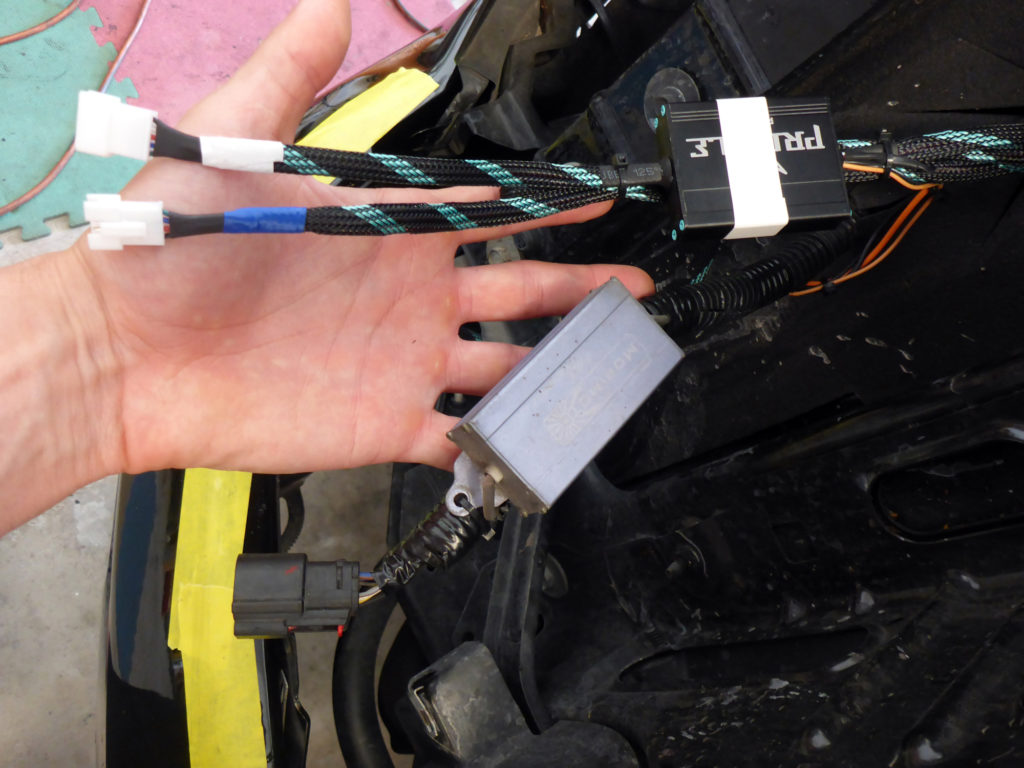
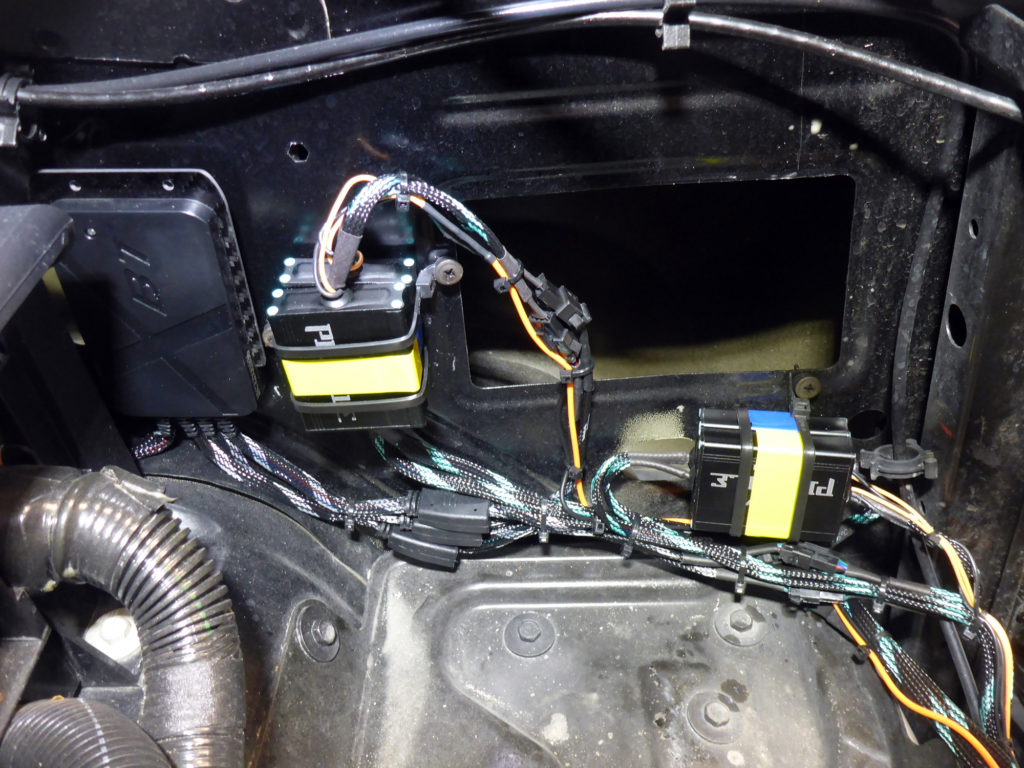
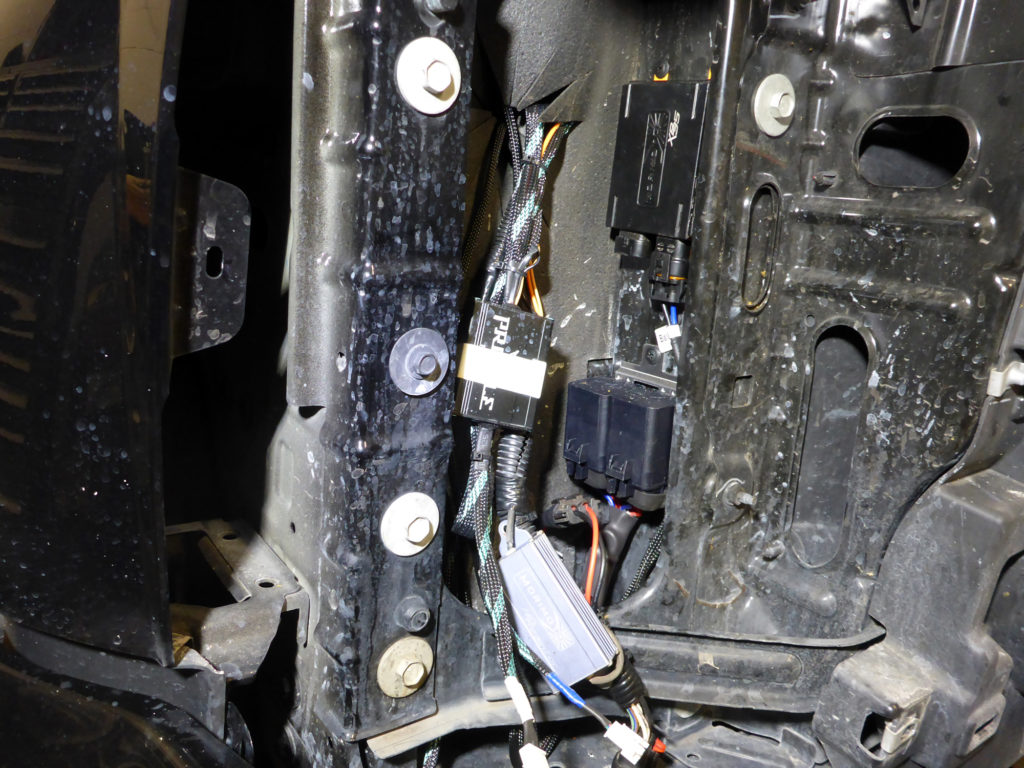
When installing on the vehicle, all wiring is run with the OEM wiring and zip tied appropriately. All drivers and connectors are color coded to prevent confusion, resistors are installed where necessary, and nothing is hanging loosely. In short: everything is installed with care and foresight, not just thrown into the vehicle as quickly as possible.

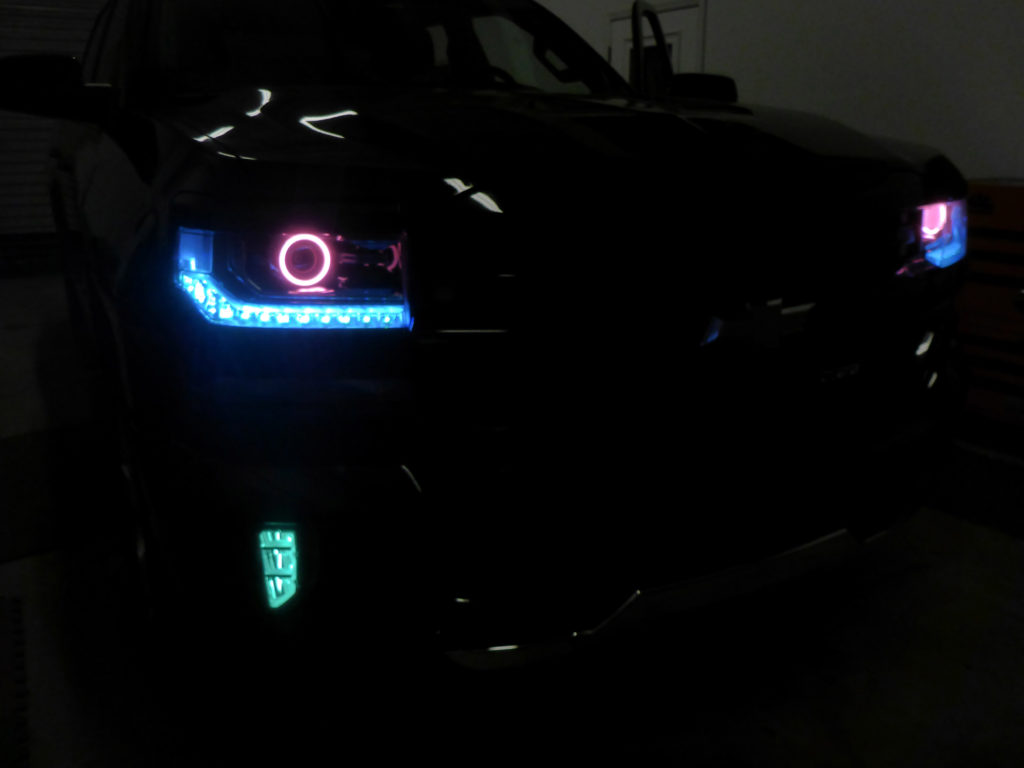
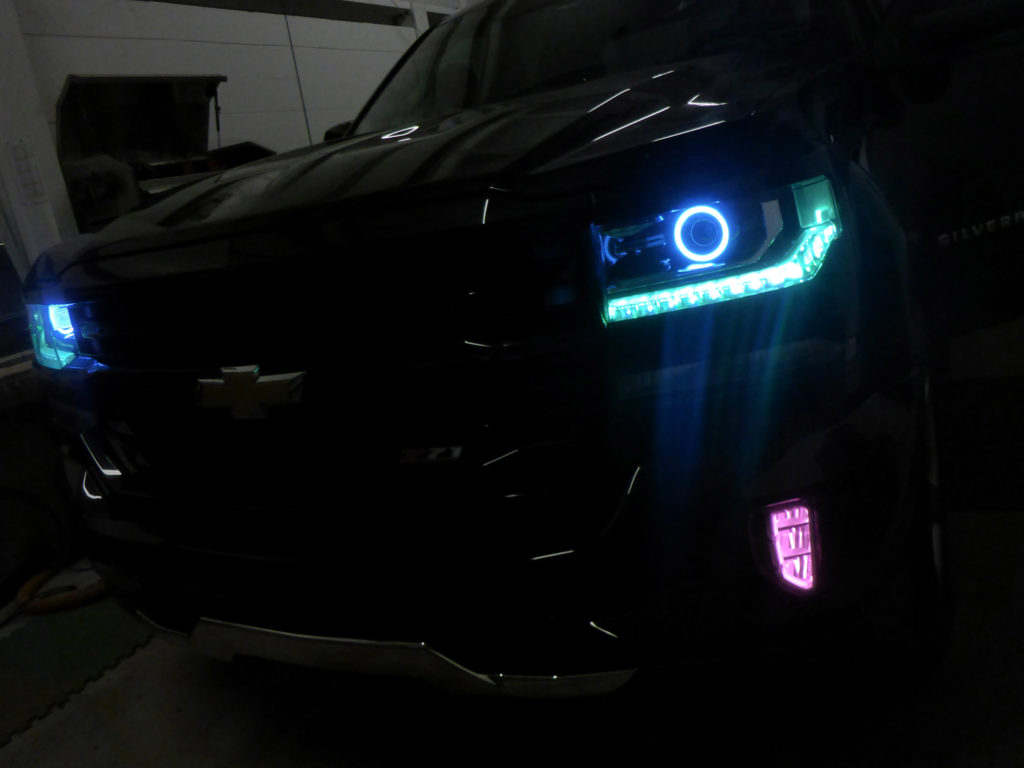
Here’s a couple finished installed pictures of the headlights and fog lights in action:
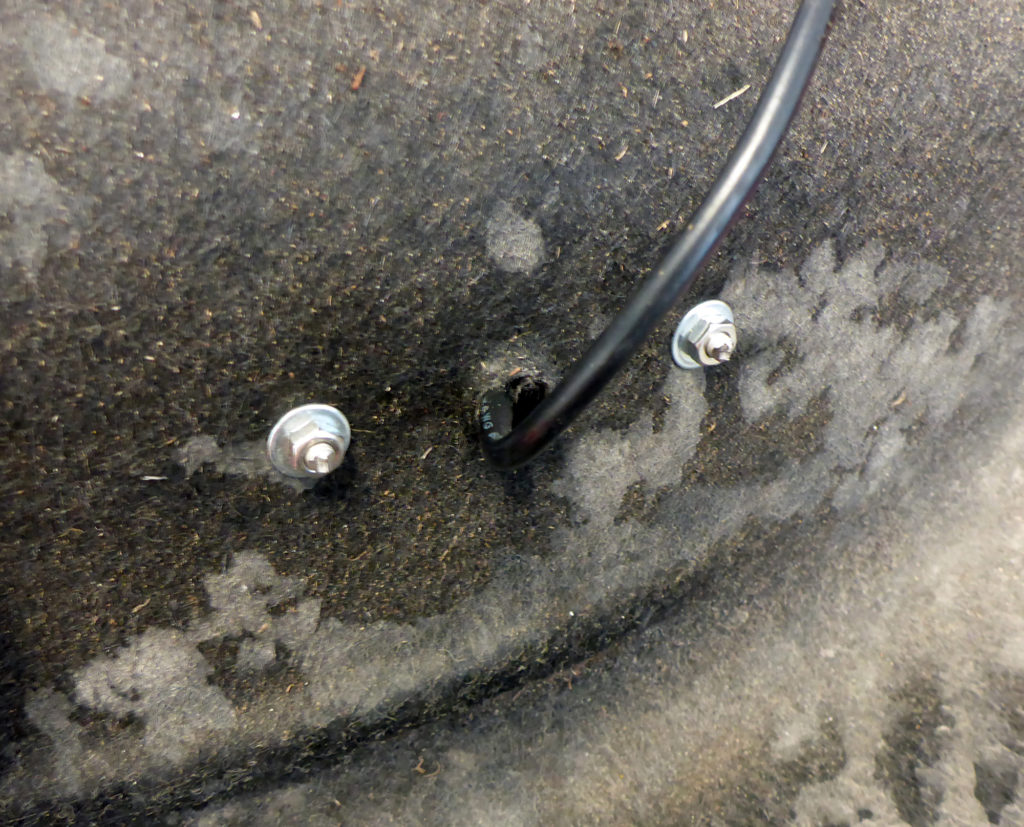
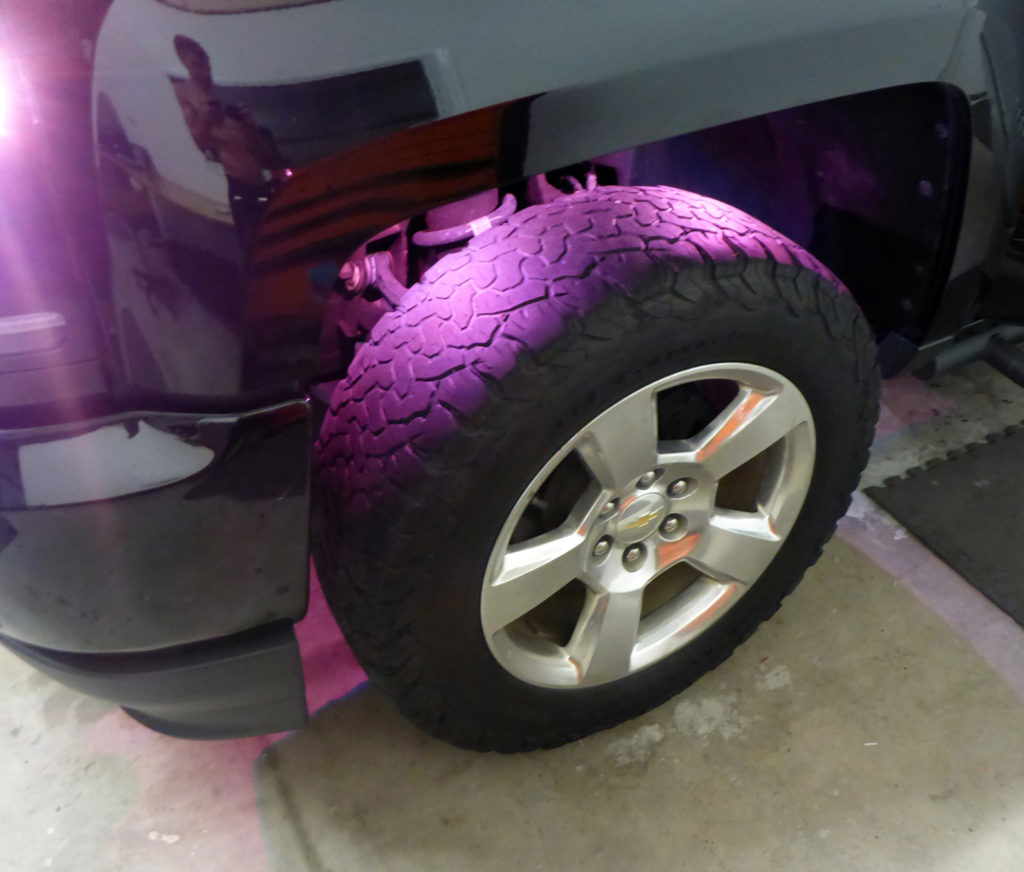
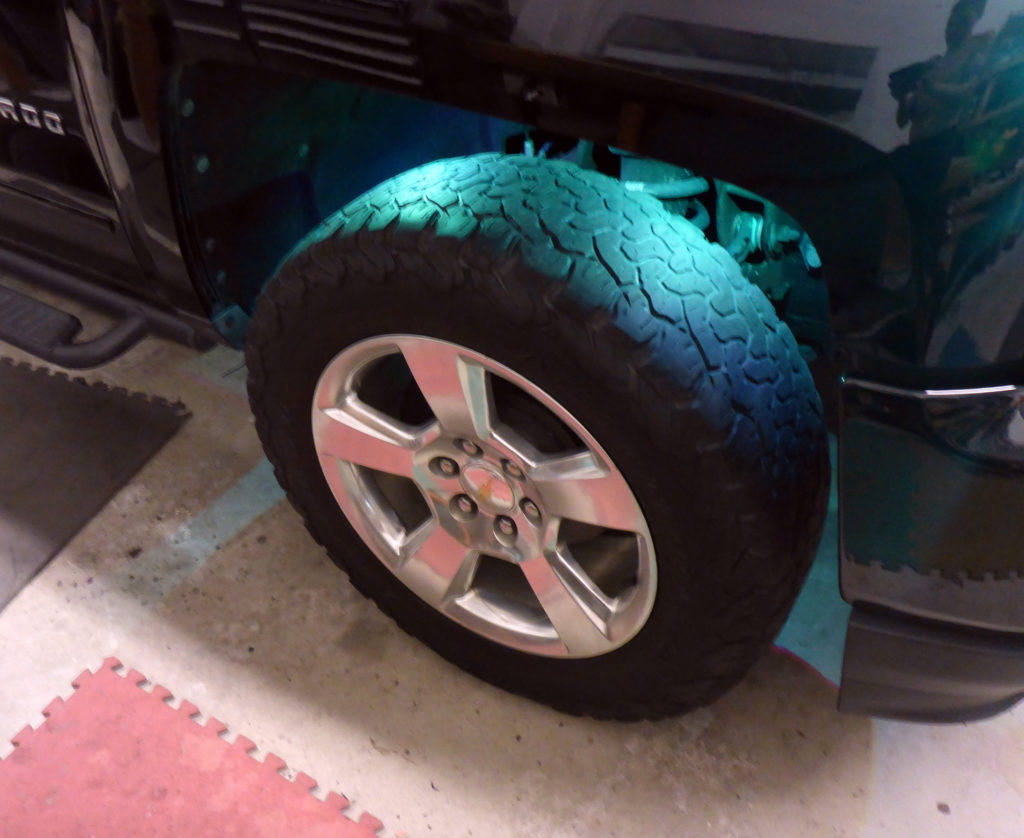
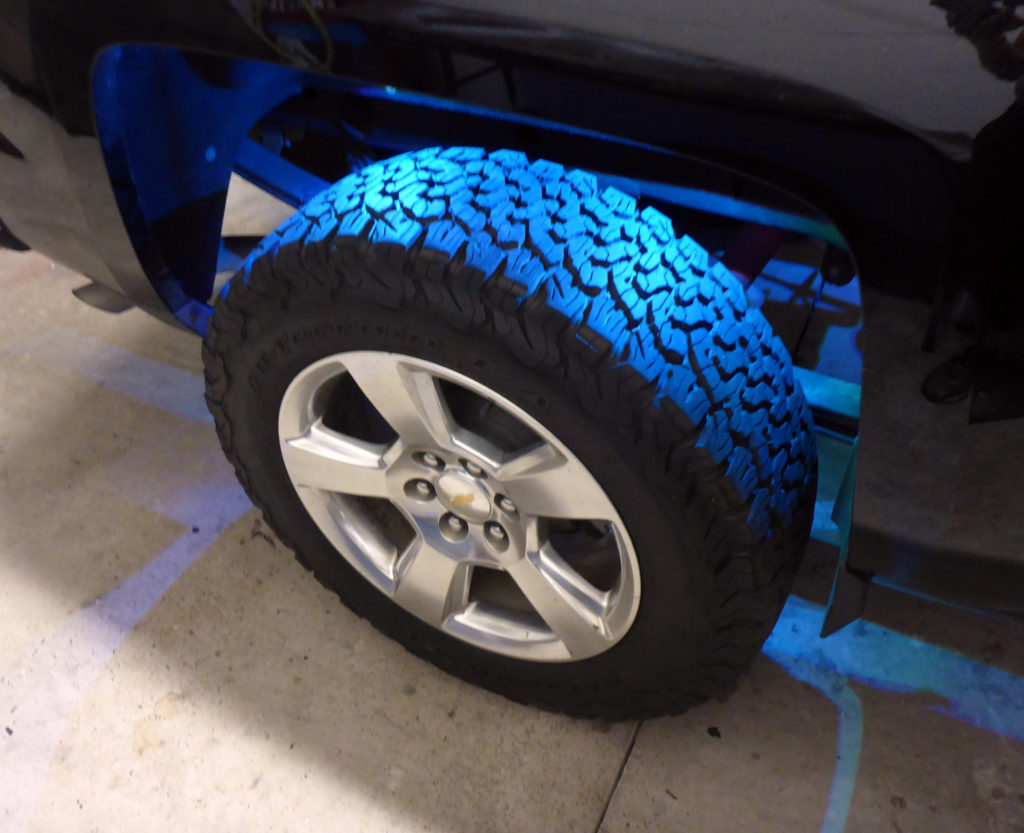
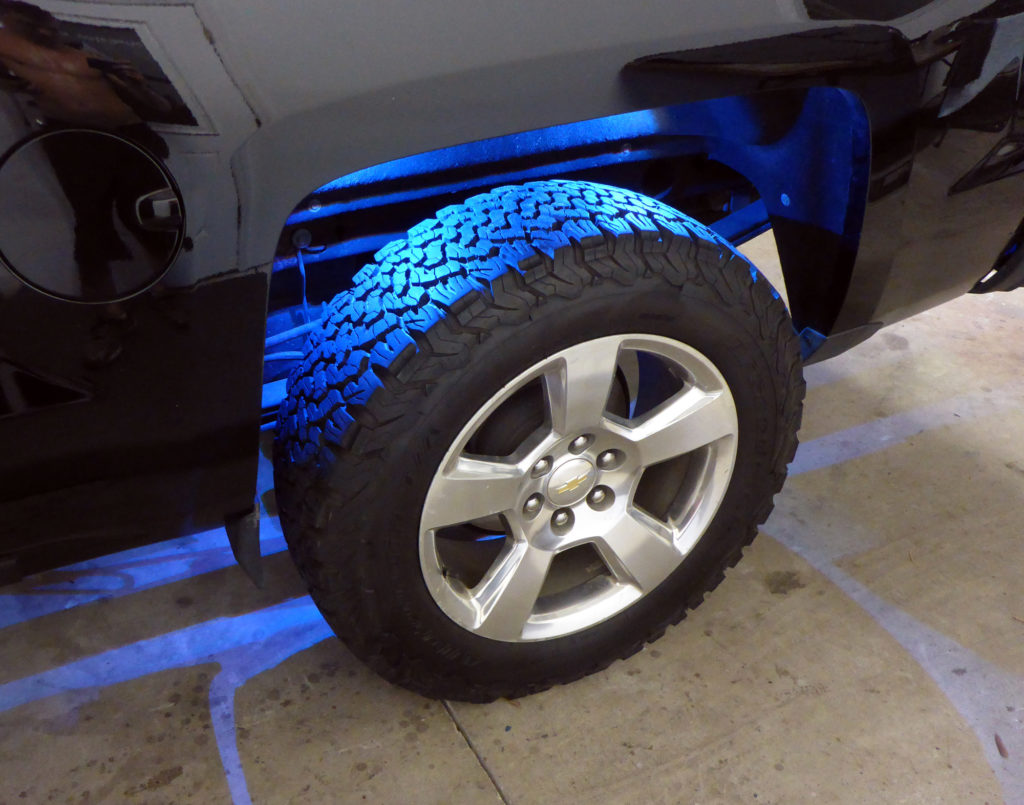
All right, now let’s move onto the next phase of this lighting build. The rock lights. Hooray, we love lighting up tires on trucks. I installed a set of lights per wheel well, each equally spaced so that the light would be evenly distributed. Stainless hardware was used to ensure longevity. All the wiring was run securely and safely with OEM wiring underneath the truck to a centralized location inside the cab to be controlled by a separate Bluetooth controller.
Let’s look at some completed pictures of those wheels glowing, shall we?
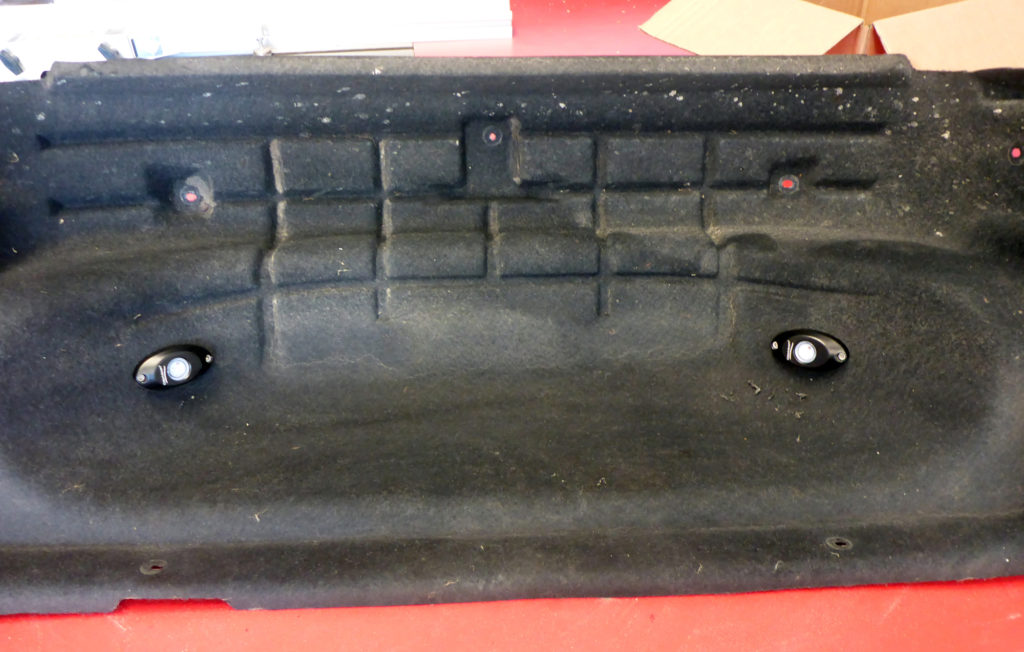
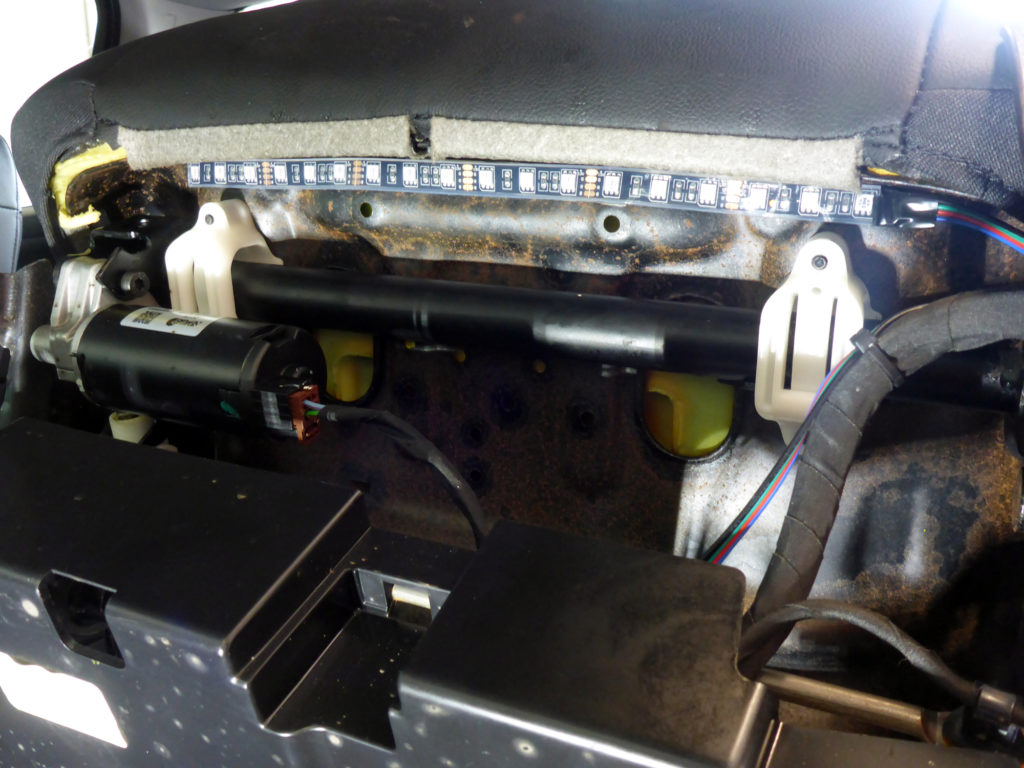
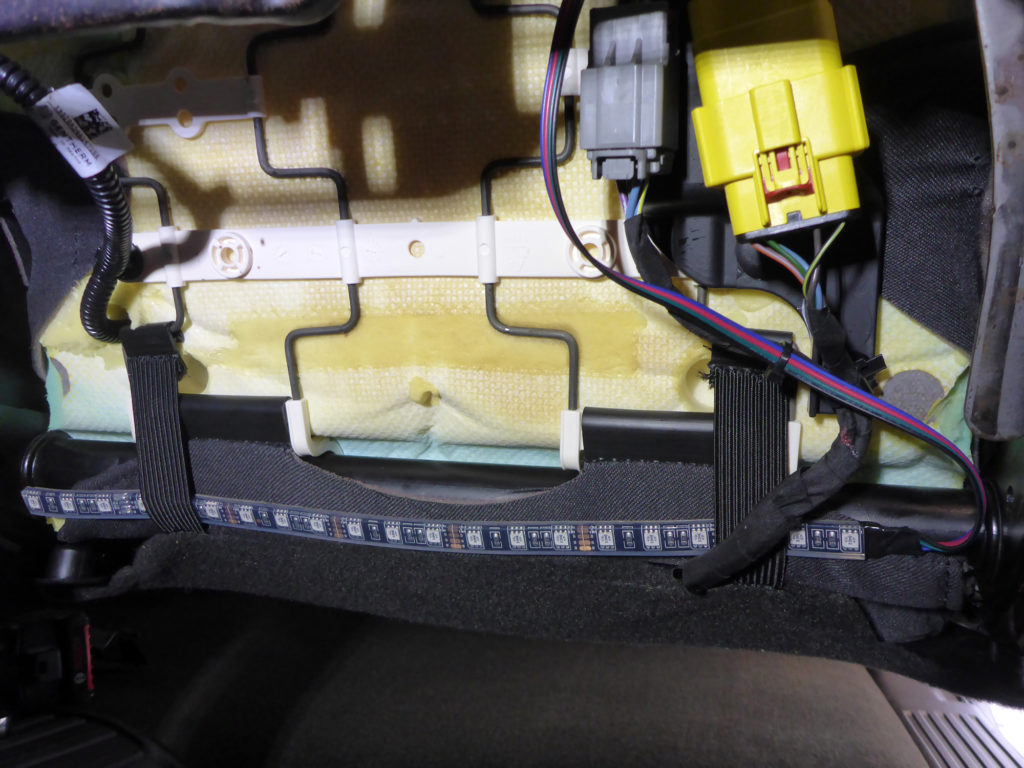
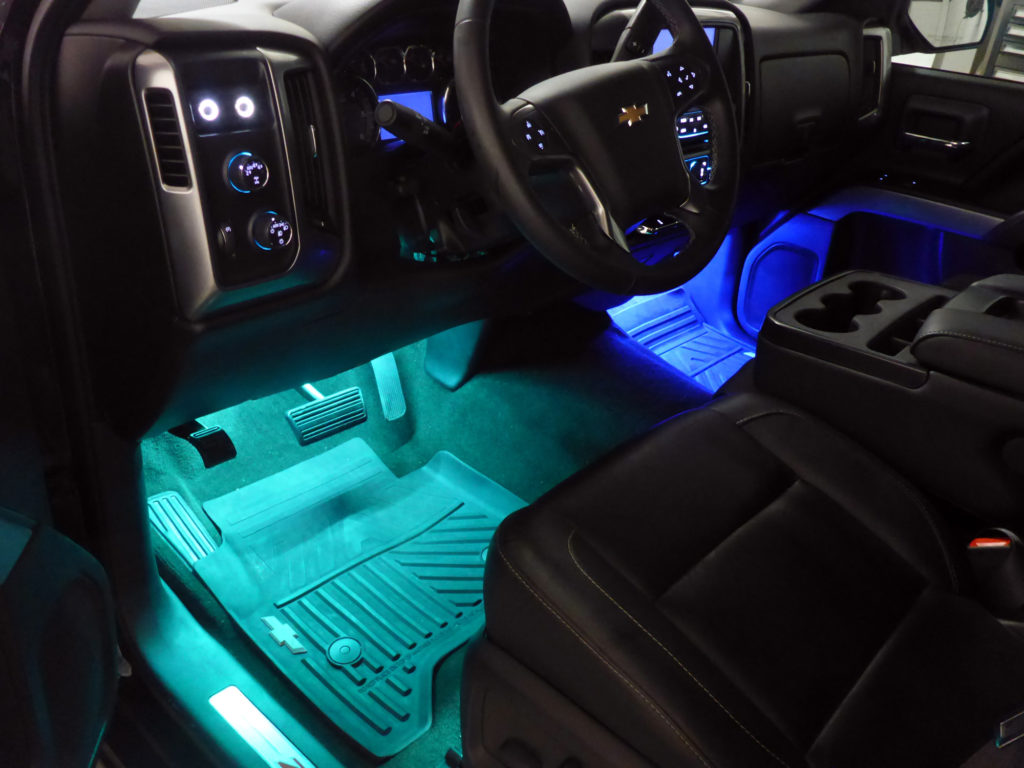
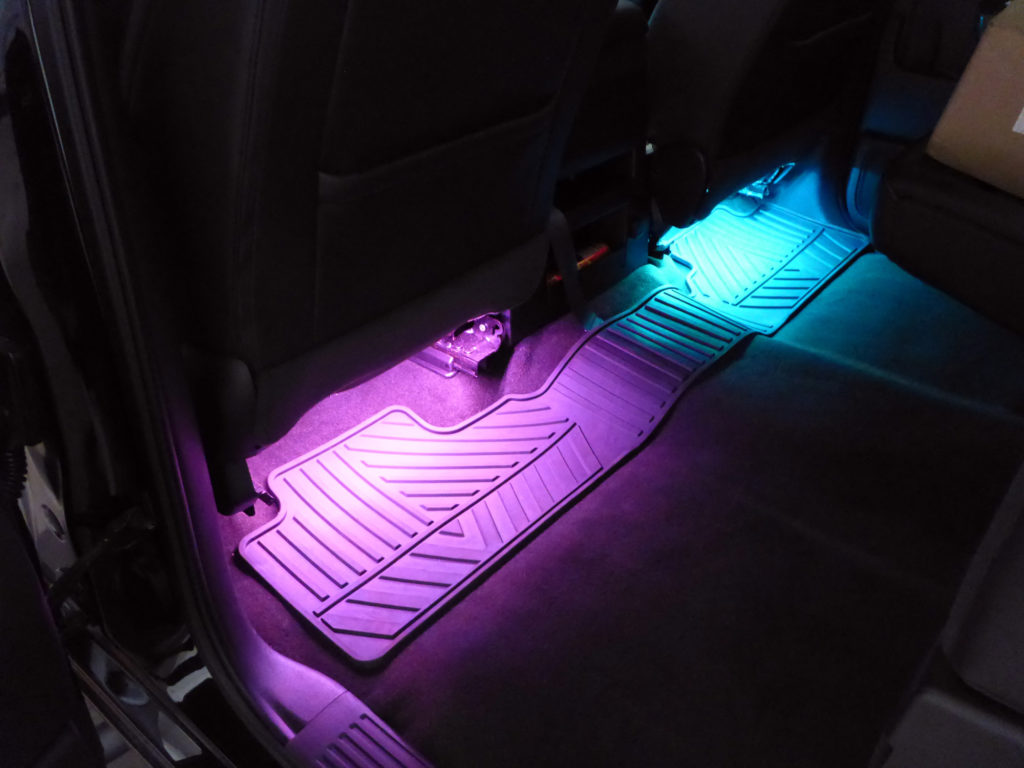
For the next phase of lighting on this Silverado, we wanted to make the interior glow as beautifully as the exterior. This was accomplished utilizing Profile Pixel RGB LED strips underneath the dash and strips under the front and rear of the driver and passenger seats. This provides a bright even glow in all footwell areas without seeing any actual LEDs. The most important difference as to how I install interior lighting is that I don’t utilize off-the-shelf kits. All of my strips are cut to length and soldered so that light output is maximized. Even more importantly than that, every strip is put on a plug for serviceability in case any part of the truck’s interior needs to be disassembled. These plugs are also a lifesaver when it comes to troubleshooting or isolating potential future issues. Check it out:

The interior lighting is also controlled via another Morimoto Bluetooth controller, with the driver and passenger side controlled independently.
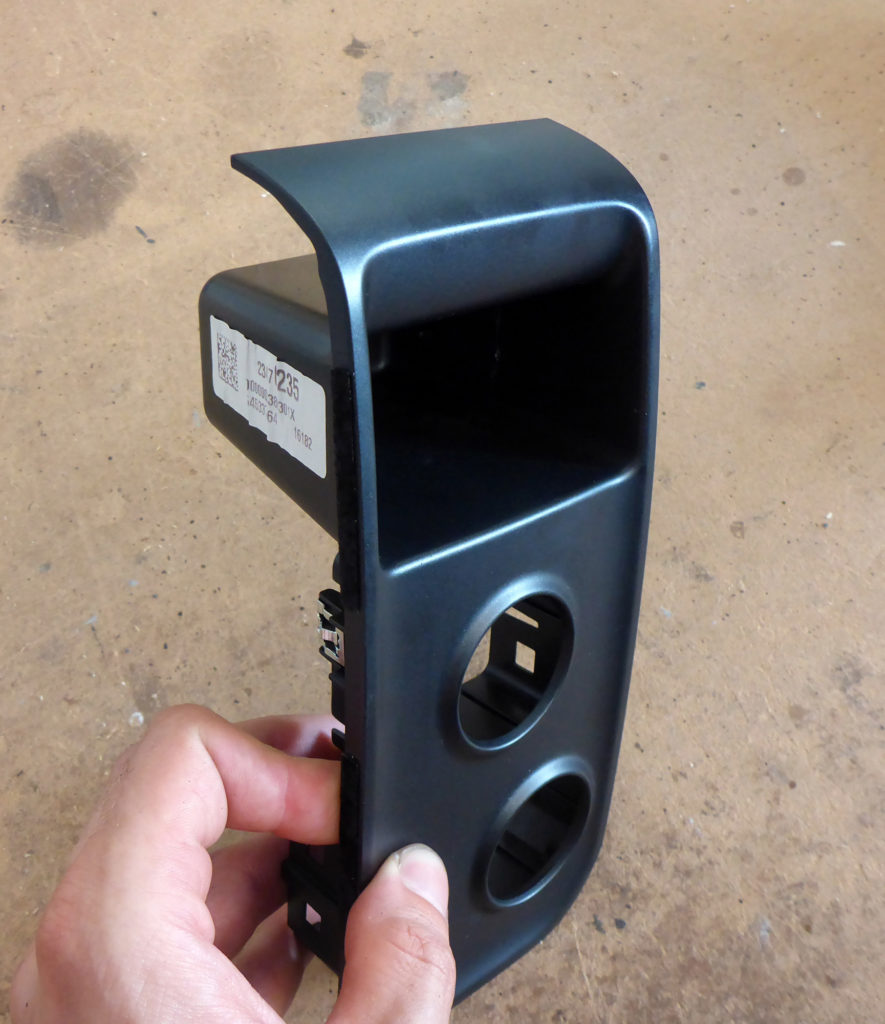
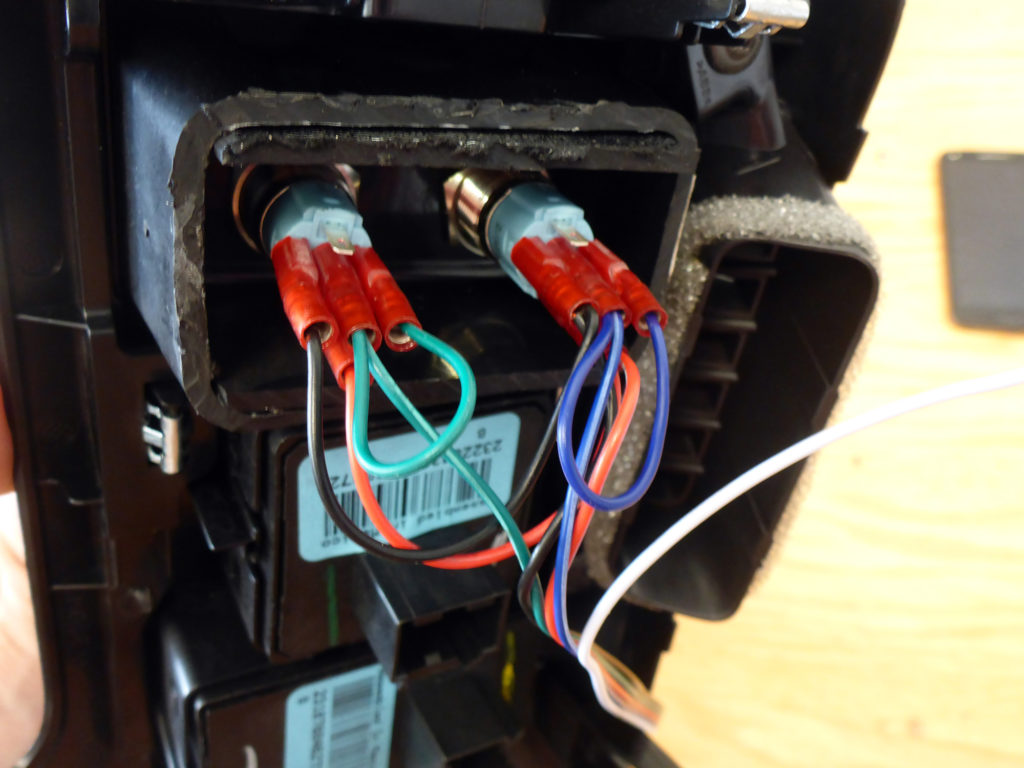
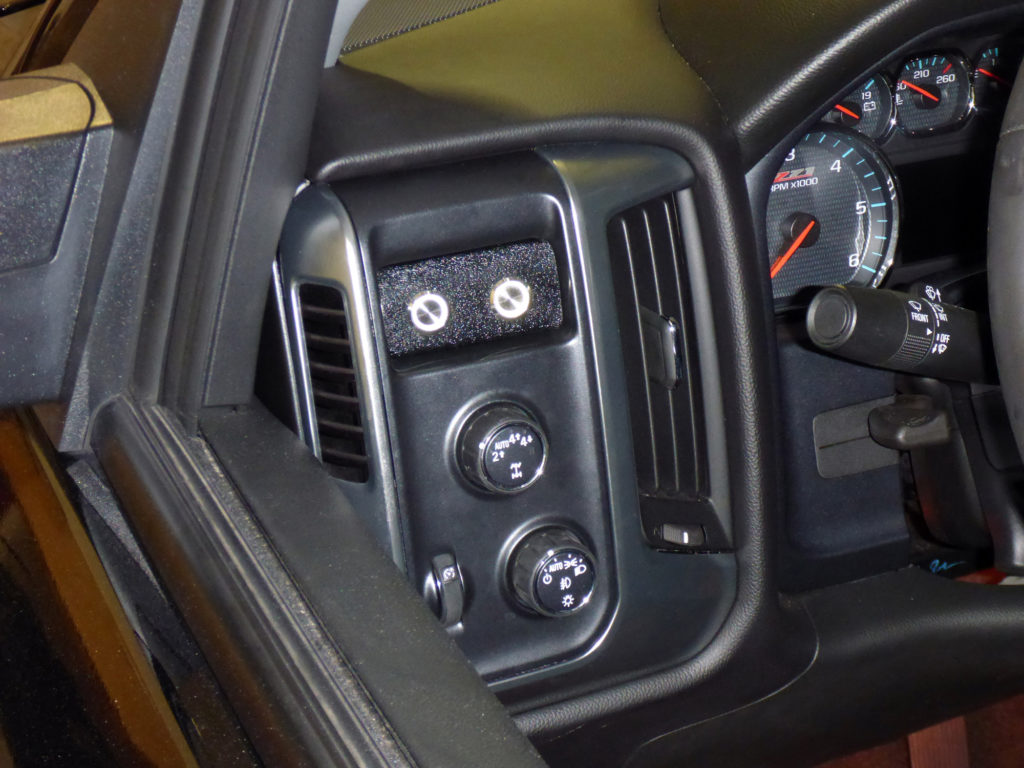
By this point, you may be wondering: “How many damn RGB controllers does this guy have?!” The answer is three, which is, relatively speaking, a LOT. That’s nine channels of independent control. One really fun aspect of this vehicle though is how these controllers are wired up and operate. The lighting in the headlights and foglights automatically turn on with the vehicle (switched ignition power) but can ALSO be turned on by a button for car shows. A second button allows for turning on interior lighting and rock lighting. The buttons have a real clean white halo that lights up when turned on so nothing gets accidentally left on. A real simple panel was molded to house these buttons shown below:
Okay, ONE LAST PHASE!… for now… 🙂
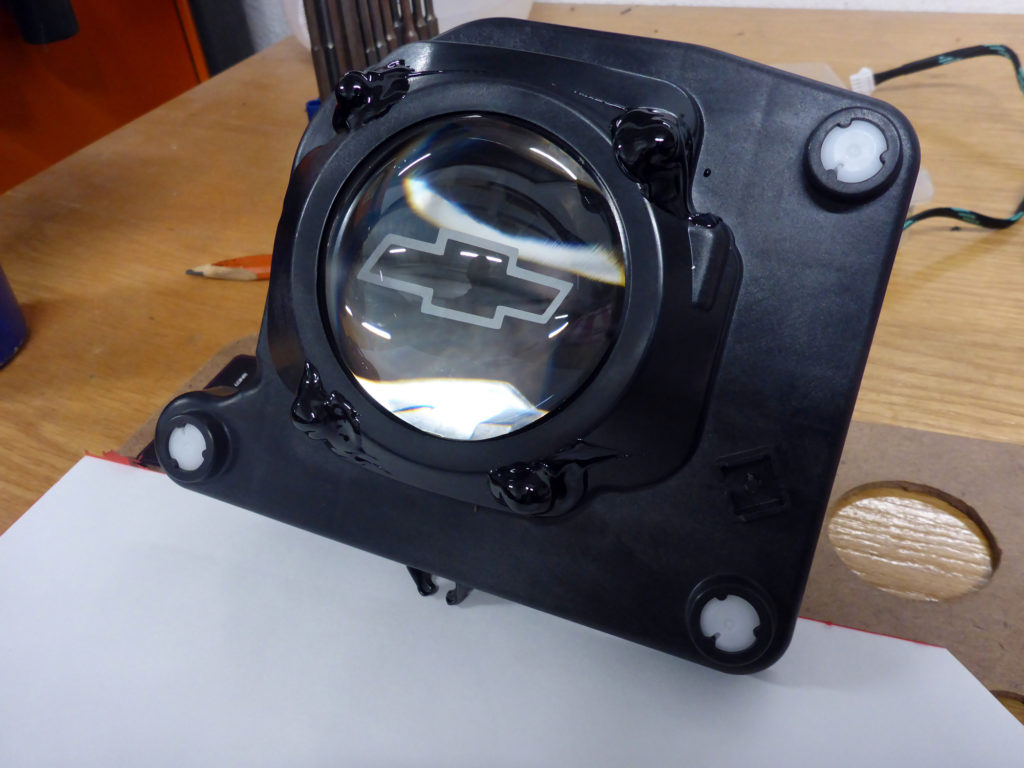
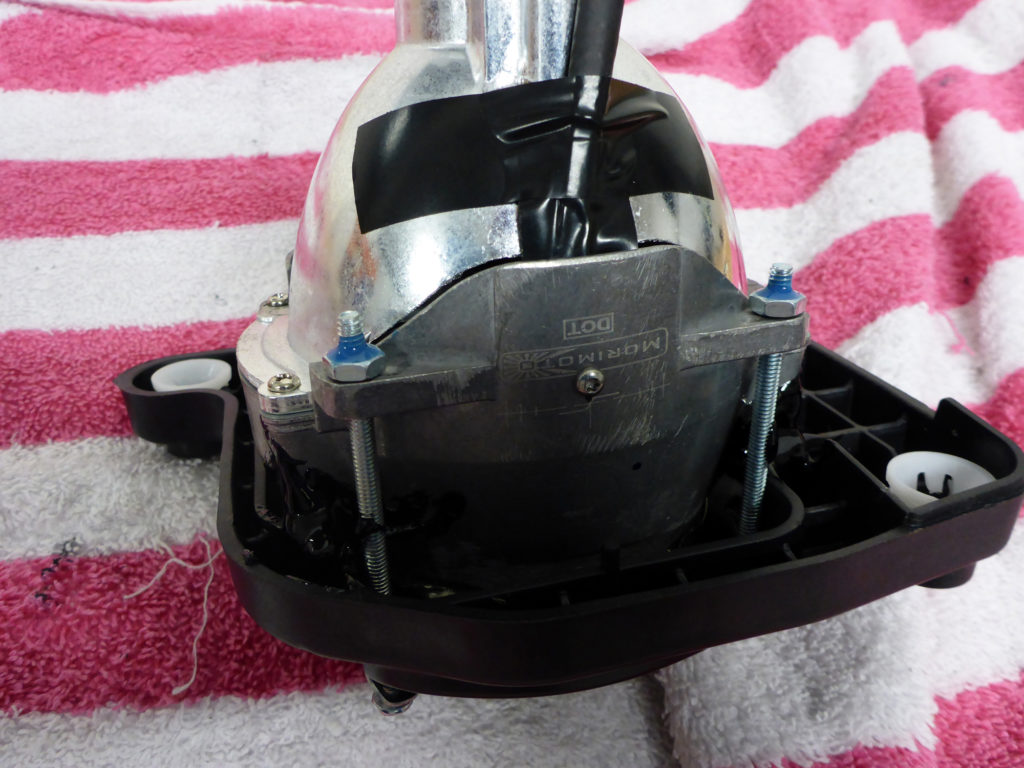
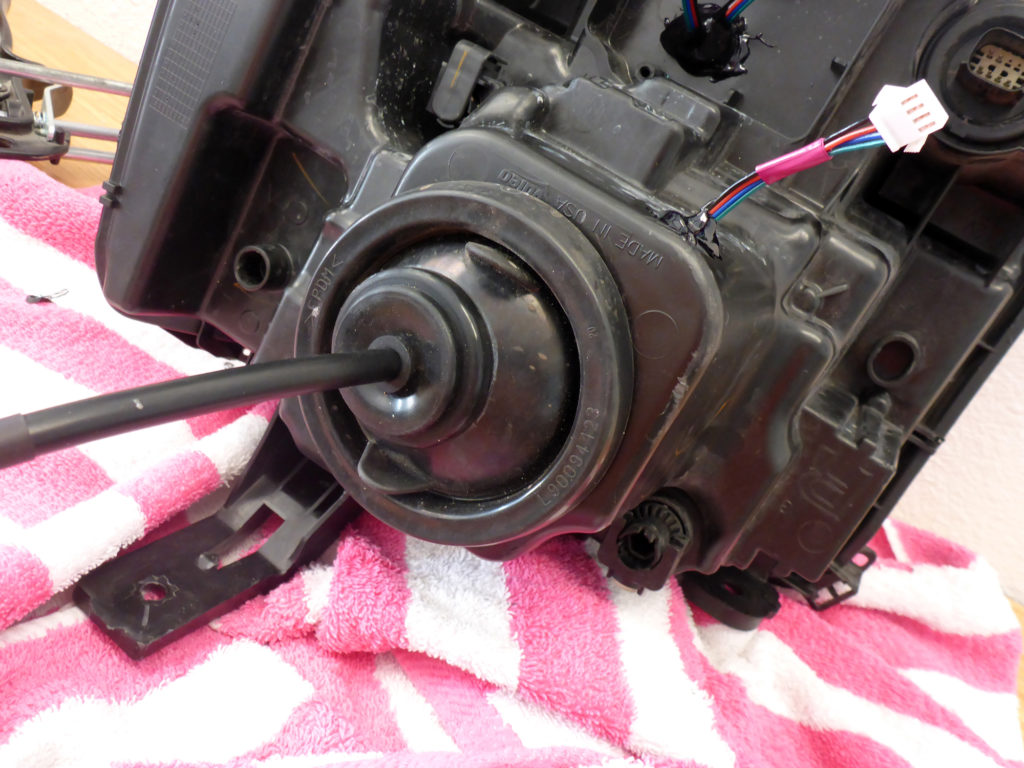
Finally, the moment for which I had been waiting. We upgraded the functionality of the headlights themselves. The OEM 25W D5S Projectors and HIDs were lackluster at best and required replacement. For this task, I chose the FX-R projector: a real heavy hitter in the world of high performance lighting options. Paired with a Morimoto D2S 35W HID kit, this headlight setup not only looks good, but is now a superb performer. Getting this projector into place took some finesse and creativity resulting in a reliable nut&bolt installation. For some added flair, a Chevy Bowtie was etched into the projector lens and an RGB Profile Prism Demon Eye was installed as well.

Additional necessary LED drivers, relay harnesses, ballasts, ignitors, essentially all the fun stuff was installed. The headlight housing itself was sealed properly against moisture penetration and allowed for all of the new wiring to come out.
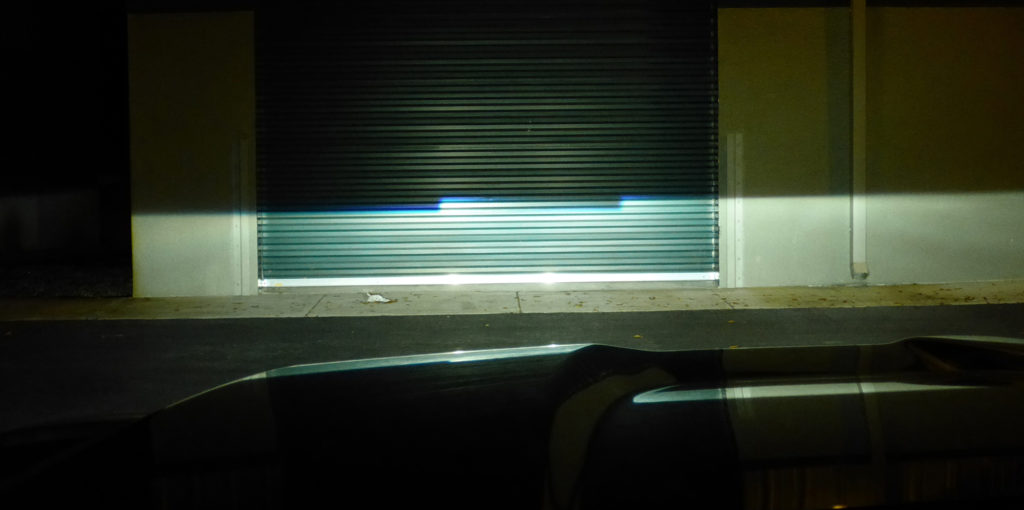
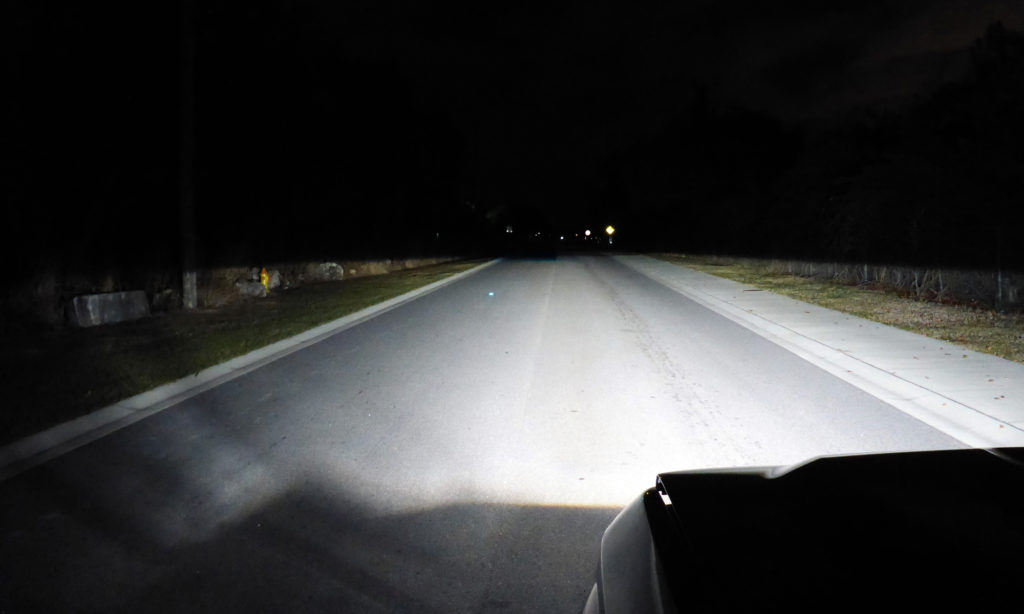
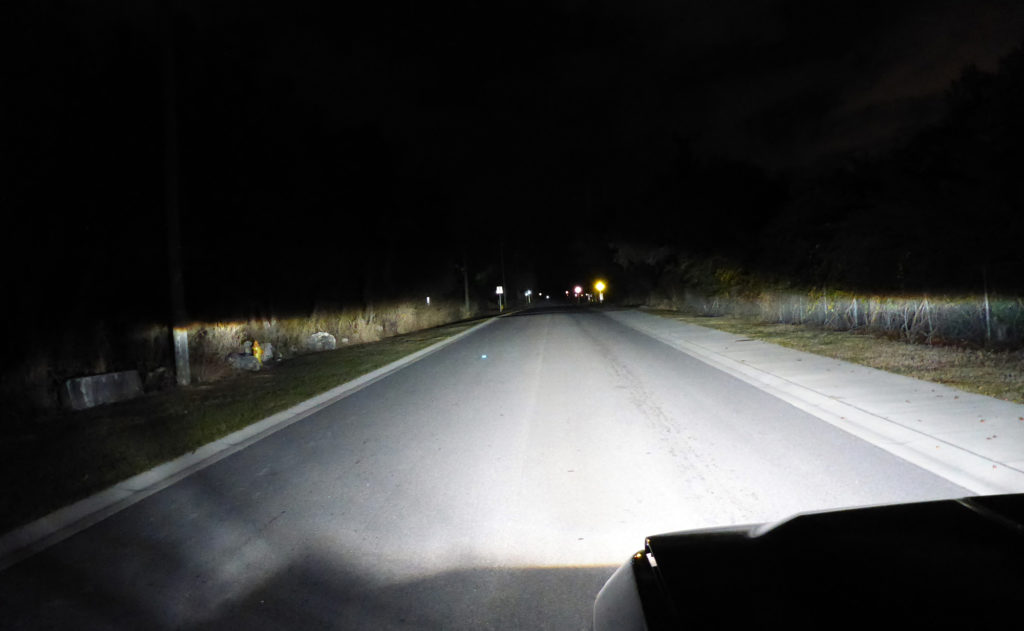
You want to see some sweet output shots? Hell yea you do. This is the super money stuff. Low beams and high beams both pictured:


And that’s it for this Silverado! For now. 😀