2020 Hyundai Kona EV Custom Headlights
Addressable/Flow Series, Lens Etching, Paintwork, Projector Retrofit, Quad Retrofit
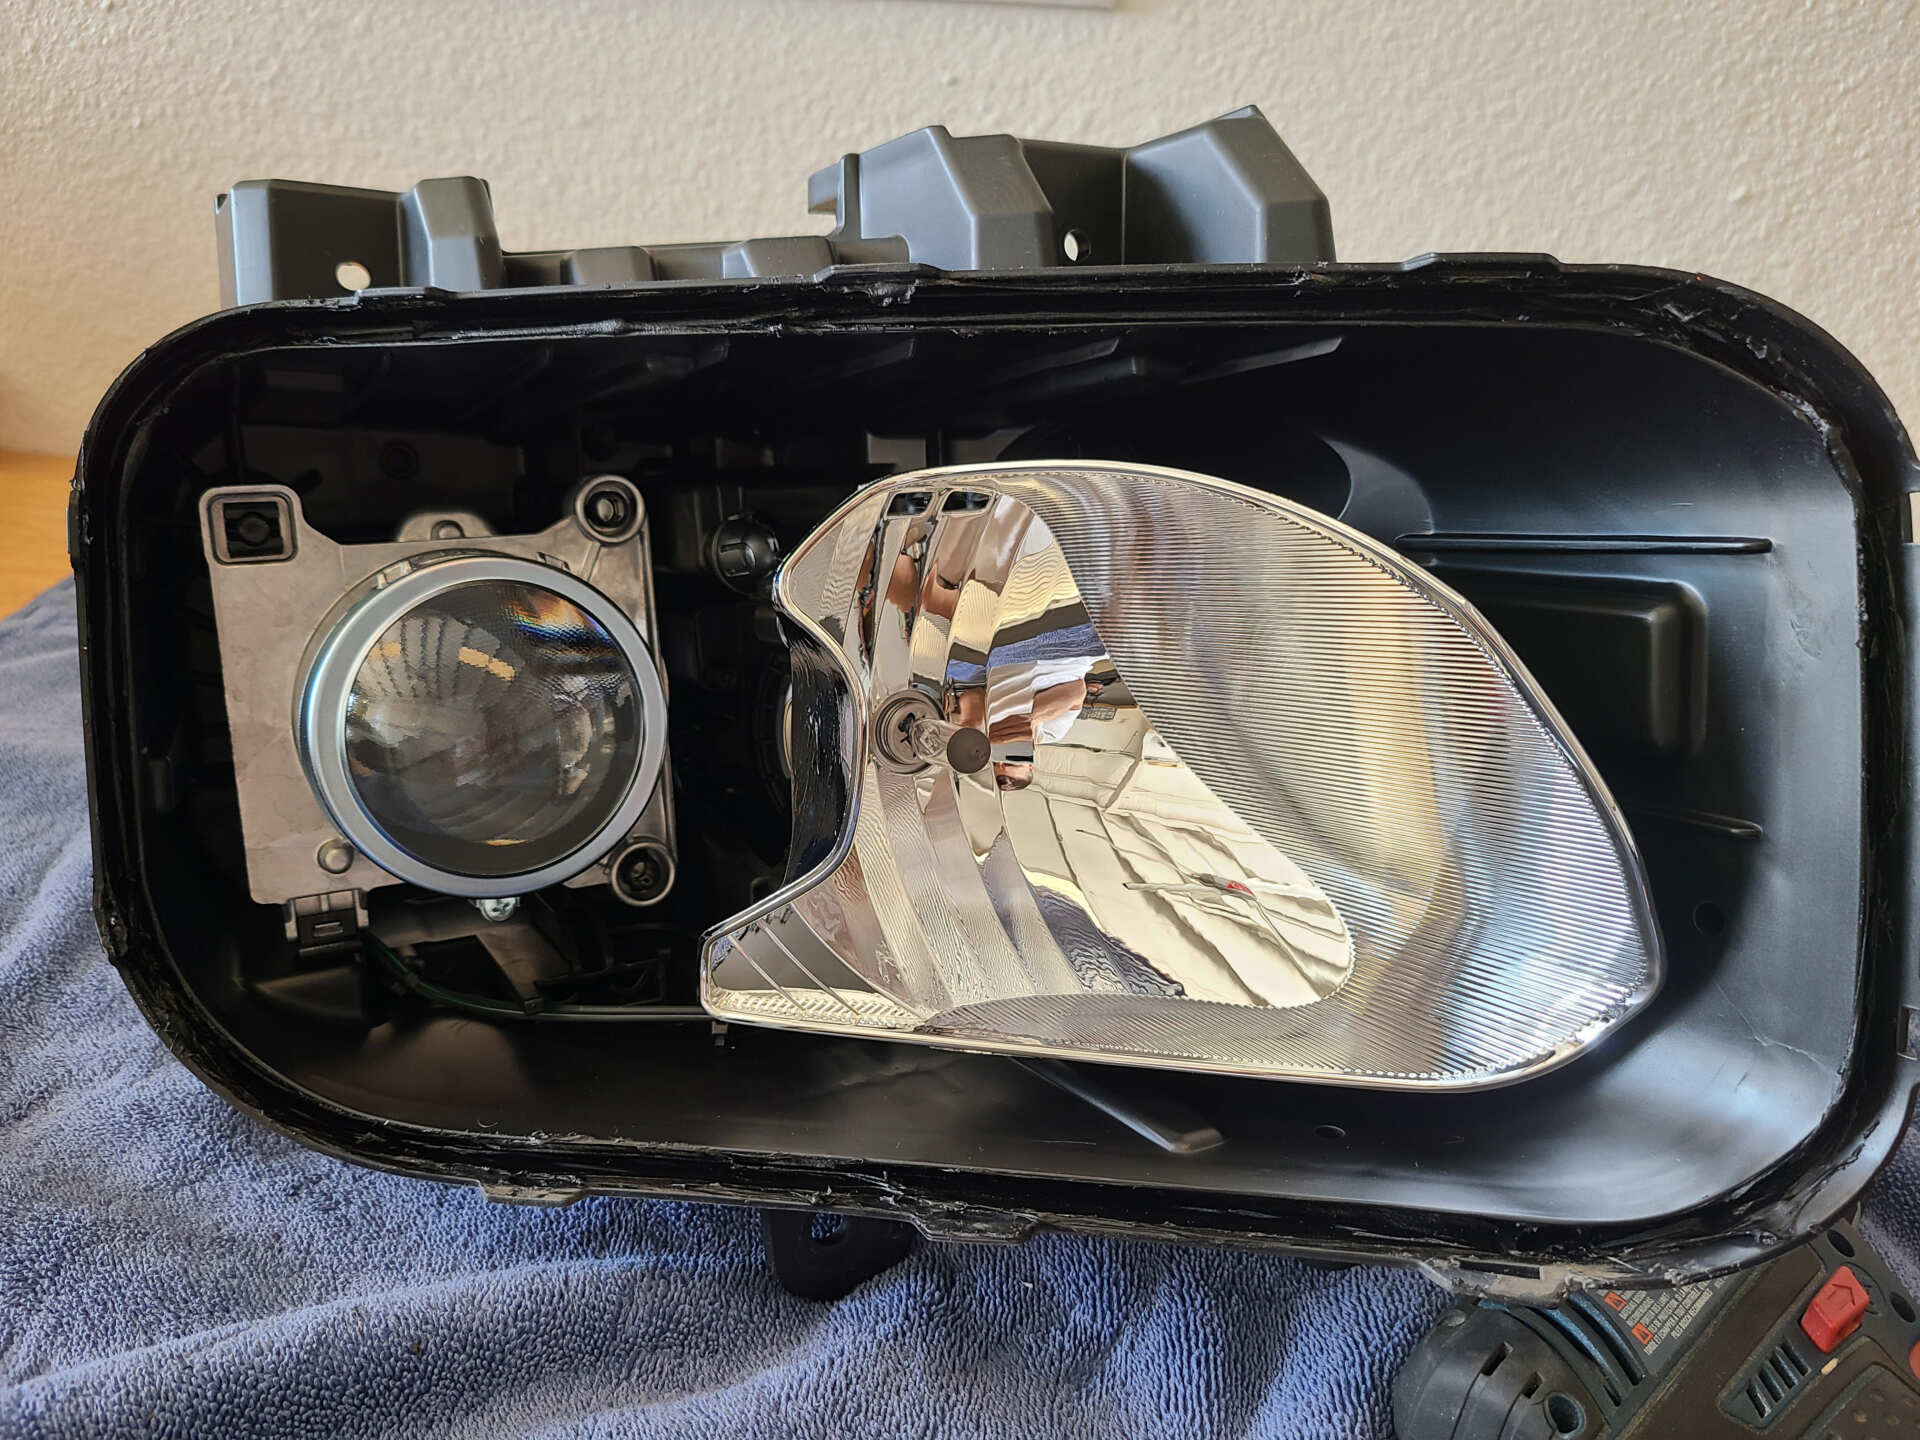
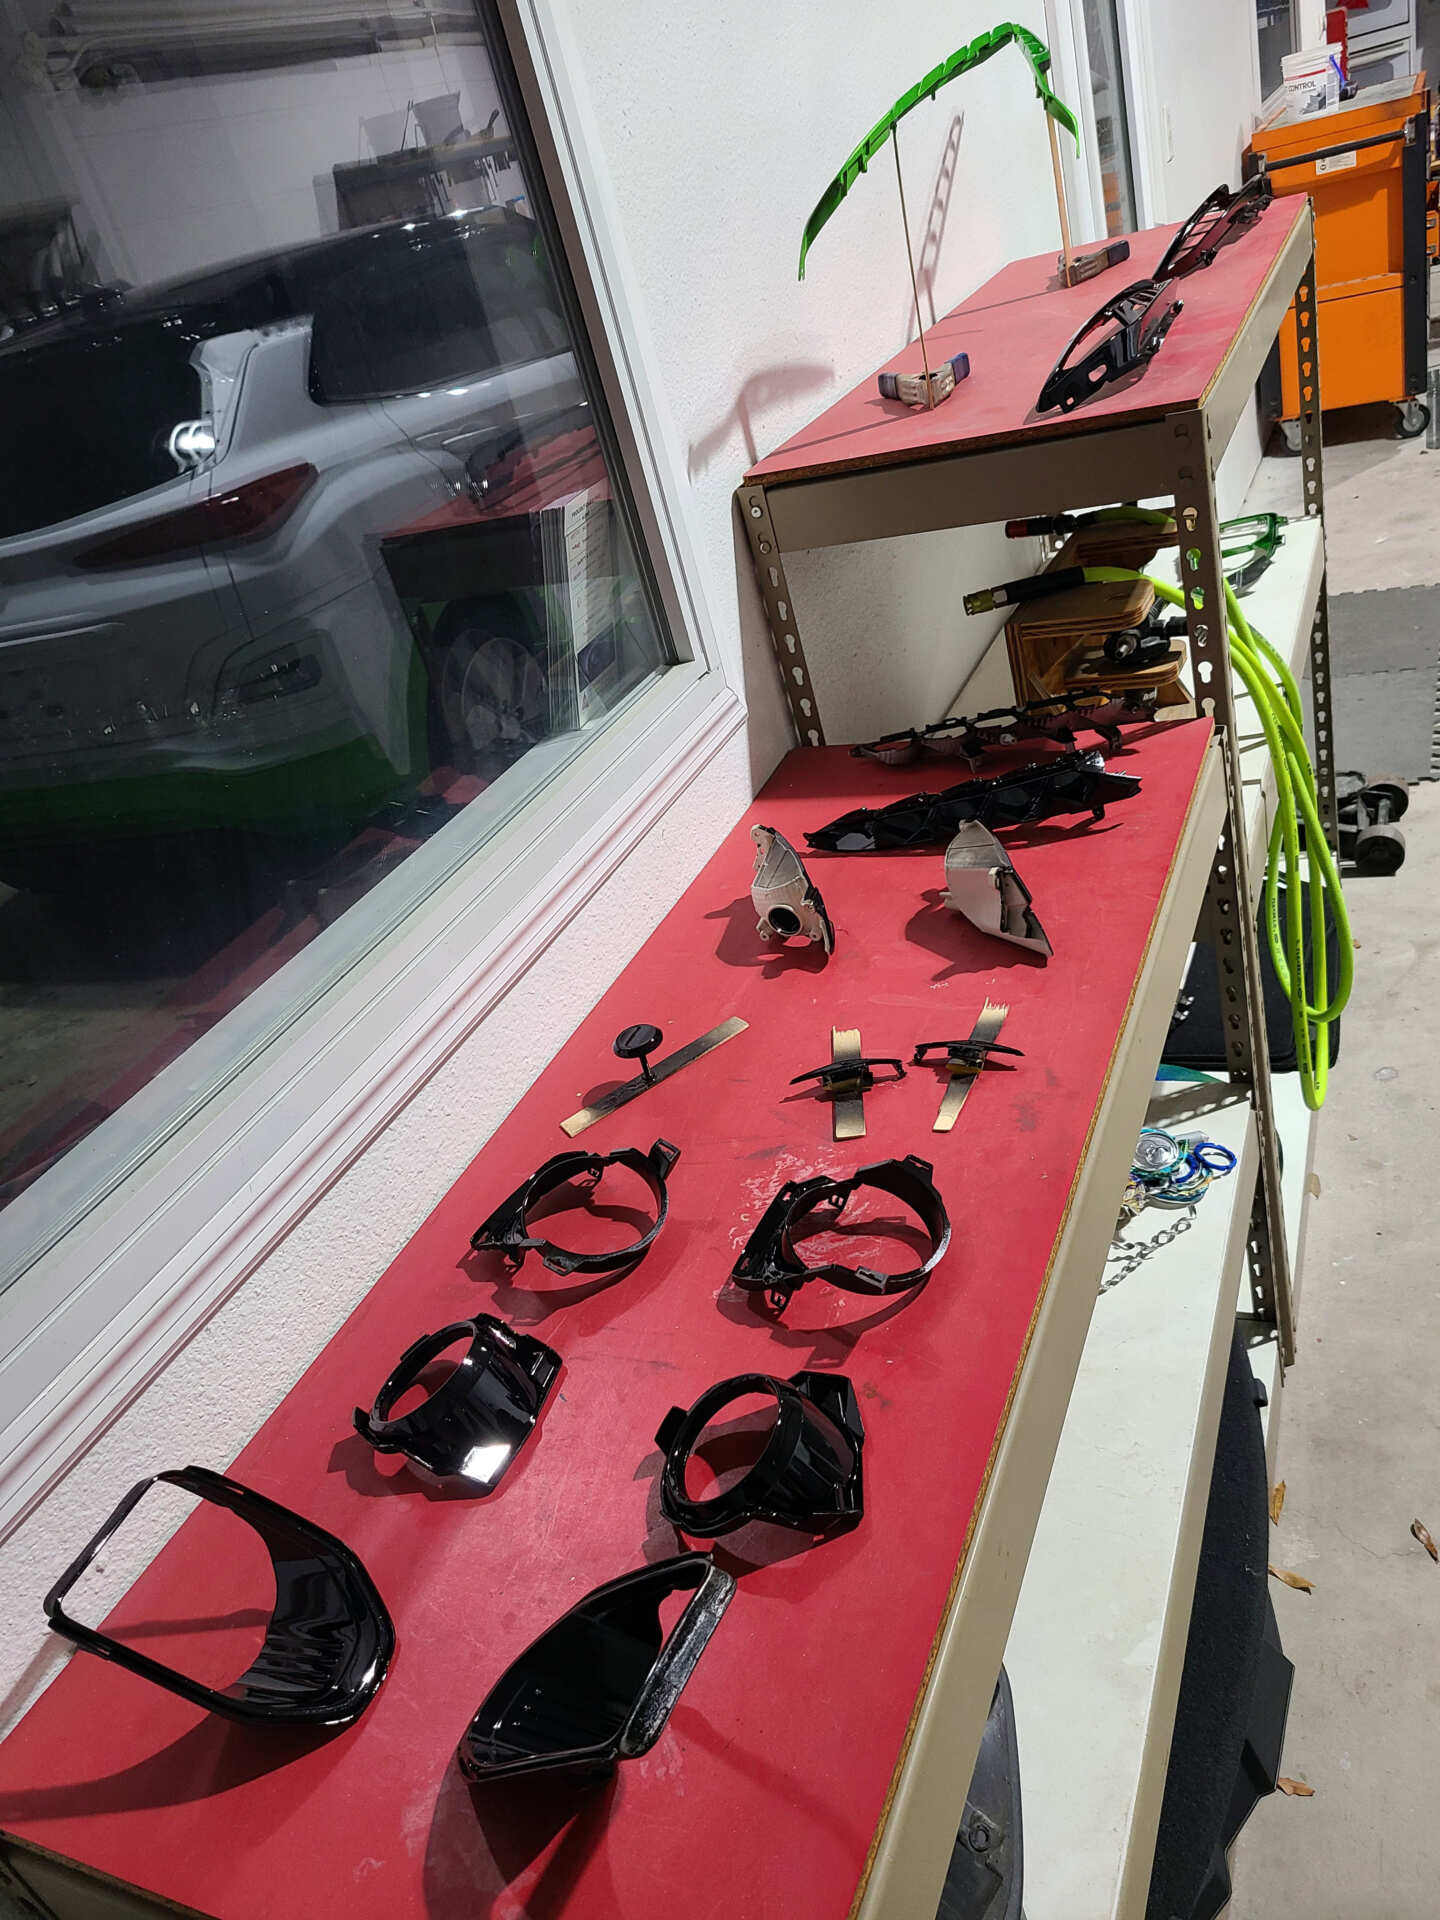
I’m excited to share with you my latest personal car headlight build! When I was shopping to purchase a 2020 Hyundai Kona EV, I specifically sought out the lower trim level vehicle because of the weak halogen projector assemblies. I wanted those headlights for ease of modification to retrofit for a top of the line output that would outperform the premium trim’s LED reflector headlights. So let’s get started and examine the stock unmodified bland headlights from the 2017-2022 Kona!


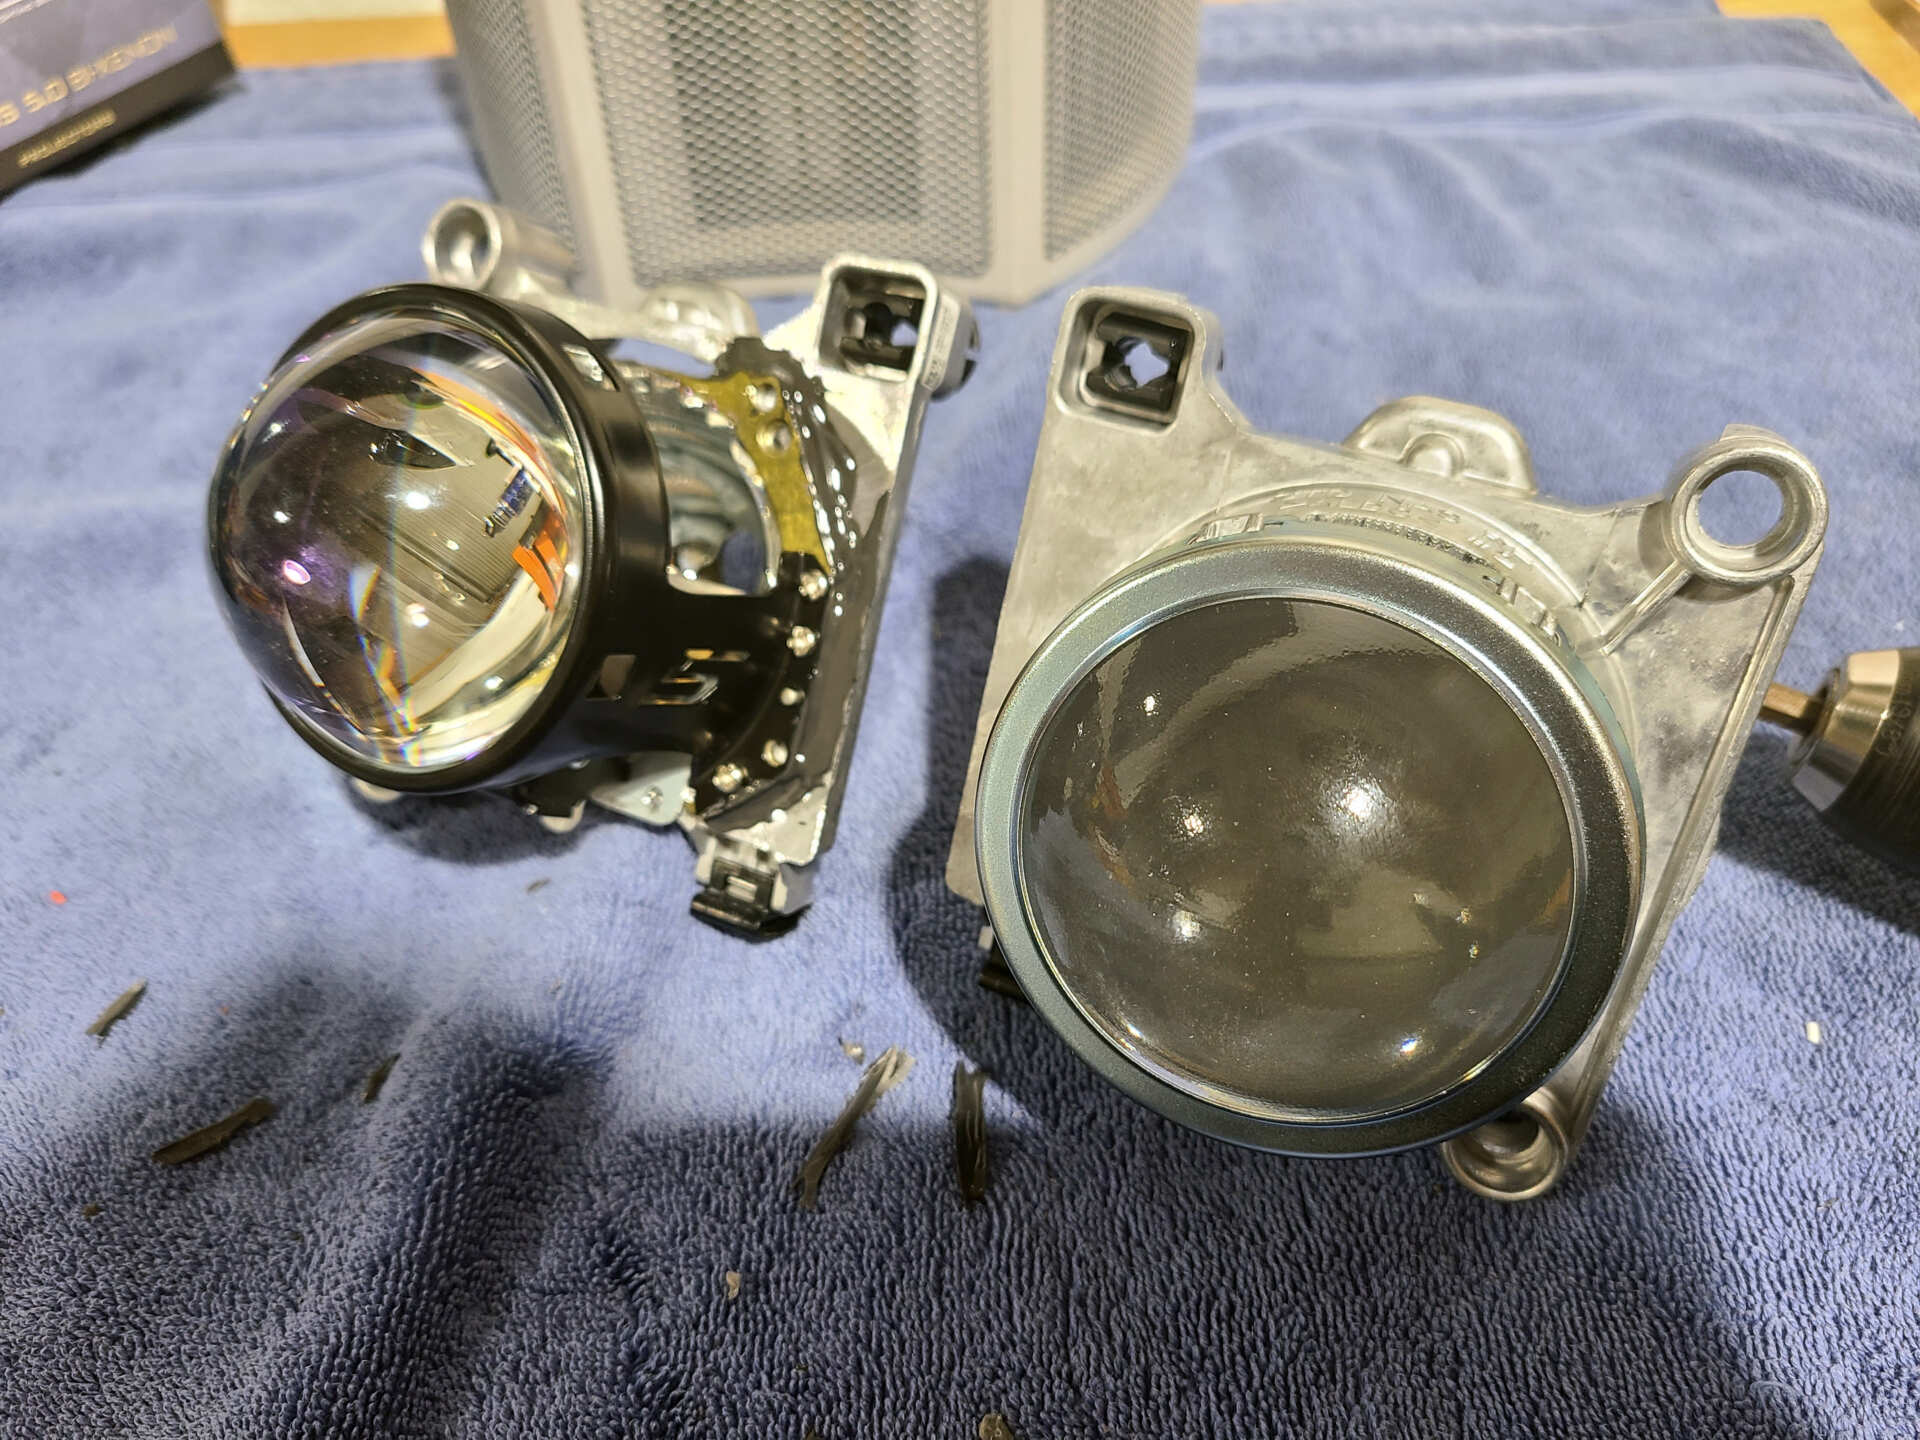
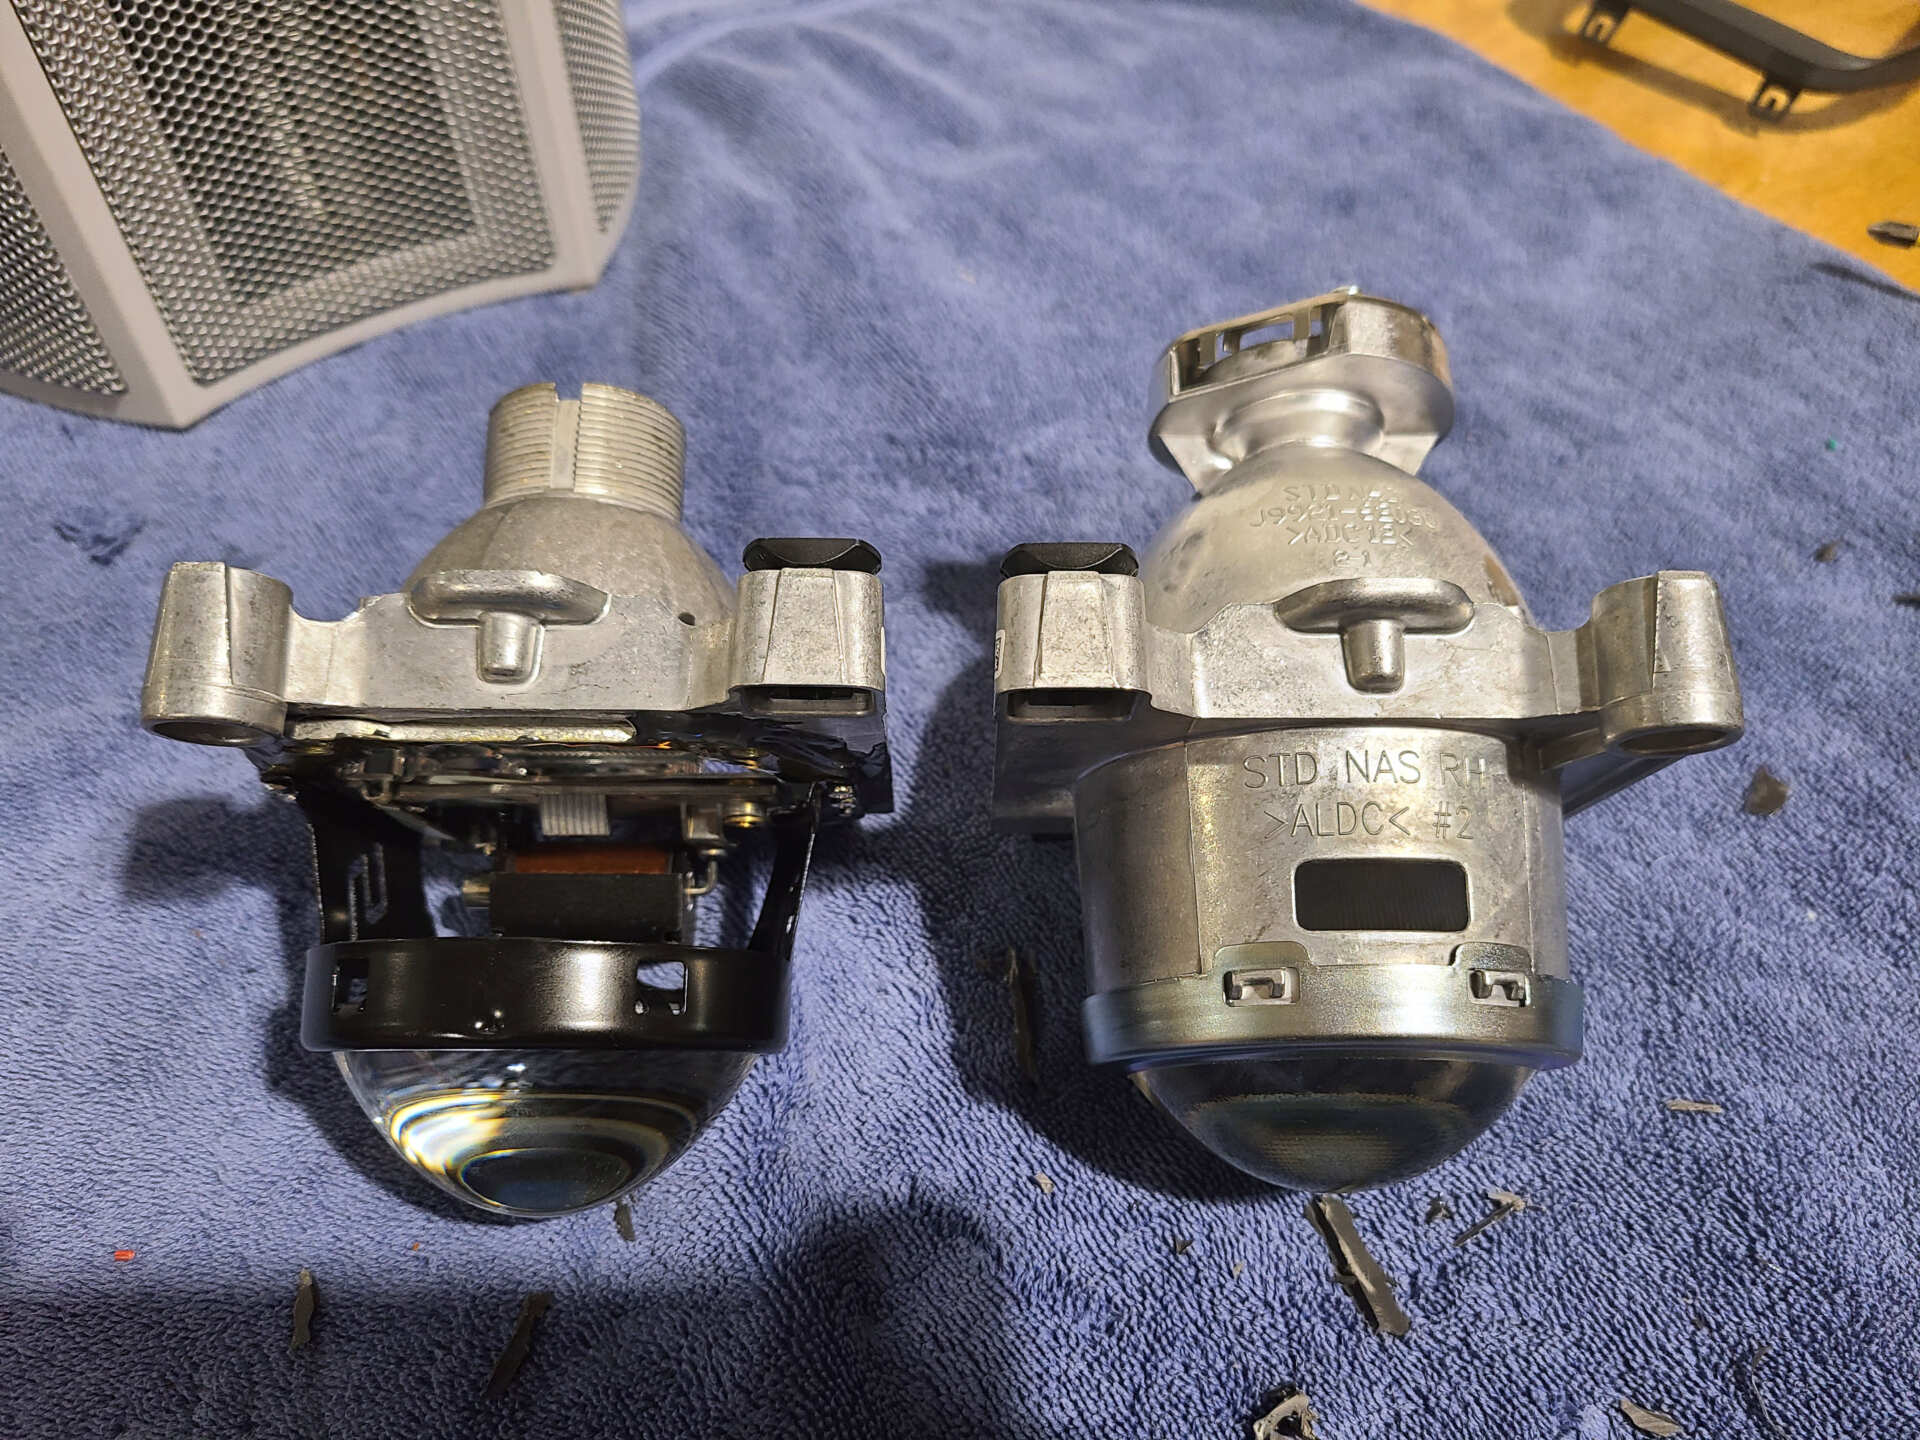
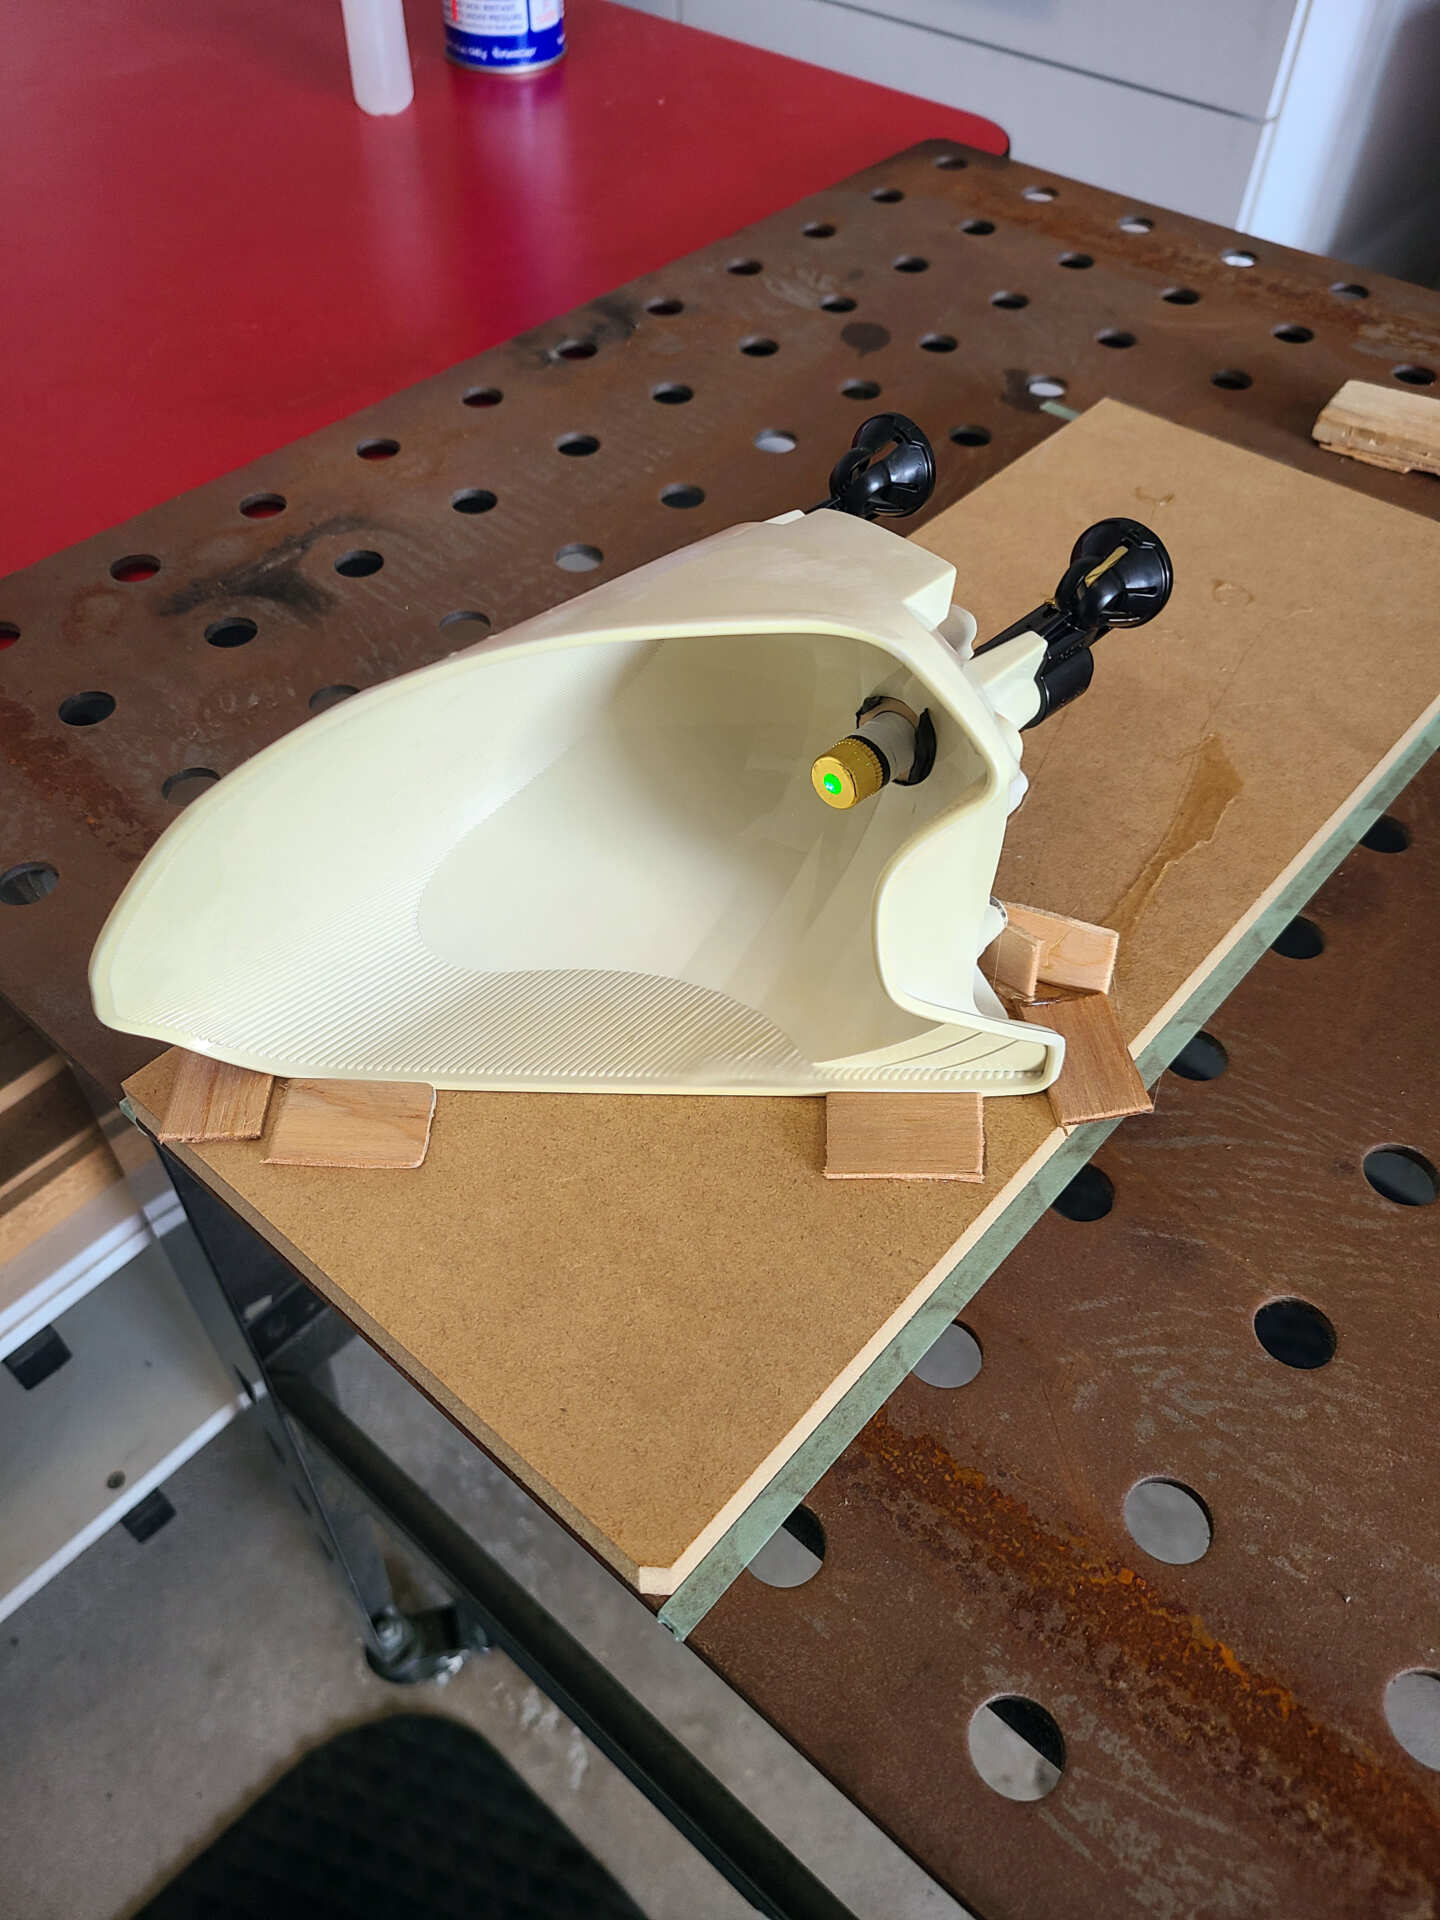
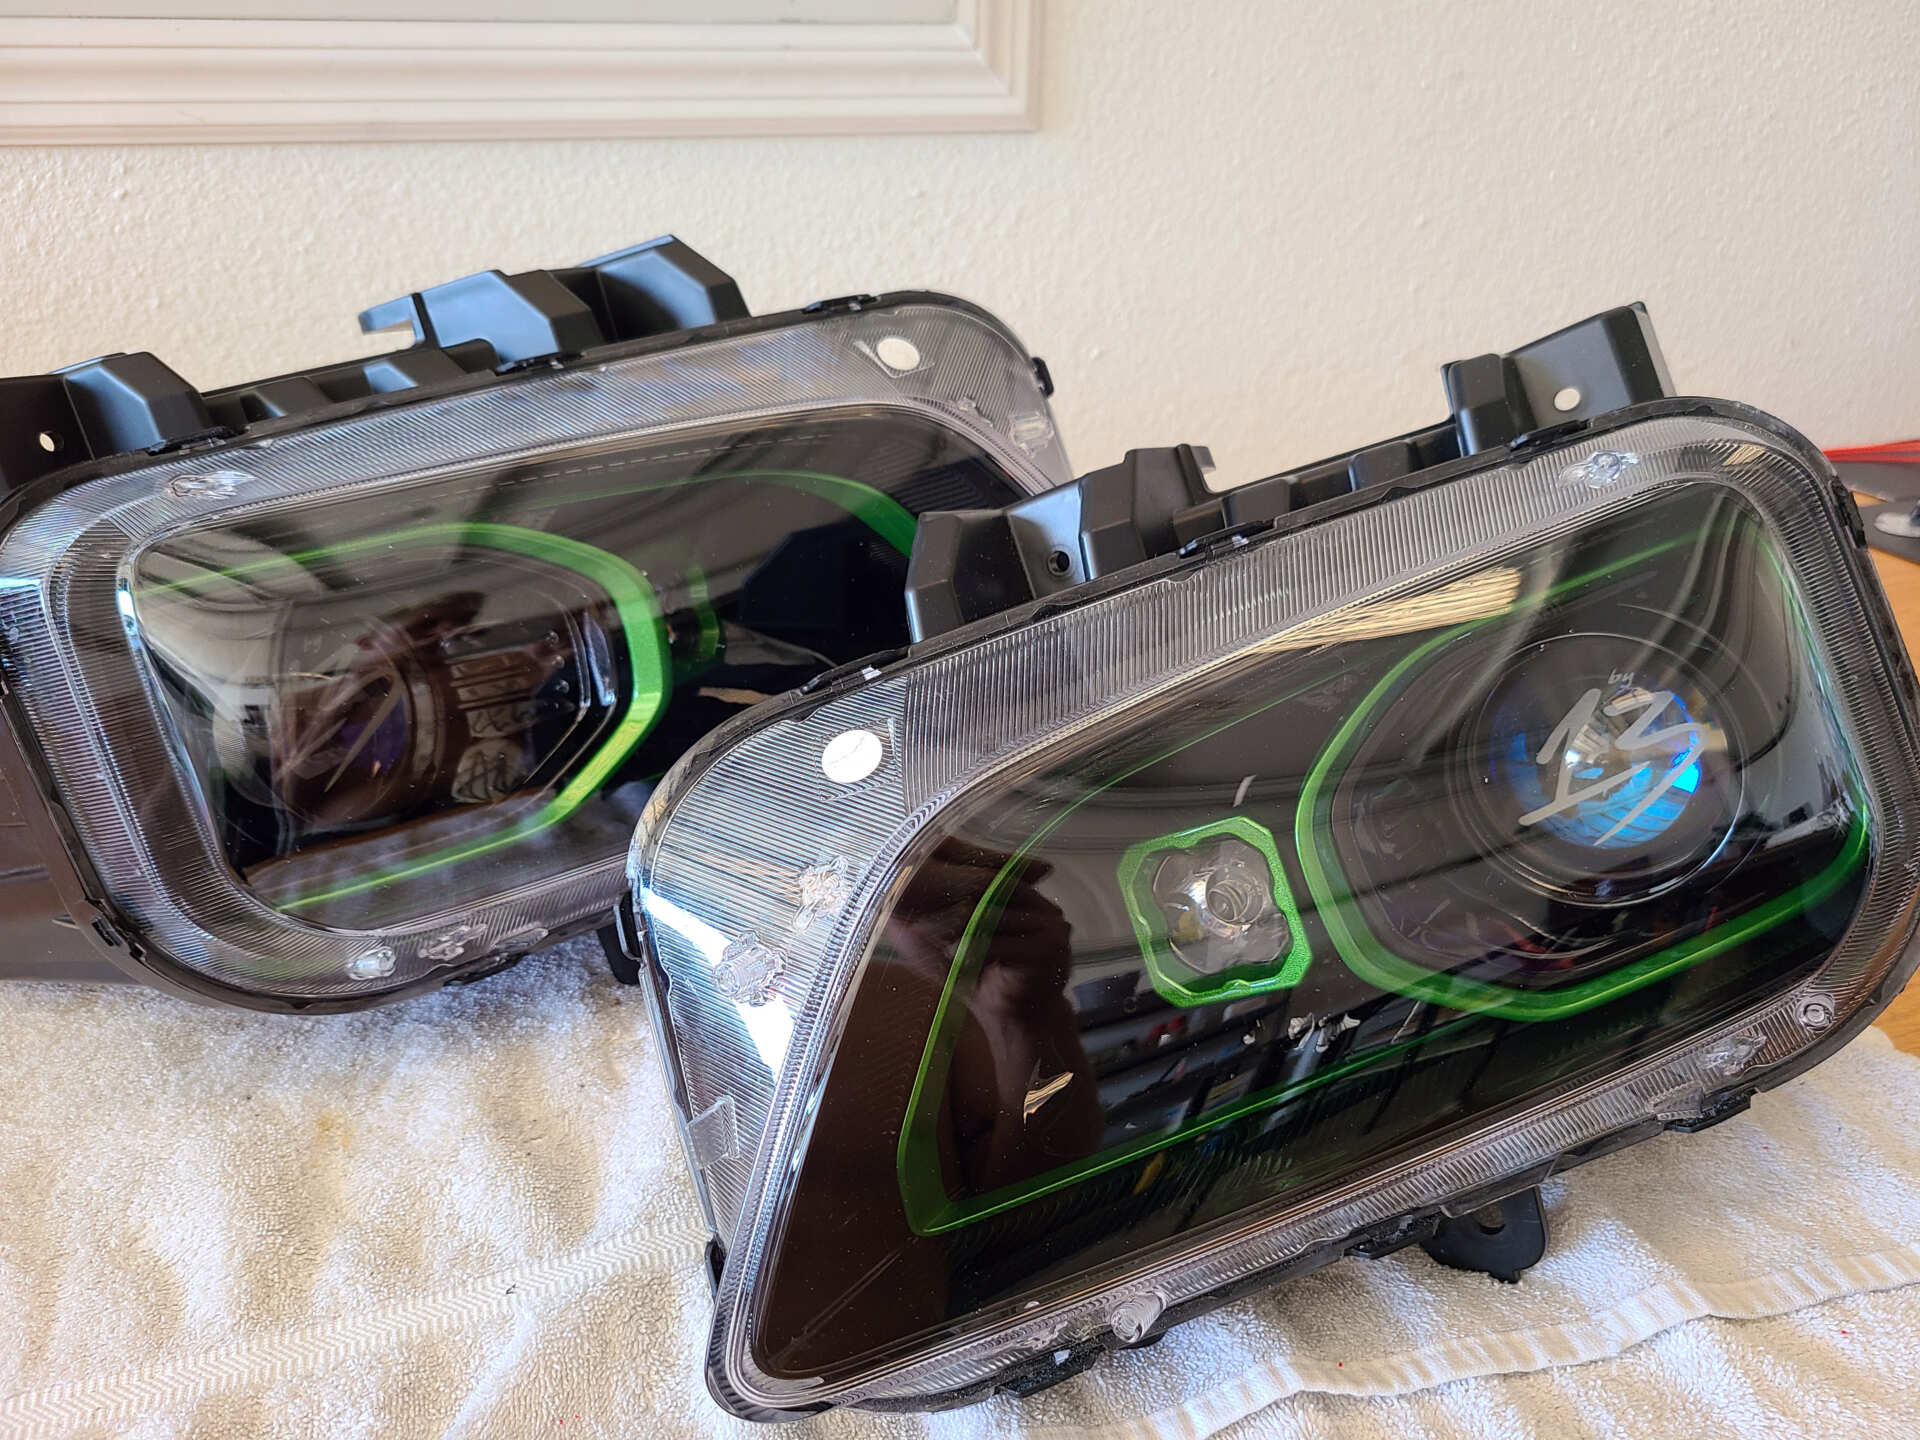
The first (and most important step!) for this build was the retrofit itself. I wanted absolute top of the line lighting performance from my headlights so I went for my favorite product combination: the Morimoto MD2S projector and a 50W Morimoto HID kit. Interestingly, there was absolutely no documented evidence online of anyone ever performing a retrofit on this vehicle ever. This is likely due to the one piece aluminum projector assembly which is a pretty solid barrier to overcome if you want to put a new projector in place. I reached out to Custom Brackets & Design and made sure Nate was aware of a perfect platform to flex his skills. However I wasn’t about to wait for a drop-in bracket when I am perfectly talented enough to properly align and install a projector using good old fashioned metal epoxy! It’s not the cleanest approach, but it works great — especially in a pinch. For all future Kona headlight DIYers, CB&D now has a bracket option available for you which greatly simplifies this process. Here’s the retrofitted MD2S projector compared to the OEM projector assembly:
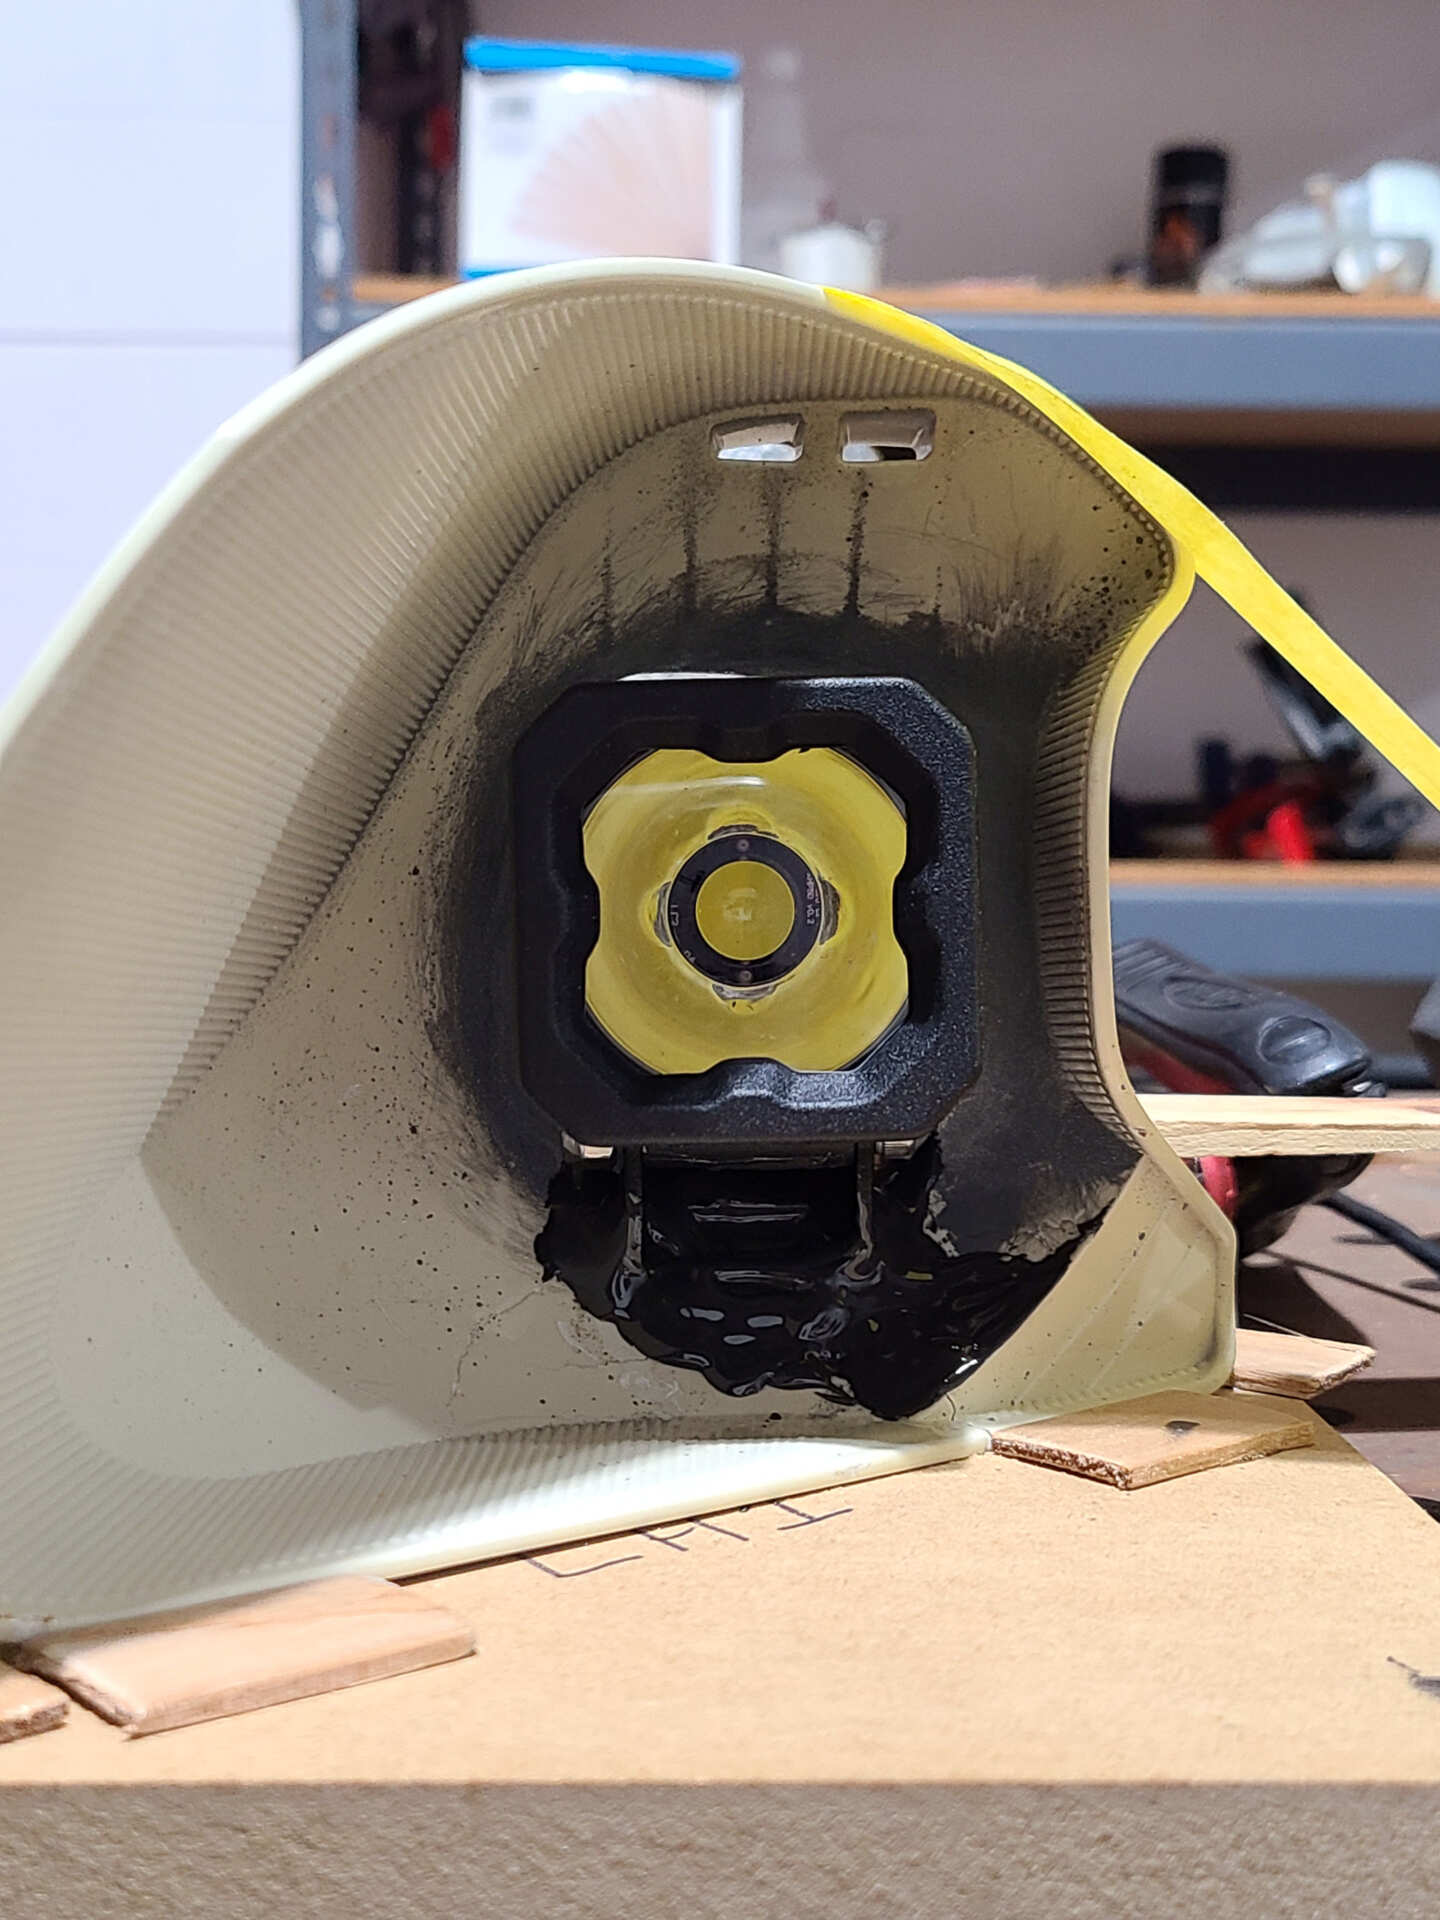
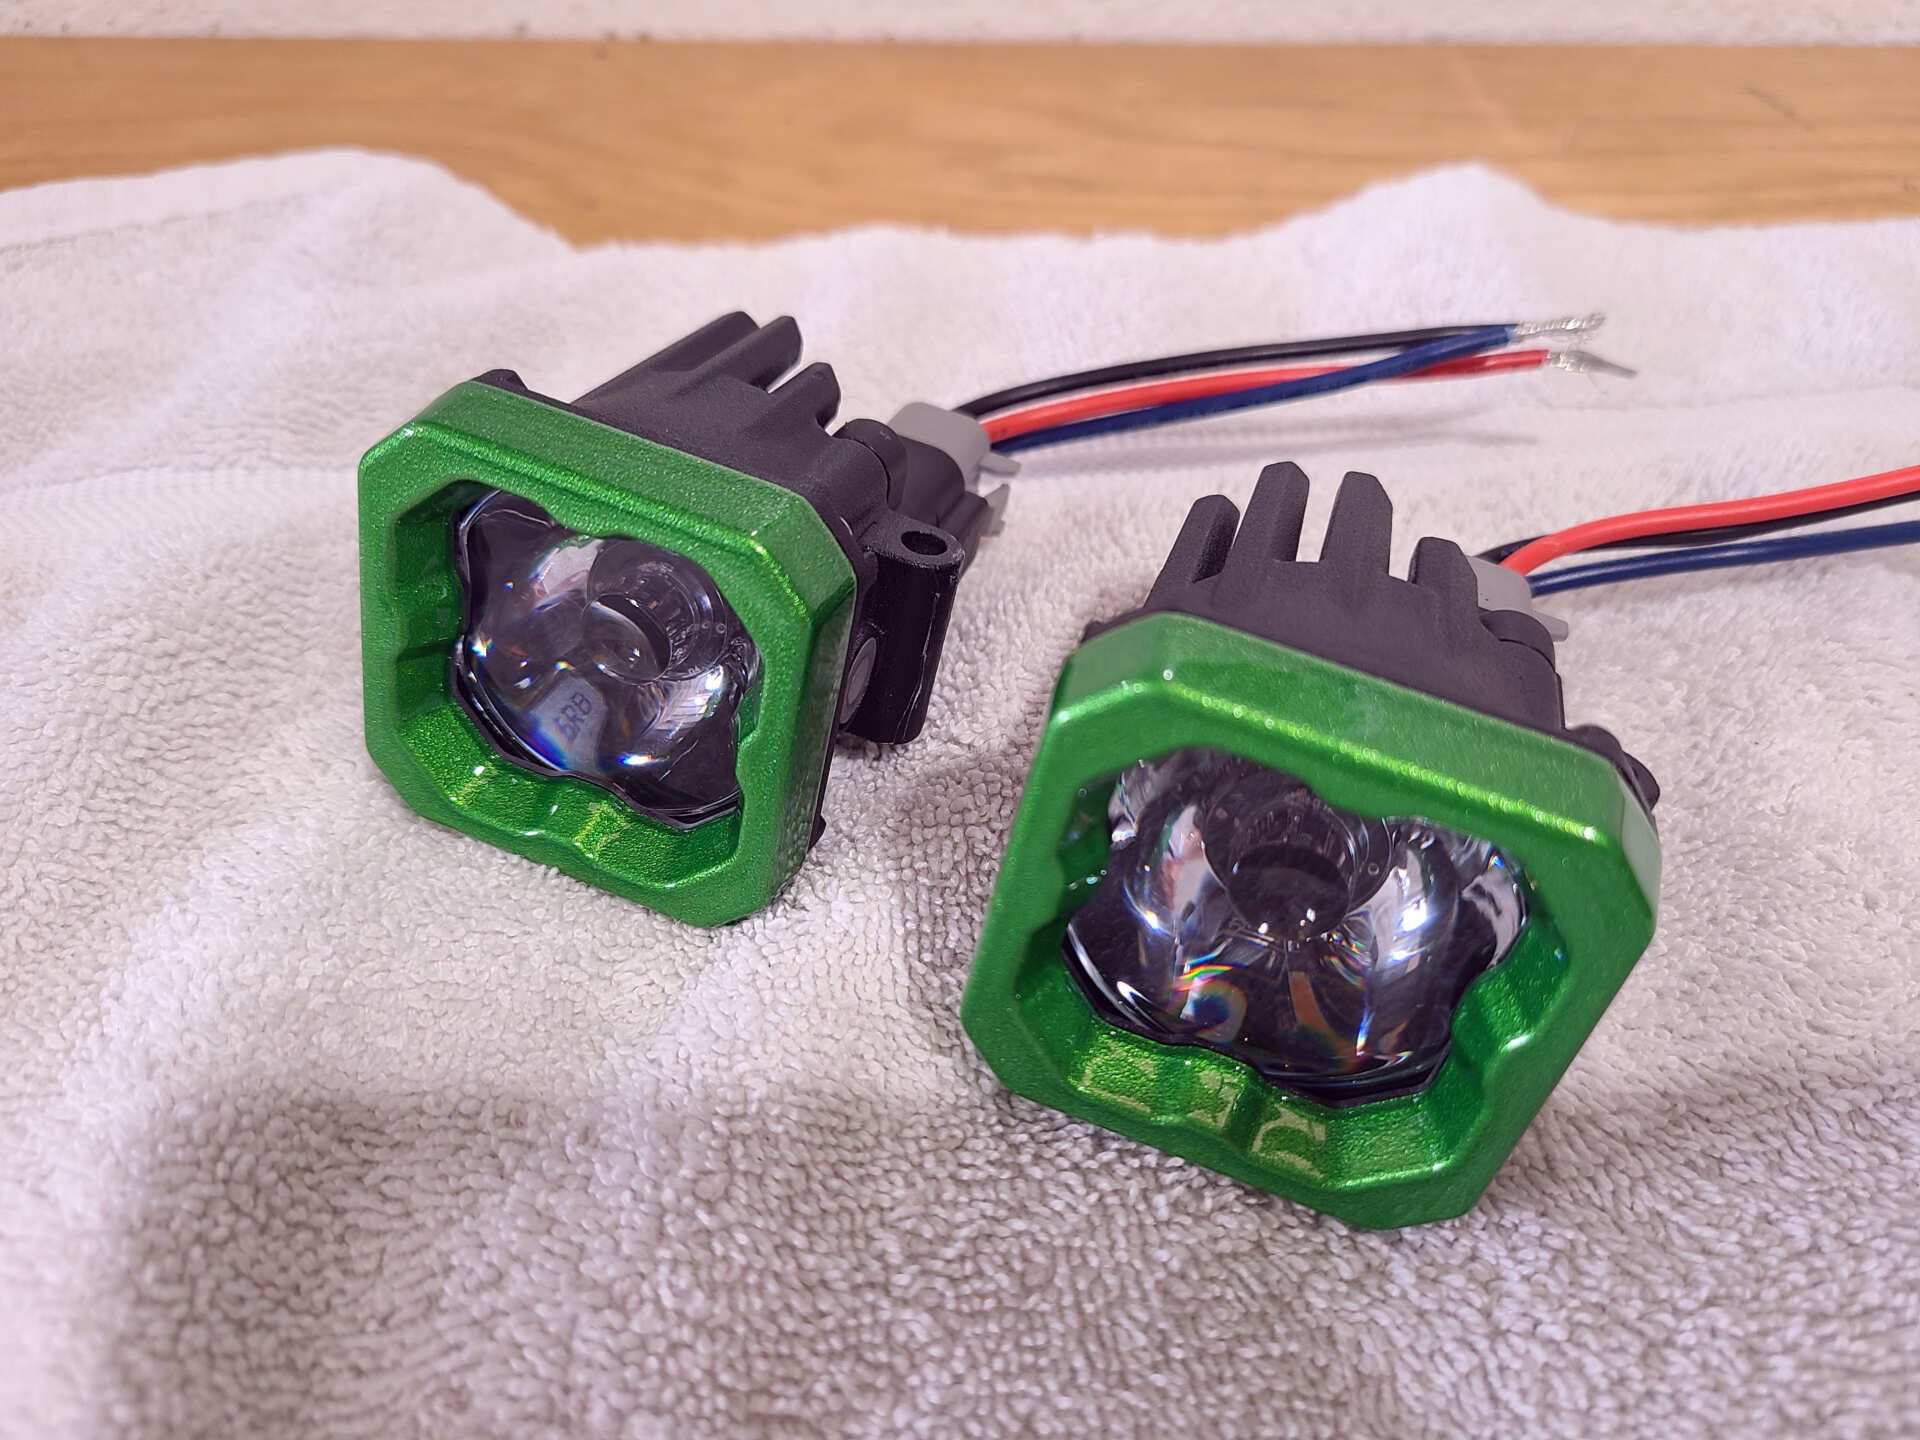
I wanted to do a quad retrofit in the high beam reflector bowl location because, duh, it looks cool. Originally I wanted to do a laser module but they were no longer in production so I was forced to seek out an alternative. That worked out great for me though because I ended up with a much more practical and even higher performance solution: the Diode Dynamics SSC1 Pro in Spot optic configuration. This LED pod is normally used for external environments in space-restricted applications. The spot optic configuration means a tight beam pattern that goes far out like a concentrated high beam. This supplemental high beam adds ridiculous gobs of instant pure white light on top of an already insane amount of light from the bixenon HID assembly. Another bonus of this product is that it has an amber backlight which I connected to the turn signal circuit so it acts as a supplemental turn signal. Mounting it precisely where it needed to go was a bit of a tricky problem but I managed to build a jig and use some lasers to help configure alignment perfectly. Notice that the edge of the SSC1 is centered with the flat design line of the reflector bowl.


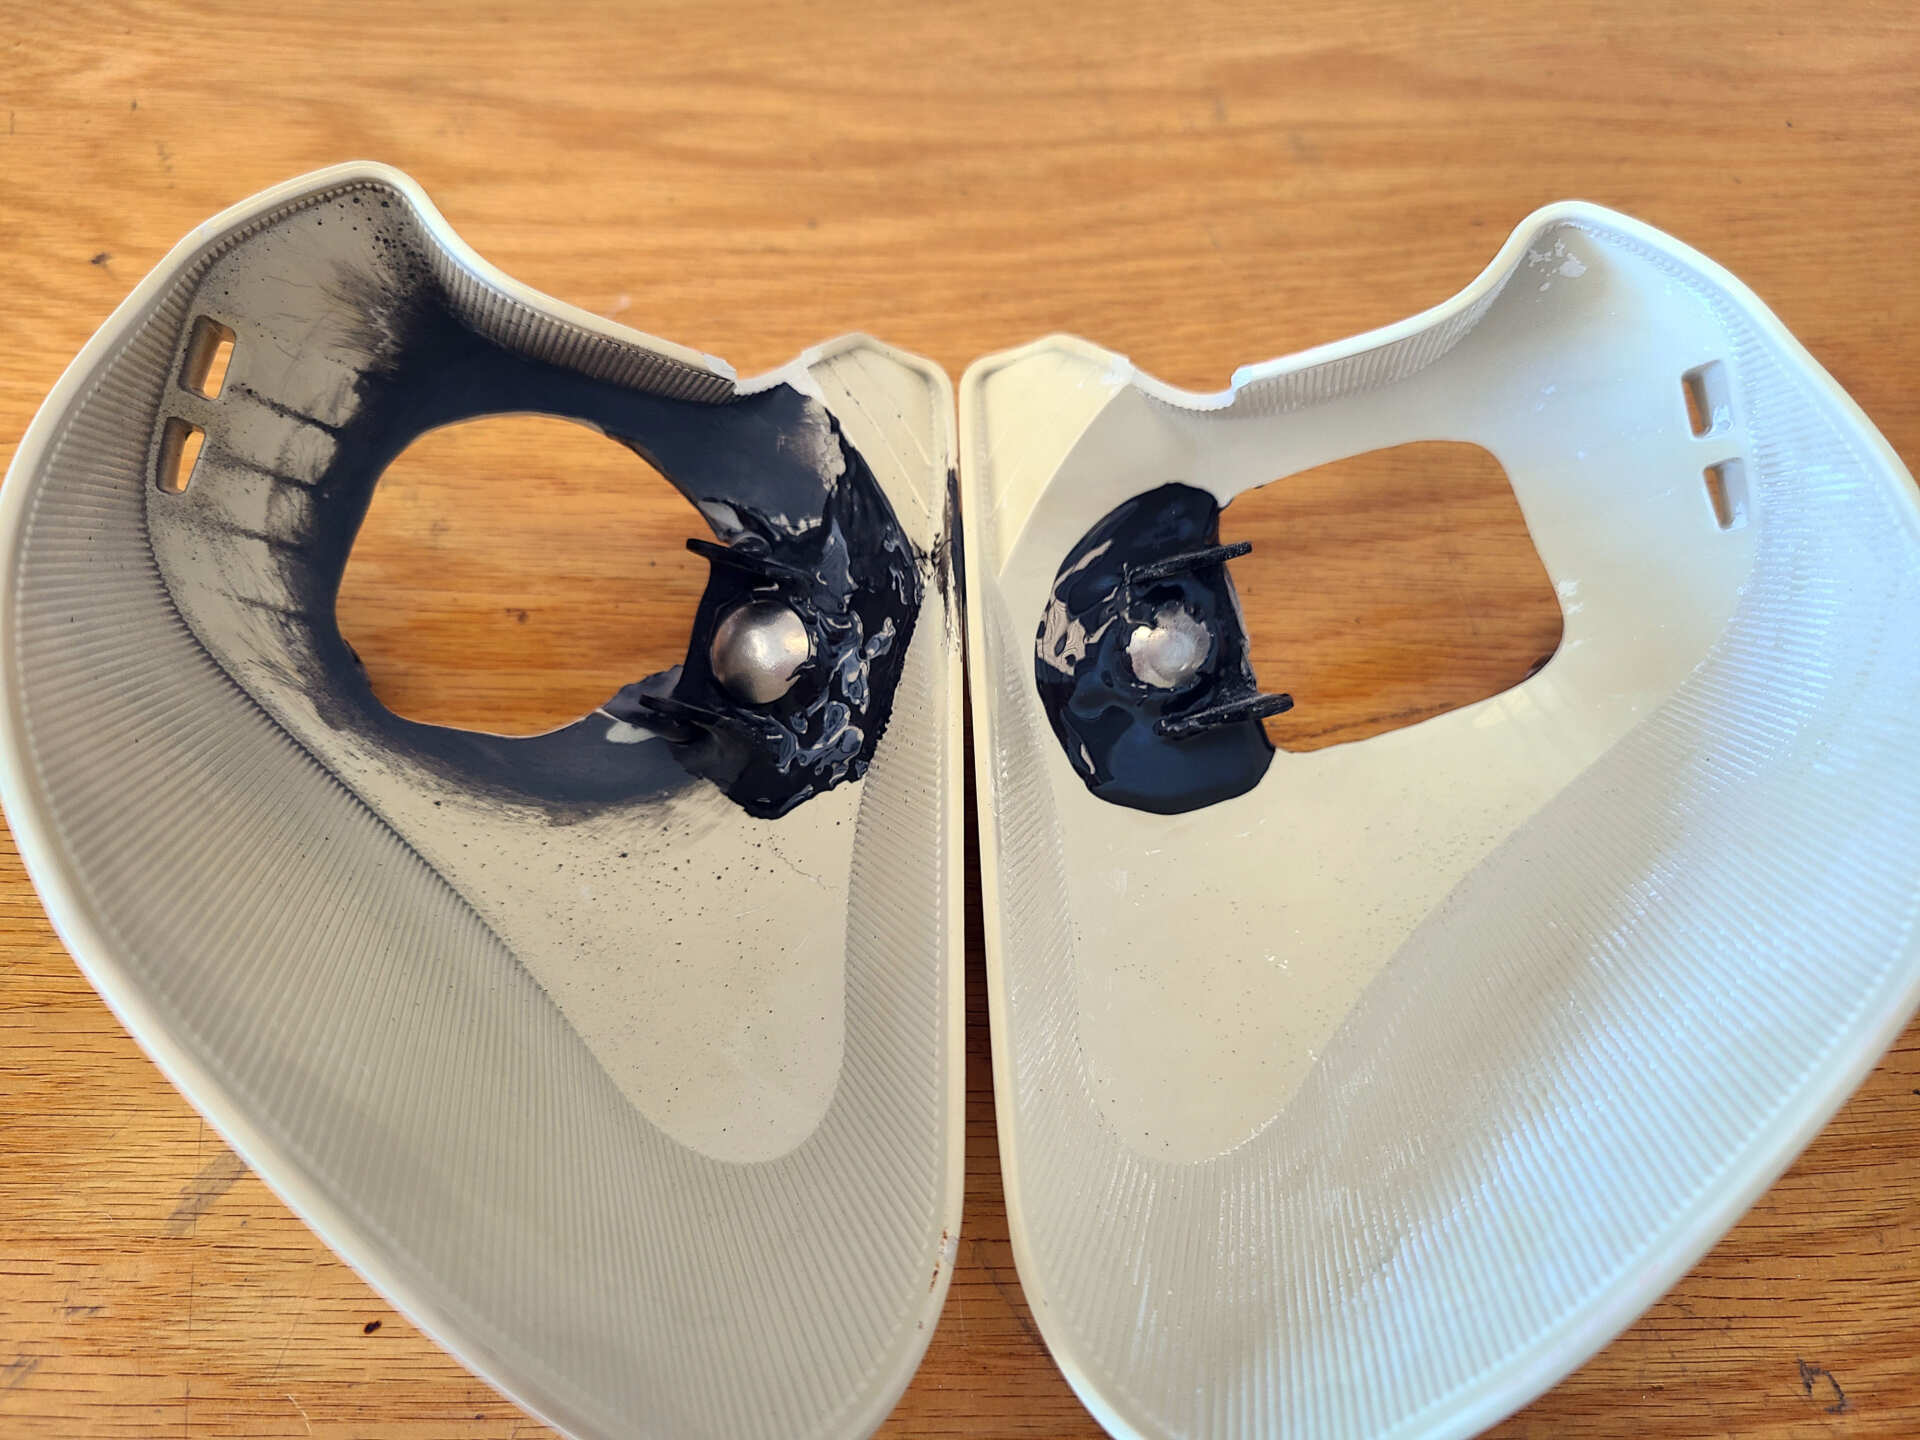
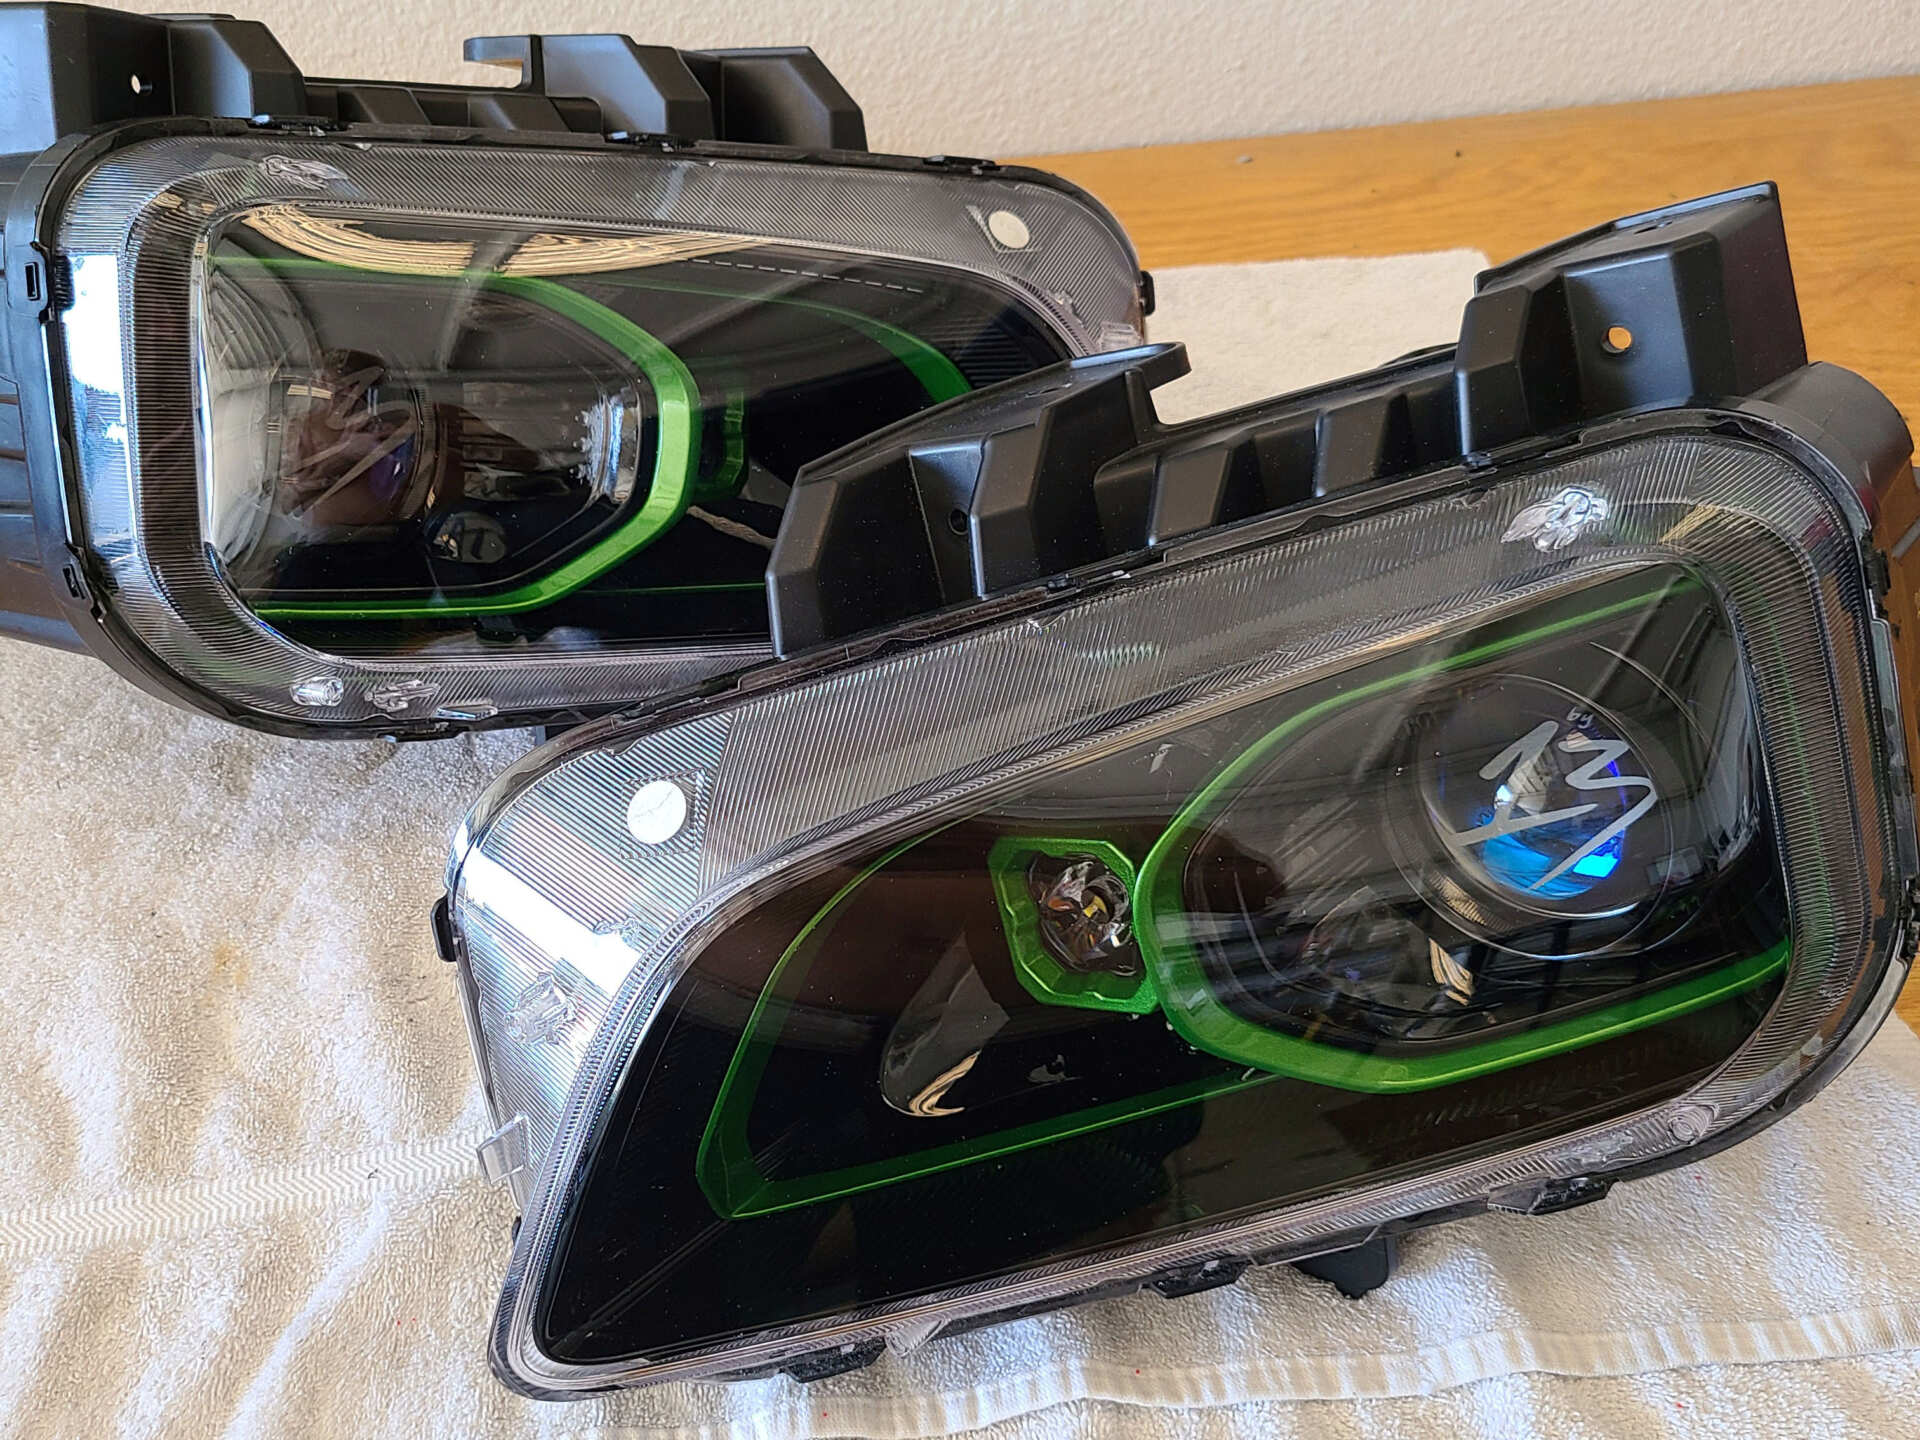
I did this project concurrently with some other projects so the paintwork was done in multiple phases which is unusual for a headlight build. The high beam reflector bowl and the disassembled SSC1 were painted the matching color scheme: OEM black with matching green accent.

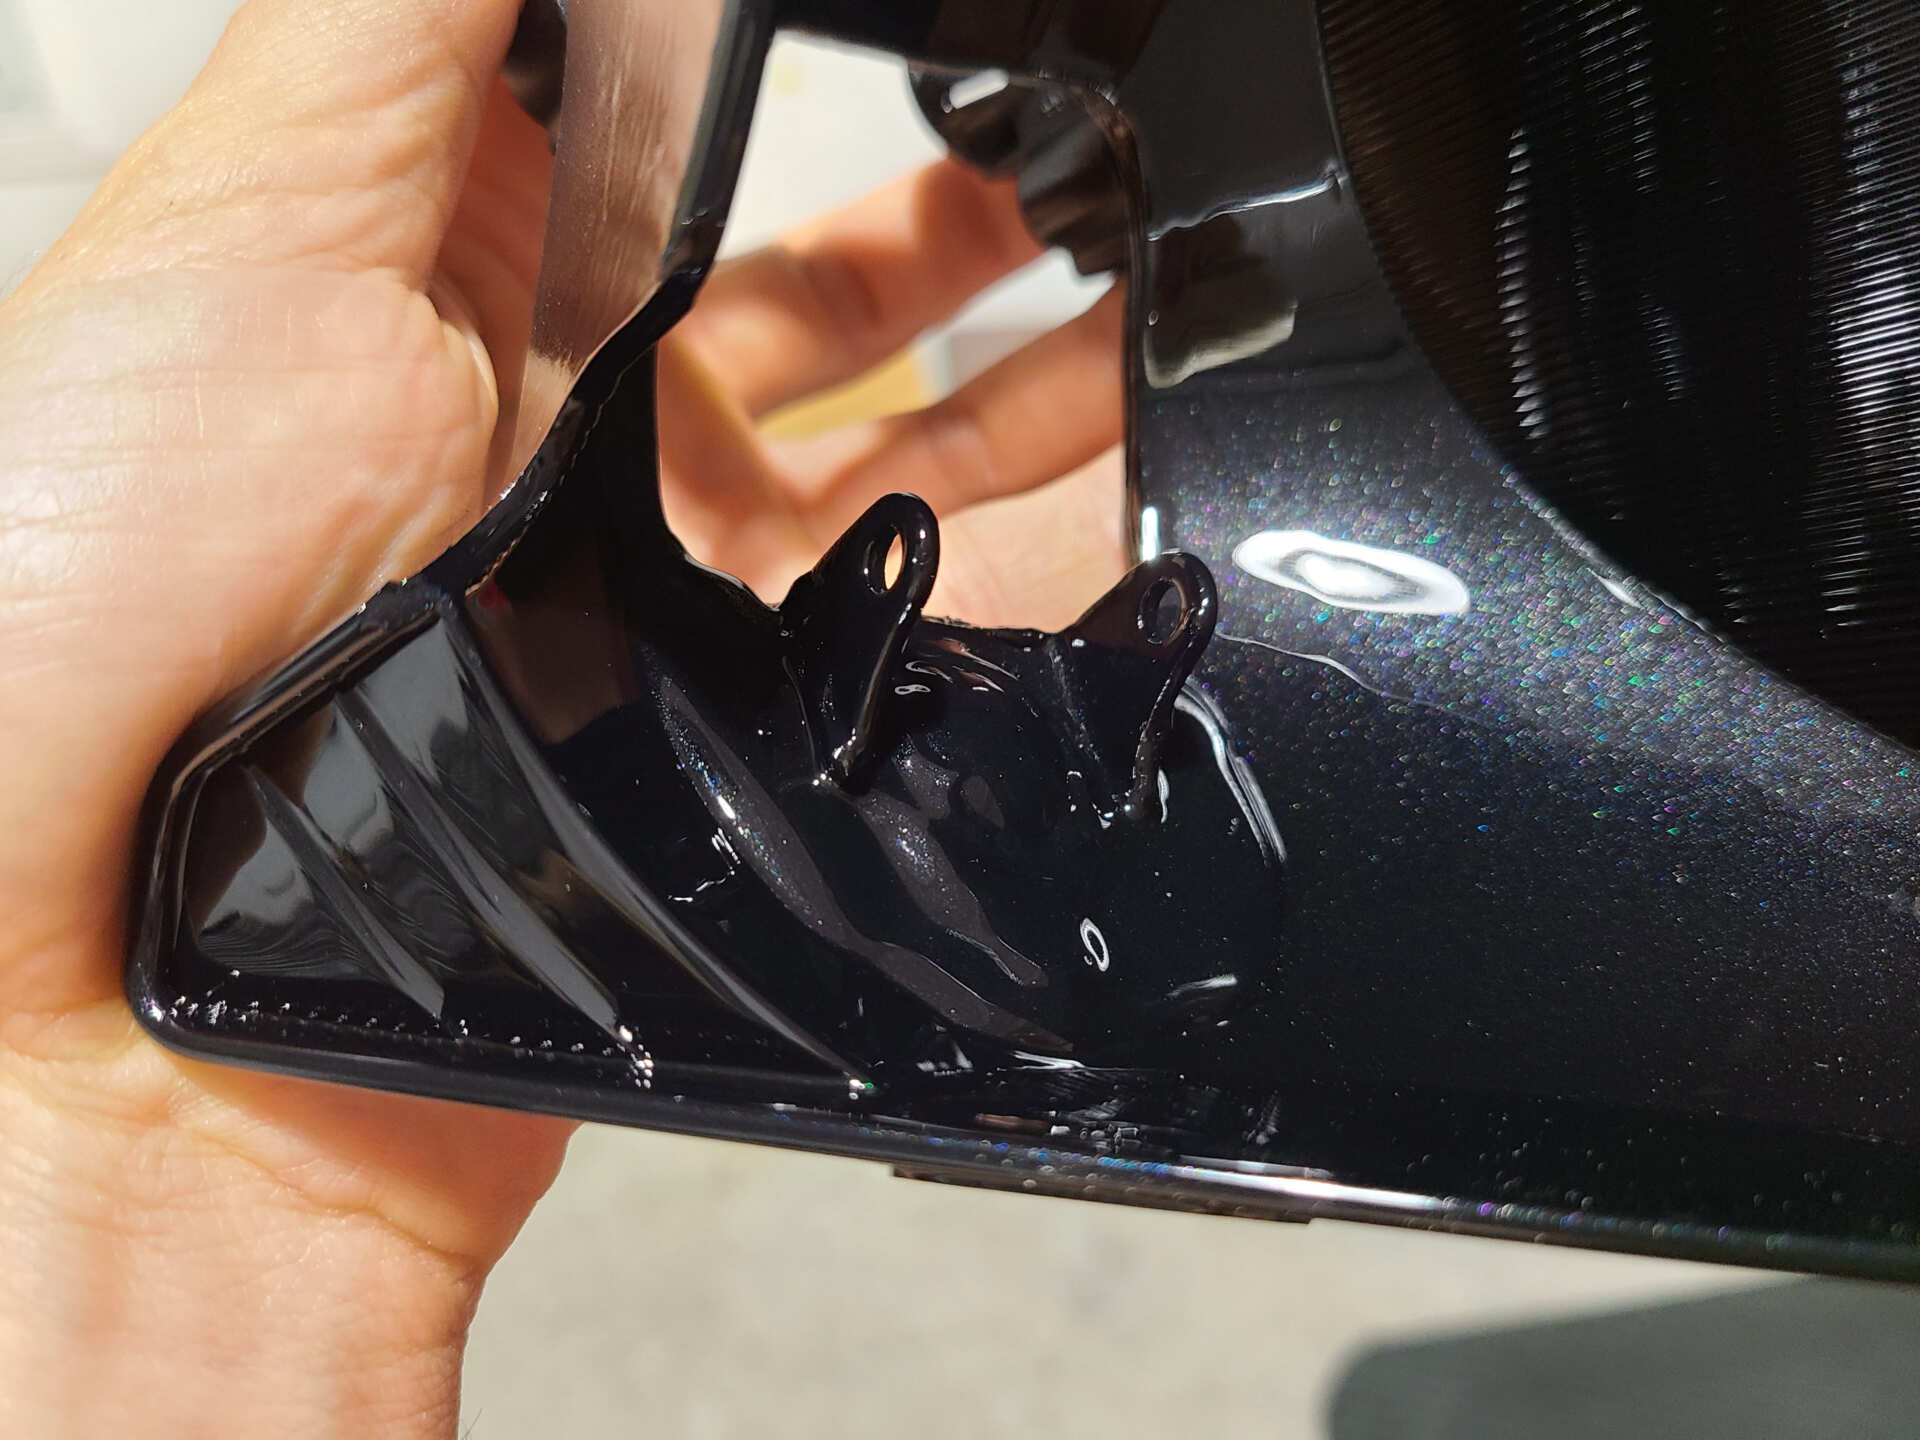
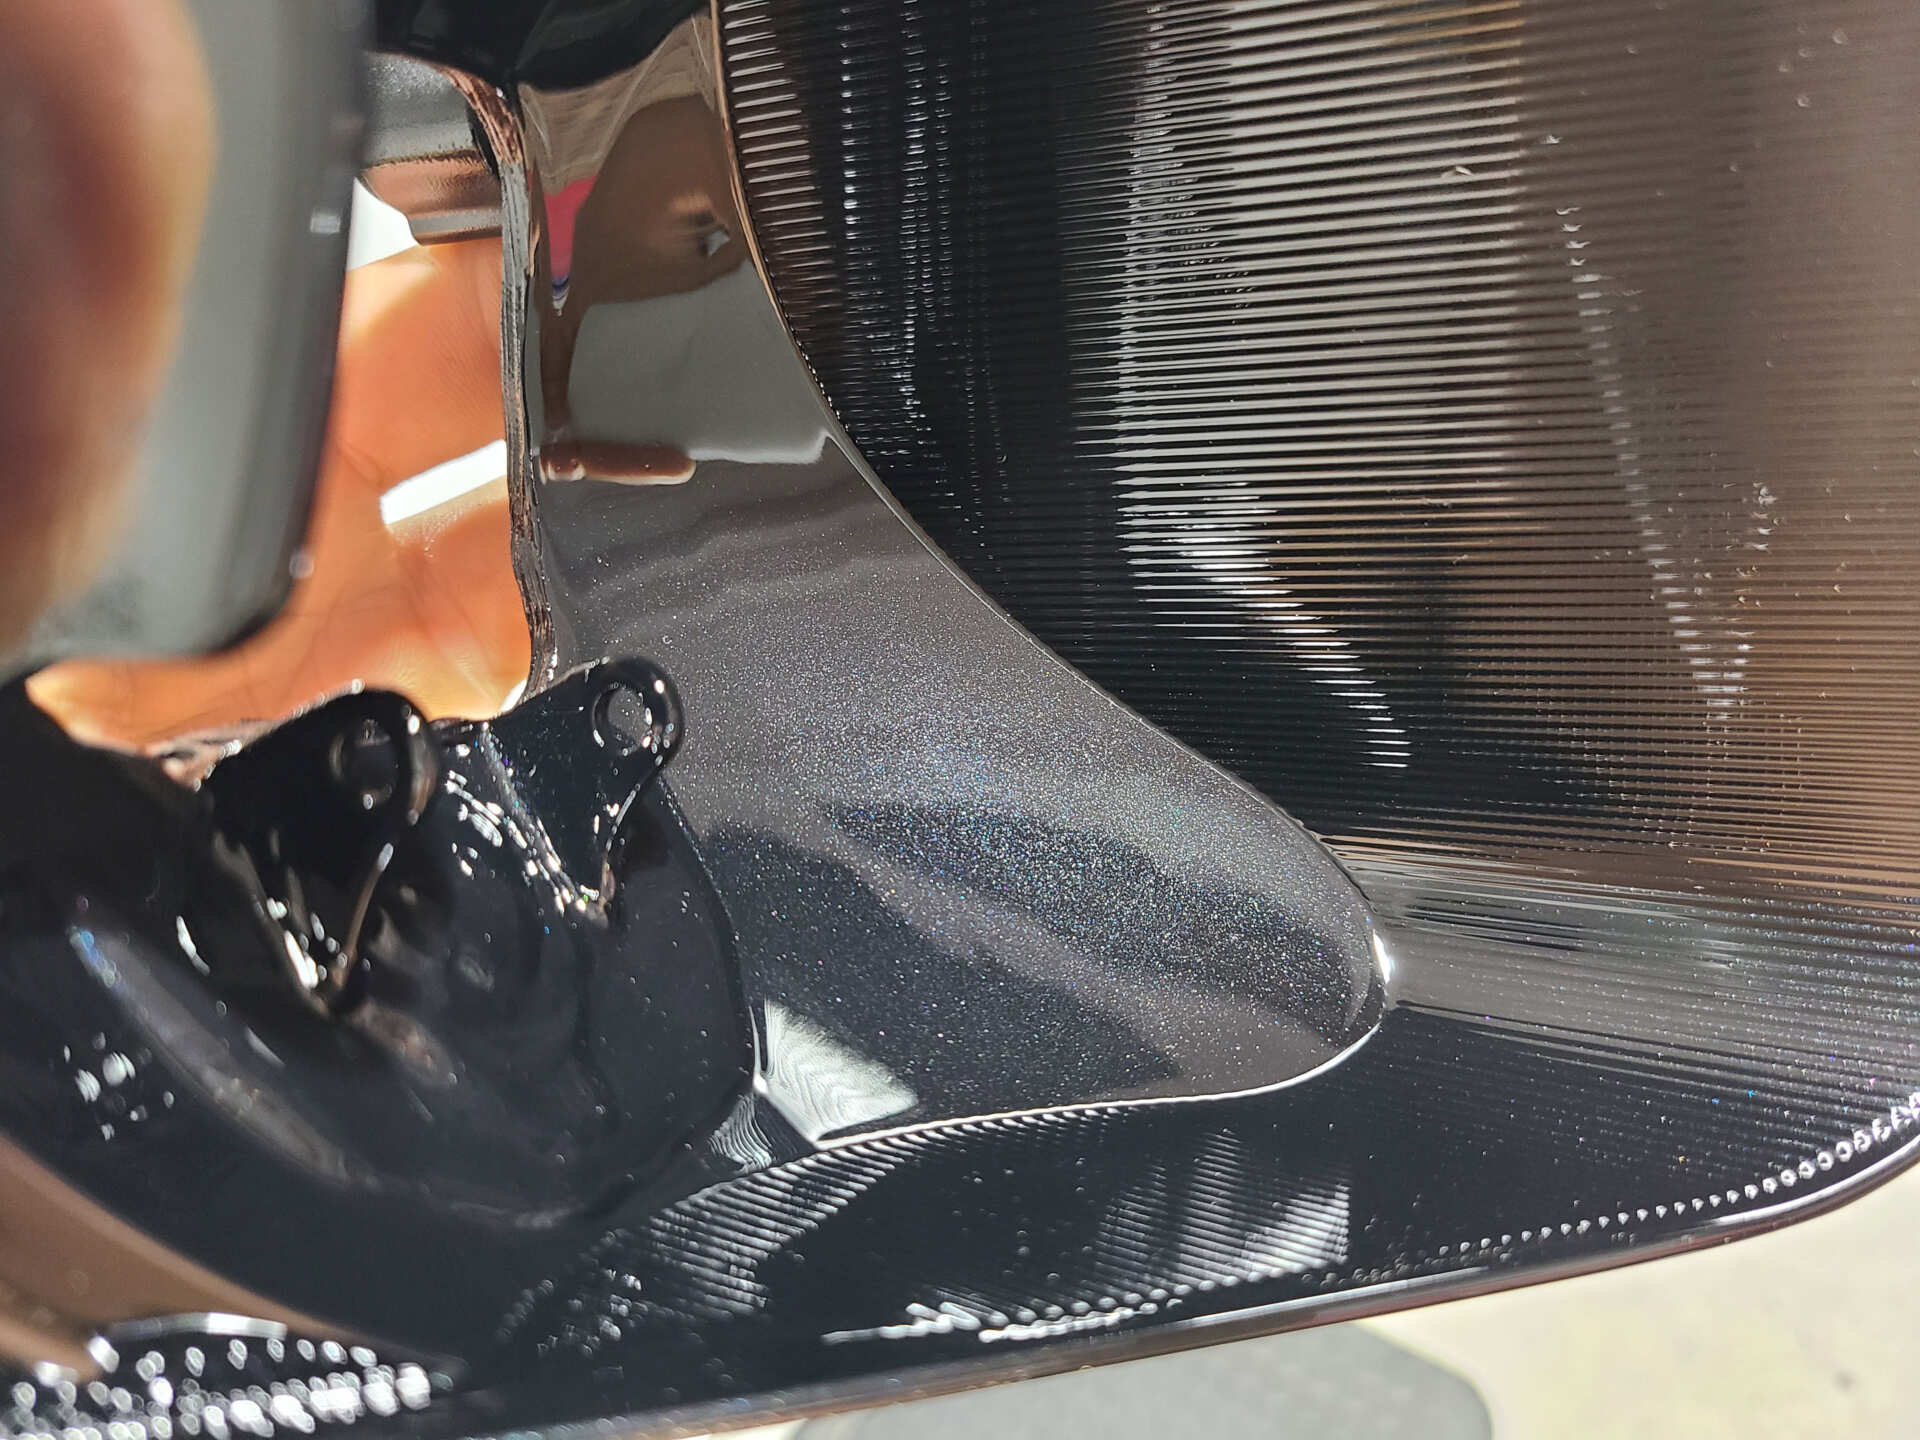
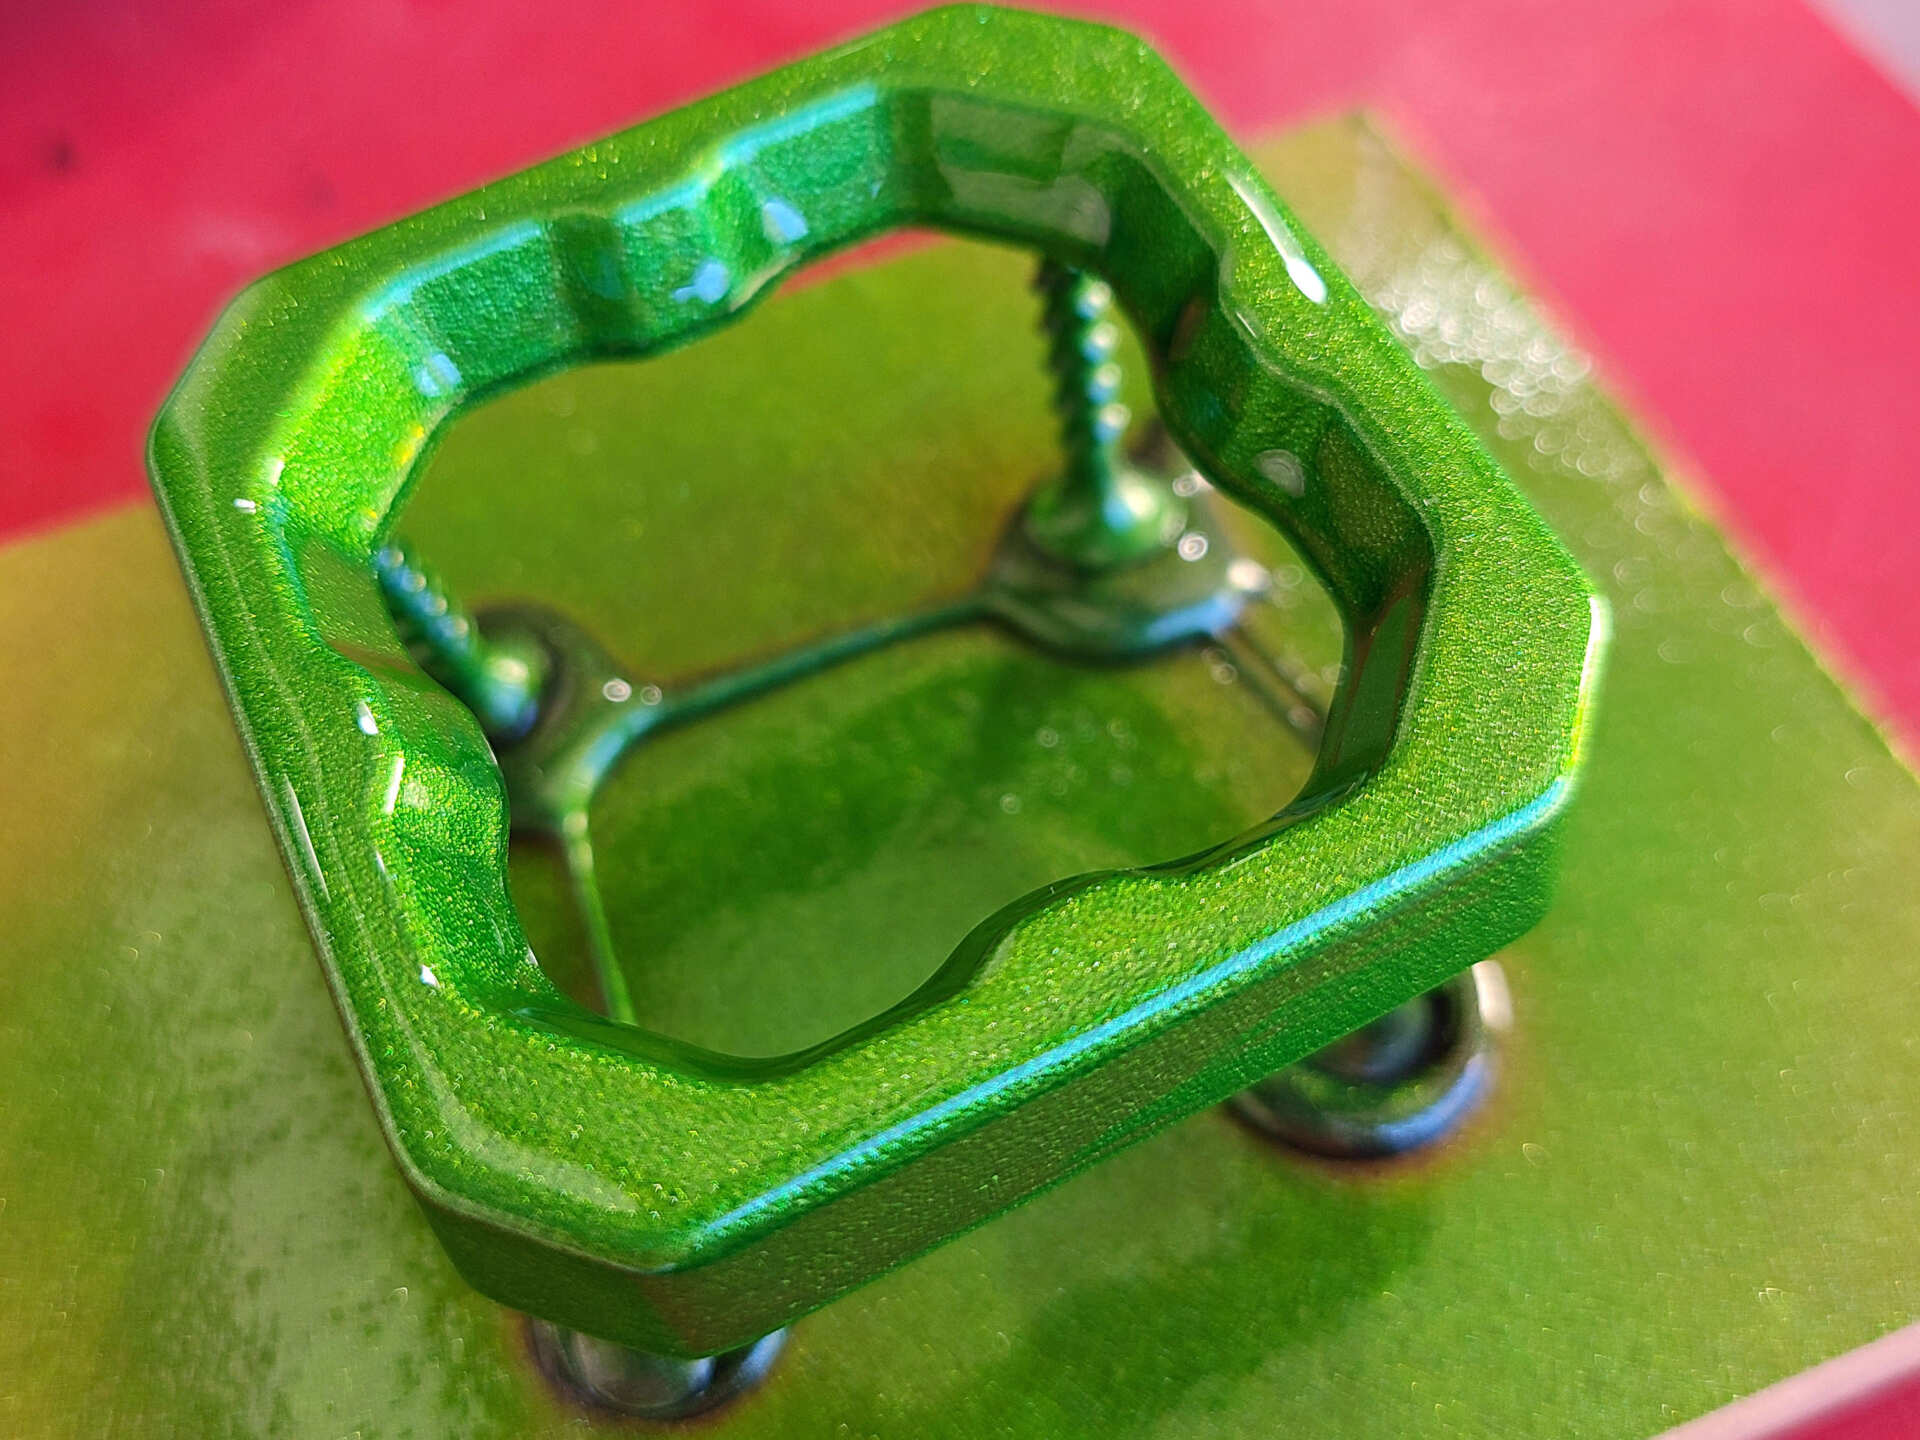

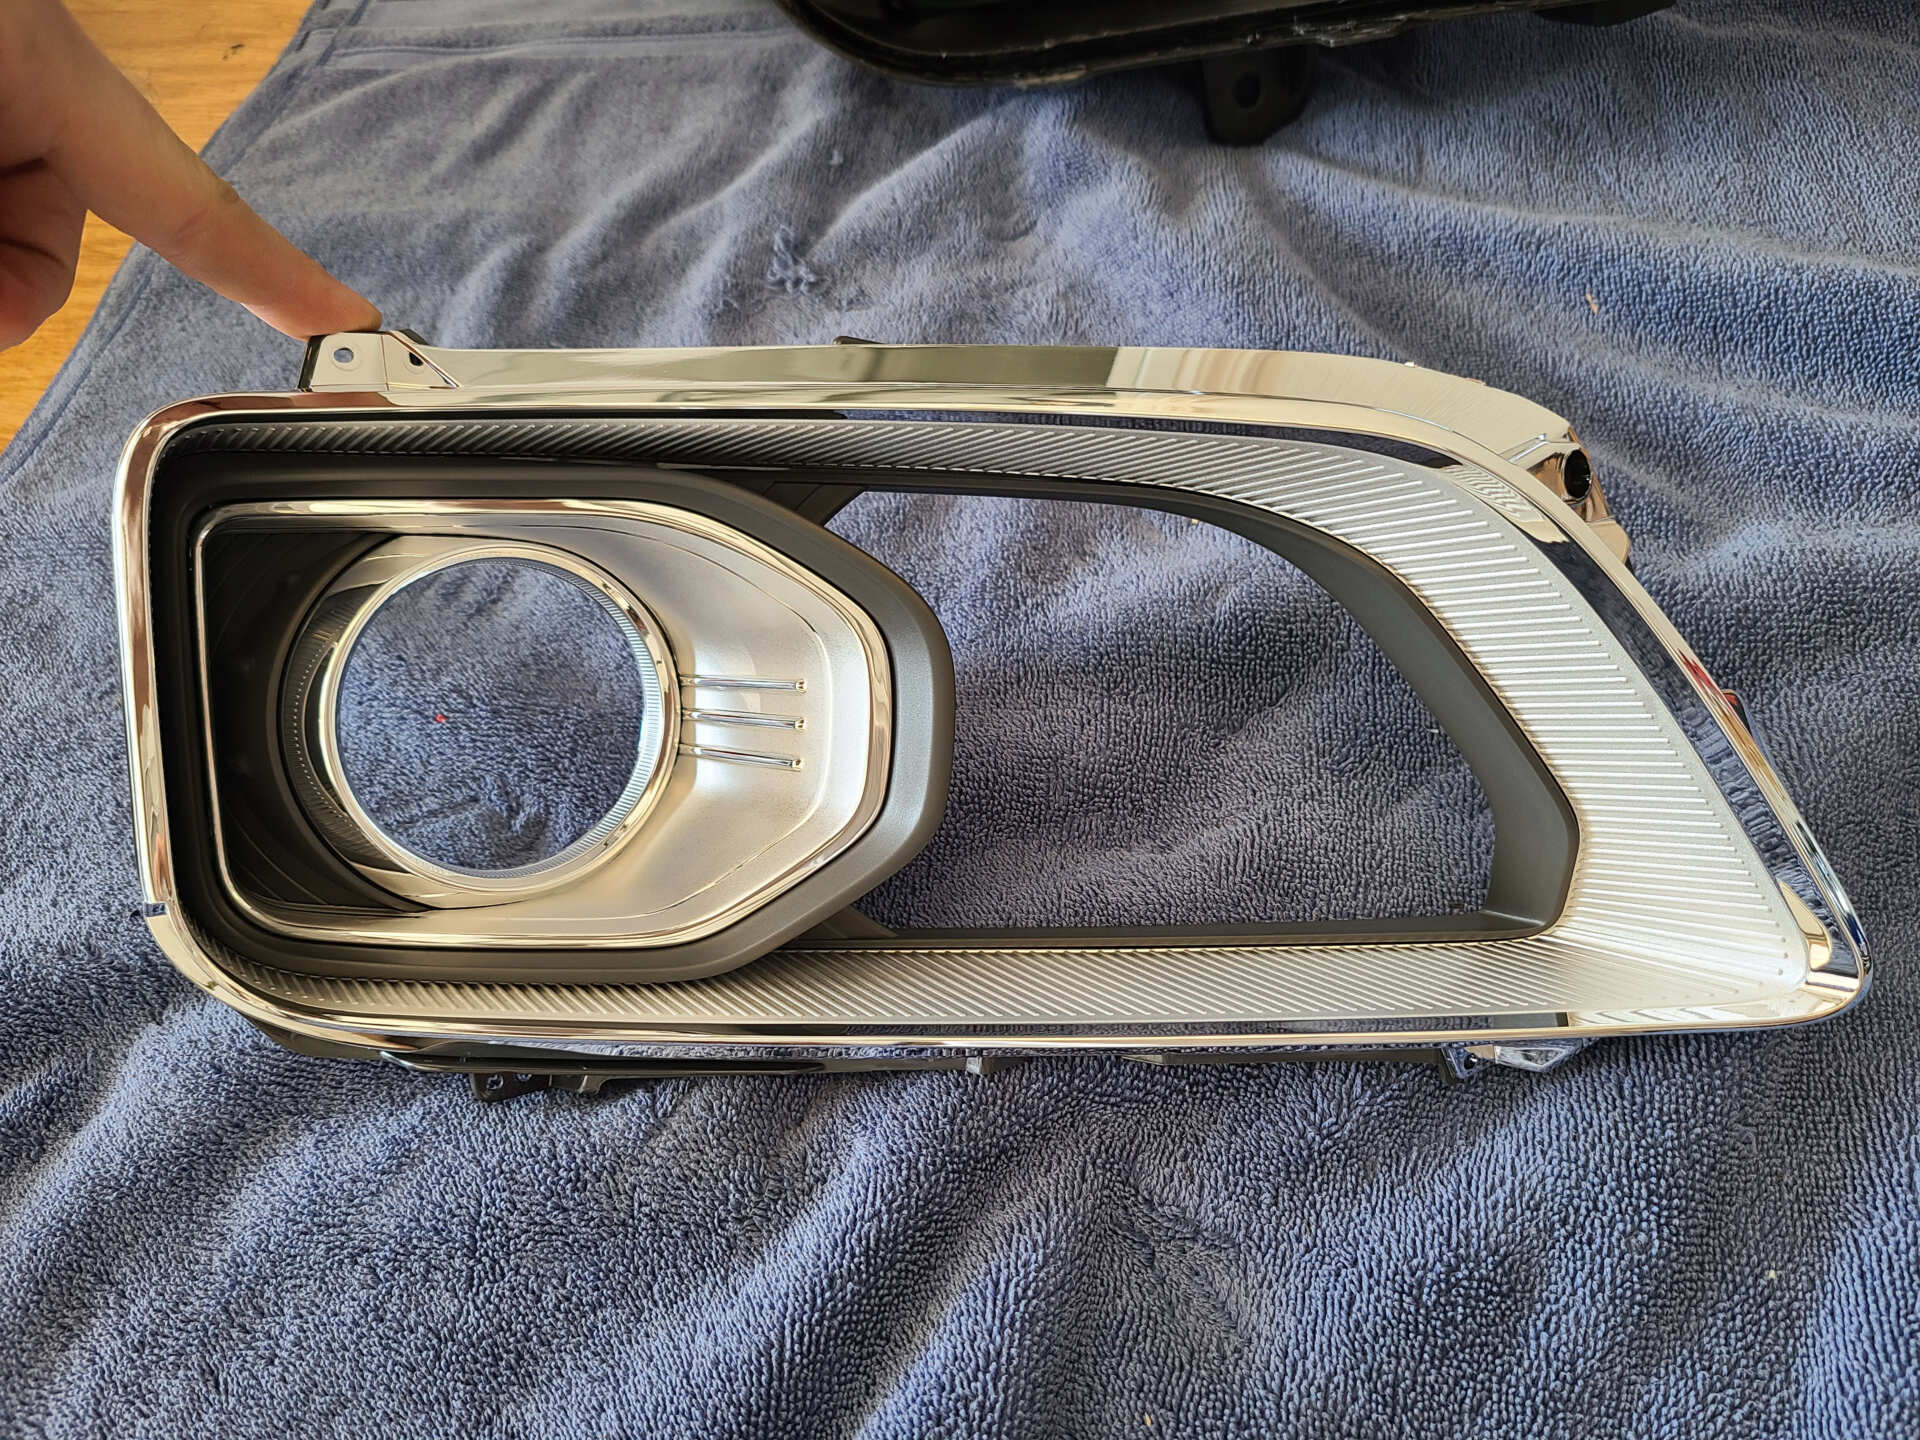
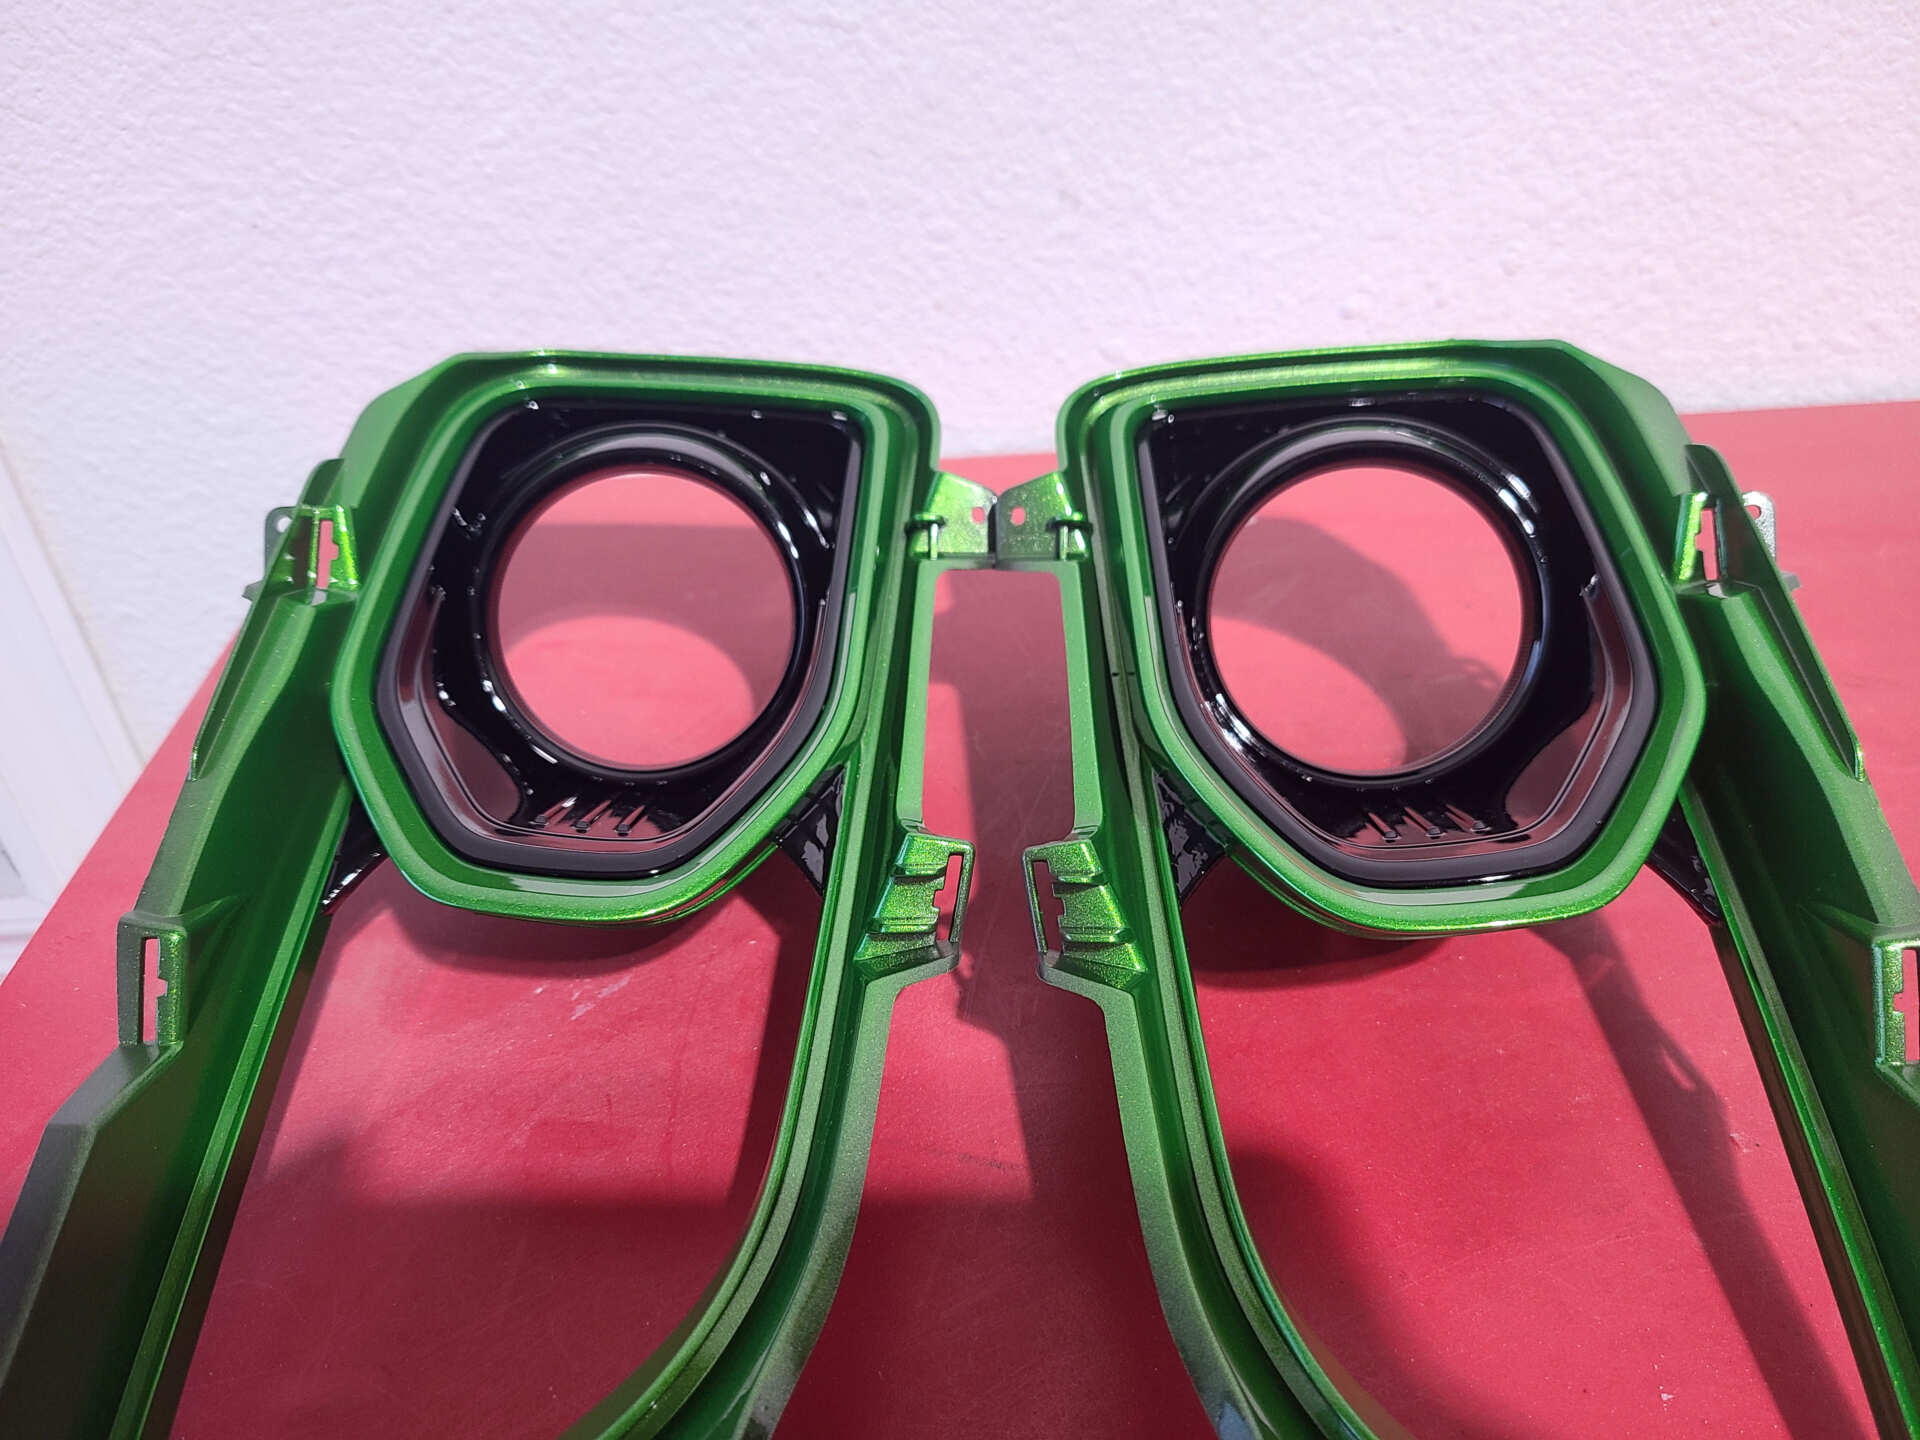
The next paint phase was for all the remaining headlight bezel and trim pieces… and a few other related parts!

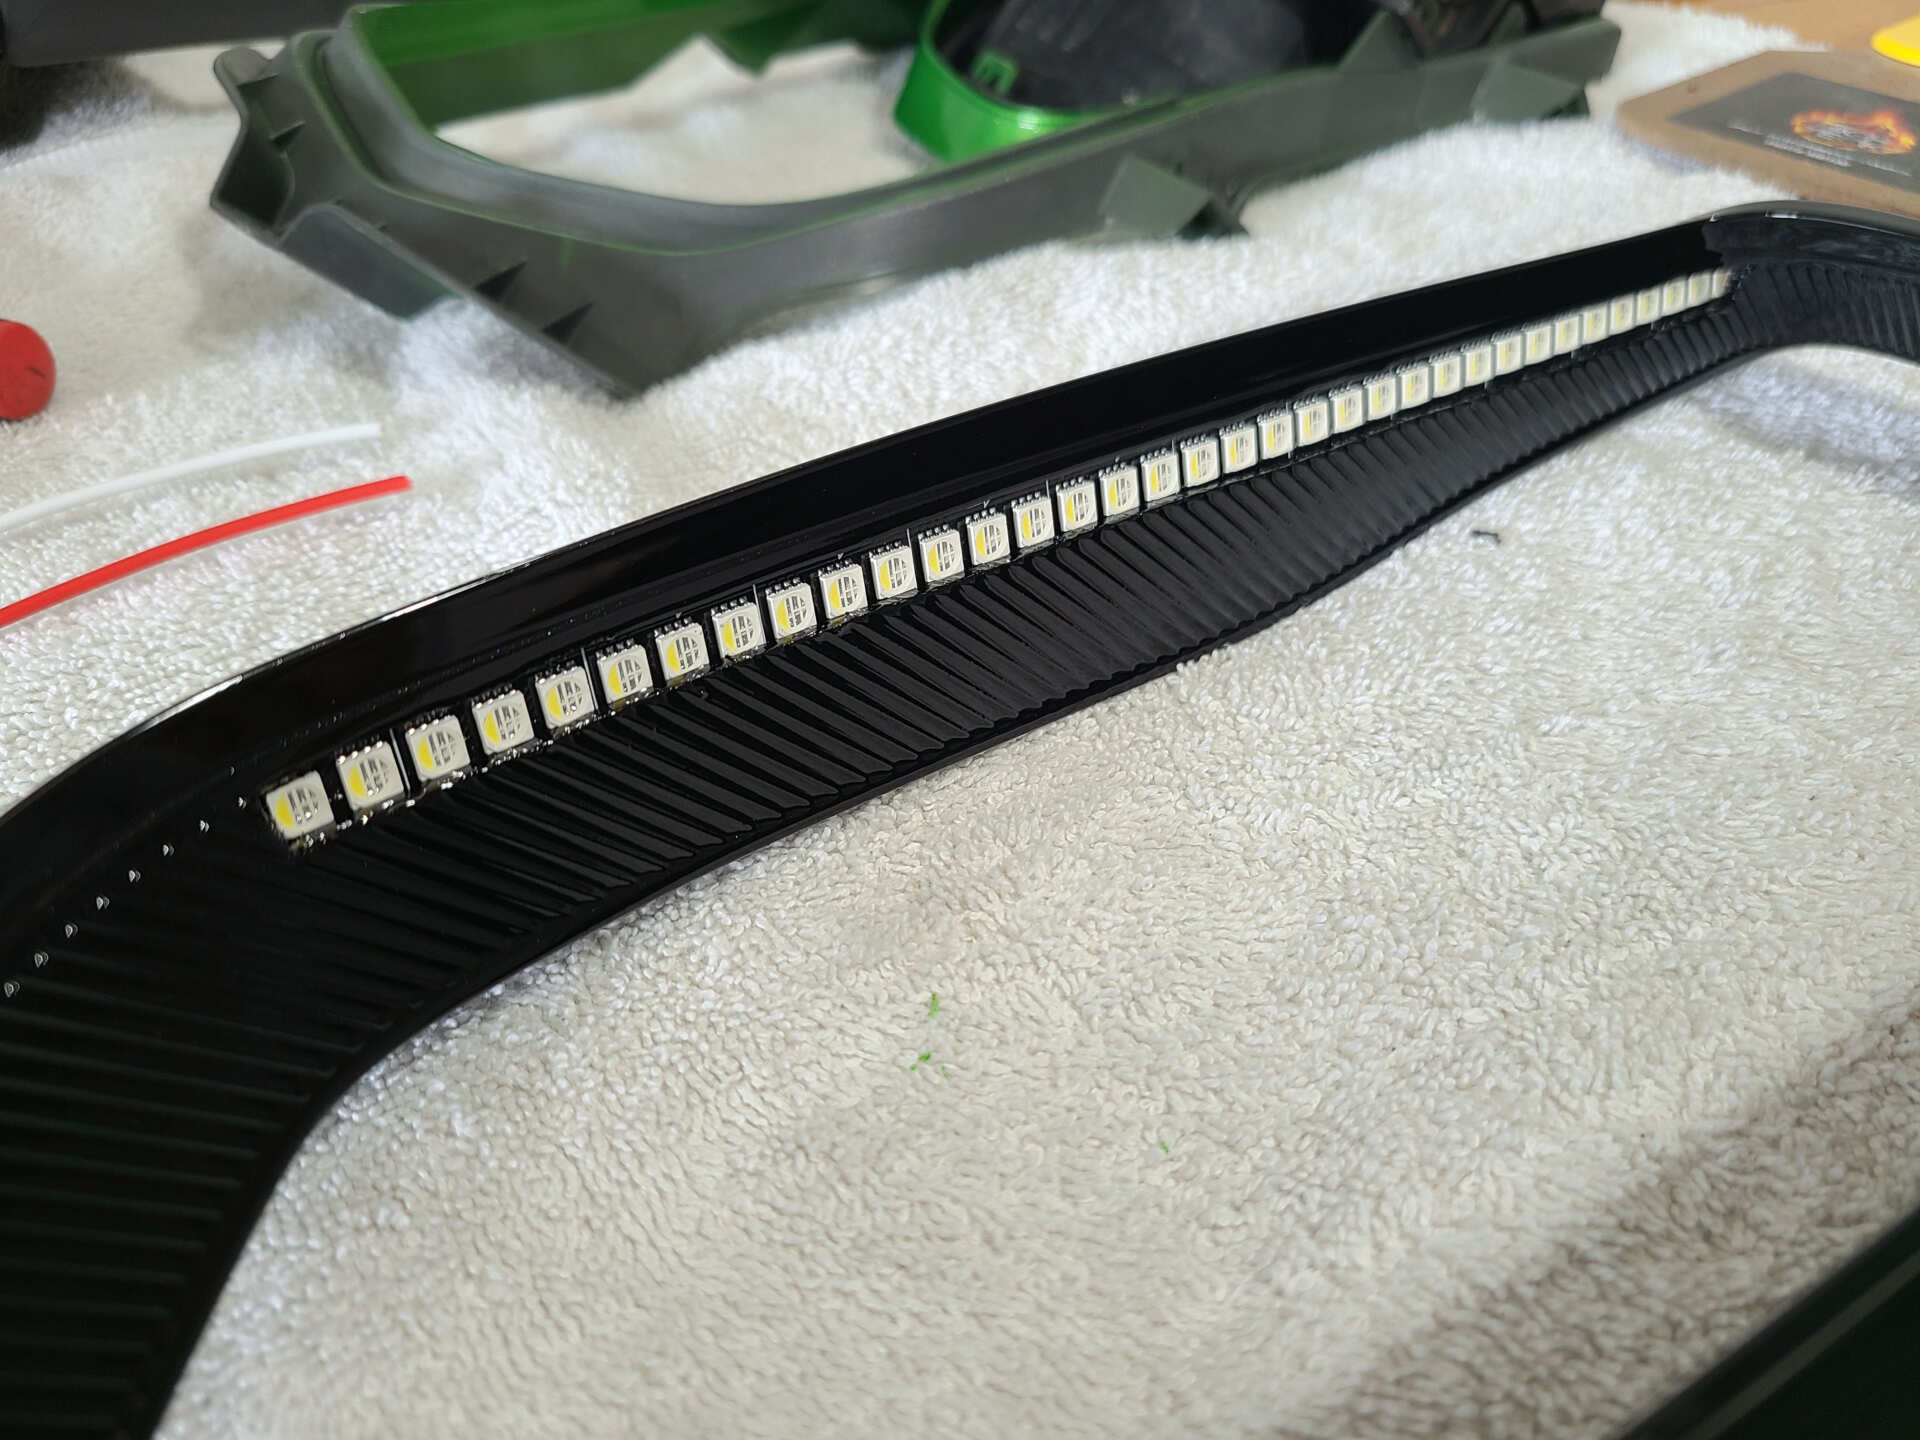
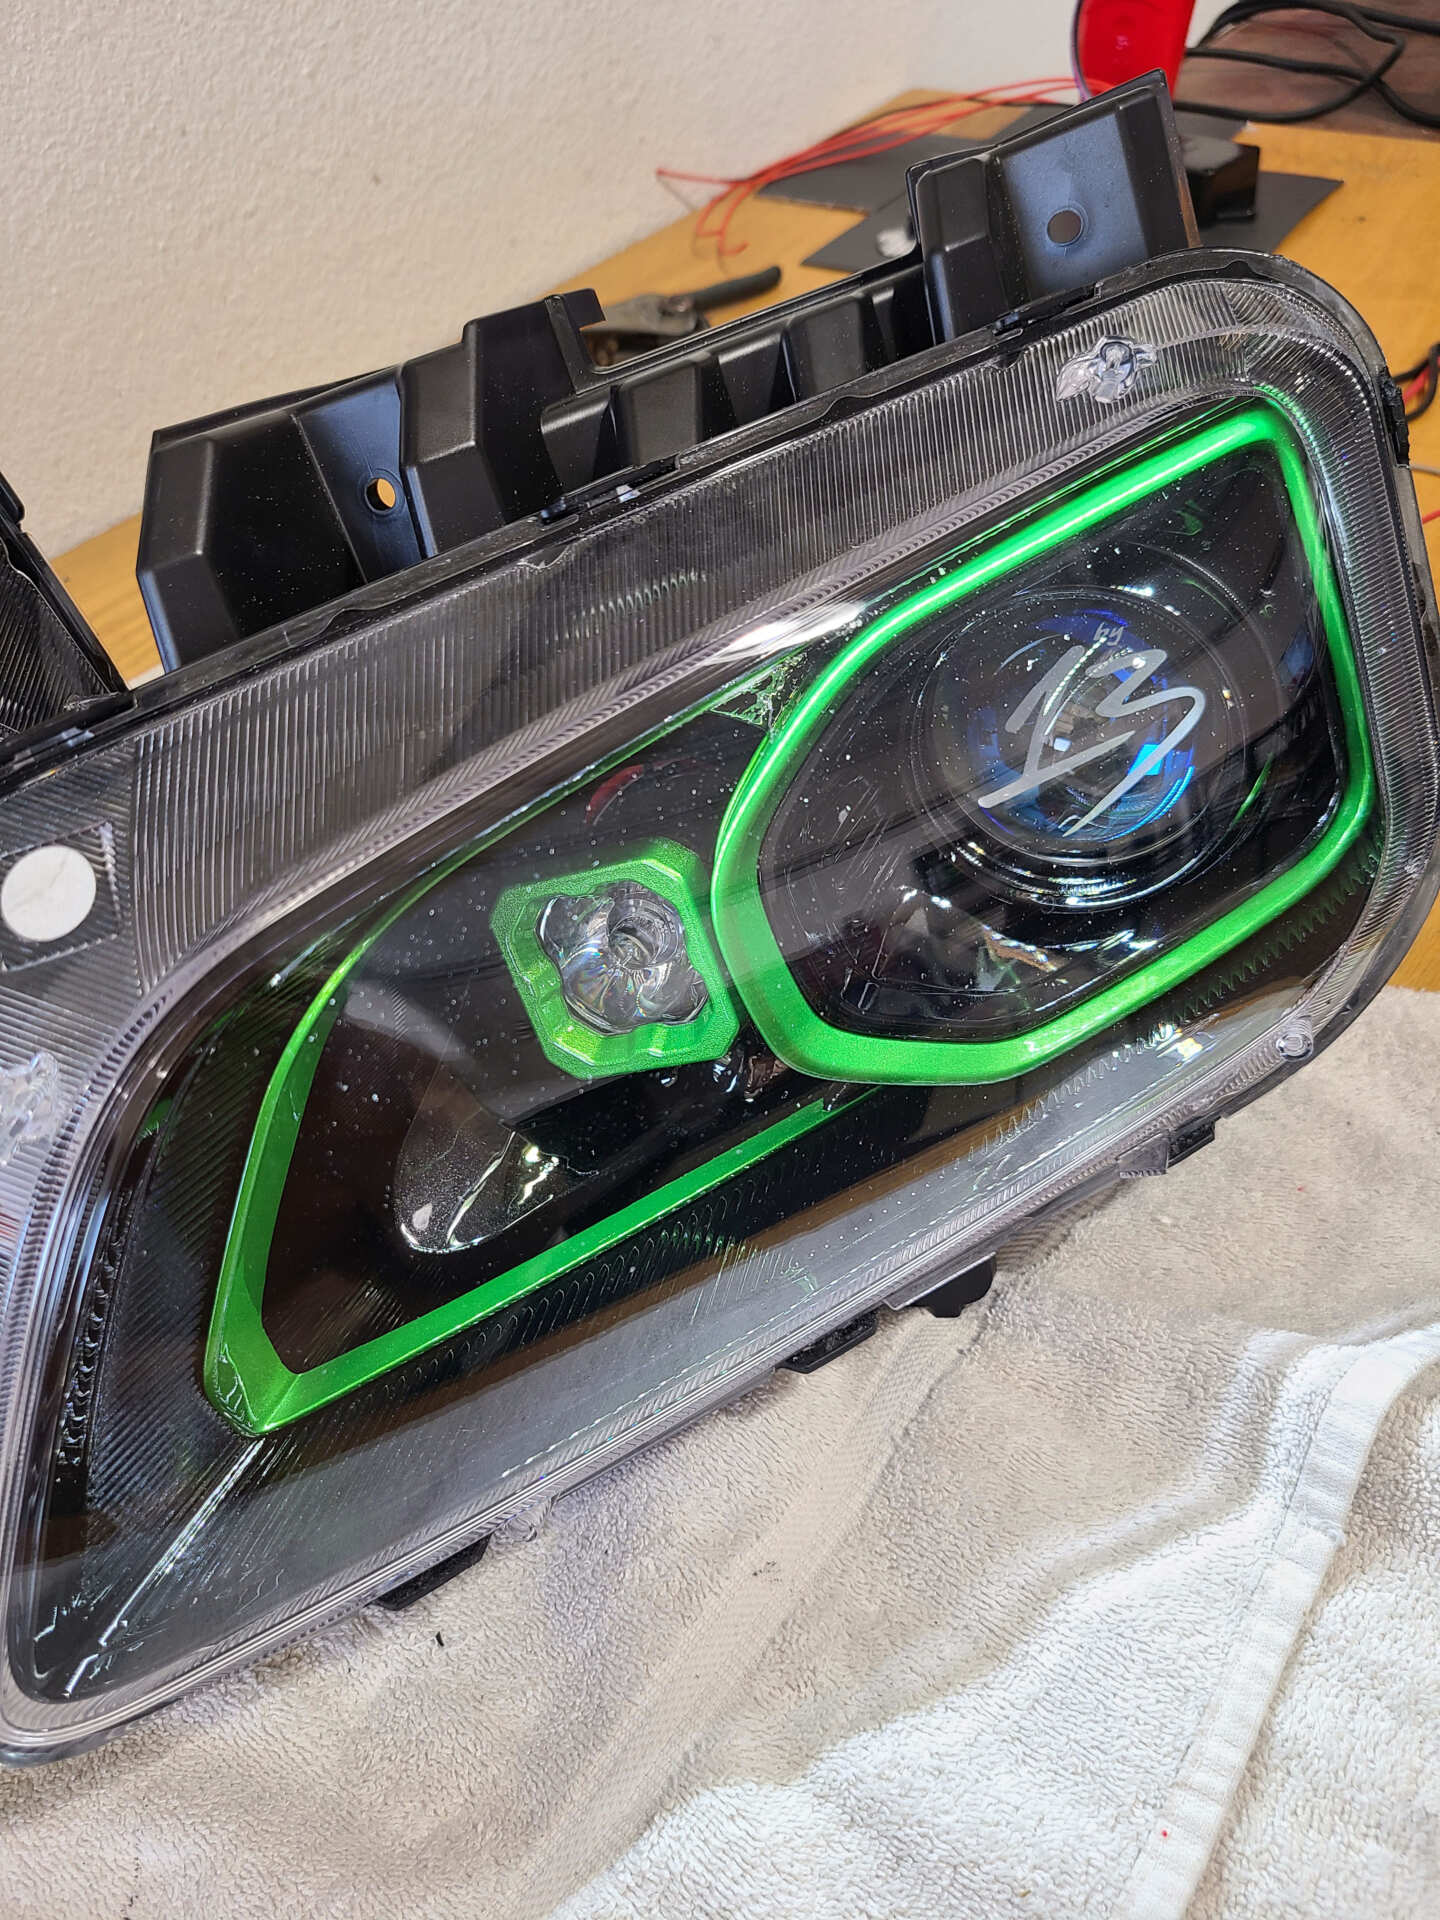
I wanted to do something different with the addressable lighting phase of this headlight build. I opted for ambient indirect lighting rather than forward facing lighting like halos or strips. To make sure it would be bright enough, I used Next Level Neo Flow series rigid UCS RGBW LED strips. The tradeoff for the 12v brightness is that there is 3x less resolution, but it was an acceptable compromise for this application. To hide the LEDs from visibility, I cut out a narrow strip along the top of the headlight bezel and mounted them on top. It worked out fabulously.


Then it came time for final assembly and showing off! The REALLY FUN part!


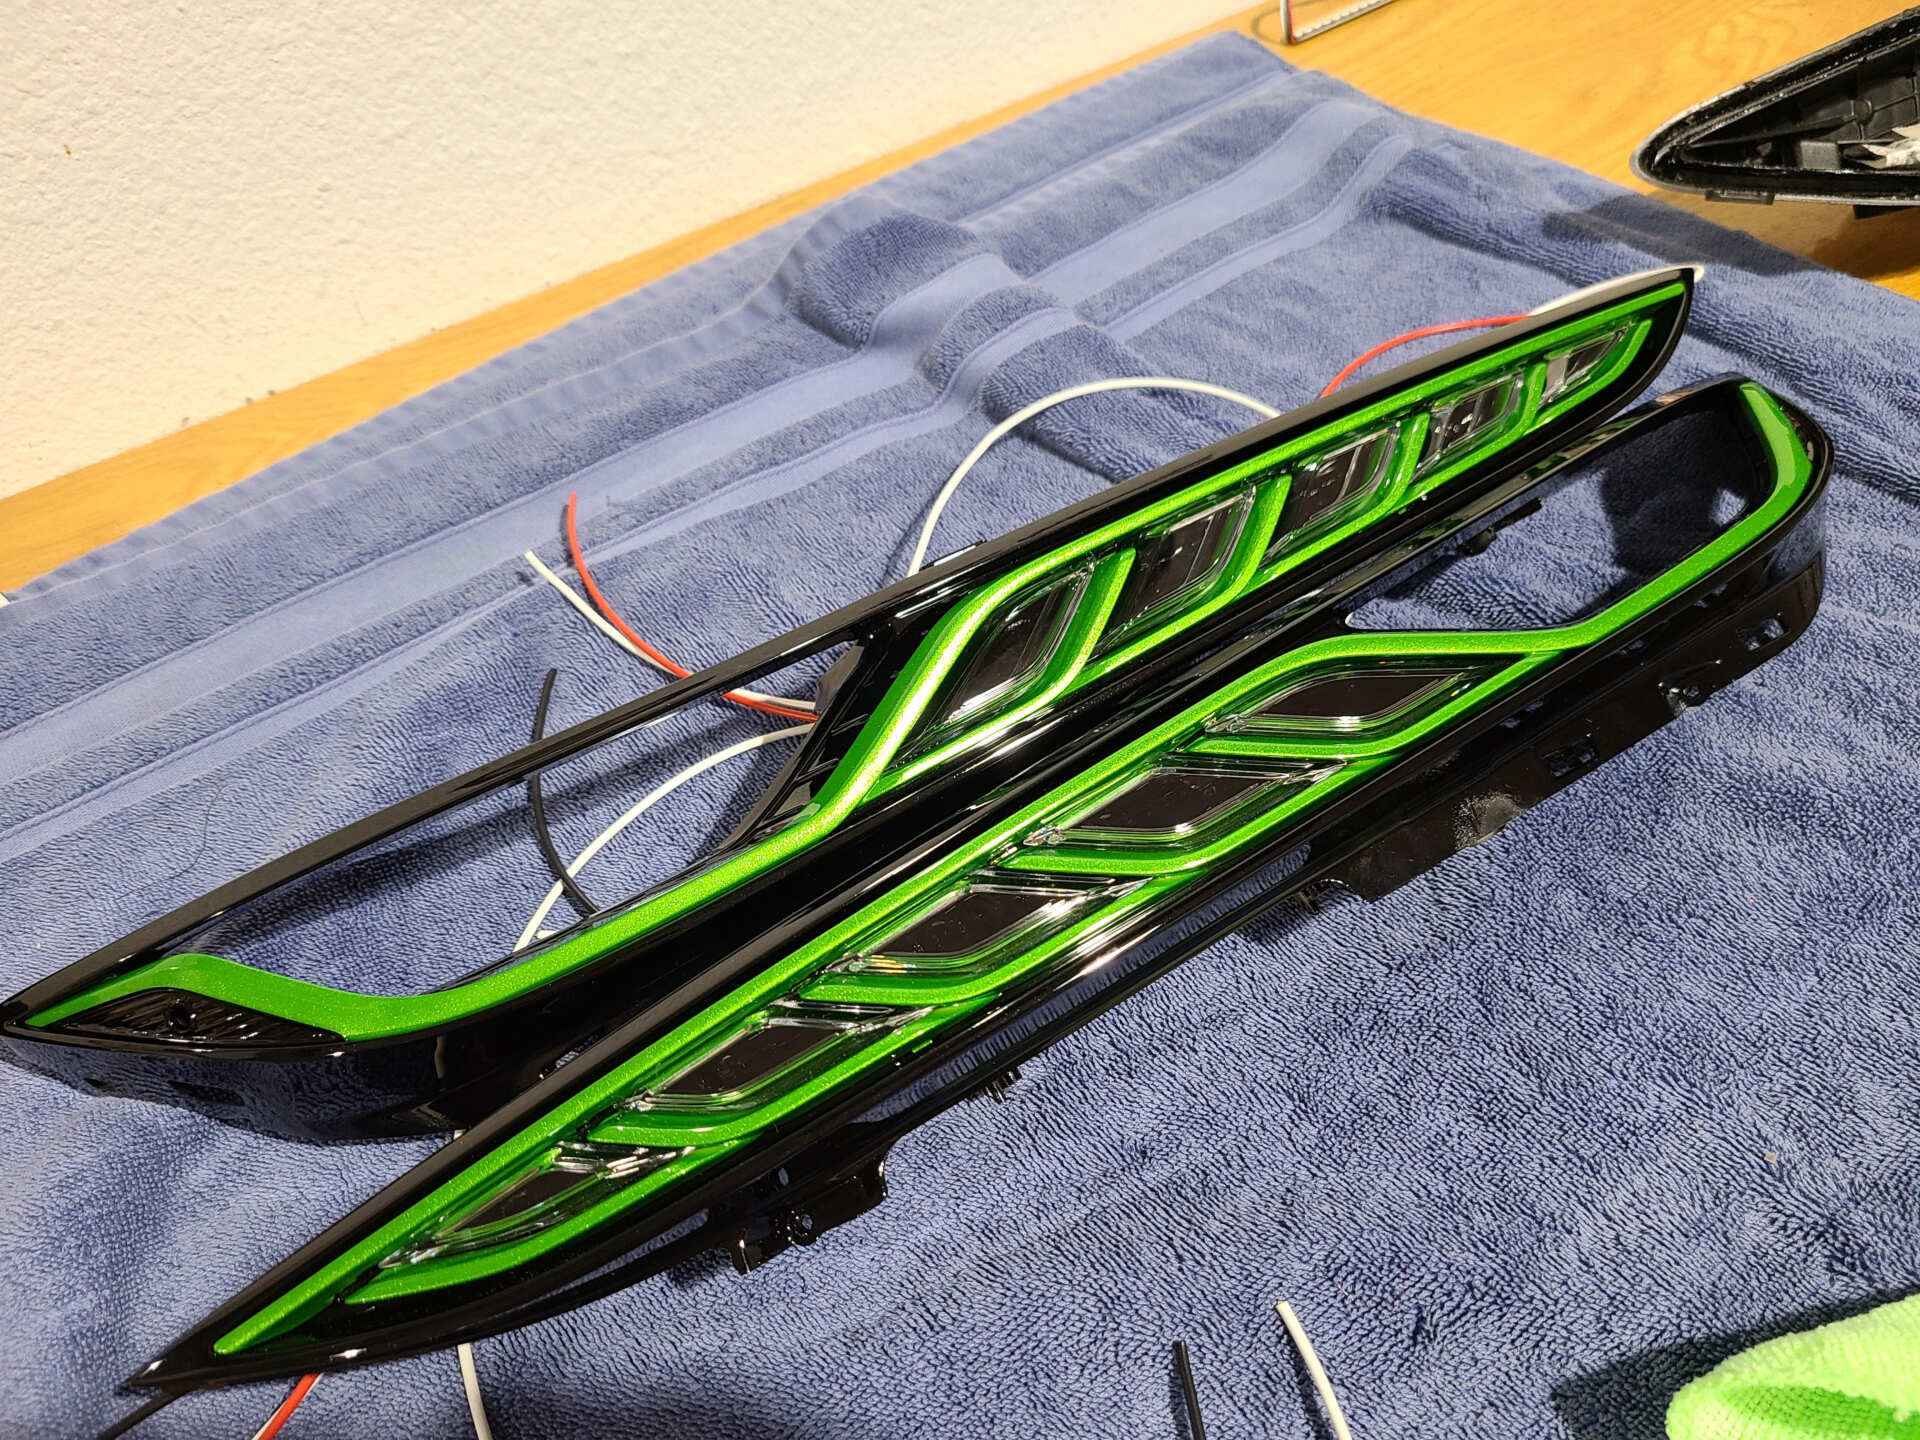
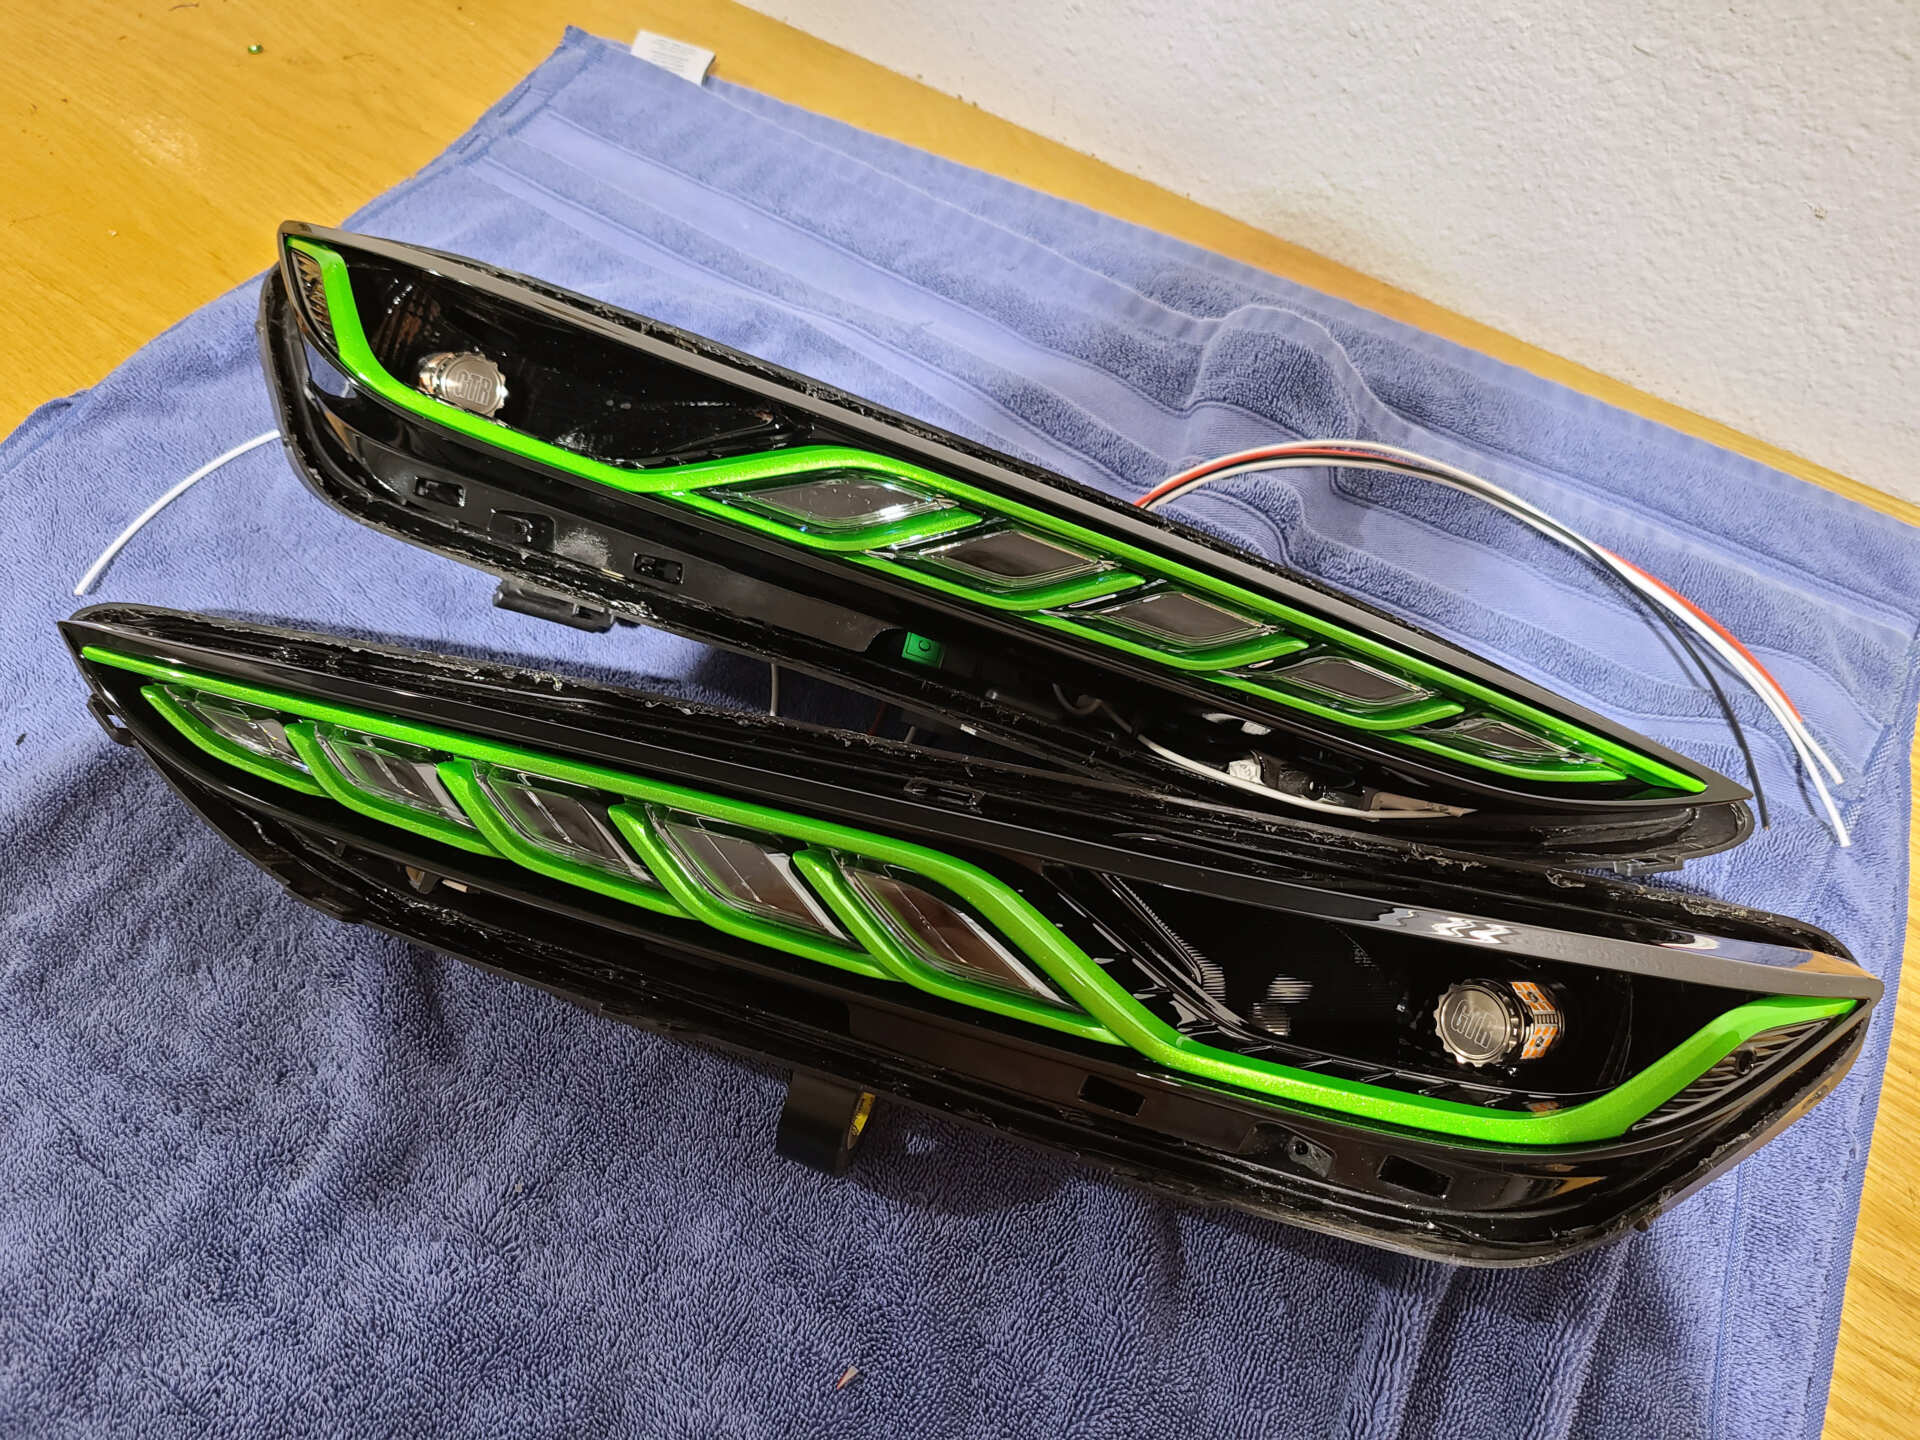
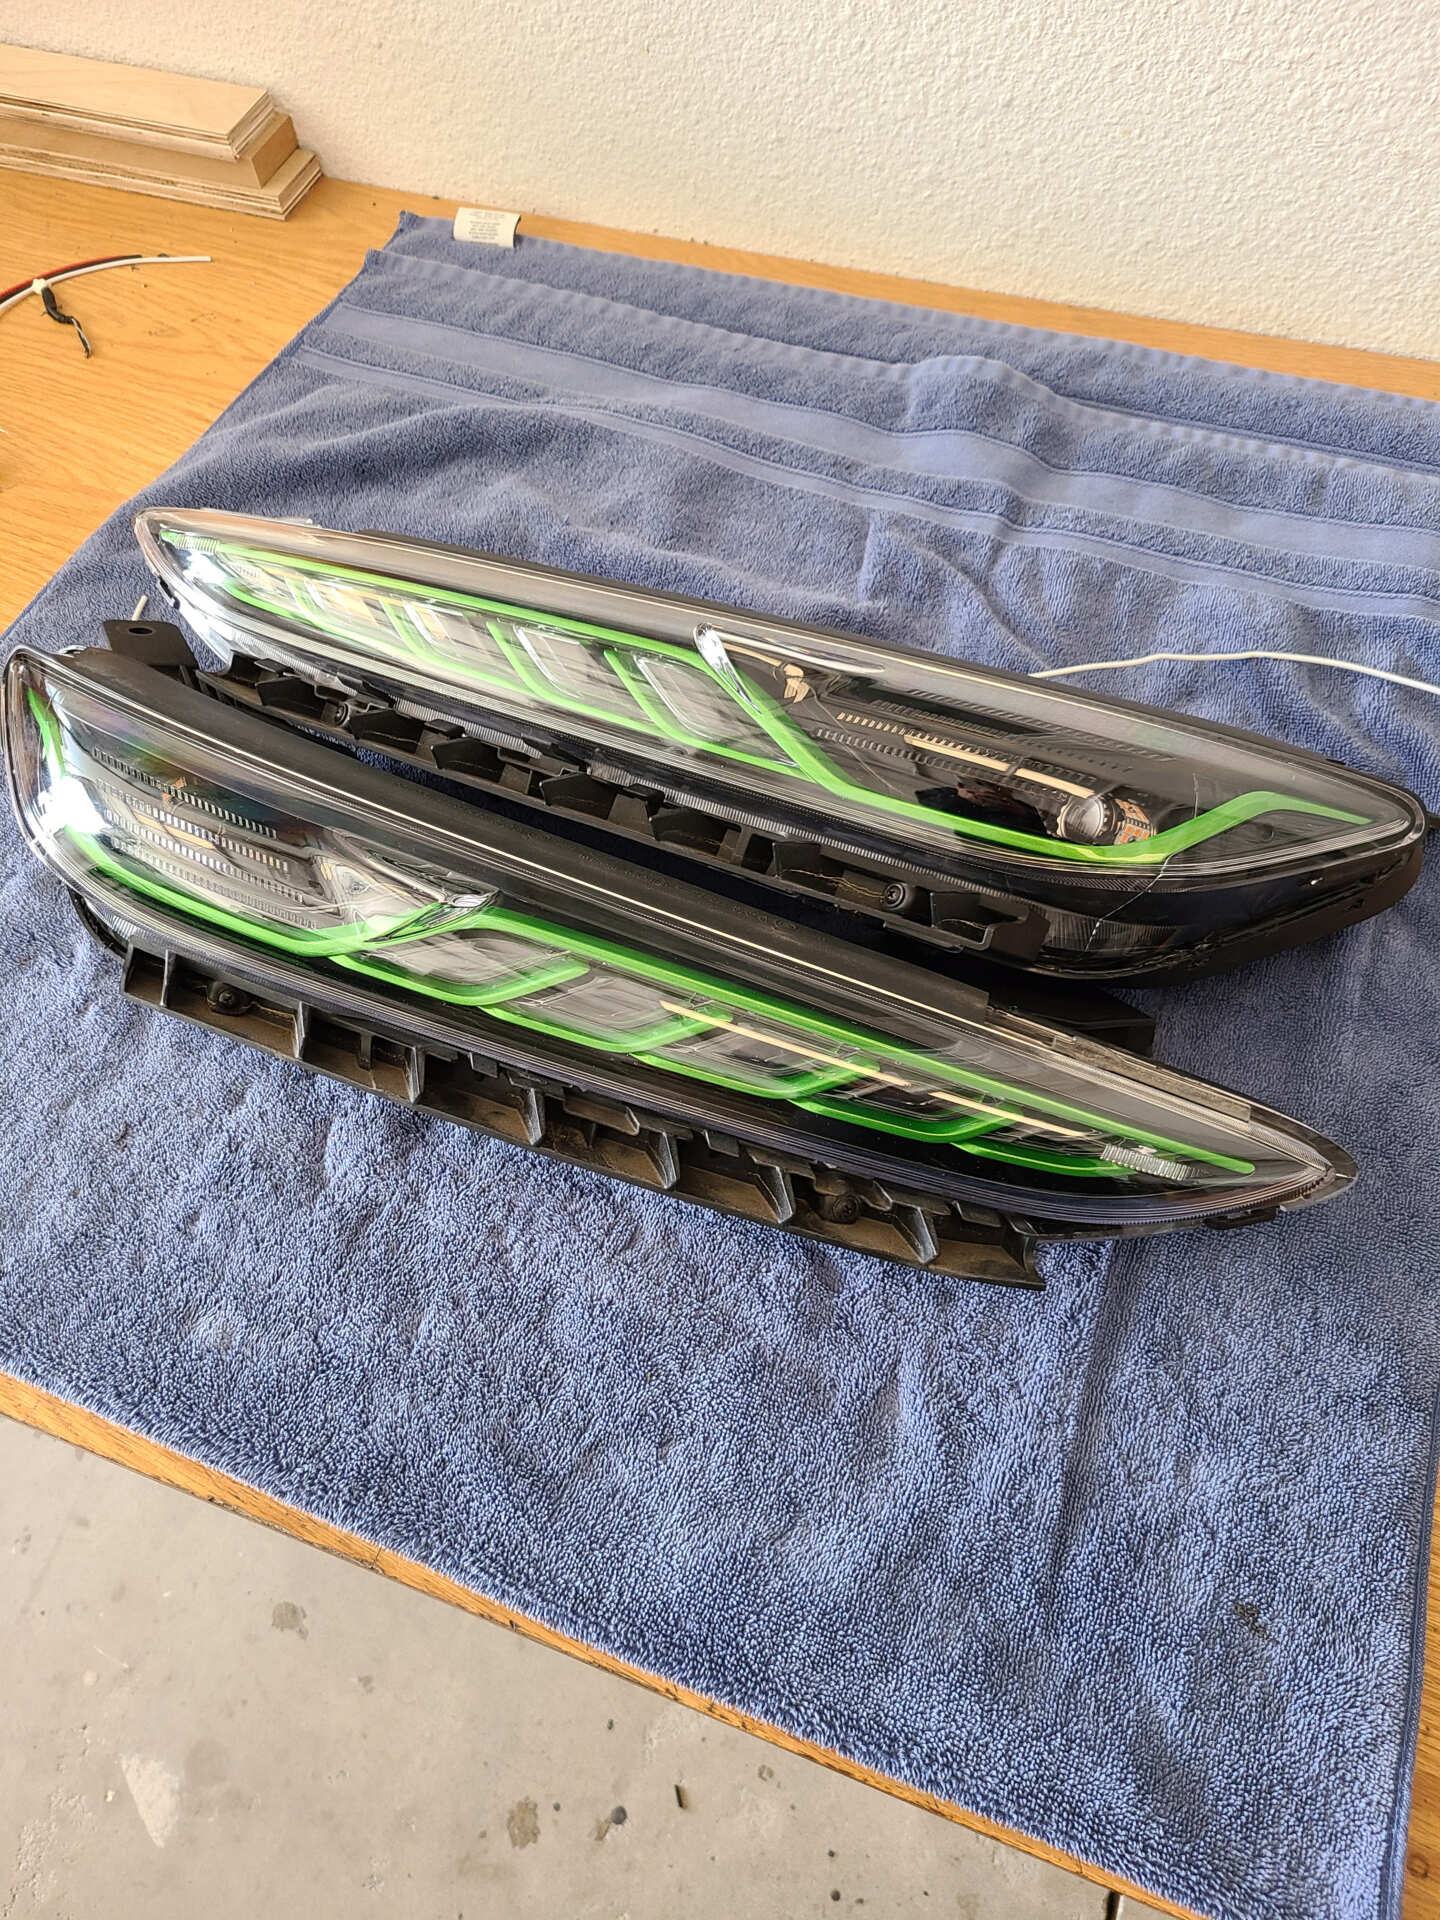
With the headlights complete, I turned my attention to the upper DRL lights on the Kona.
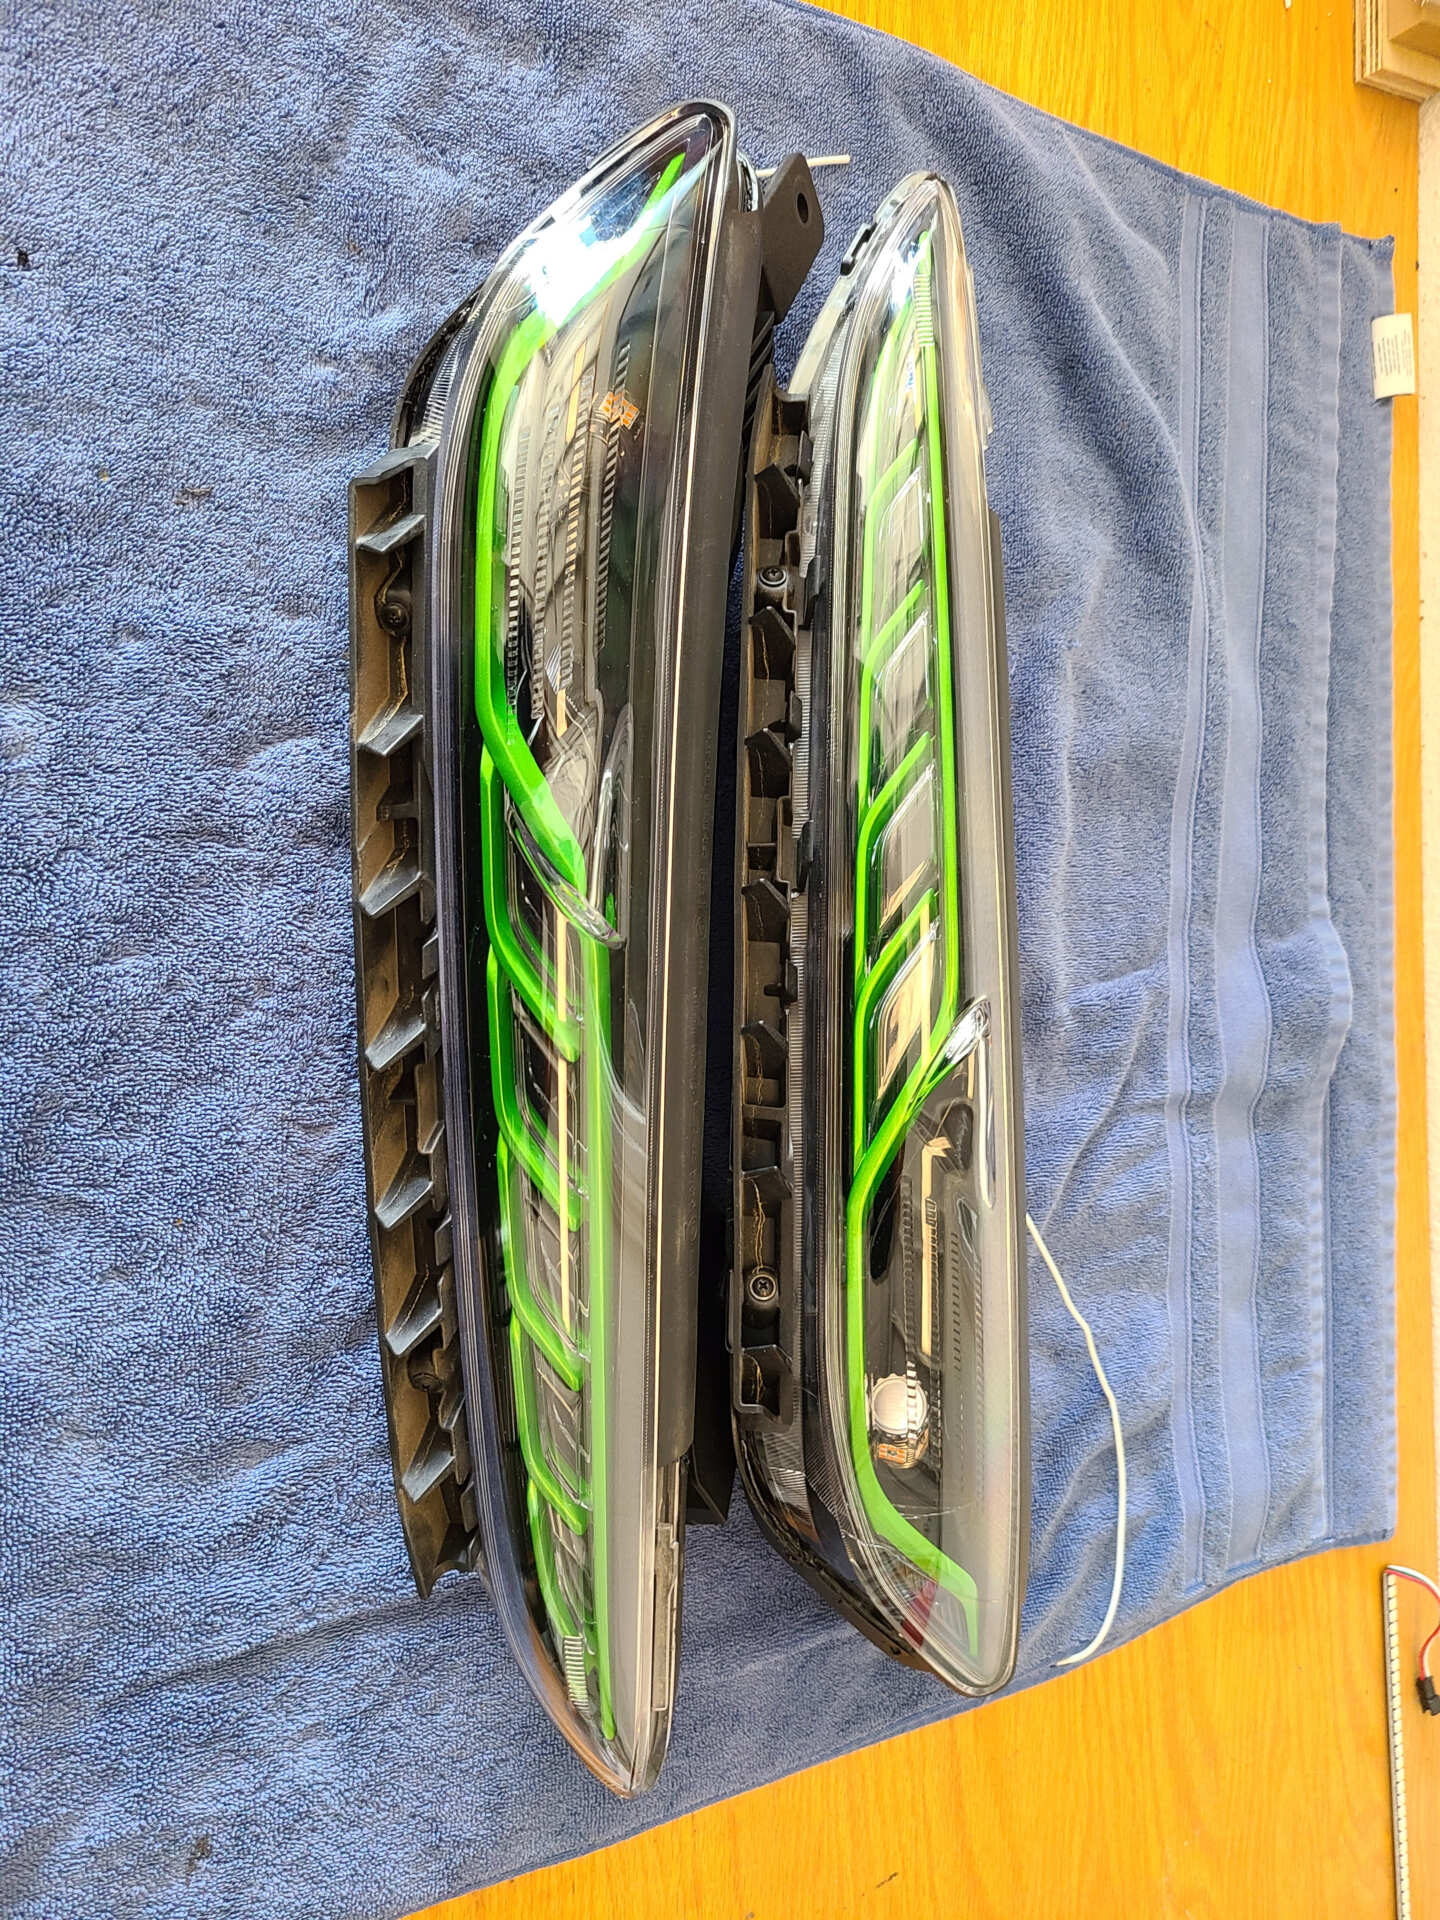
I did a pretty bad job of taking any ‘before’ pictures on these, so the first pictures I’ve got here are after disassembly and paintwork:


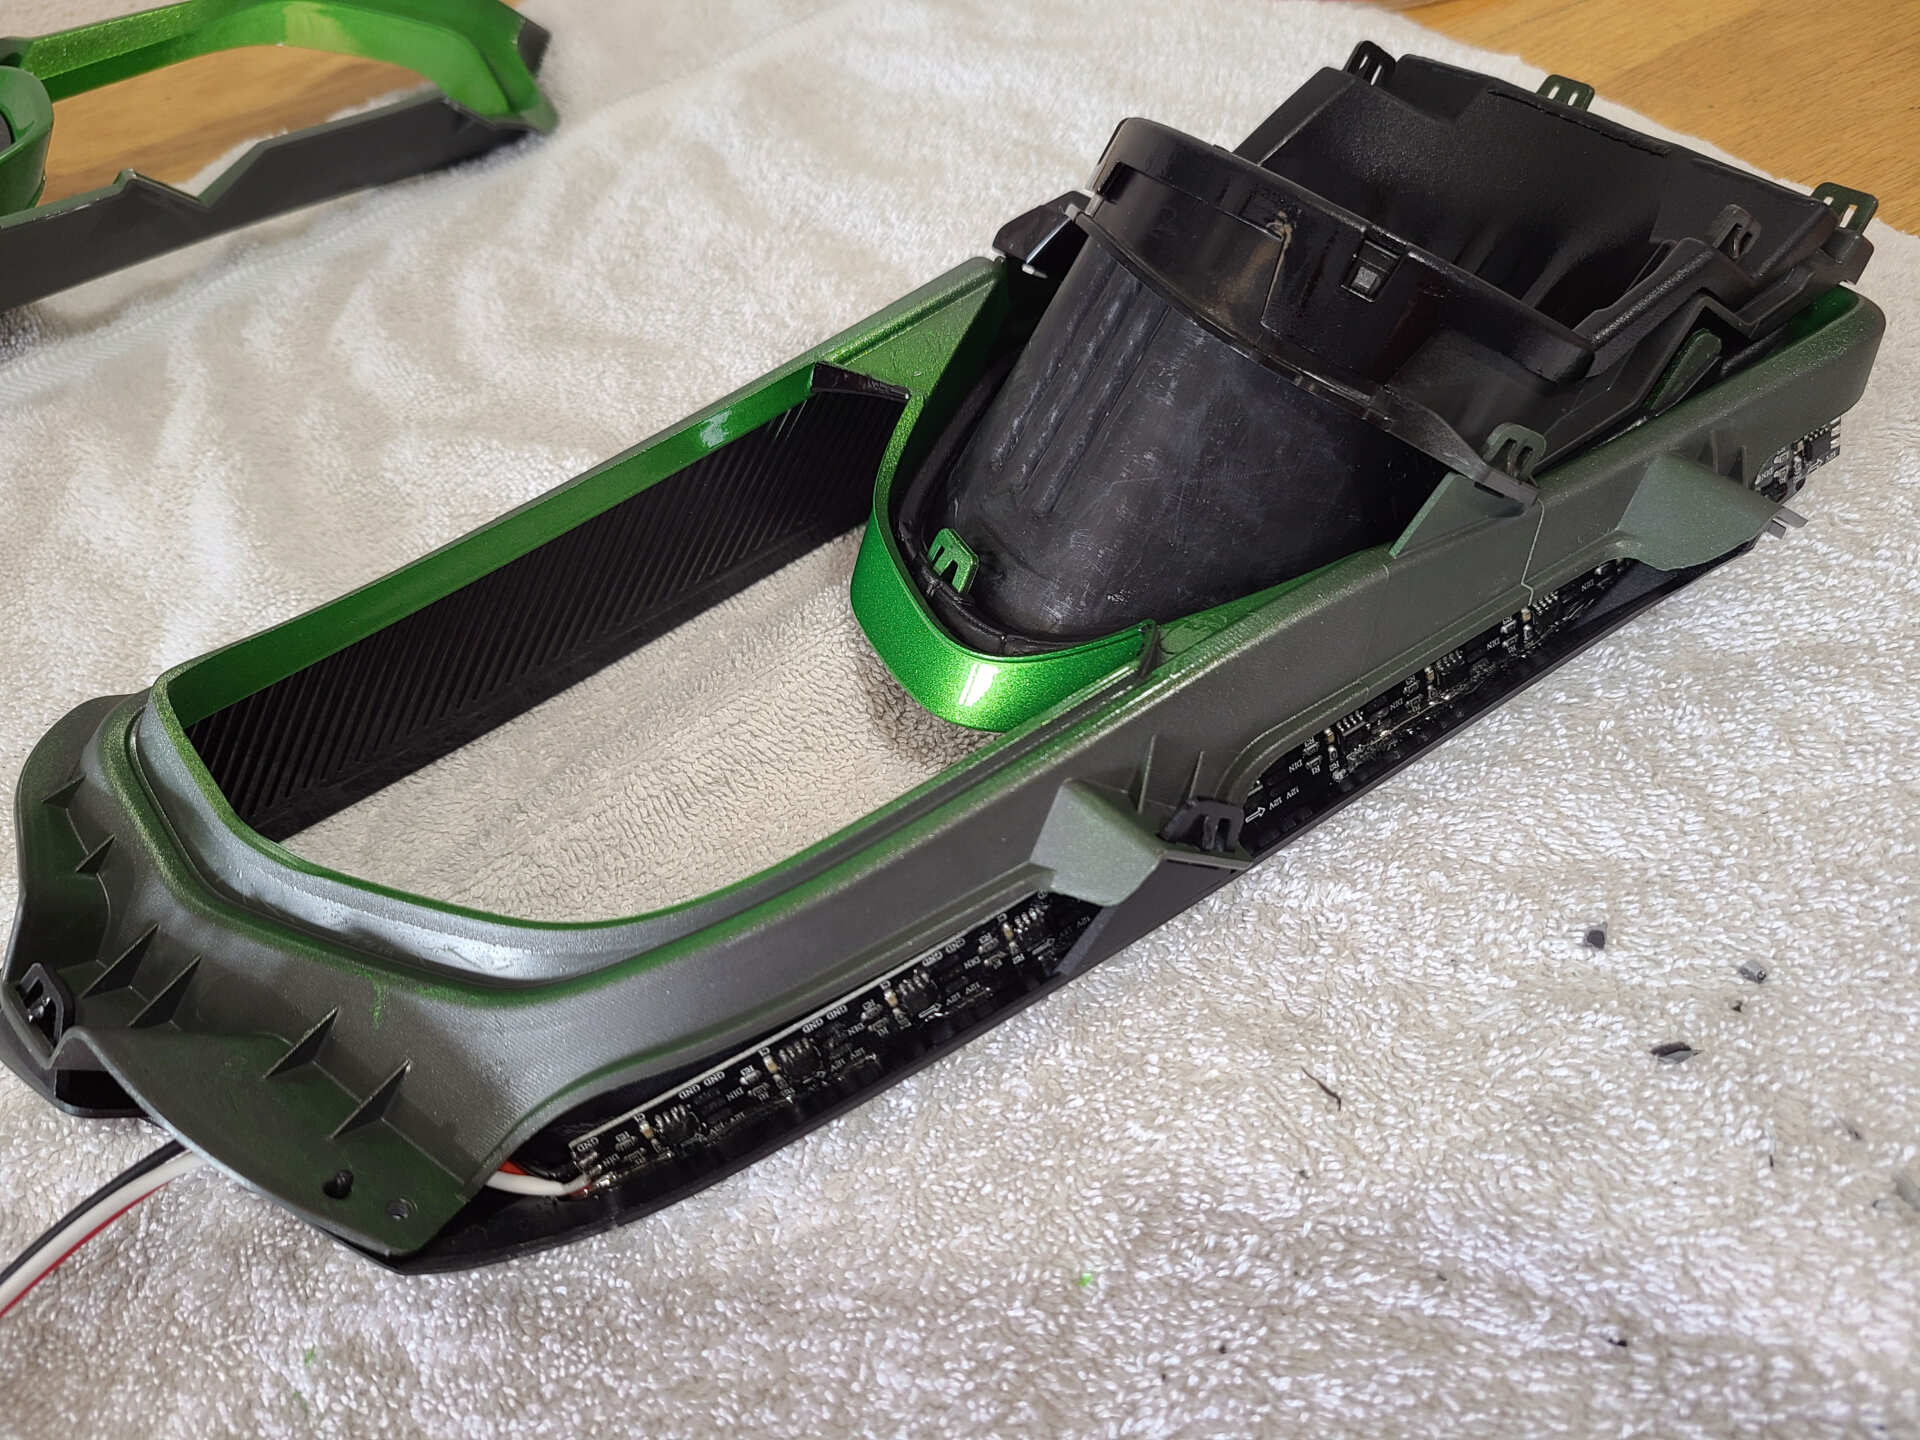
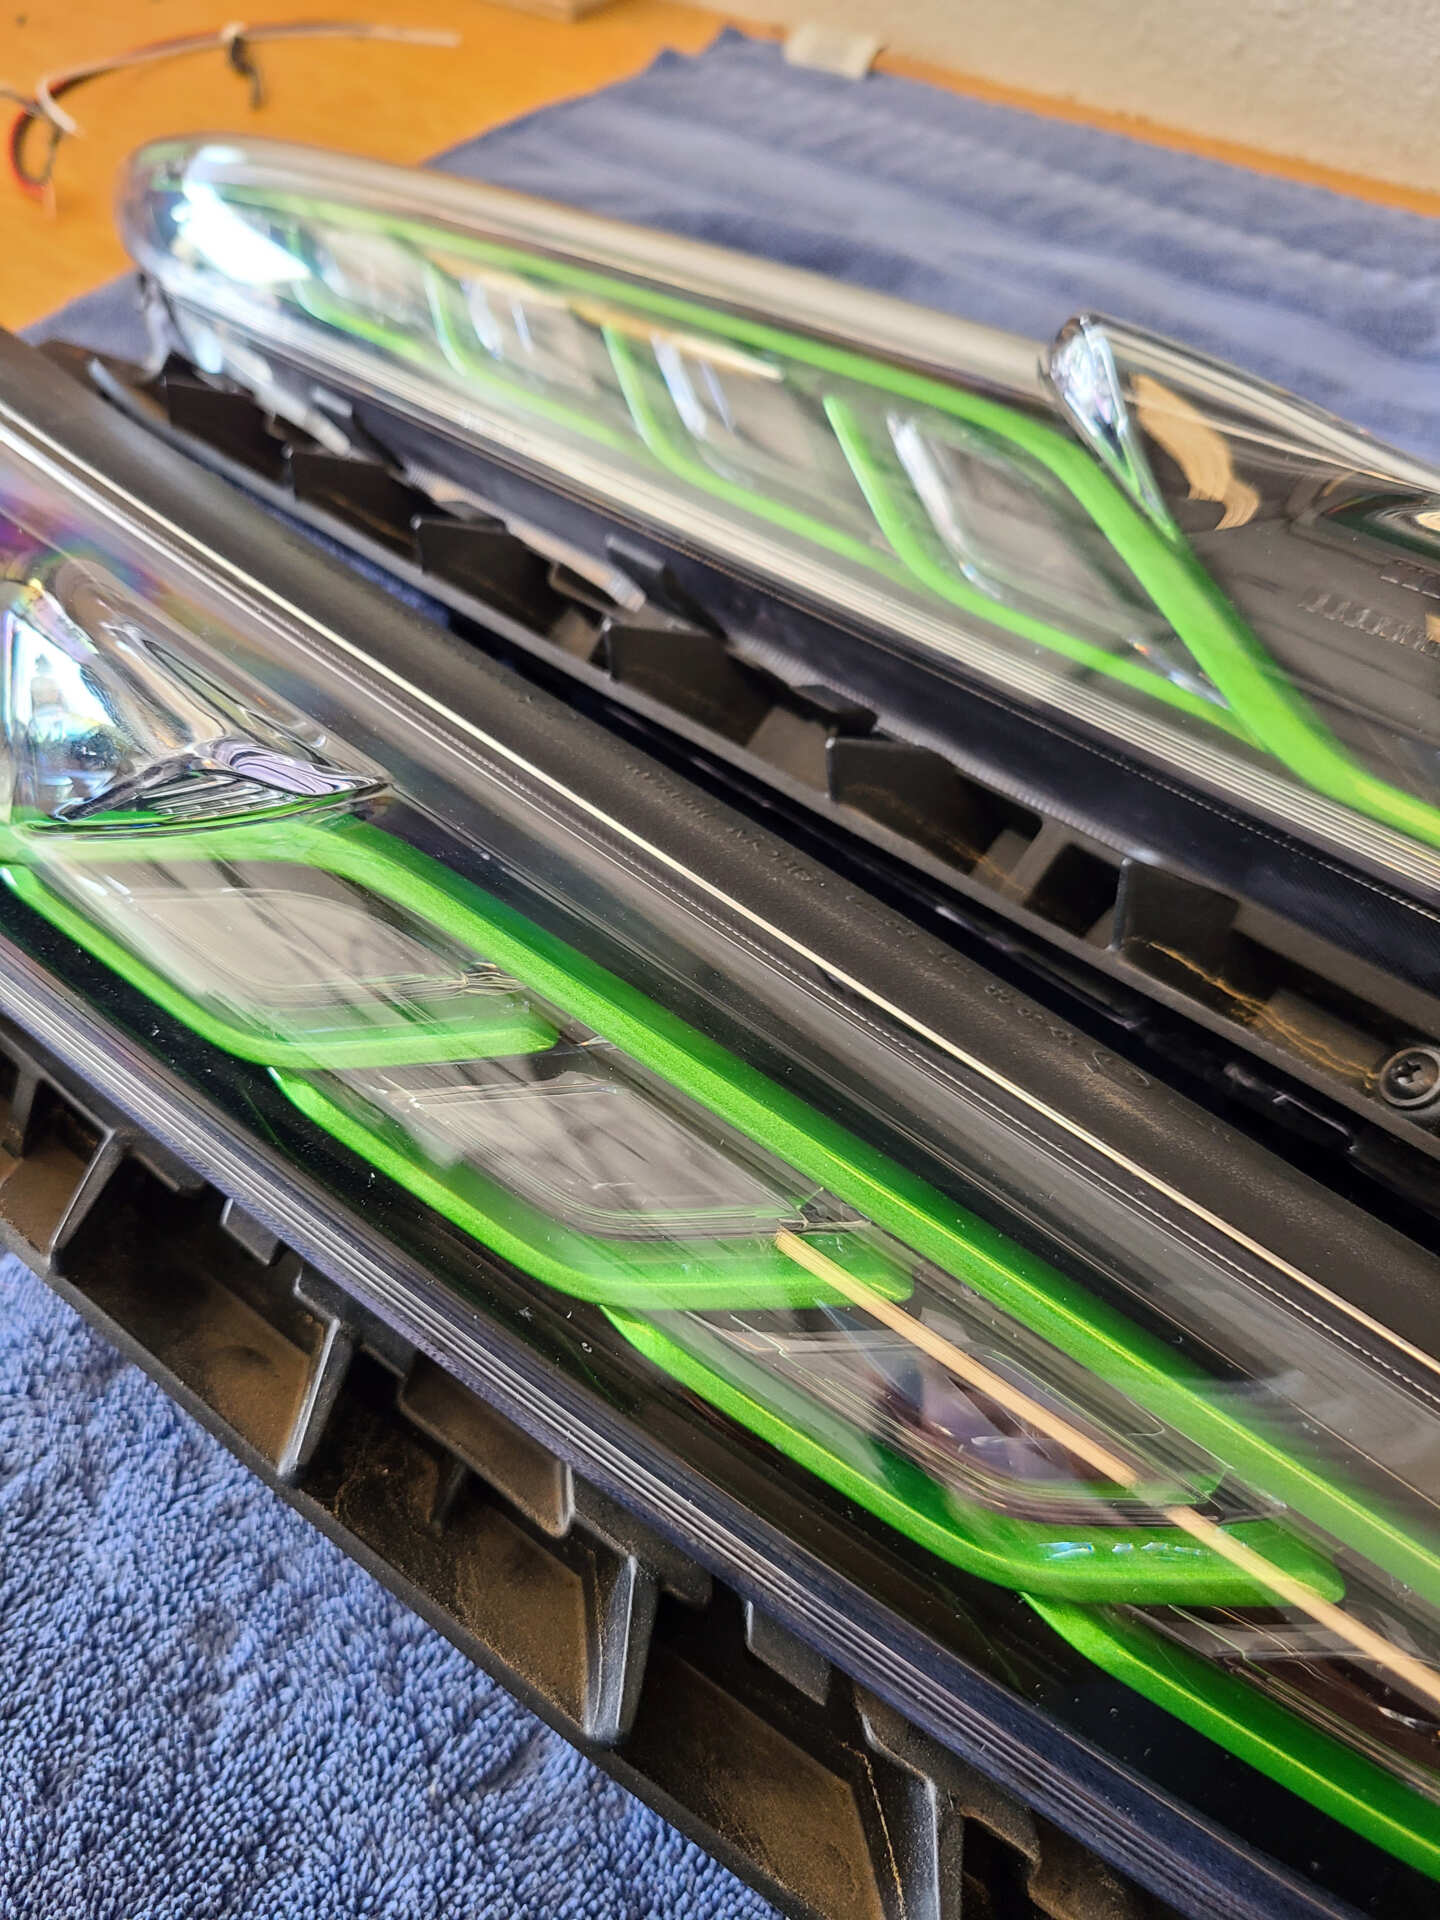
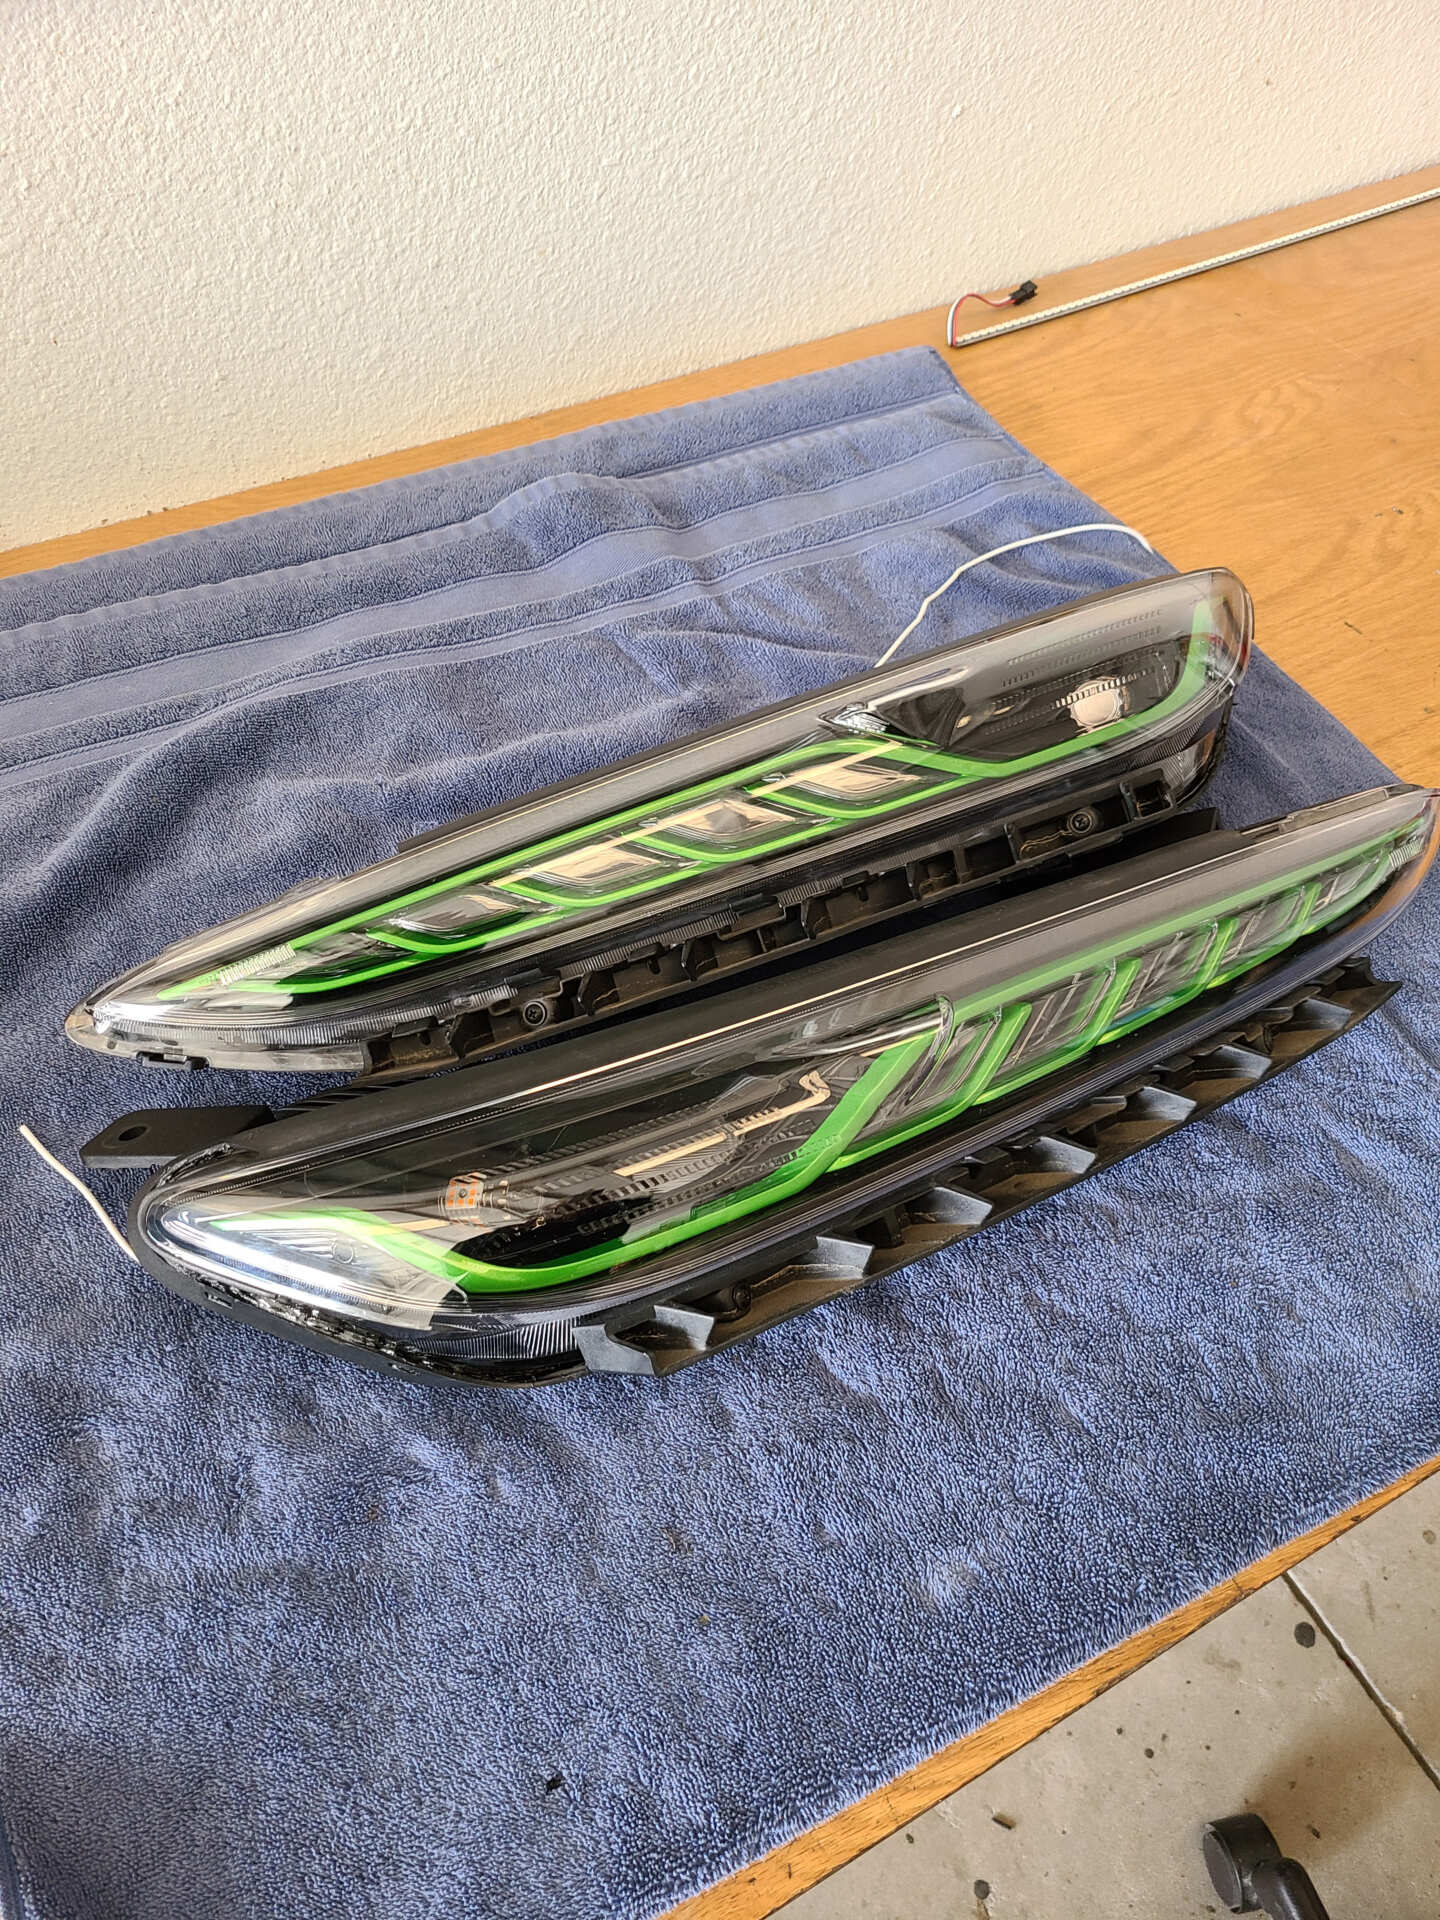
I used the same addressable UCS RGBW LED strips on the upper lights. These DRL reflector bowls are normally all chrome but I wanted it to be dark and mysterious to make the green accent pop. The LED strips were bonded in place and I used some electrical tape to ensure that no rogue light would bleed out where I didn’t want it.


These were honestly pretty straight forward to build! Final assembly of the upper lights:


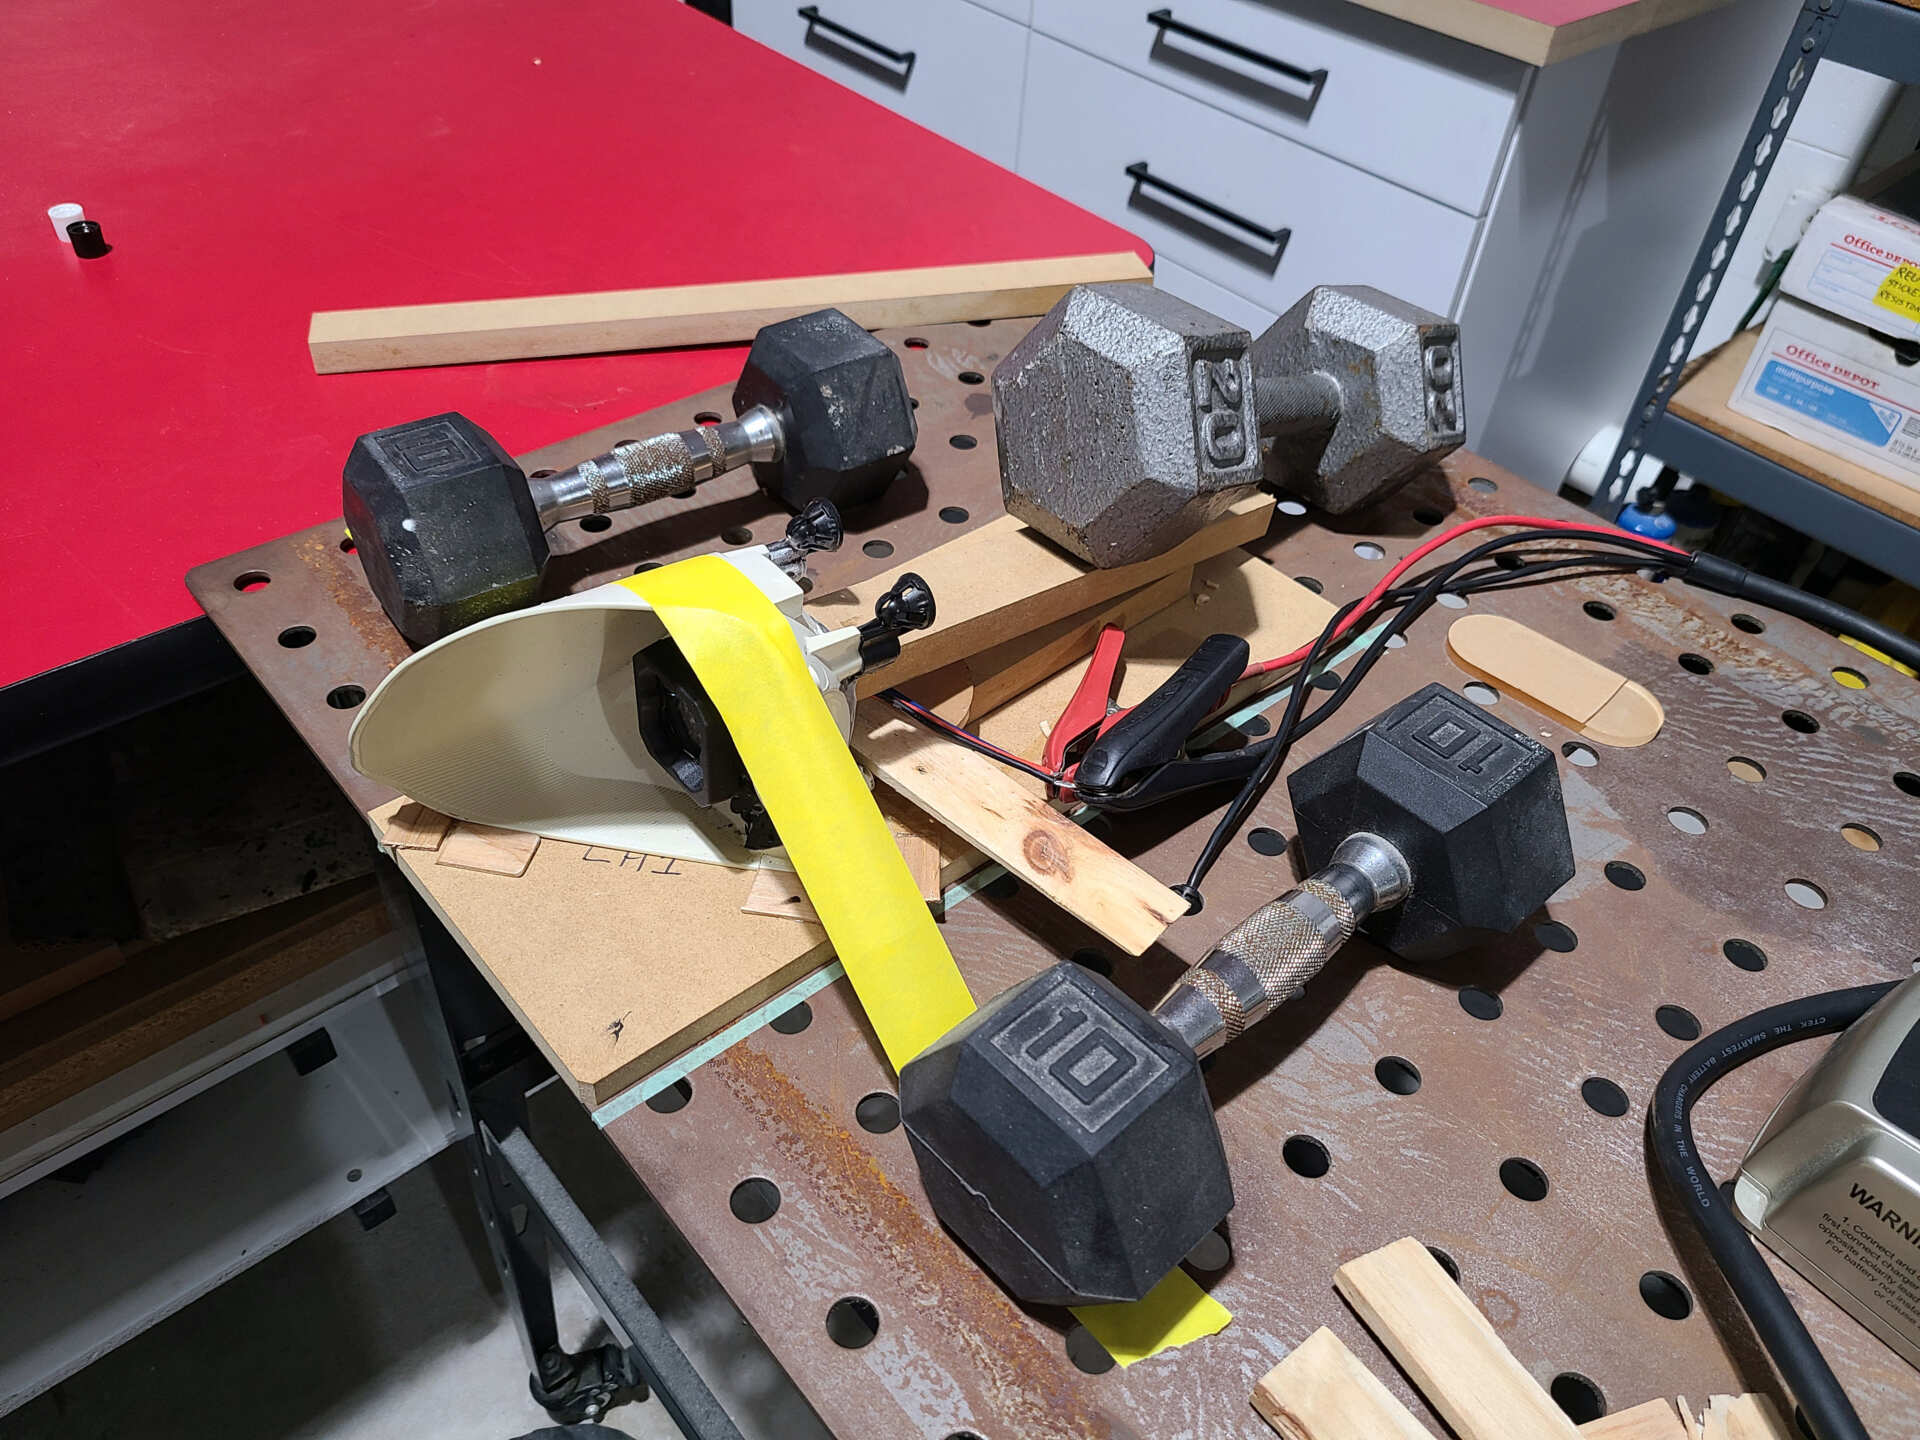
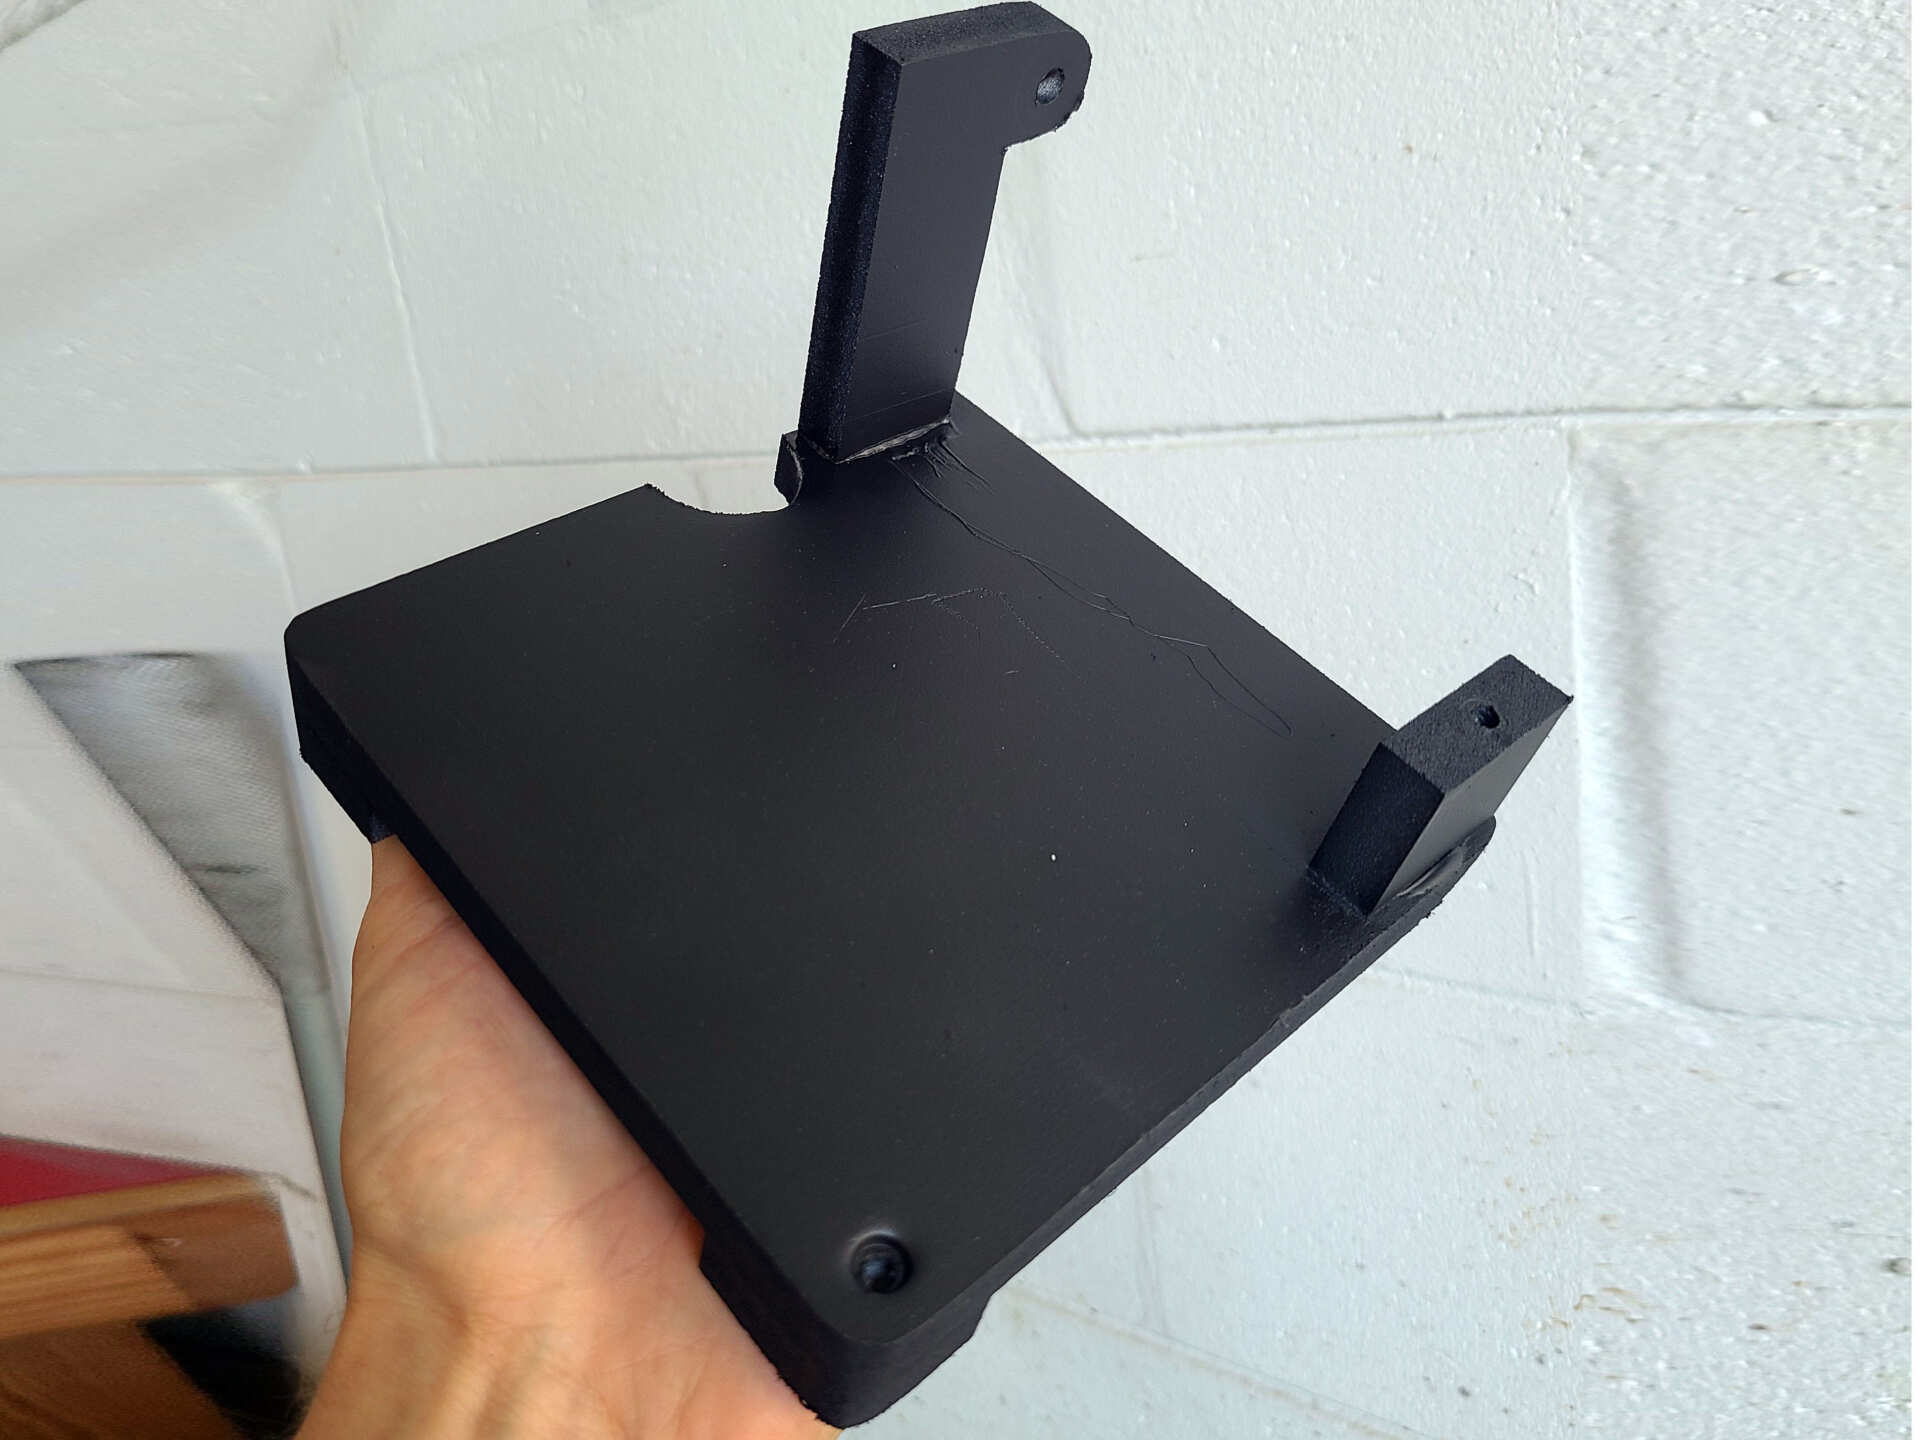
Once both the headlights and upper lights were complete, it came time to install them. This is one of those few instances where I actually took pictures of the installation. I had to build some brackets to hold everything securely. The brackets are all made of PVC so they are strong, lightweight, and waterproof.


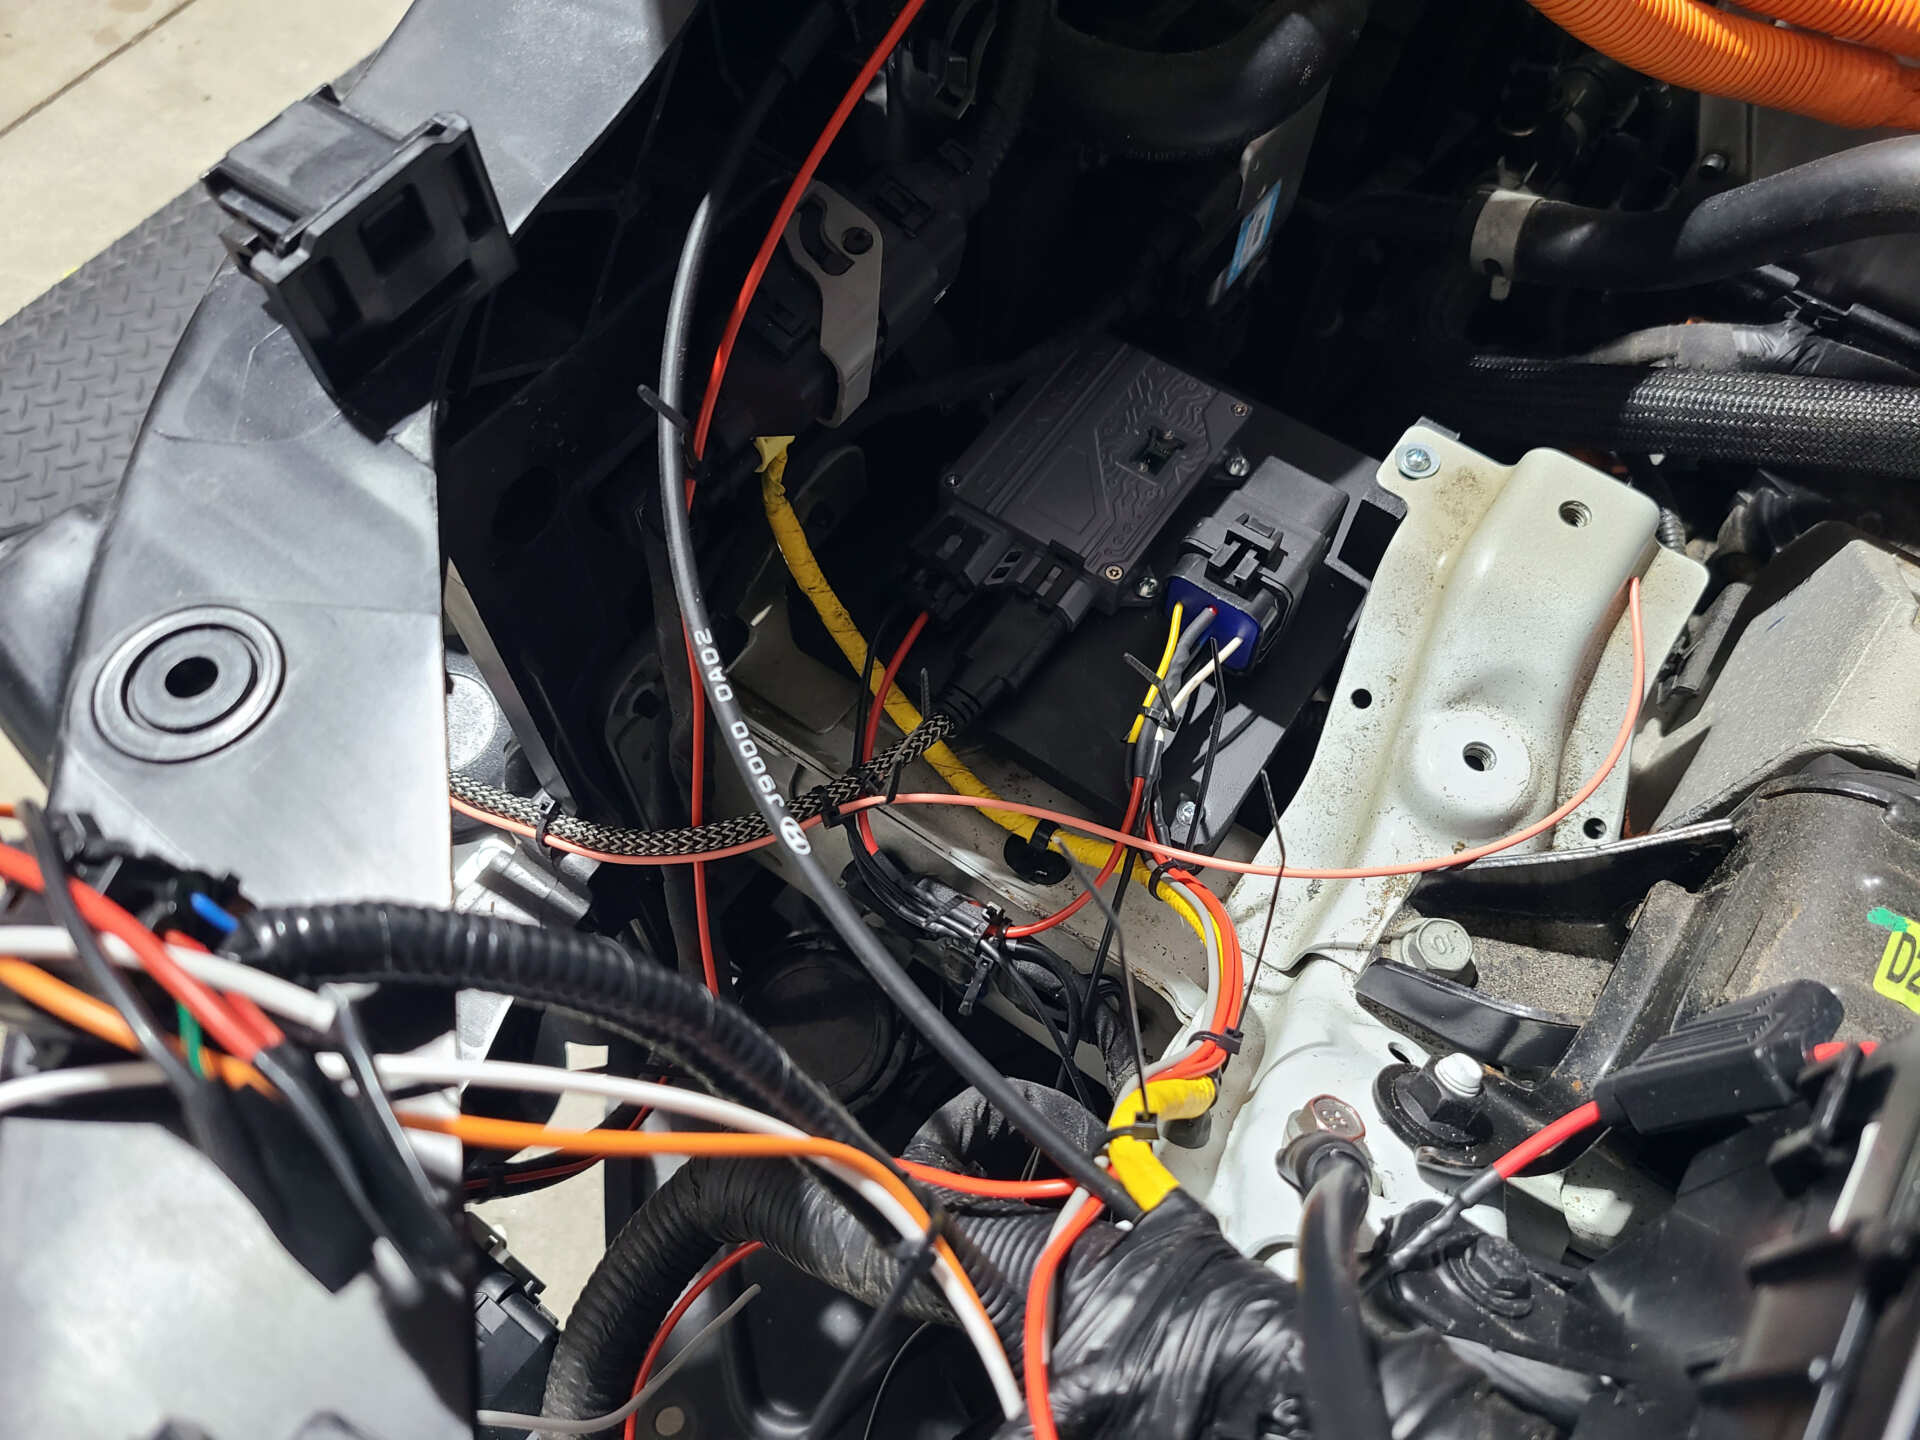
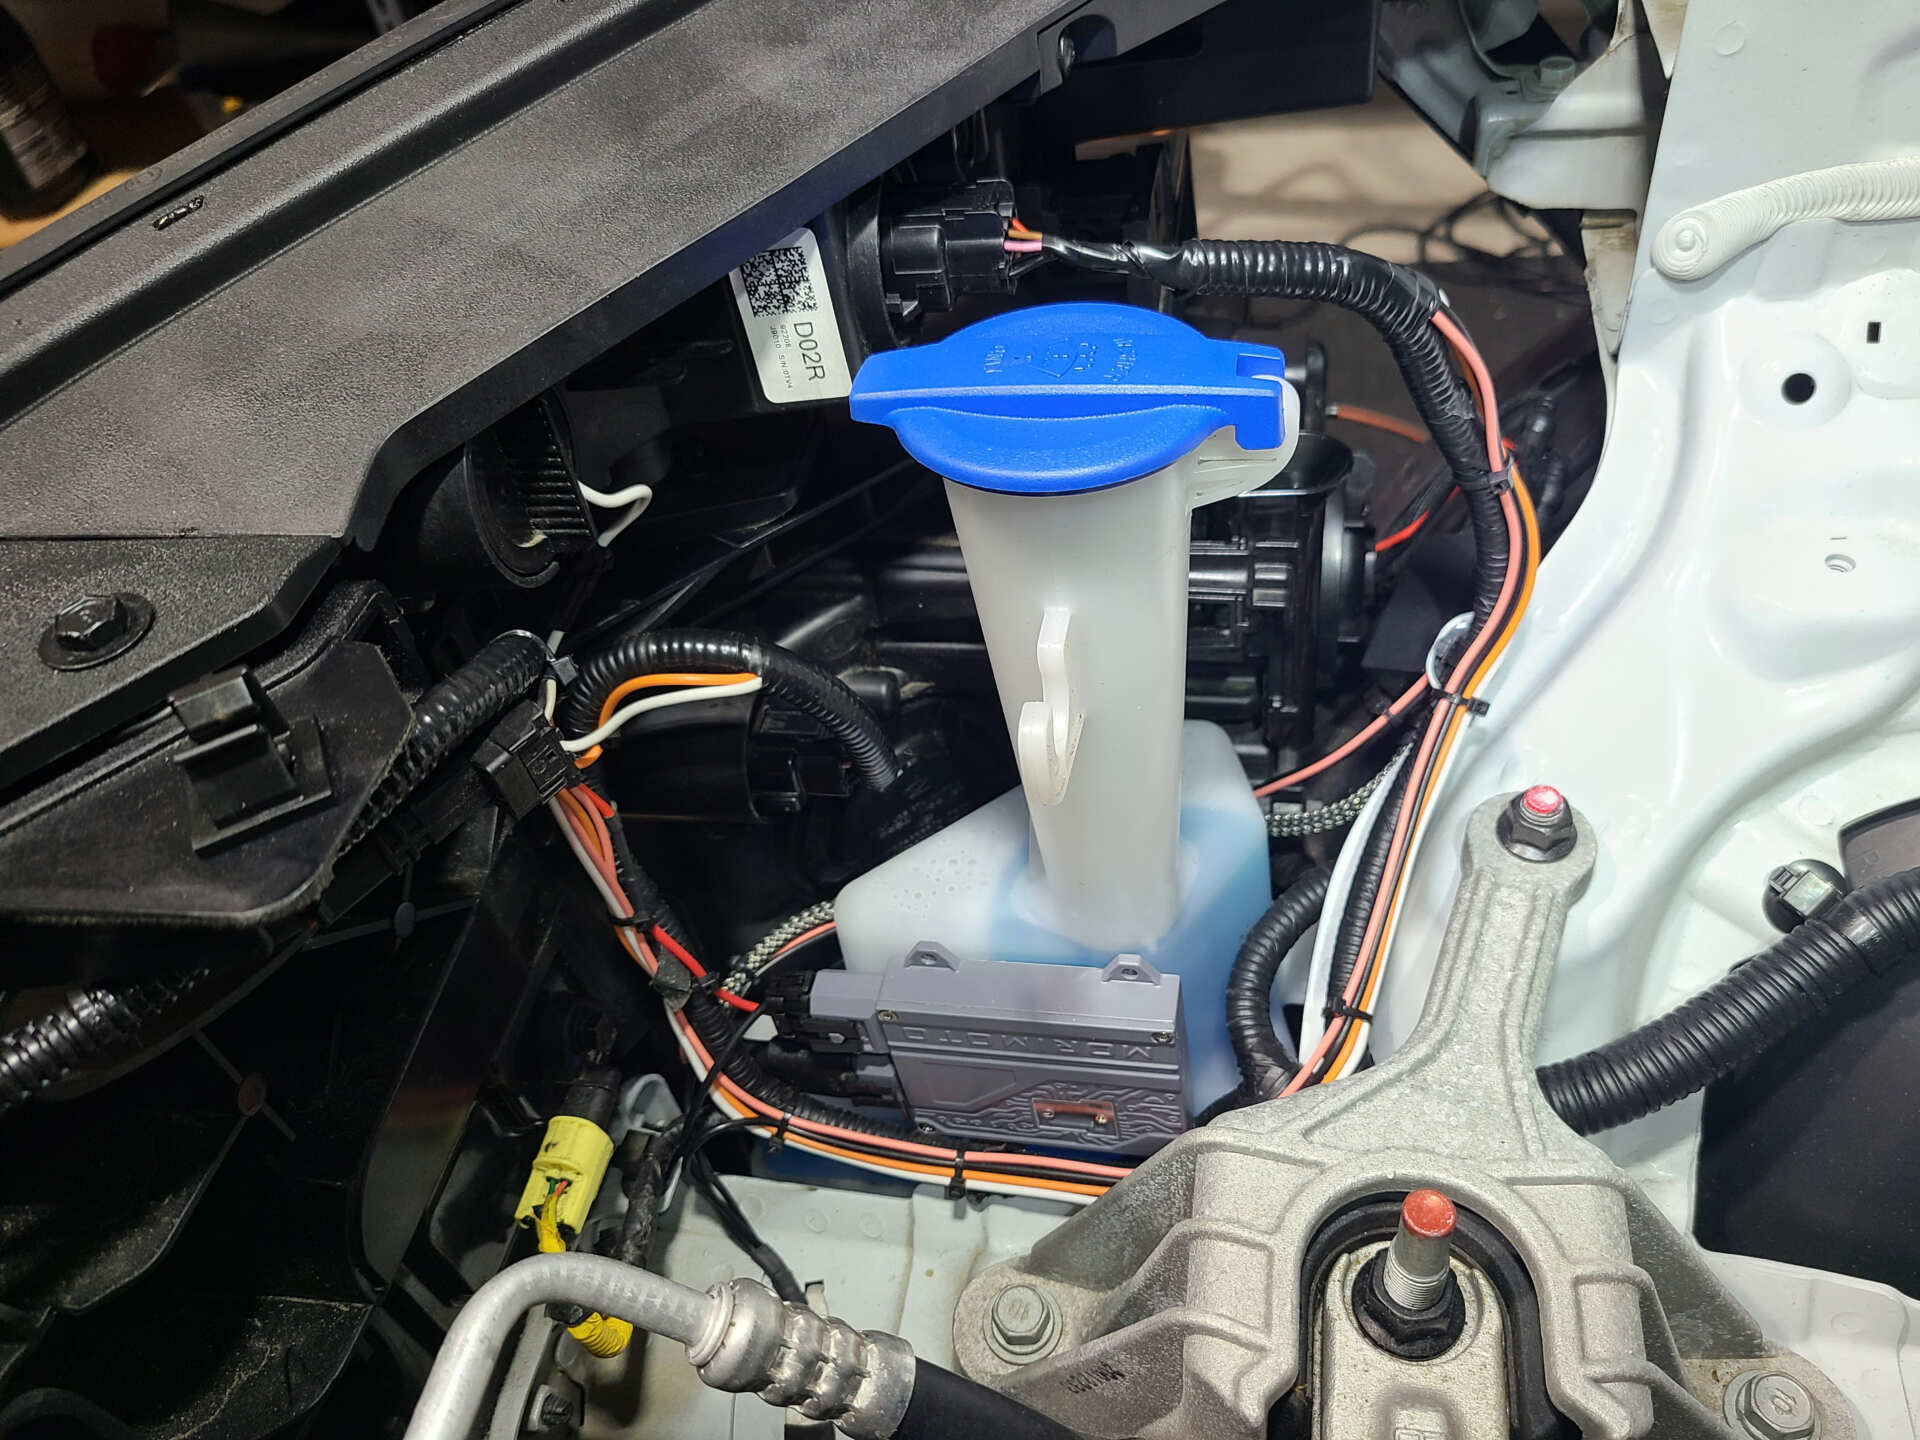
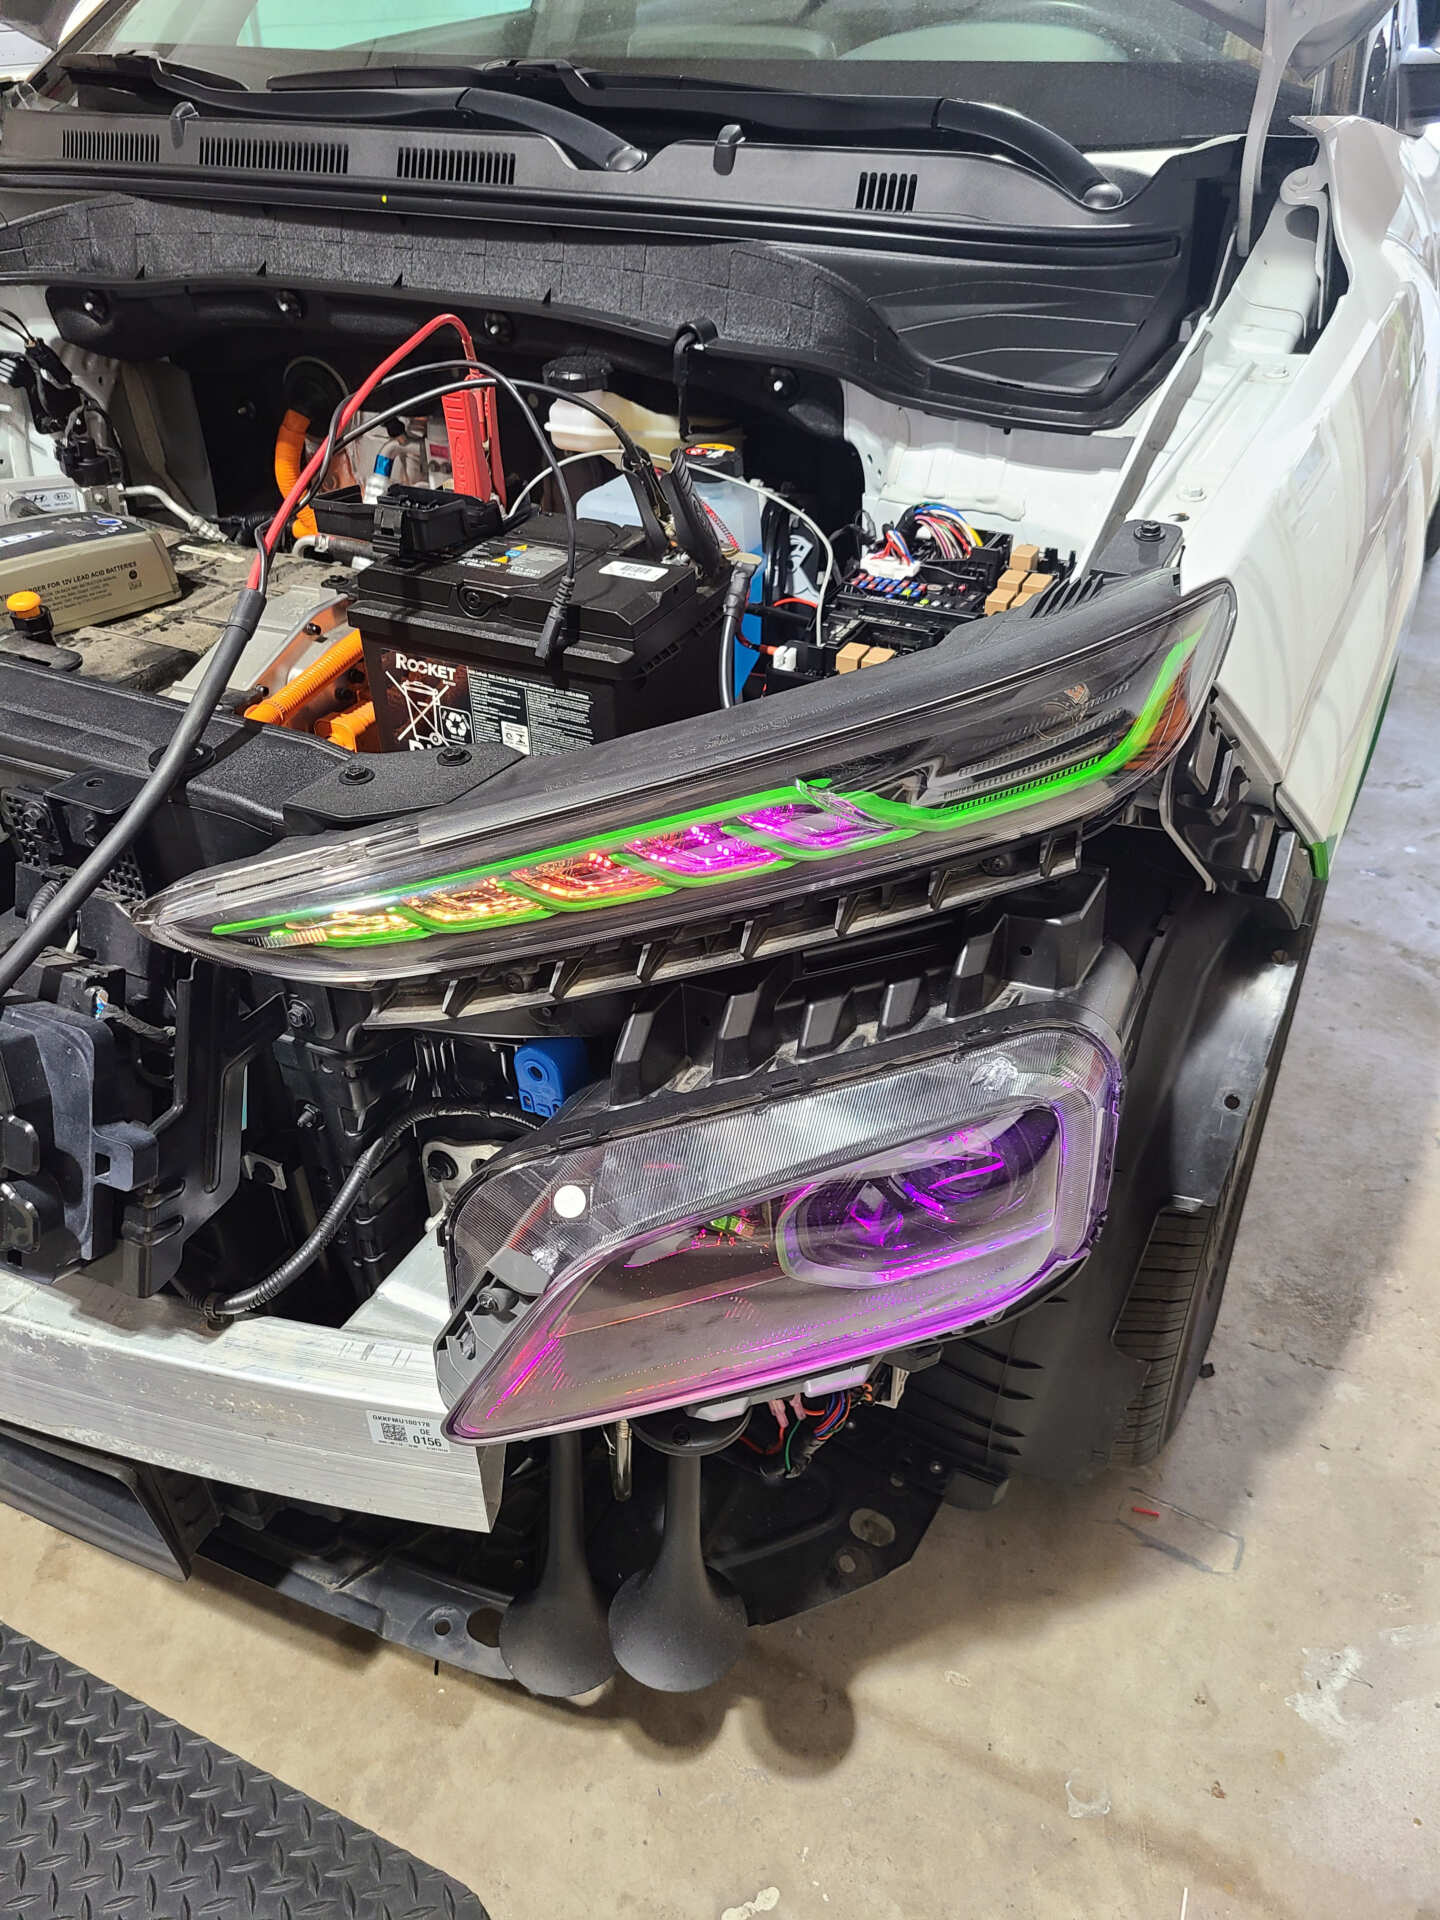
With brackets made, I could install the HID ballasts for the headlight system and the BlueGhozt module to control the addressable LED components. Normally I loom all of my wiring, but for my personal car, I wanted to leave the wiring exposed because I wanted to showcase the work implemented.

Then it was just some testing, programming, and installing and the build was complete! The upper lights and headlights animate in sync and have a beautiful DRL mode.


What a fun multifaceted project!!
-13-