2014 Nissan Juke
I’d like to claim that this was just an accidental slide down a slippery slope of under-hood engine modification and beautification. But it wasn’t. This took some careful planning in order to get all of the pieces in place to knock out three separate projects simultaneously and avoid any unnecessary downtime of the vehicle or any repeated steps/processes.
And it all started when my OEM Nissan battery went bad after 6 years of faithful service. I had been waiting for this moment. As any custom car enthusiast will tell you: if it breaks, it’s not just time to replace, it’s time to UPGRADE!
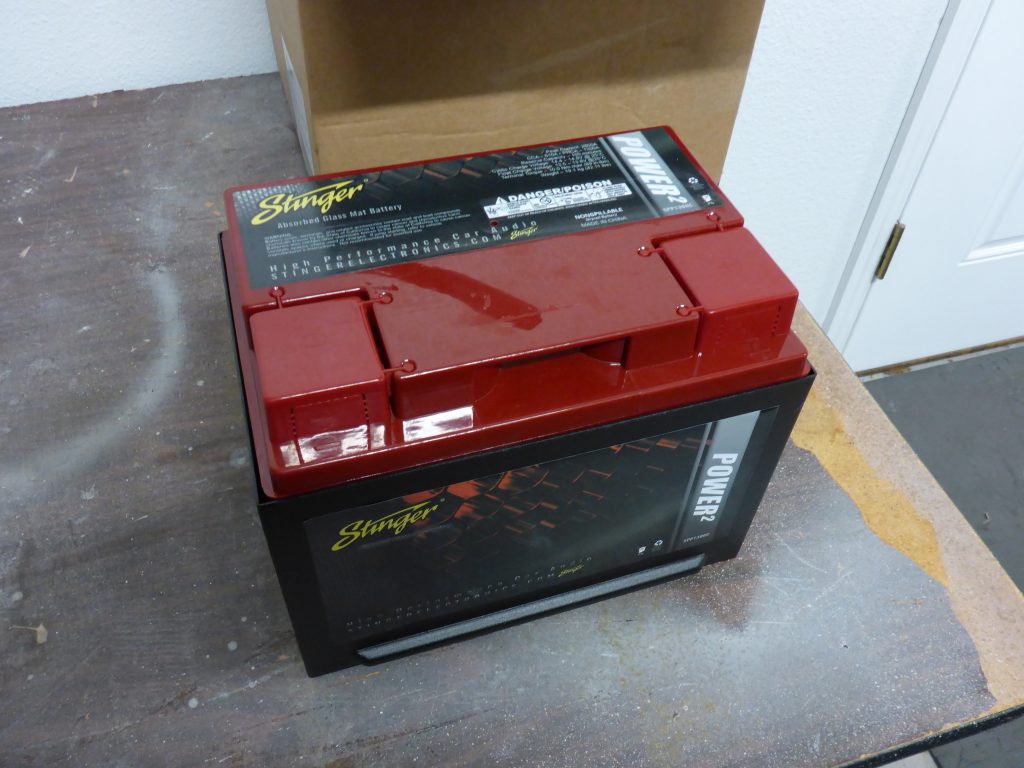
First step was to get the car battery of my dreams: the Stinger SPP1300C. Why this particular battery? Well, it’s large enough but not unnecesarily large for my application. It’s an AGM battery (absorbed glass mat) which means it is more robust and durable than a standard lead acid battery. But mostly because it has a 13 in the part number. Flawless logic. There’s just one problem with this battery: it’s RED.
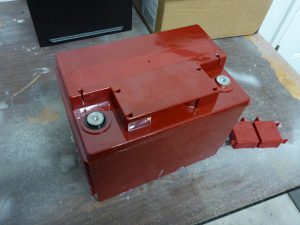
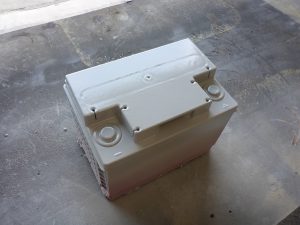
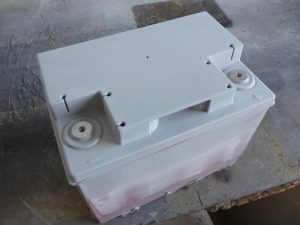
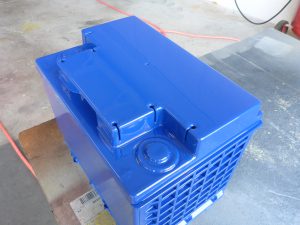
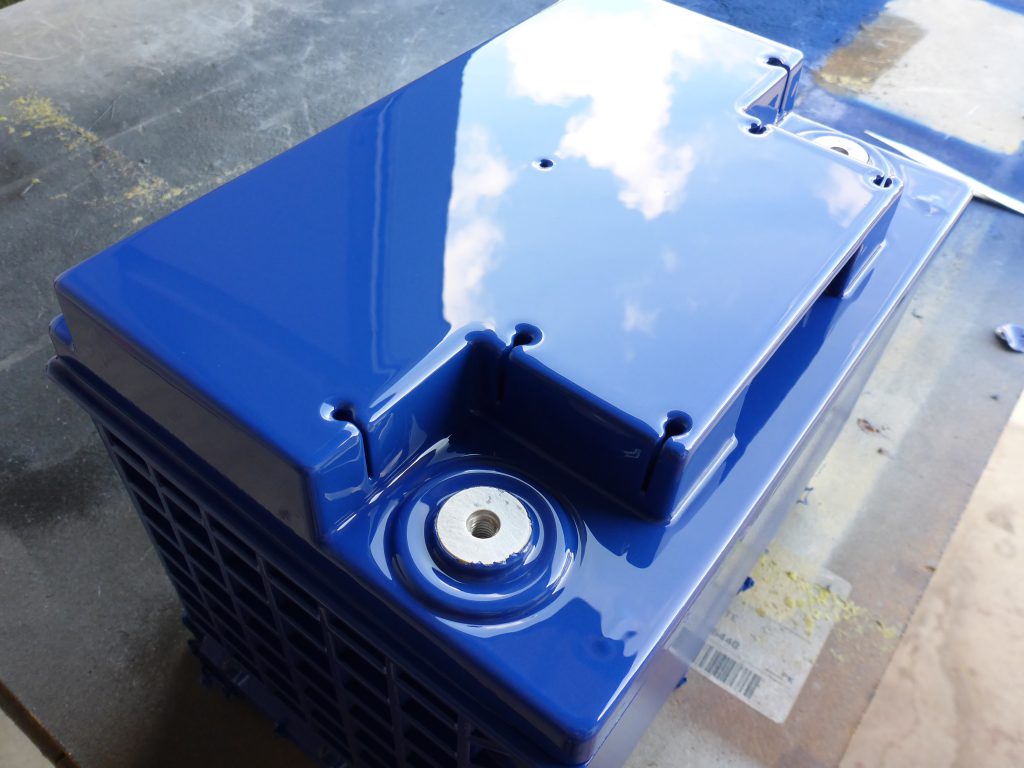
Well luckily I can solve this. The process was pretty straight forward: strip off all the stickers, primer the hell out of it, sand it to make it super smooth, paint, clear, enjoy fancy blue battery! Typical stuff, right?
So now the battery is blue, I can start on these other projects that need to be done concurrently with the battery replacement. Sure, this battery could be used as a direct swap for the OEM battery, but I have bigger better plans. In the meanwhile, I installed a spare Optima RedTop so the Jukeys would have no downtime.
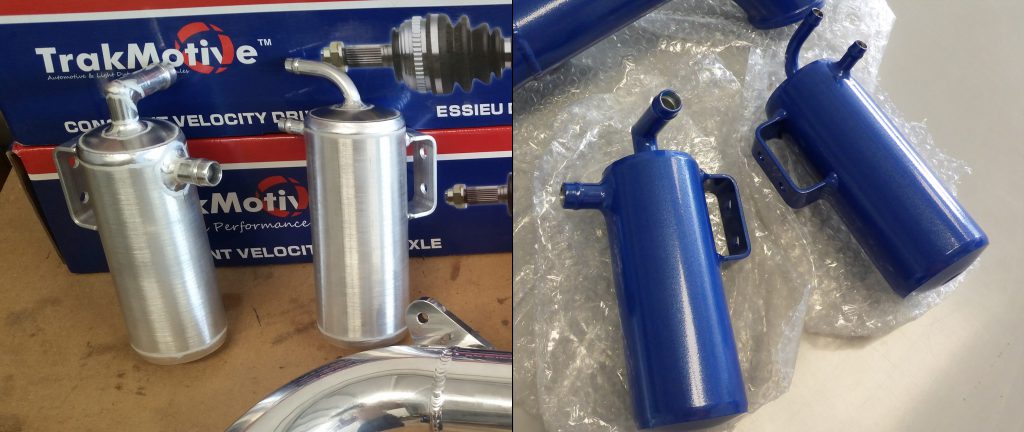
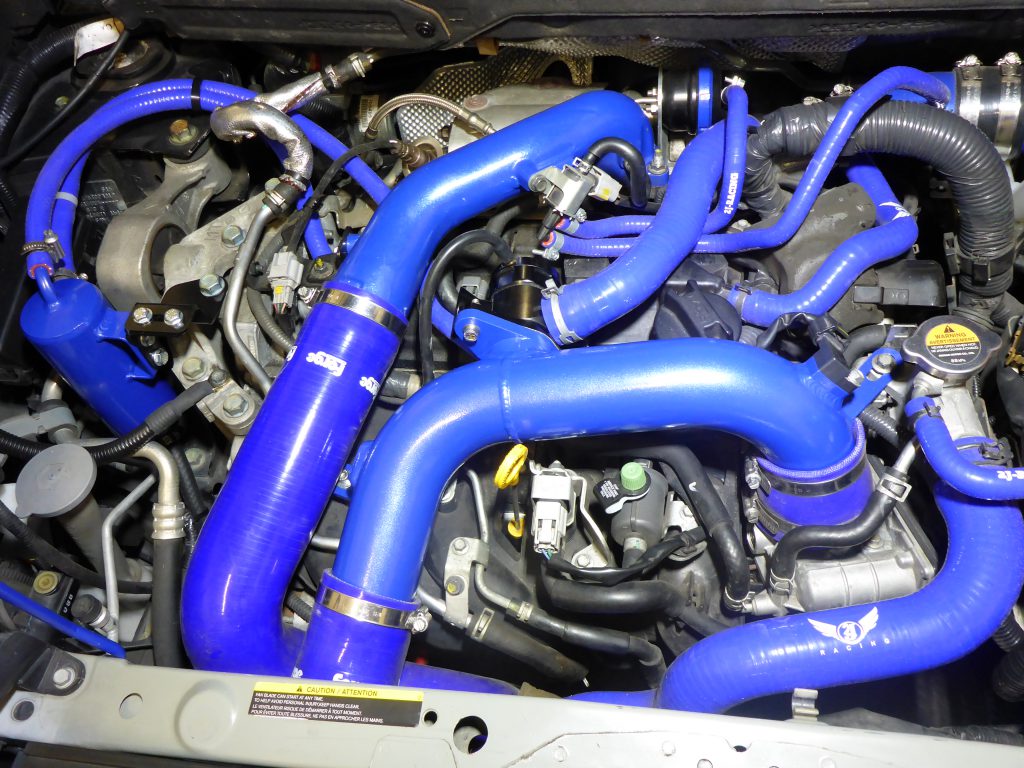
I had ordered a set of Saikou Michi custom made oil catch cans for the Juke a bit ago. They have a bit of a lag time since they are all made to order but the build quality is totally worth the wait. Of course, as soon as I received them, they immediately went off to powdercoating to match all my other goodies.
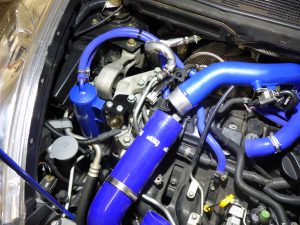
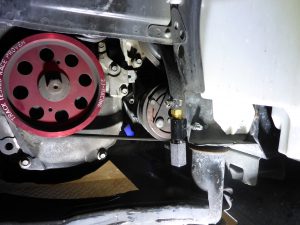
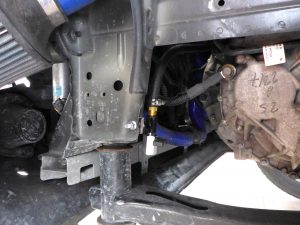
The main OCC (oil catch can) is mounted off to the passenger side of the motor and is very straightforward of an install. I used their provided bracket and got my own matching blue silicone hoses. I ran a drain line down to underneath the car for easy access for routine draining.
Now the other side comes with some adorable little bracket that mounts to the side of the battery tie down bracket. Effective, yes, but I’m not impressed with it. Plus, as stated, I had bigger better plans for that whole section of the engine bay. Let’s start by looking at our starting point and identifying the problems:
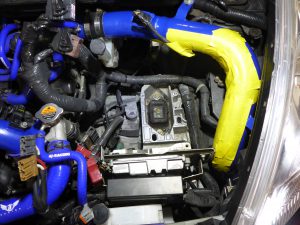
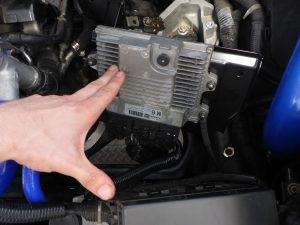
Problem 1: My biggest pet peeve in this engine bay is that ECU wiring harness. Right in between the battery and the fuse box. That thing is horrendous, it looks like a child did it. This big ugly bunch of lumped up taped up wiring. I mean, seriously Nissan?? I knew since day 1 that I would eventually address this. The time had come!
Problem 2: A new oil catch can to be installed somewhere on this side of the engine. Saikou Michi’s bracket mounts it just off the battery tie down towards the firewall underneath the air intake tube. Meh. I can do better.
Problem 3: That silly red battery has gotta go. Ya know, the initial excuse to kick off this whole adventure.
First I got everything out of the way that was going to be modified so I could see what I had to work with.
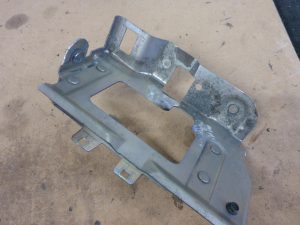
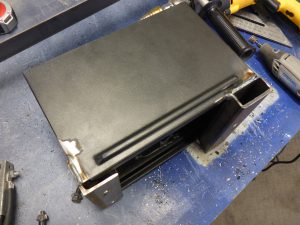
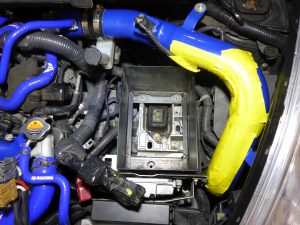
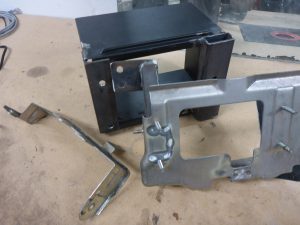
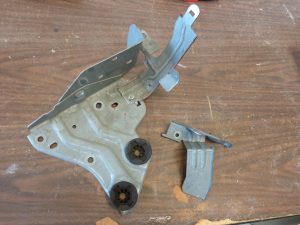
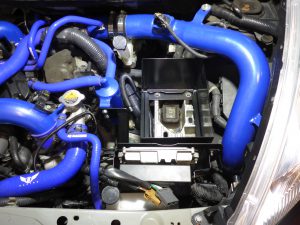
Cool. I modified one of the factory brackets heavily by removing all unnecessary tabs to clean things up and allow the ECU to be mounted upside down. After getting that test fit into place, I started working on a secure mounting system for the battery box using factory bolt locations and welding on some stock material. And then test fit…
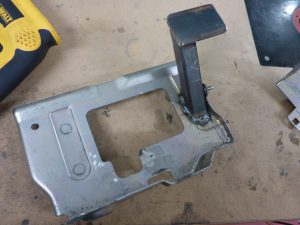
Time to figure out an appropriate mounting solution for OCC#2. If I had a bit more foresight, I could have had this built with the inlets/outlets/mounting hardware in any position on the OCC, but I went with their standard design and decided to work around it. It proved not to be a problem. I fabbed up a mounting arm and plate fairly quickly. That made a total of 3 pieces of metal that I had modified in this project that required a finish. And two large pieces of metal that were completely removed.
The battery, wiring harnesses, and ECU were all temporarily secured down with a LOT of zip ties while the parts were off at powdercoating for an OEM satin black finish. This way there was no downtime but only a week or so of tentative driving.
When the PC’d parts came back, it was time for final installation / assembly. Since the ECU was being flipped upside down, one of the wiring bundles had to be lengthened in order to reach. Thirty or so wires needed to be extended 4″. No worries: solder, heat shrink, skill, and patience can tackle this problem.
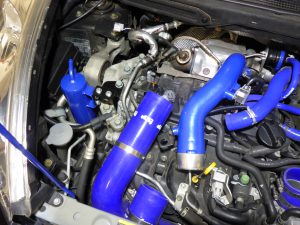
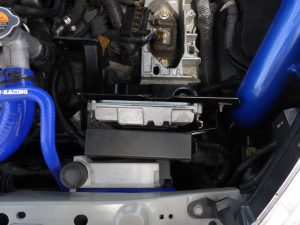
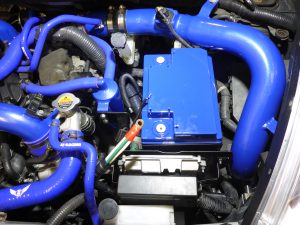
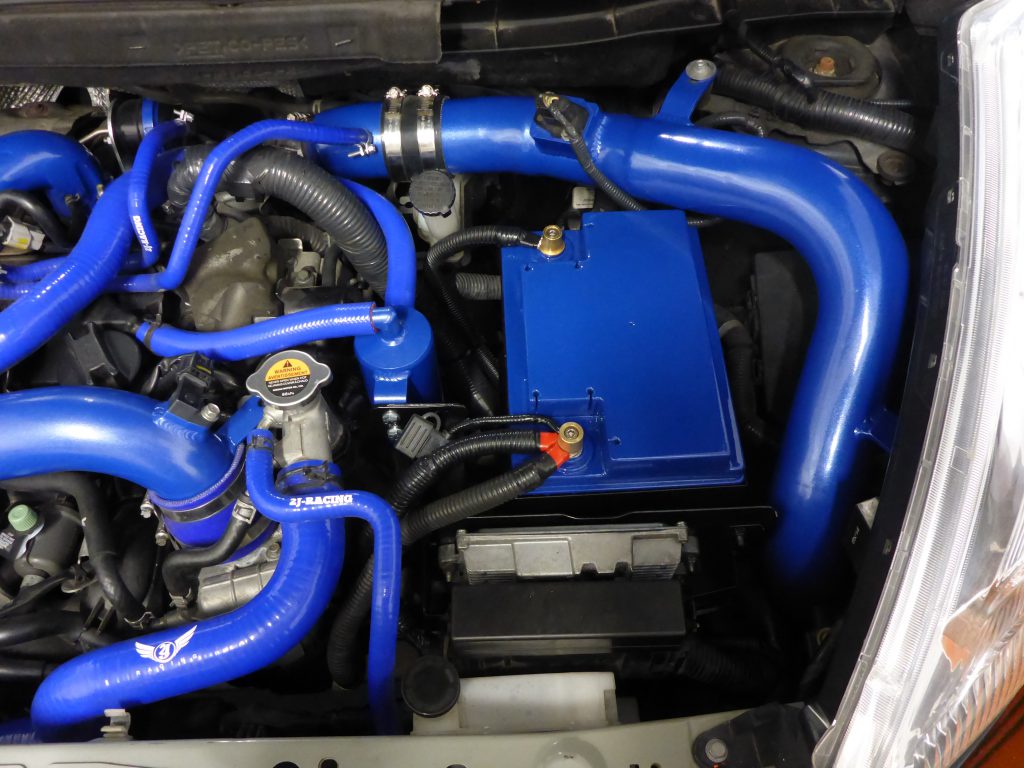
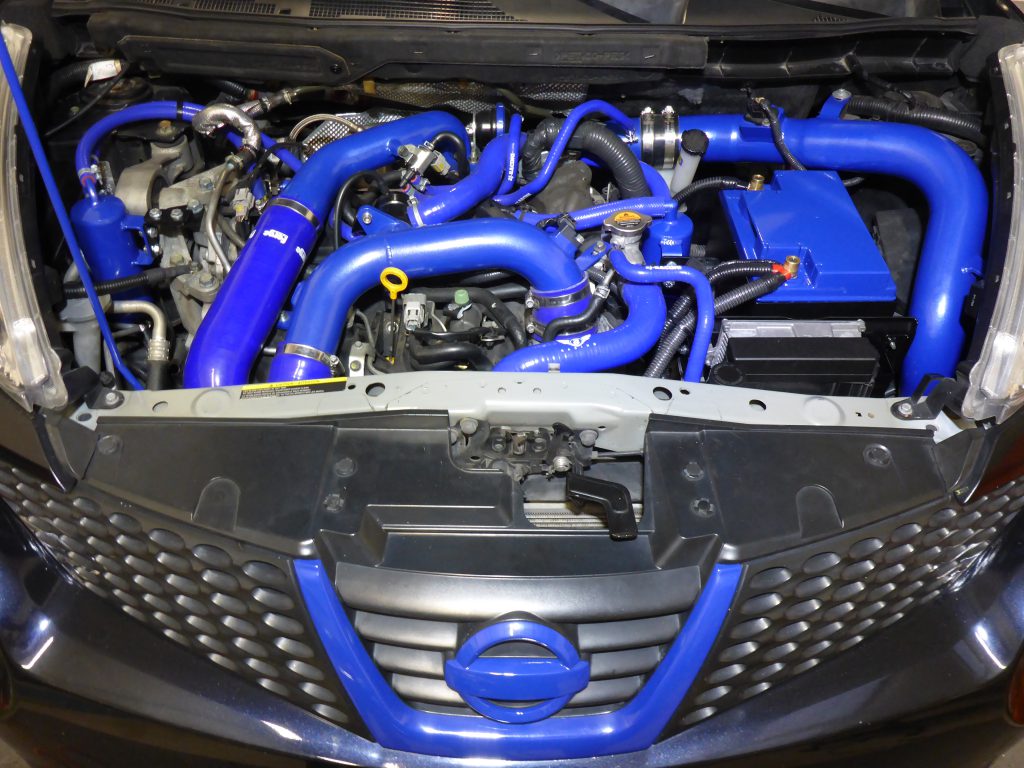
The ECU was wired up and installed on my fresh new brackets looking a million times better already. Problem 1 addressed. The next piece to the puzzle was then installed: the oil catch can and matching blue silicone hoses and the battery box. Another ball valve drain line was installed underneath the vehicle for easy draining. Problem 2 addressed. The battery was put into place and the OEM power & ground wiring was redone. New ground wire and power wires cleaned up and grouped together to one ring terminal and loomed to look proper. Problem 3 addressed.
Then I just connected the final pieces together and….
Well hot damn, I think that about wraps up this project!! Looking GEWDDDDDDD!!

