2008 Nissan Altima Build Logs
The absolute BEST sounding Altima EVER!!
I completed this installation in the first few months of 2012. It is making an appearance on my website 8 years later because it is still a build worthy of my affection and admiration and showcases my attention to detail. I have learned and grown significantly in my skills and fabrication techniques since this build, but it still stands strongly as a quality build. The system was ultimately retired and removed from the vehicle in 2019 after the Altima’s transmission died and it was scrapped. Please enjoy this time capsule audio build of mine!
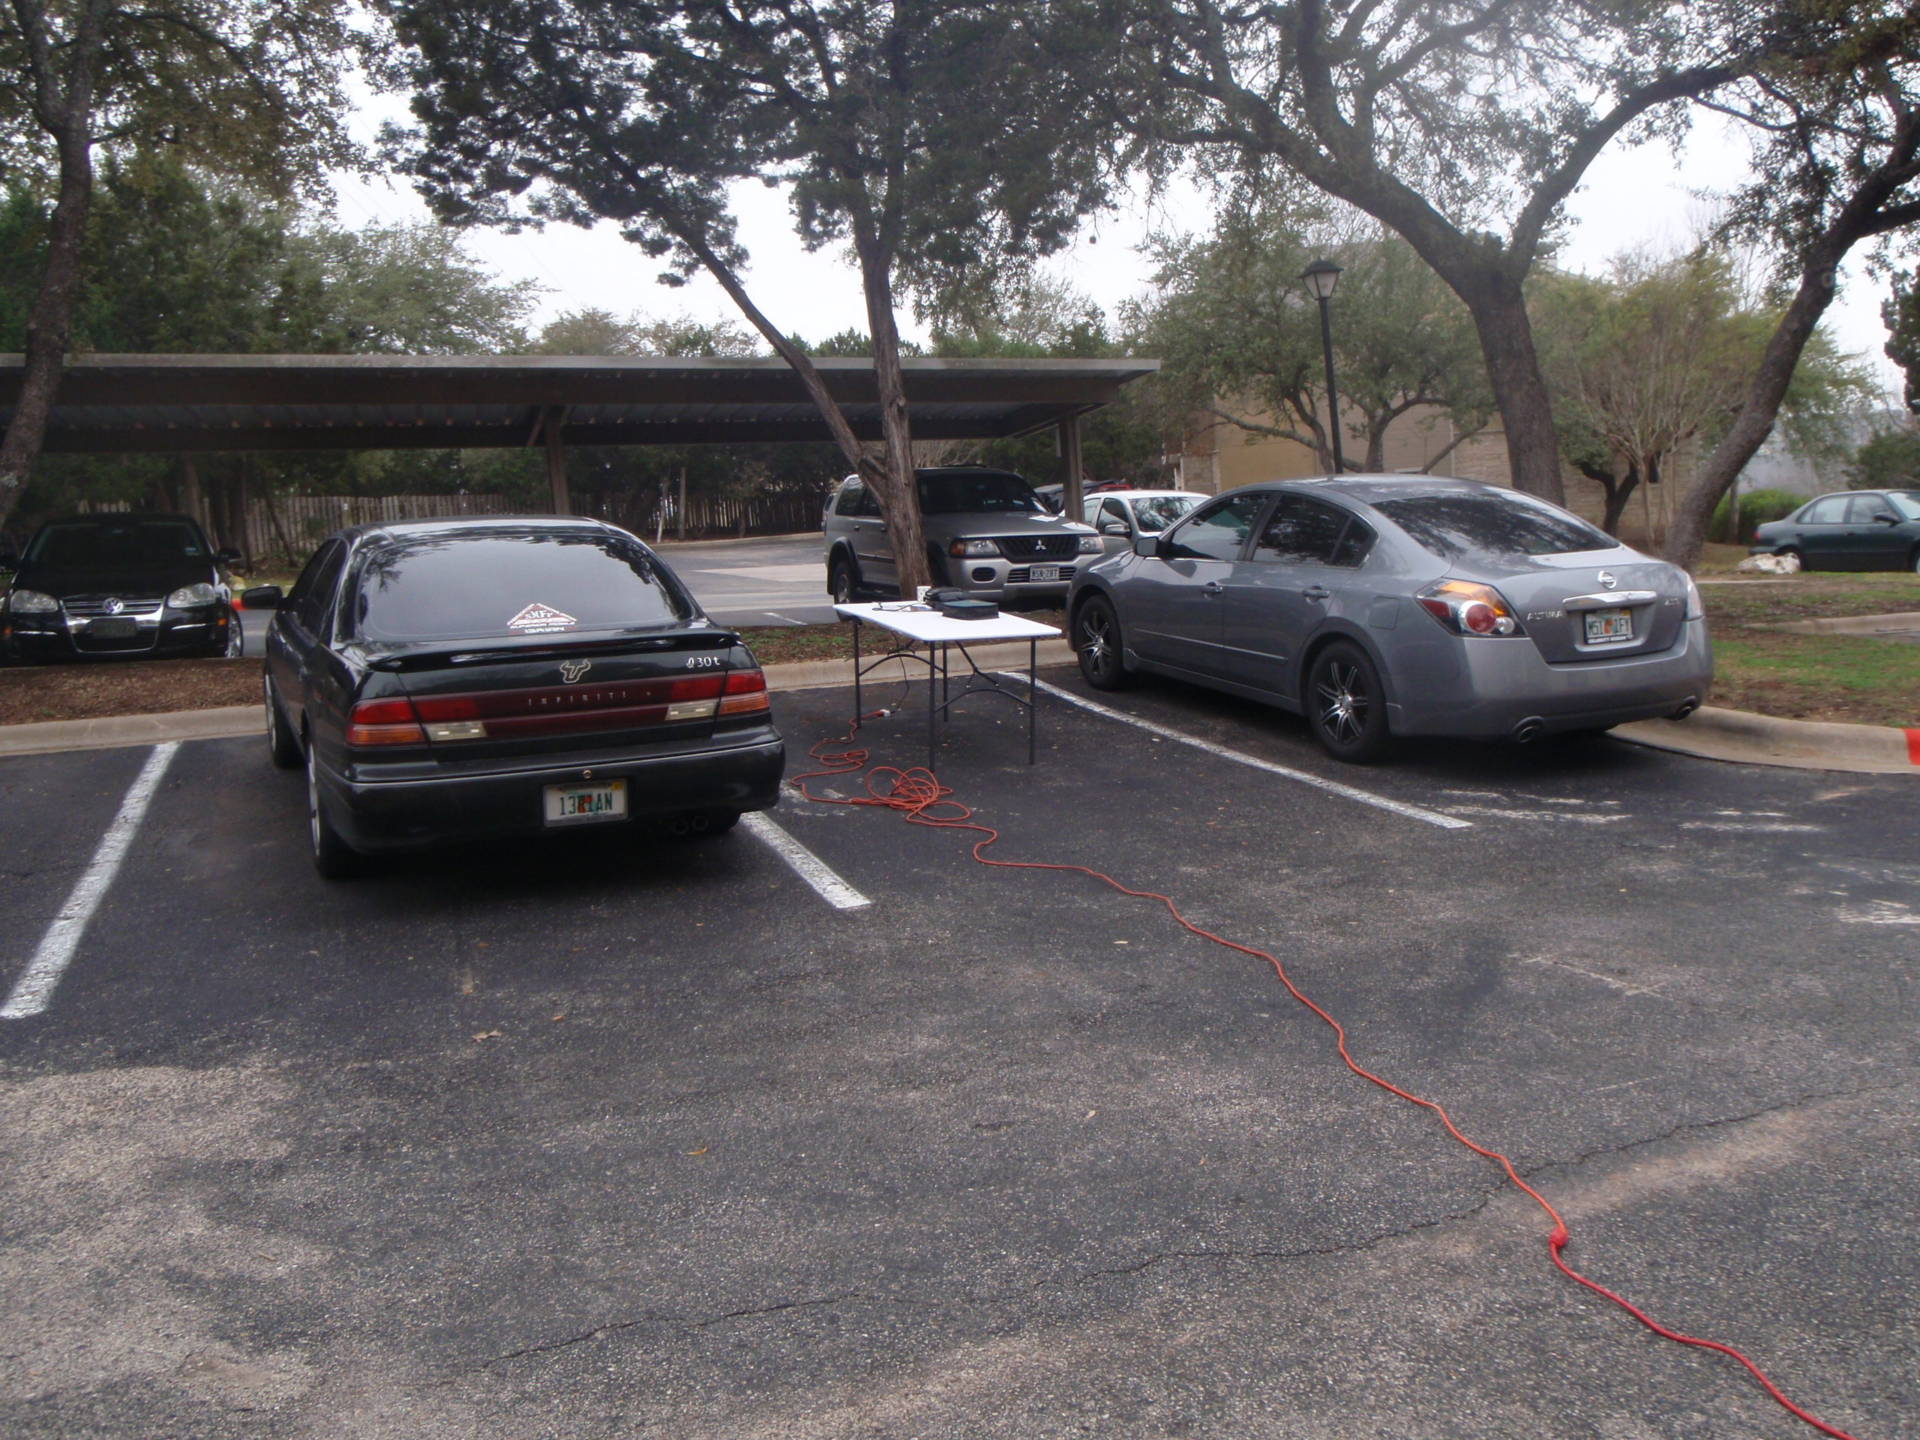
My first out-of-state install, this Altima was completely torn down and rebuilt with a competition-worthy sound system chosen specifically for maximum output and sound quality with non-existent distortion. Despite being completed exclusively in an apartment complex’s parking lot, this setup was mind-blowingly accurate and clean as ever.
Just some of the plethora of equipment for this install:
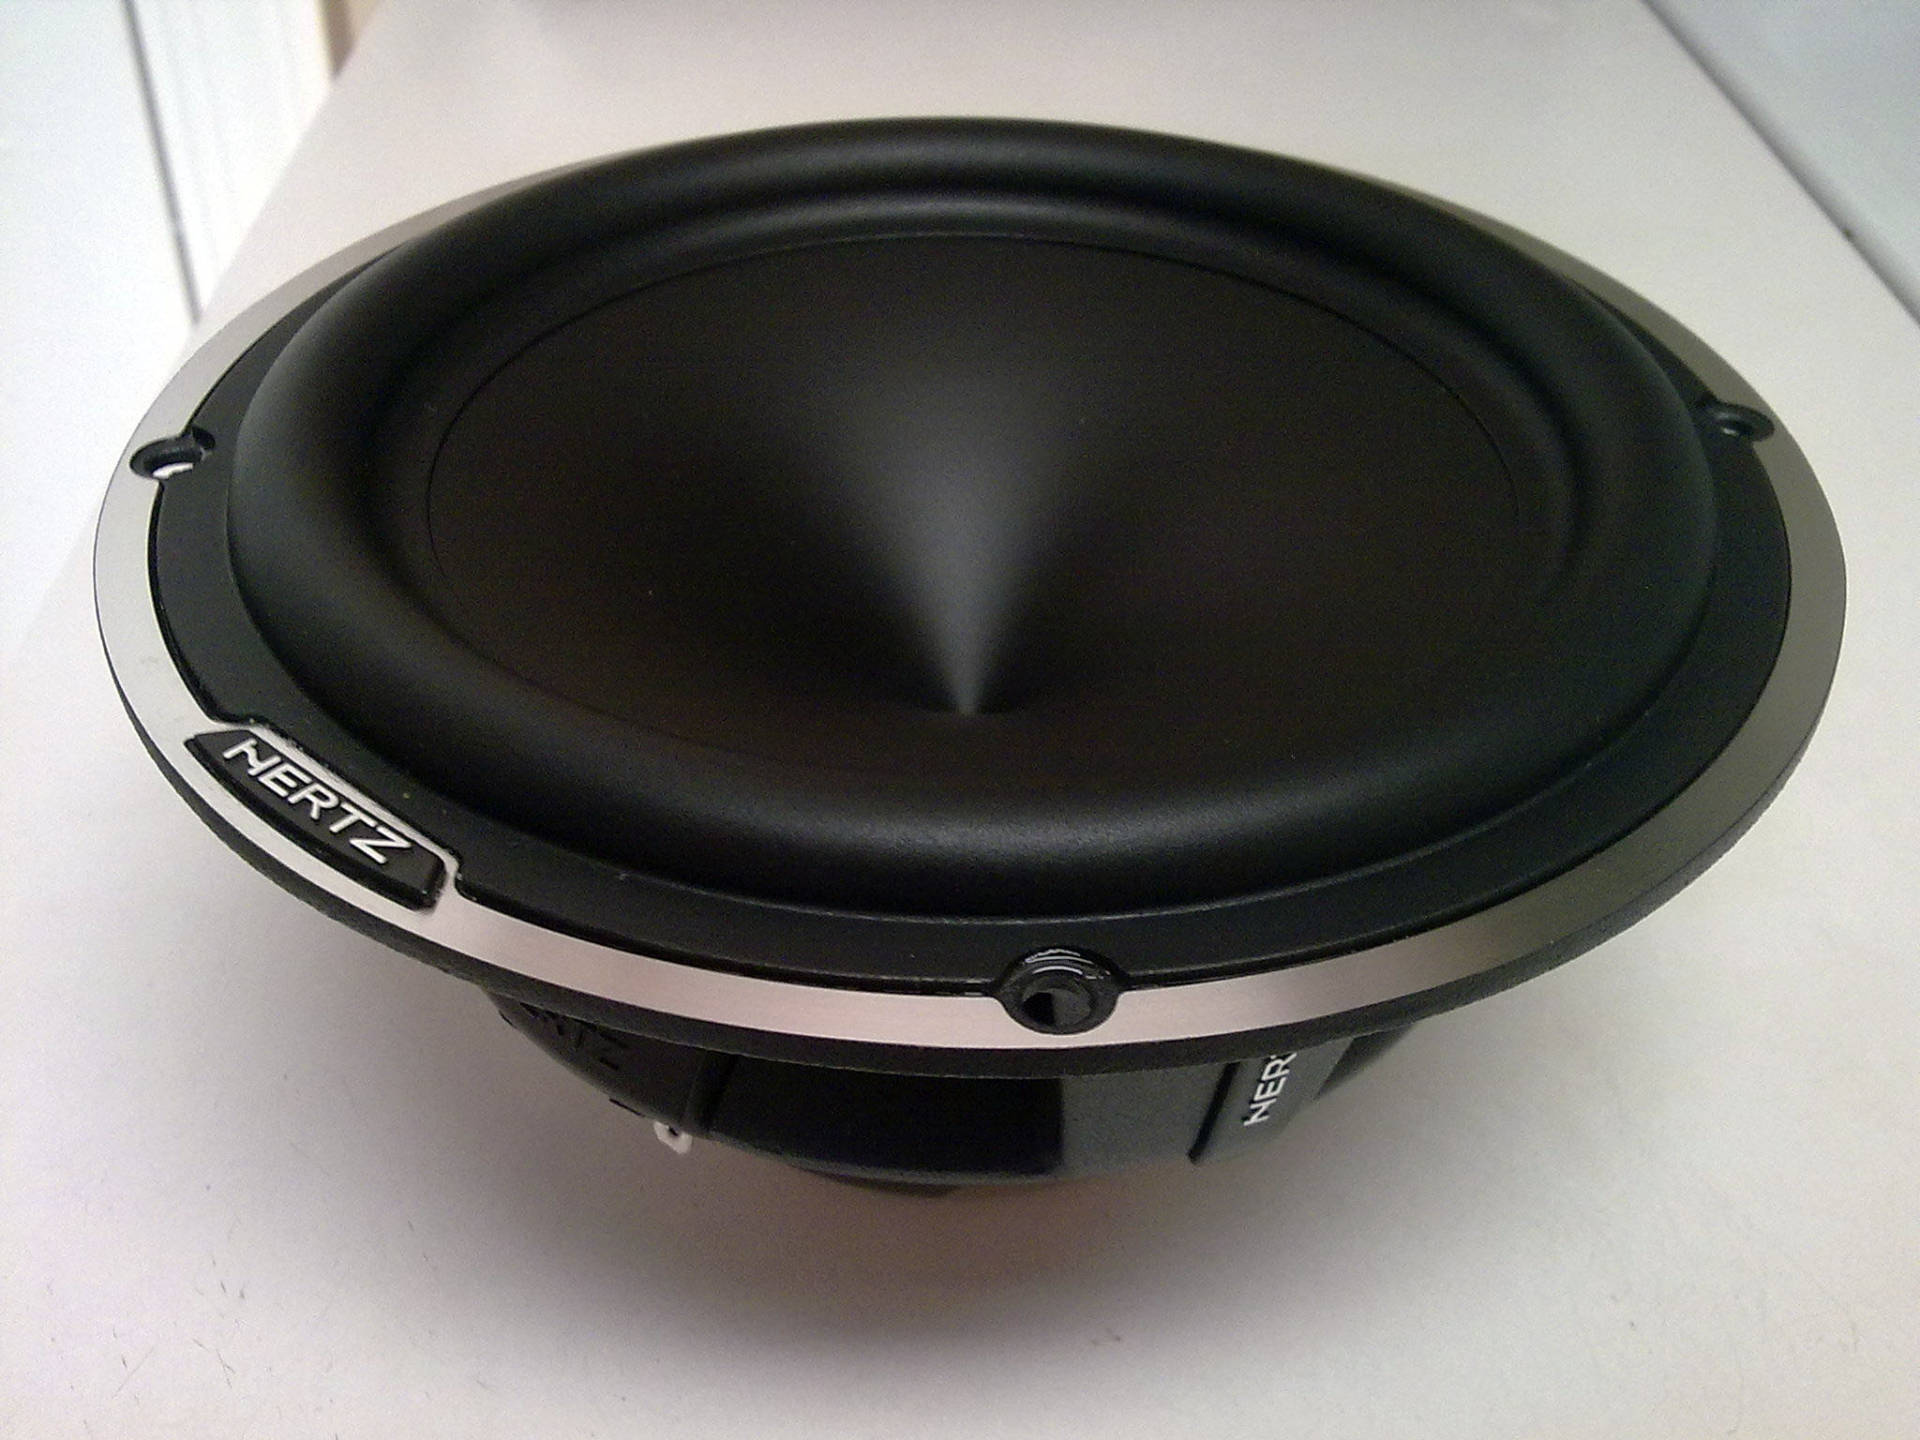

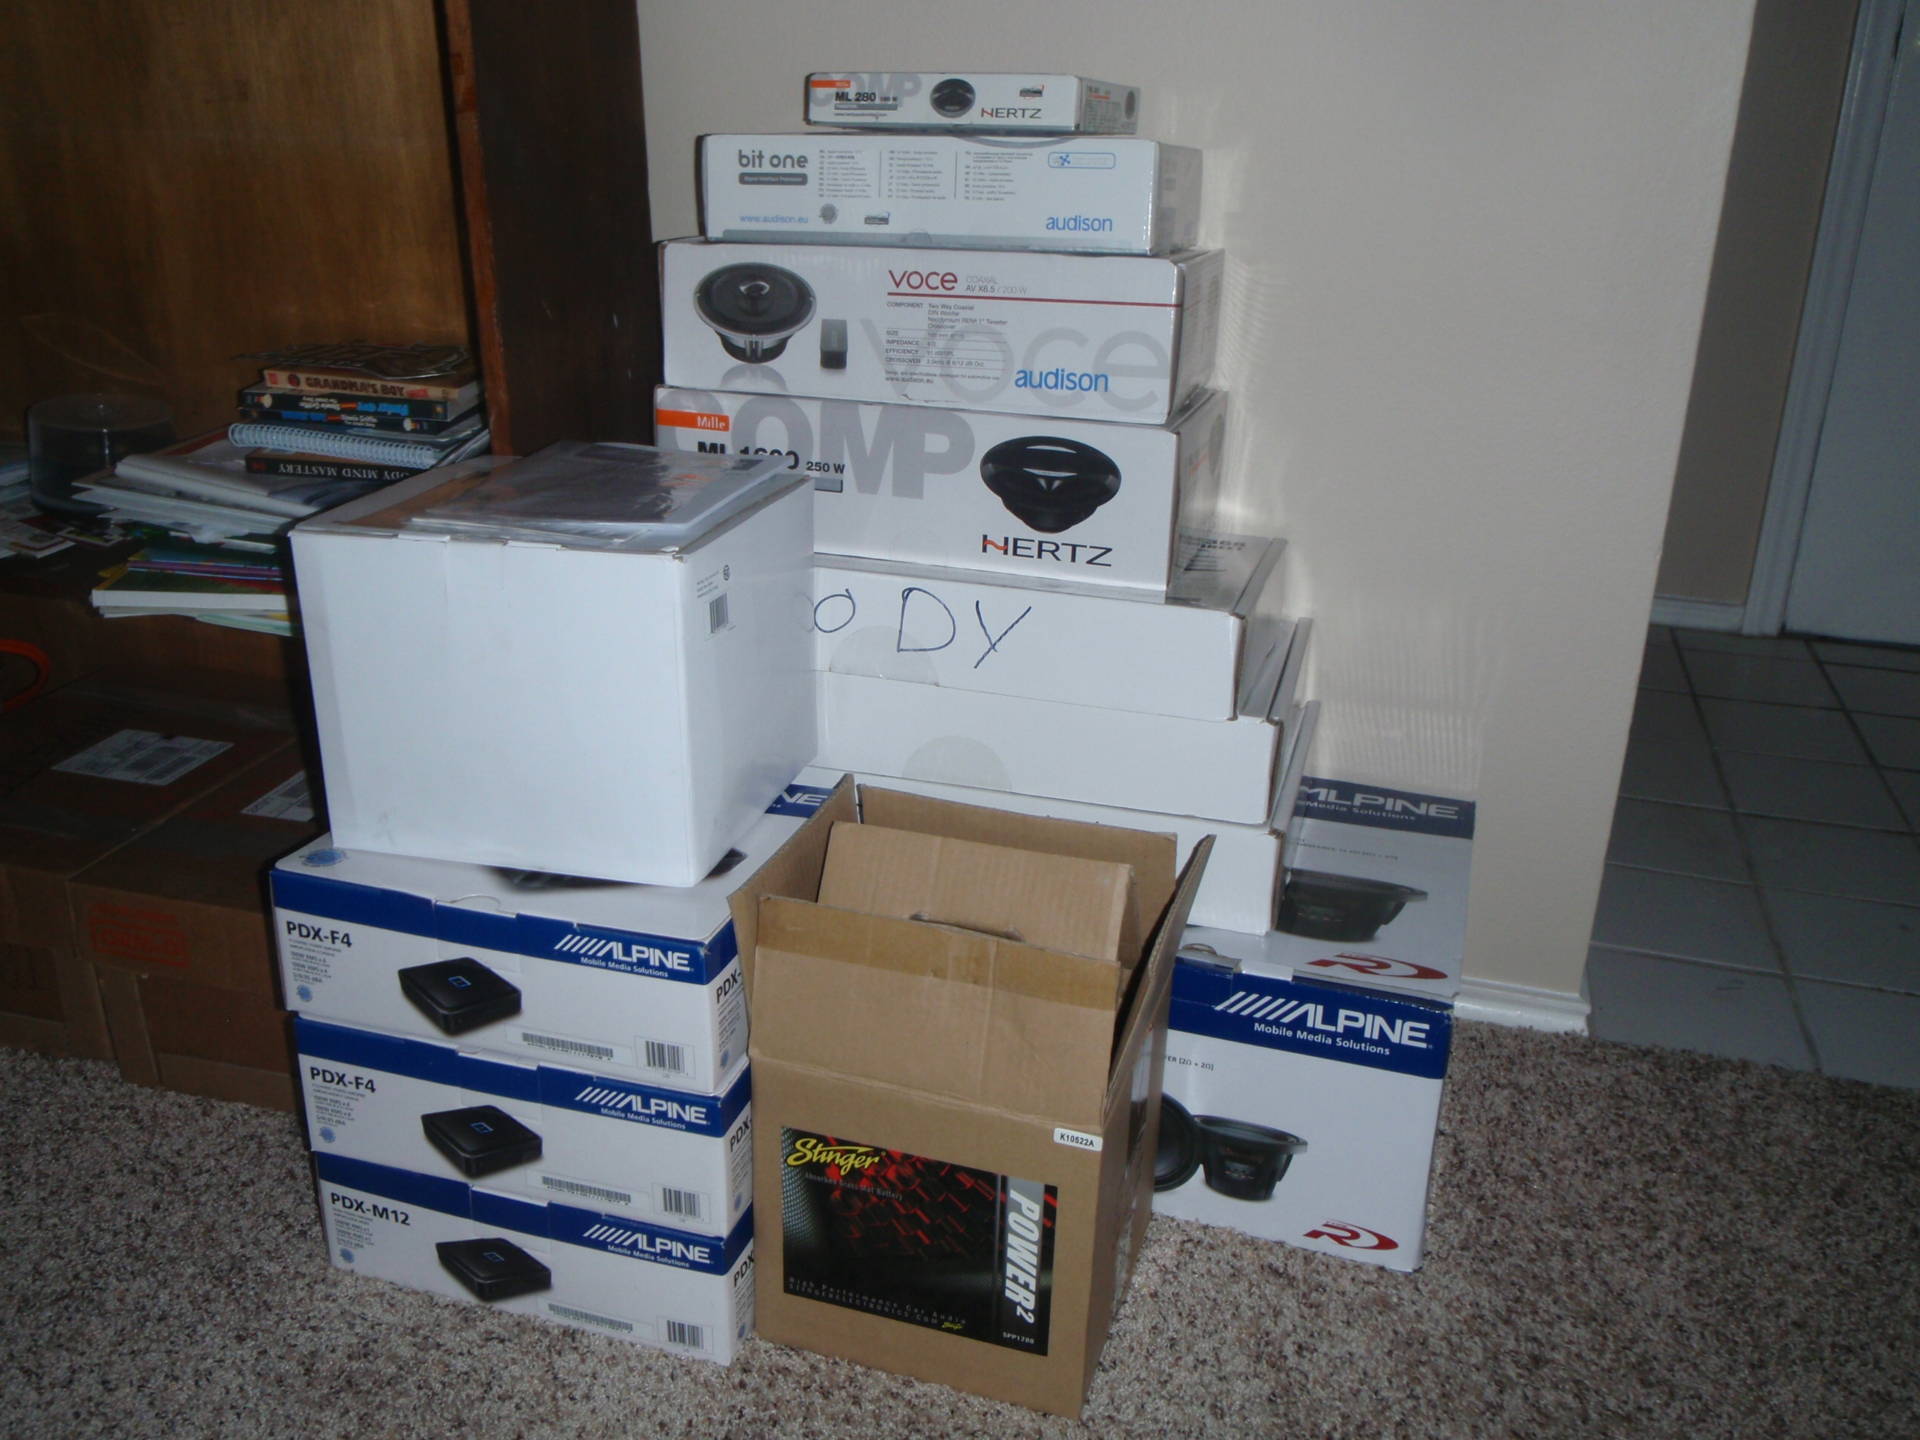

For the head unit, I chose the new Alpine INA-W910. With Bluetooth, iPod integration, navigation, DVD playing capabilities, and zero distortion maximum output, this source provided everything the customer desired and much more. Front sound stage was Hertz Mille components: the ML280 tweeters and ML1600 woofers. Rear speakers were Audison Voce coaxials. Subwoofers were two Alpine Type-R, which were chosen for their excellent response and efficiency. Alpine PDX amplifiers provided the power: an F4 bridged for the front woofers, an F4 to drive the front tweeters and rear coaxs, and an M12 for the subs. I love the PDX technology regarding efficiency and size, and having such excess power per channel allowed me to keep the gain levels down low enough where there was no distortion on output, despite being ClassD. Every speaker channel was run active through an Audison BitOne.1 for processing. A total of 324sqft of damping material was used: both Roadkill and Cache on every reasonable surface. The battery was upgraded to a Stinger Power2 AGM battery and all necessary under hood wires were upgraded as well. All wiring was Stinger and all interconnects were Stinger 9000 Series.
My workspace in Austin. My trunk full of tools, an extension cord run from his apartment, a parking space with a table for a work bench, and a car…. Yeeeeup.

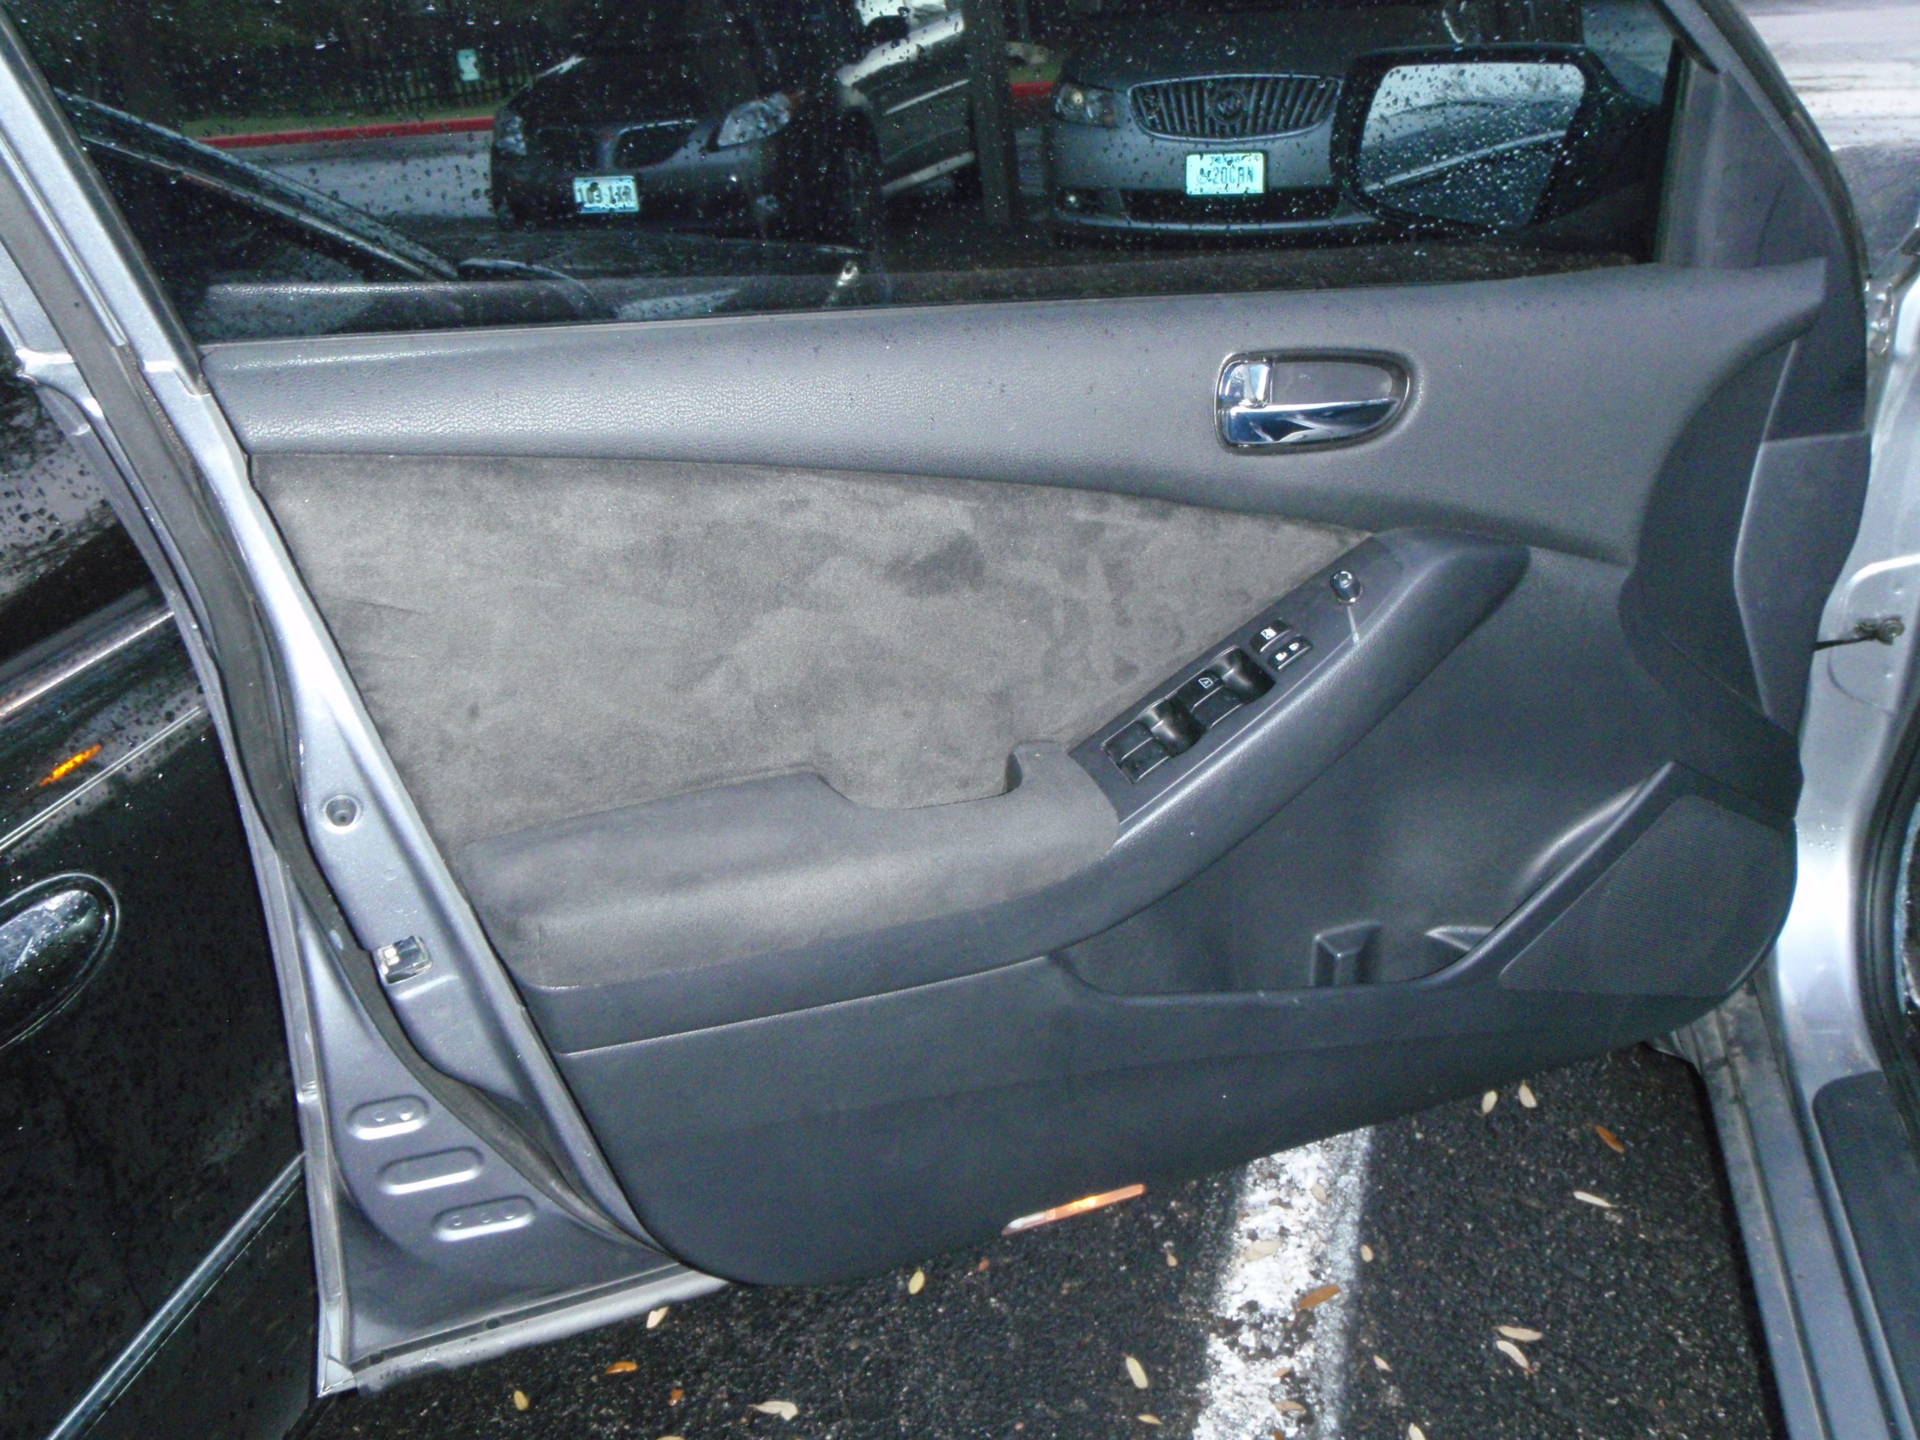
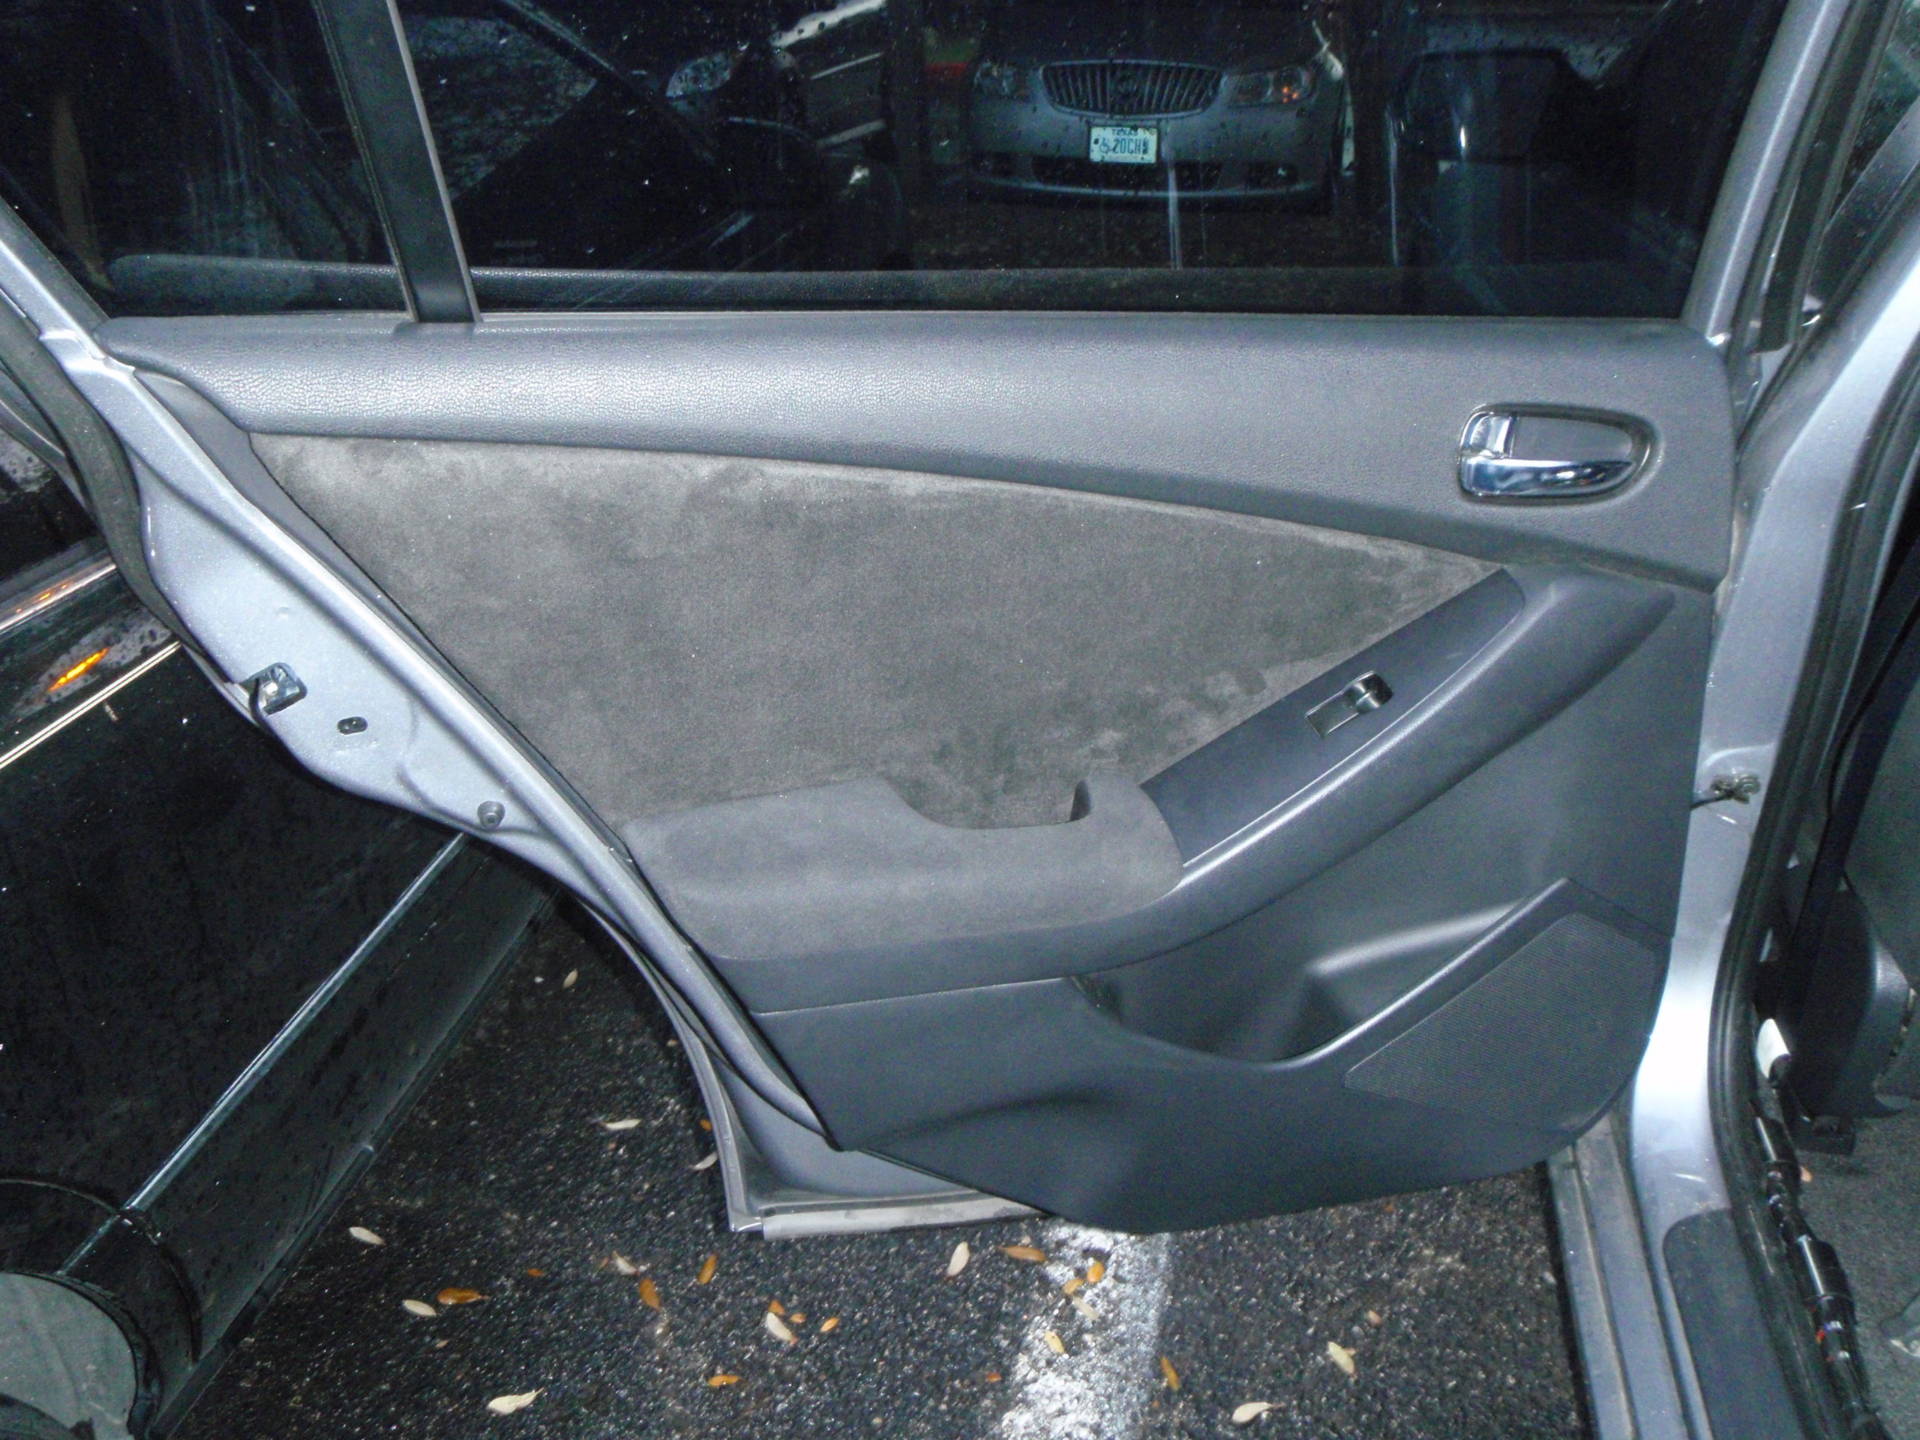
Before pictures:
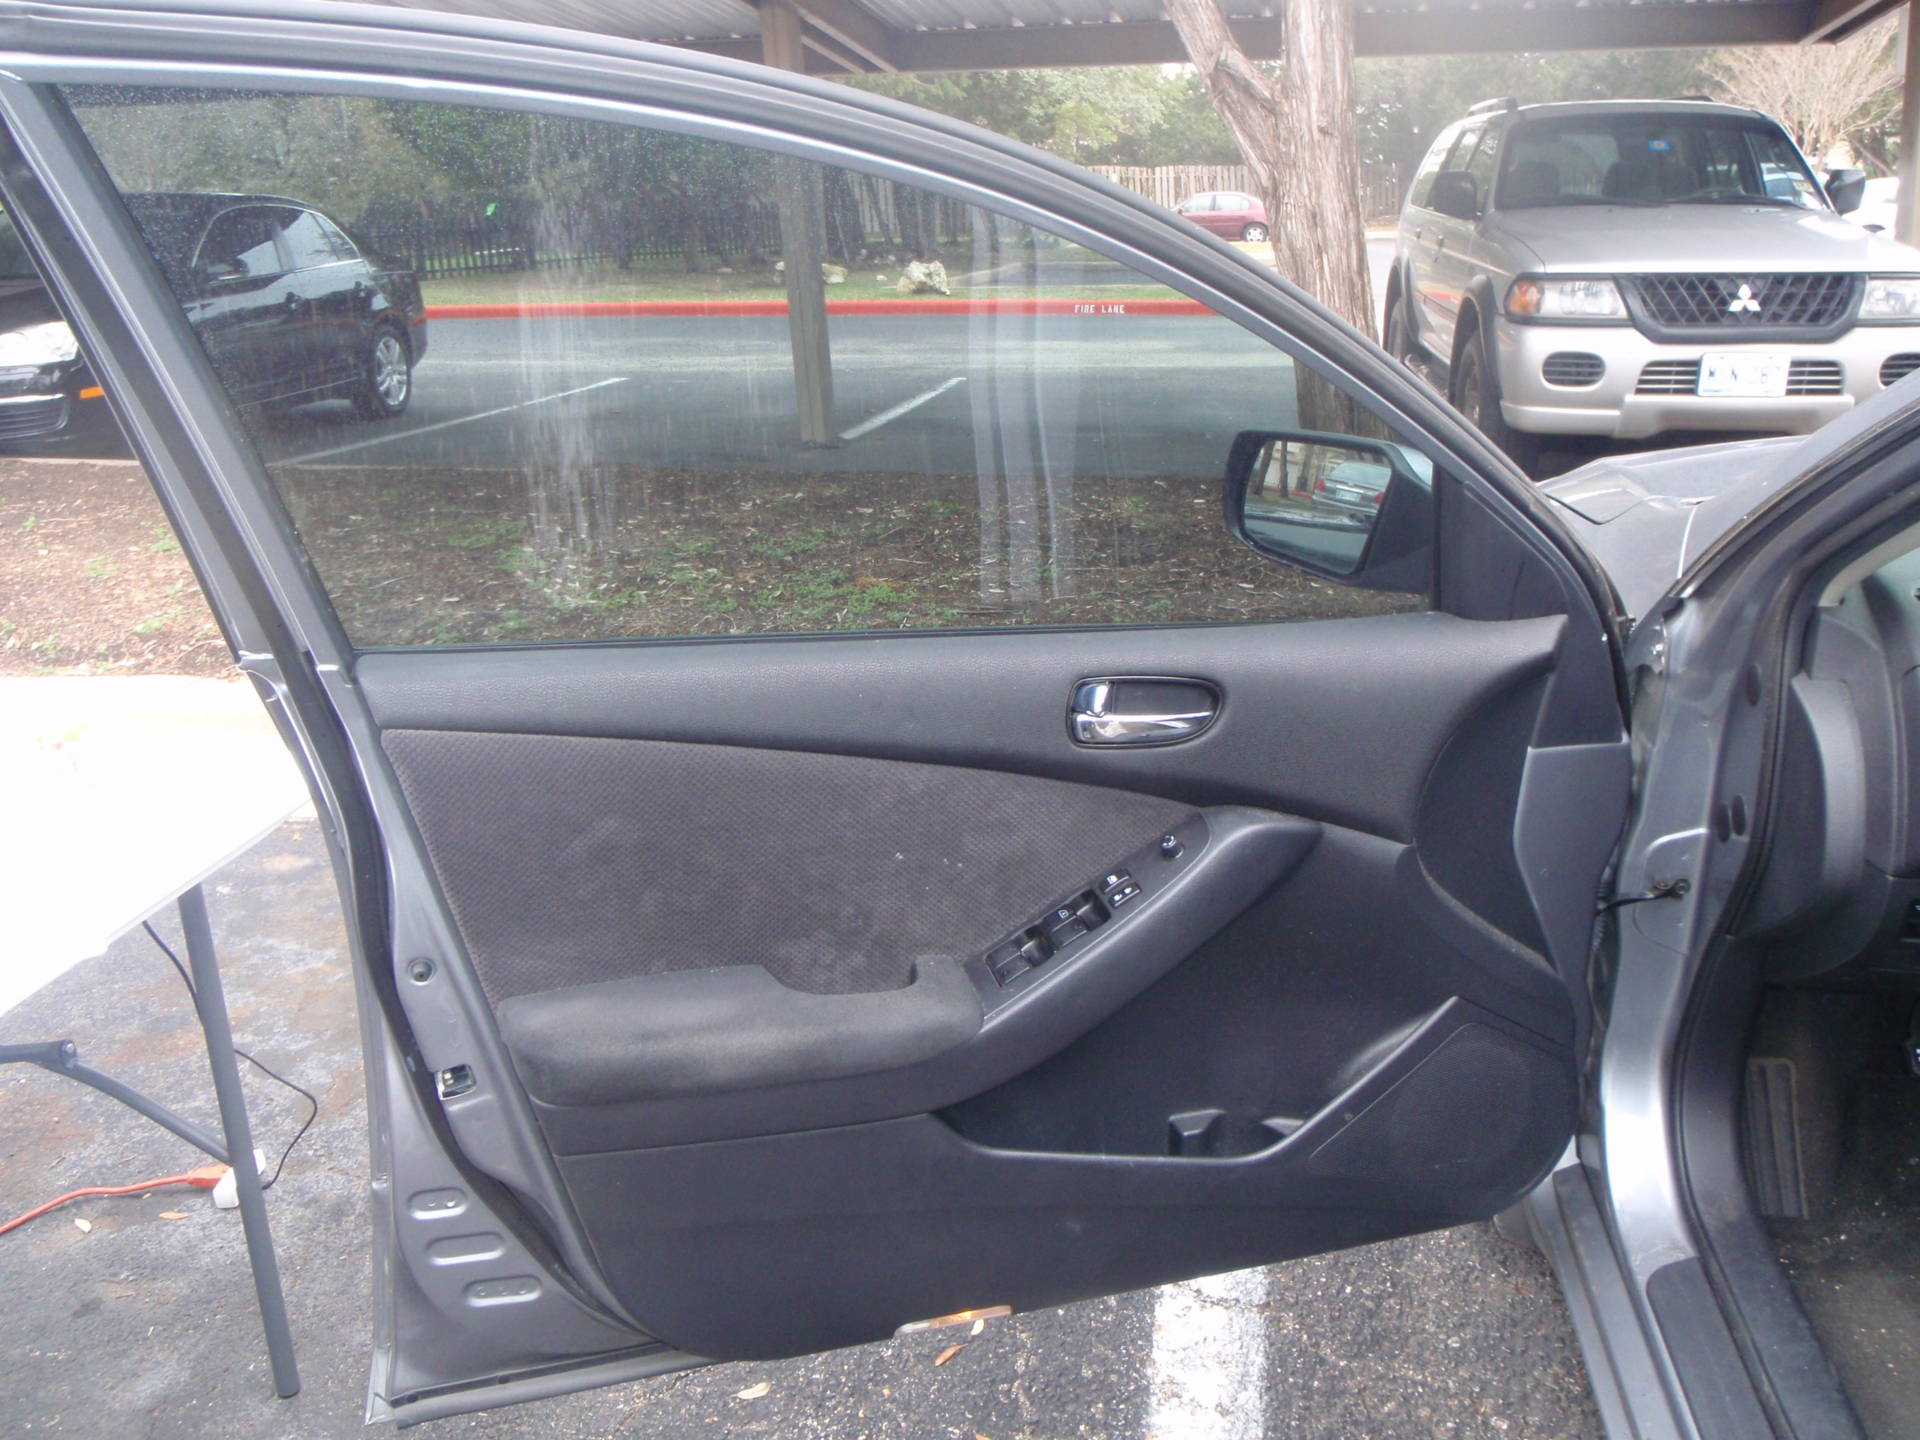
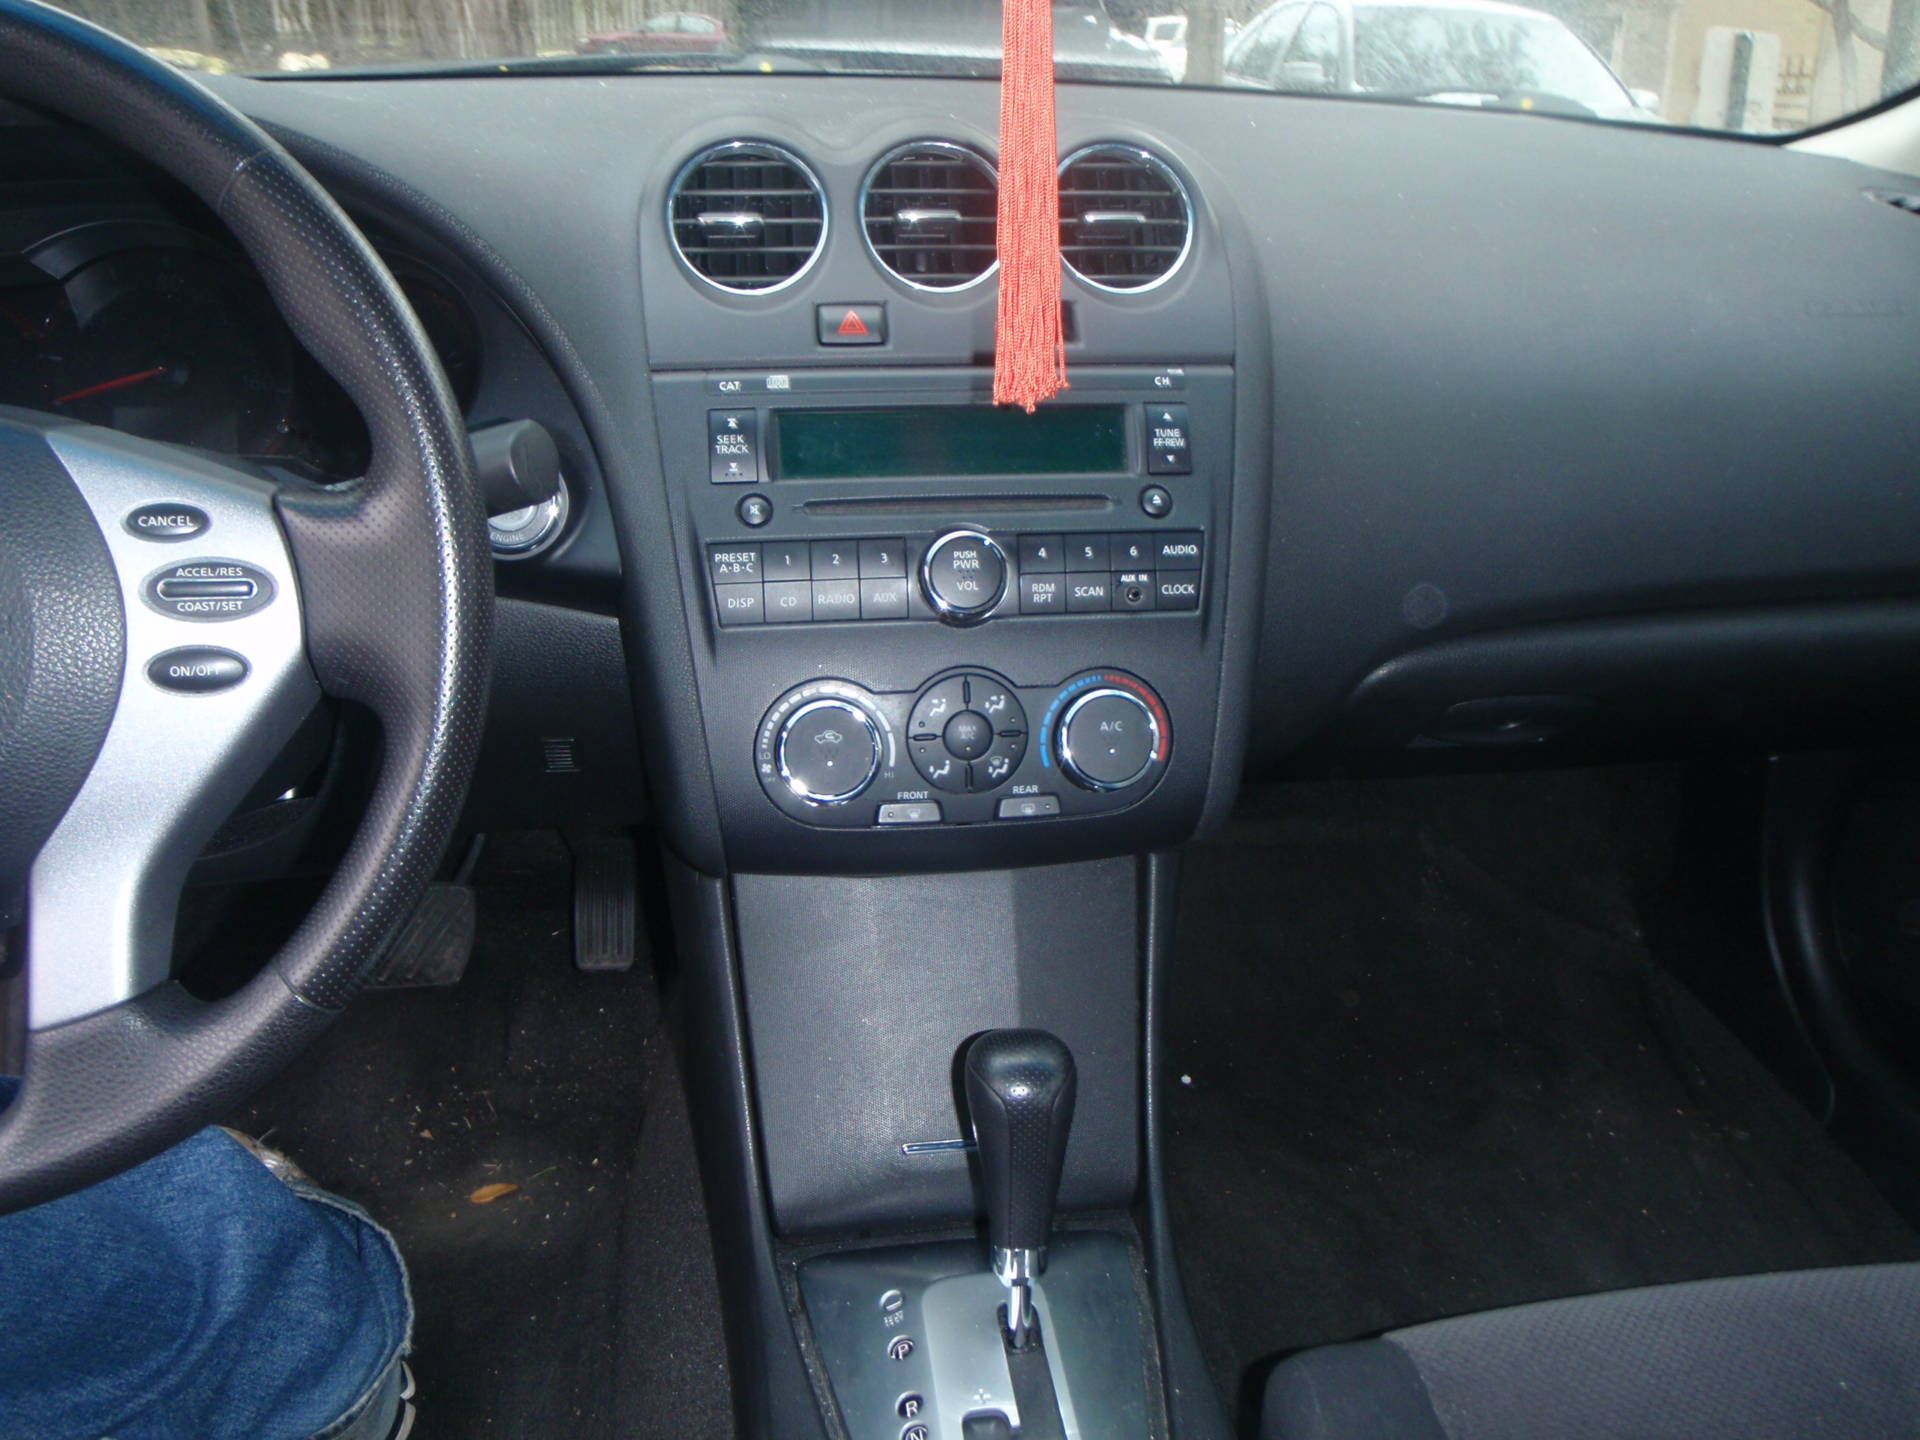
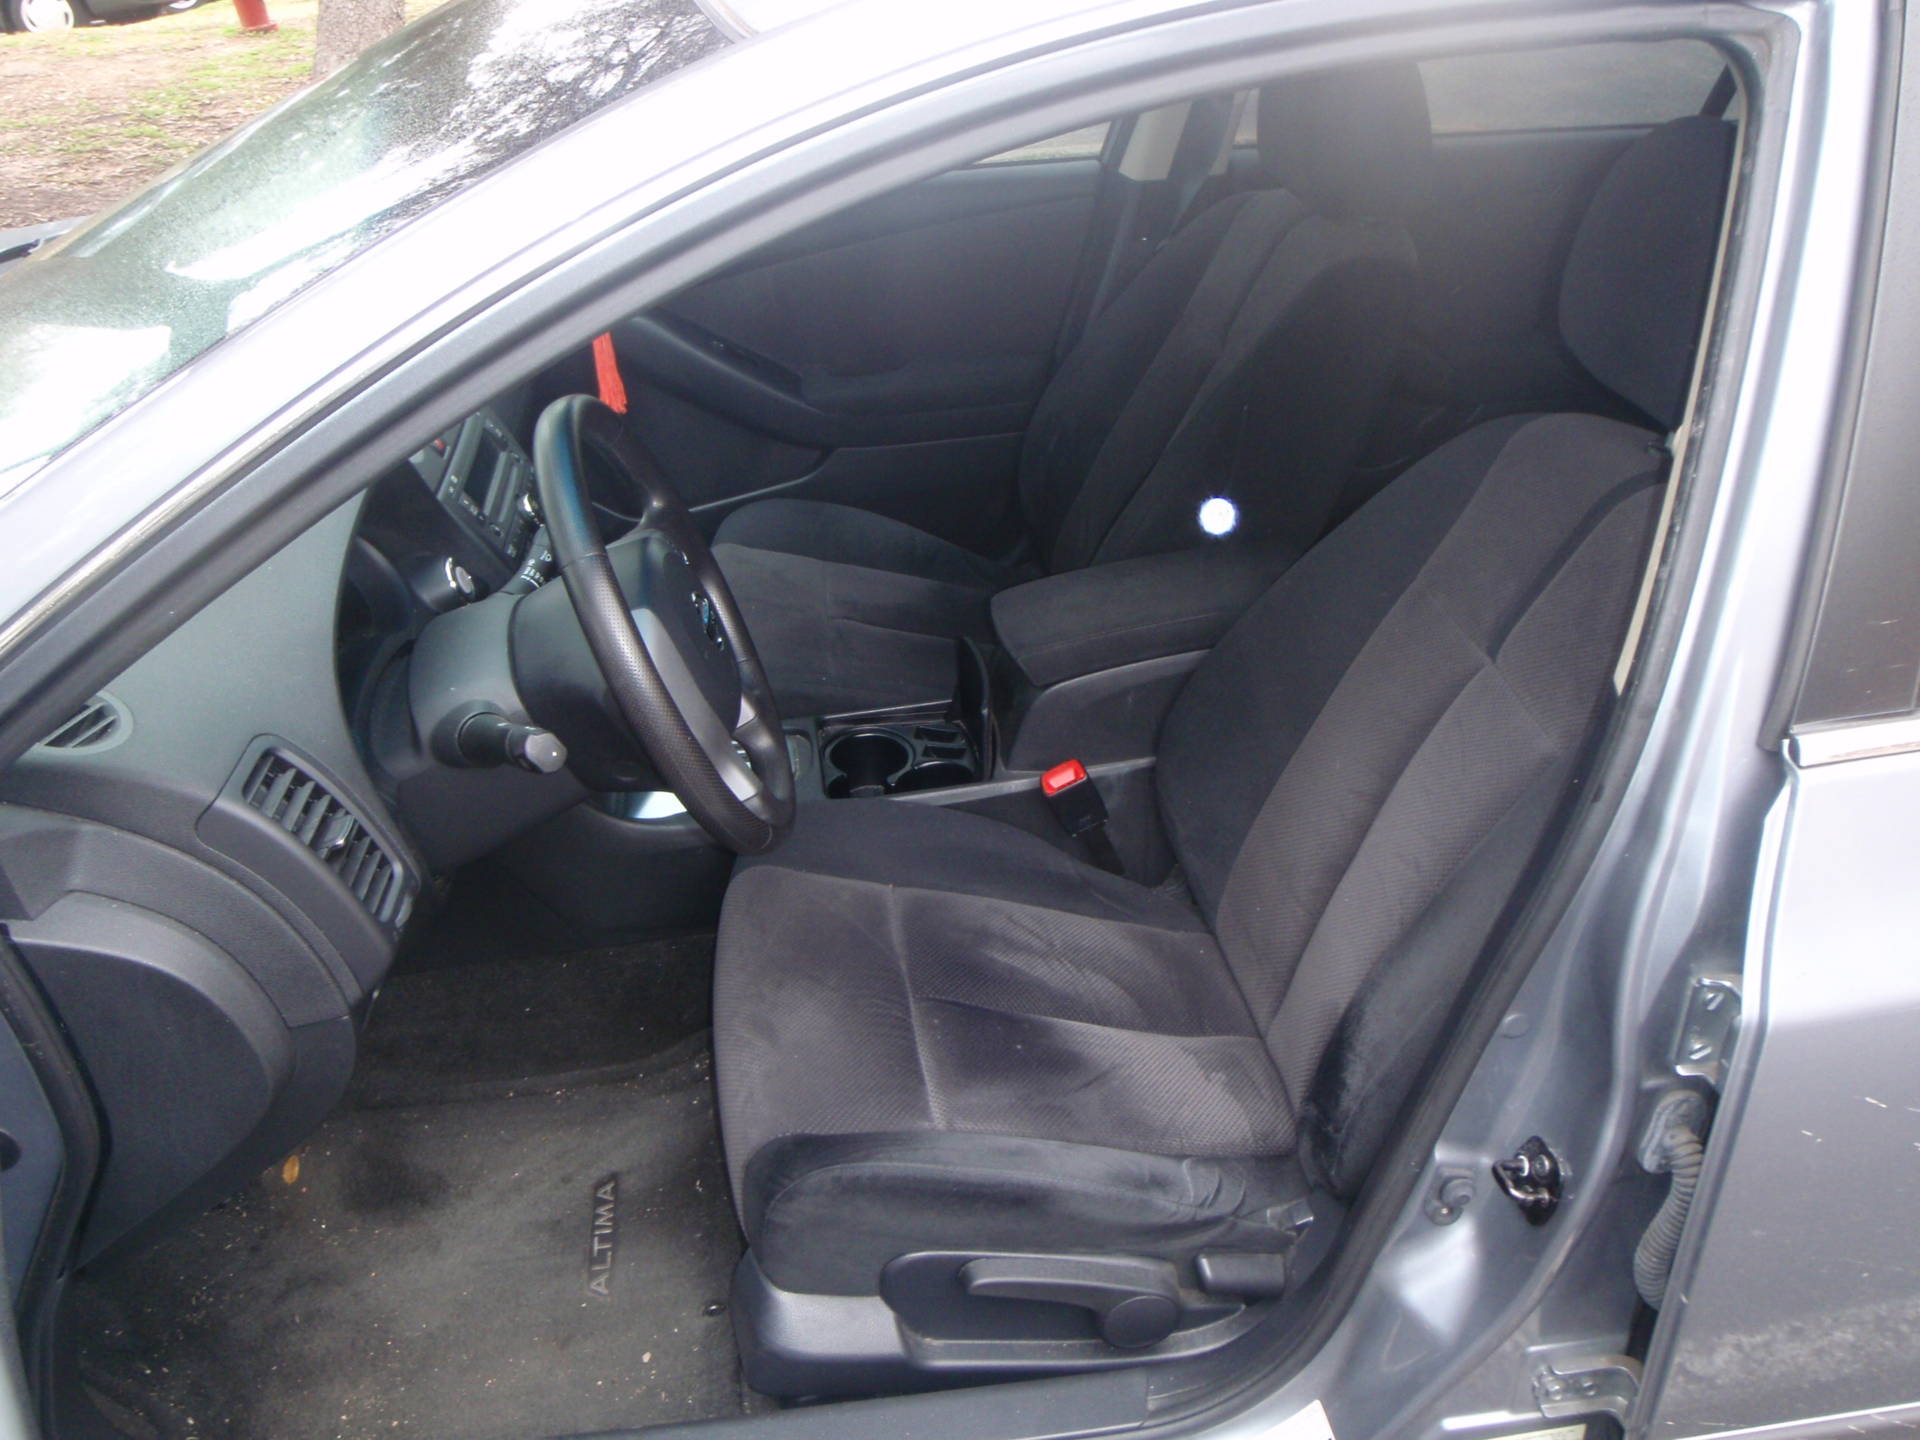
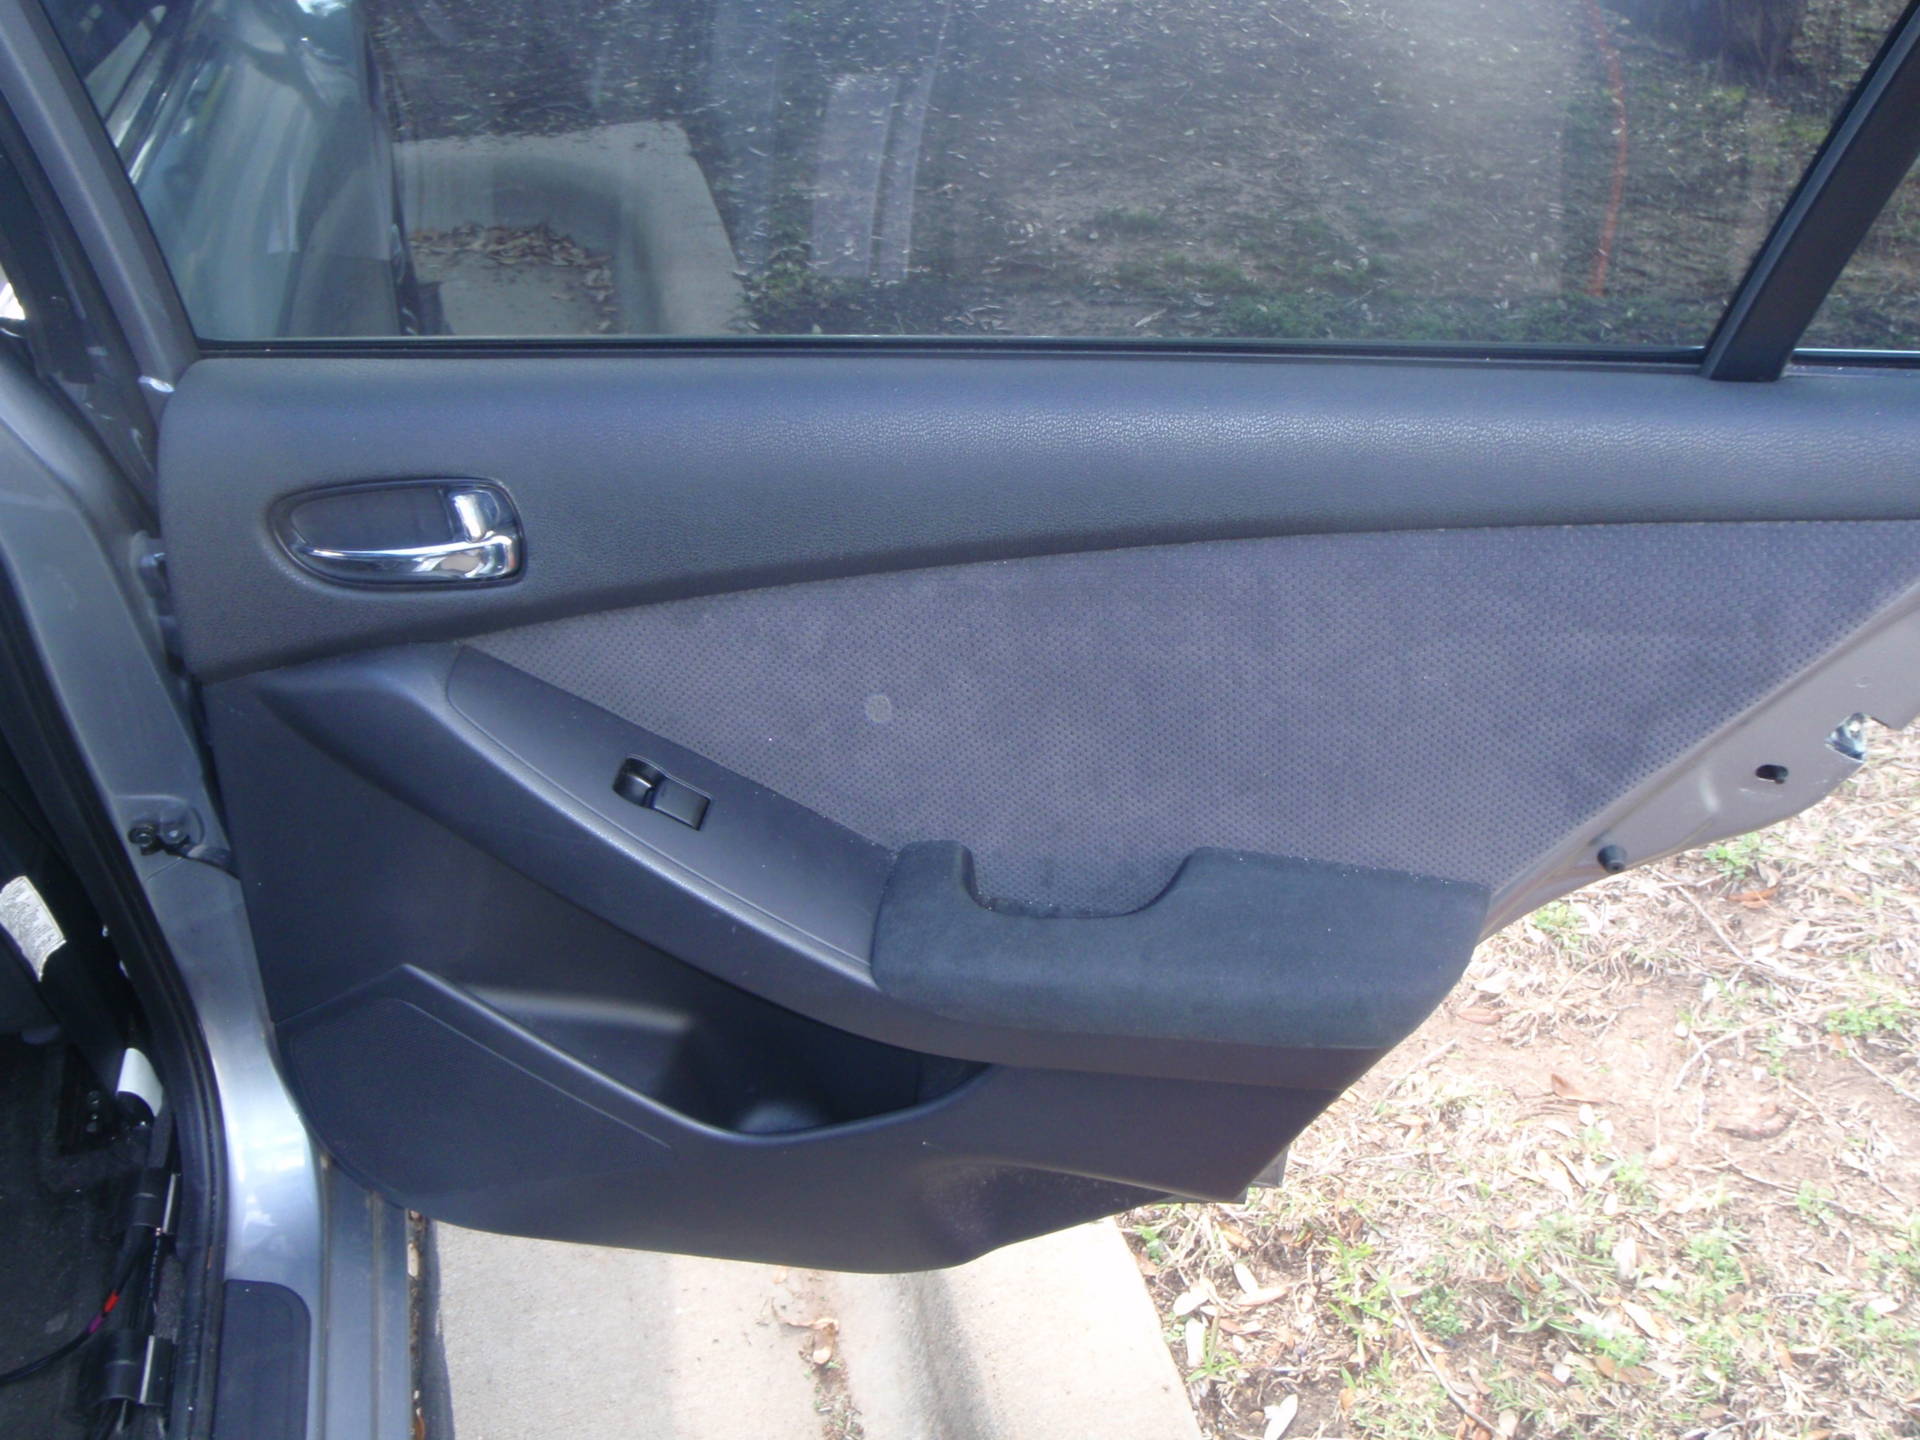
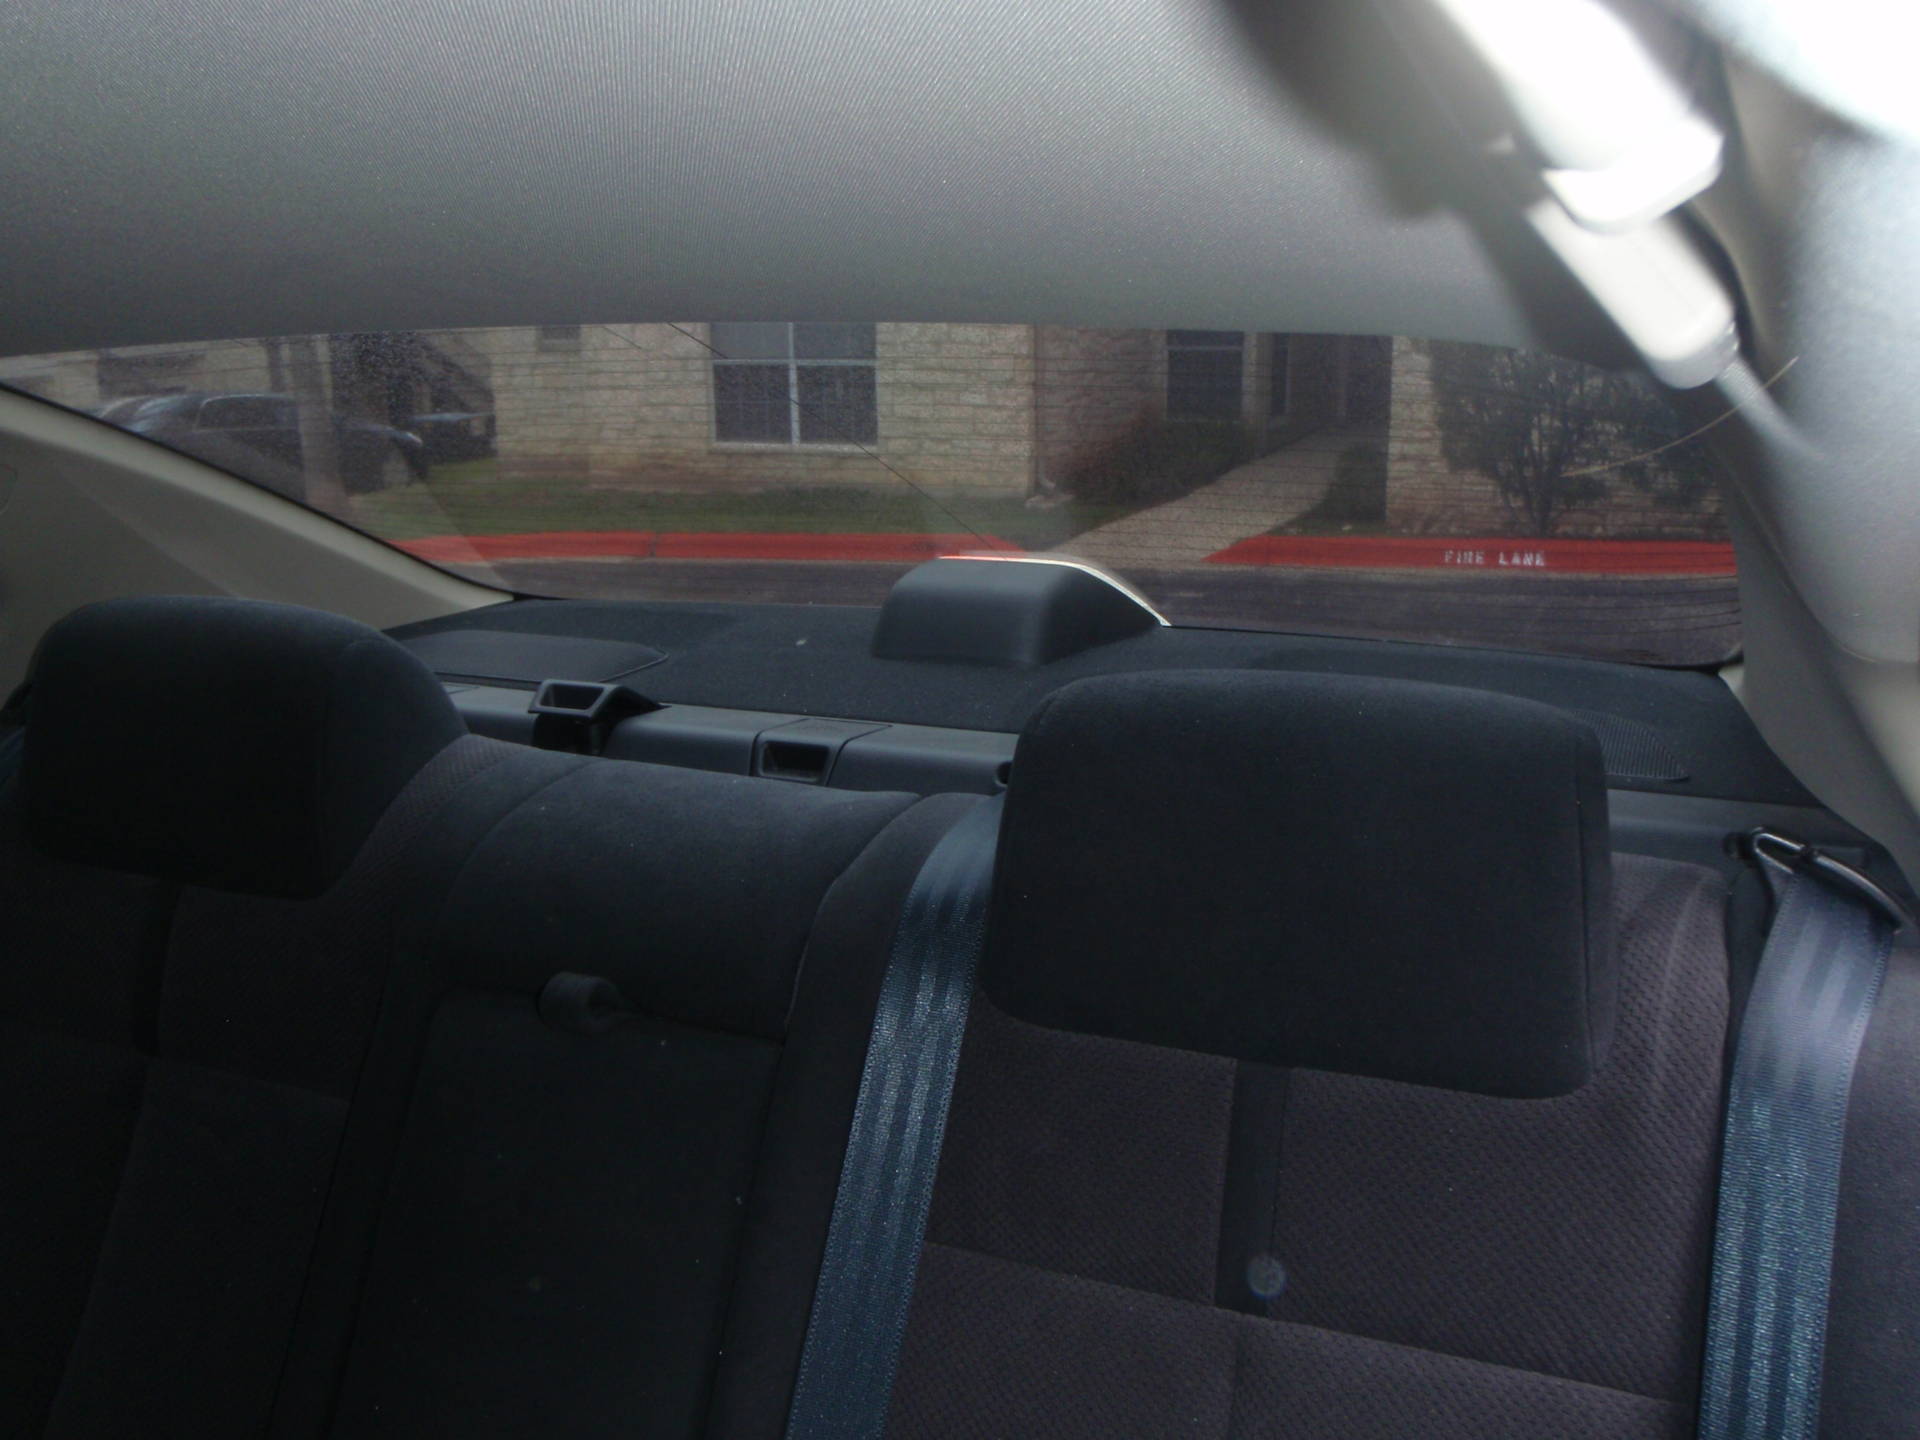
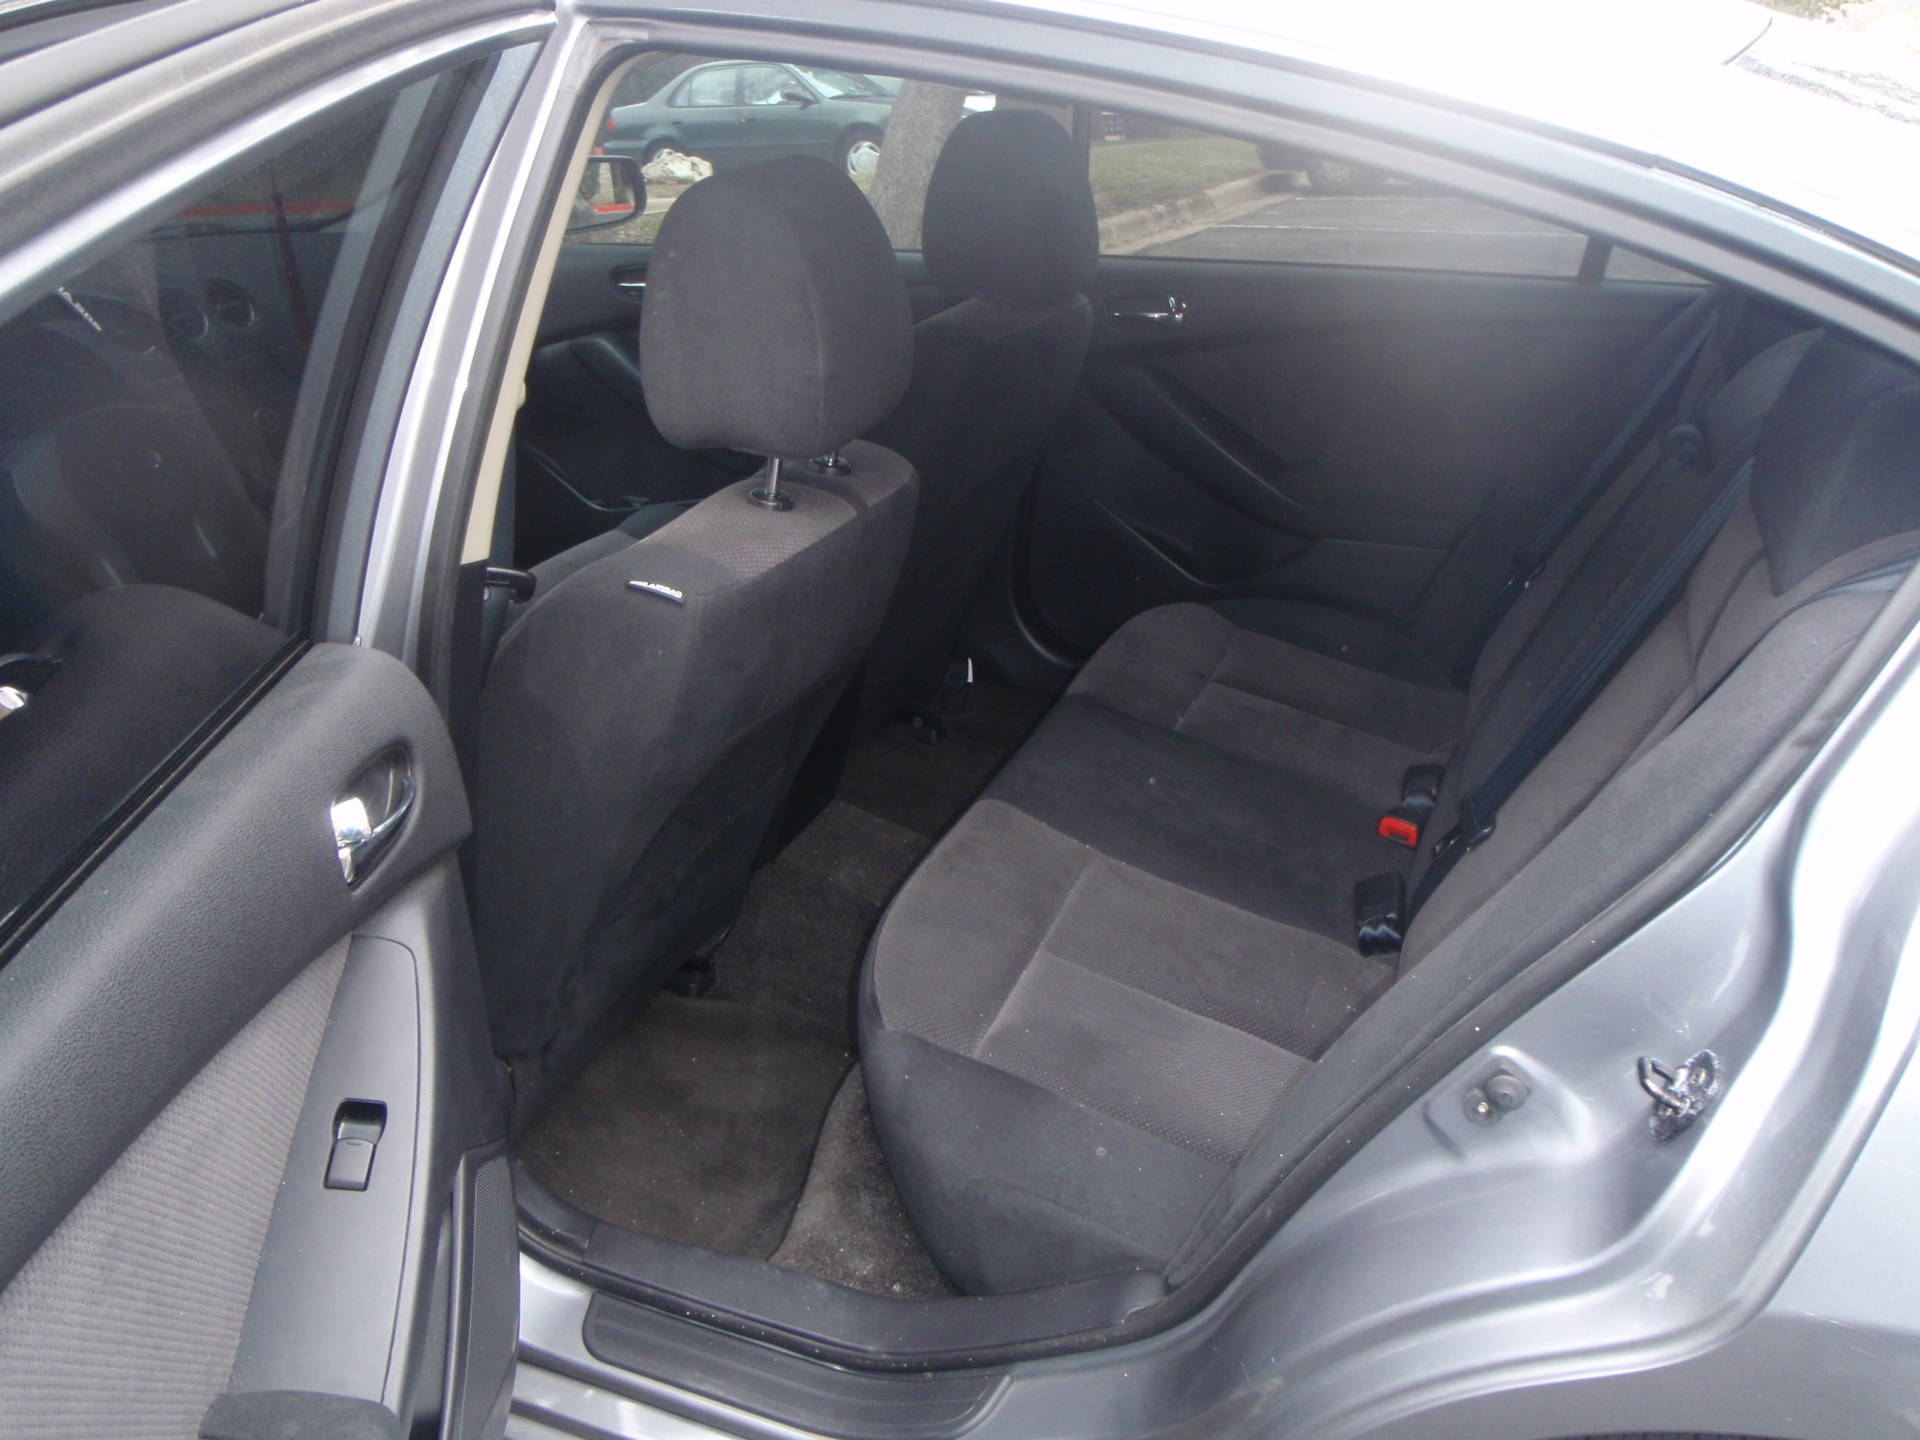
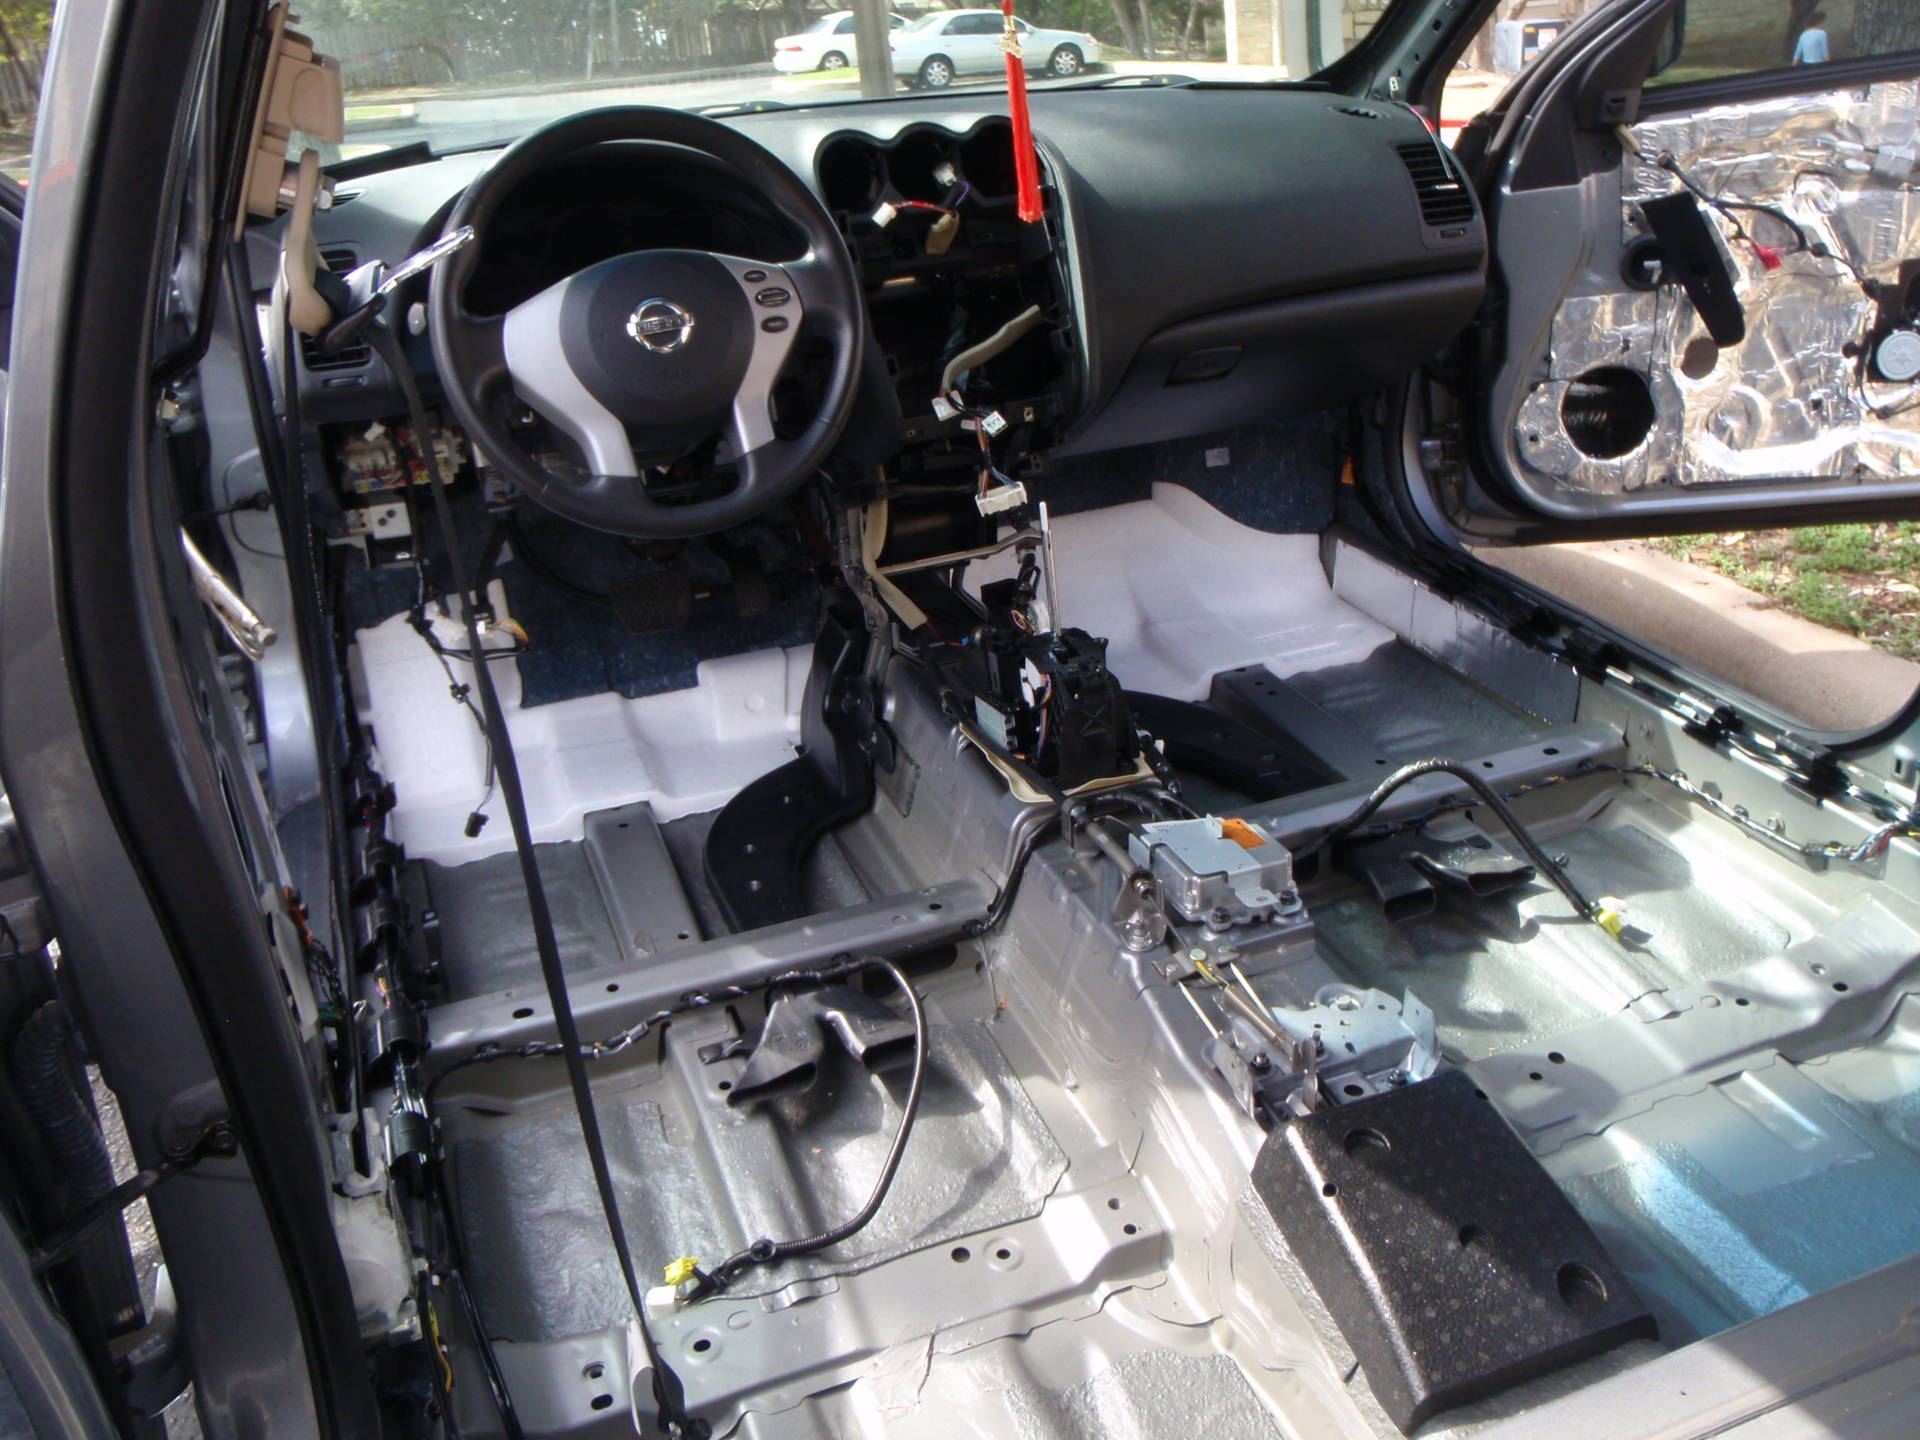
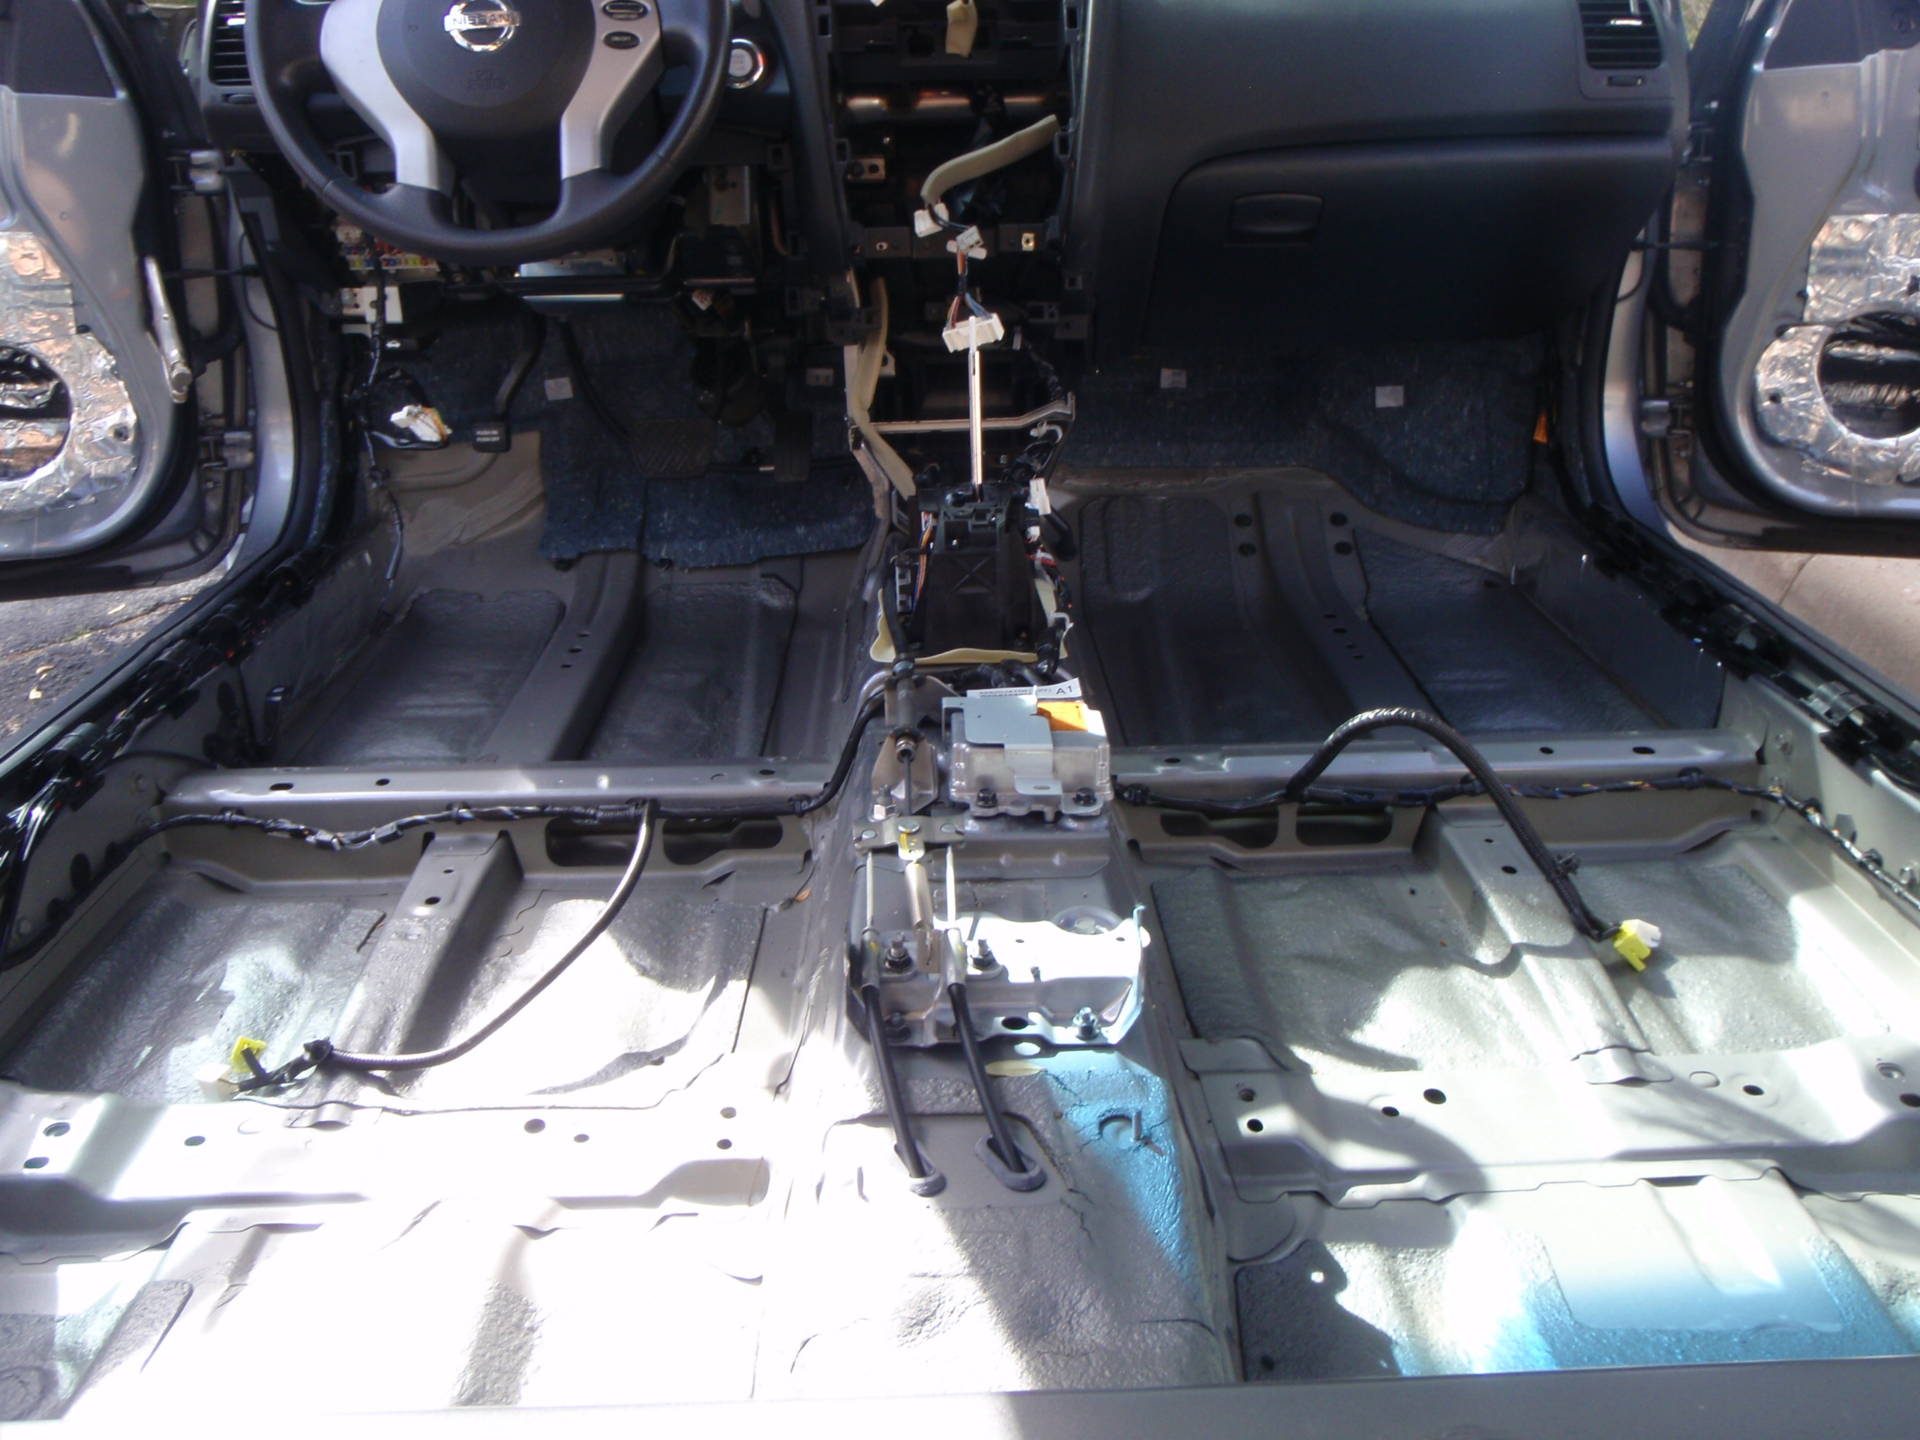
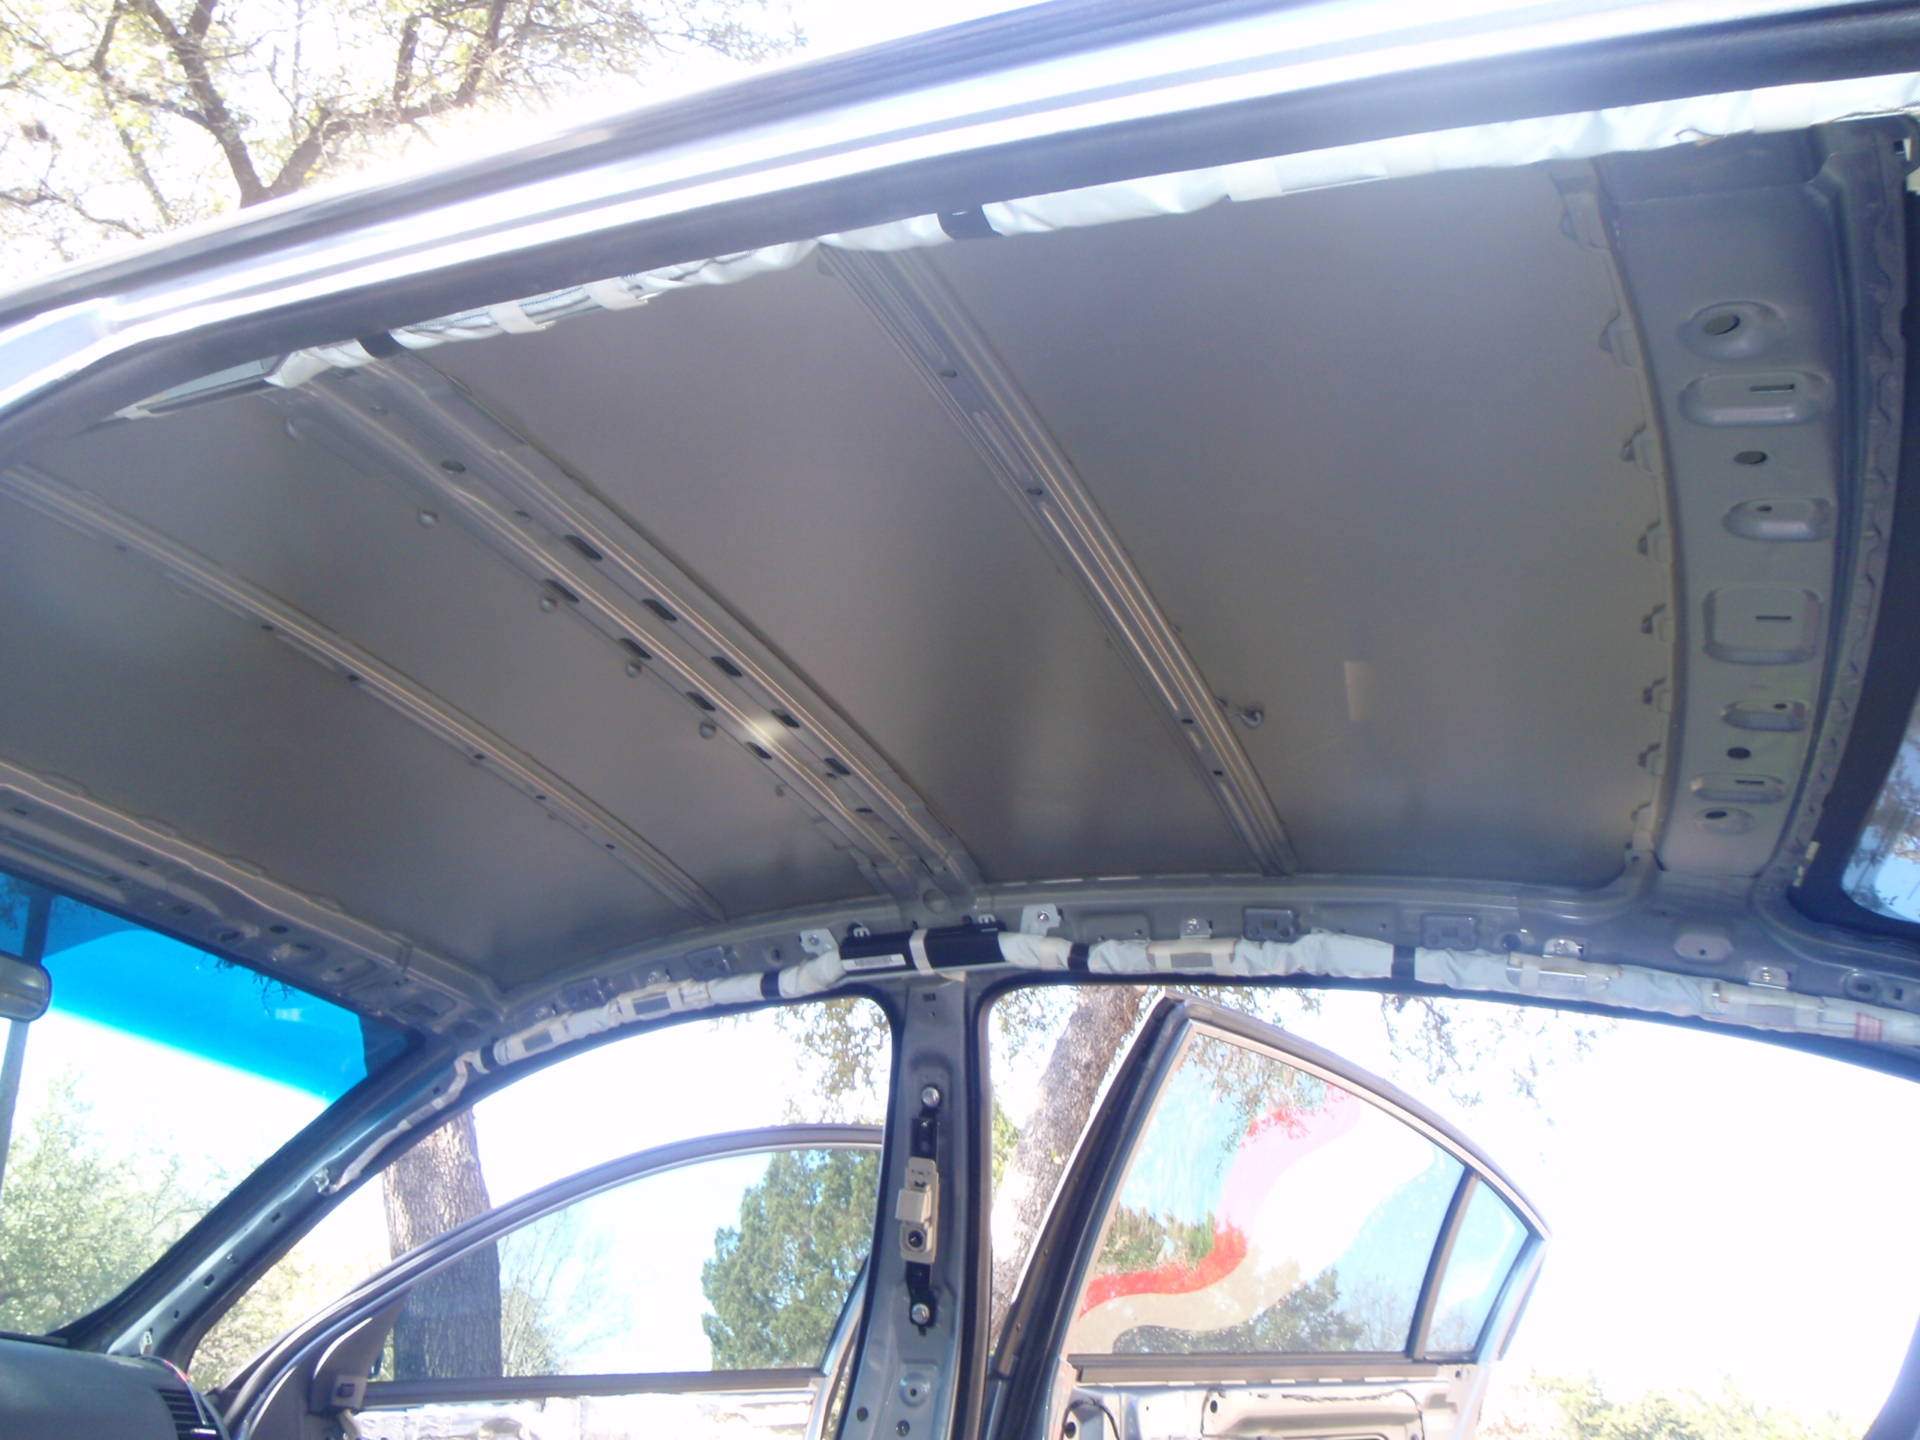
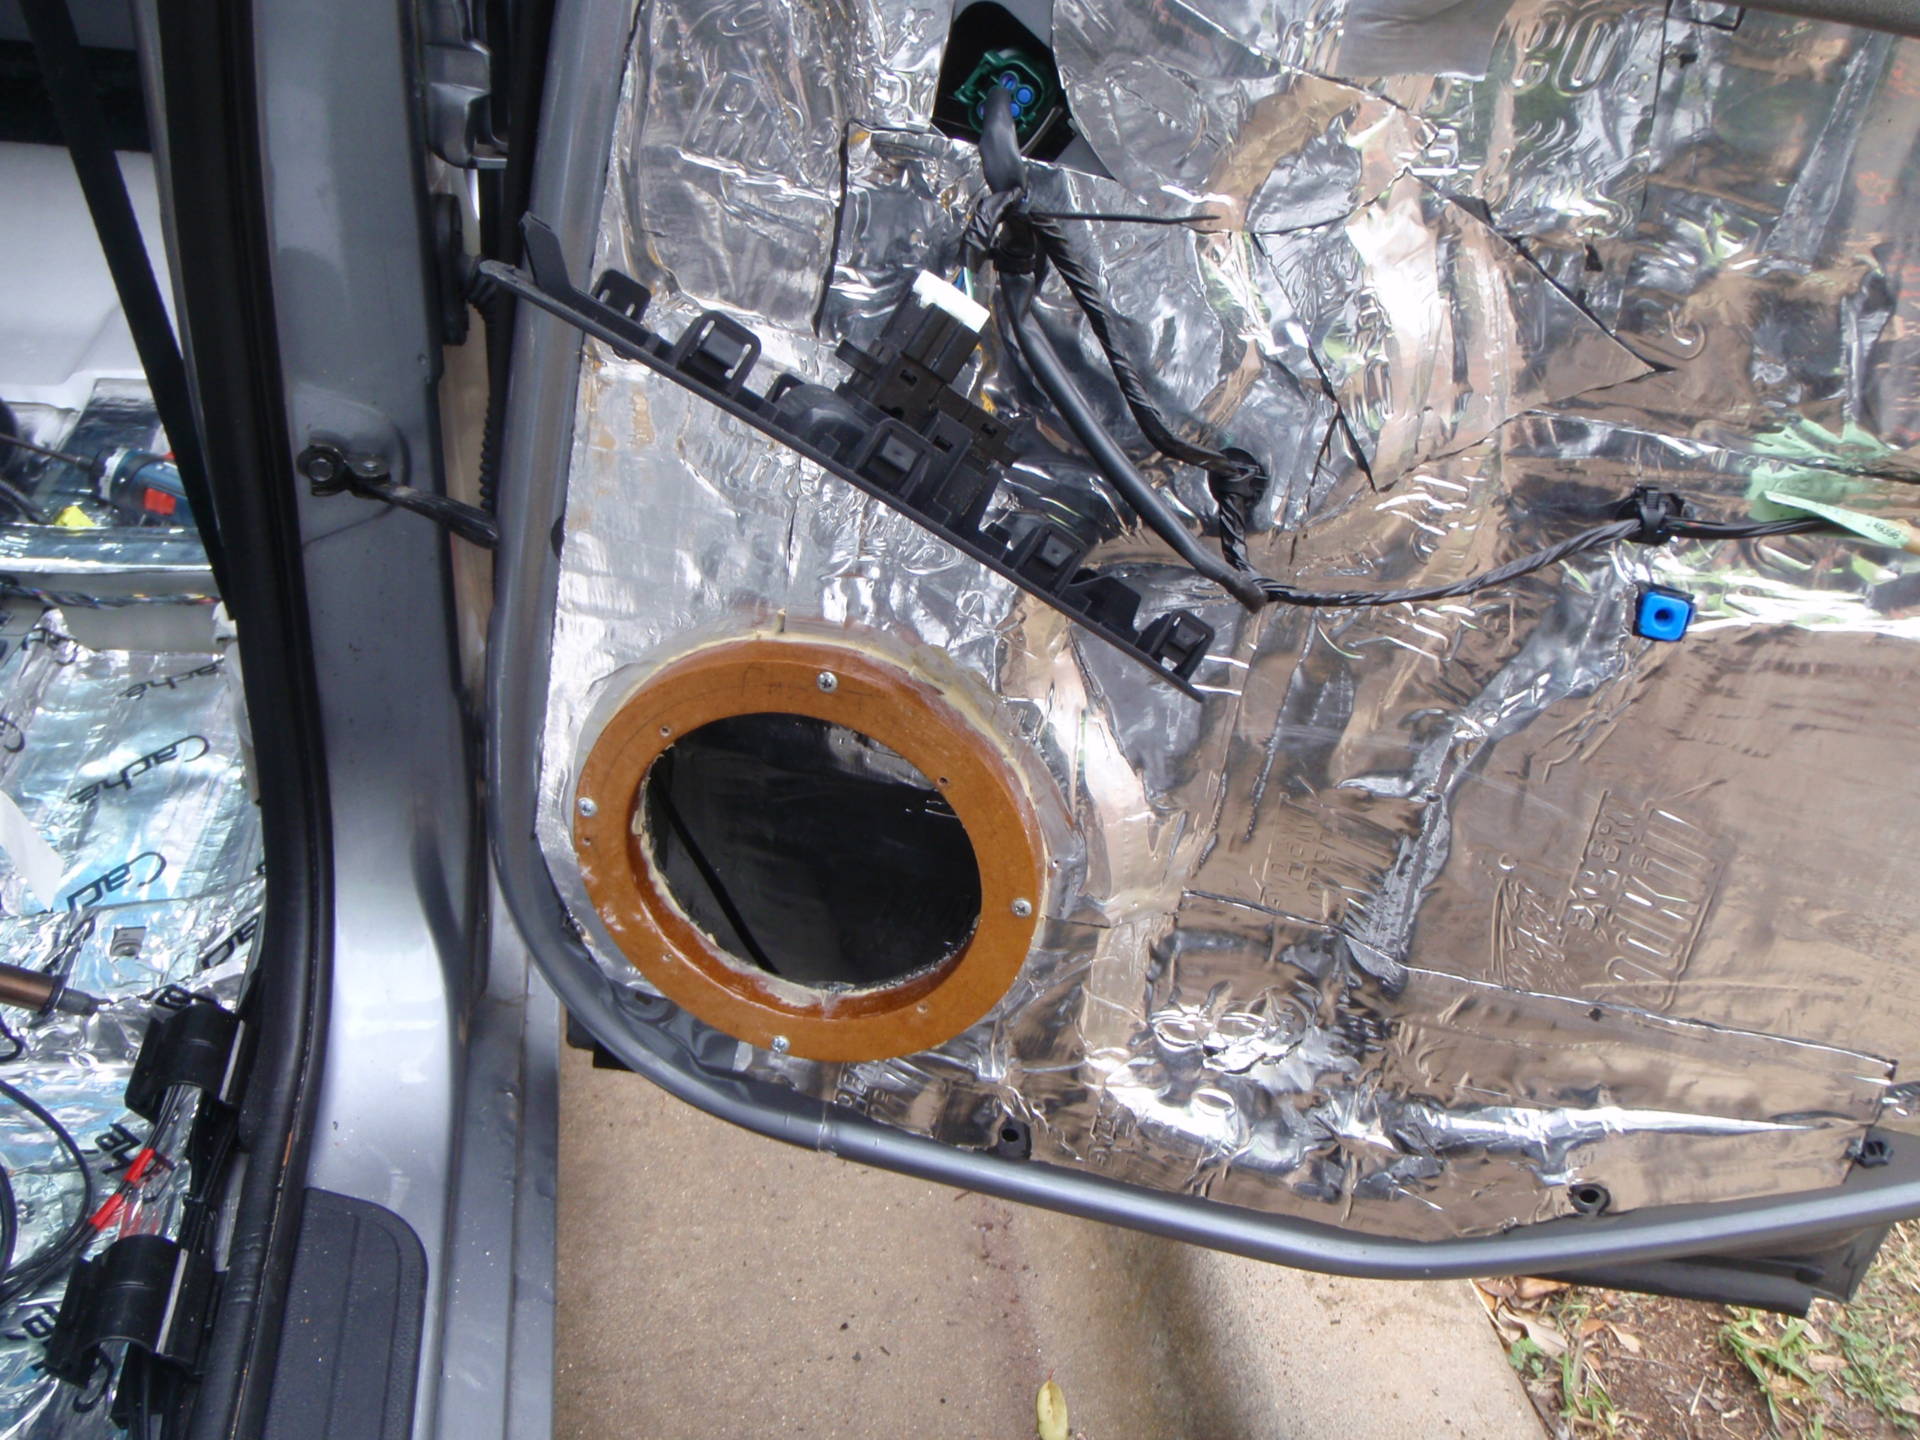
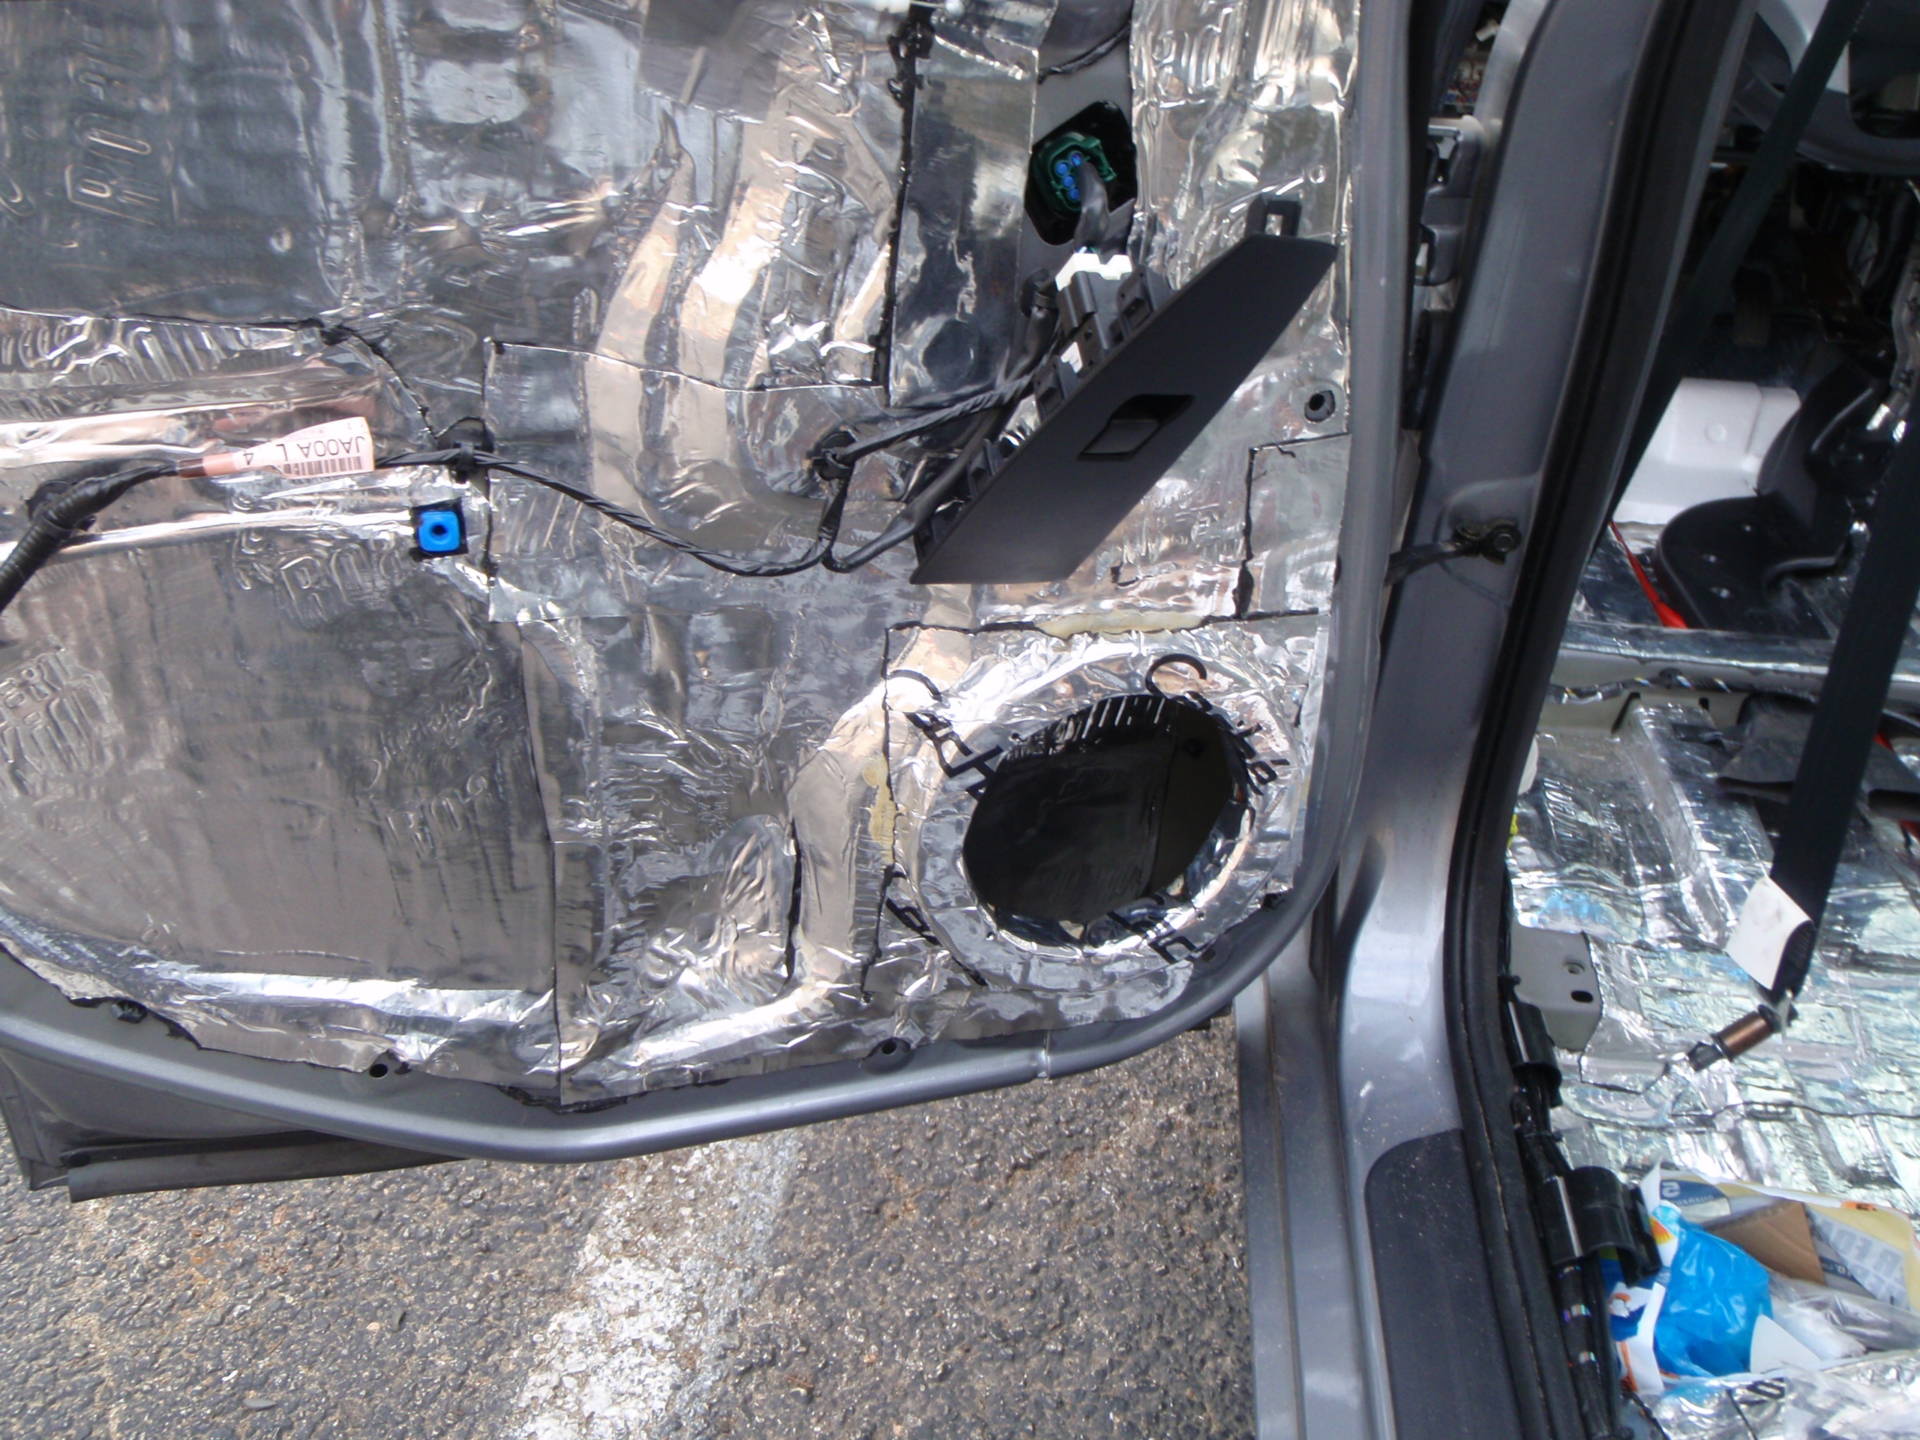
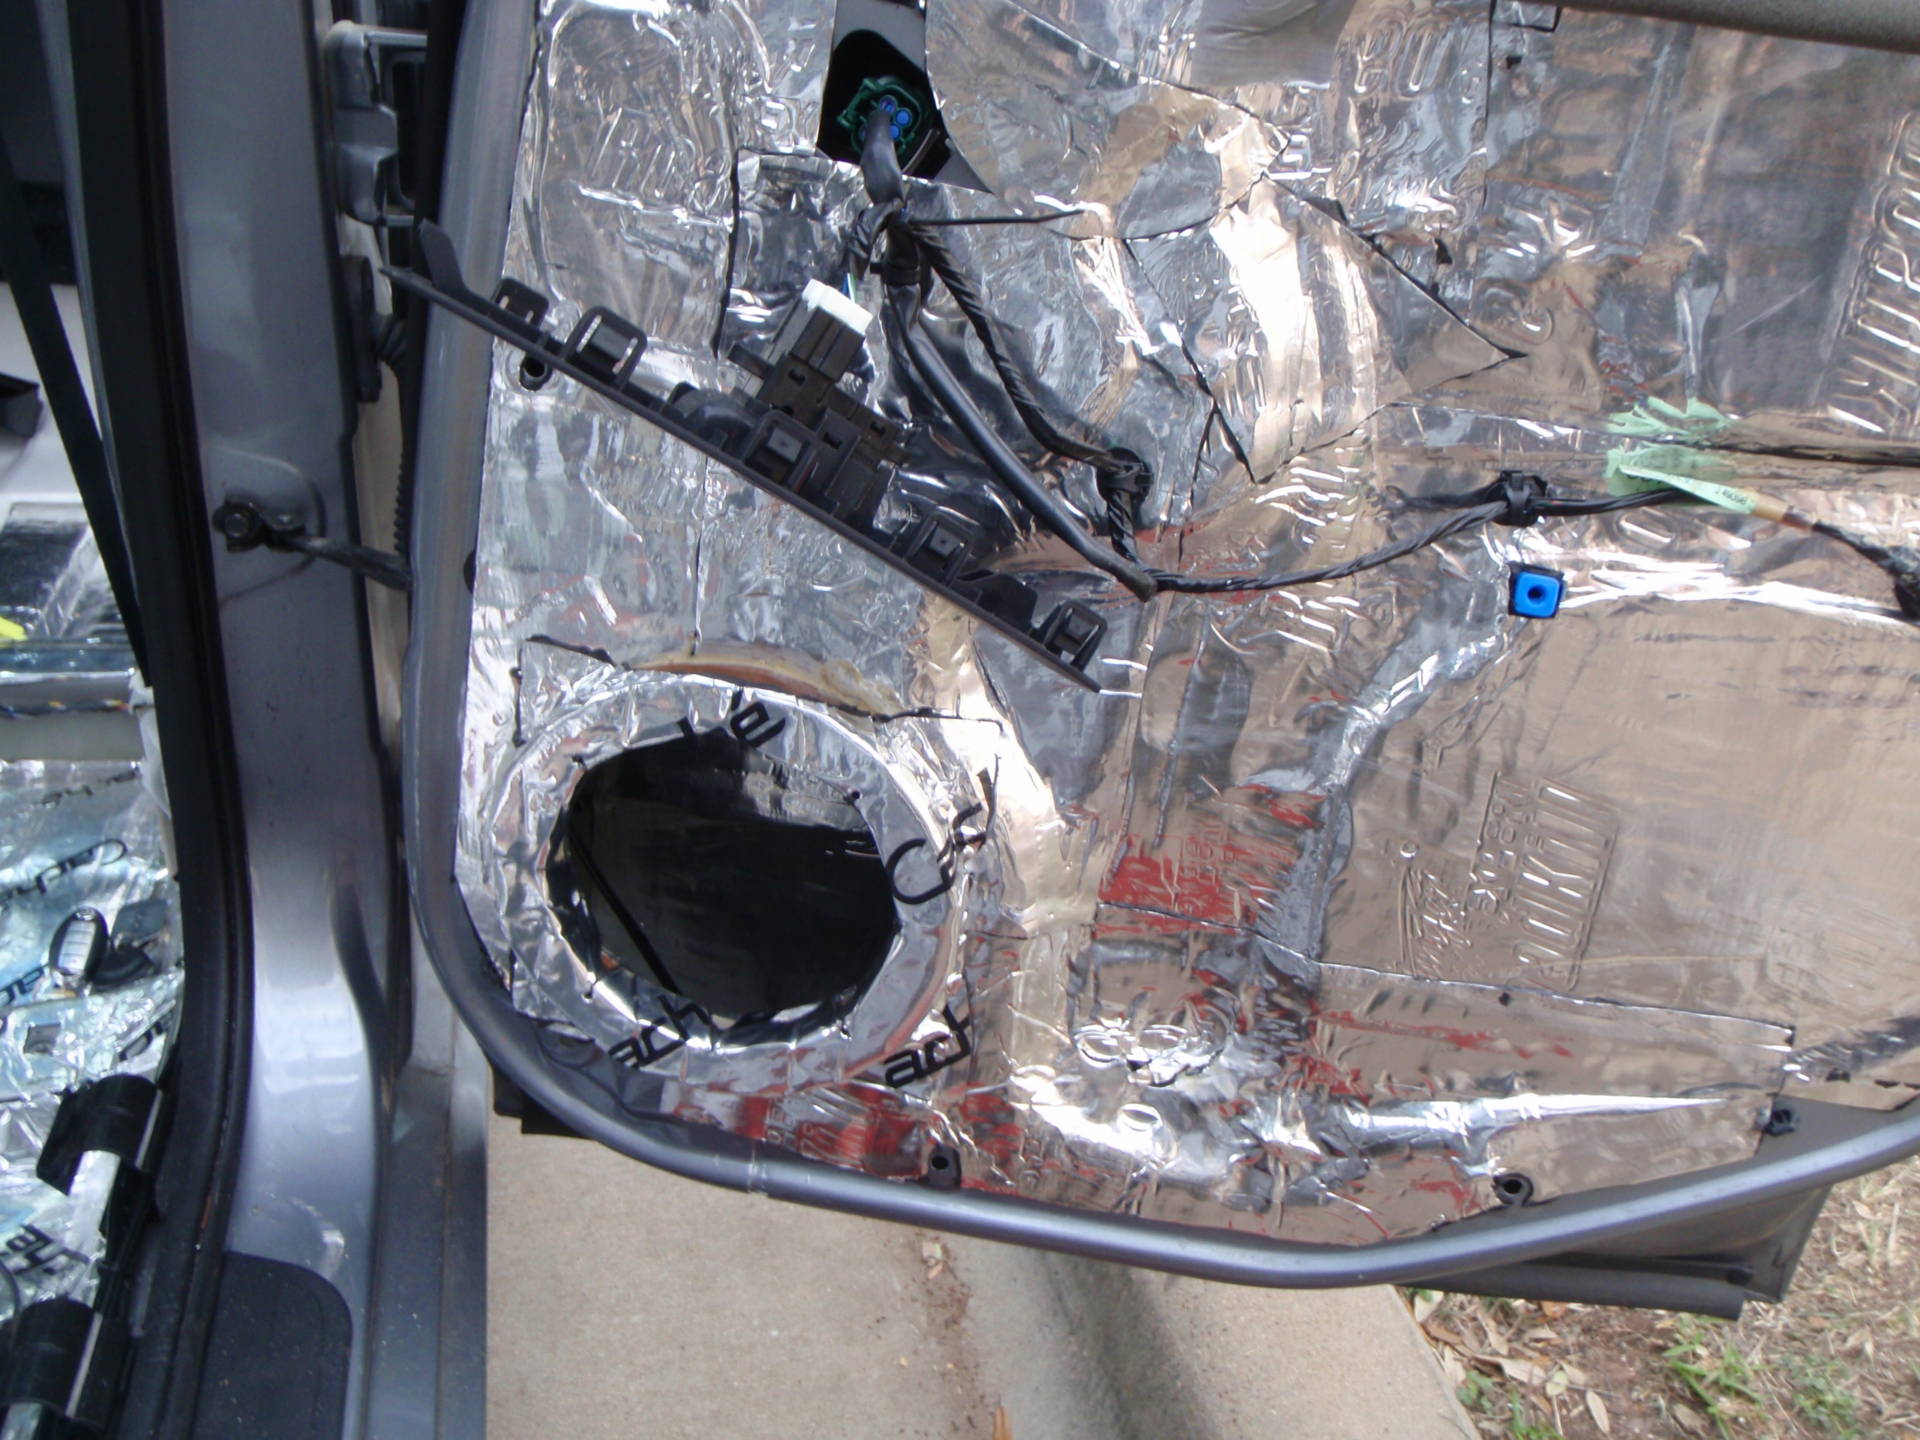
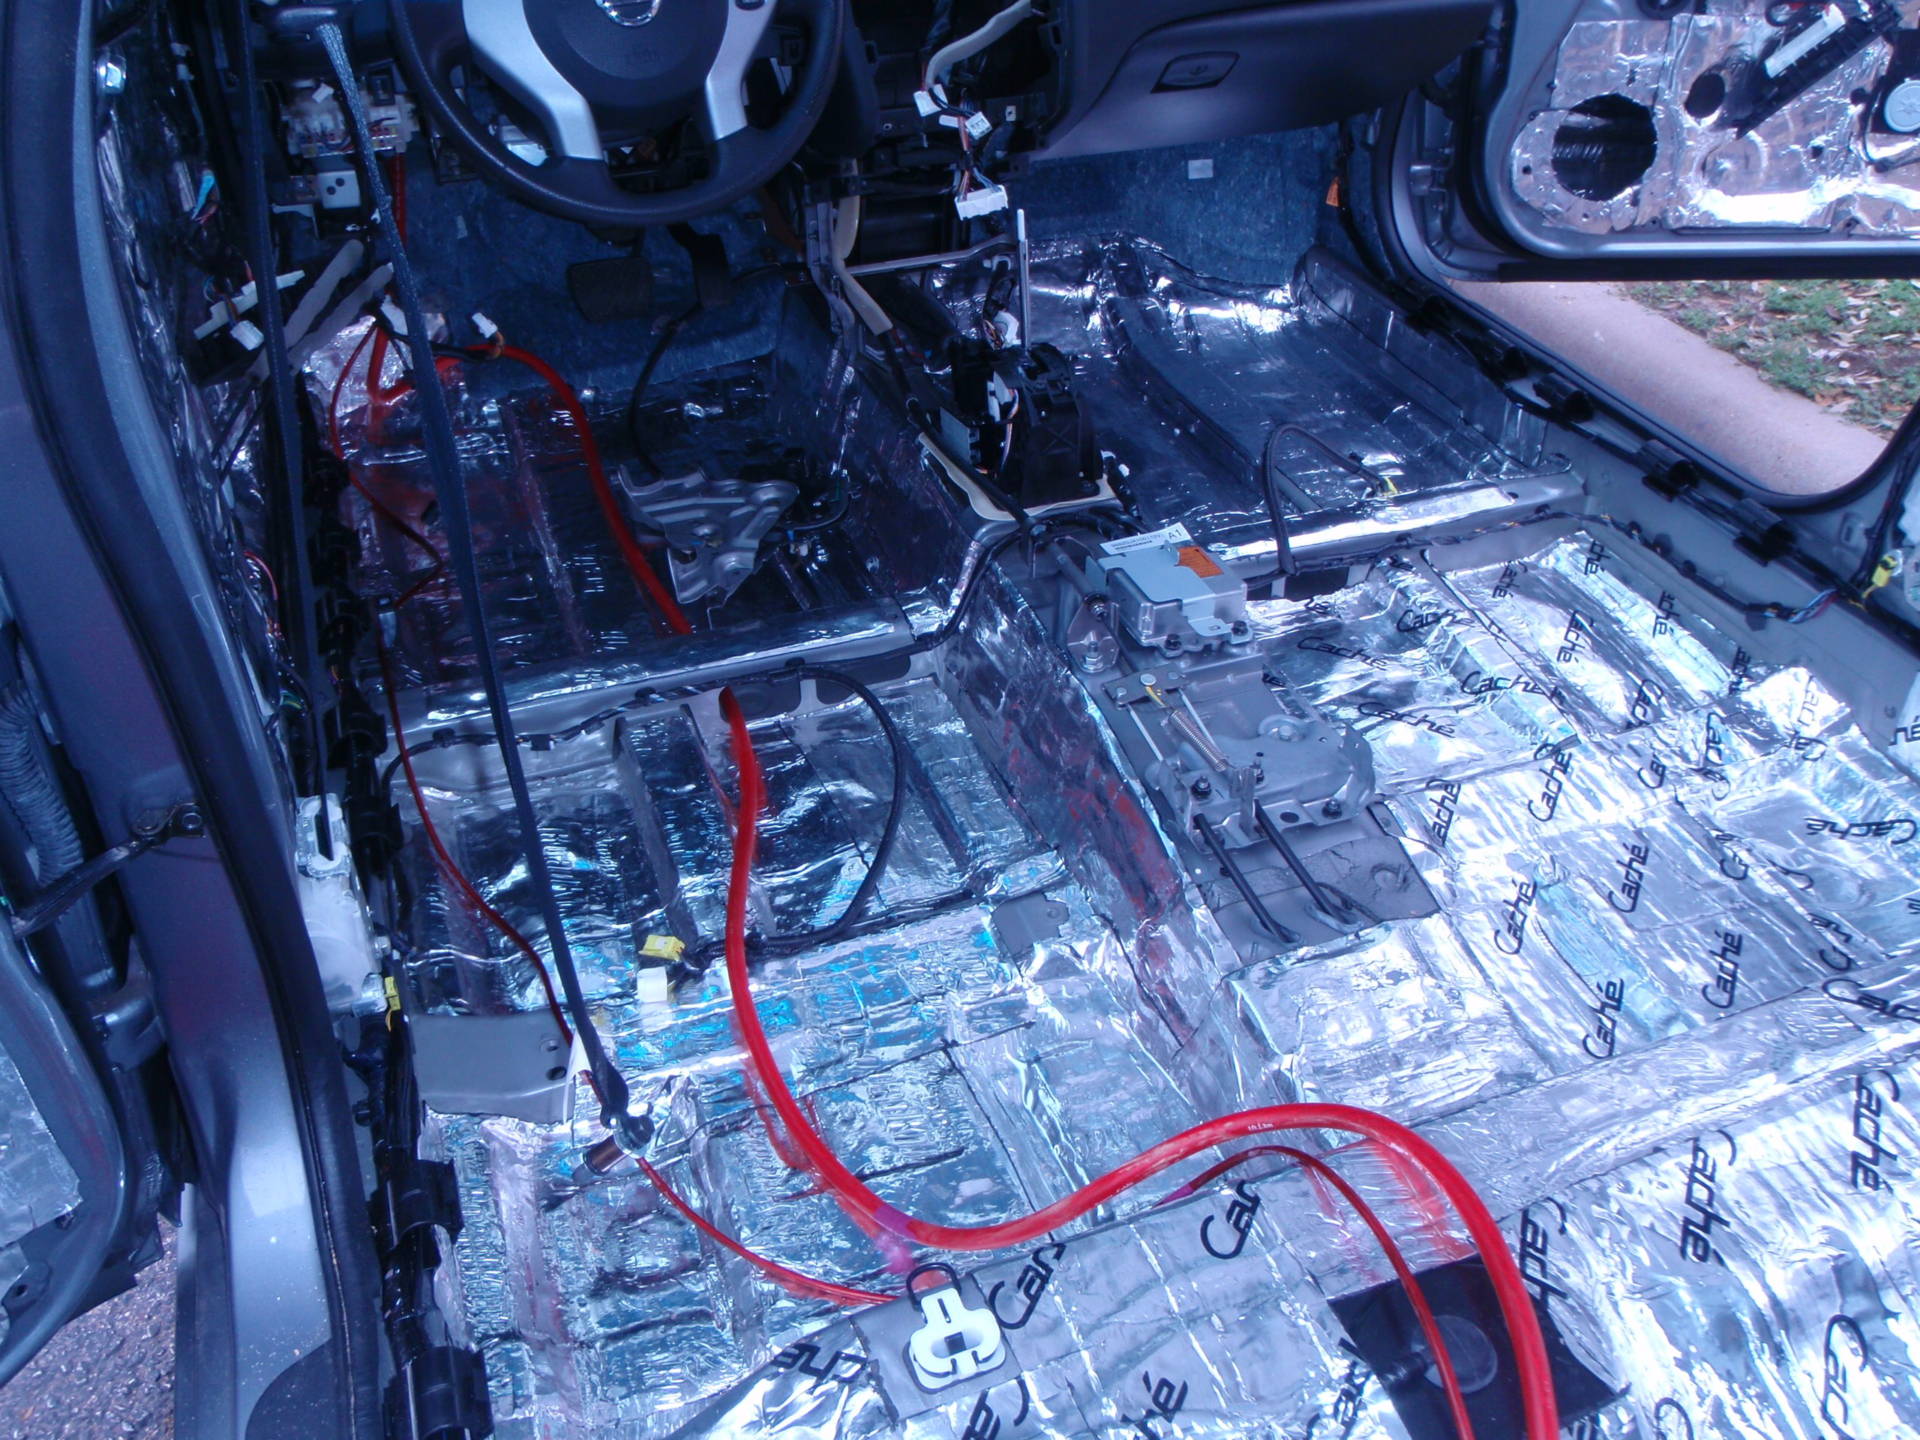
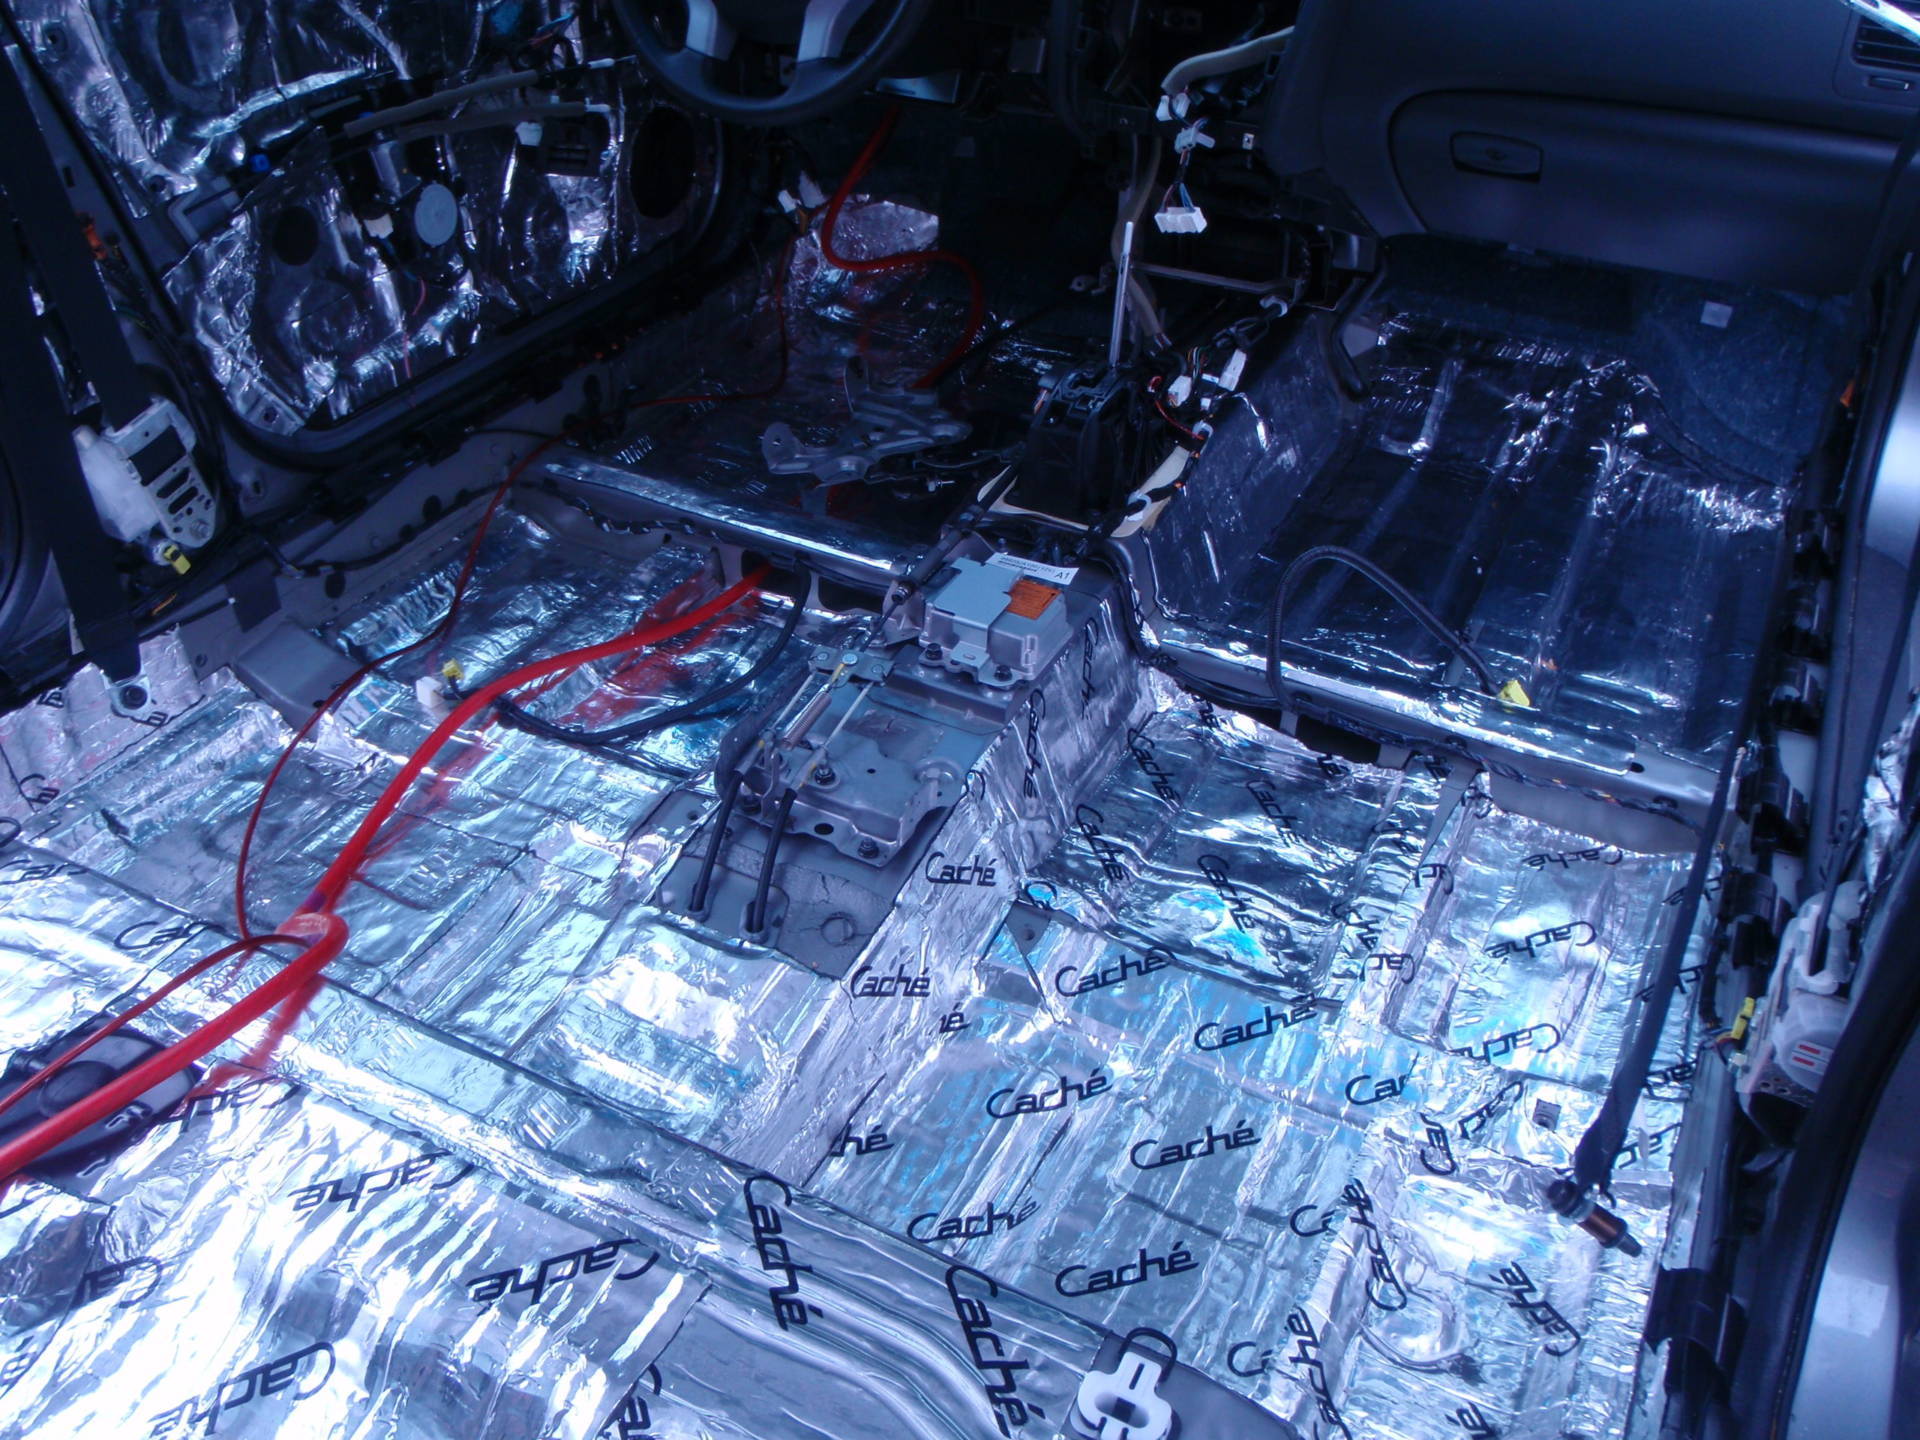
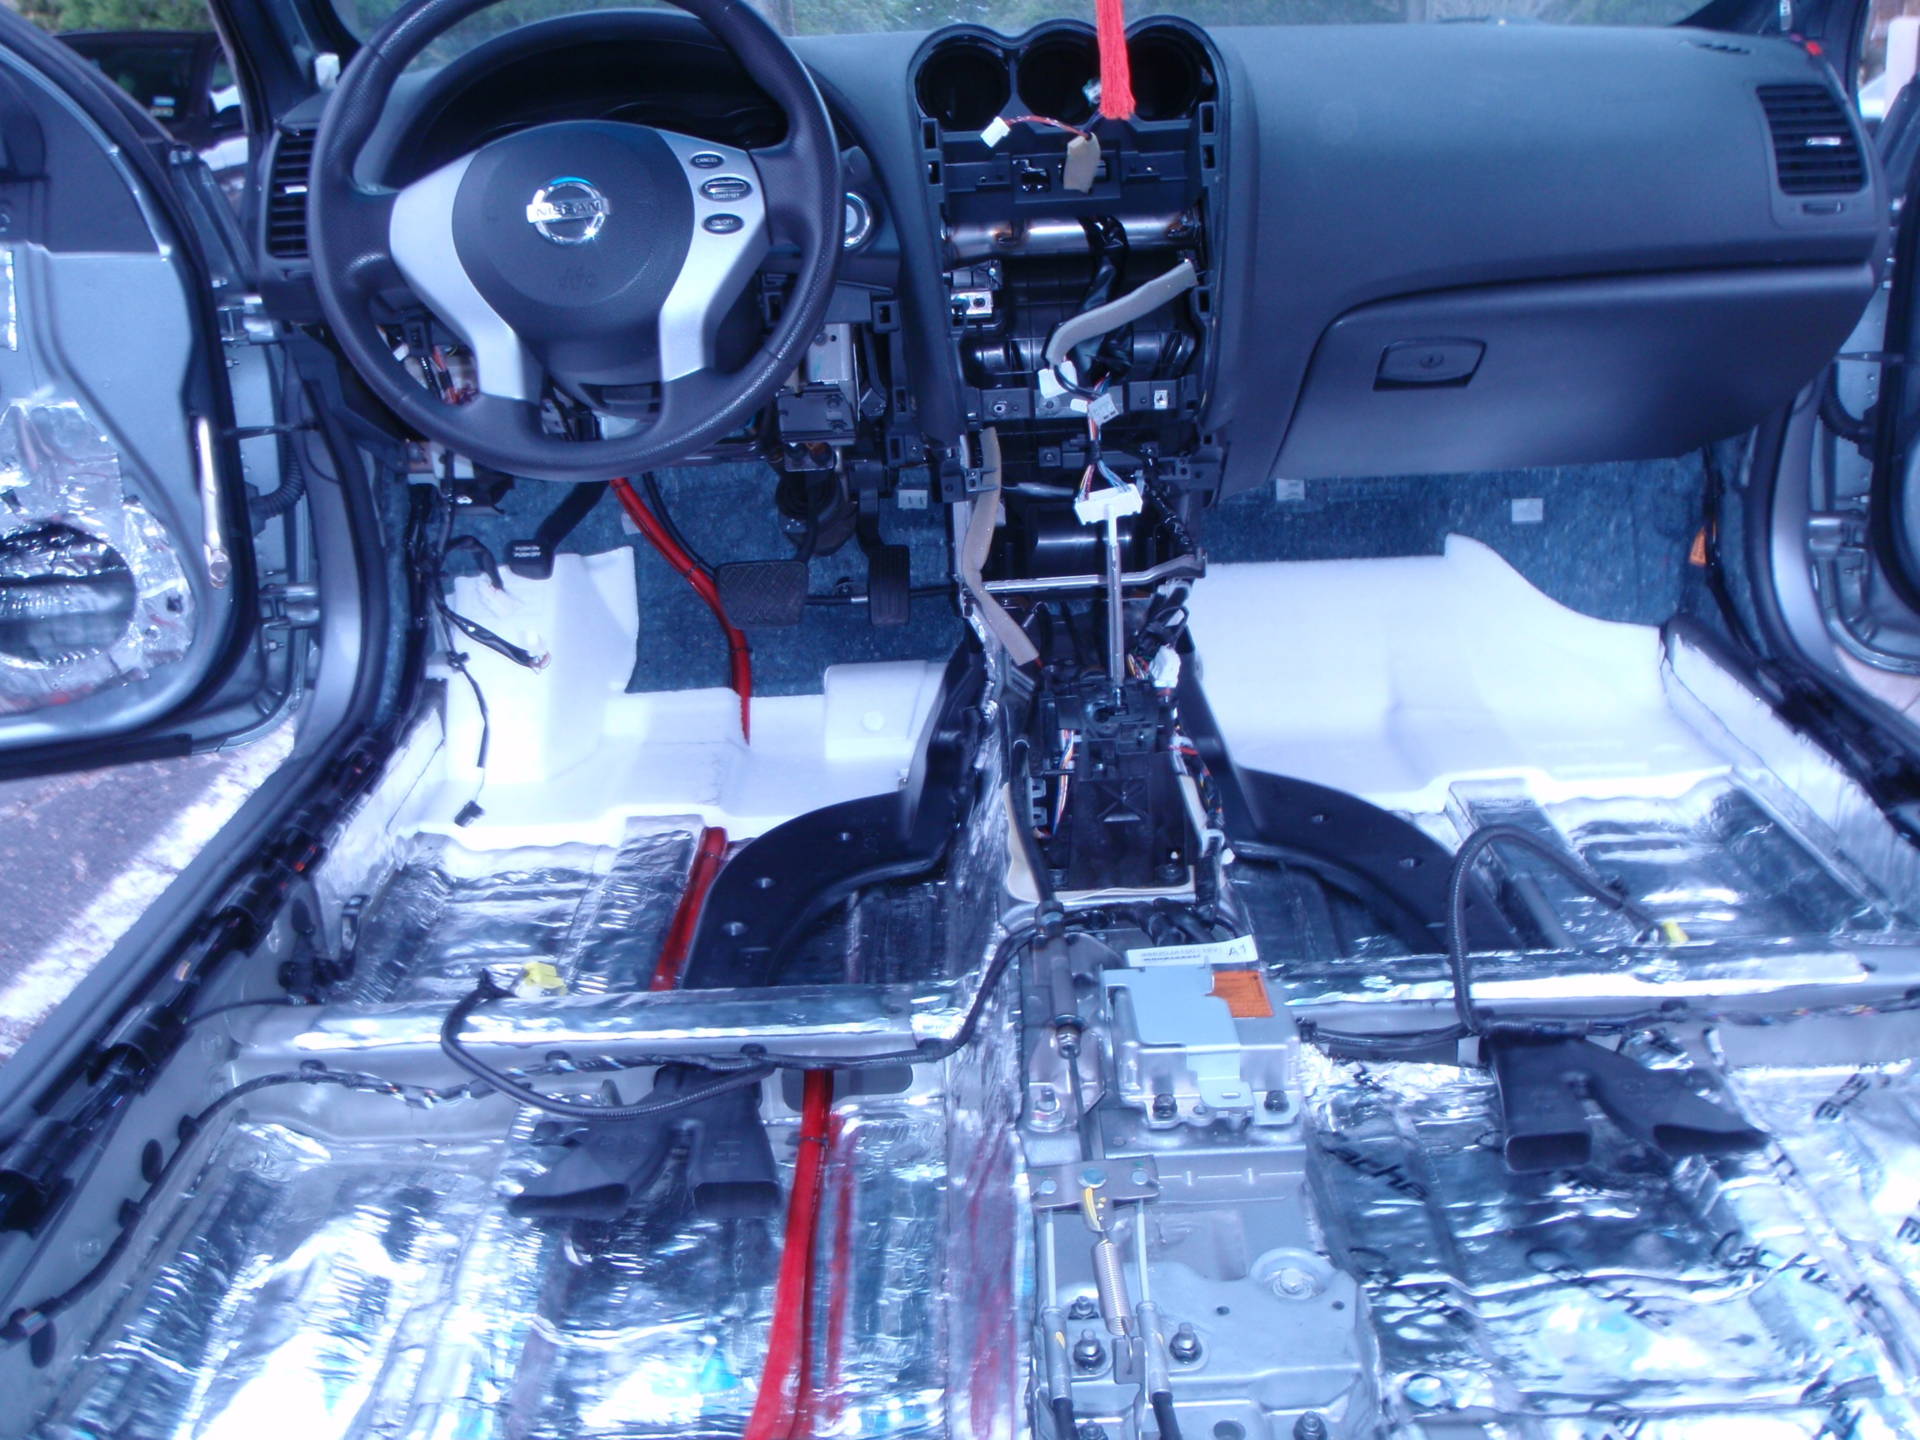
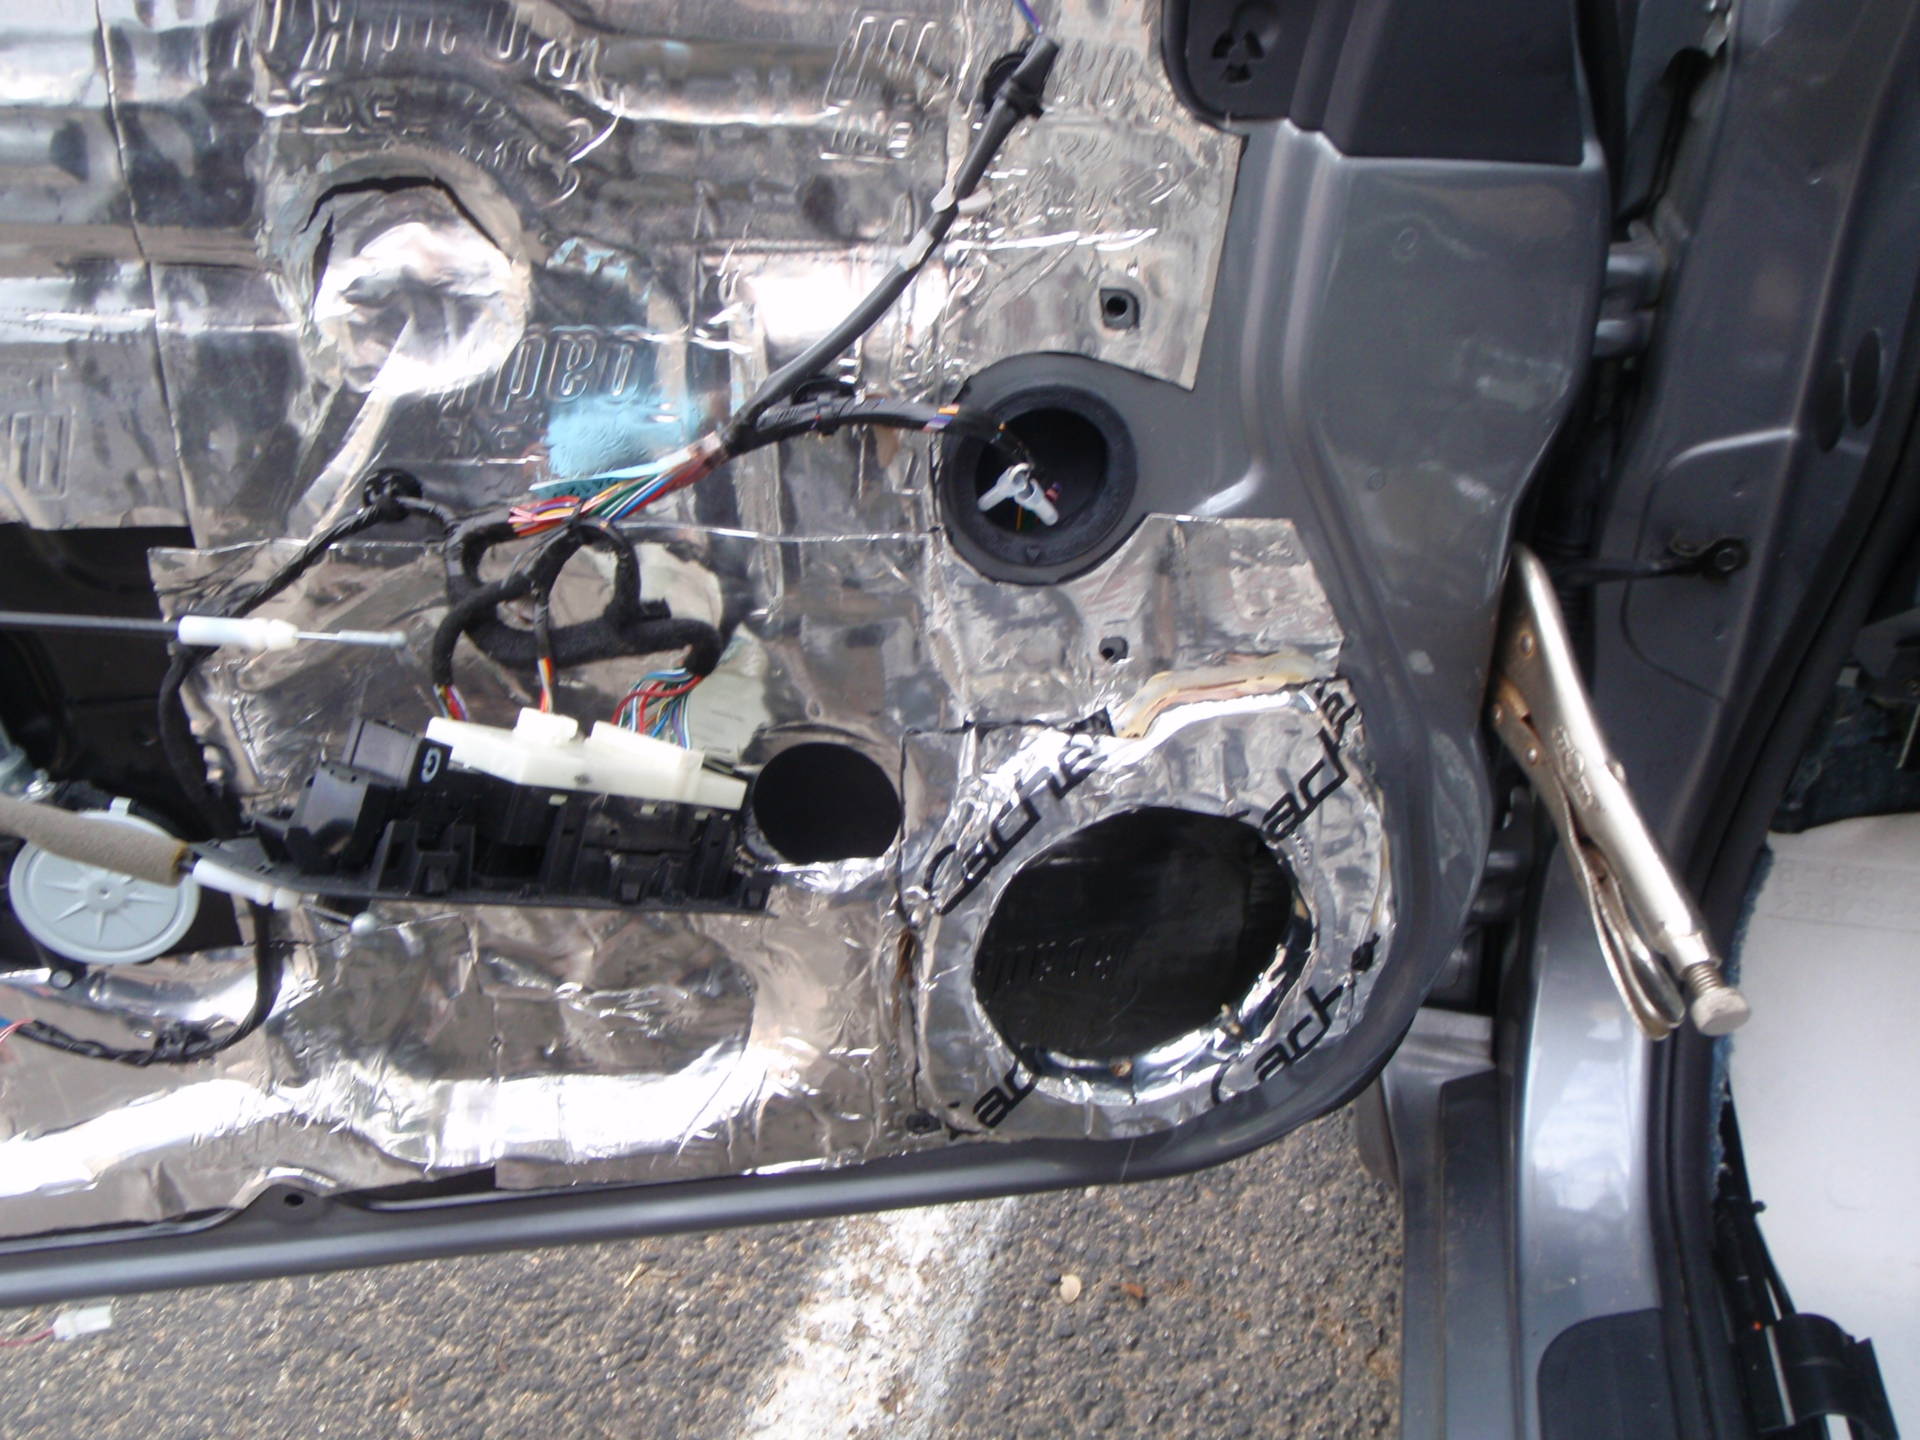
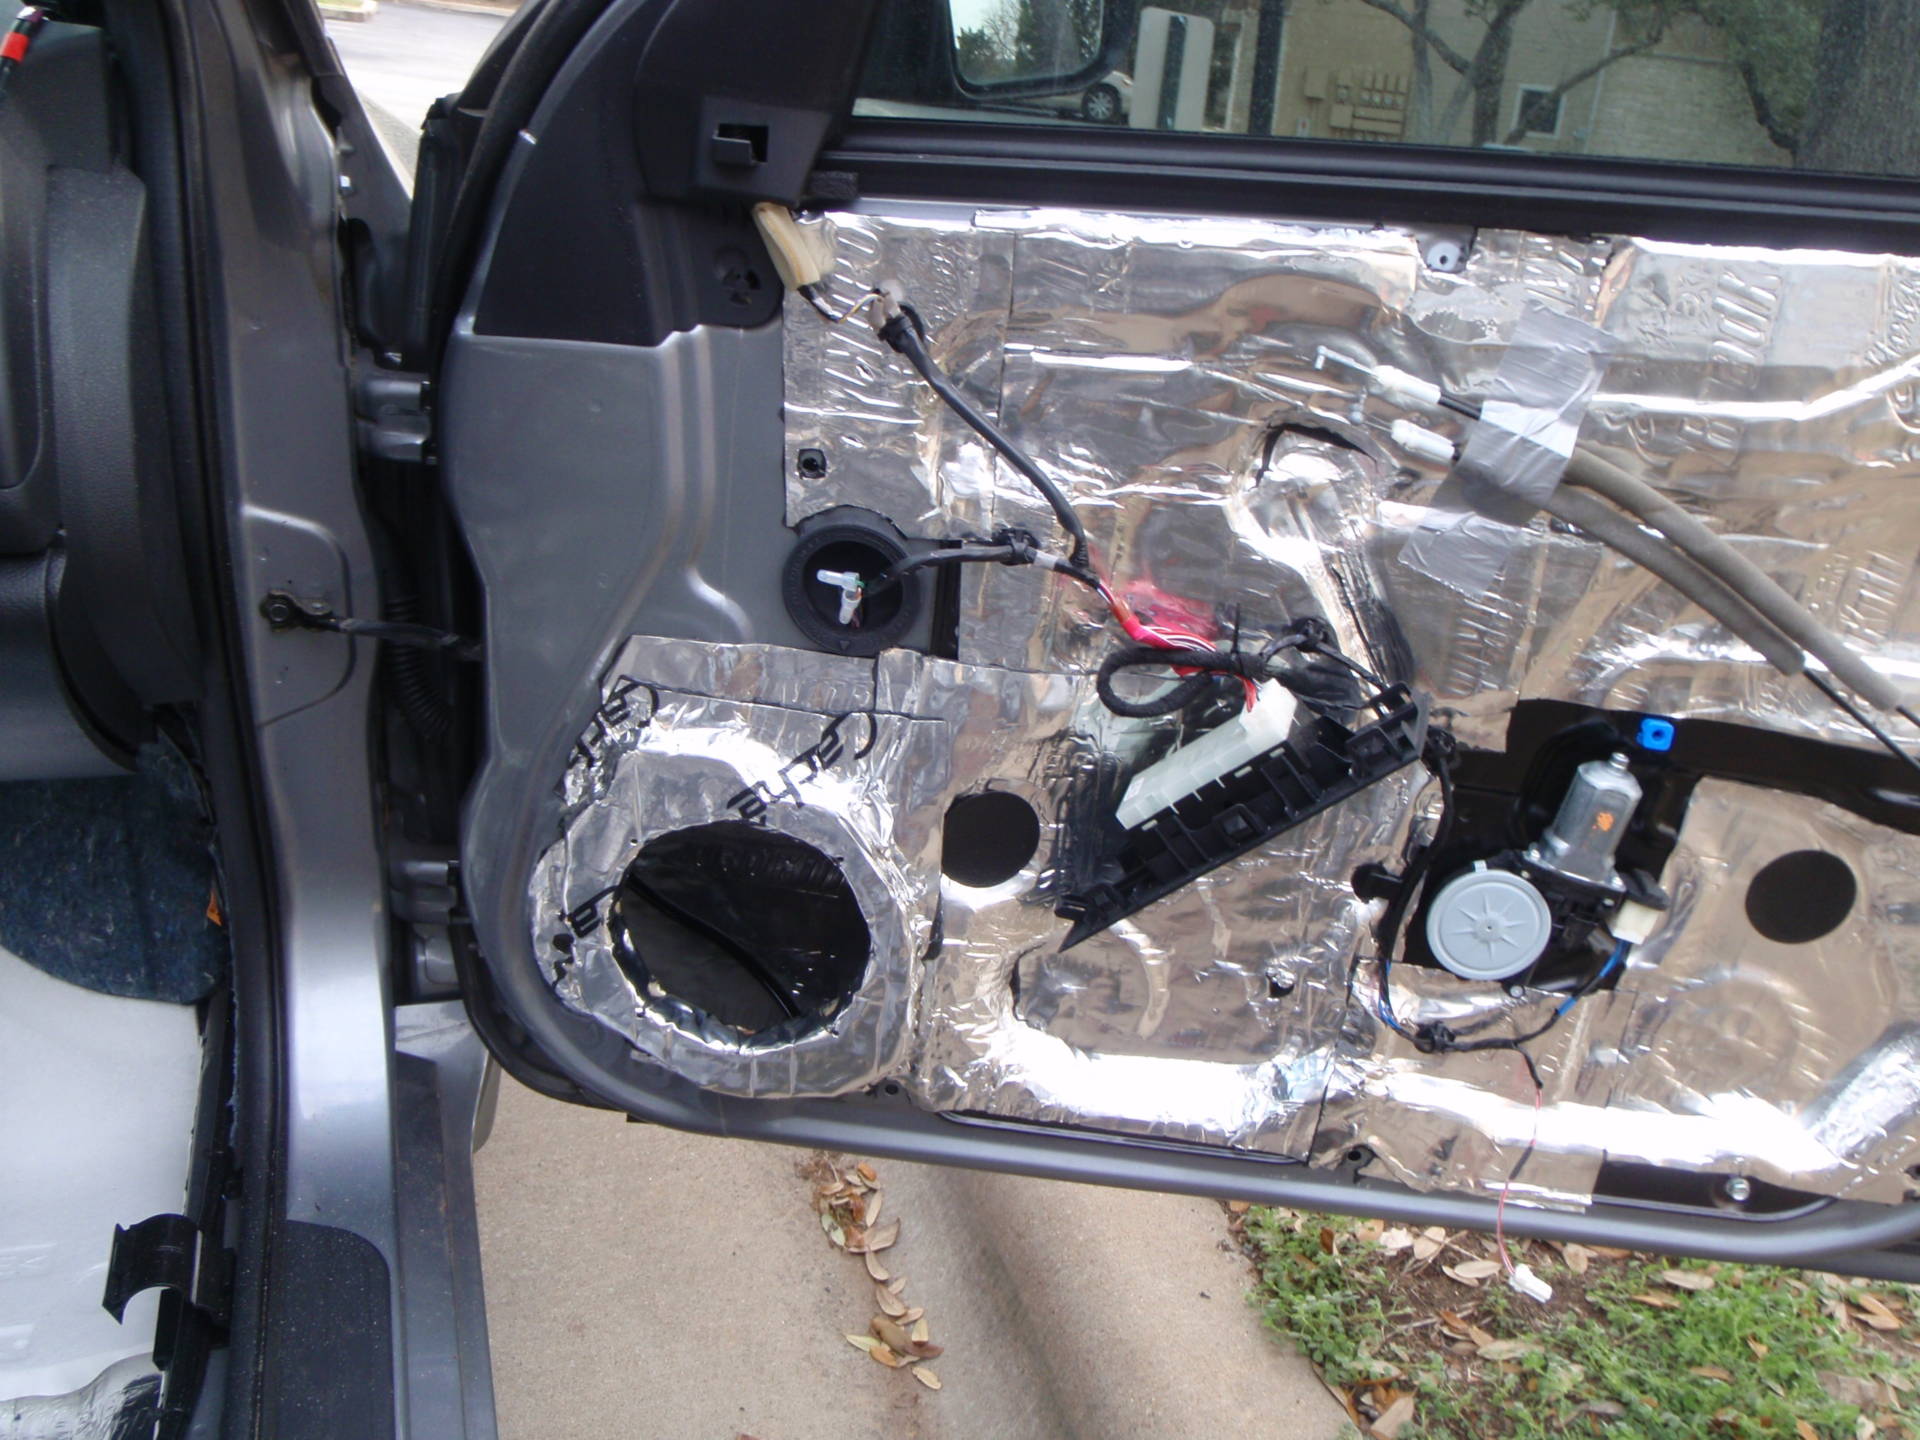
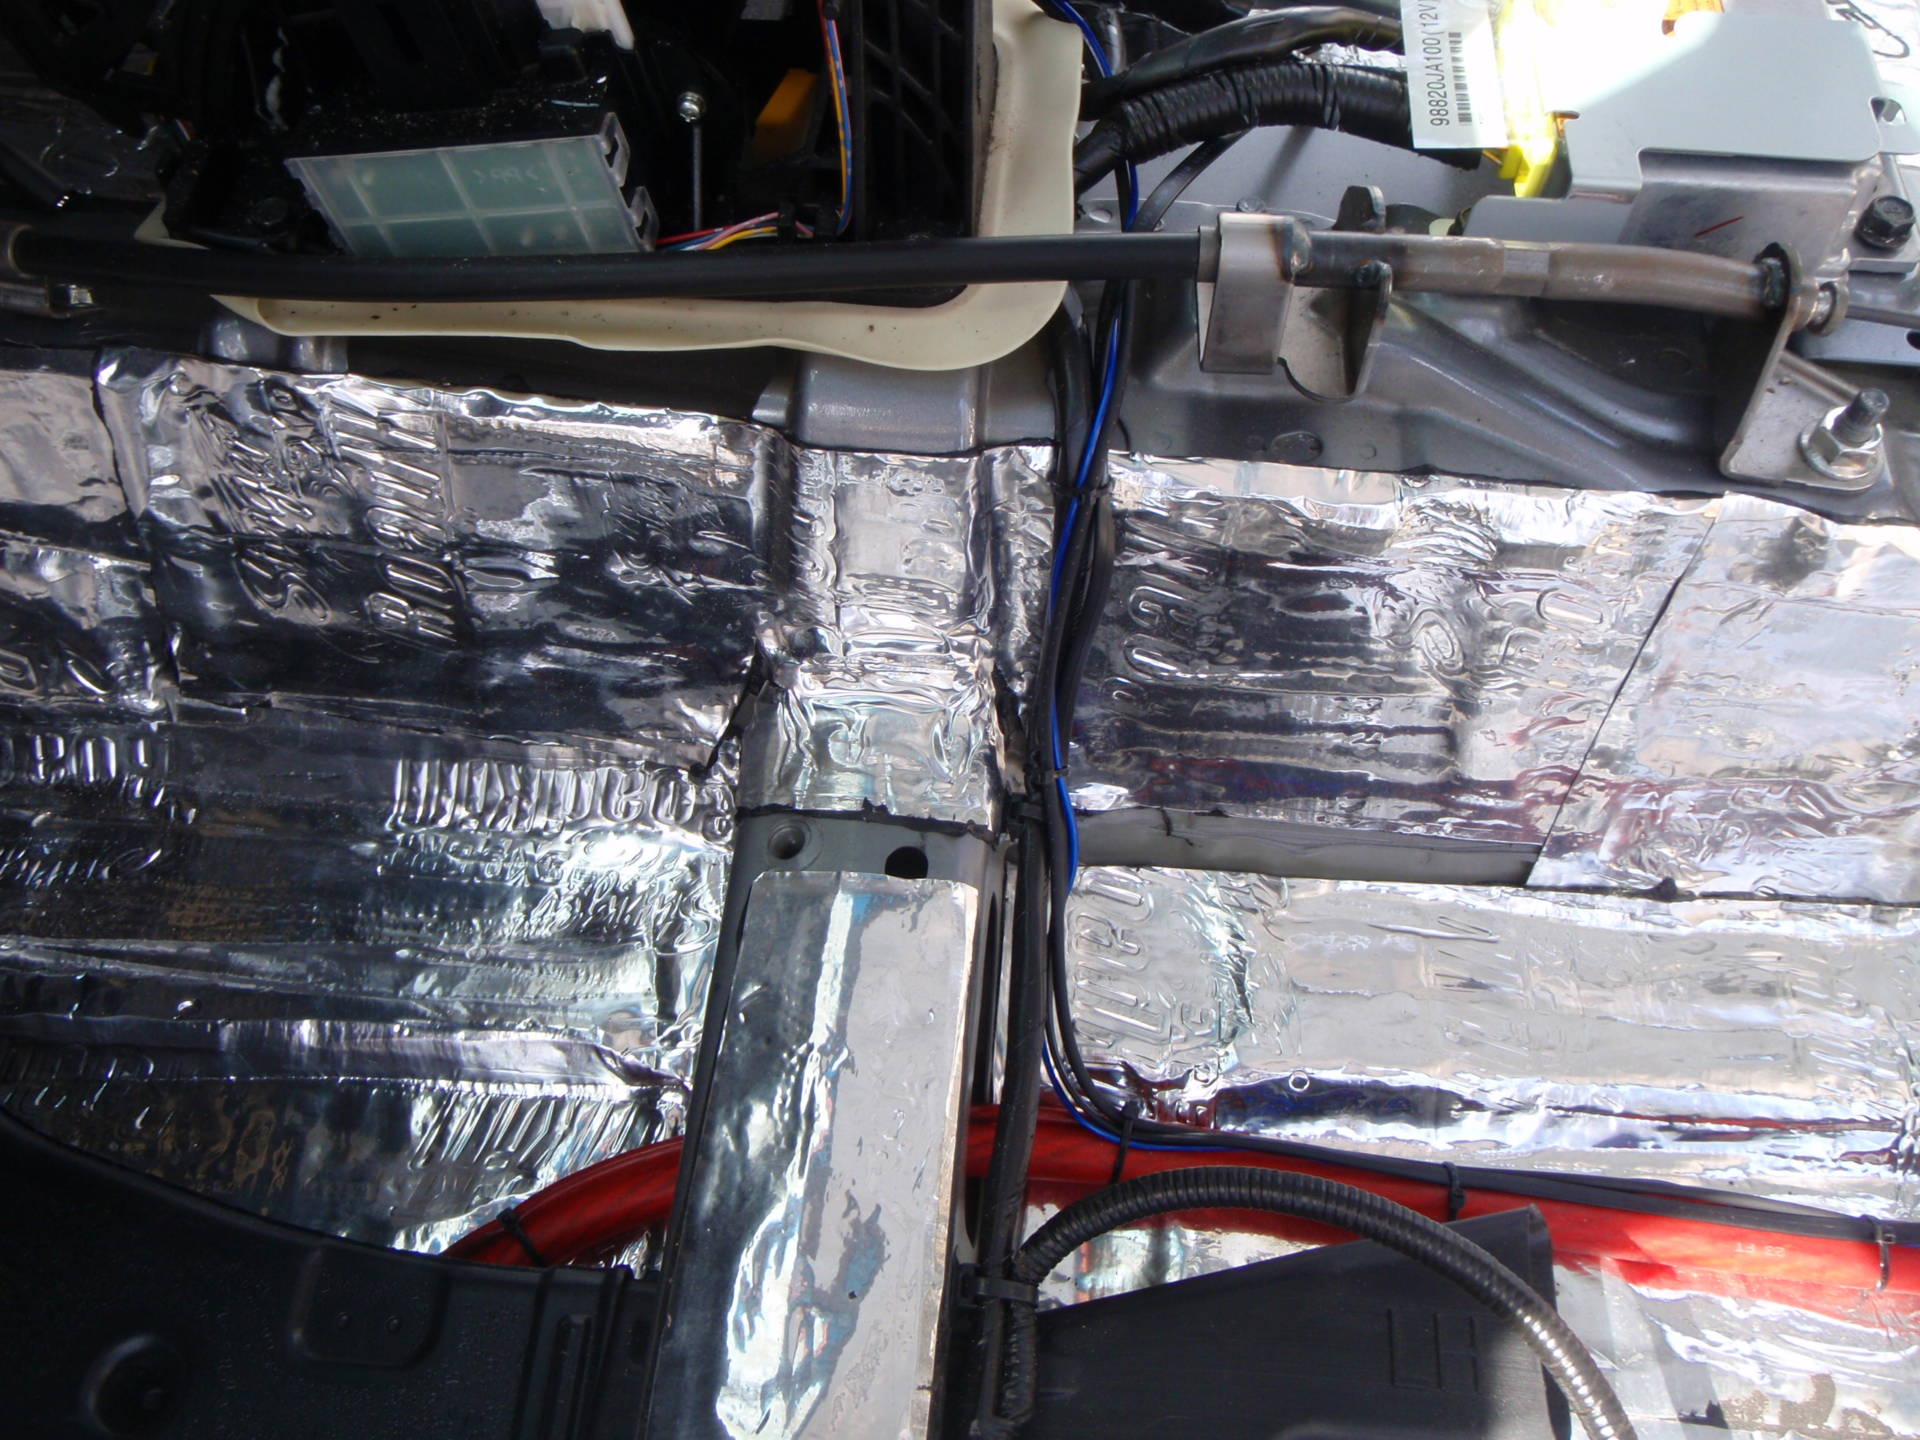
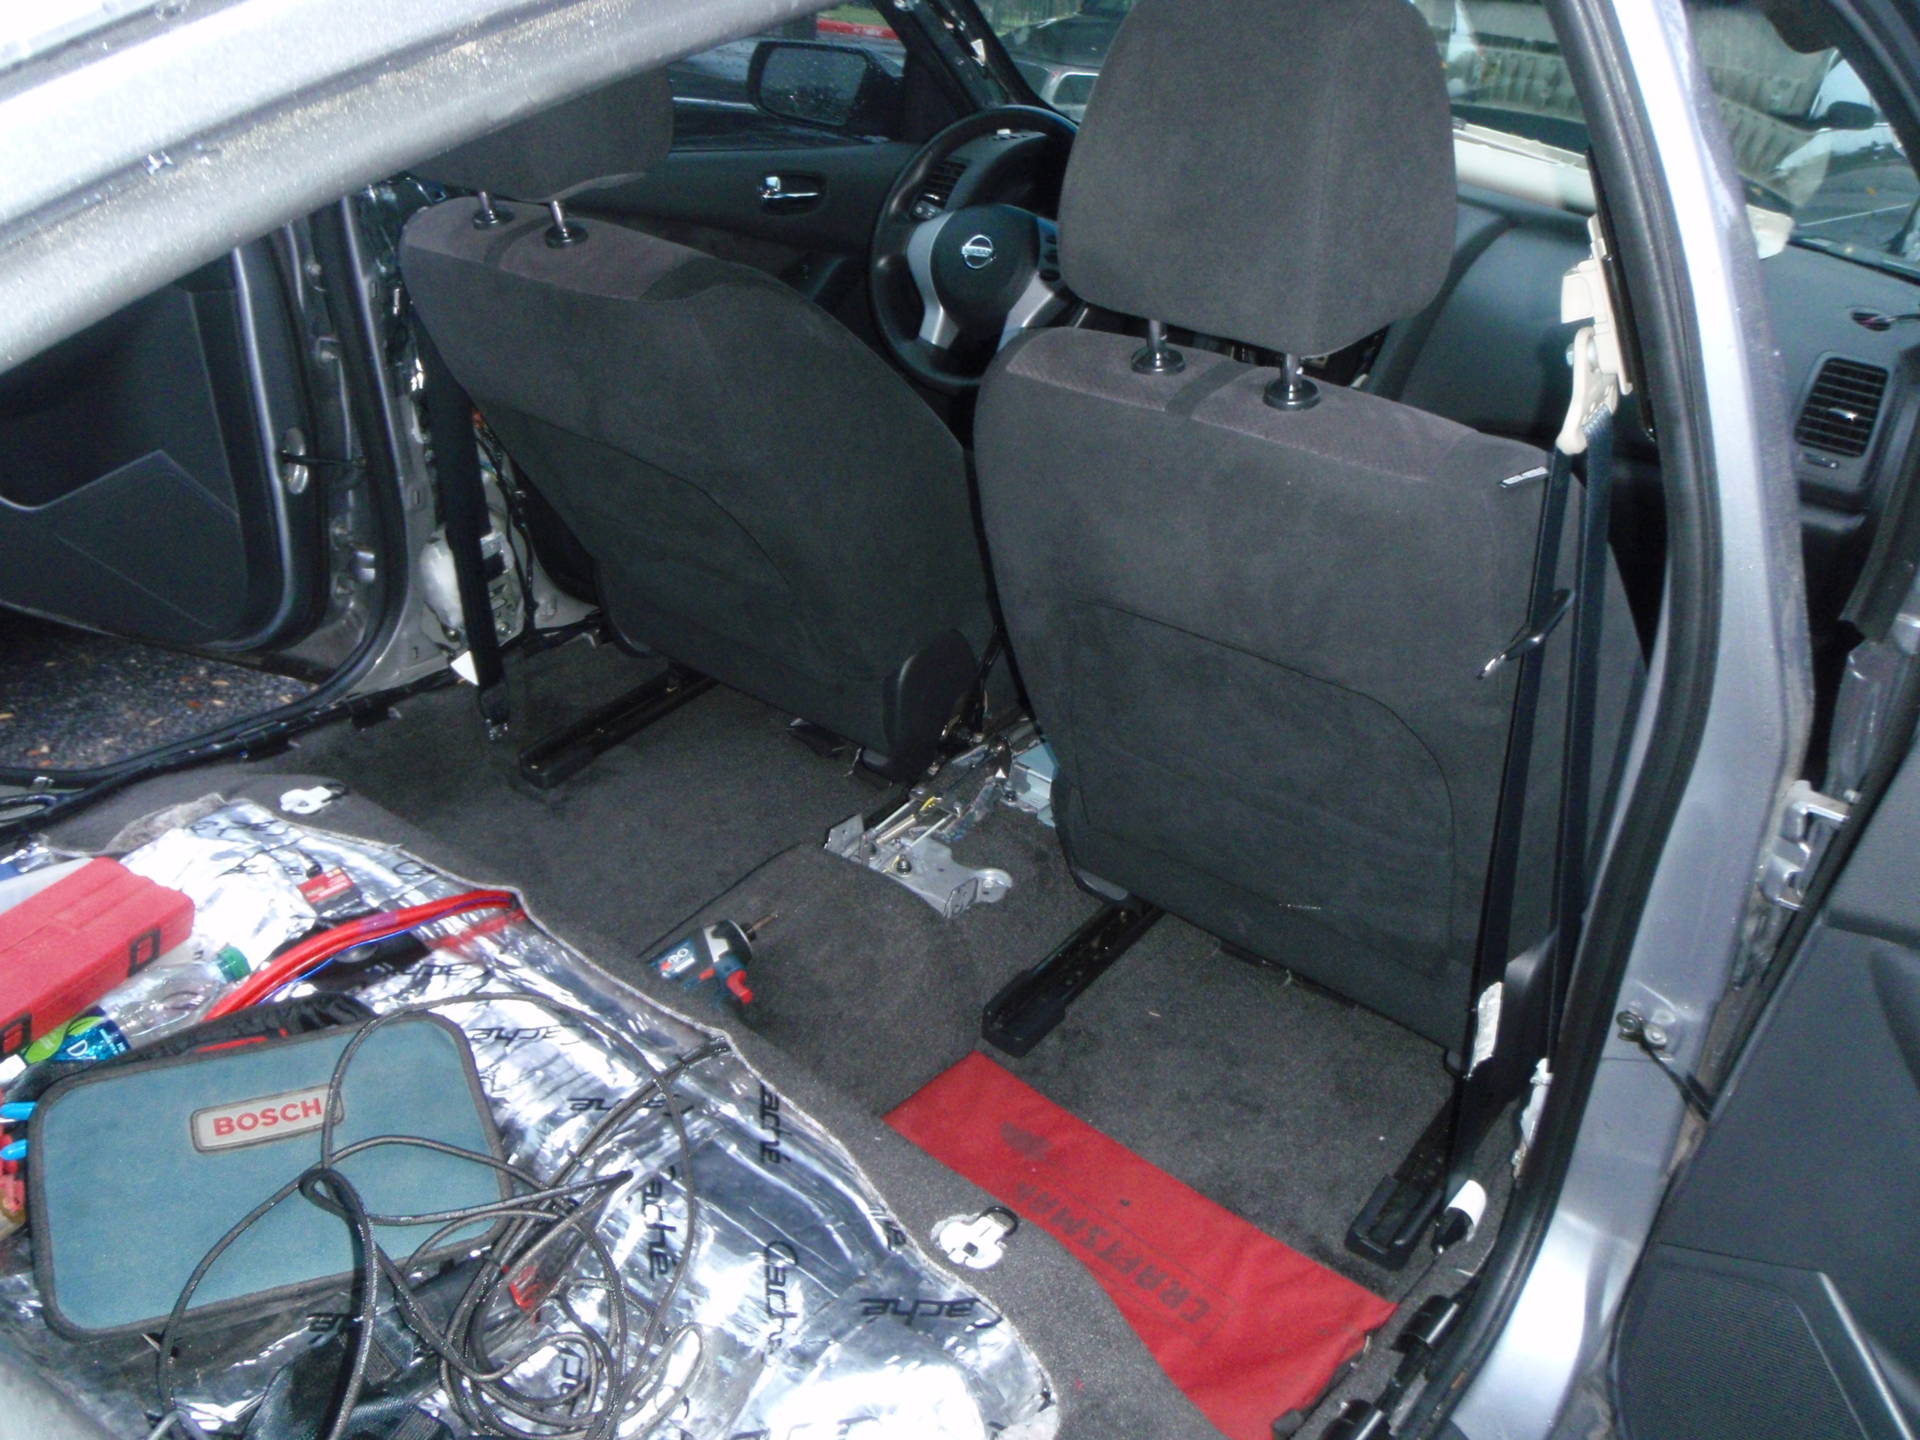
Car was fully gutted for the damping. Floor and ceiling, doors, trunk, firewall, etc. Everything.
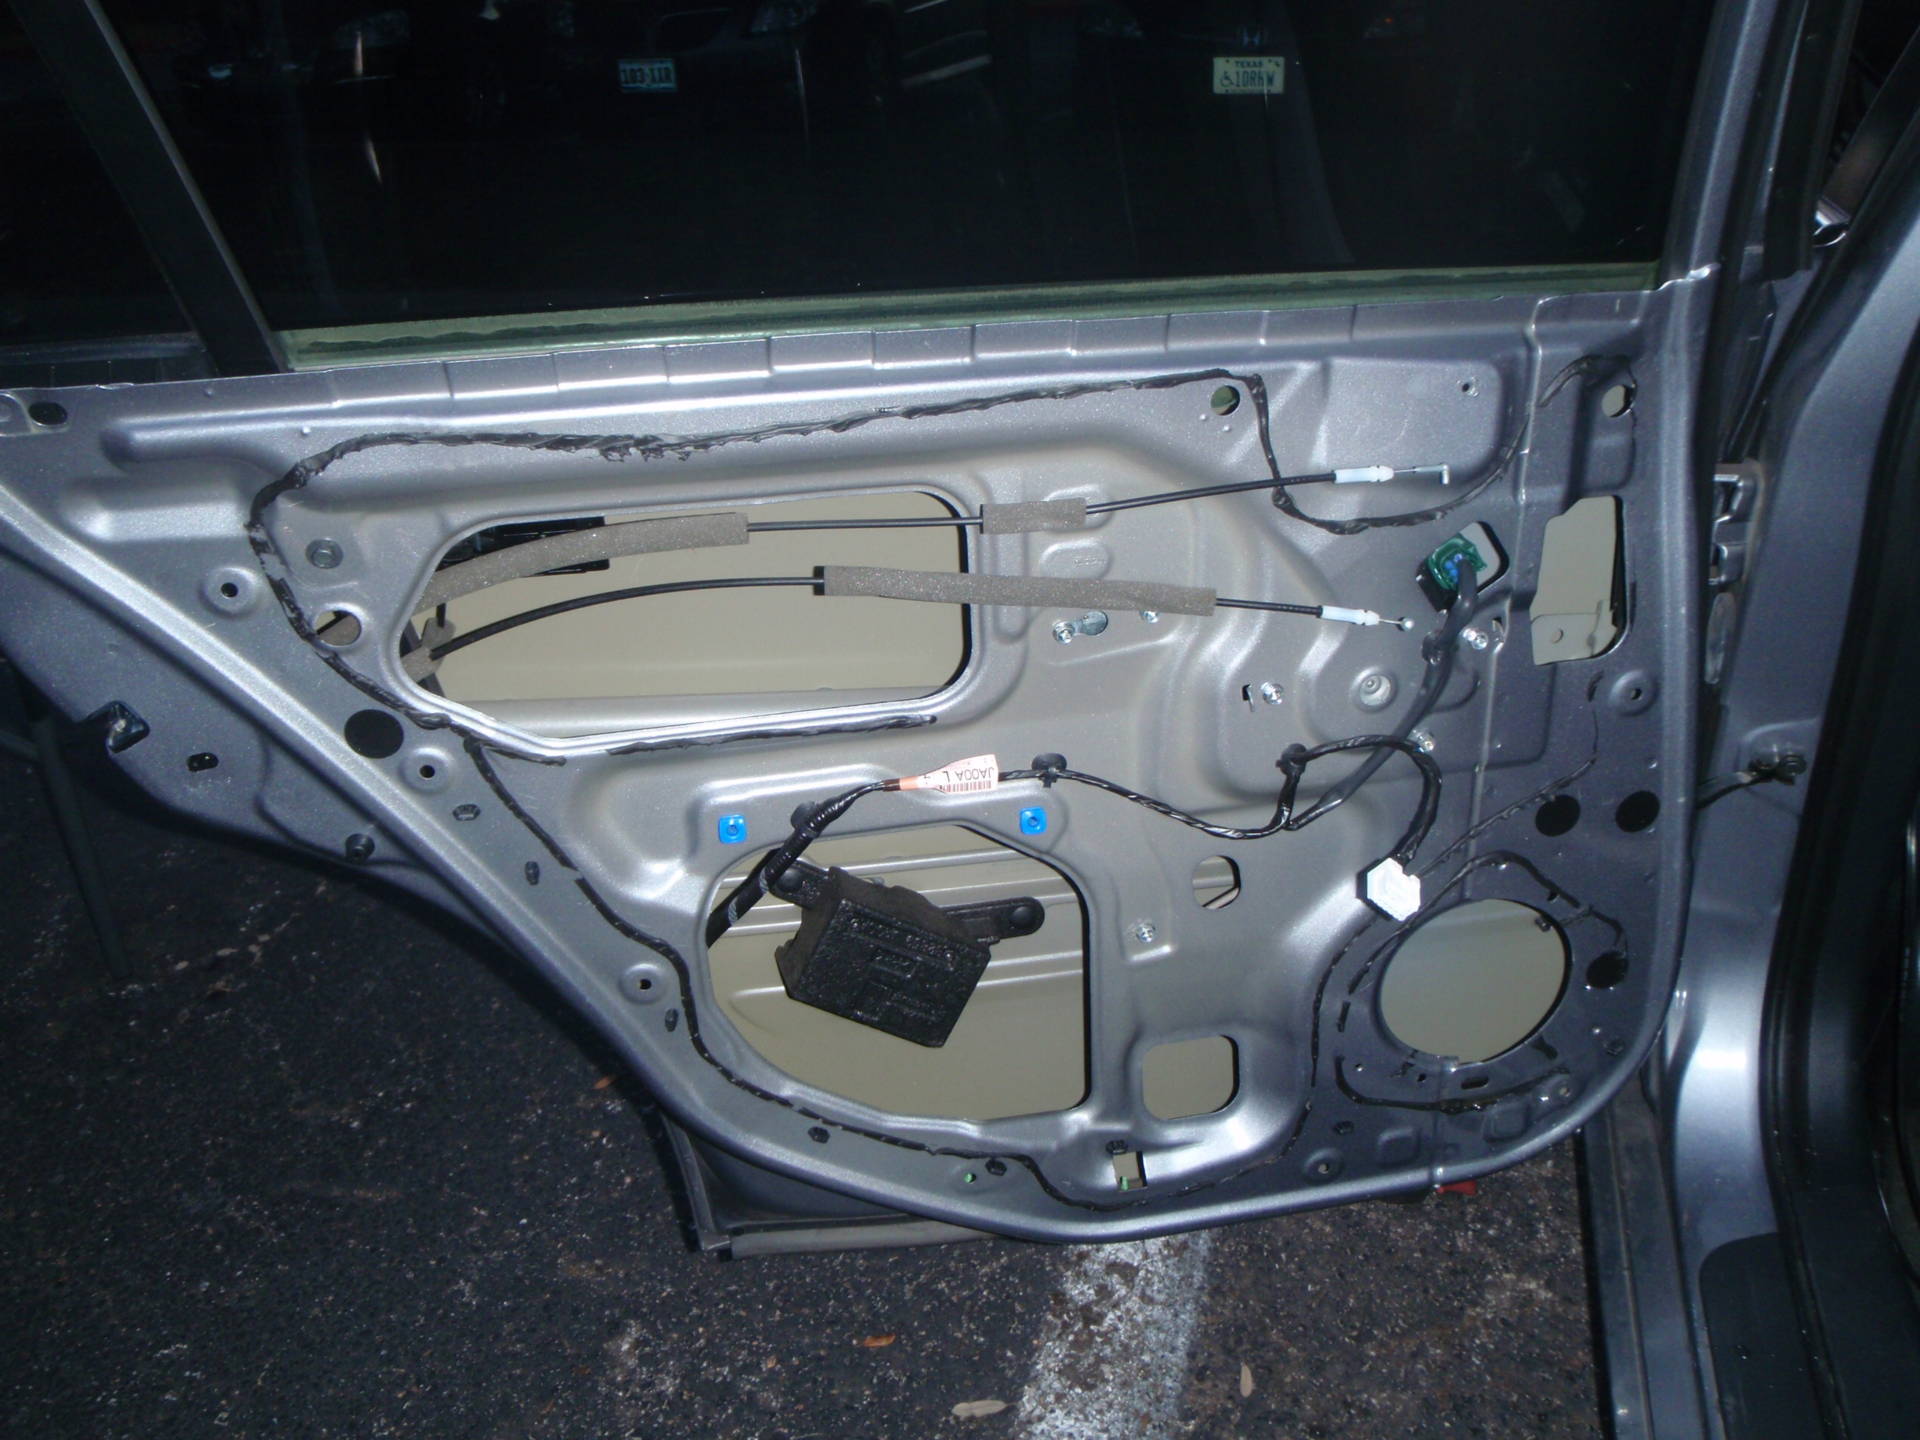
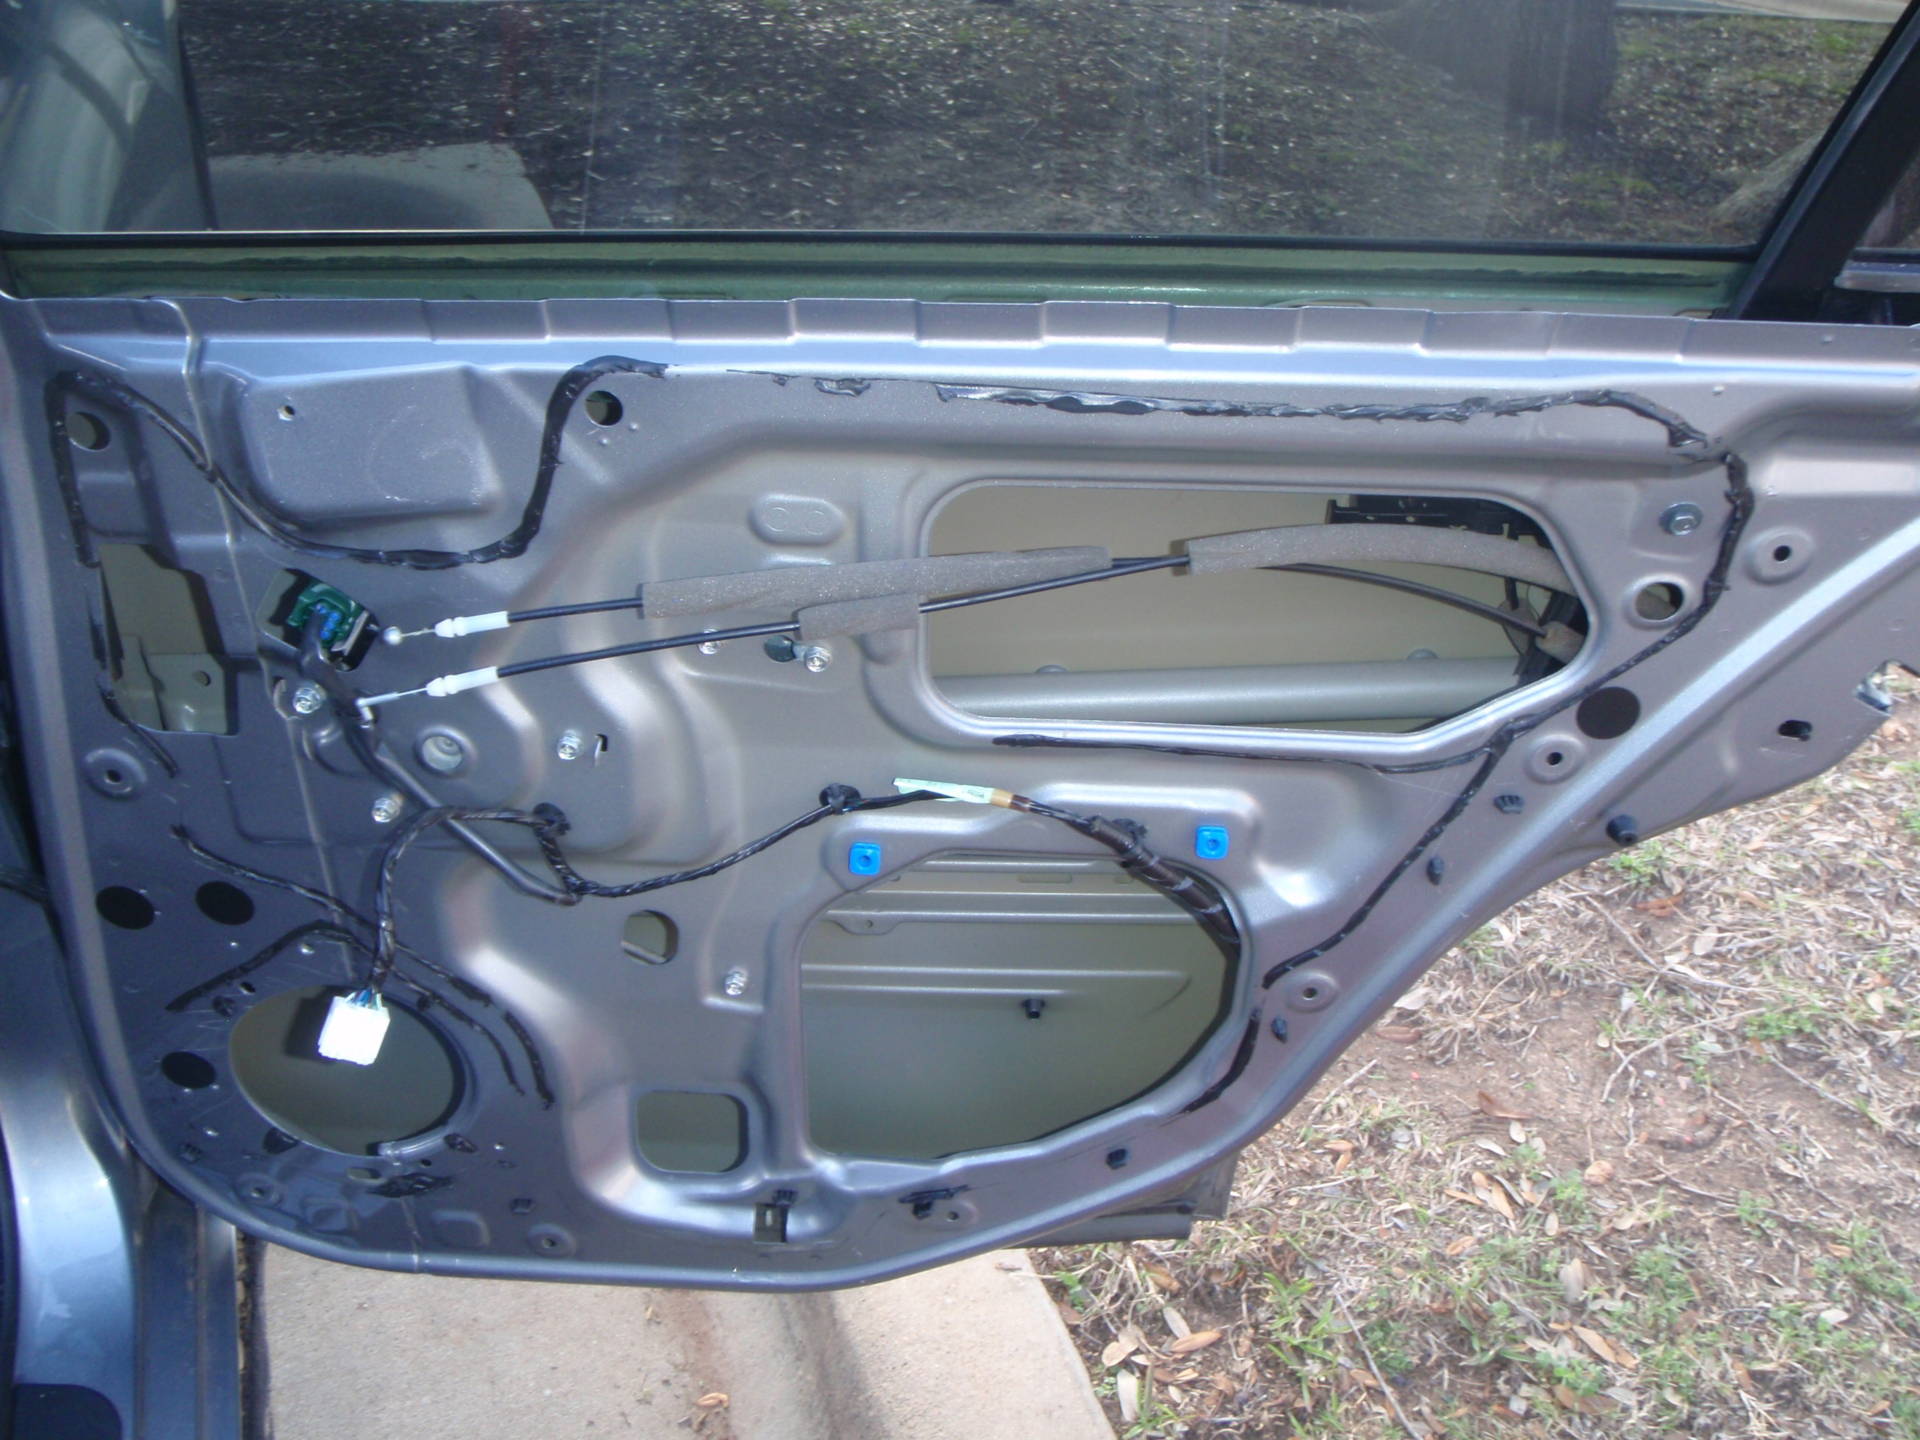

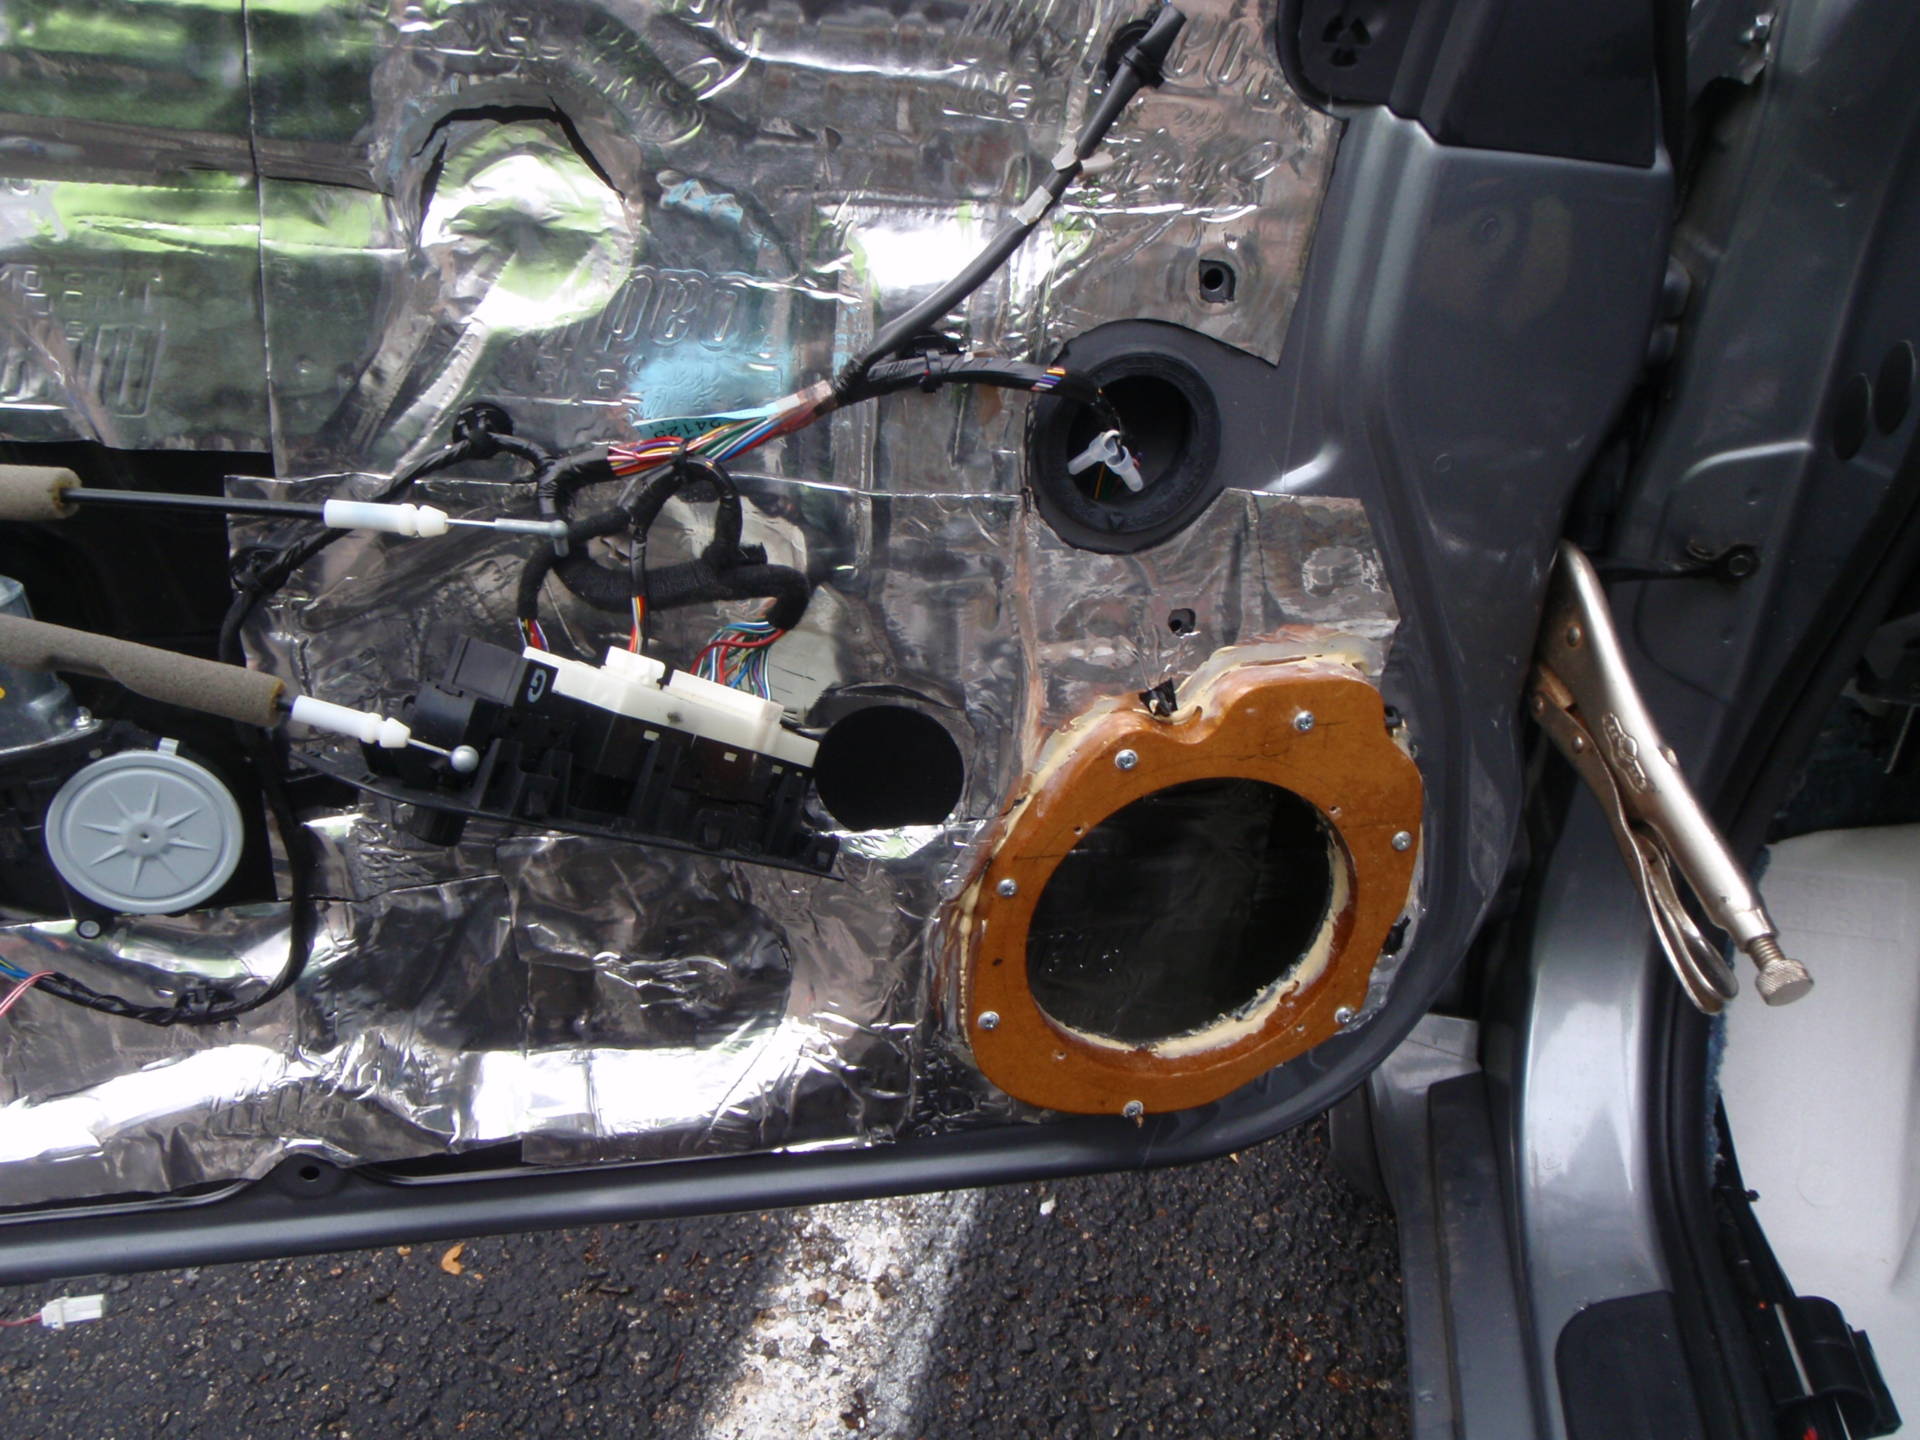
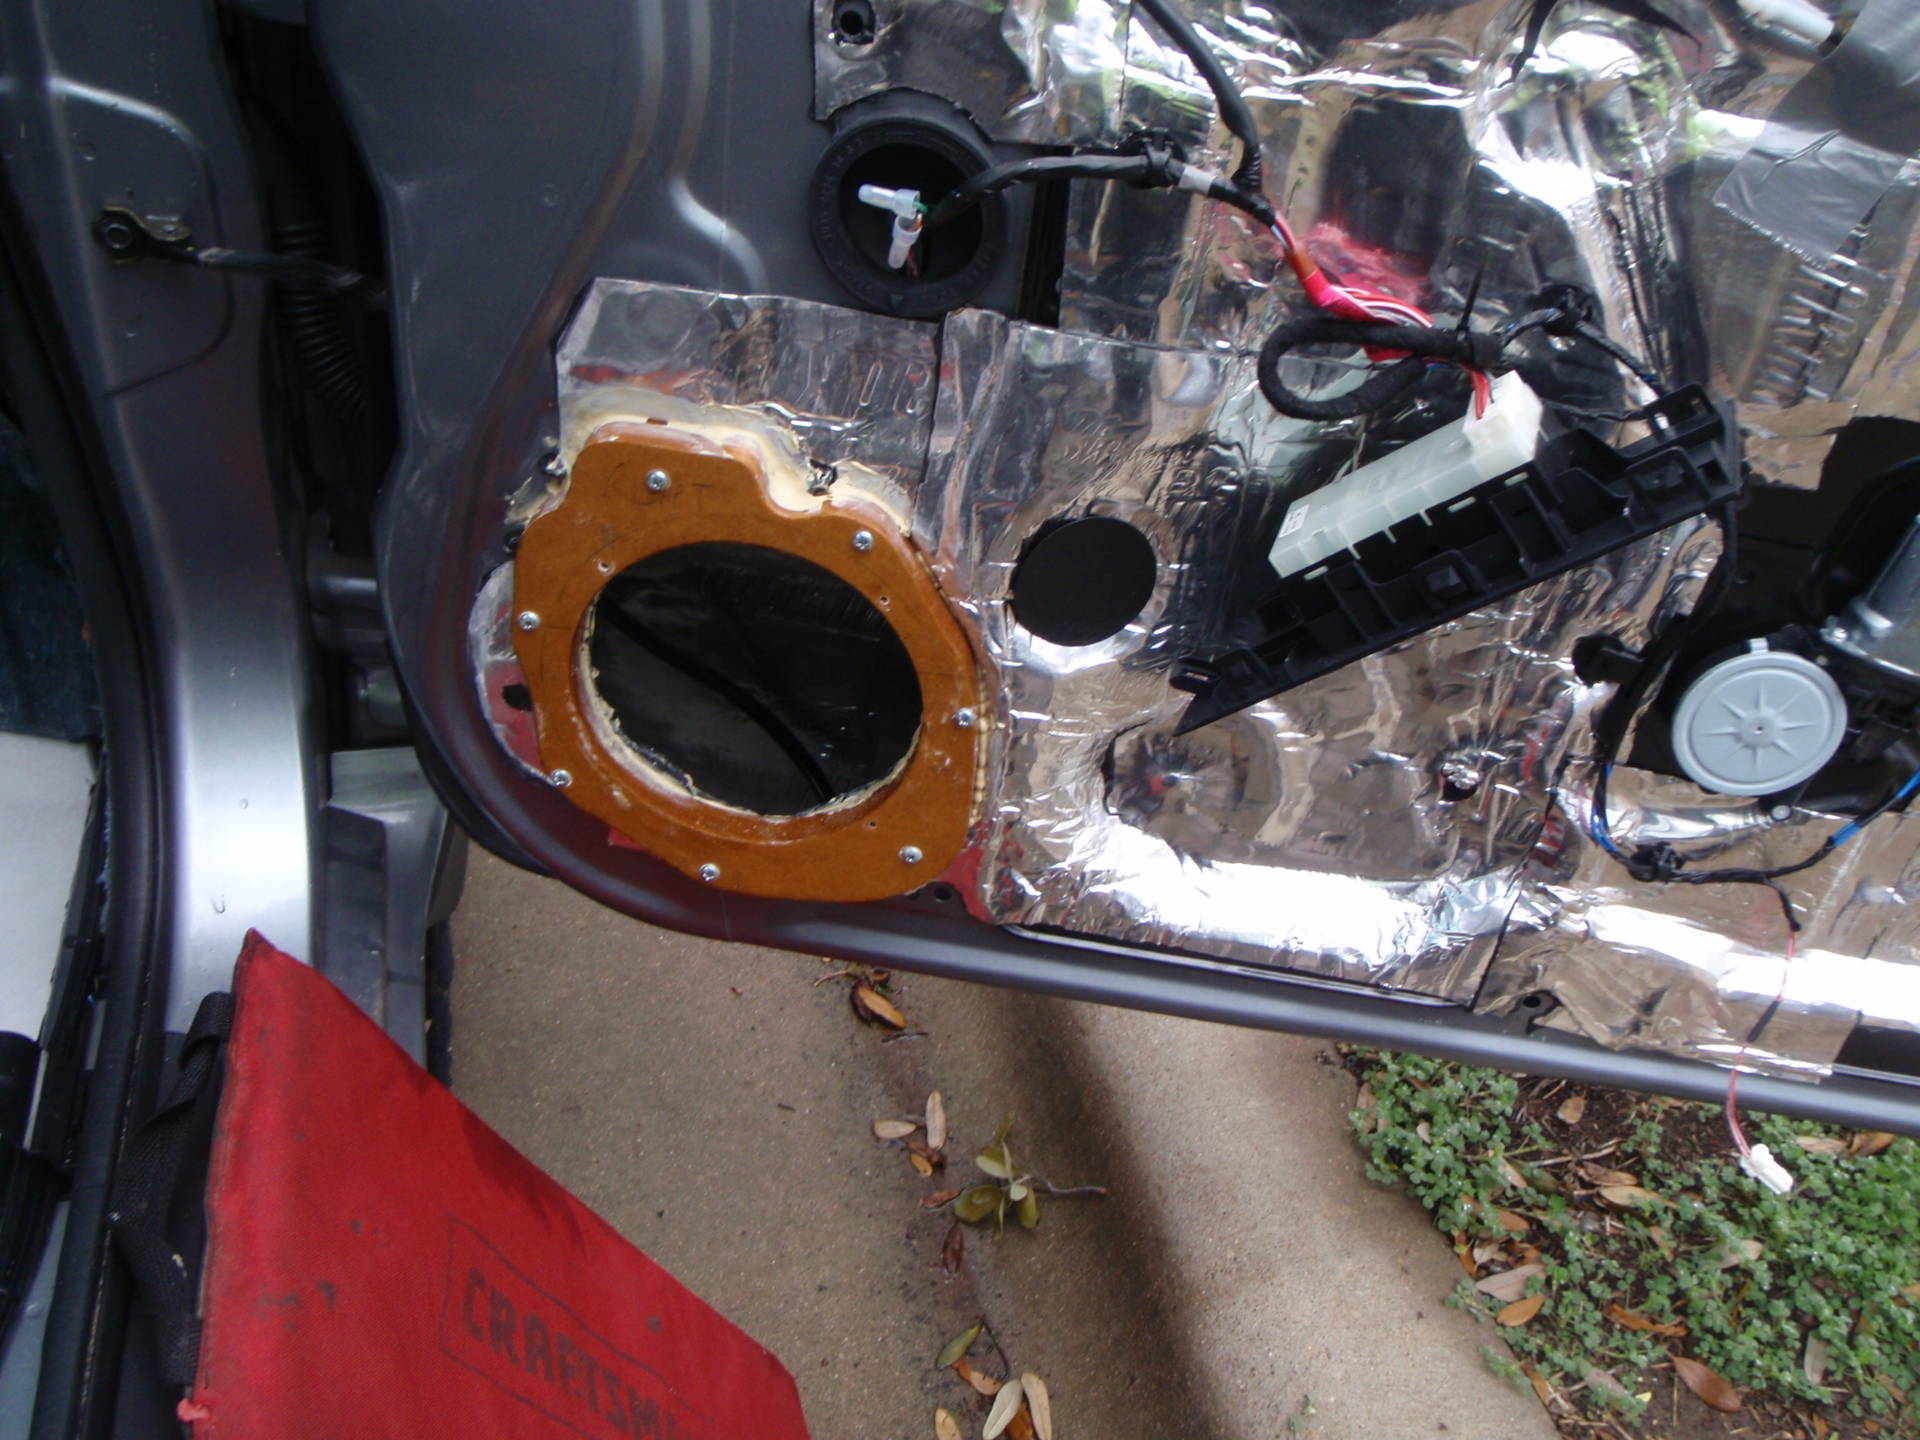
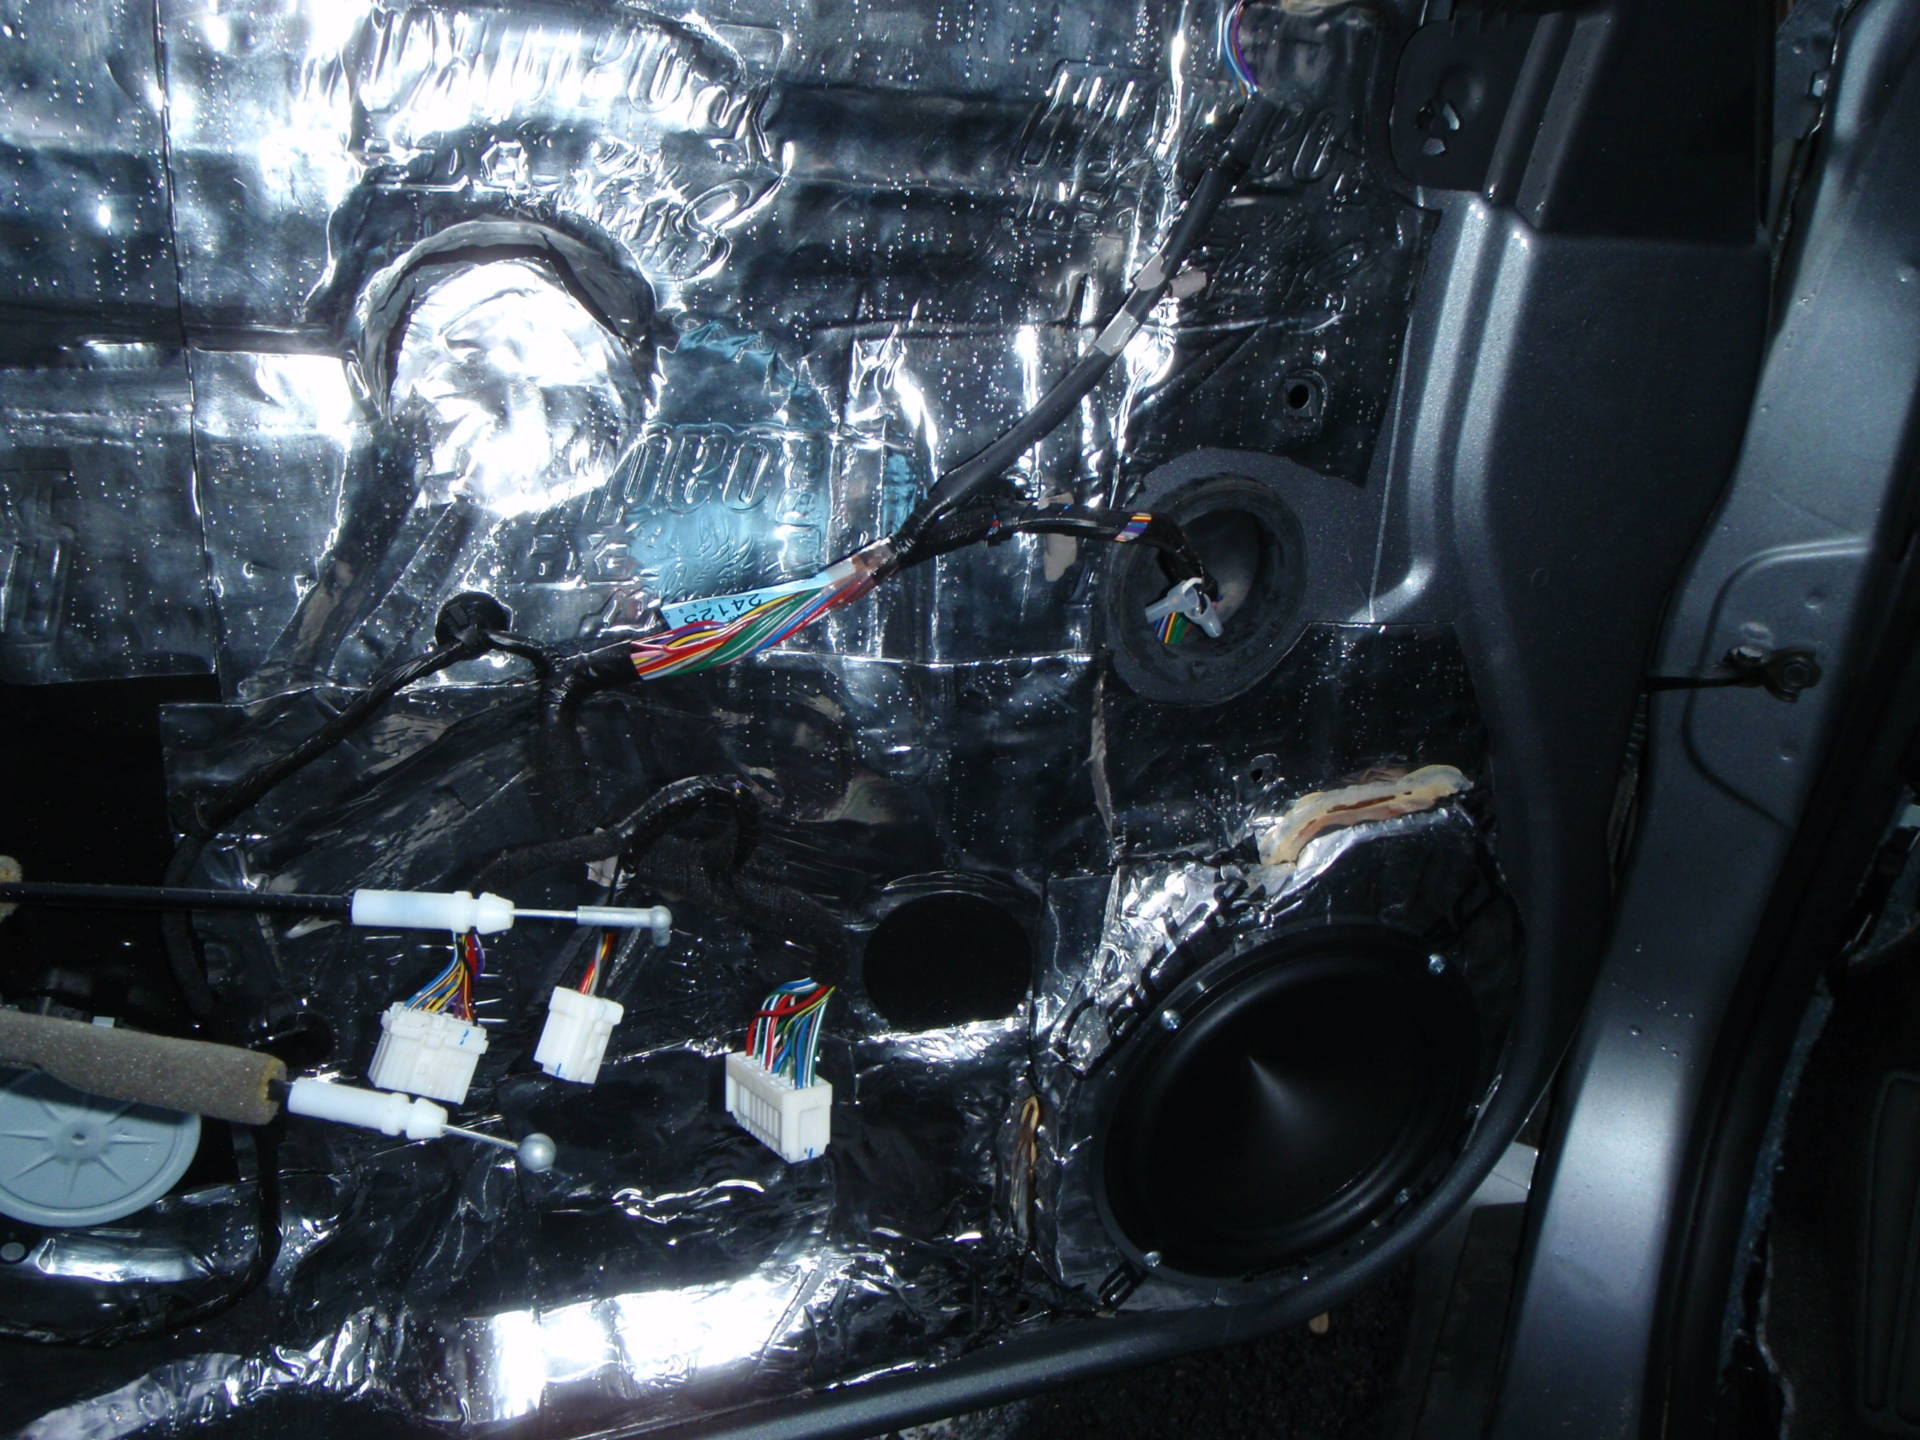
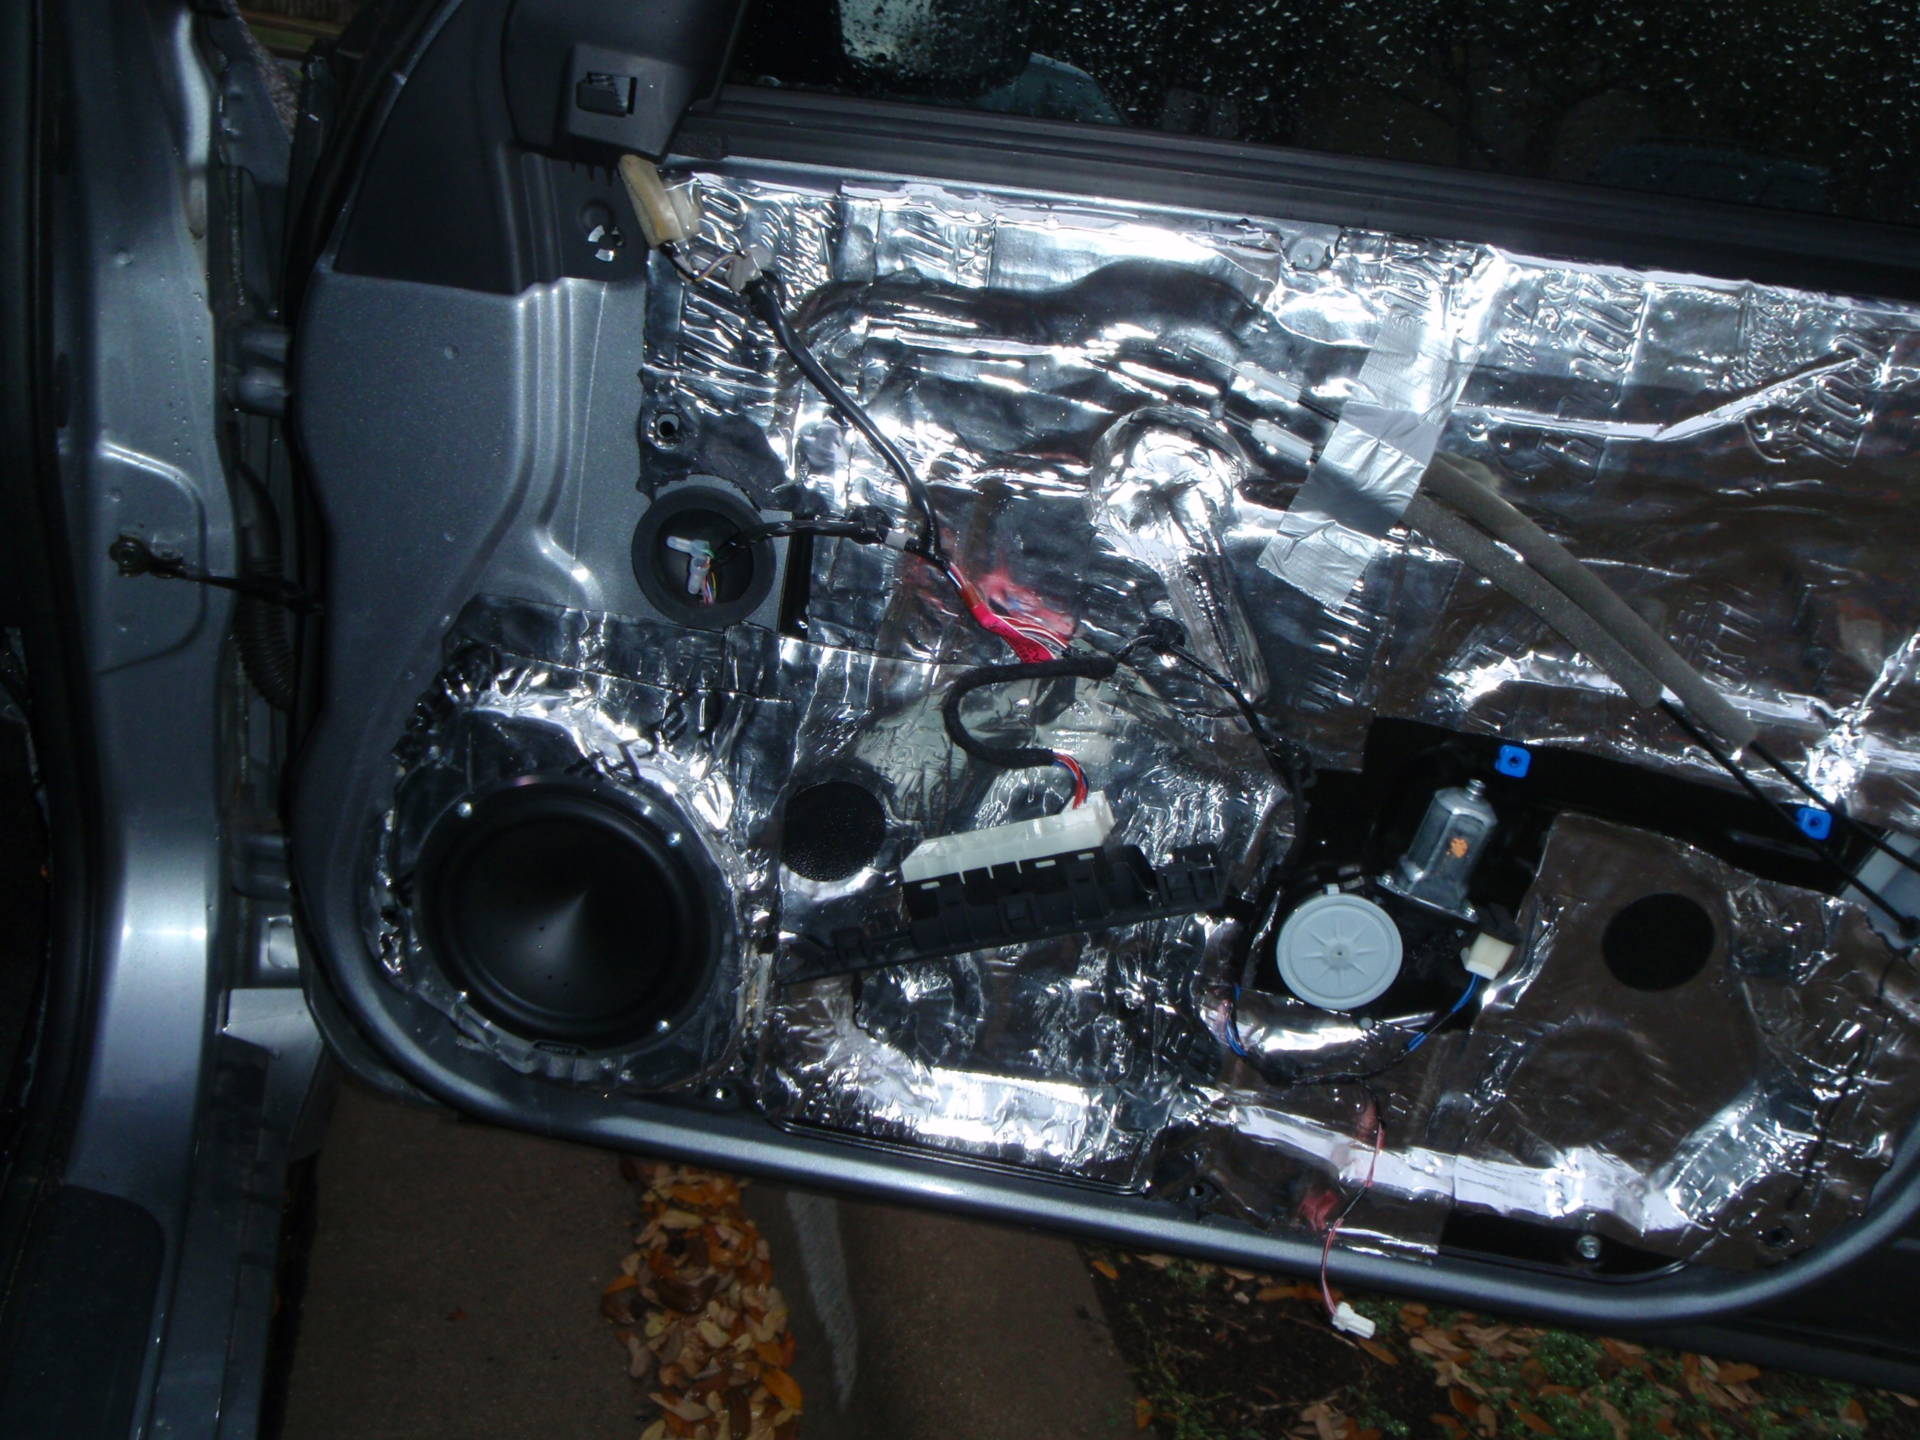
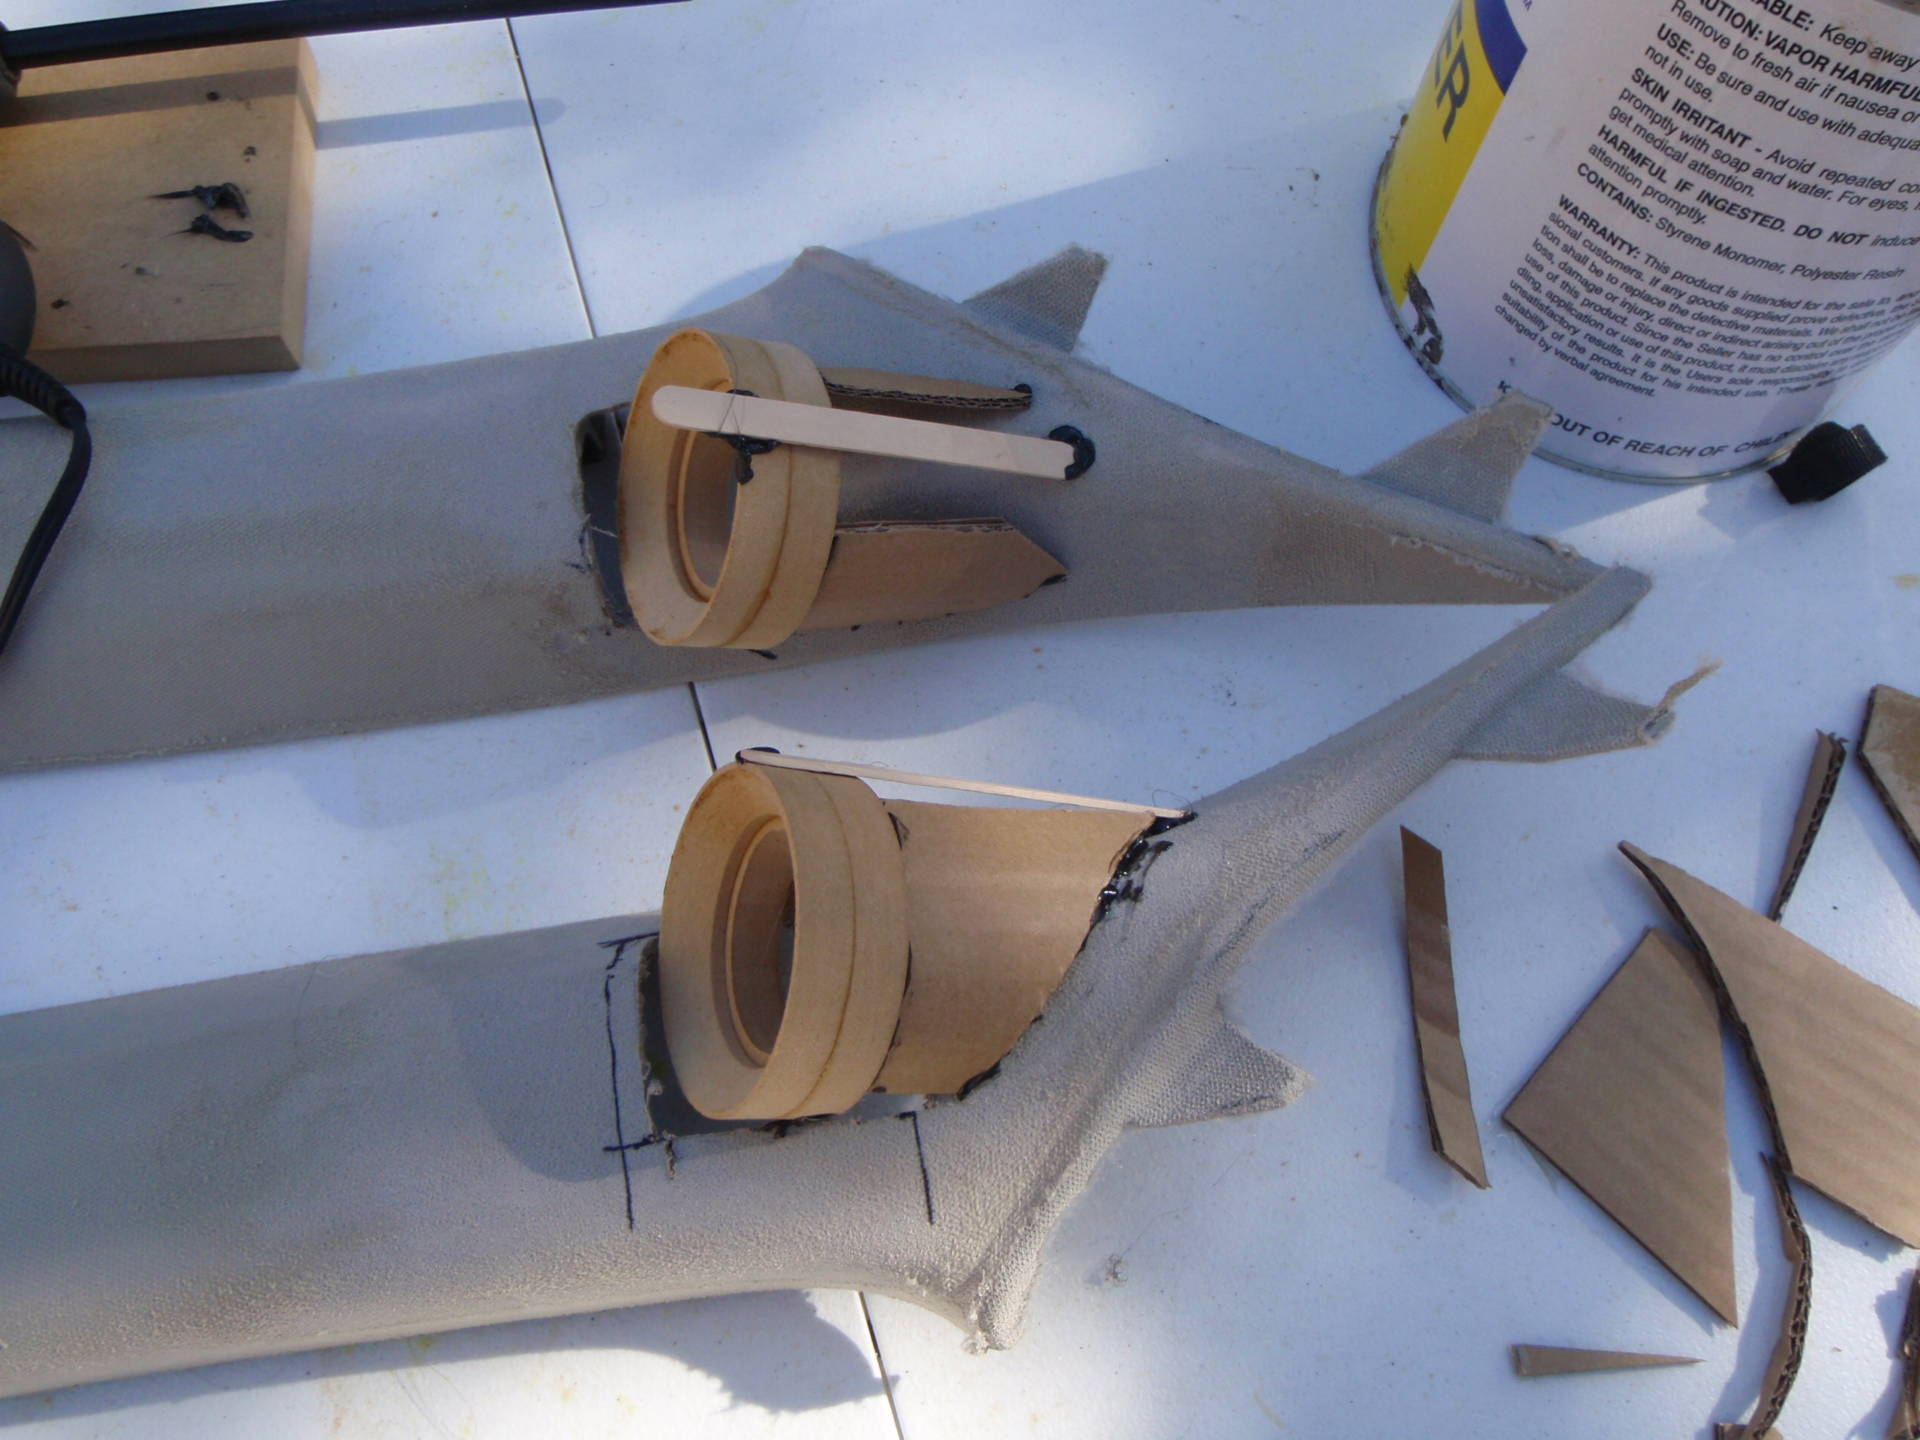
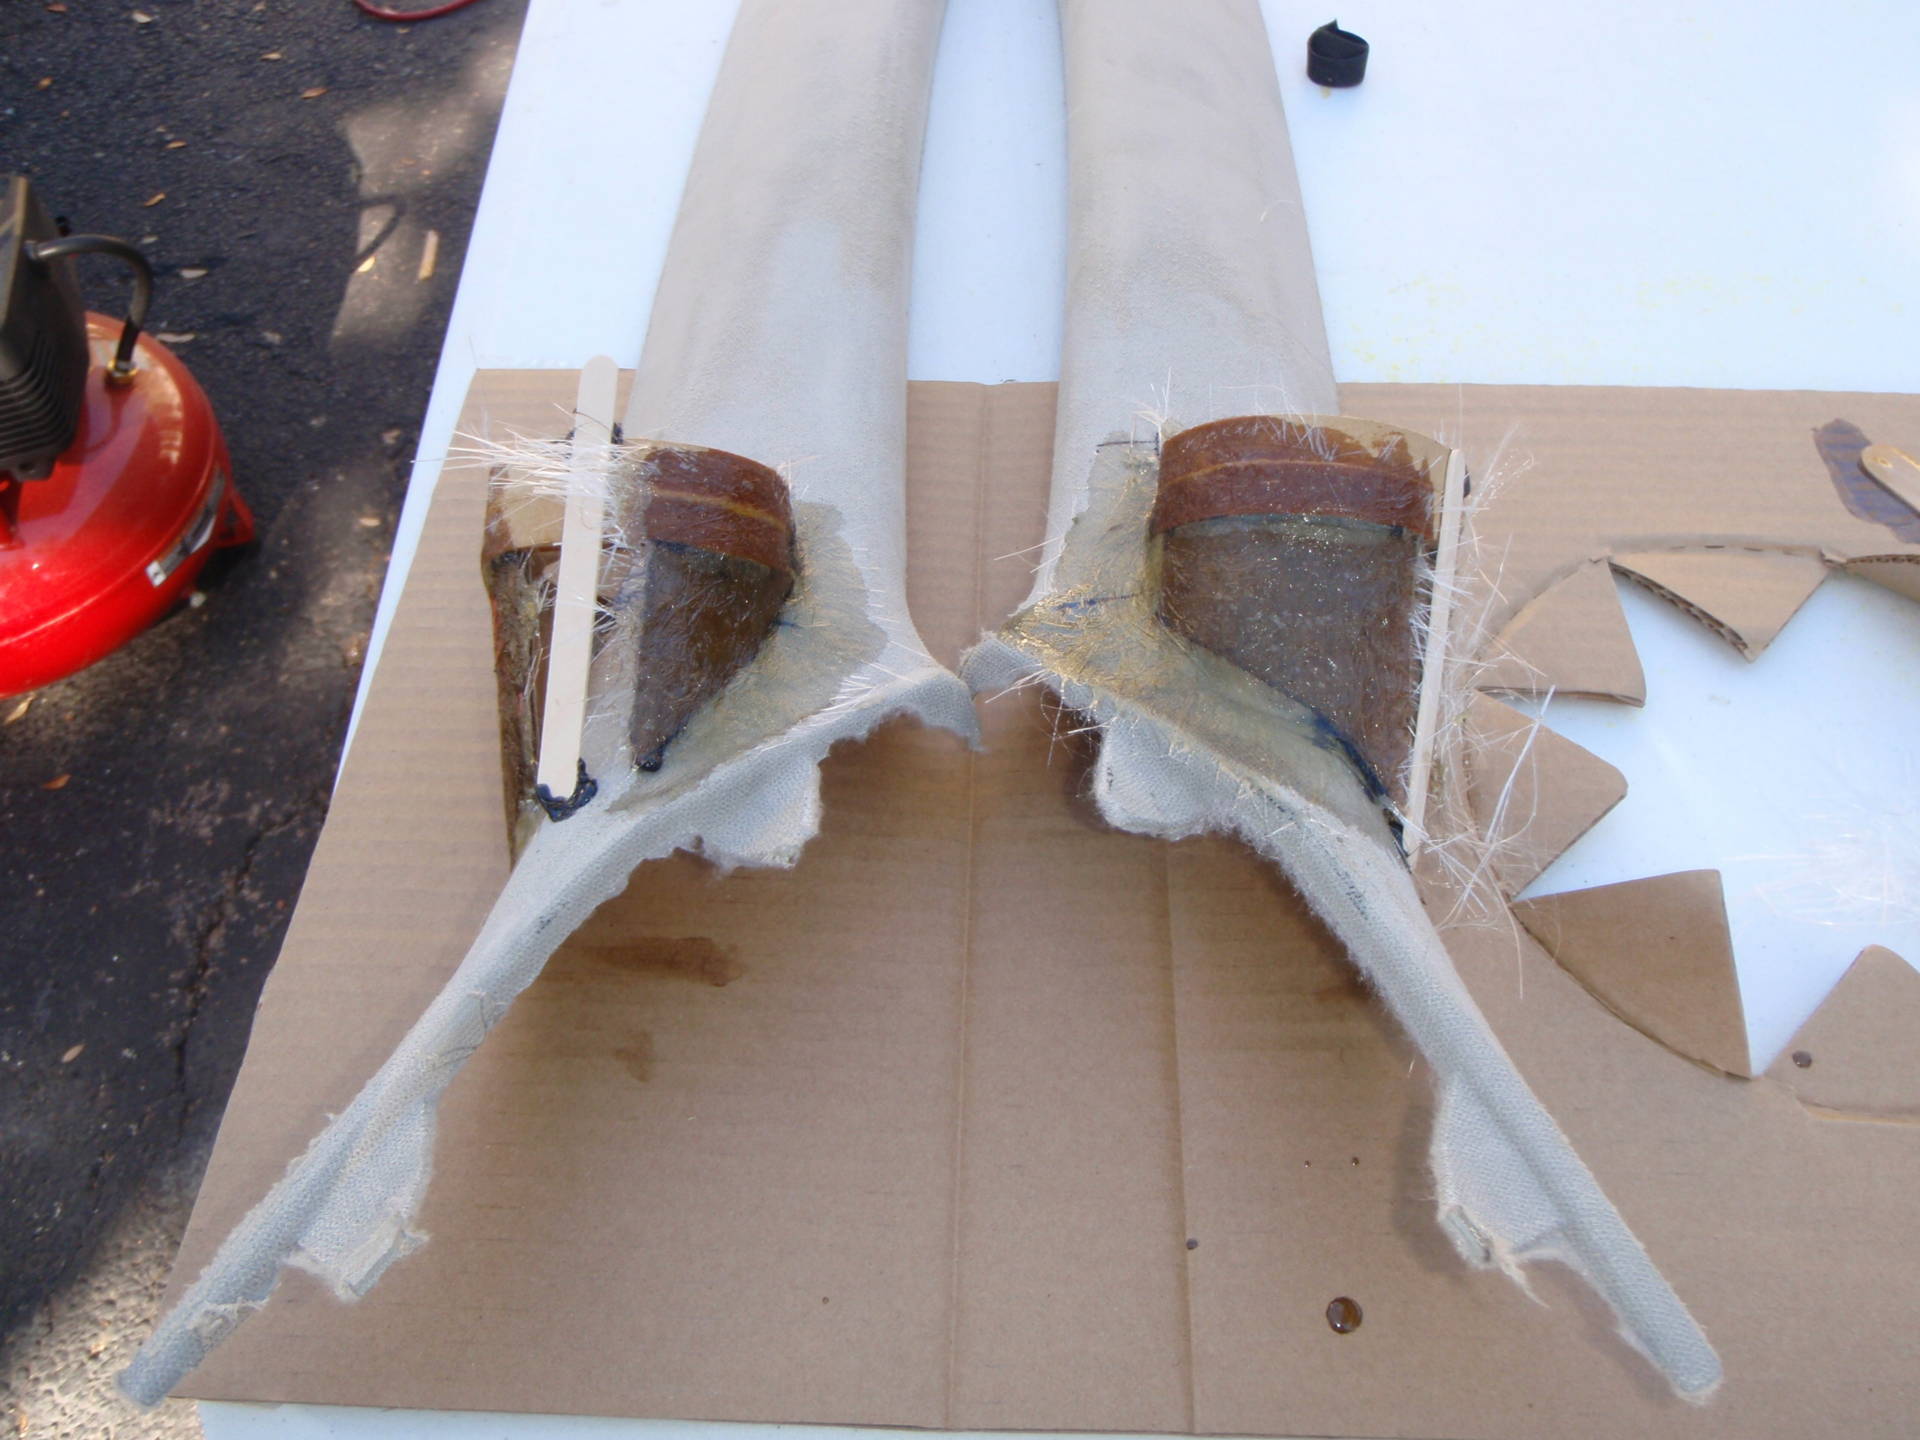
All doors were treated with 2 layers of damping on the outer skin and one layer on the inner skin. Mounting rings were cut, fiberglassed, mounted, and damped.

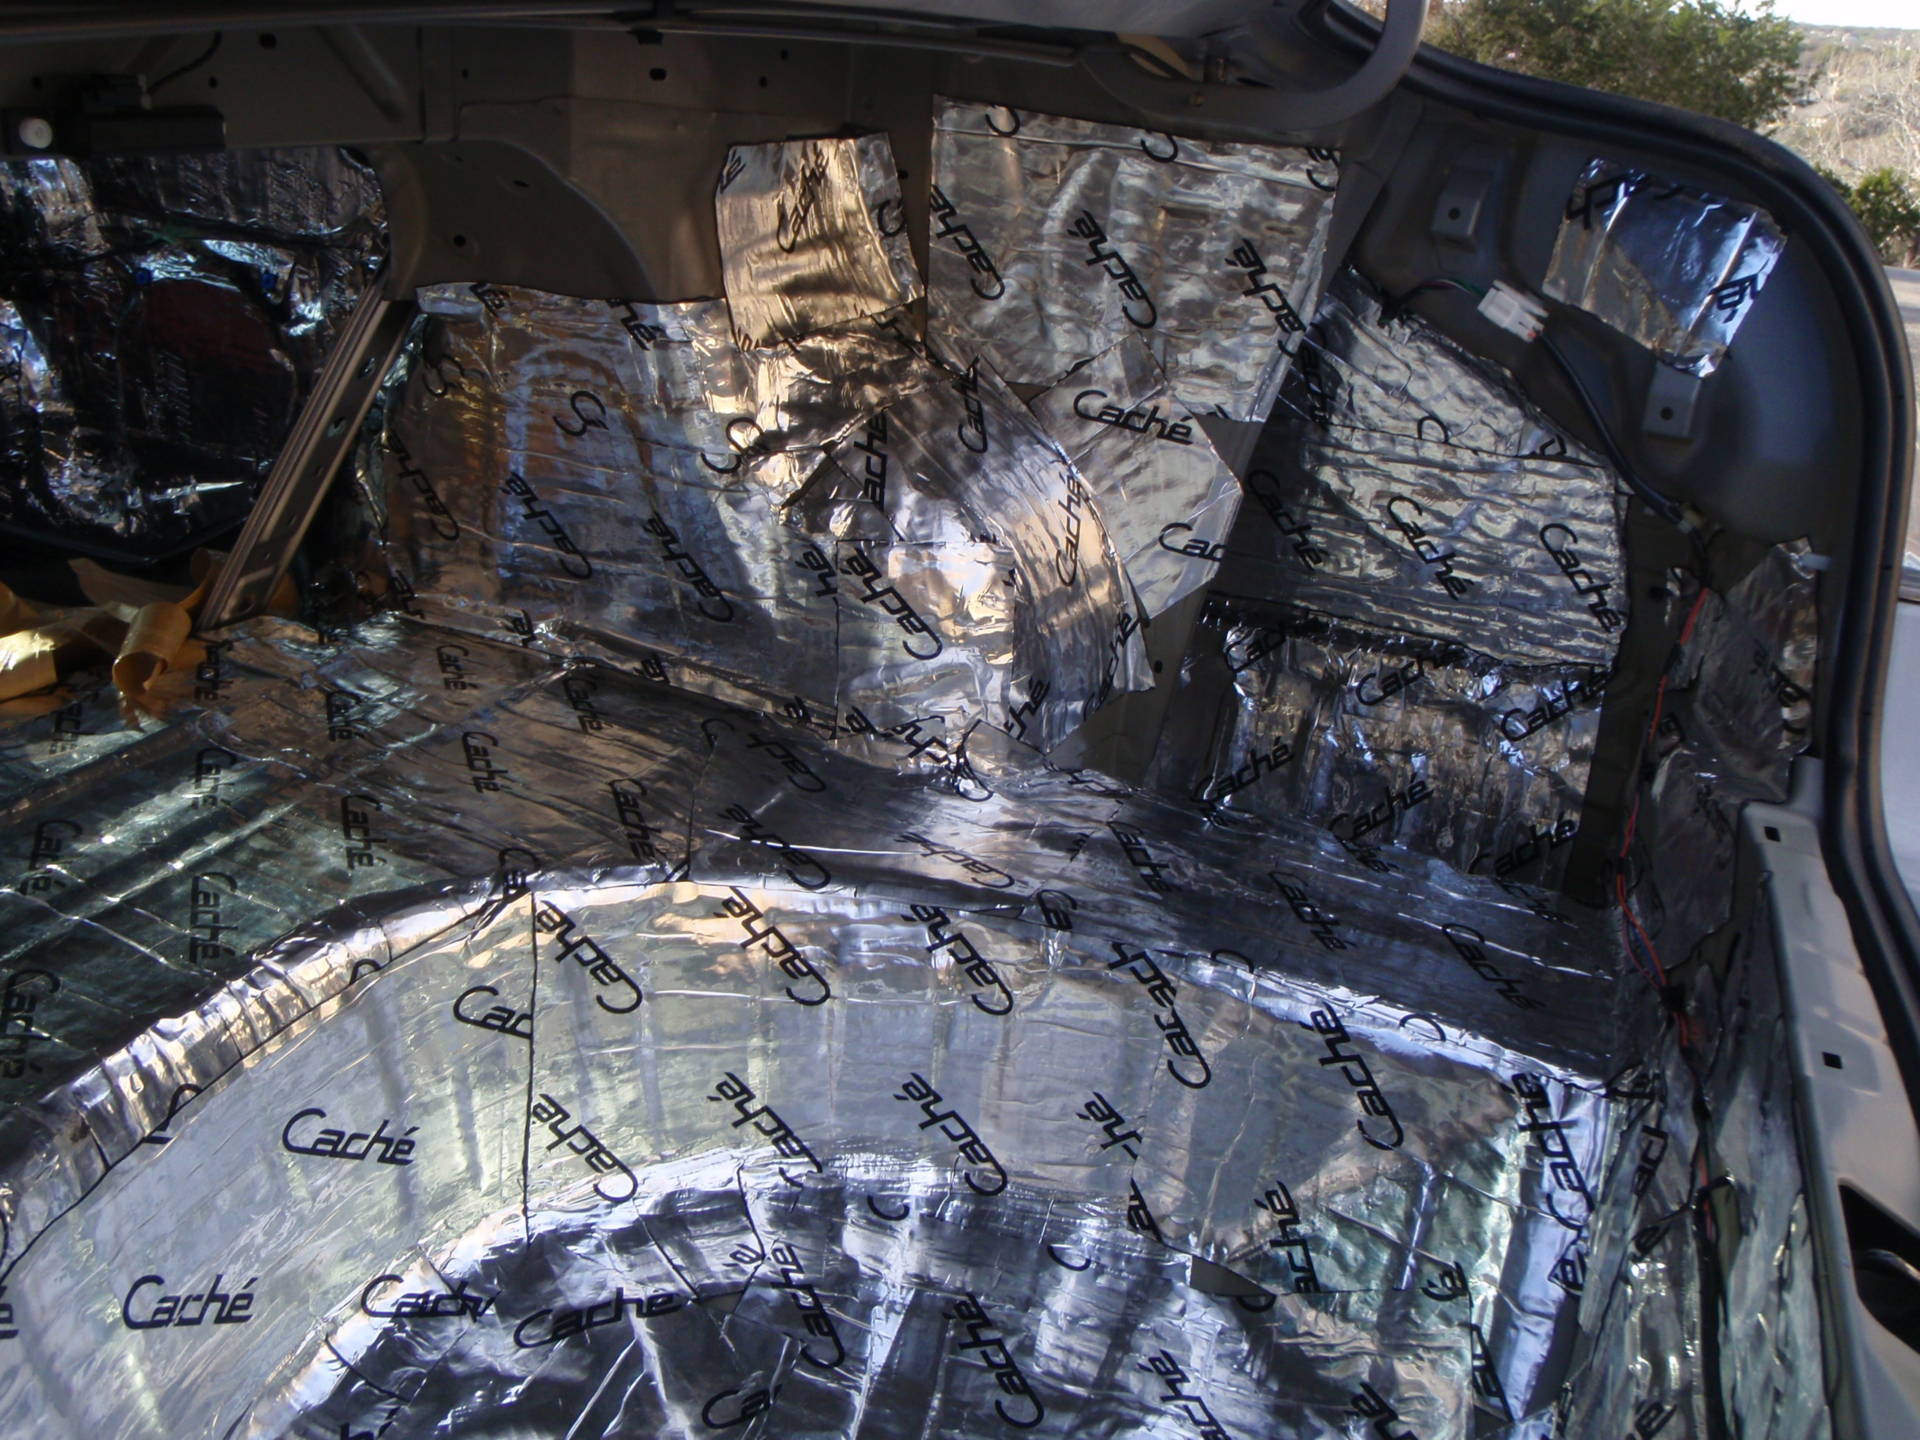
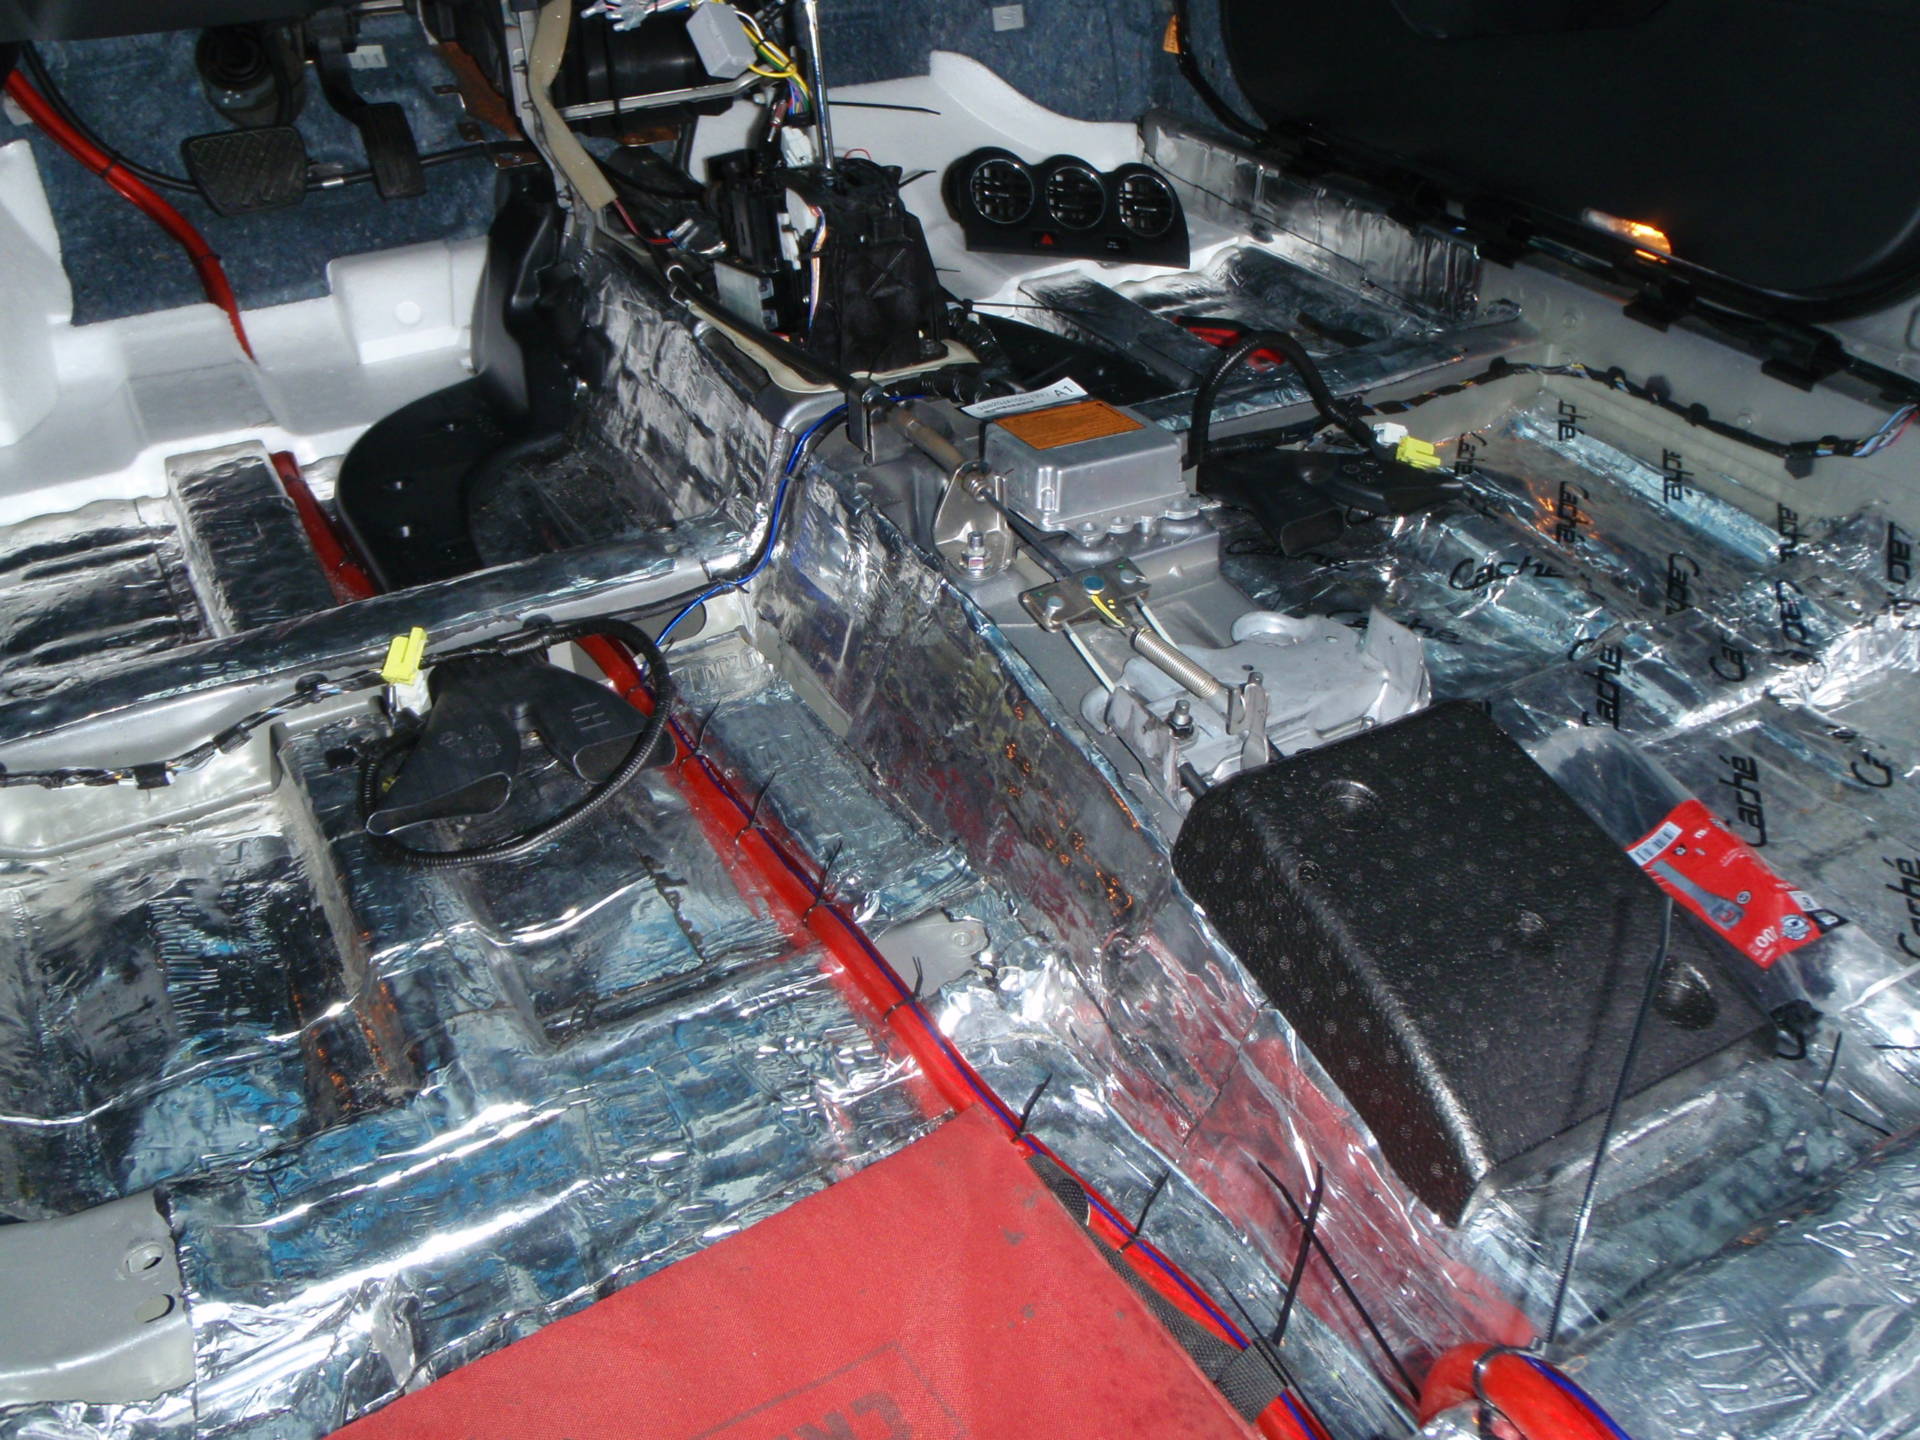
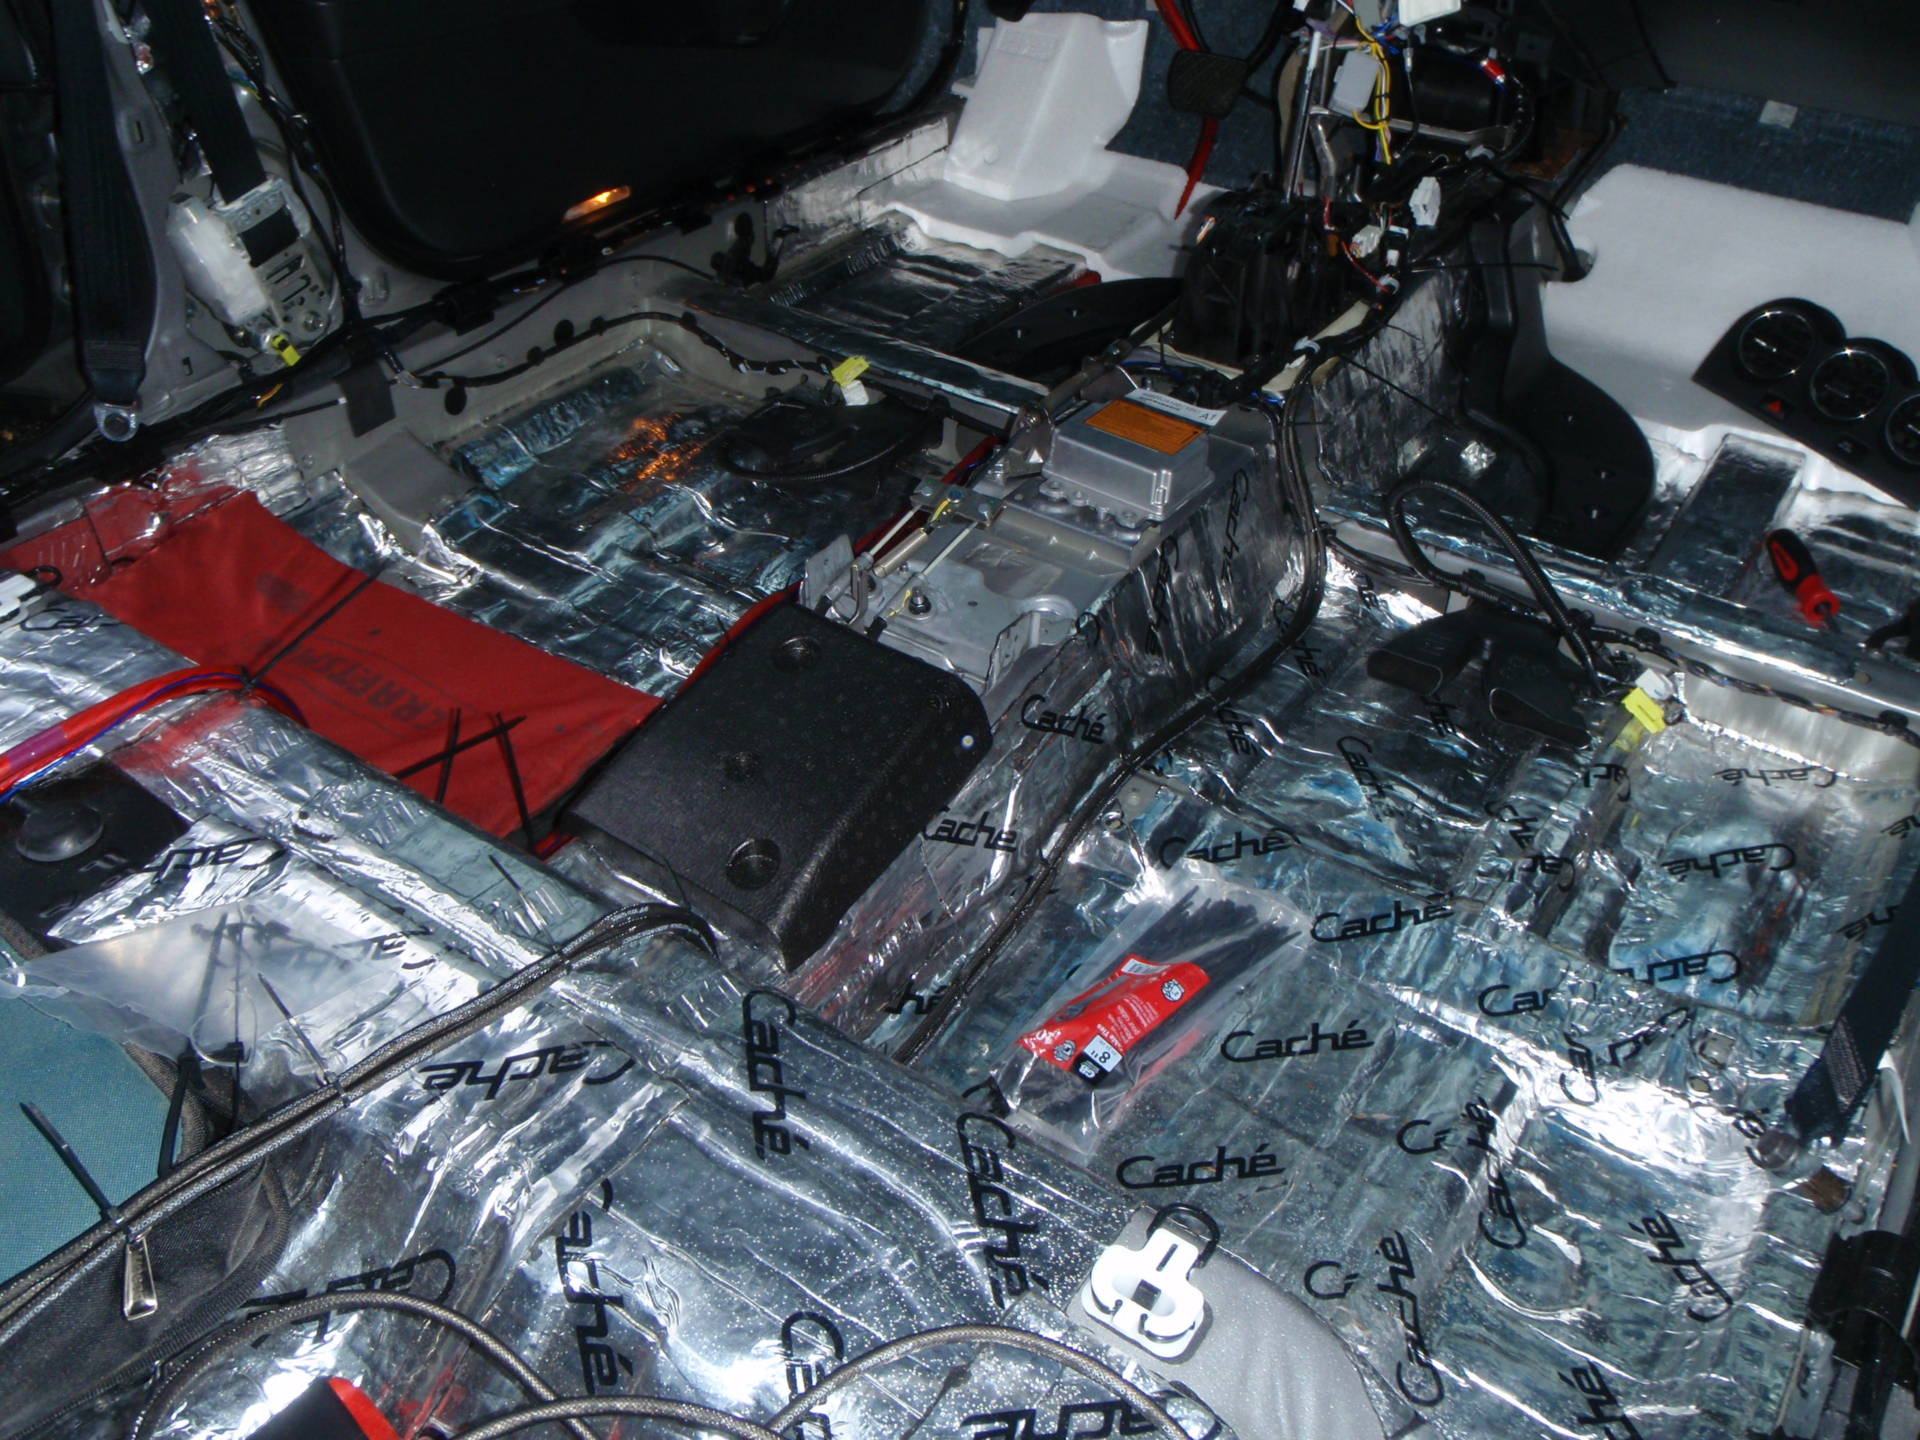
Floor is finally done being damped
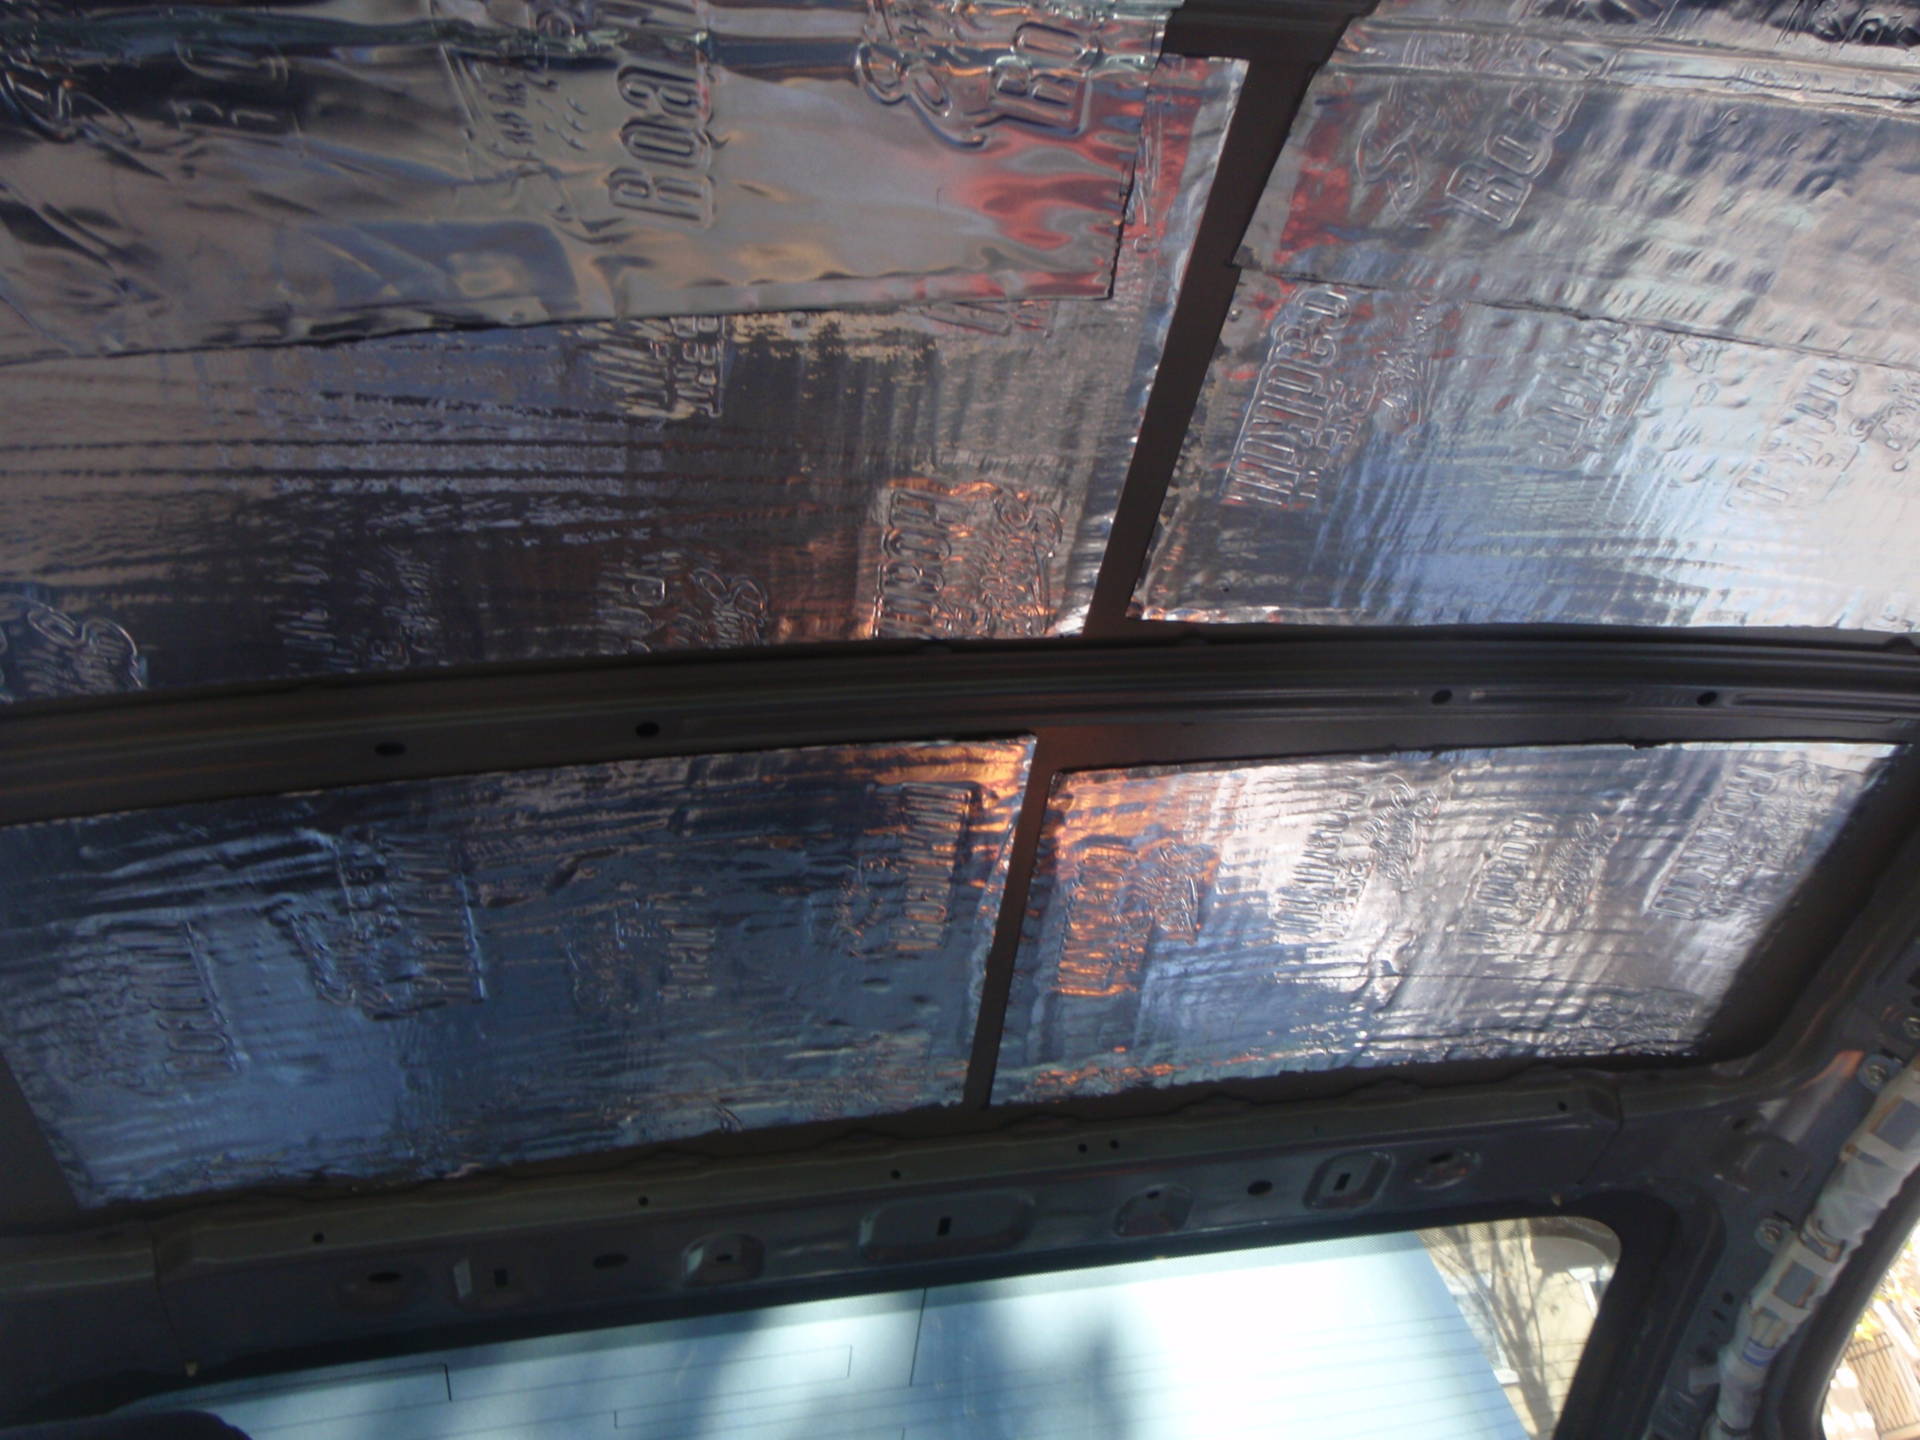
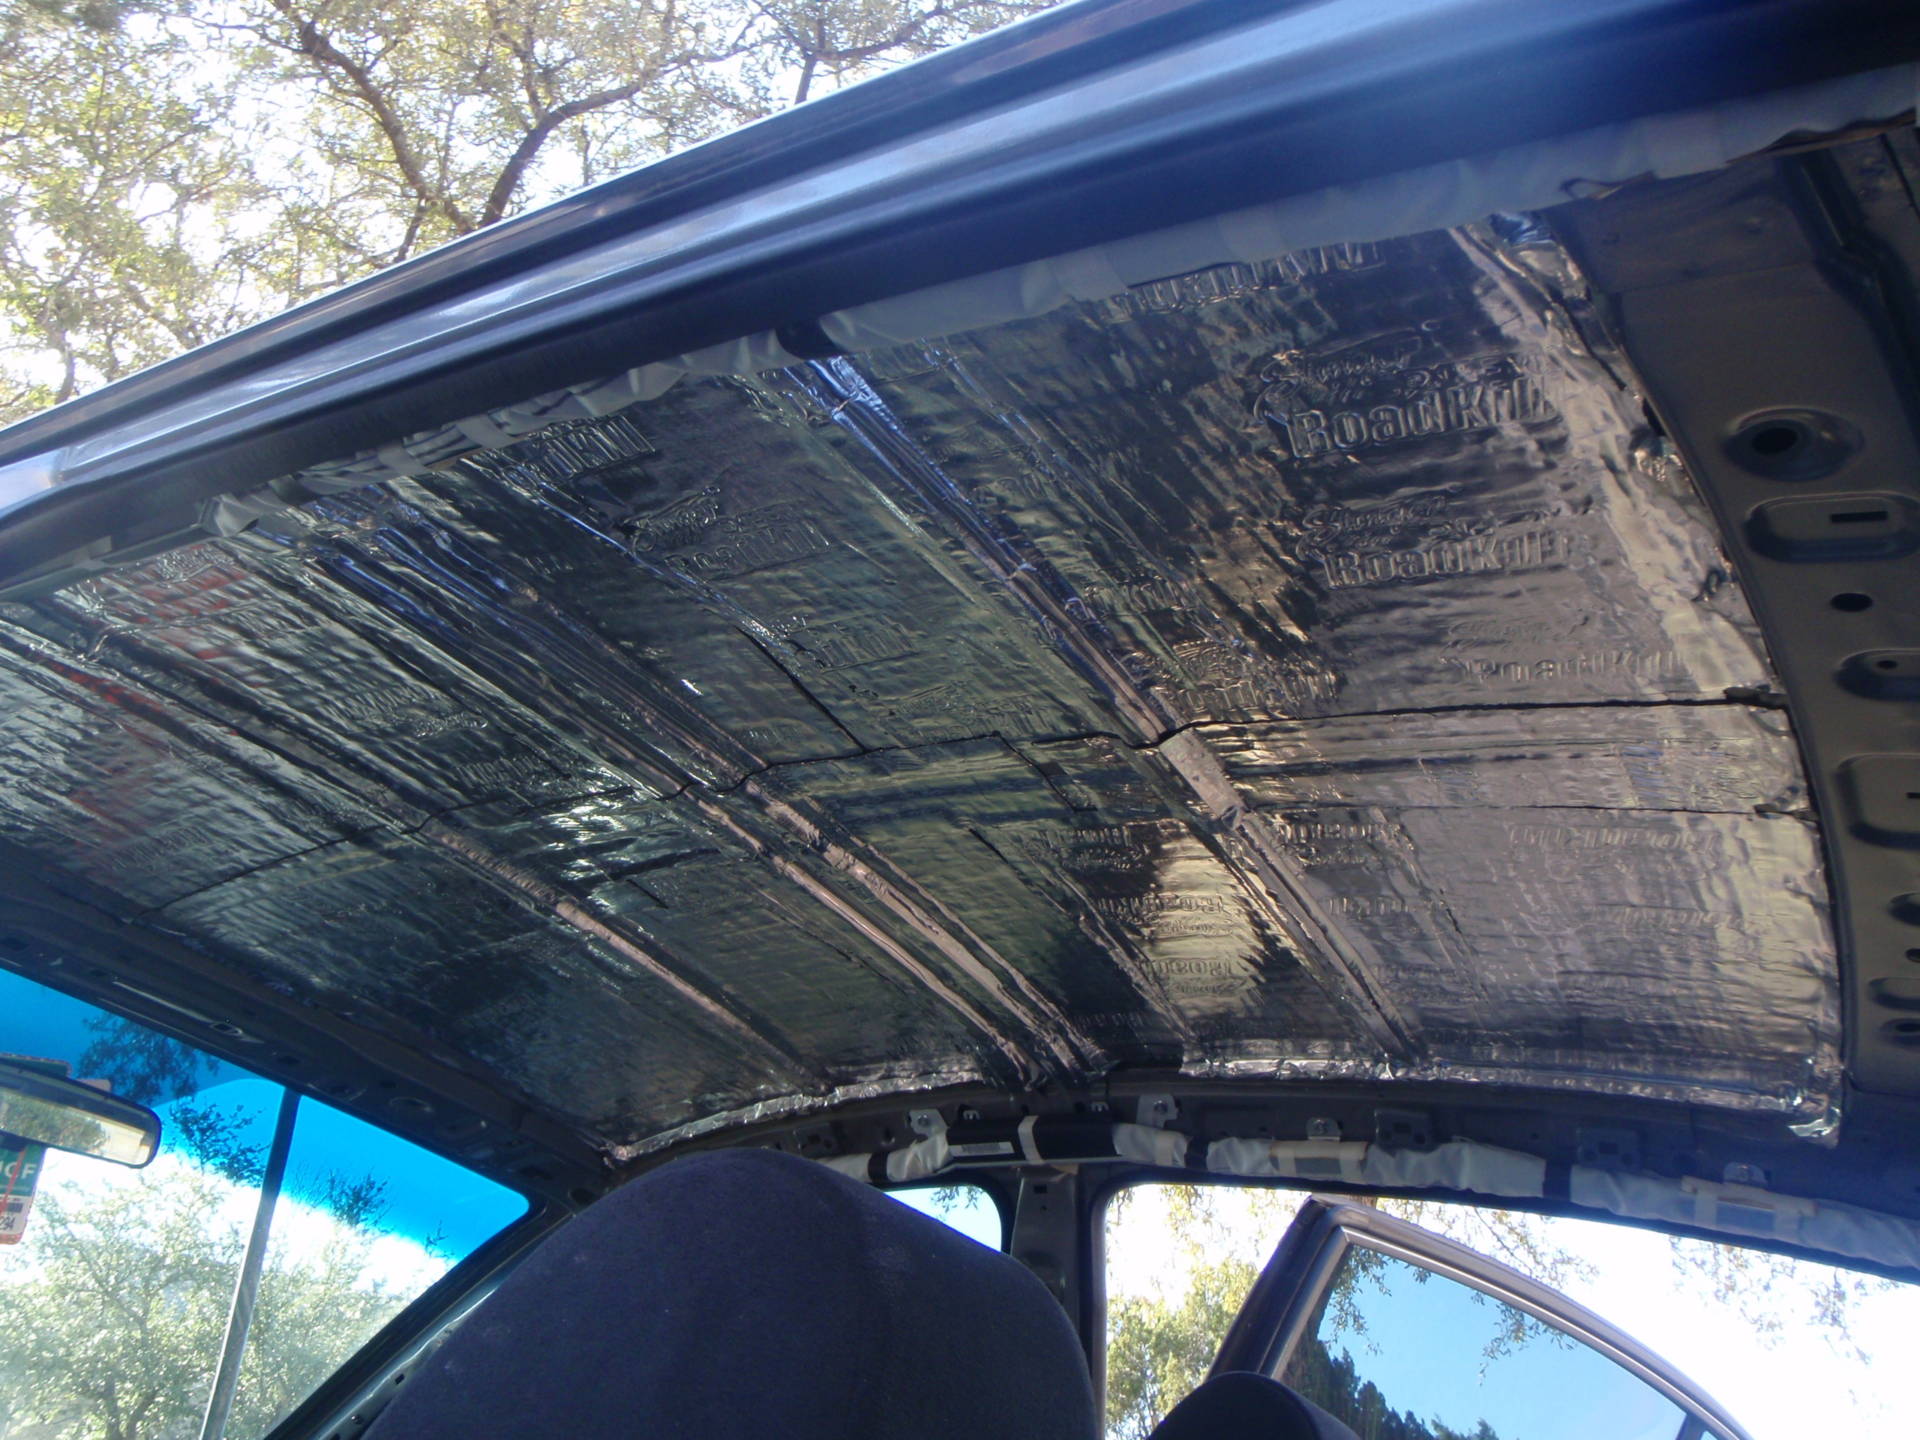
Roof is SOLIDLY damped. Yay
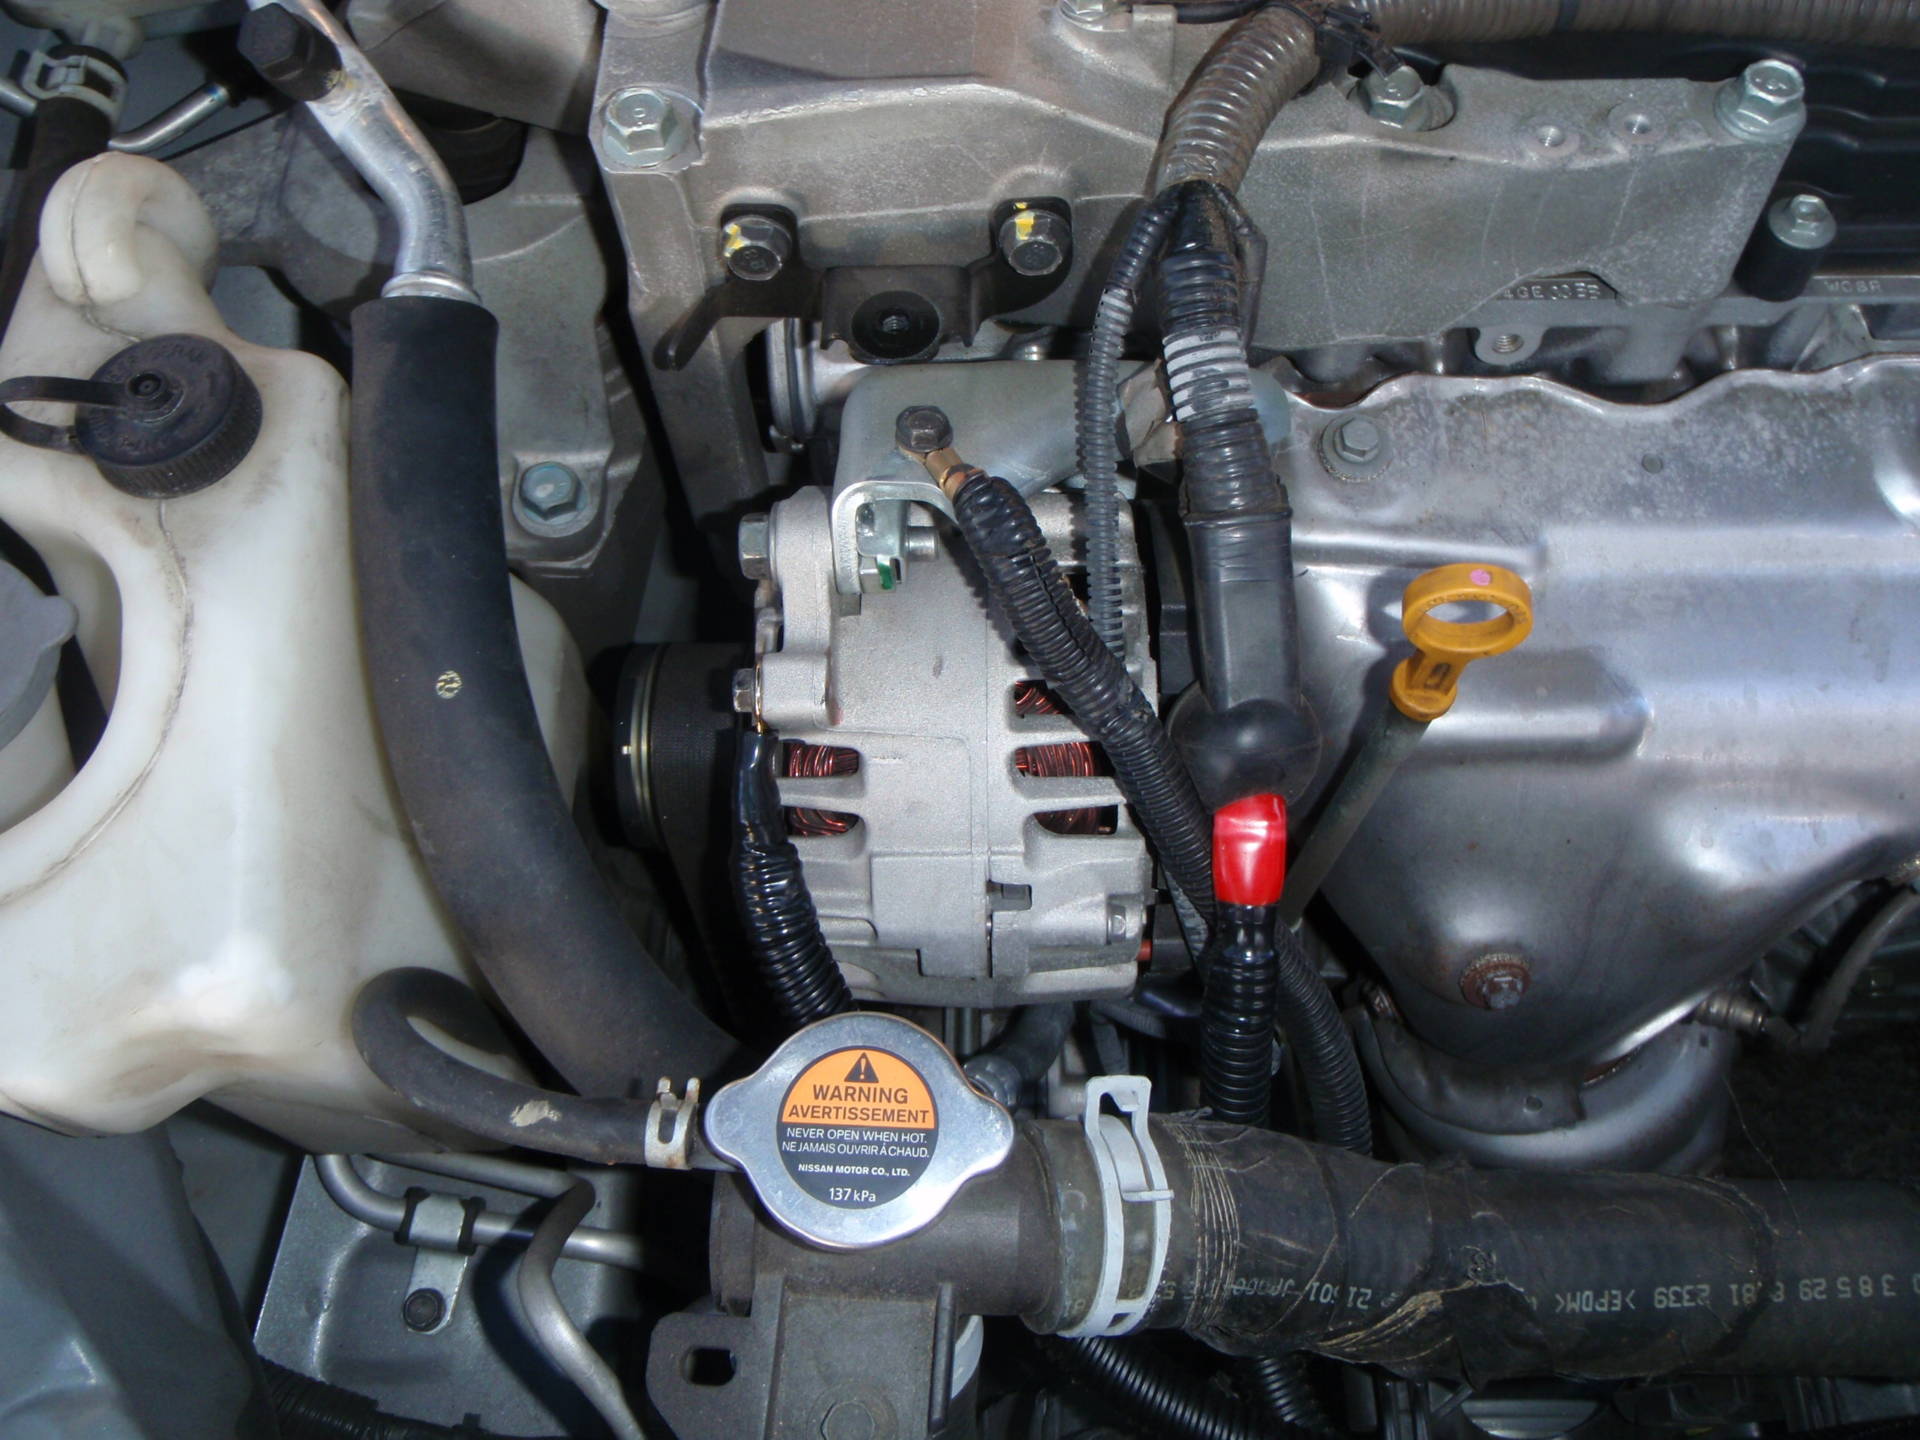
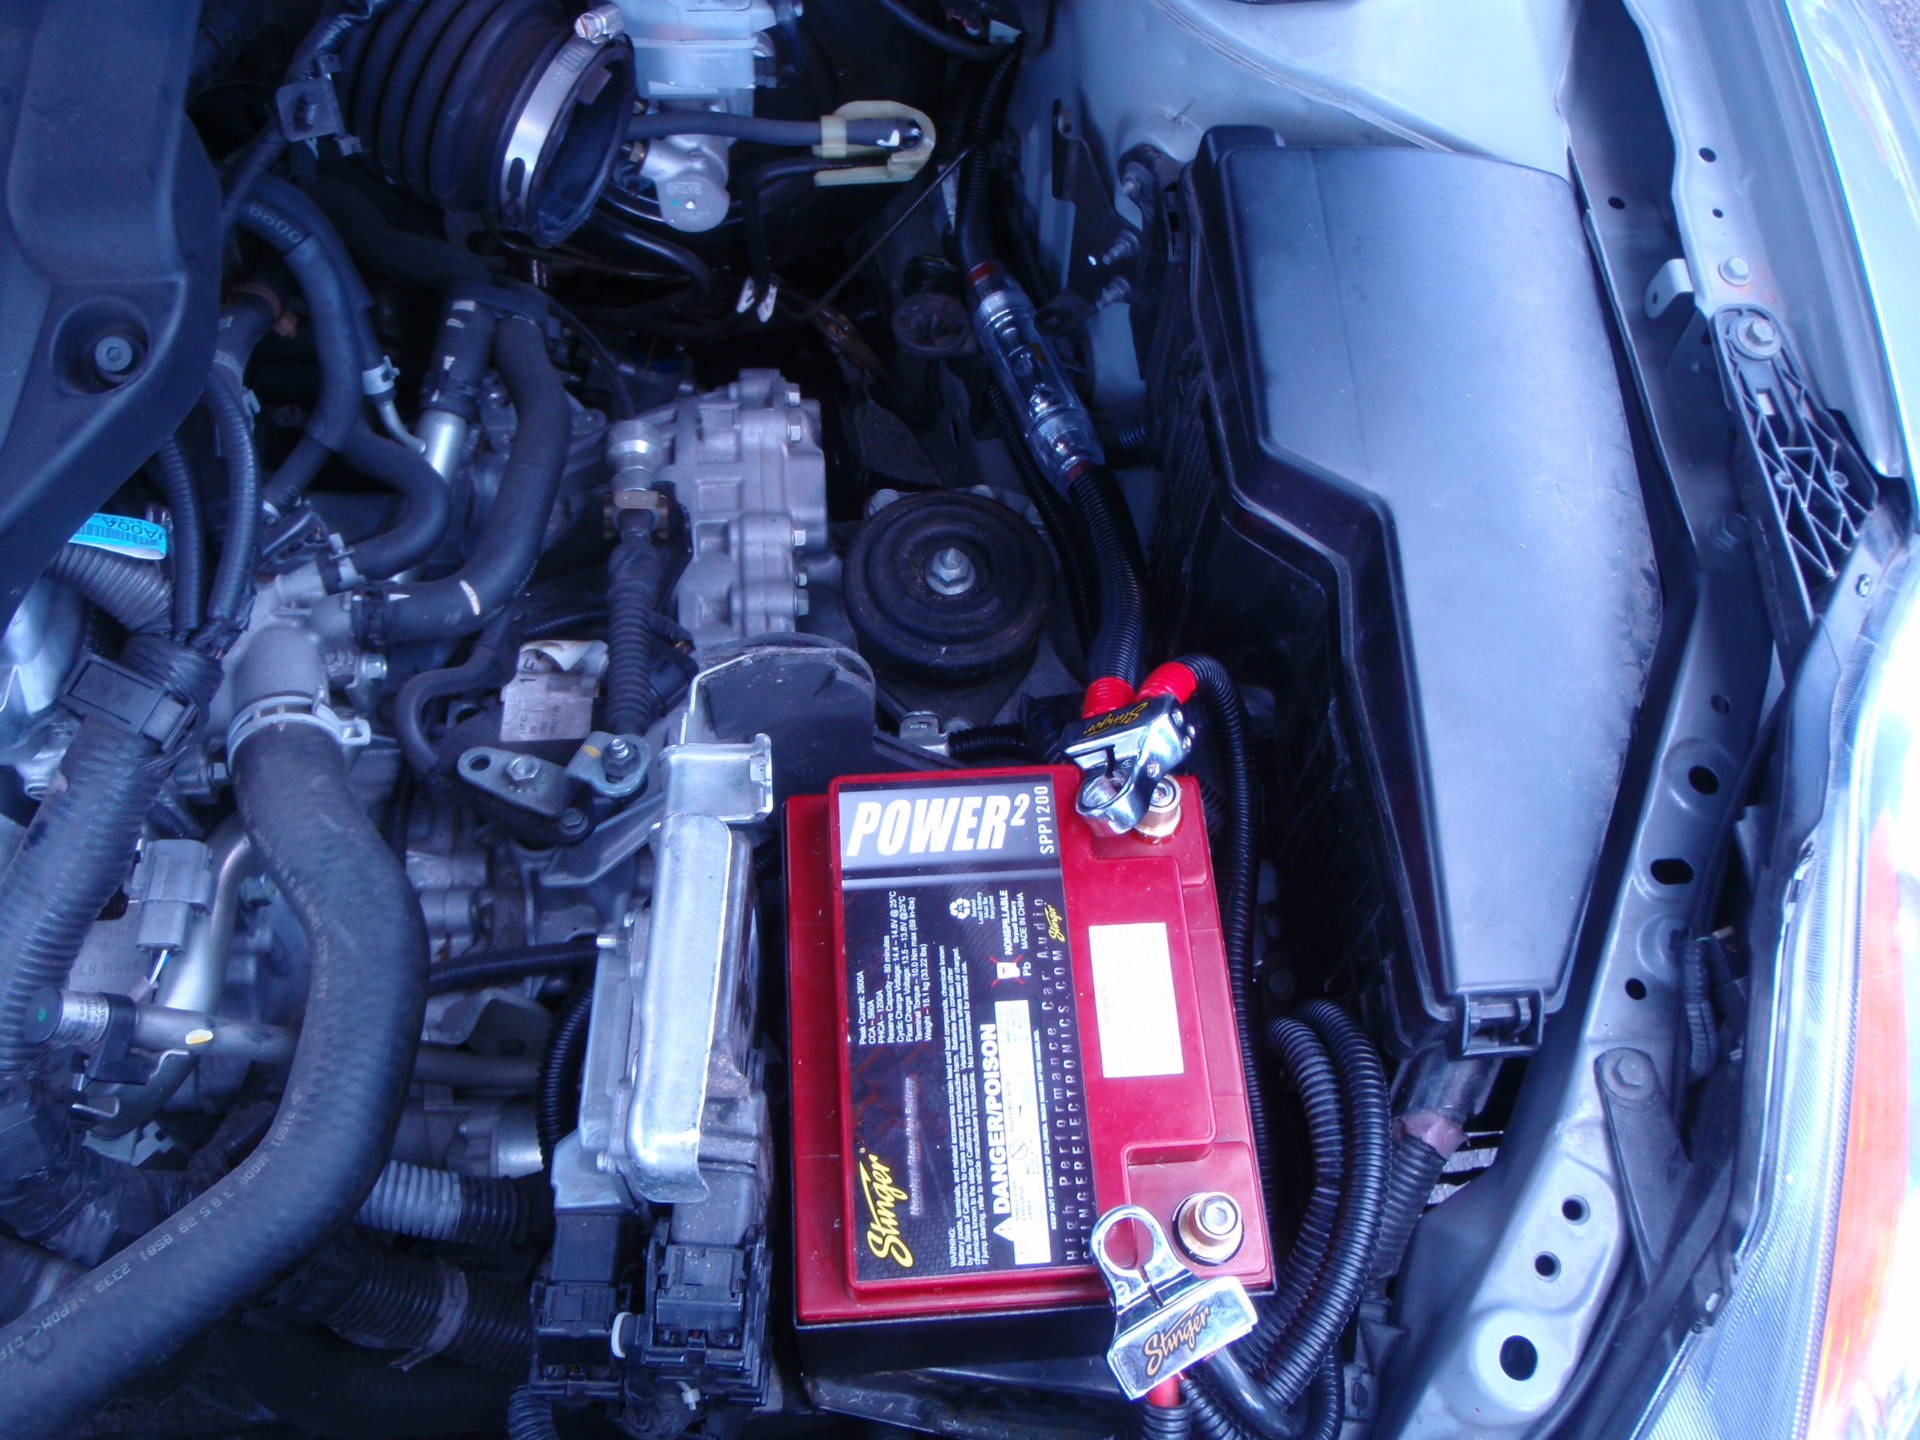
Upgraded all wiring under the hood, including a direct 4ga run from the alternator to the battery. Power AND ground:
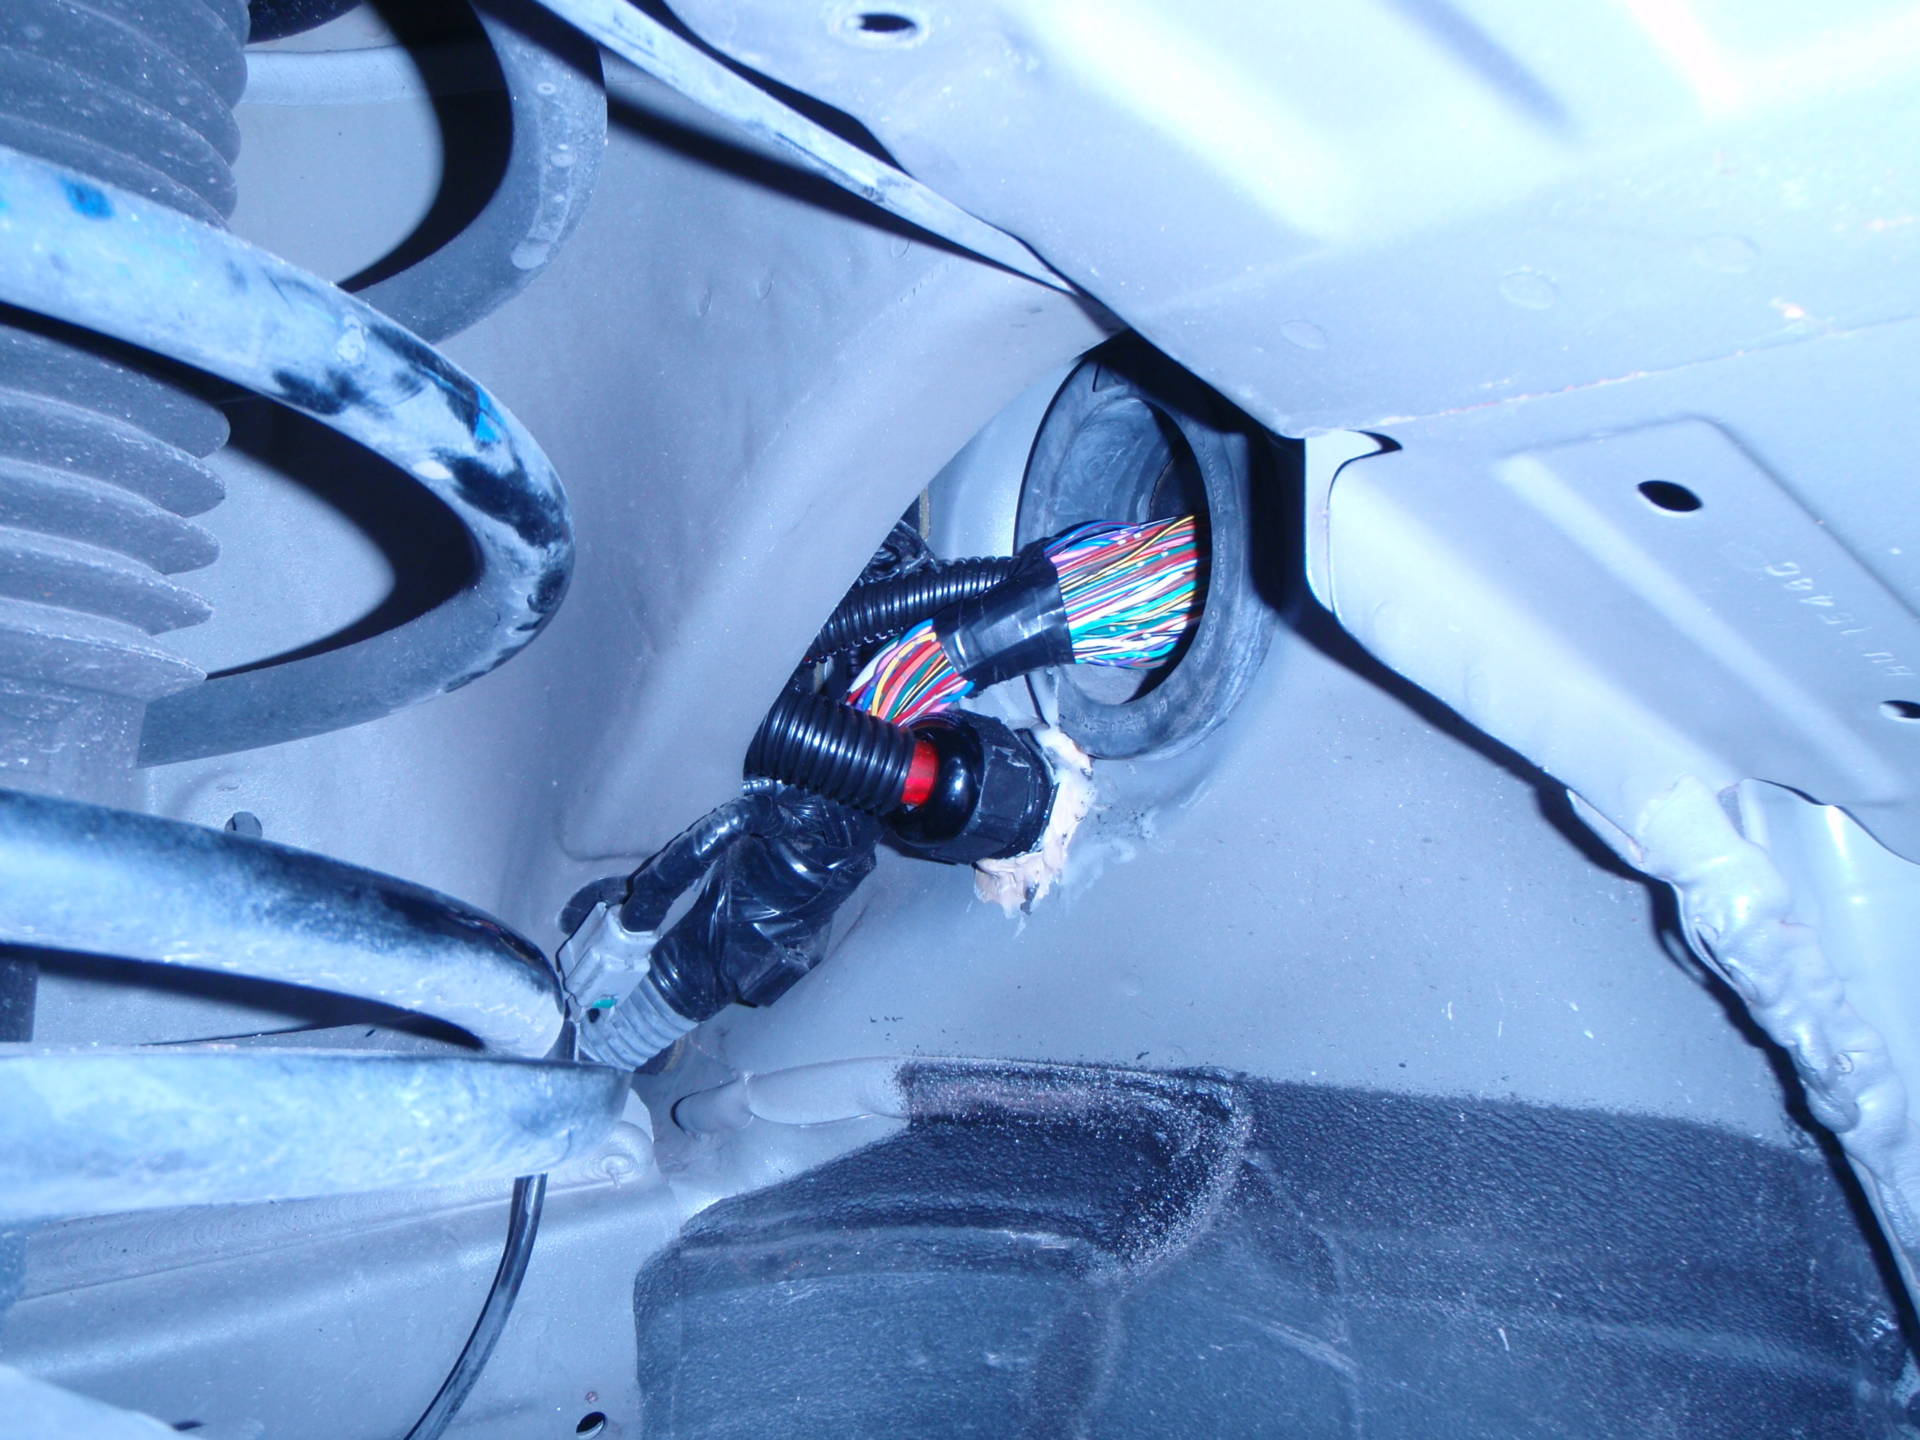
New Stinger SPP1200 AGM battery installed and lots of factory wiring rerouted; 0 gauge main power wire coming through grommet; Fuse holder installed in line and more factory wiring replaced / modified:

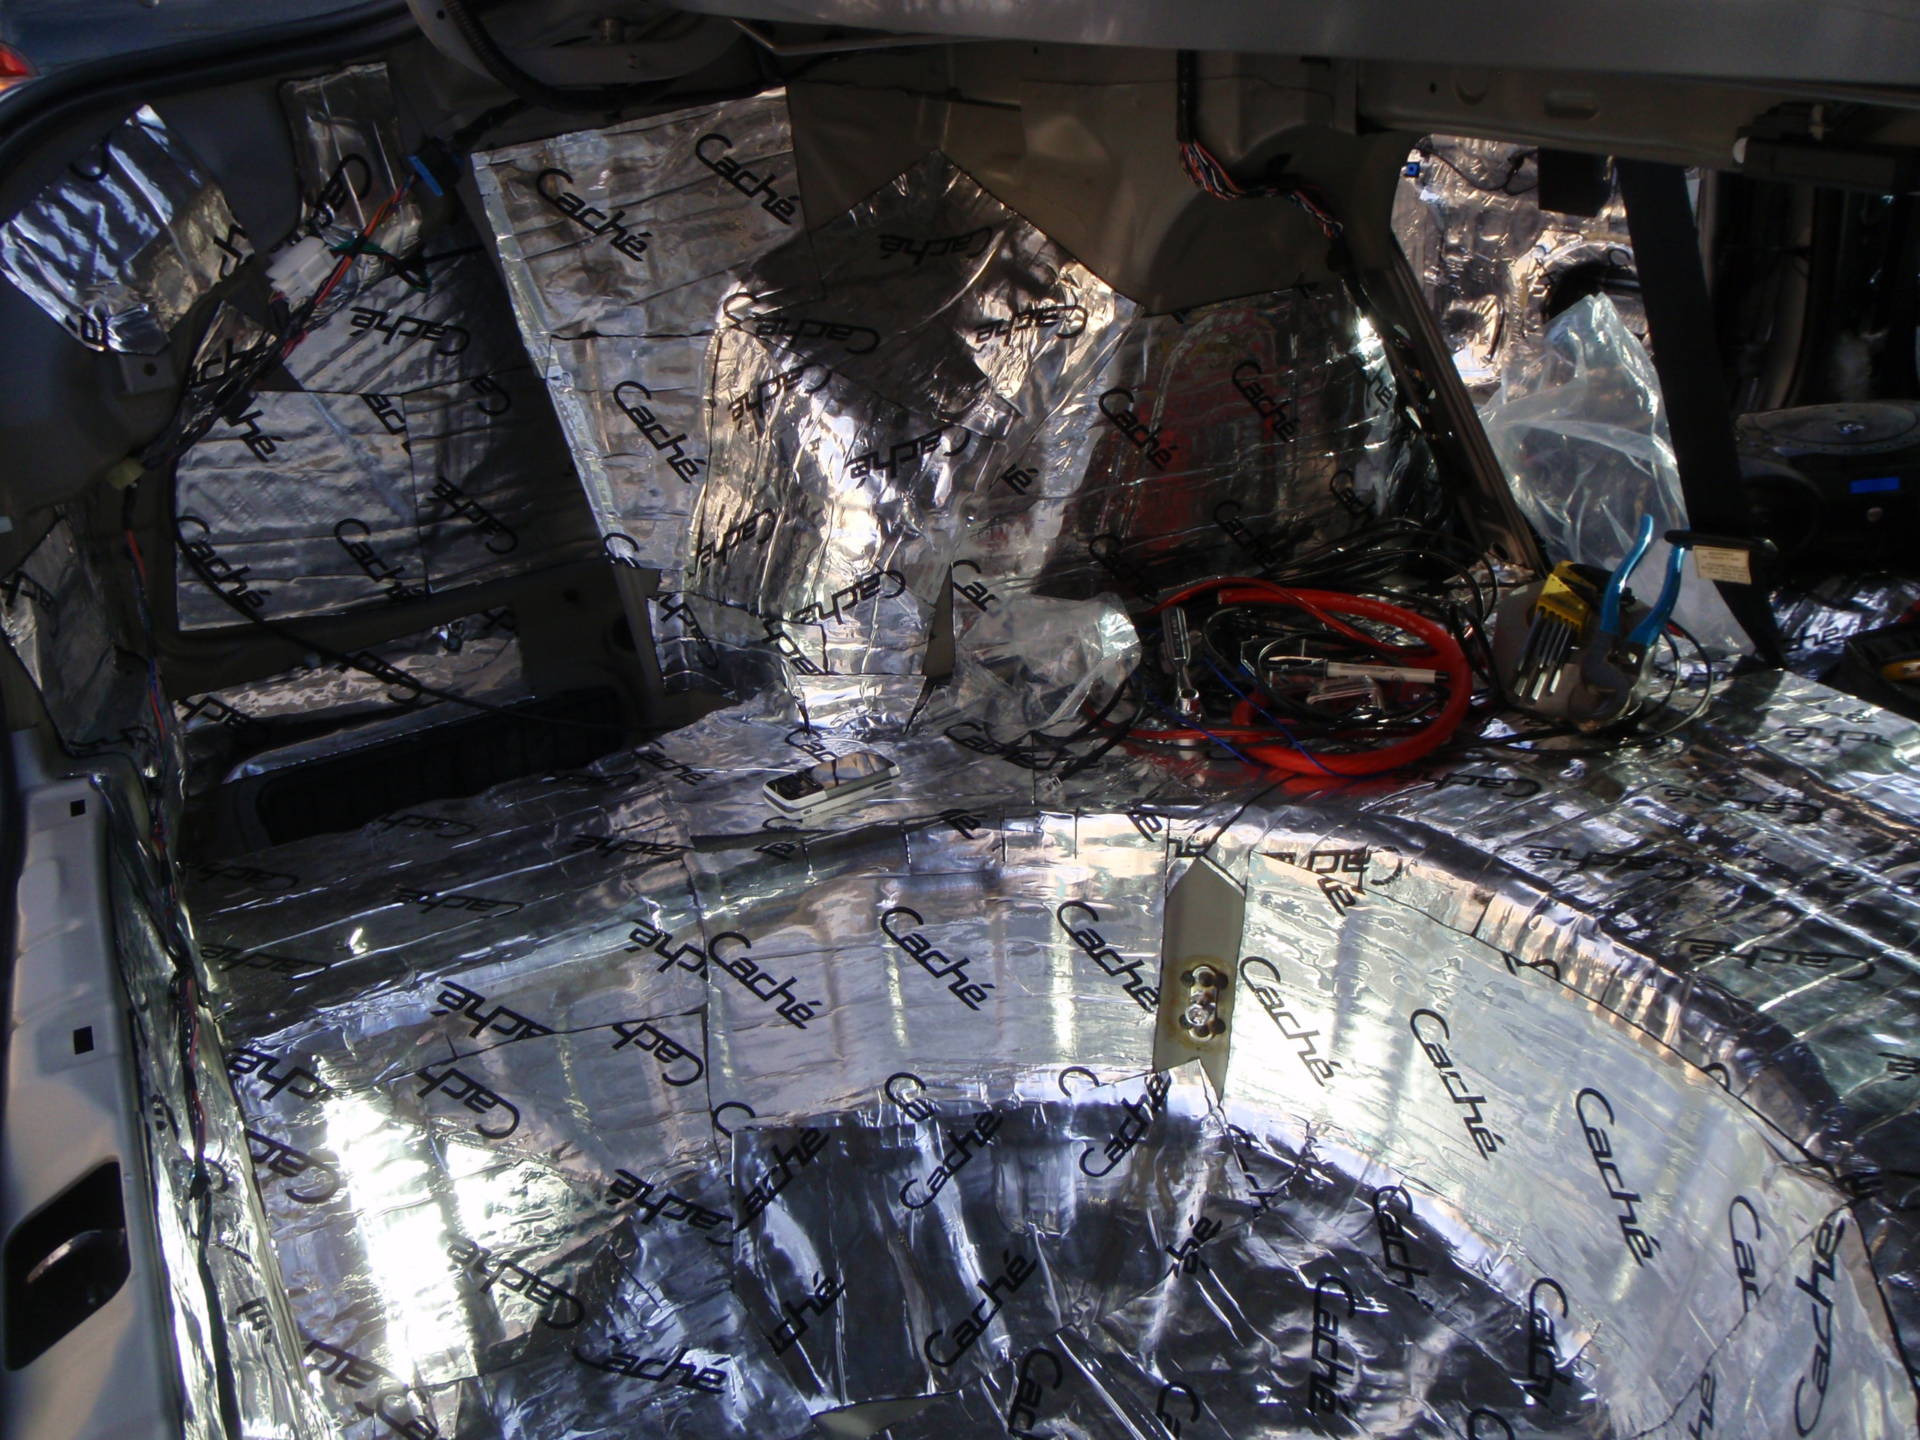
Channels cut and pathways are made for all new wires going to the trunk:
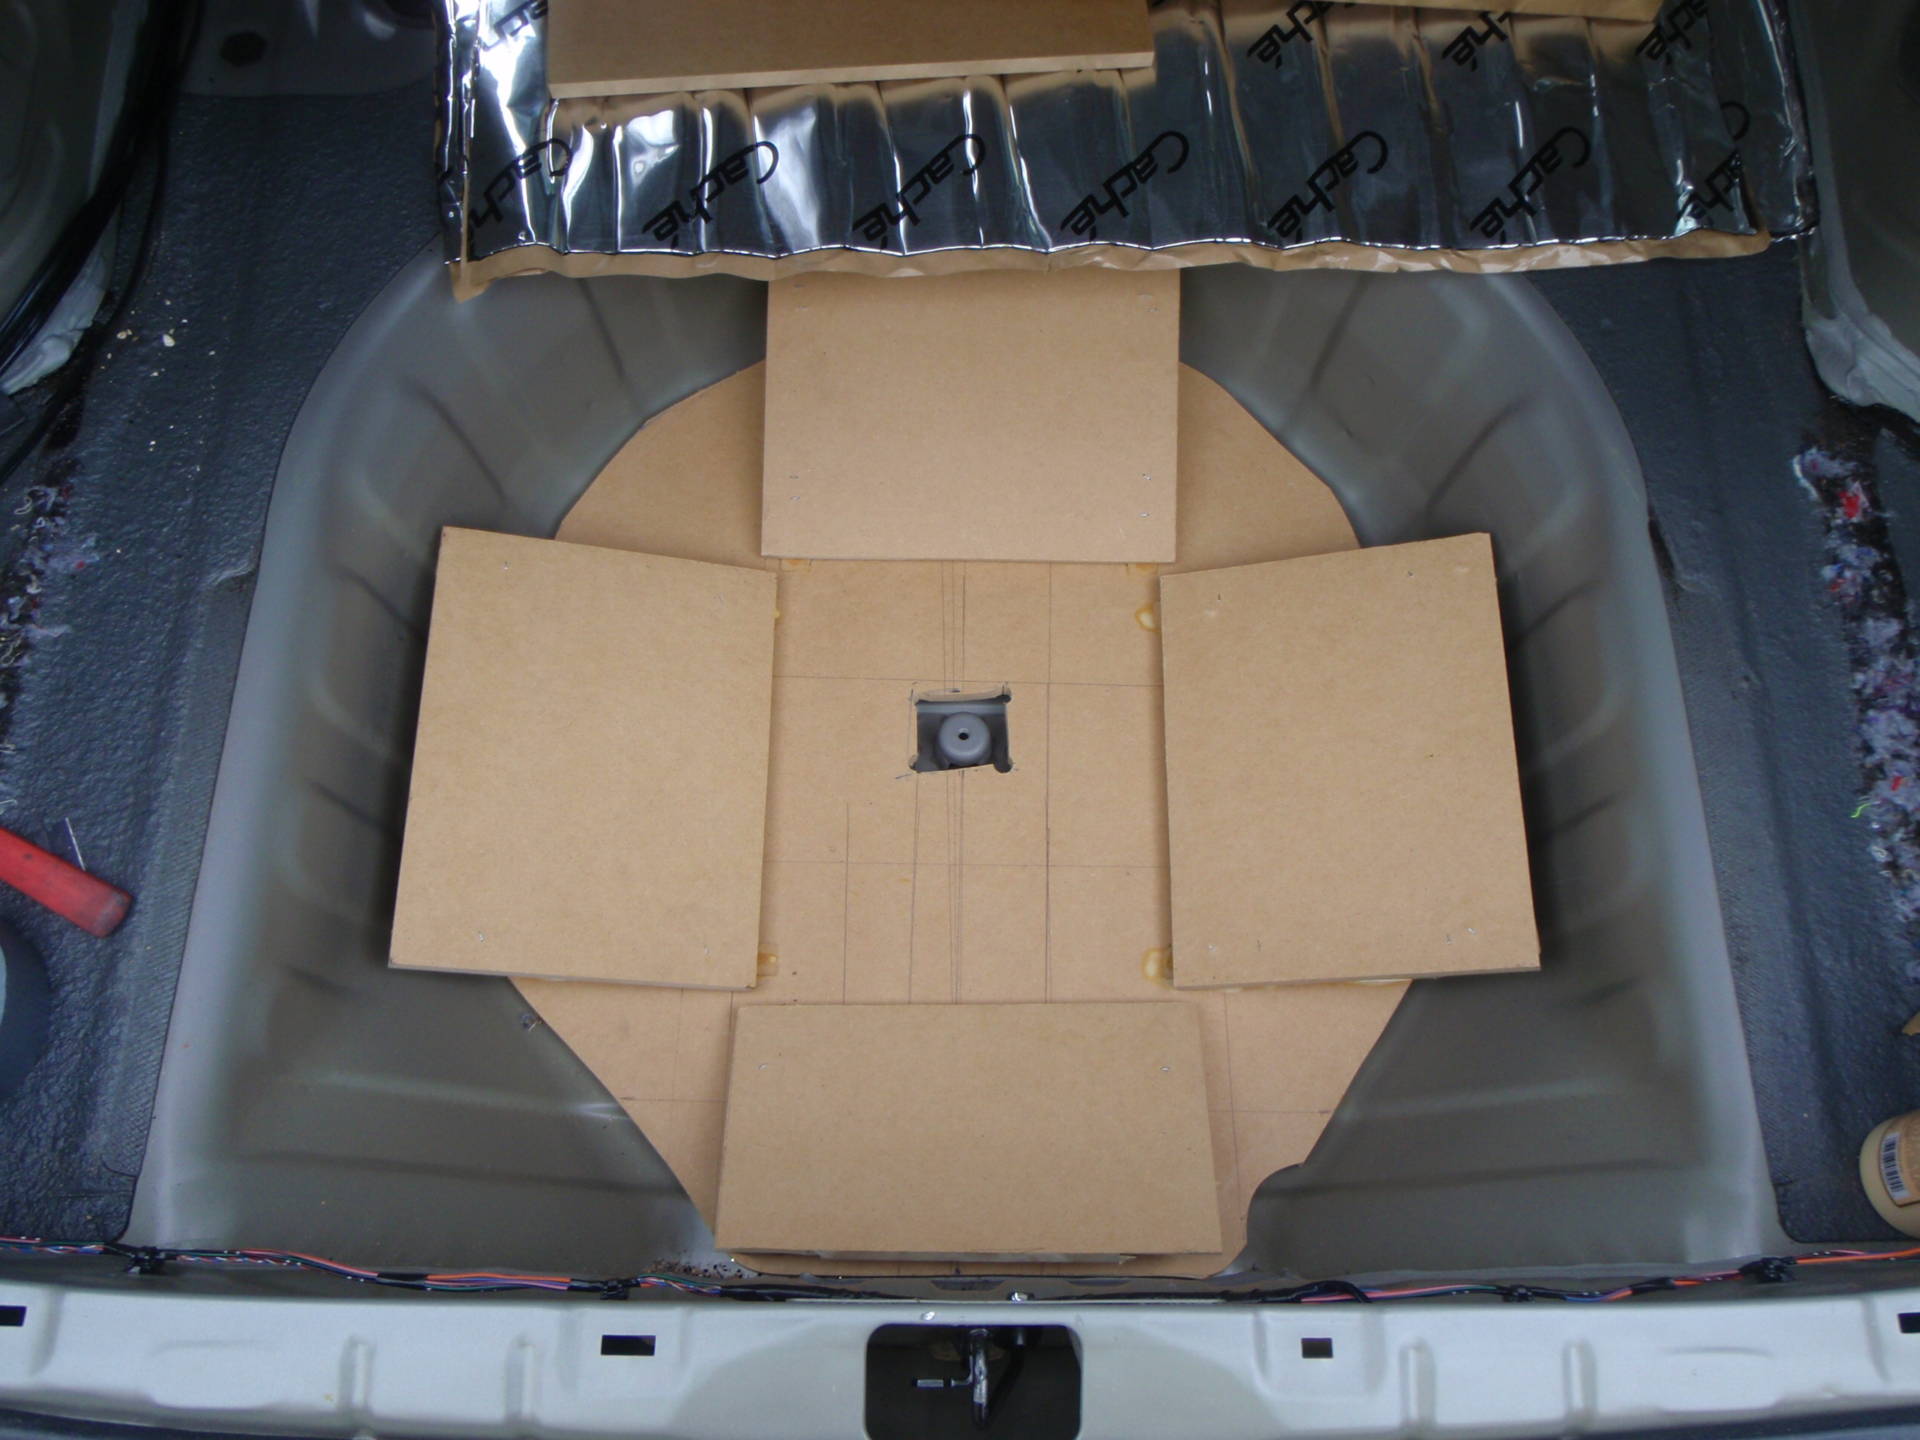
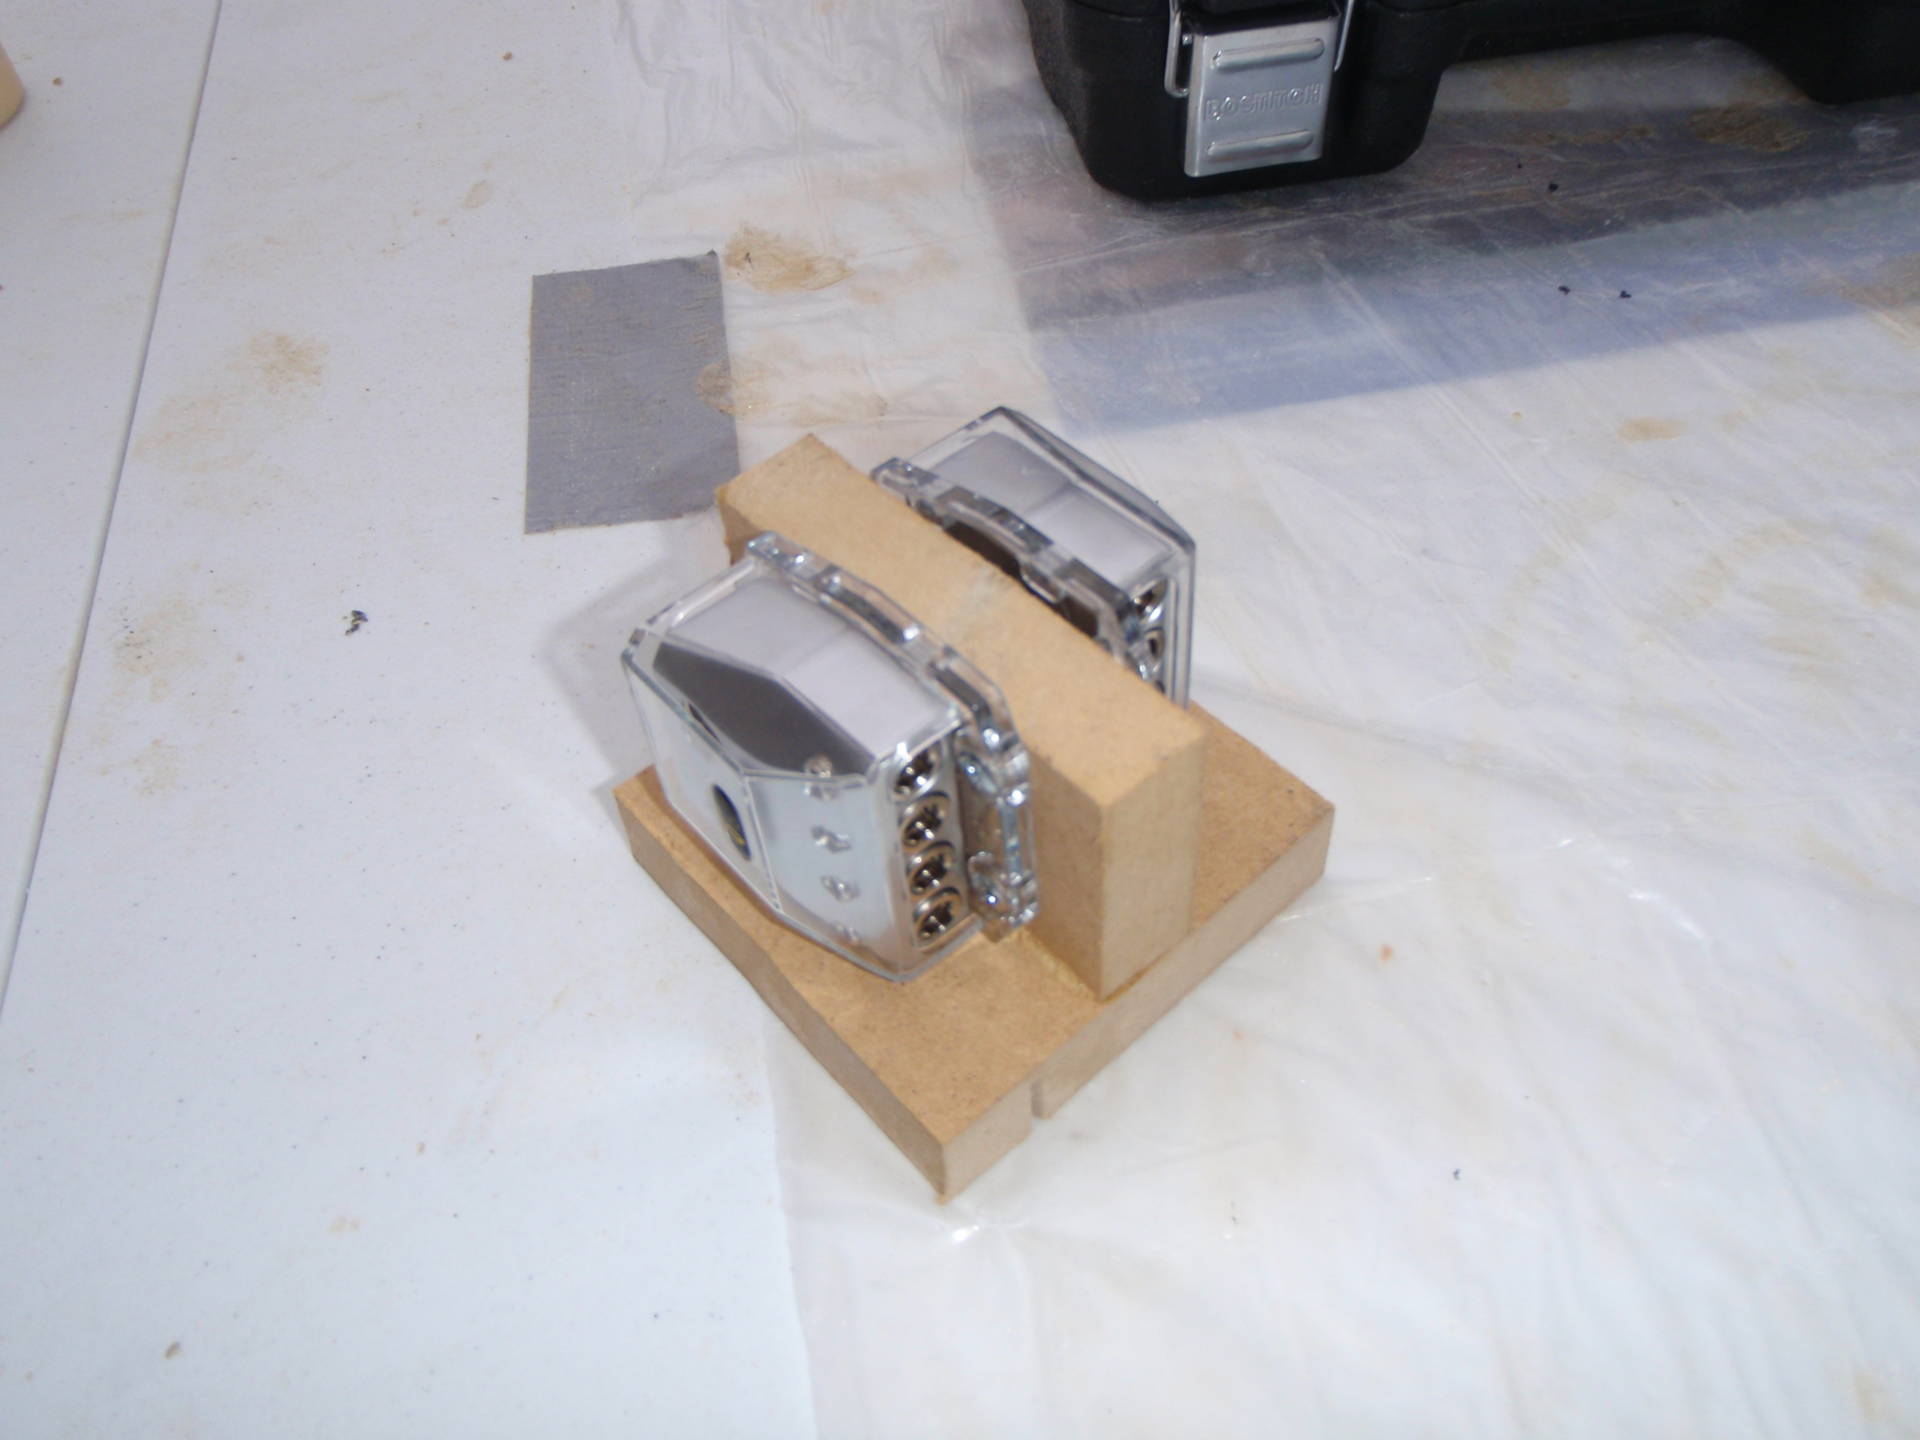
Mounting board cut; mounting stands for the amps are made; rough design of amp layout is complete:


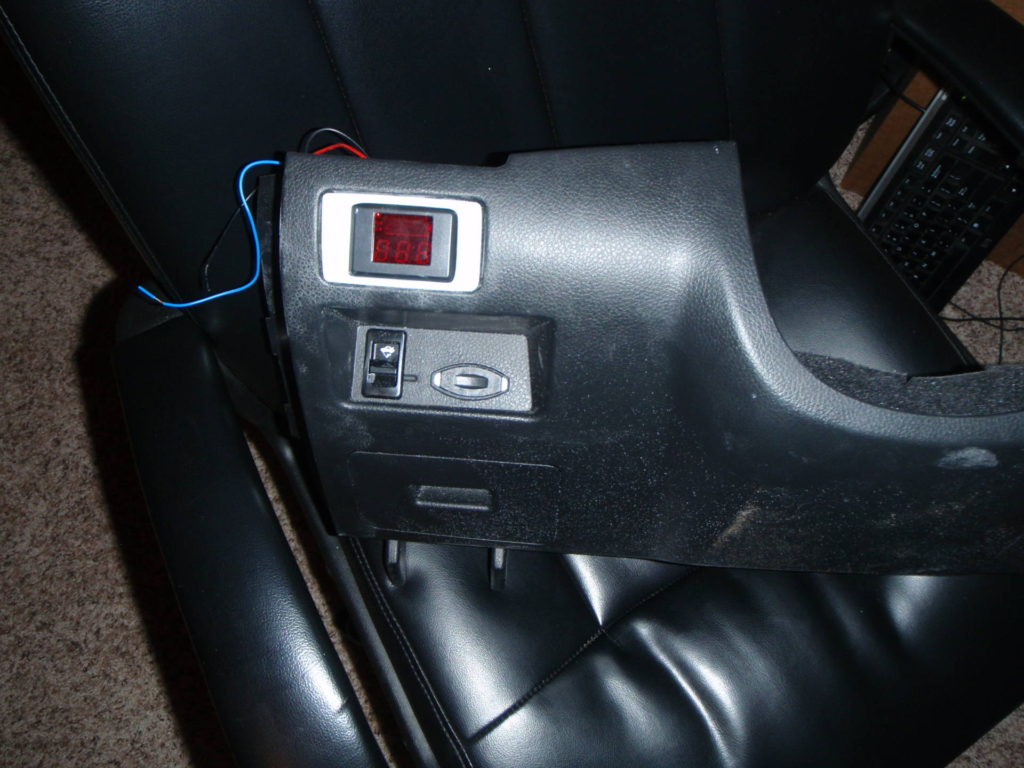
Moved that pesky lil trunk pop just a few inches to make room for… a voltmeter of course!
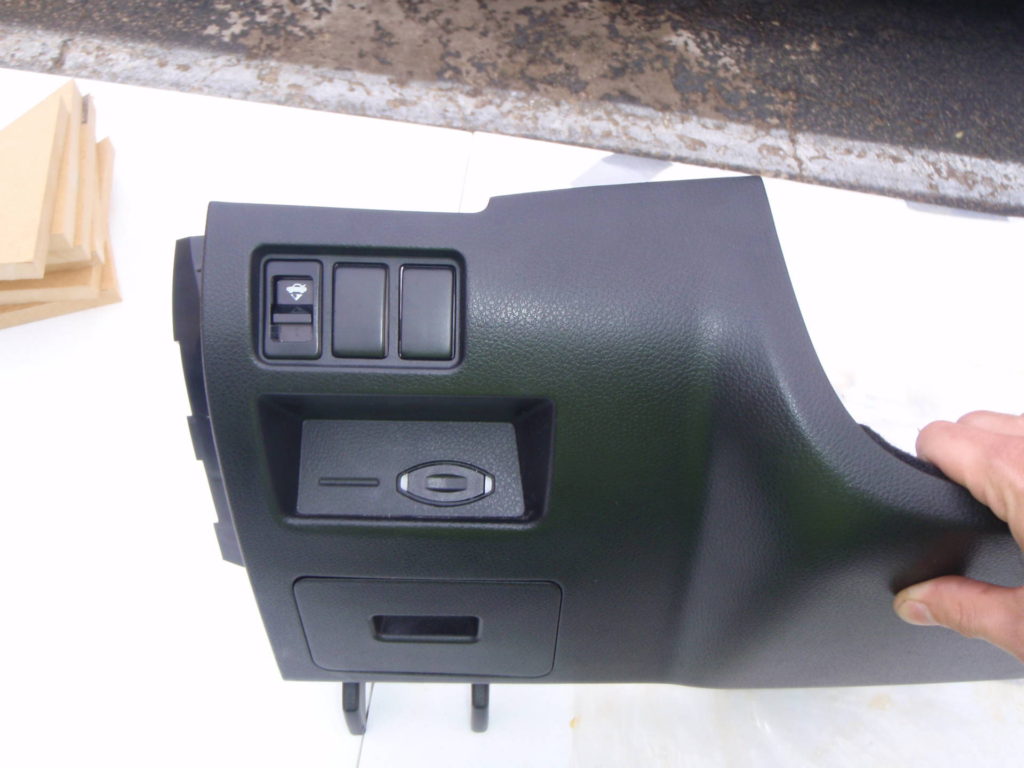
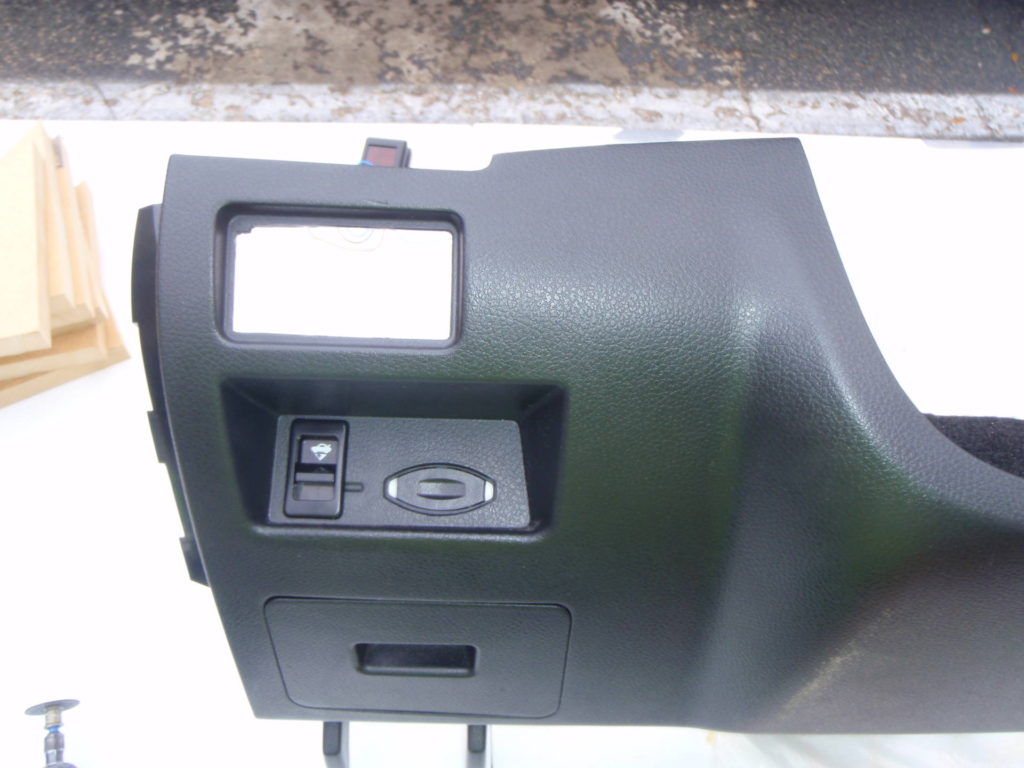
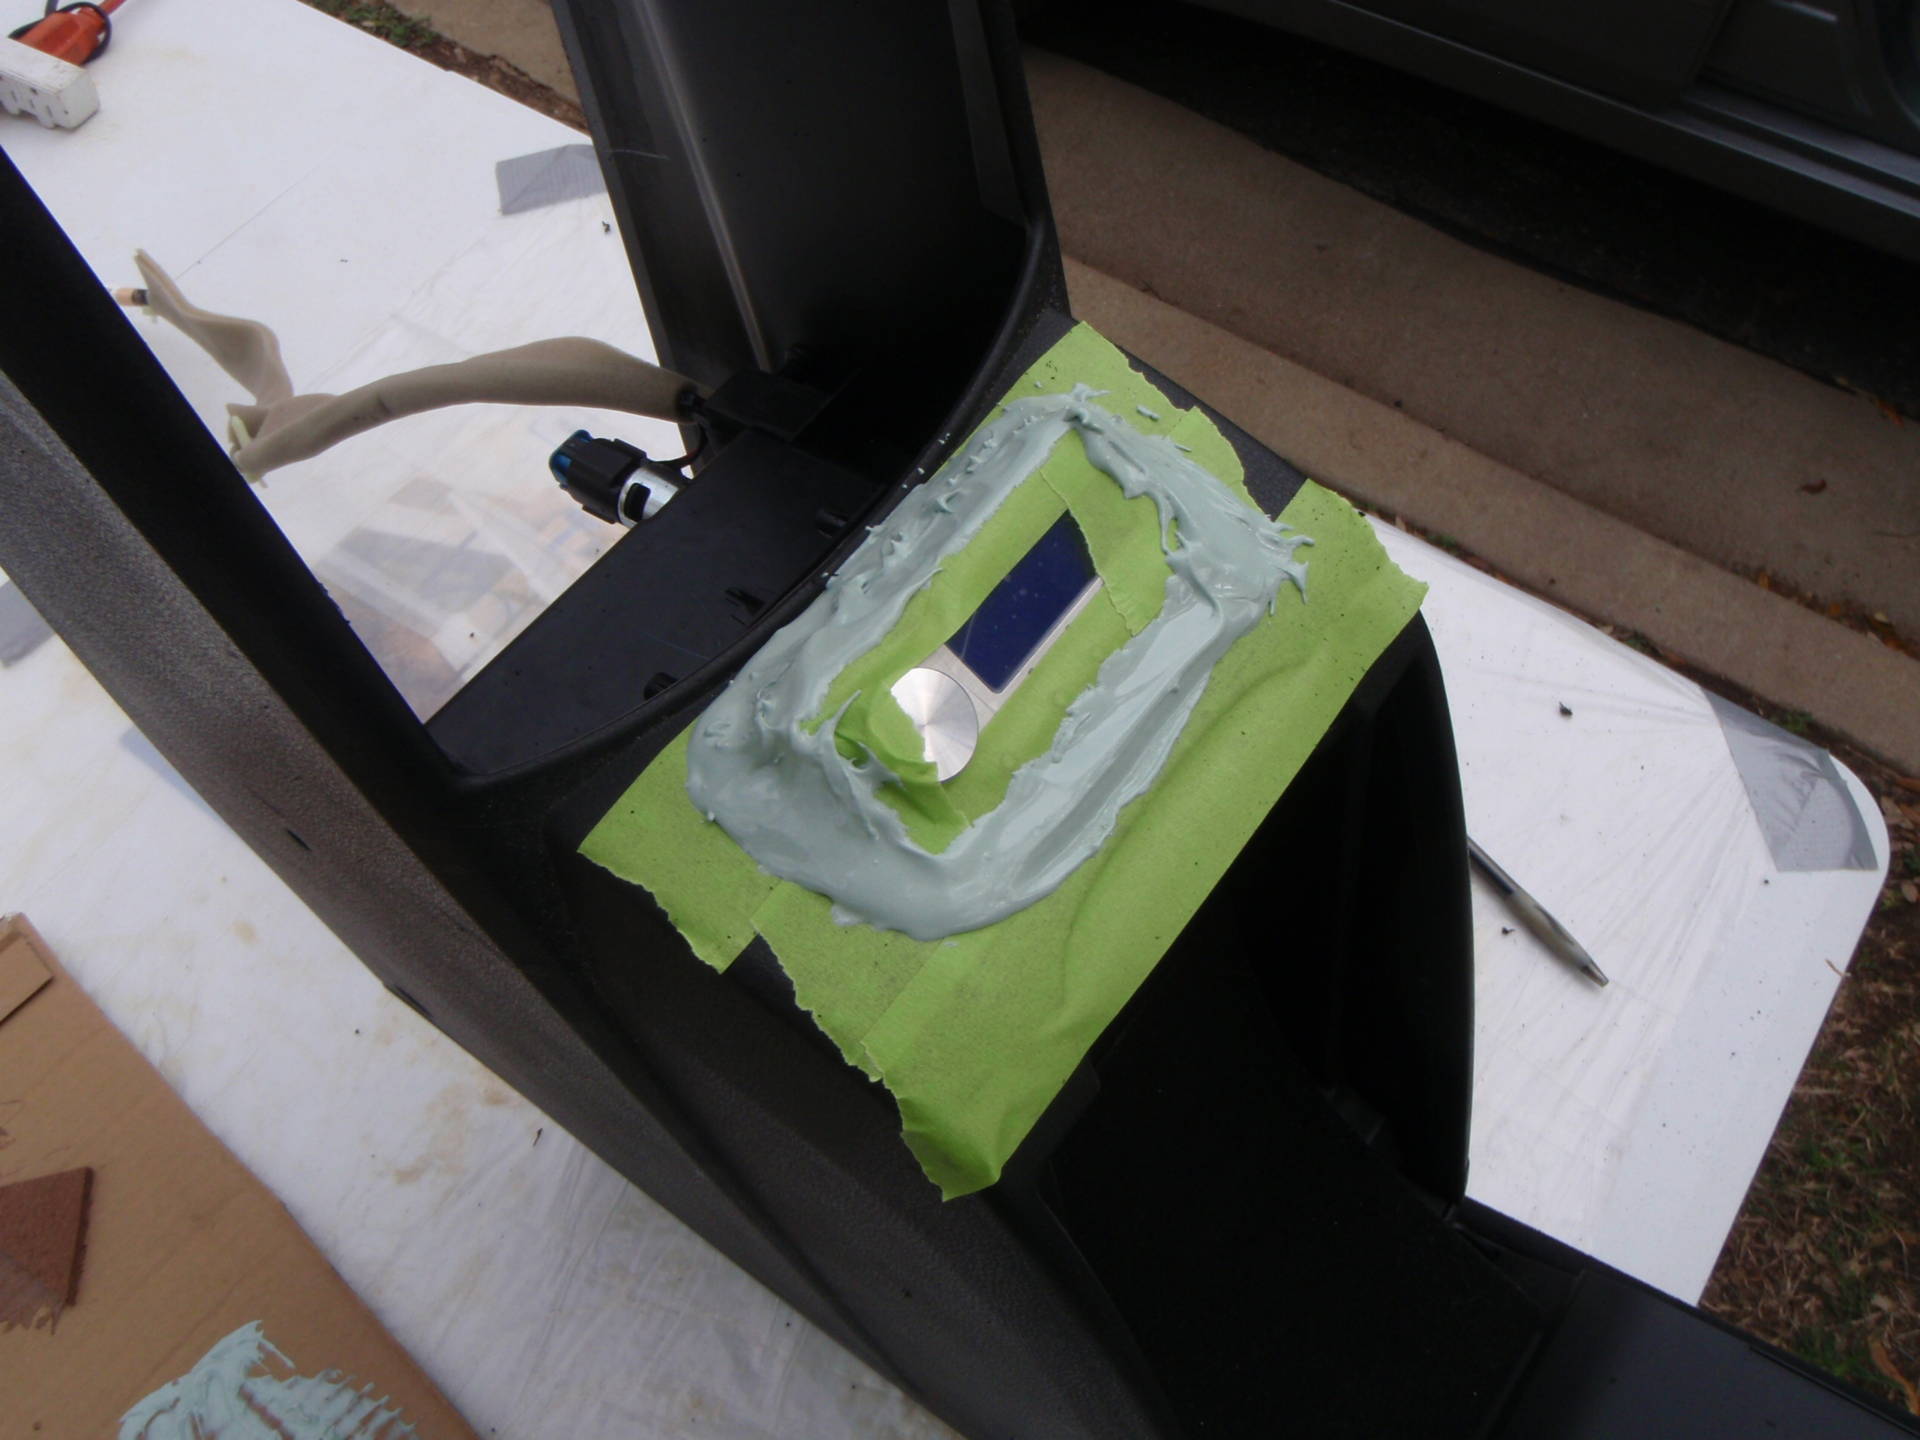
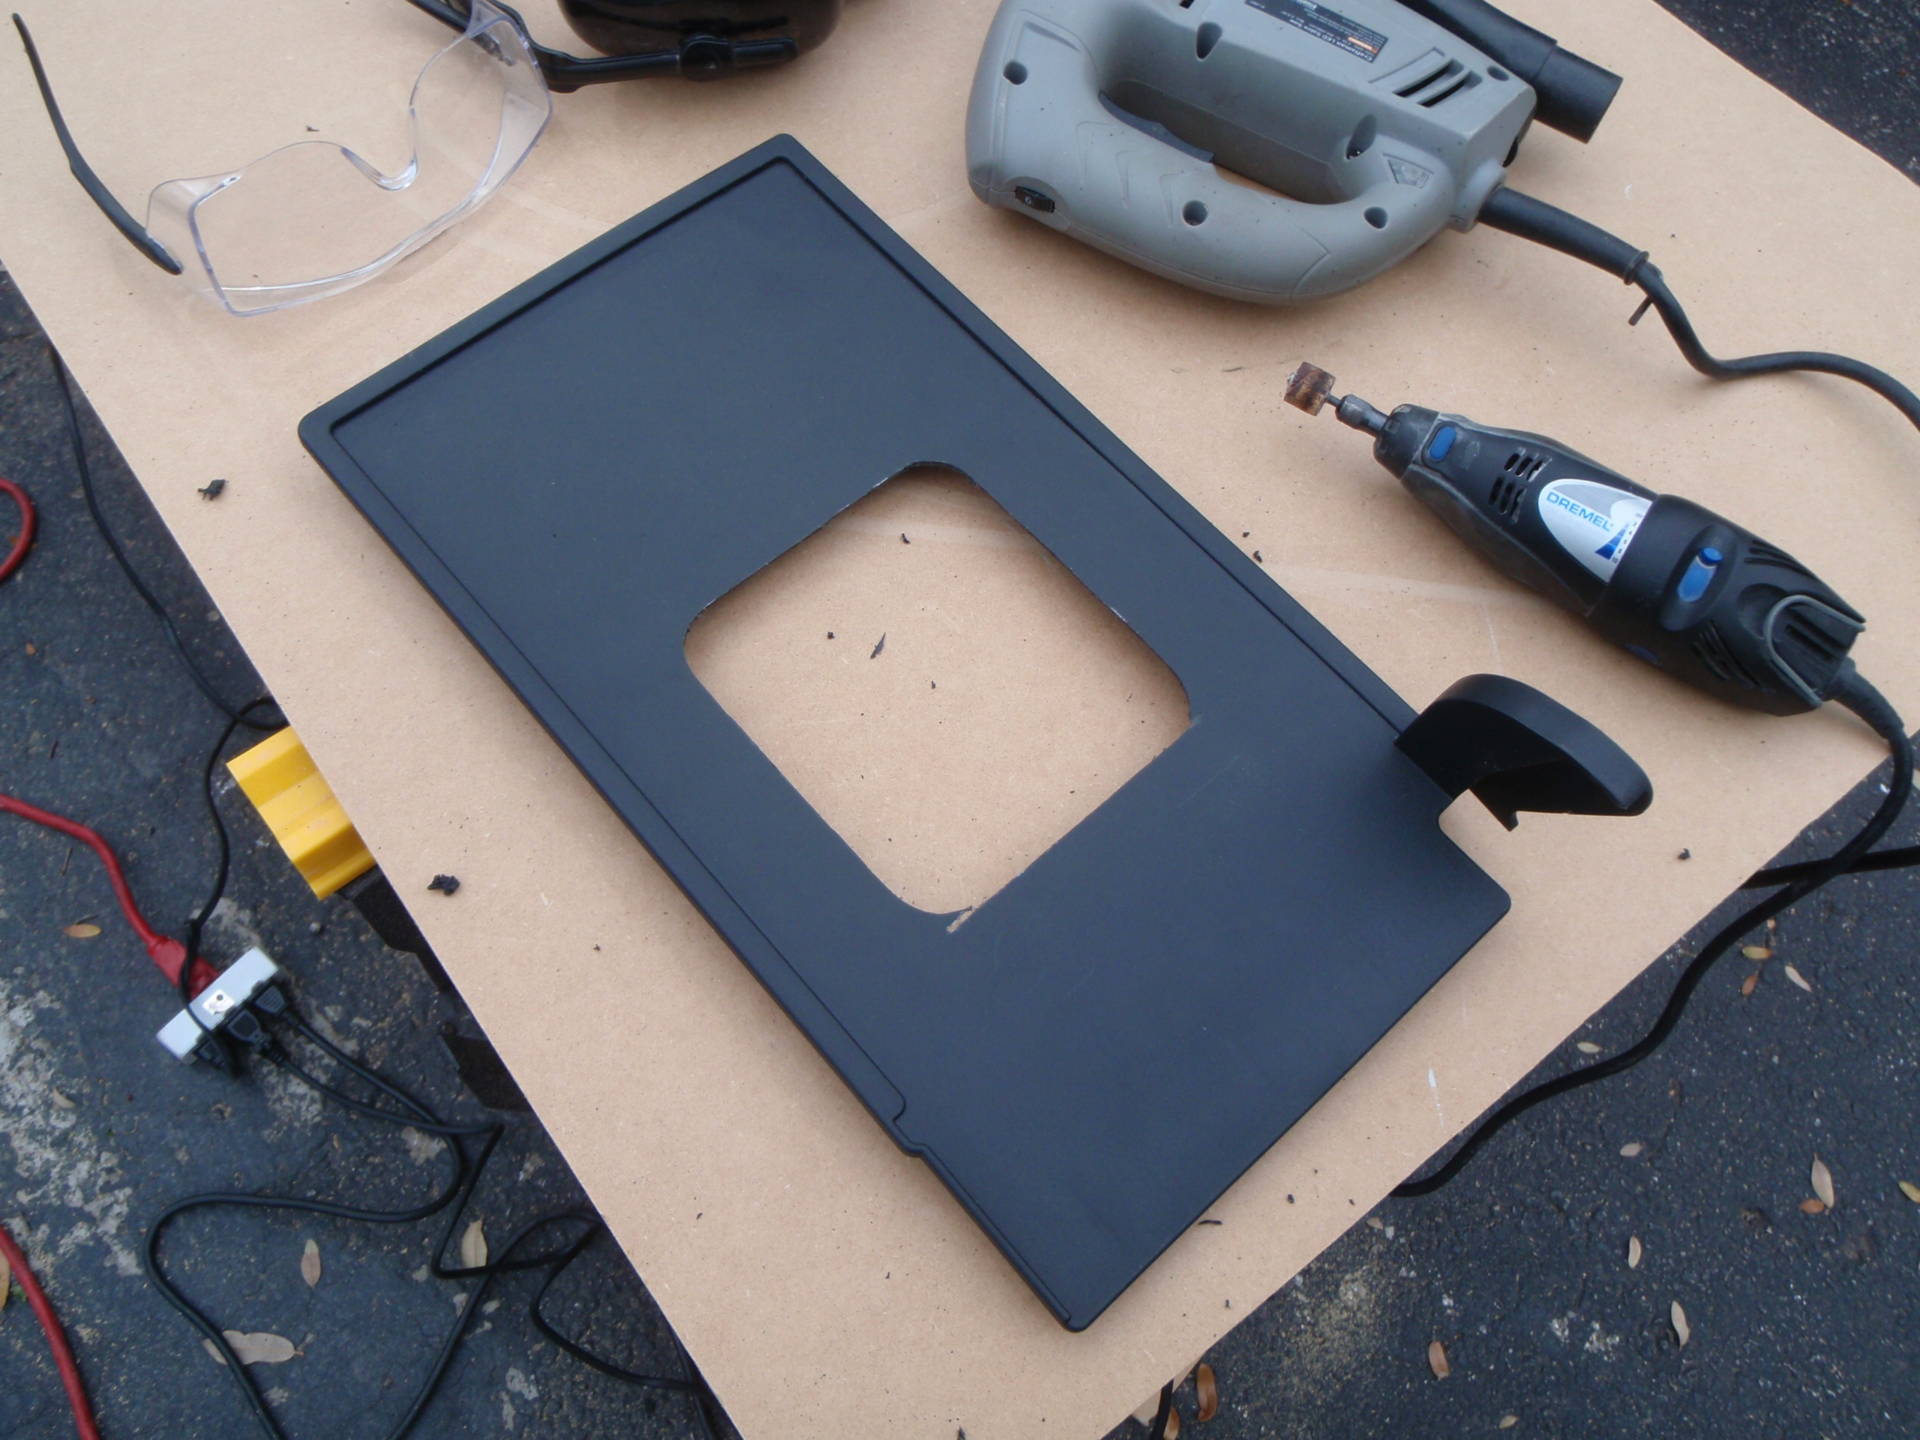
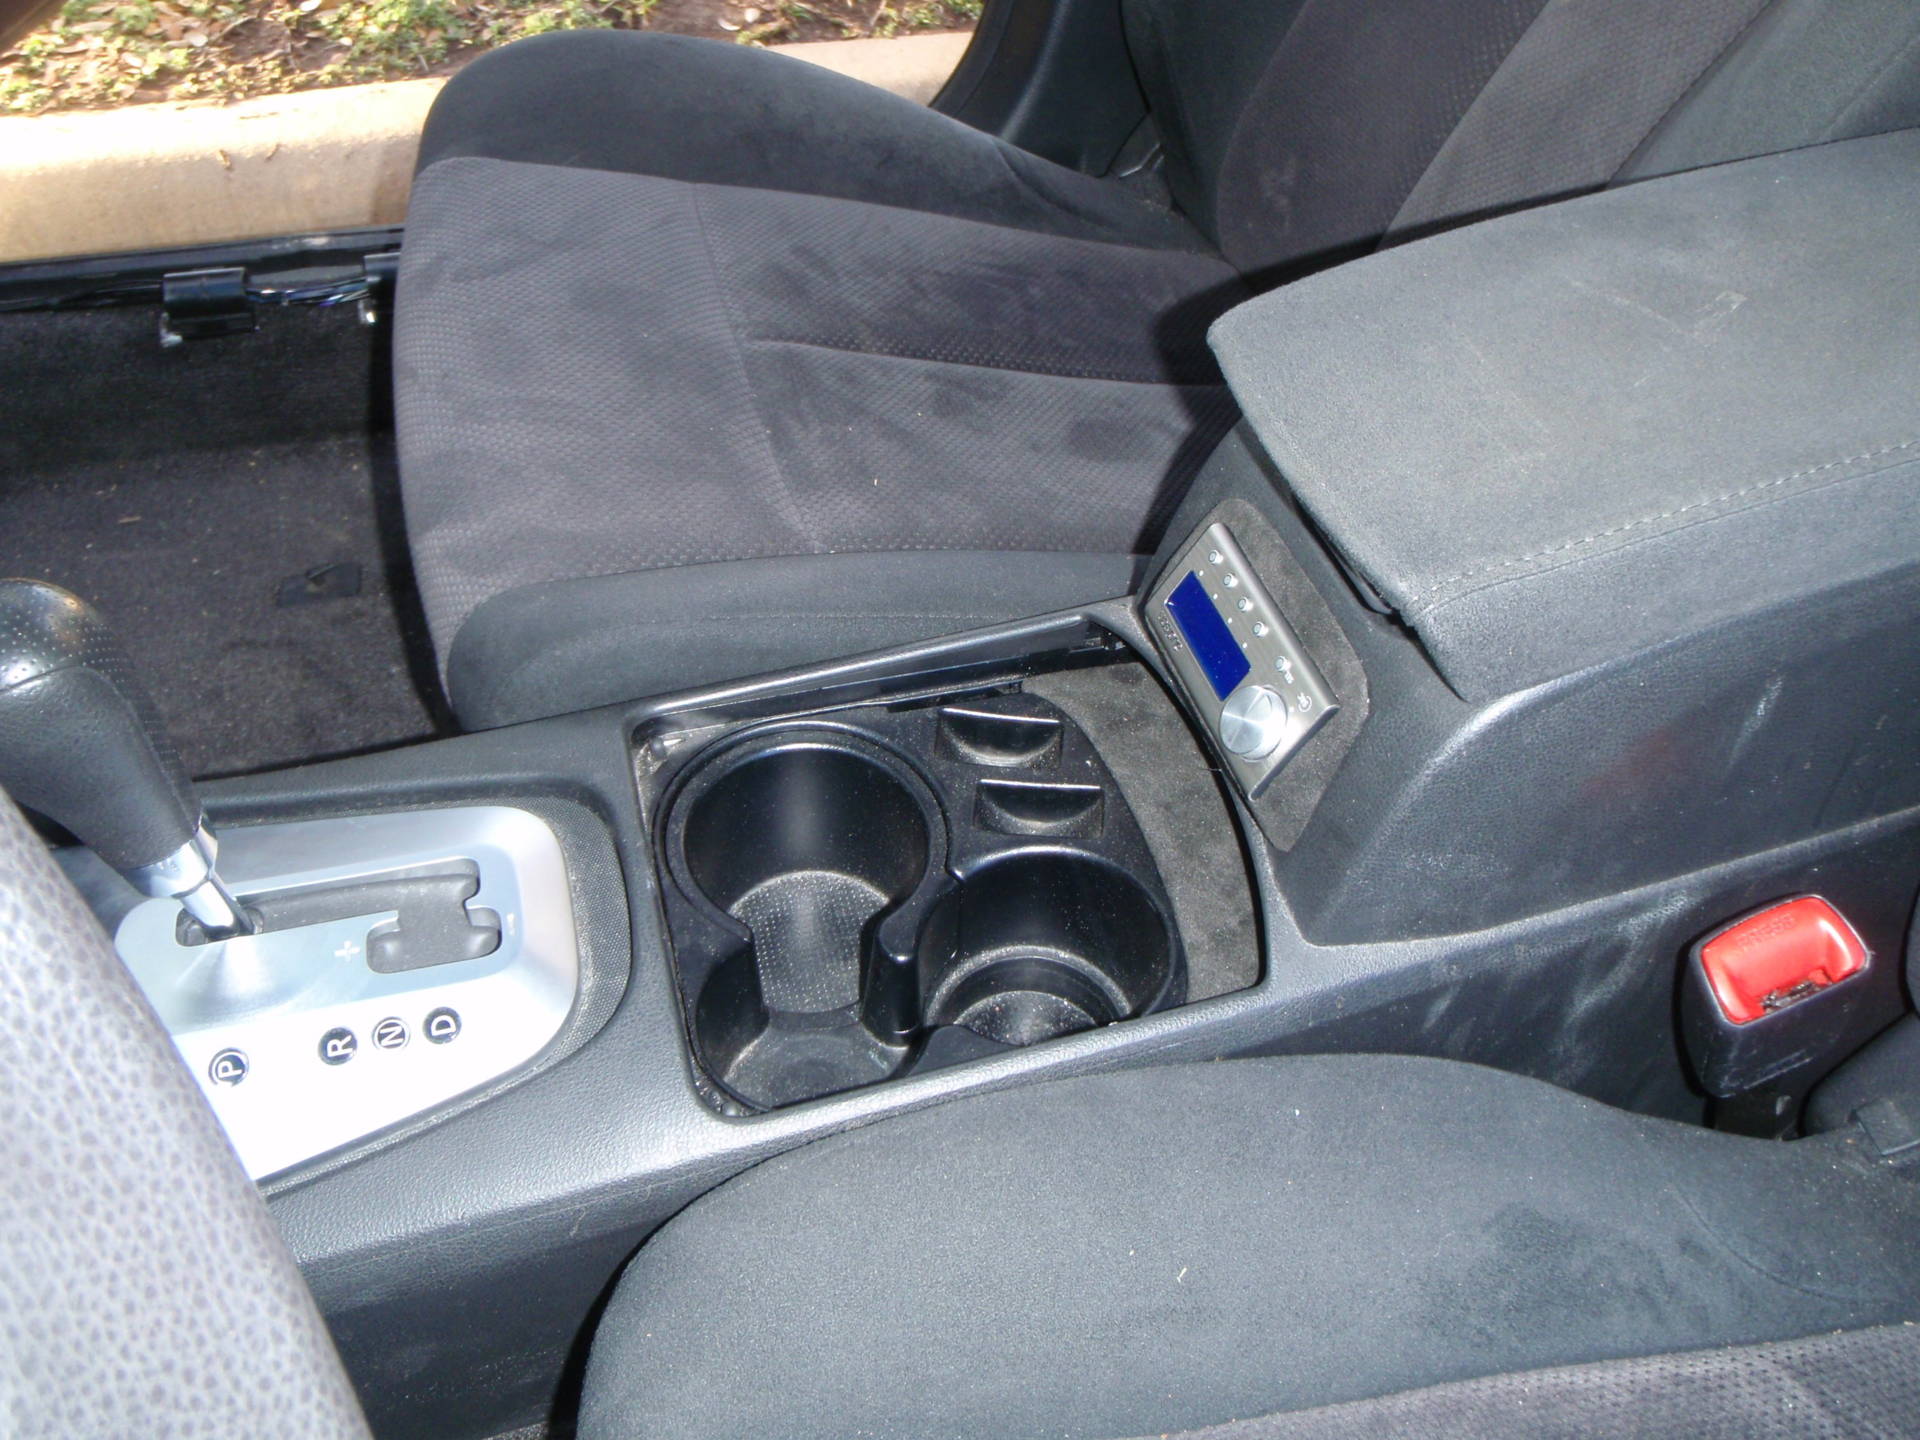
The center console will be the future home of the Digital Remote Control (DRC), getting it nice and smooth was easier said than done:
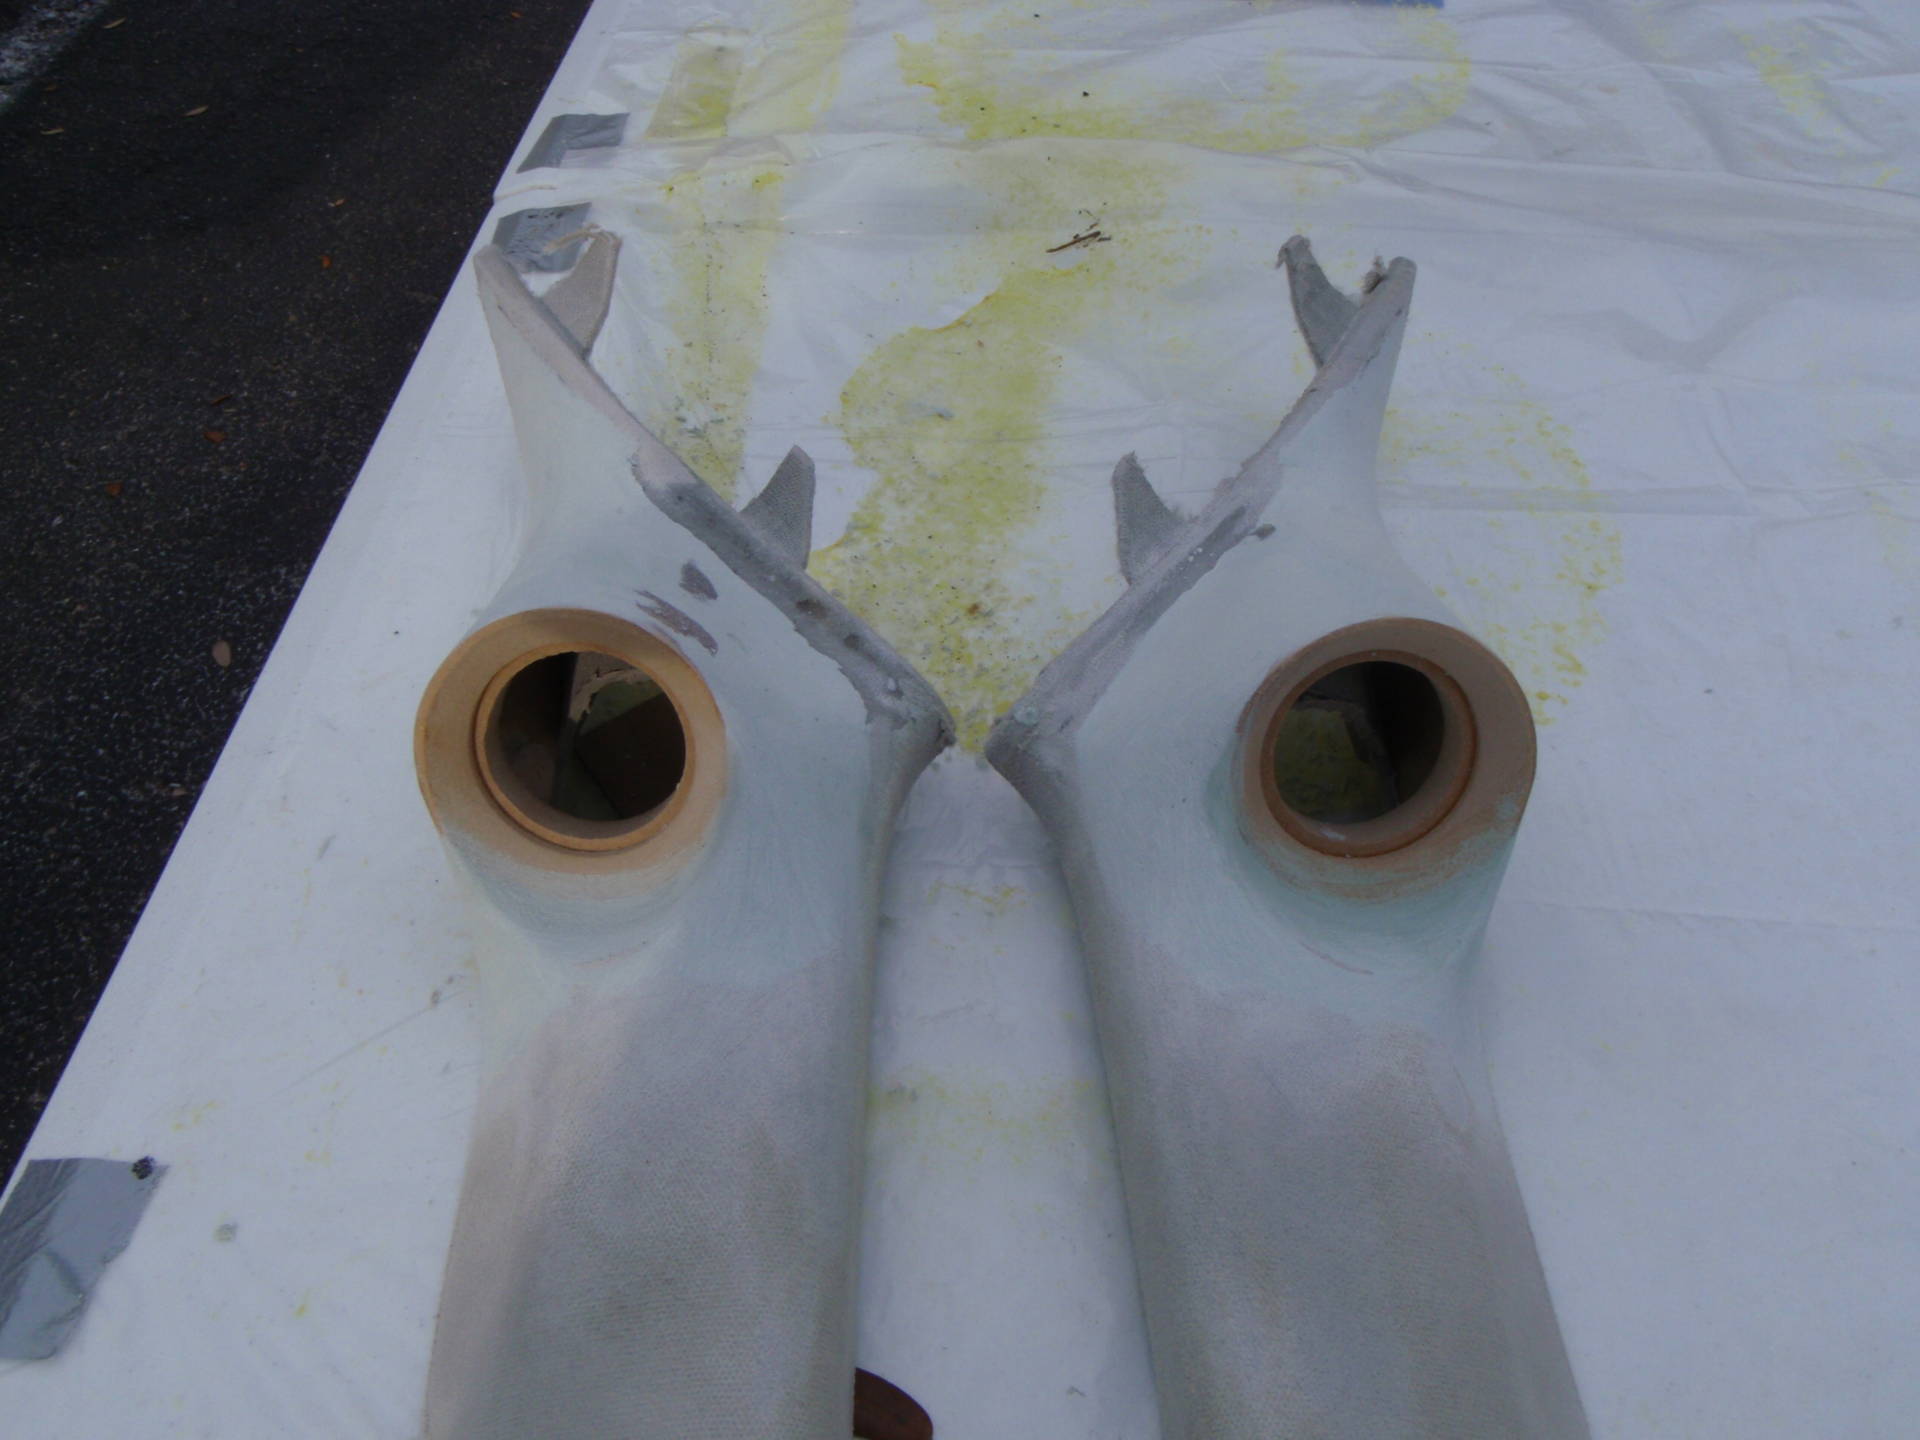
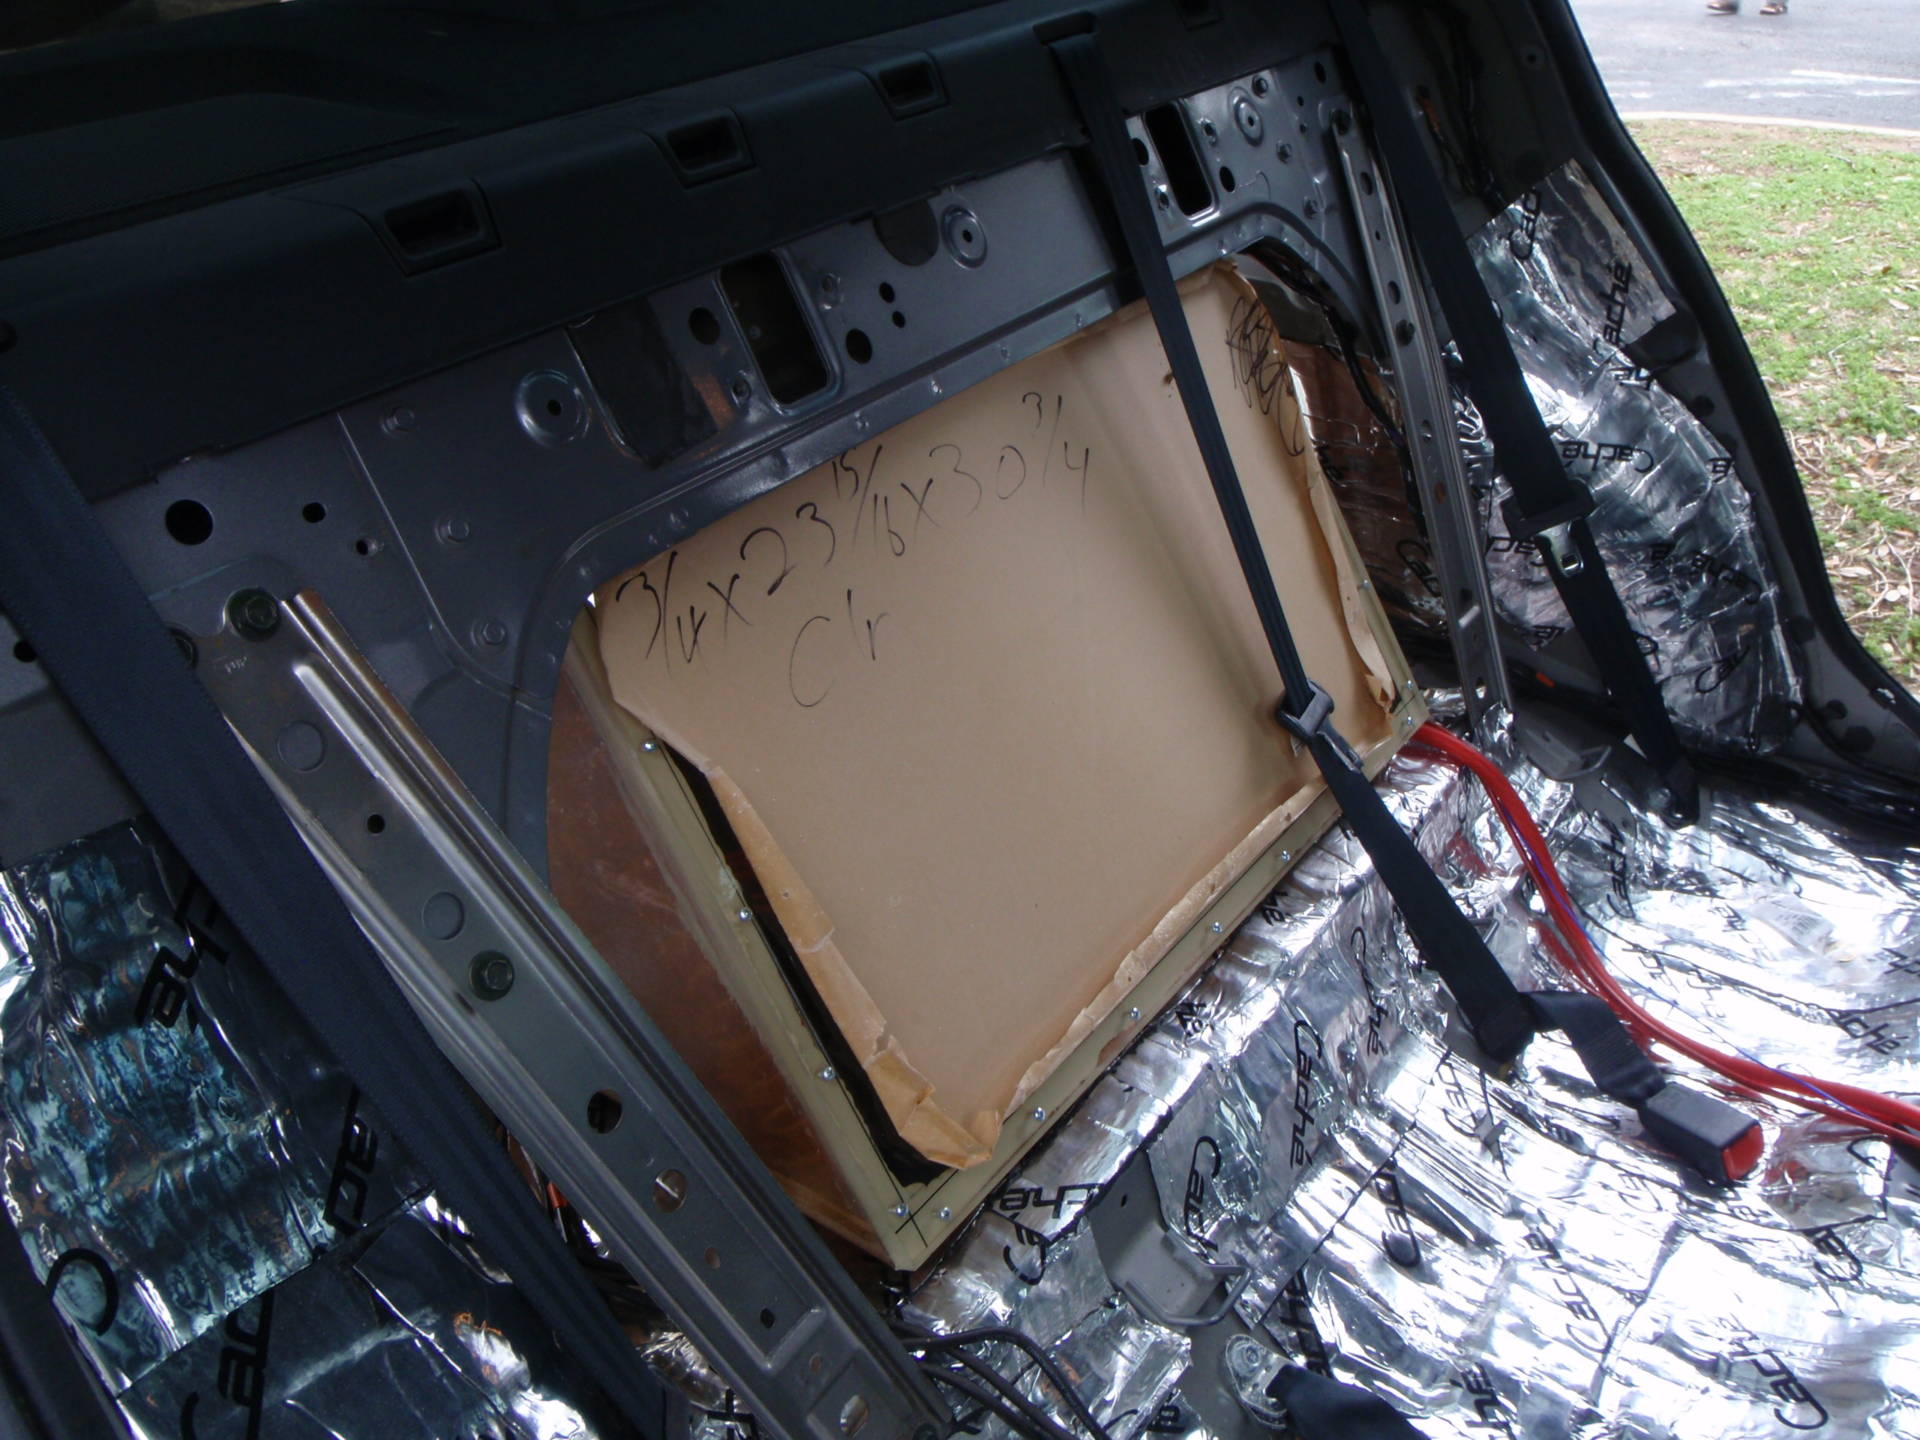
After everything is confirmed cured more damping goes over the mounting rings, solid speaker cabinet ready for speakers:
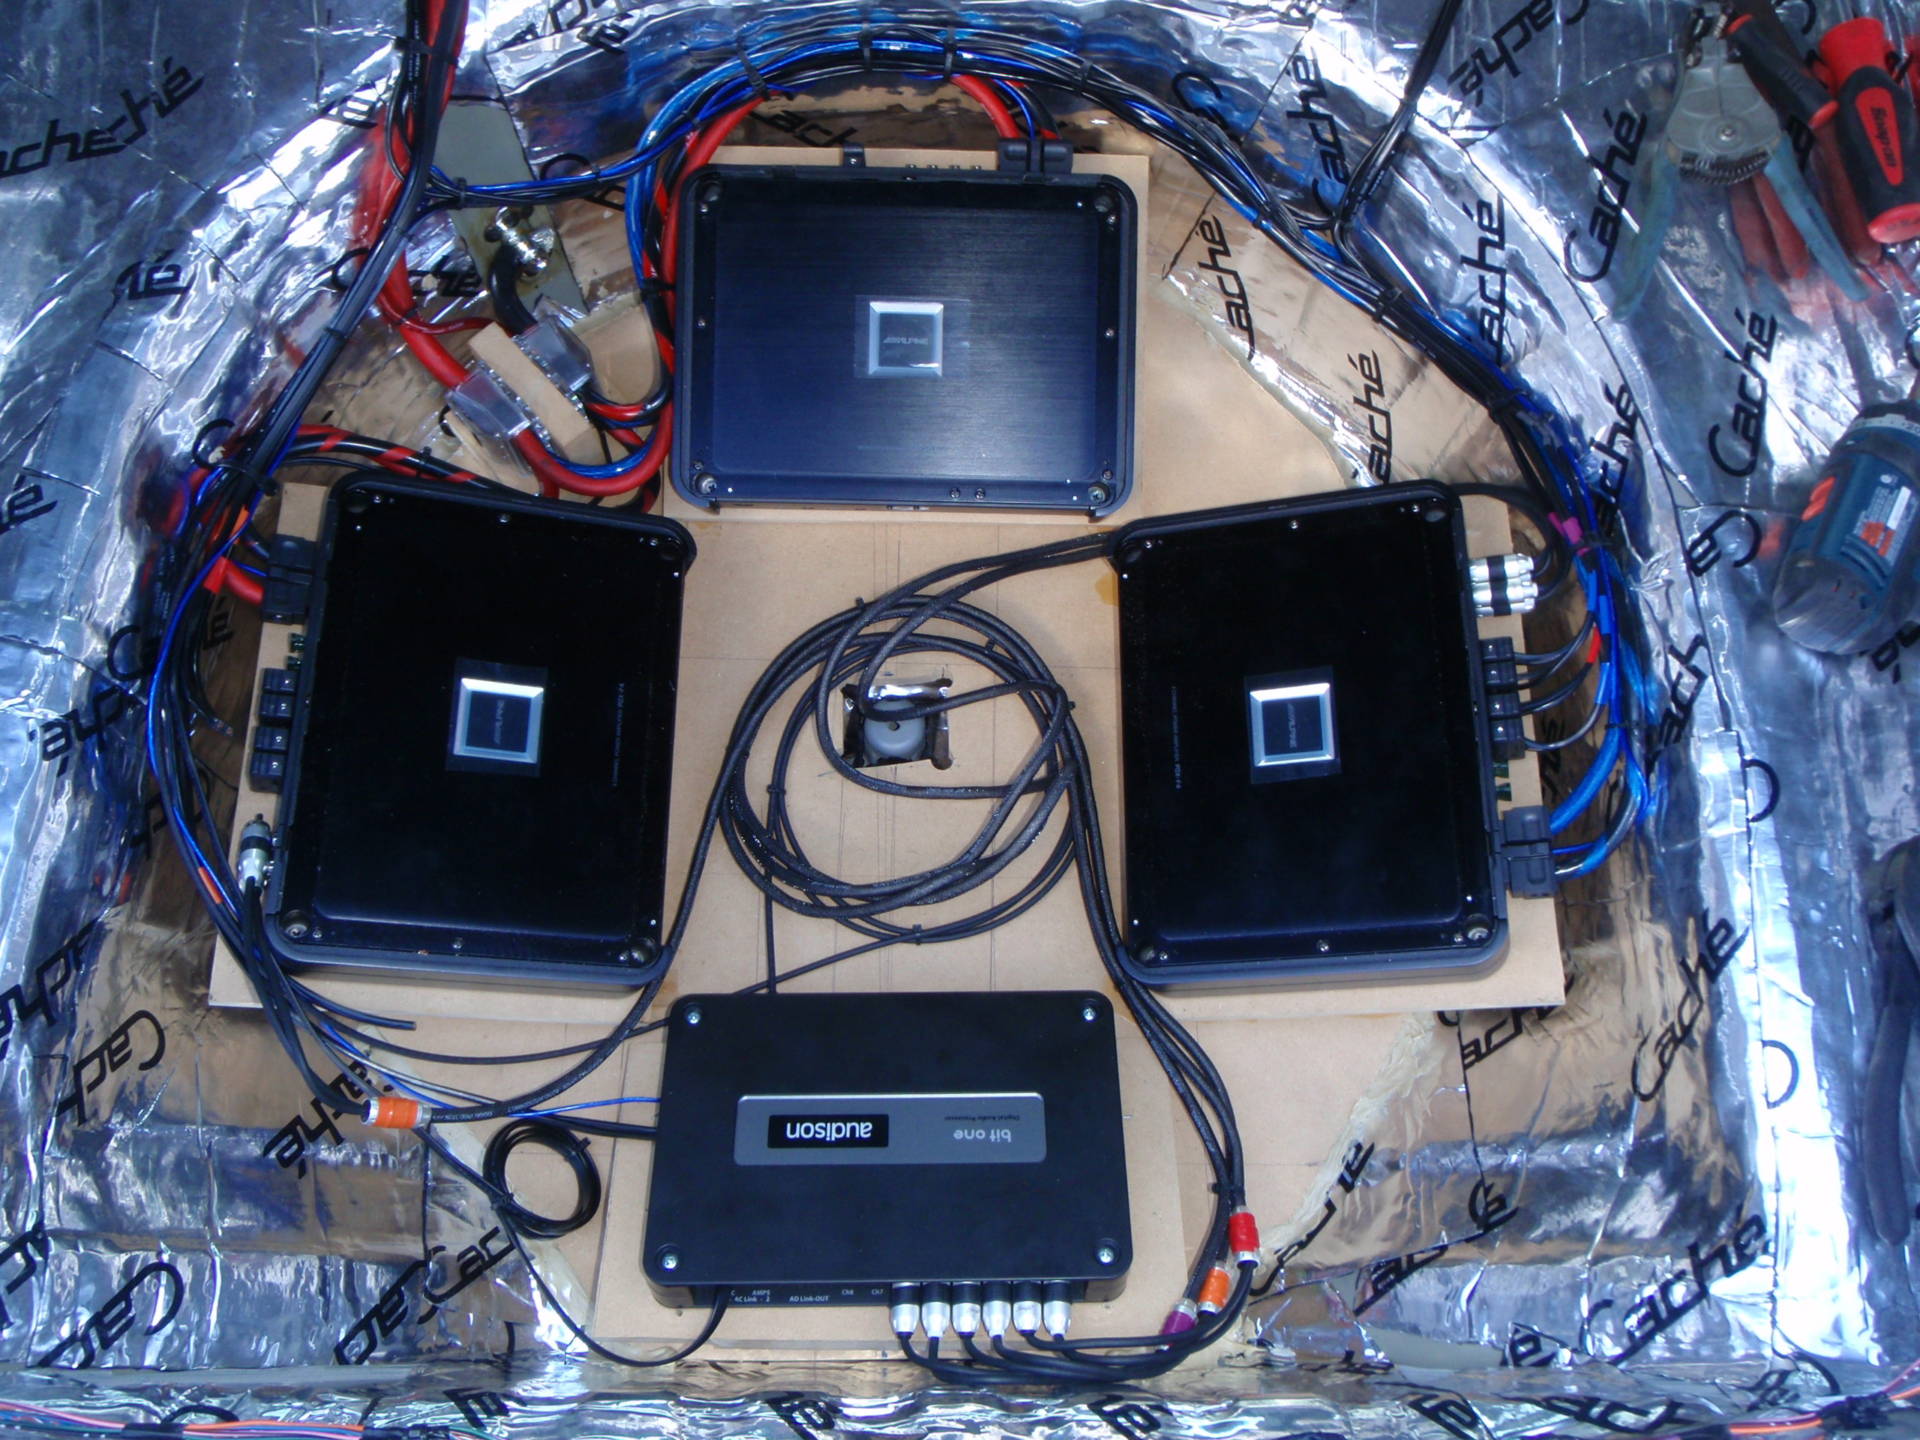
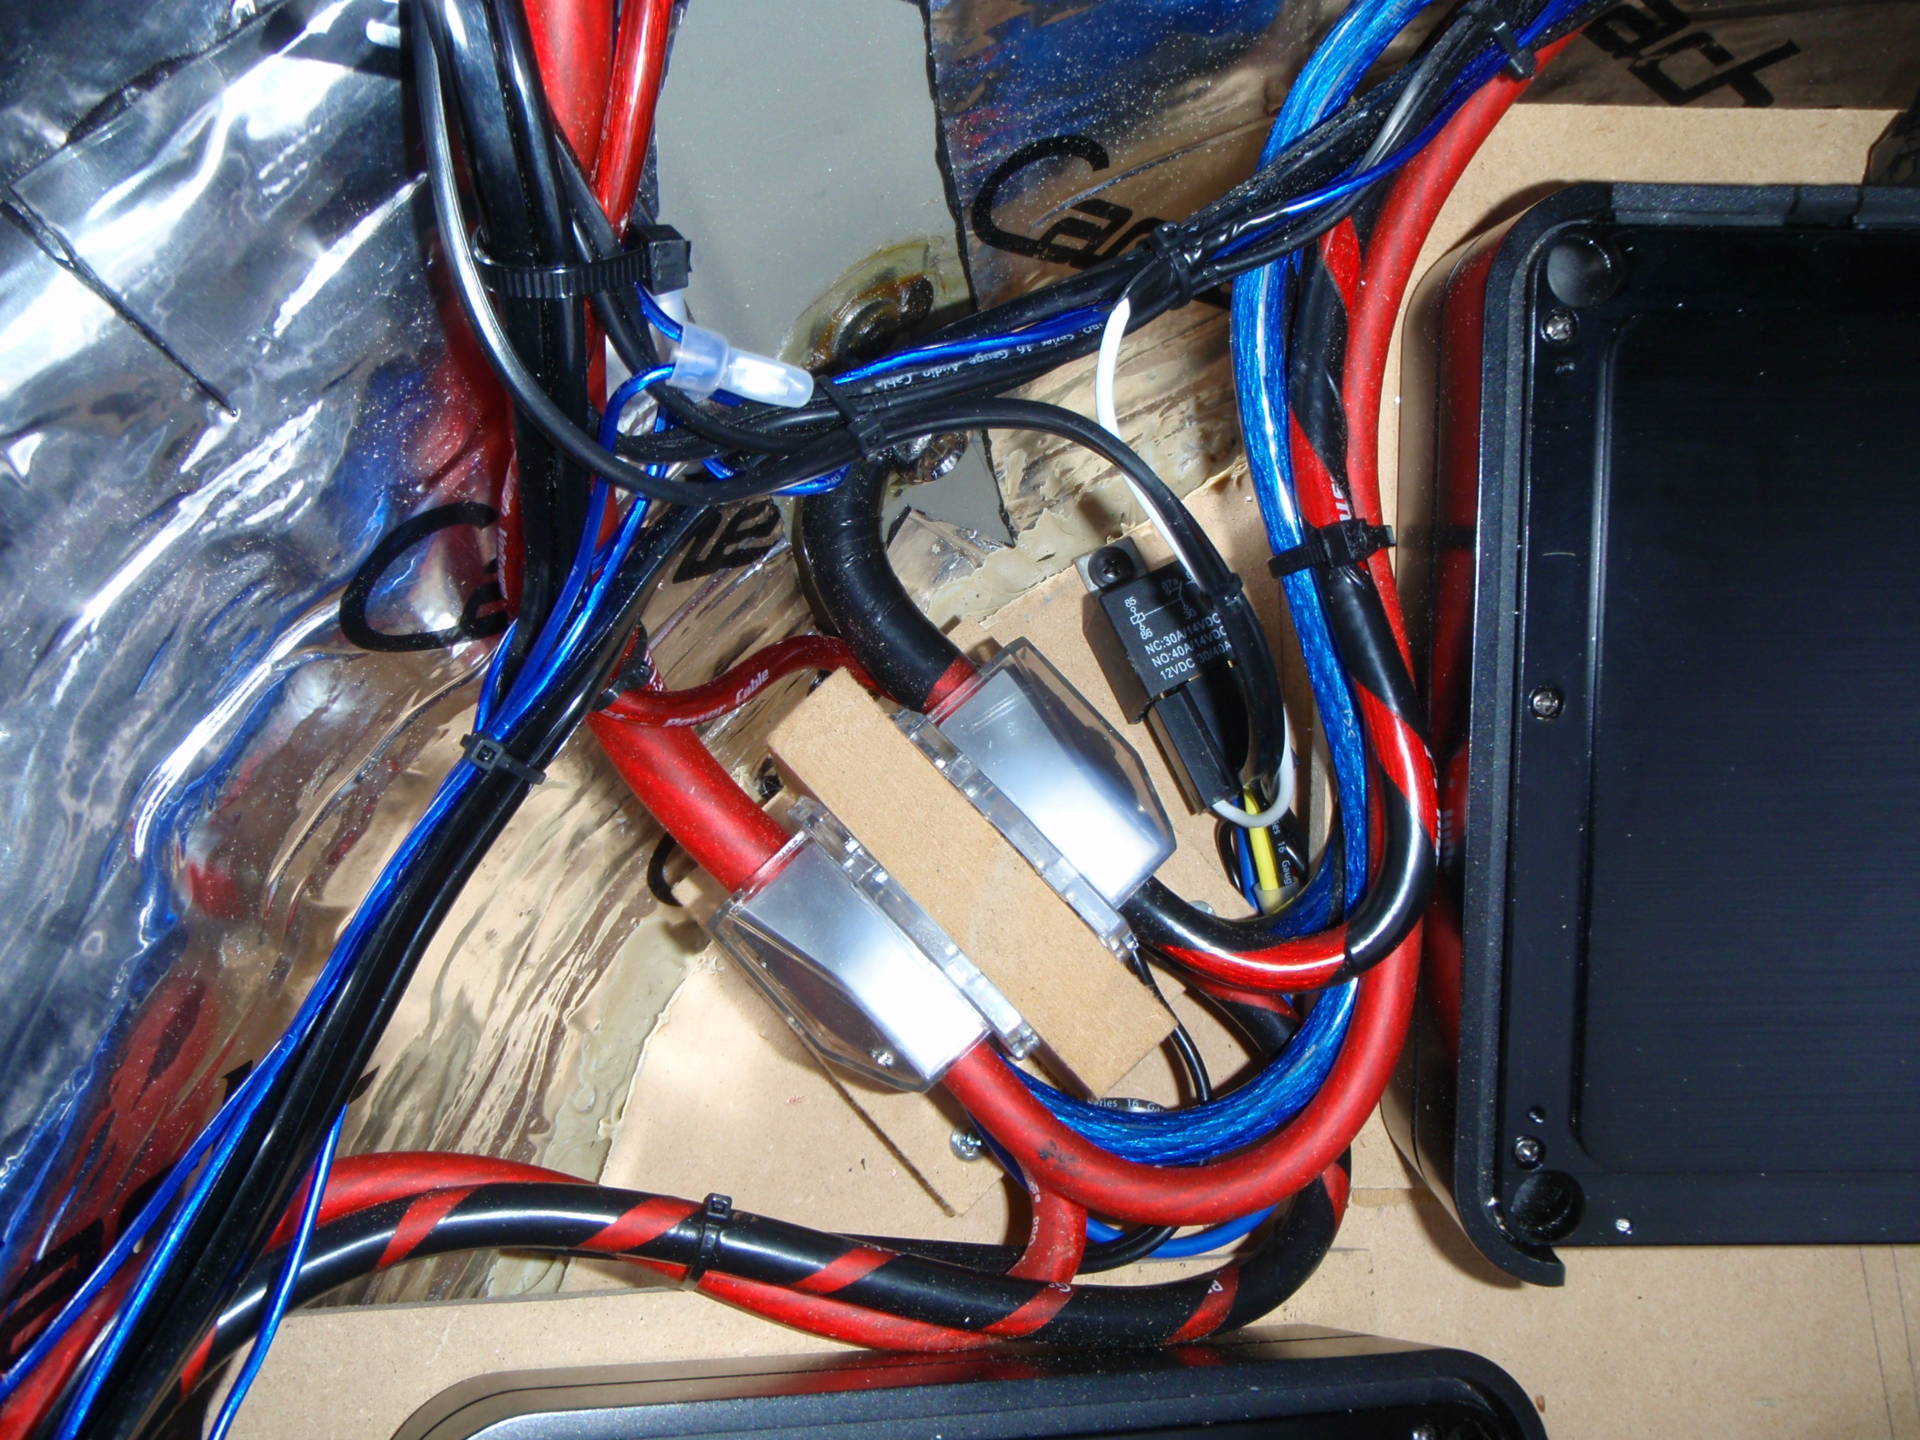
My power distribution center, which I’m mighty proud of:
Power and ground wiring run from distro to amps:
Mimicked the factory wiring as much as possible, zip tied up all nice and pretty:

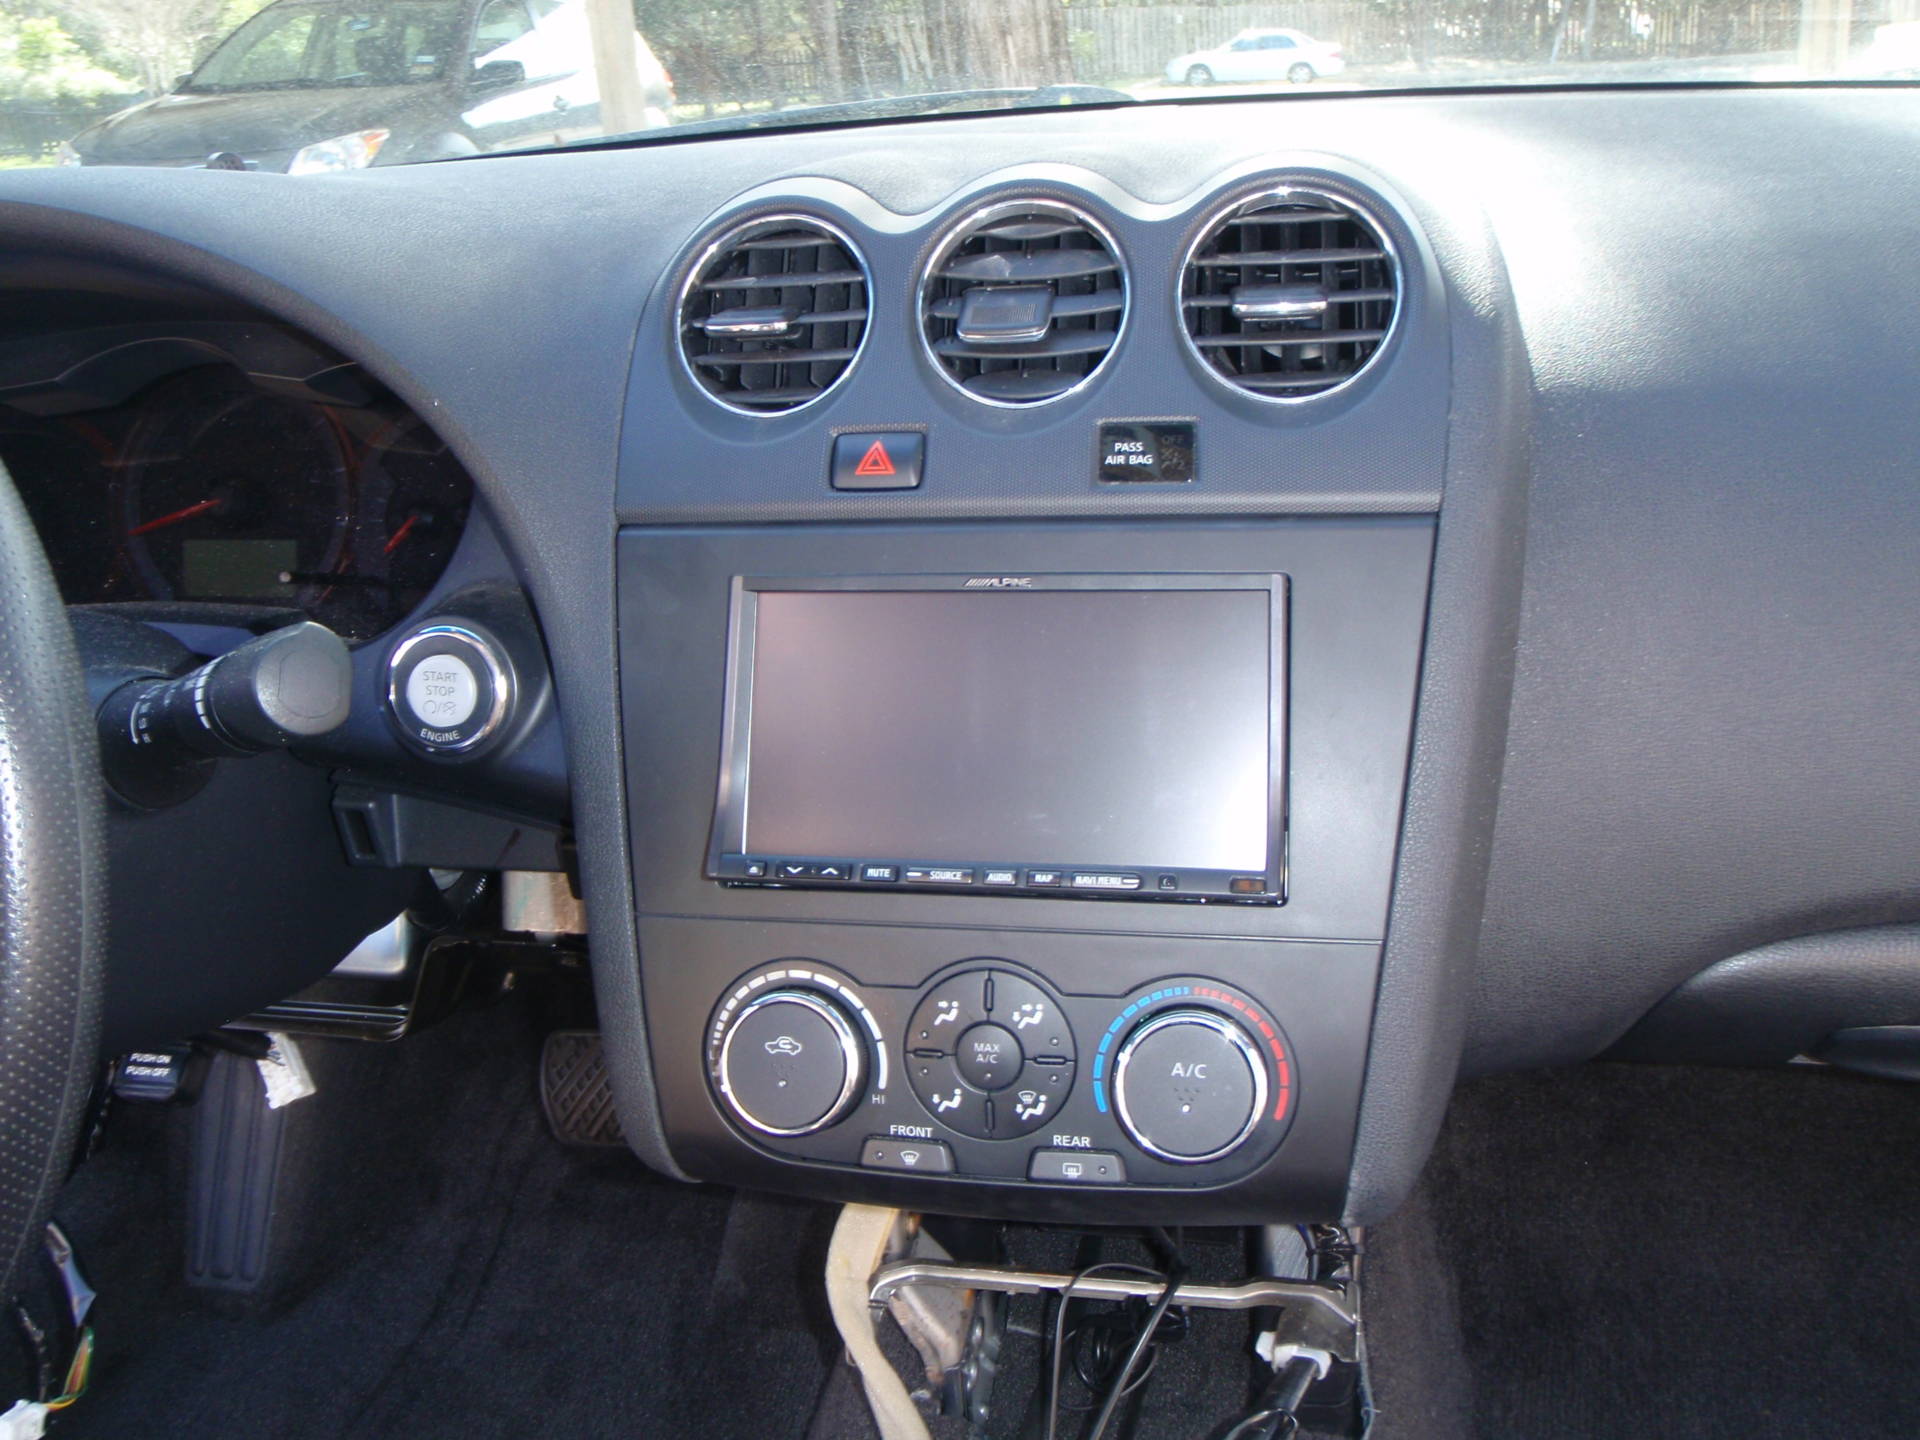
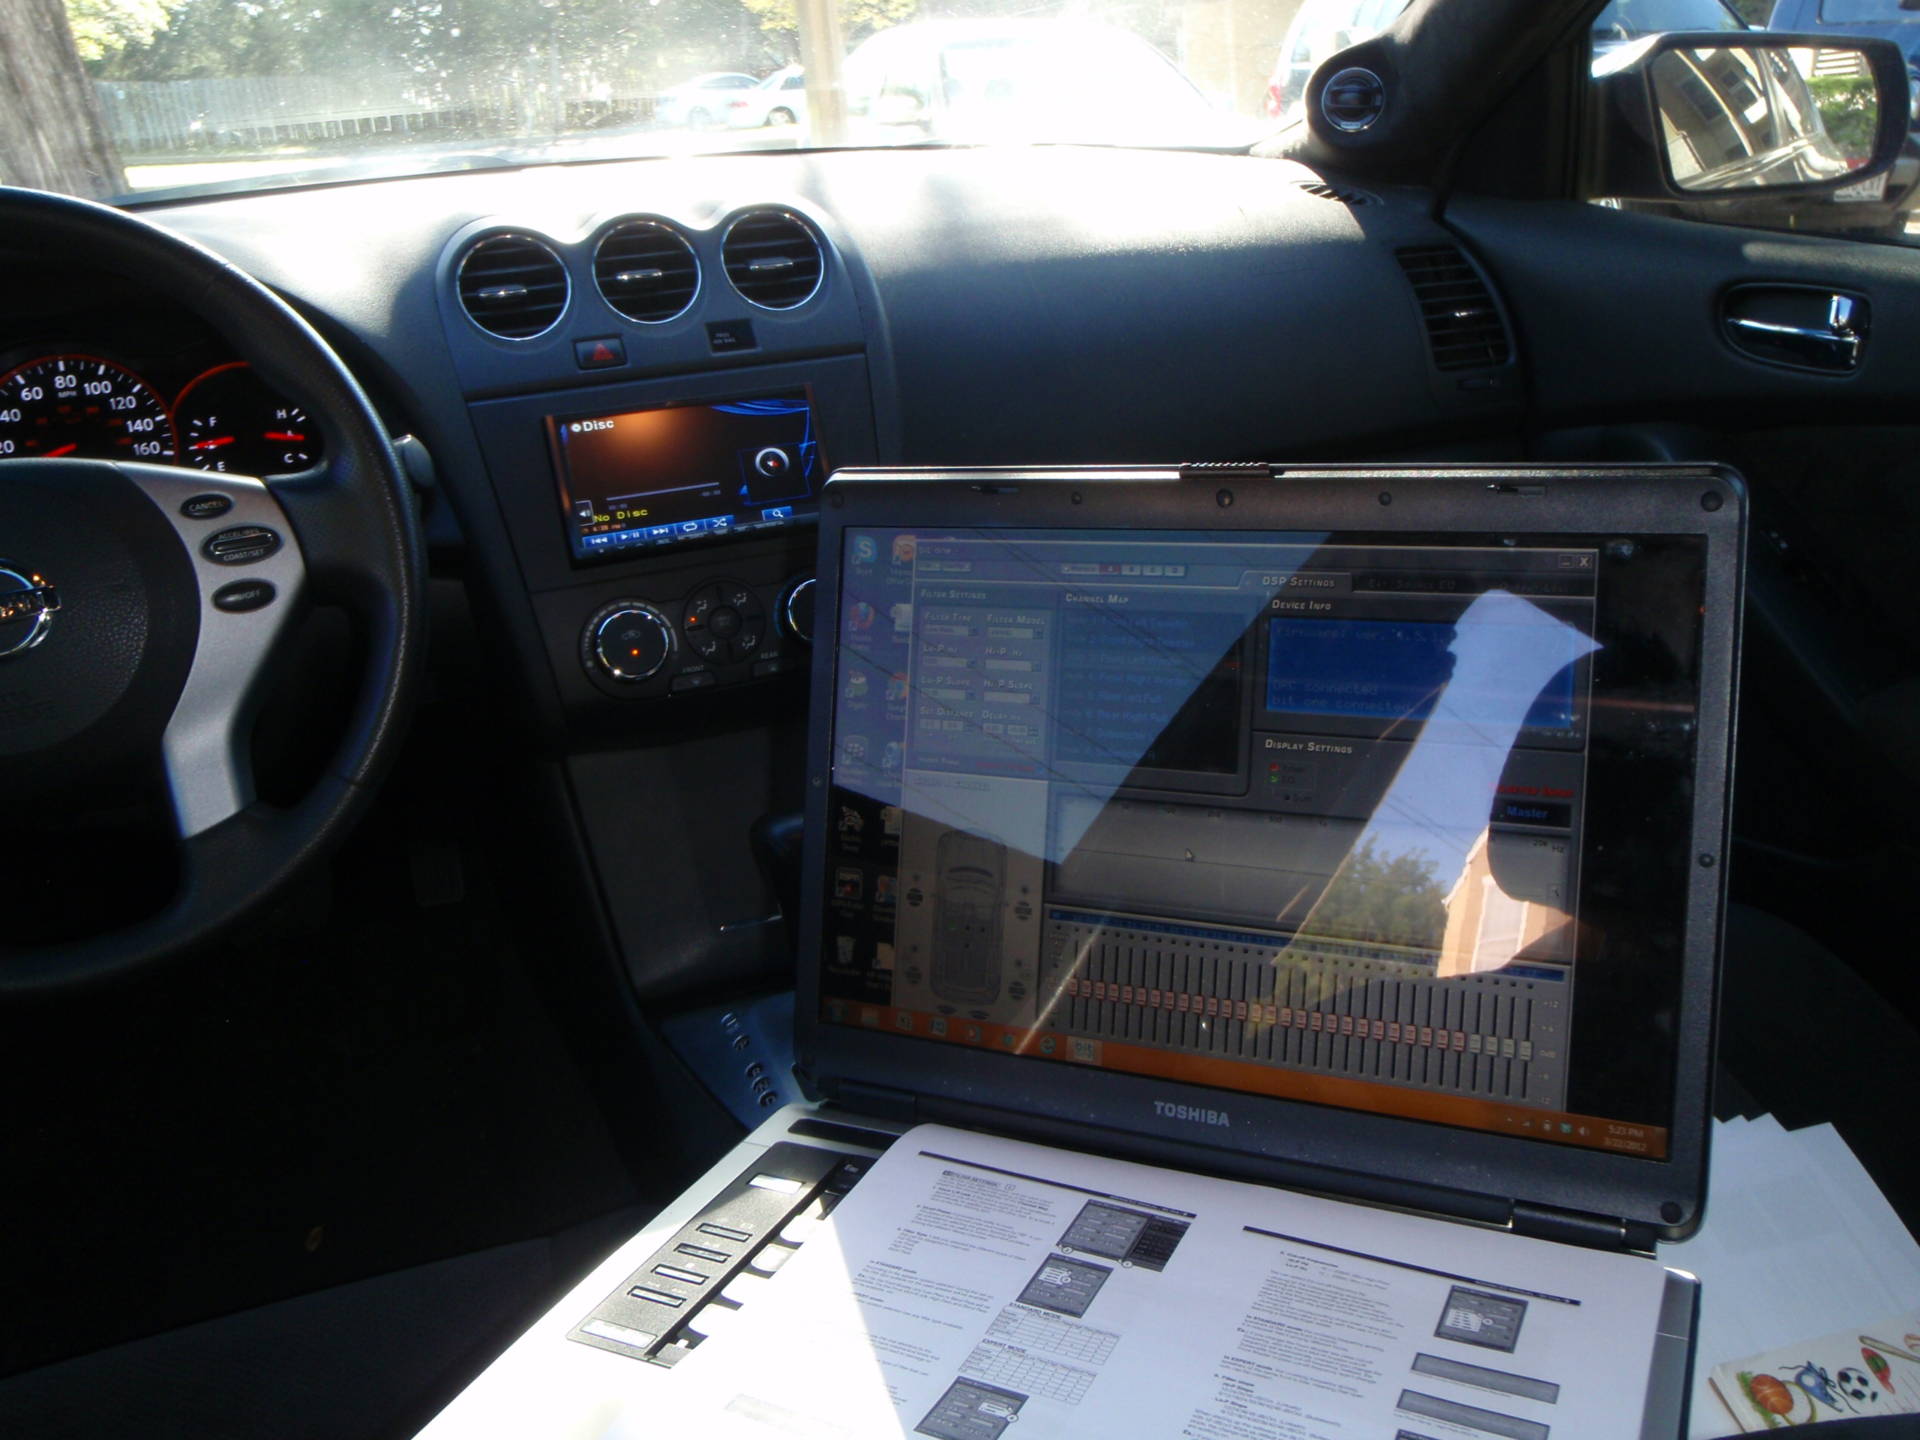
The Alpine INA-910 double din Navigation/dvd player/iPod/HD radio/SiriusXM ready/everything you can imagine total gangster top of the line as the source:
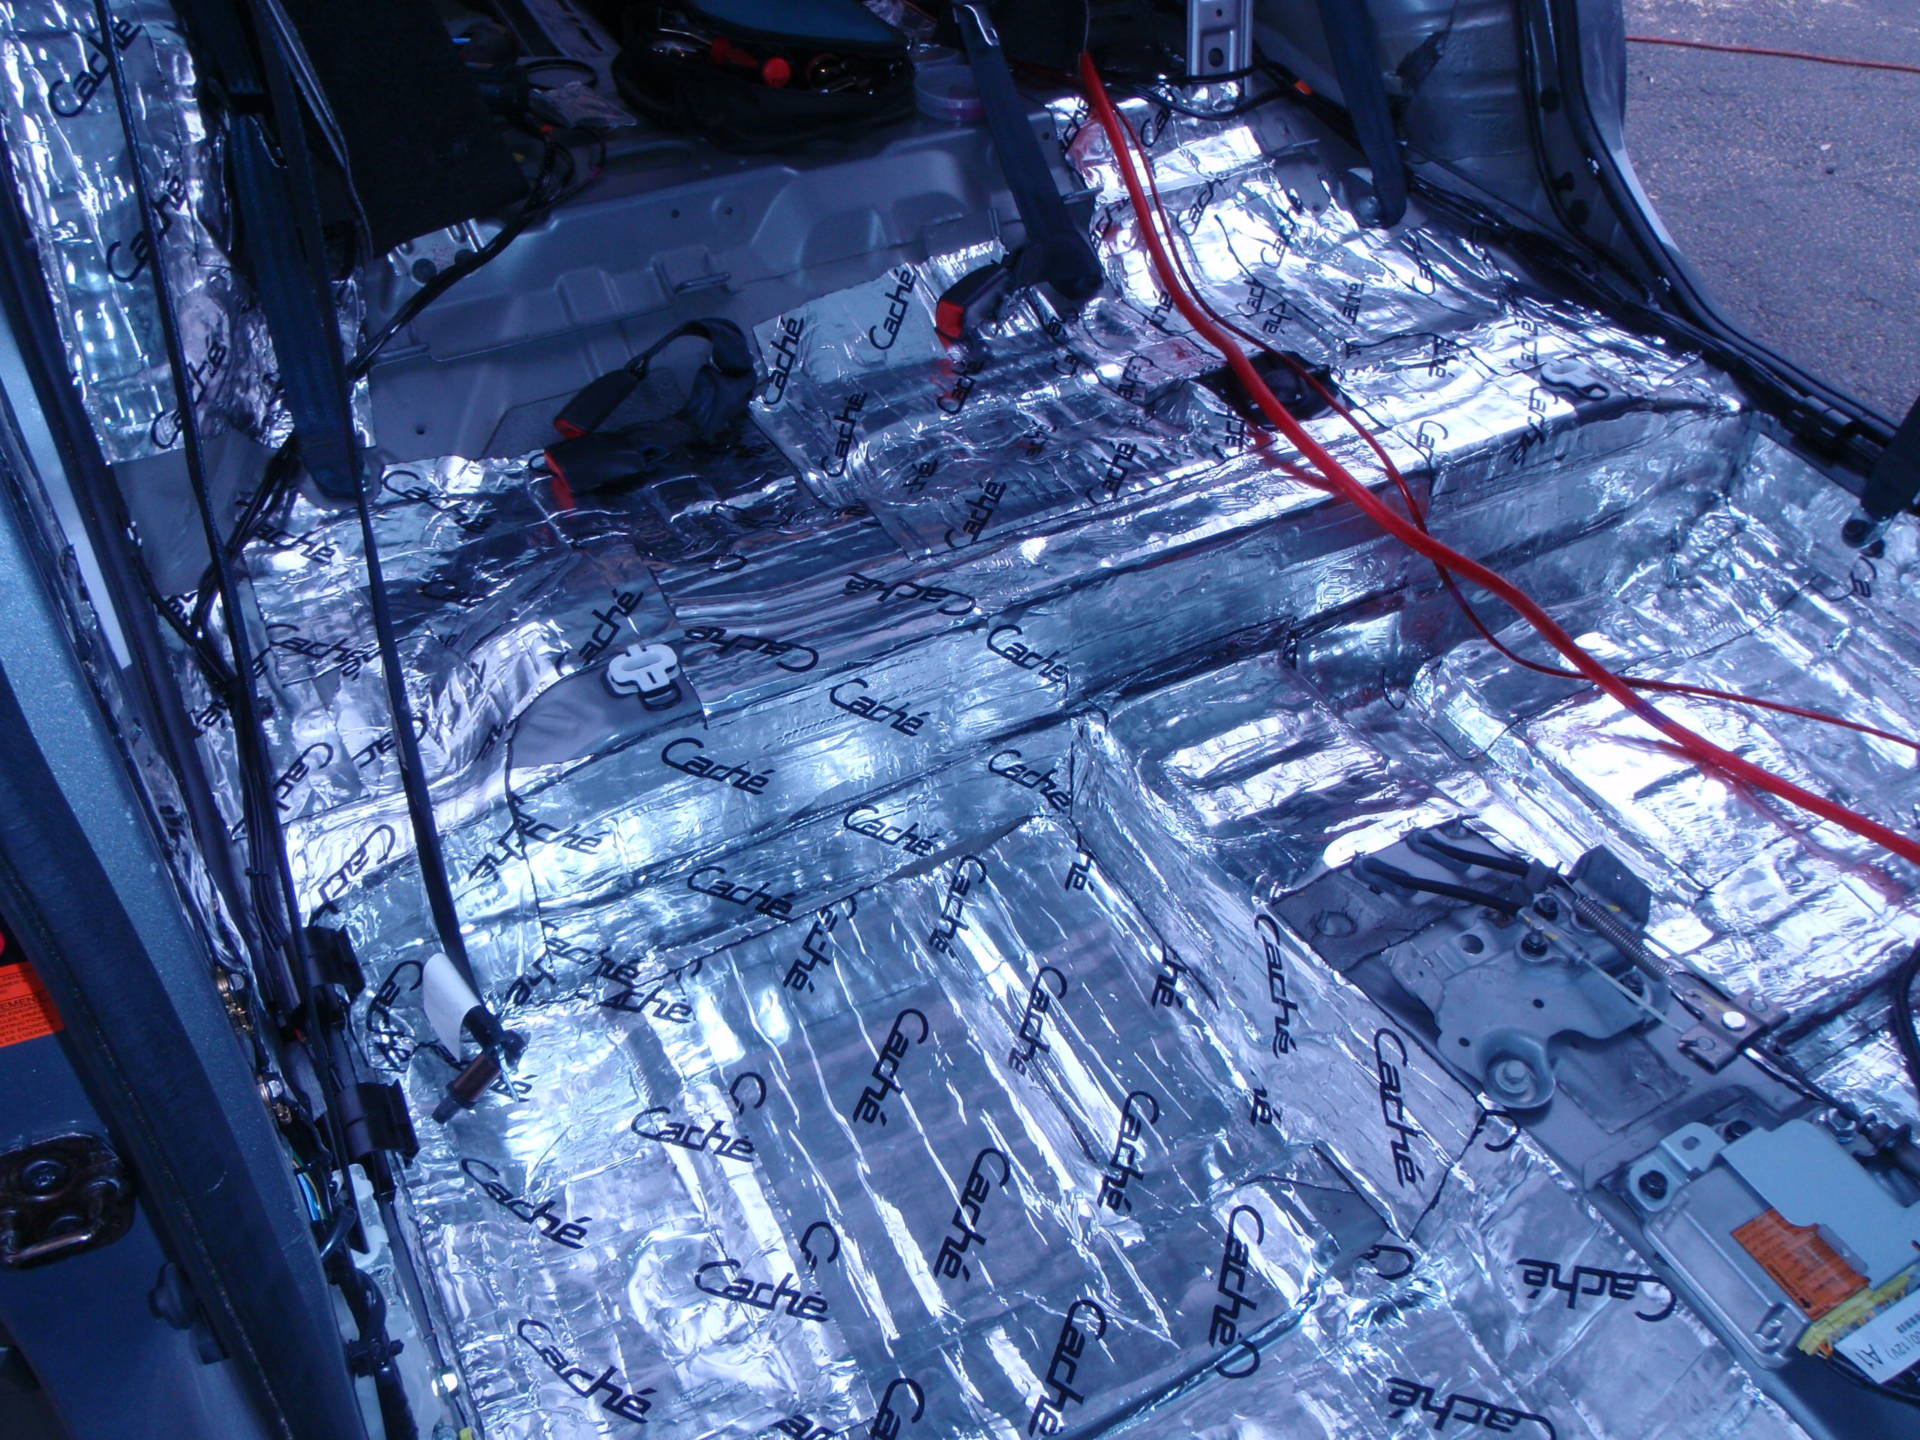
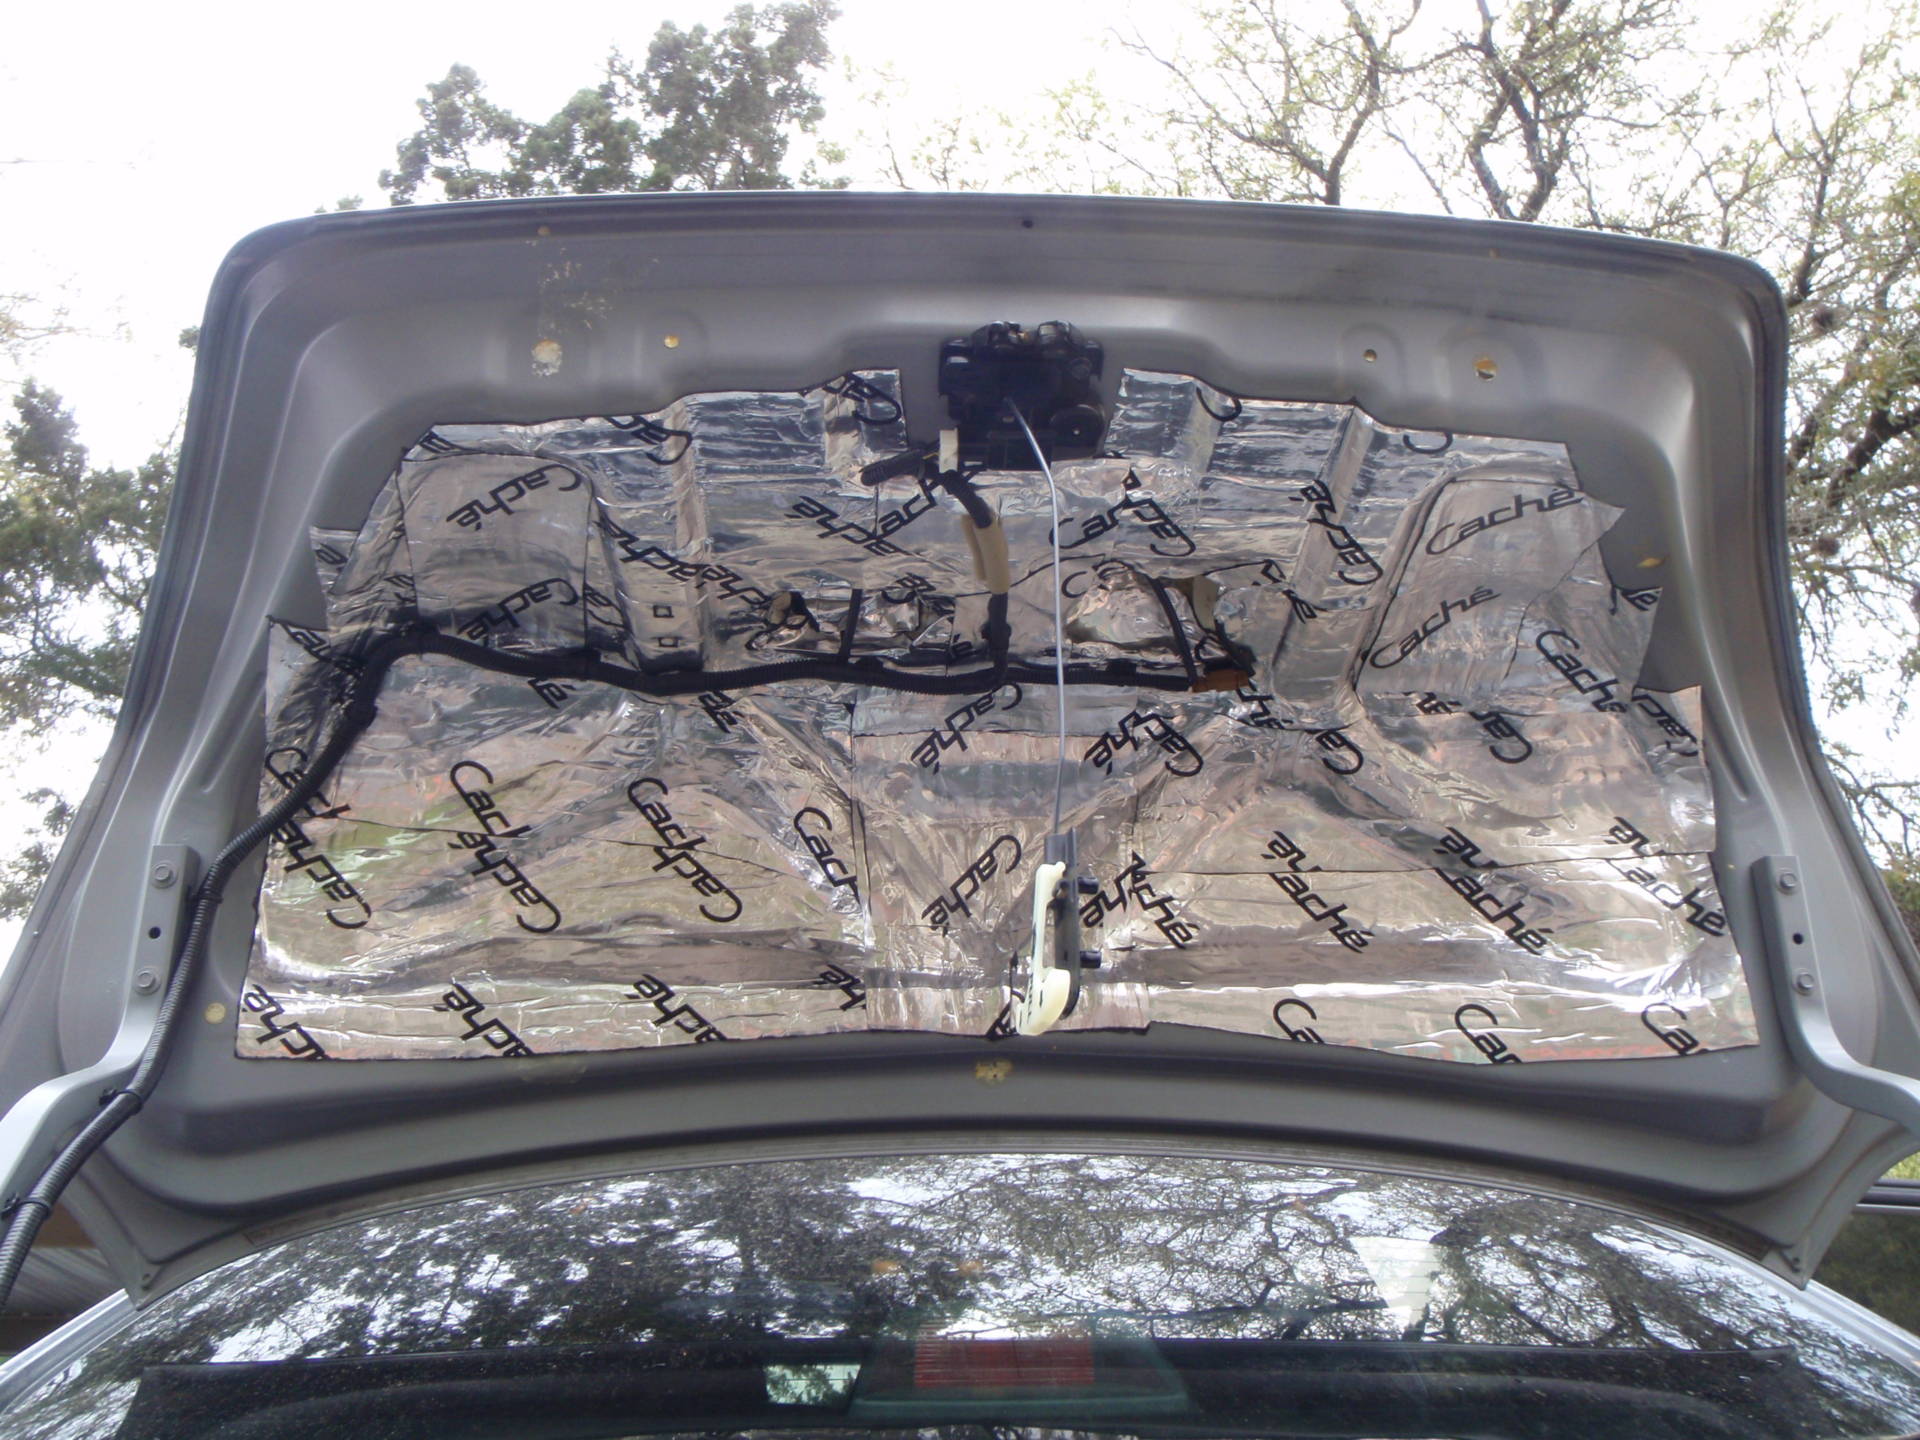
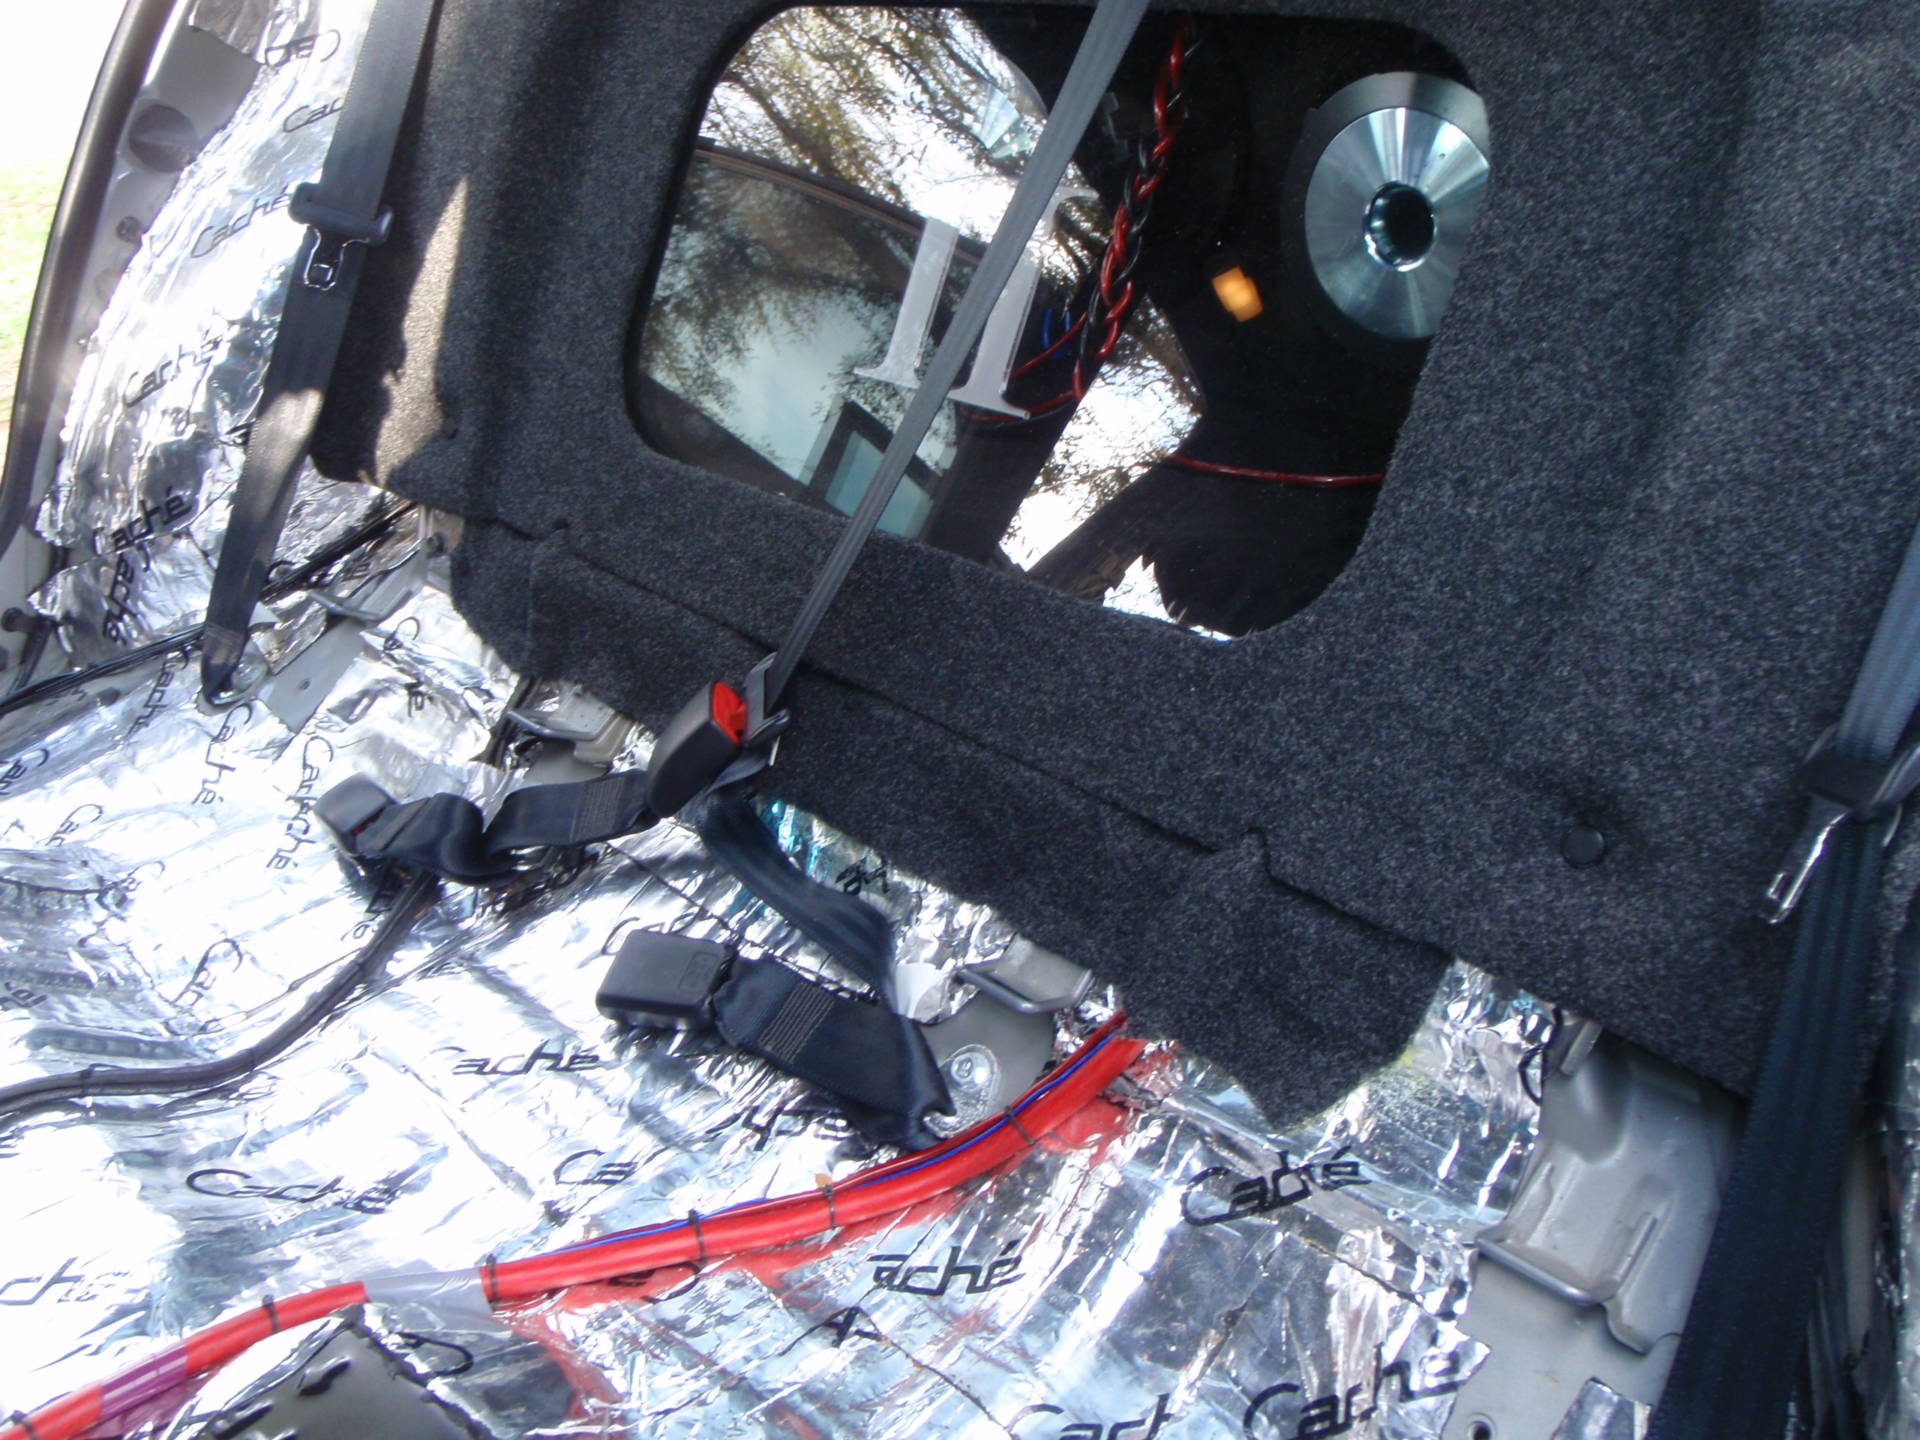
The trunk damping is completed:

Mounting board mounted. Now we can start installing stuff; Power wiring run along with some other goodies:
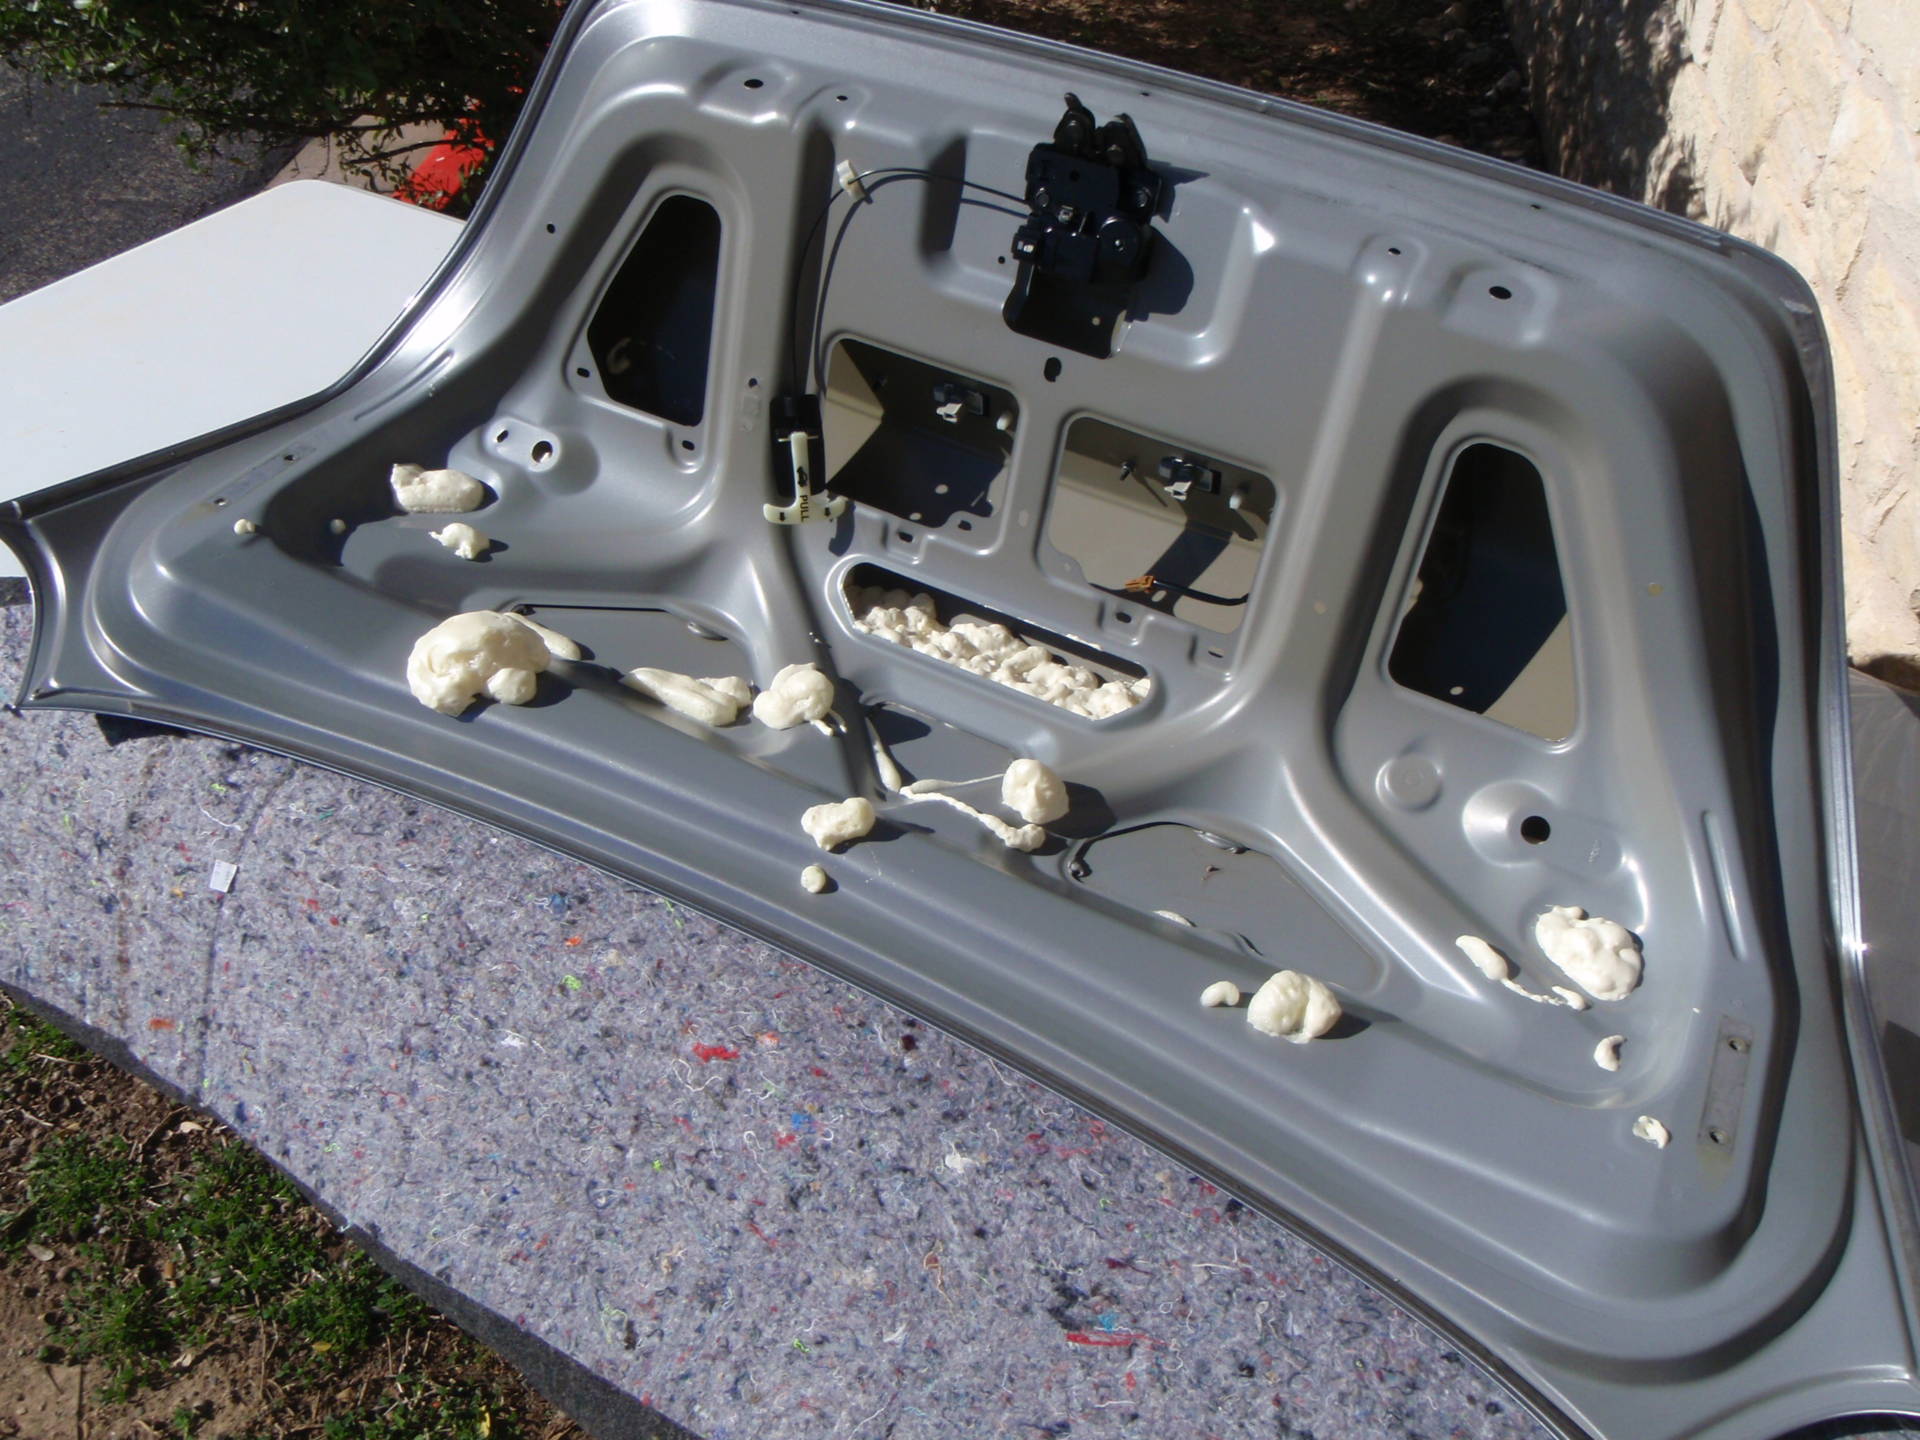
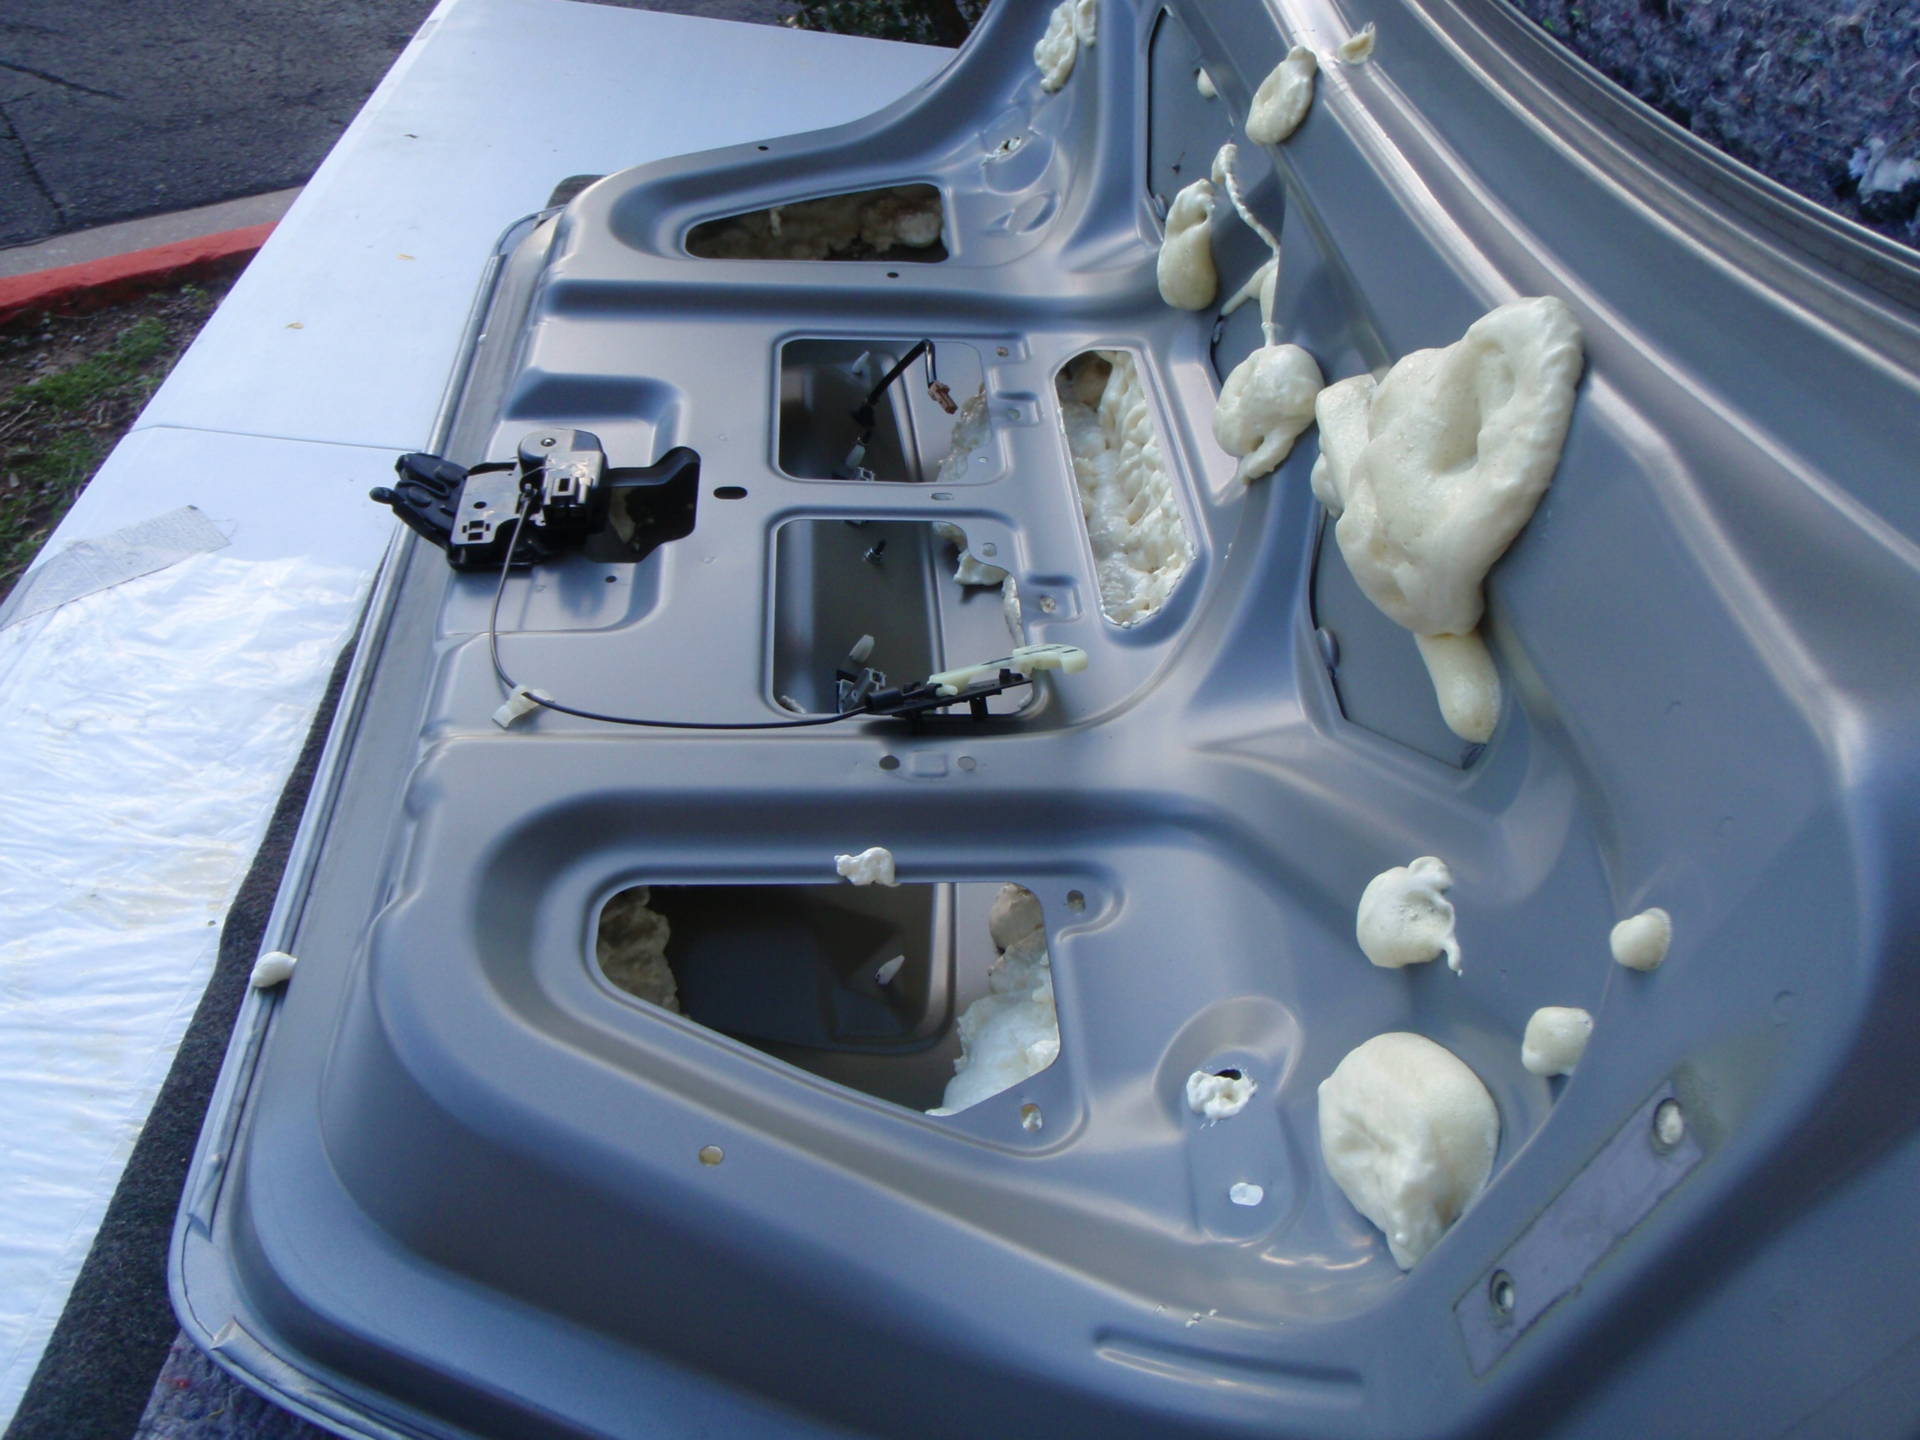
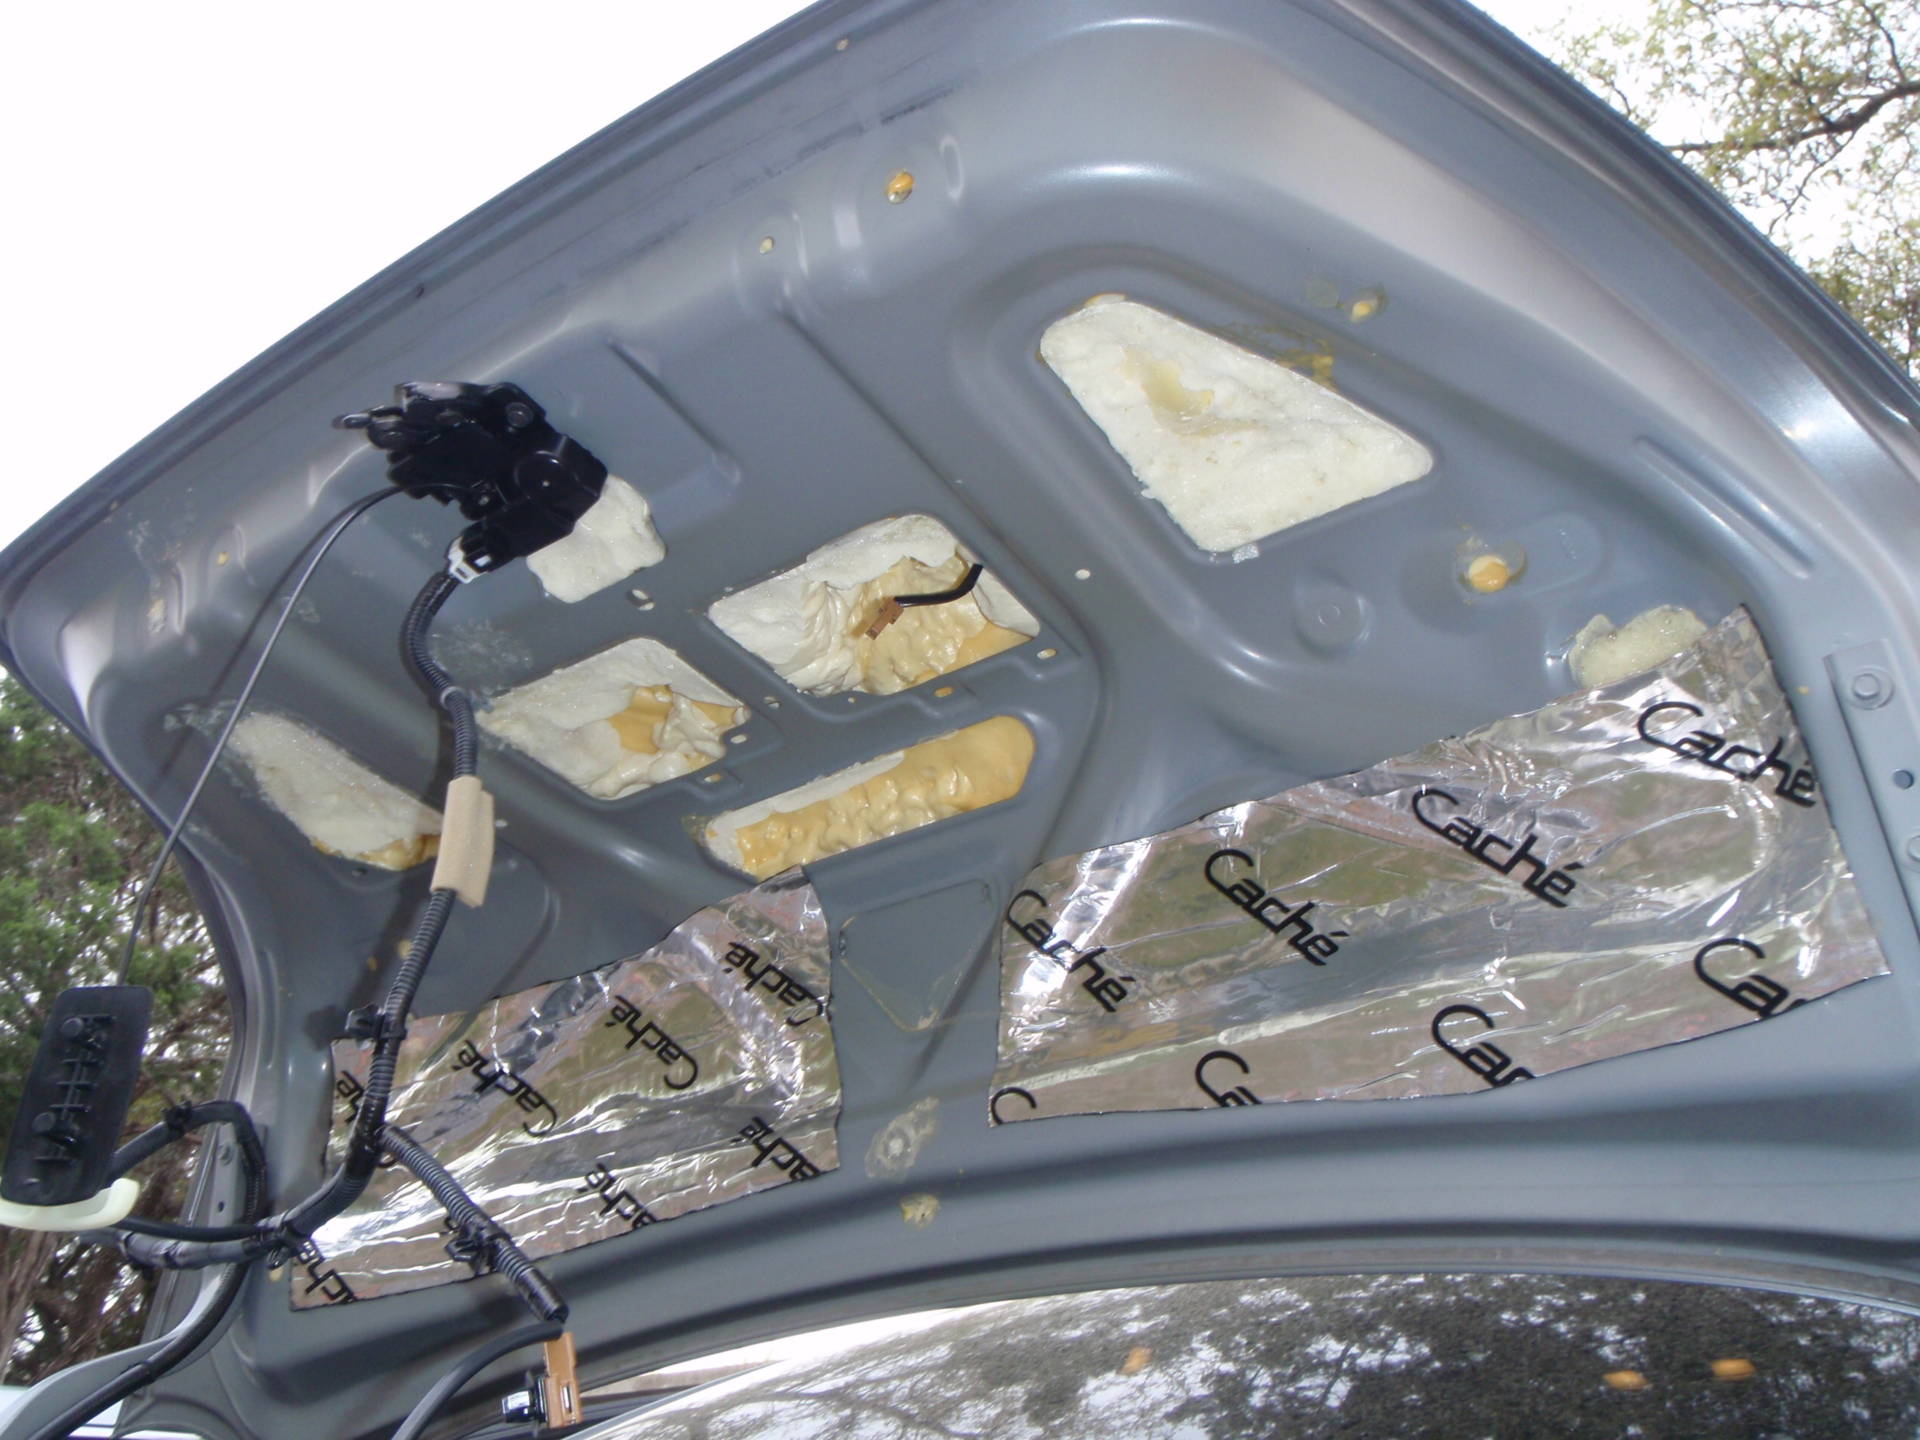
Phase 1, and 2 of trunk lid foaming:
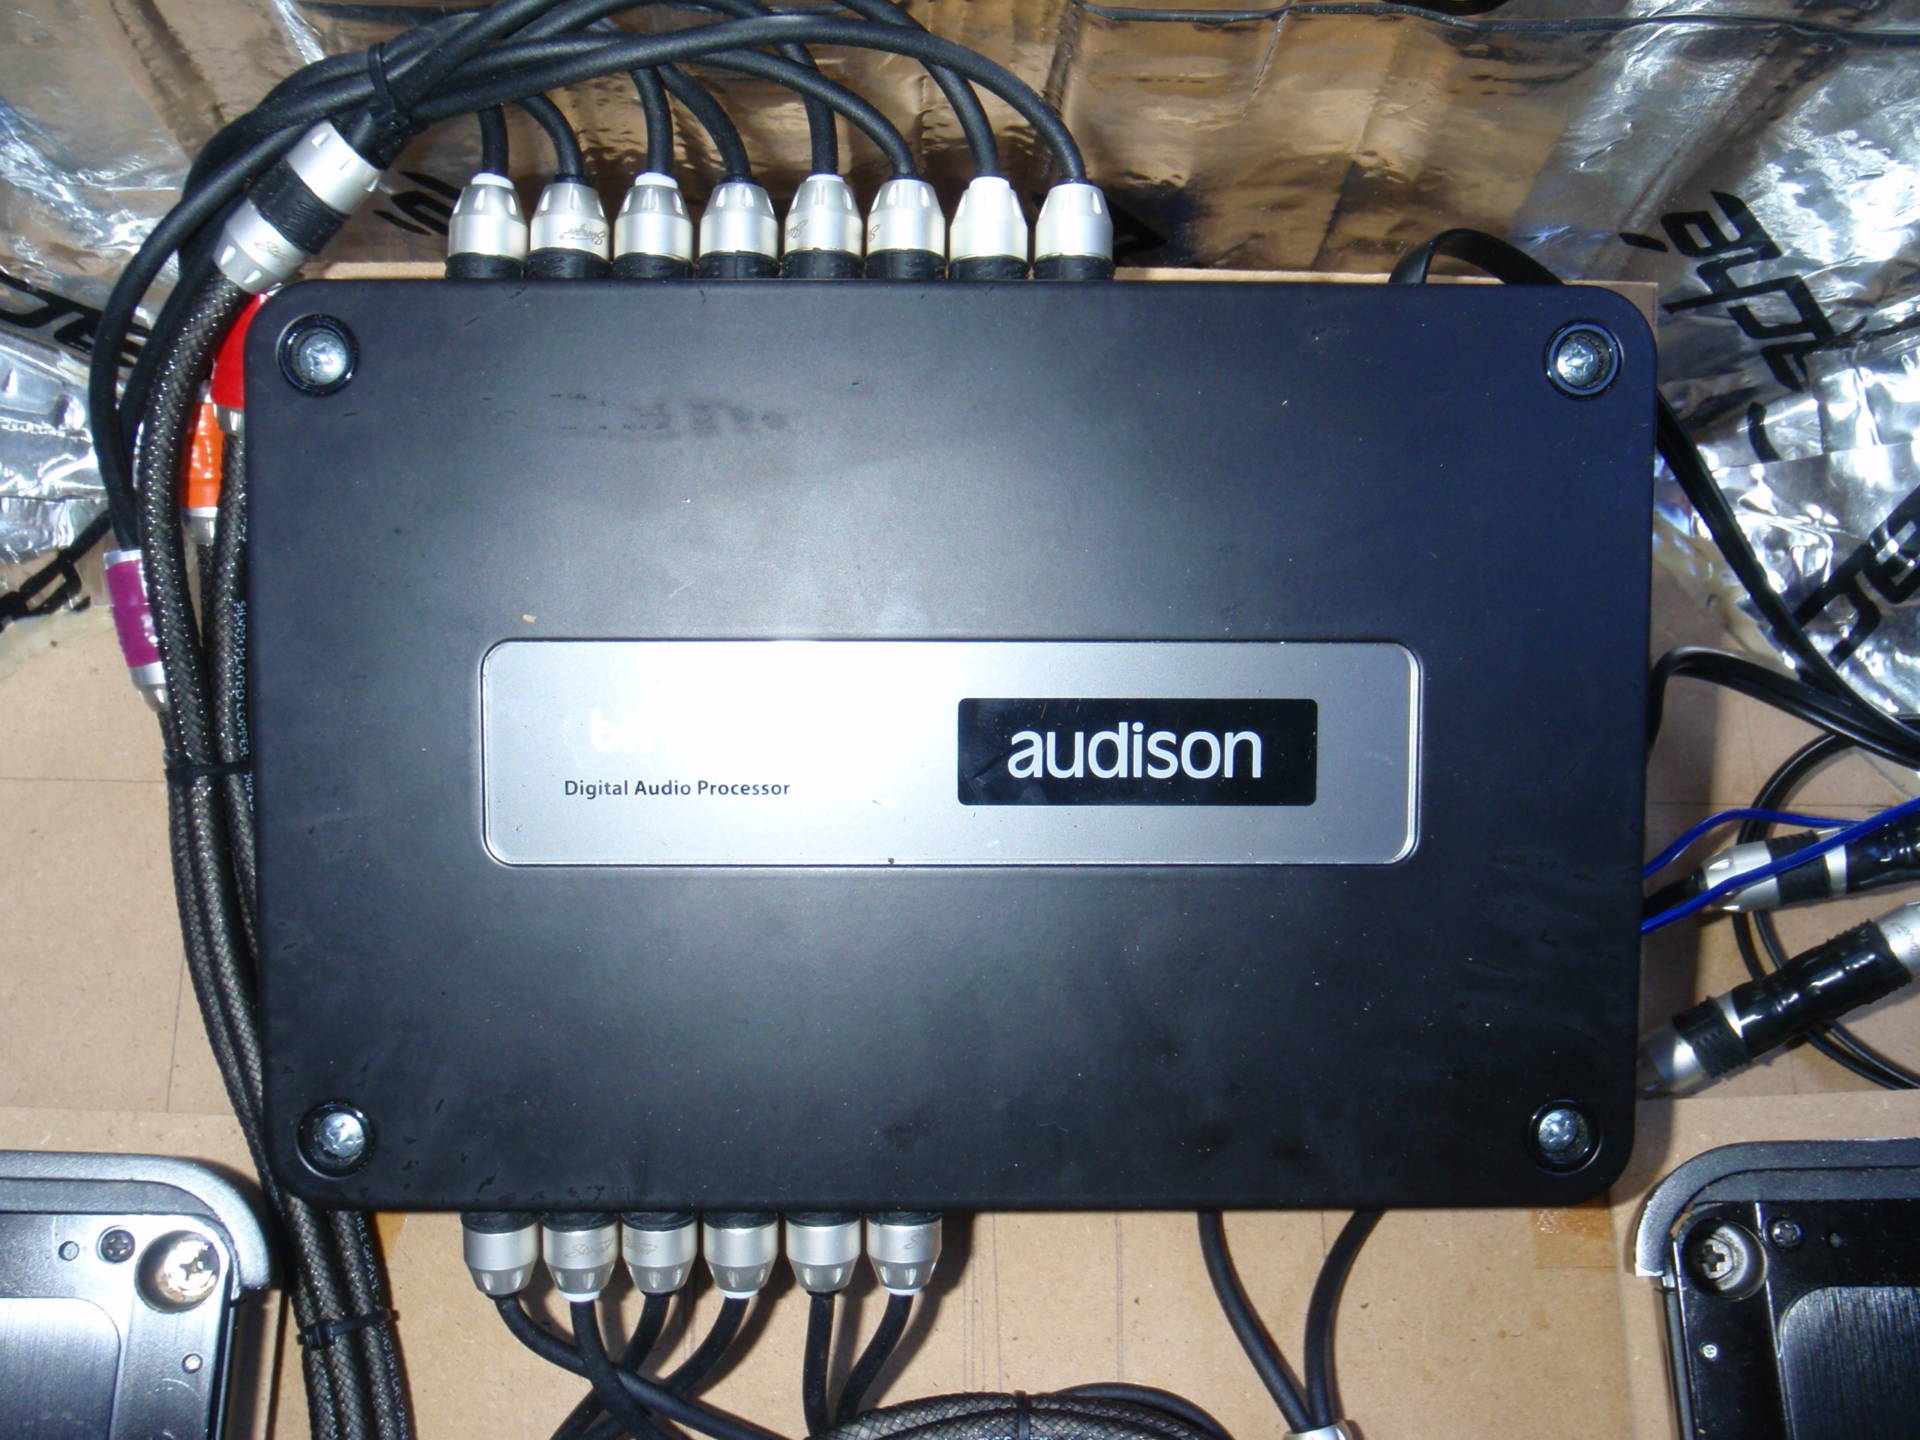
The BitOne.1 and those ridiculous 8000 Series Stinger RCAs; getting RCAs run and some speaker wiring started:

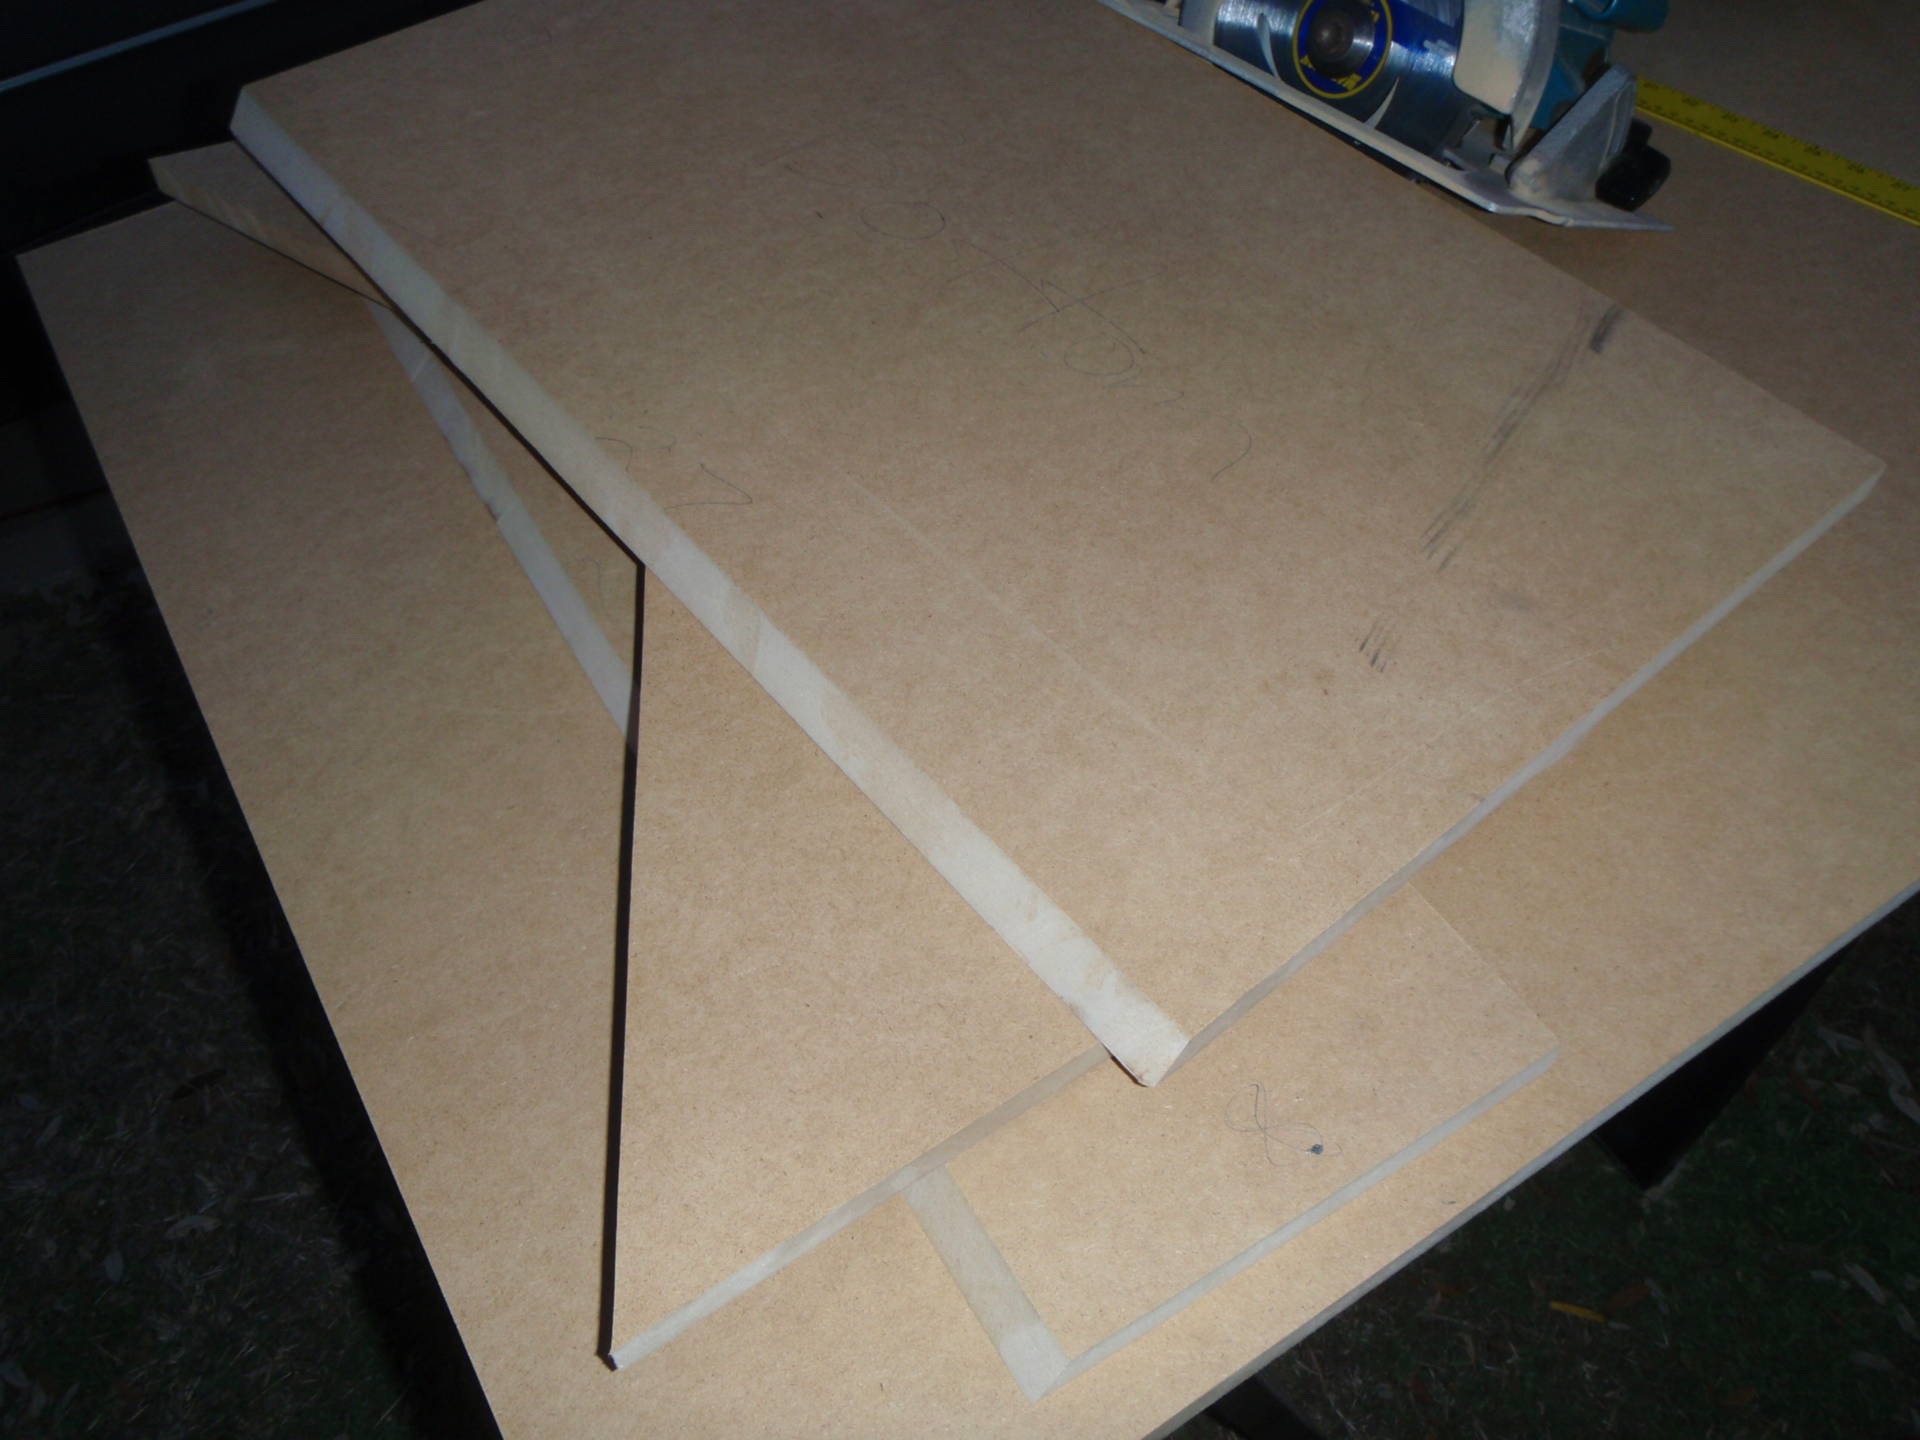
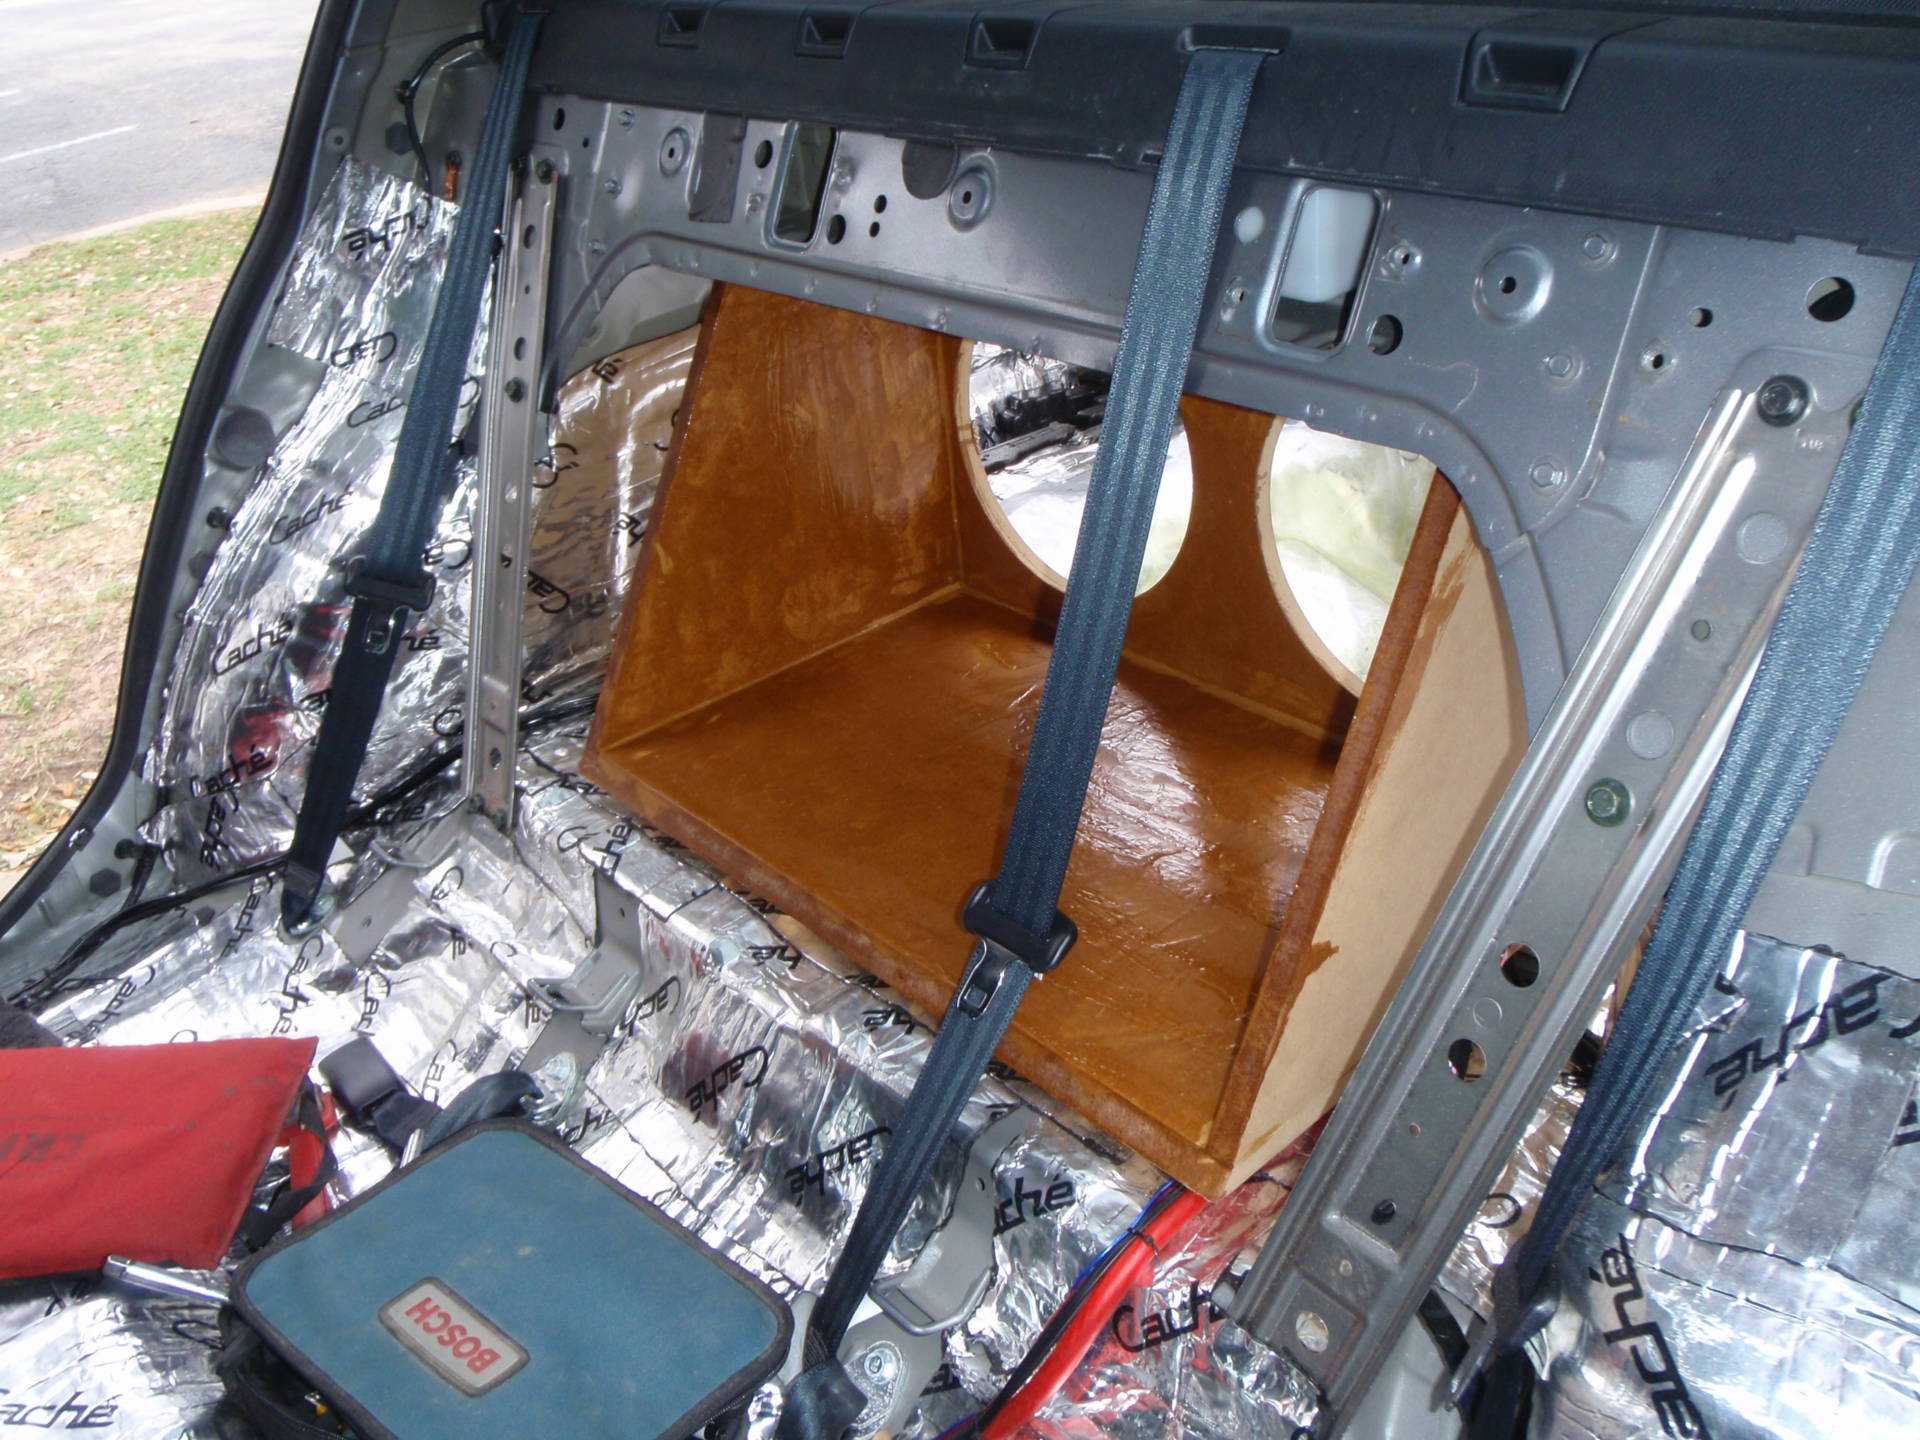
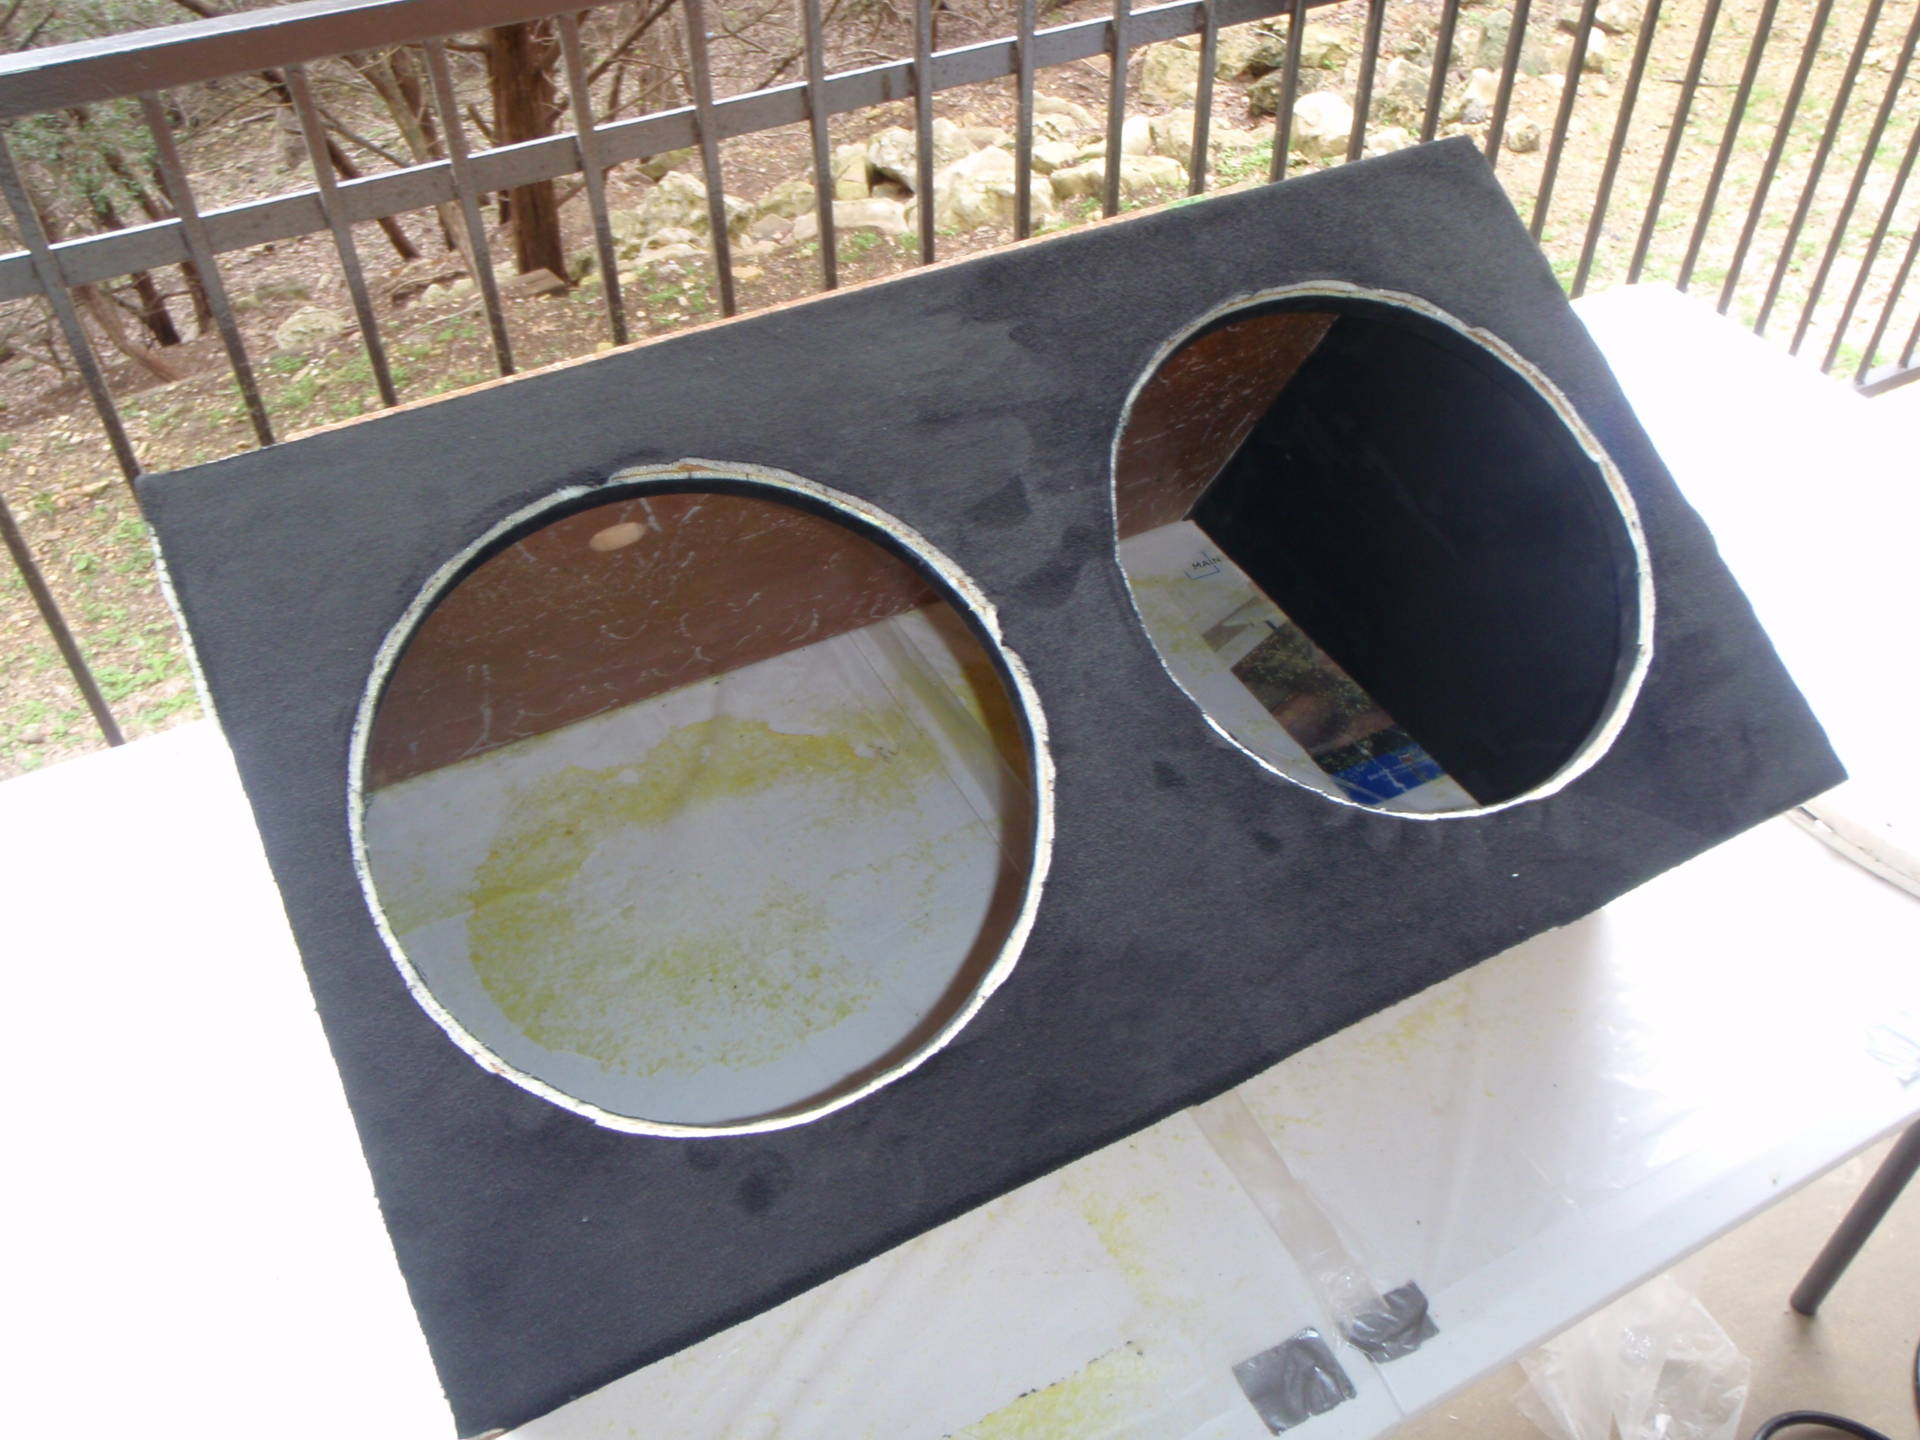
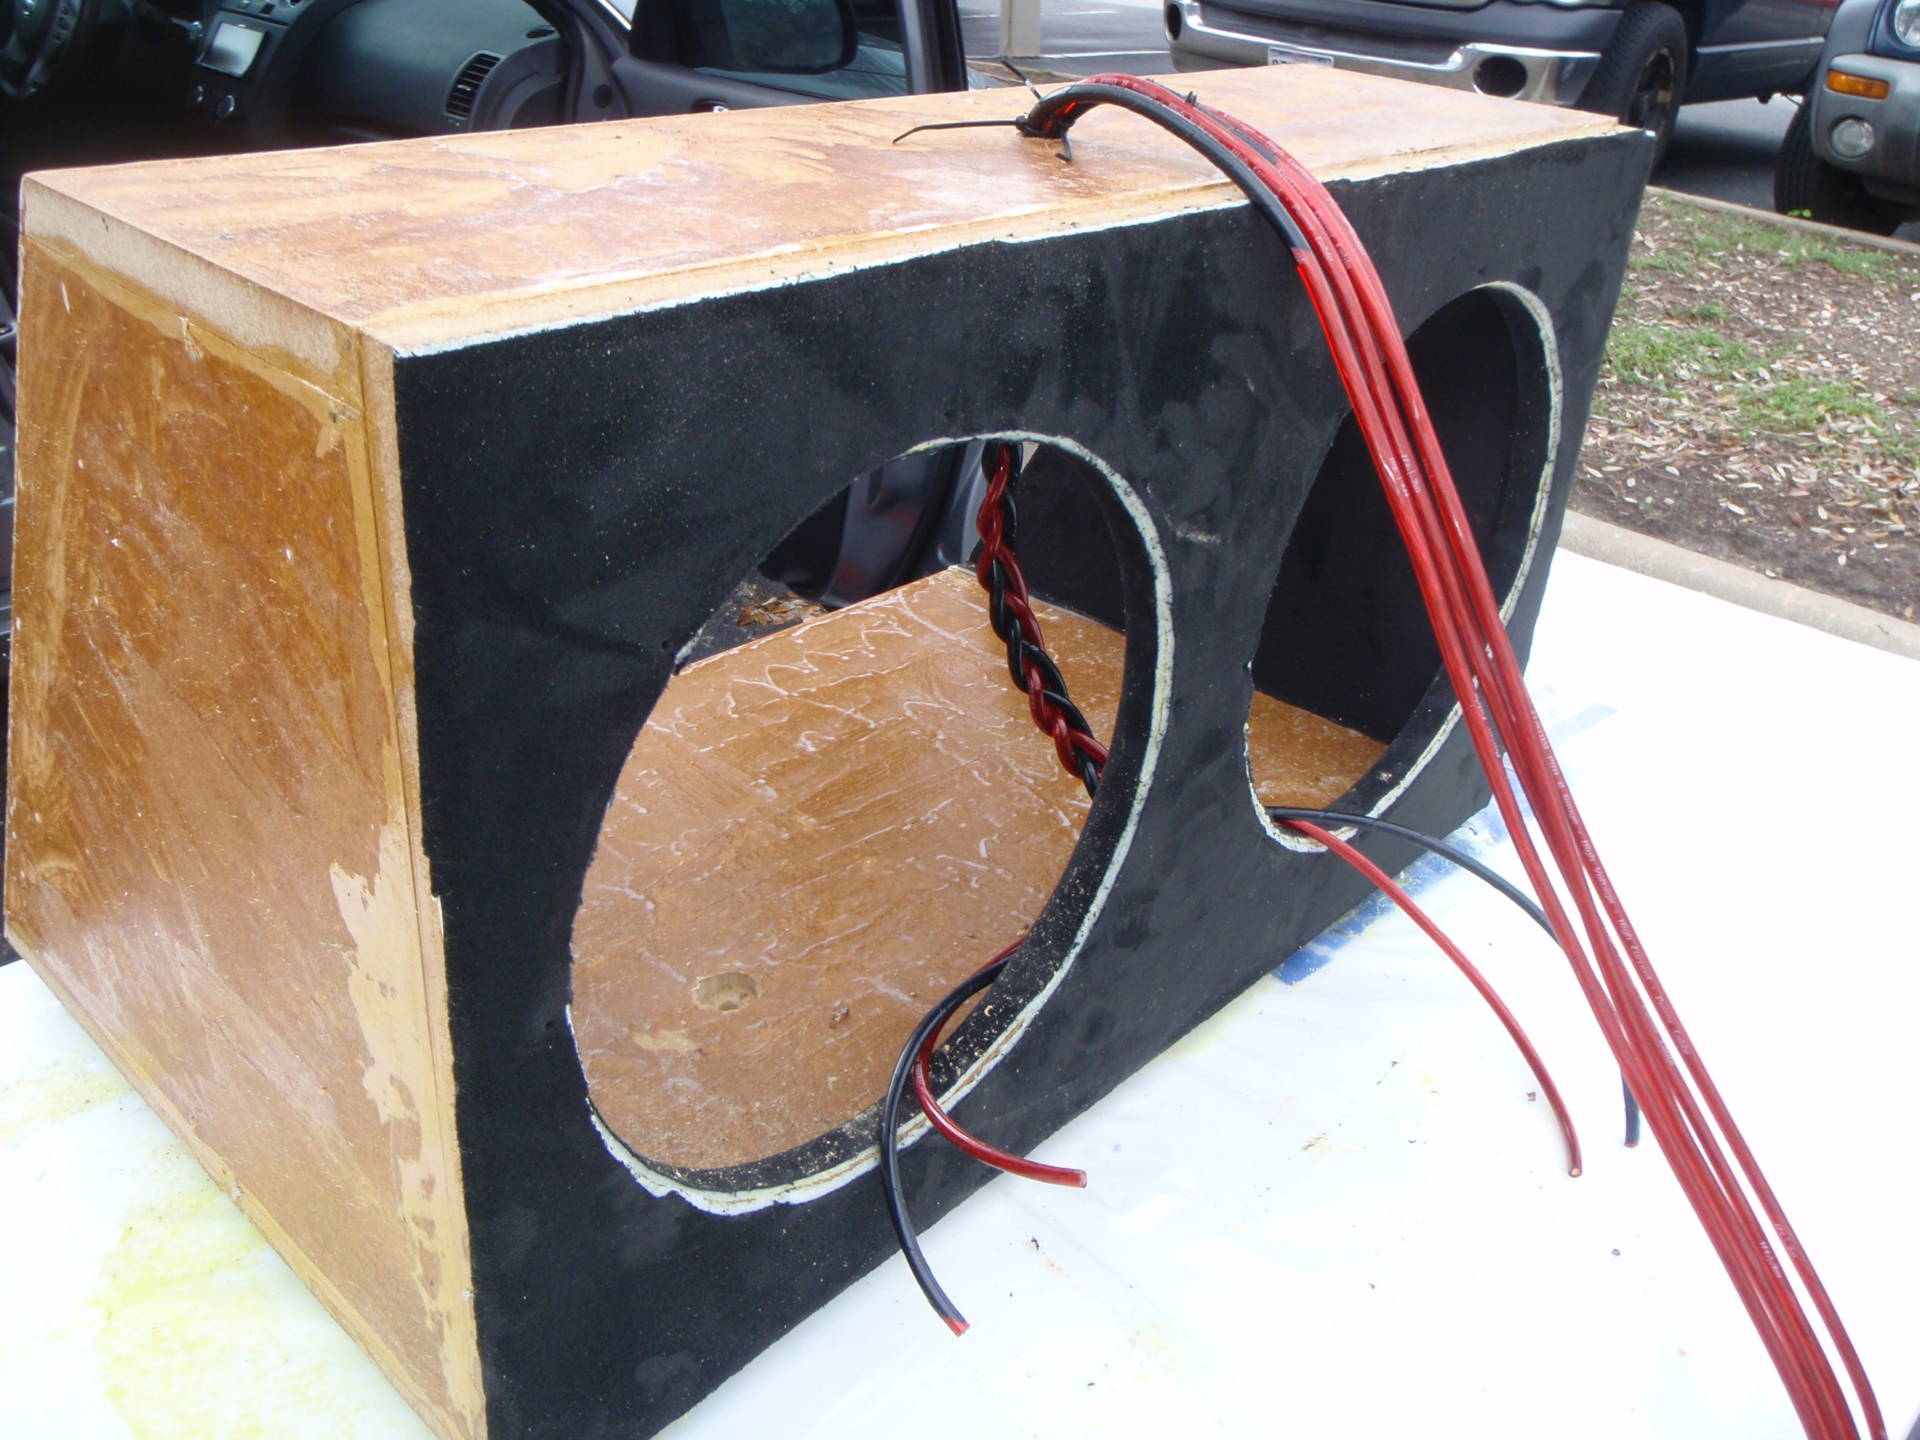
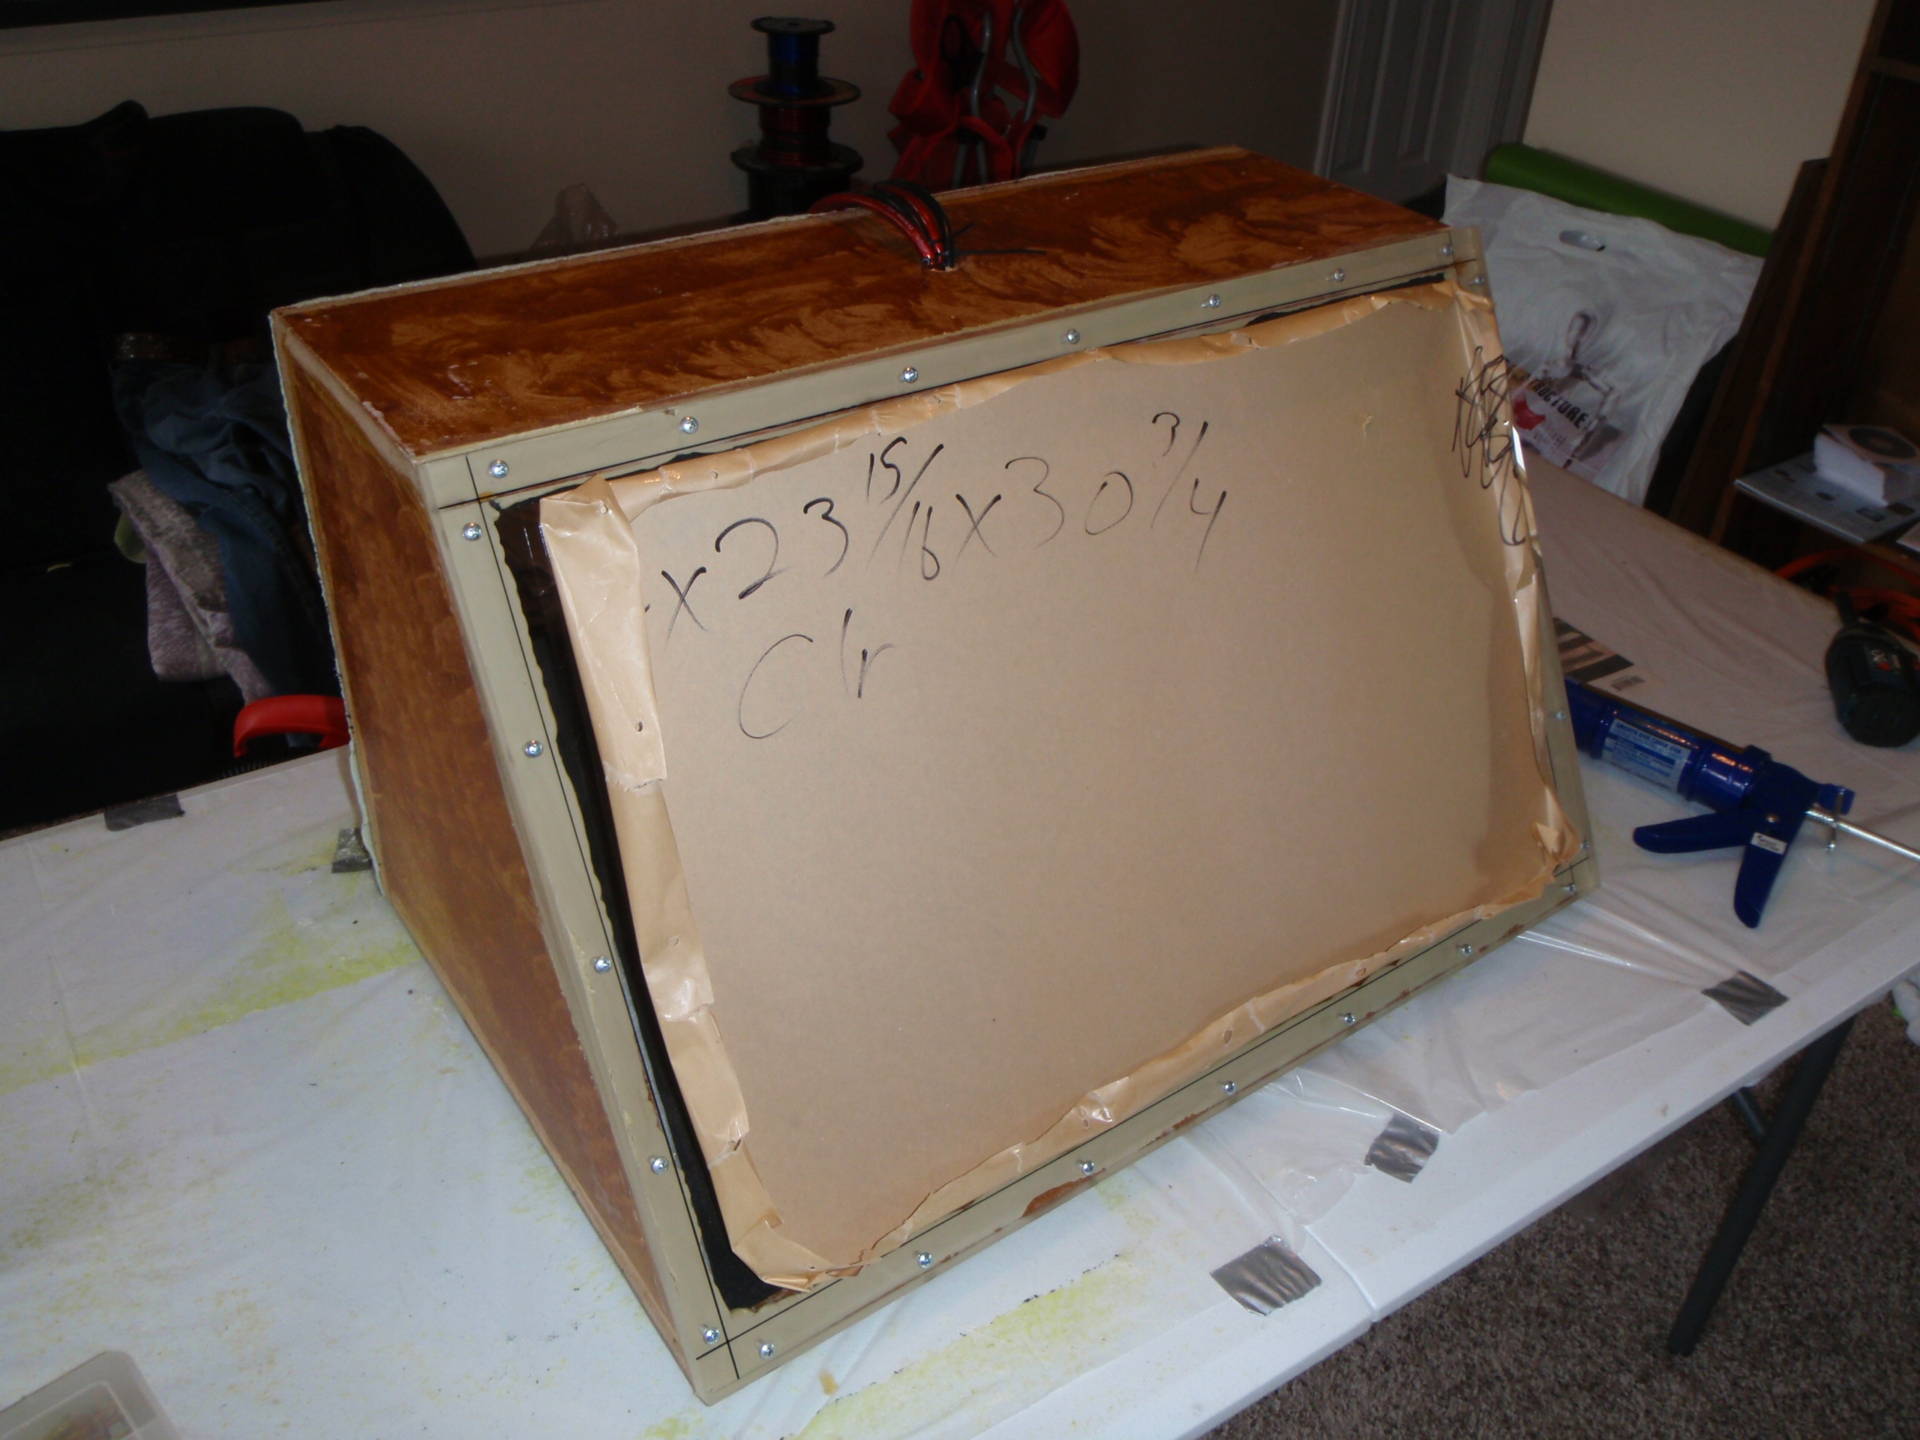
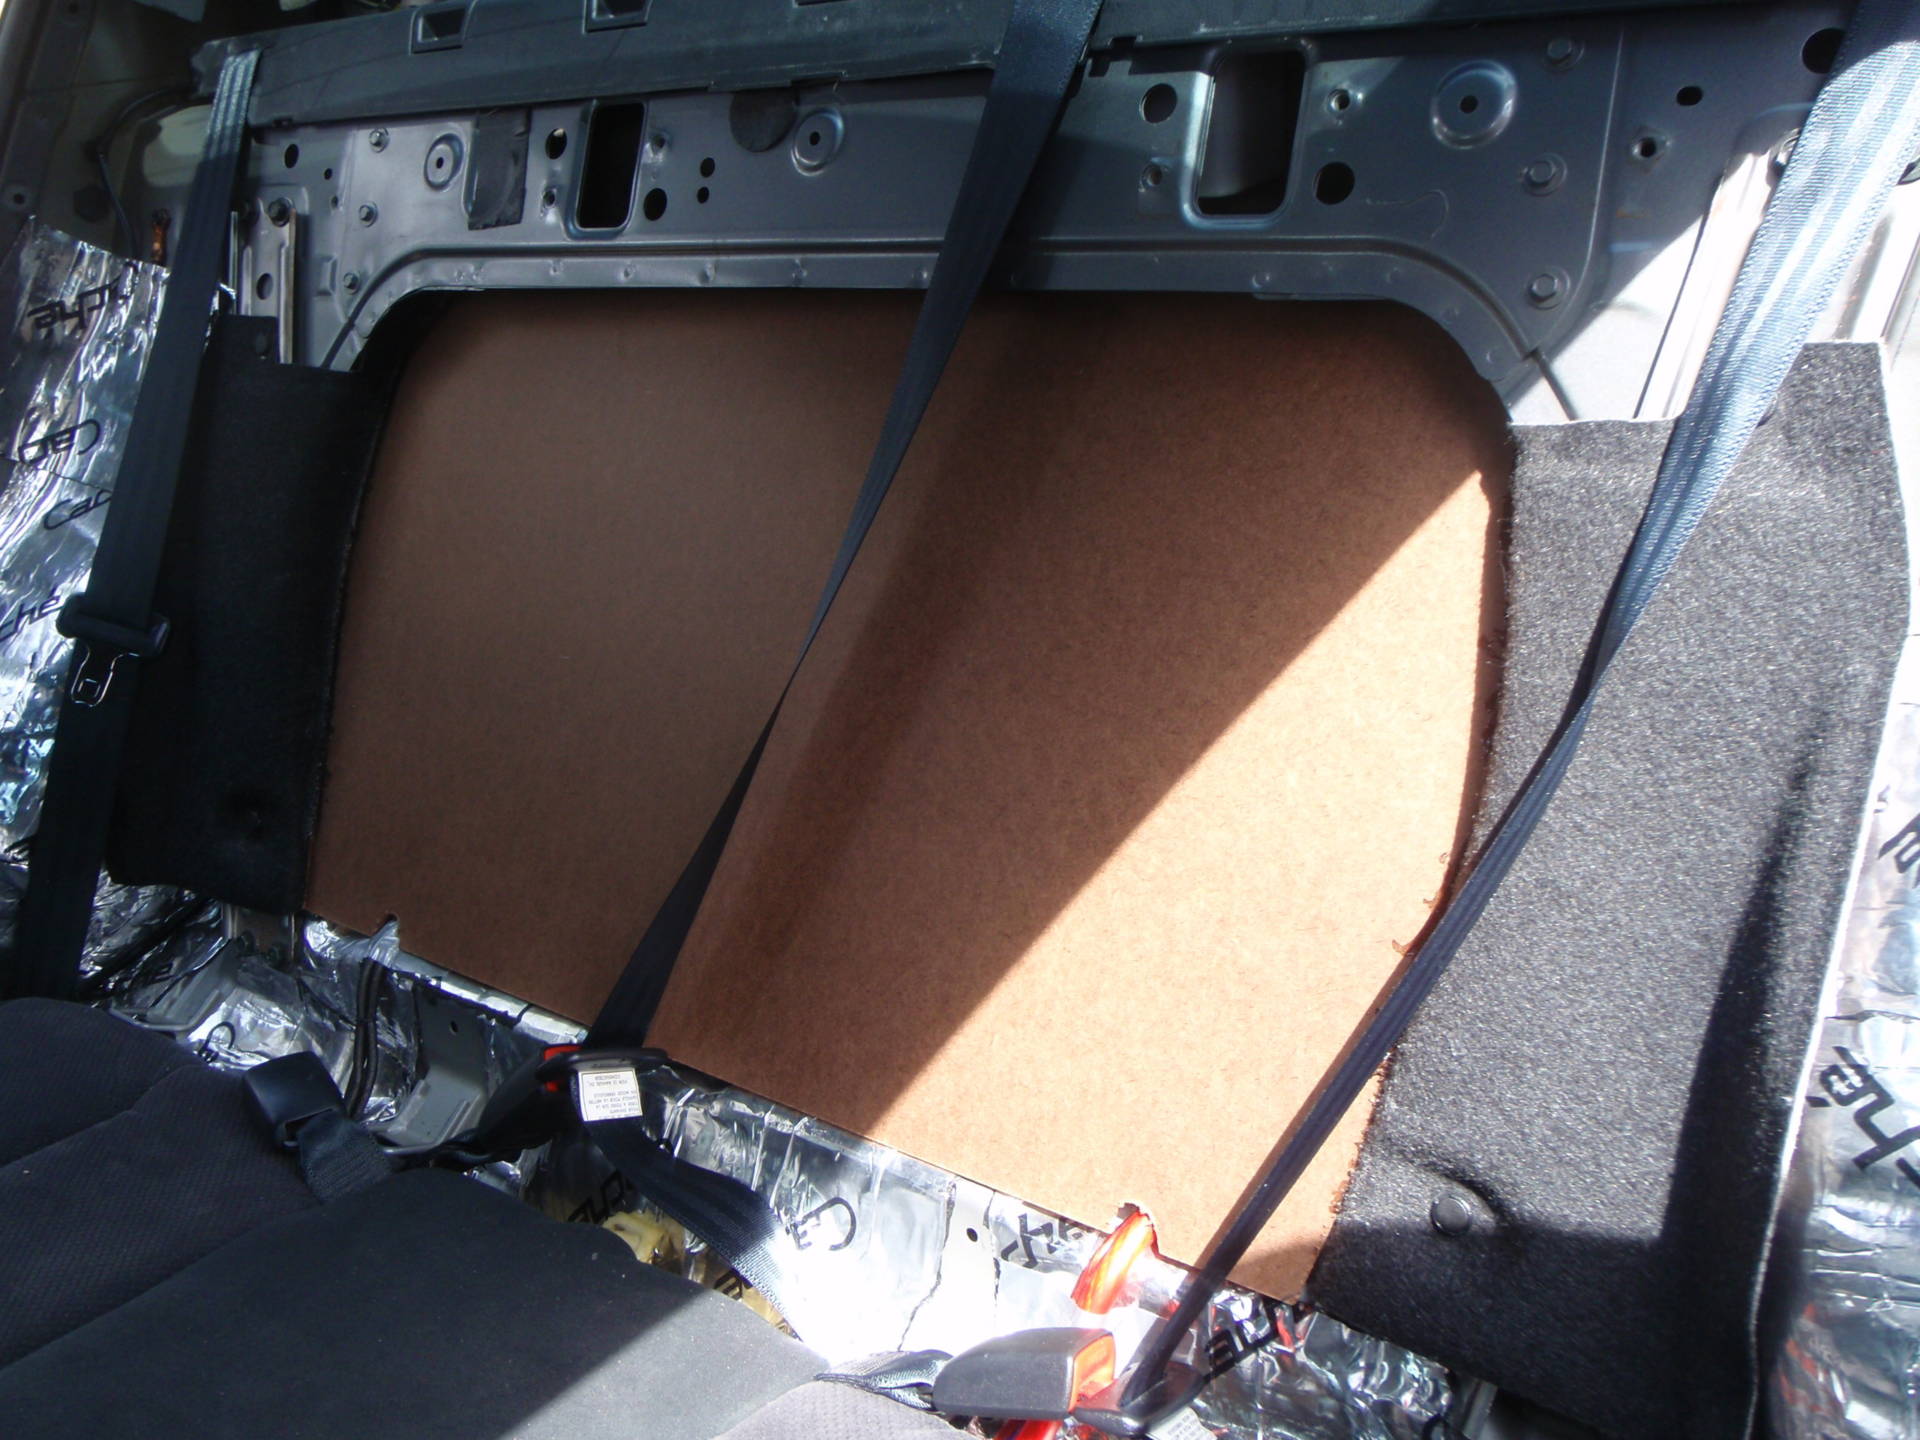
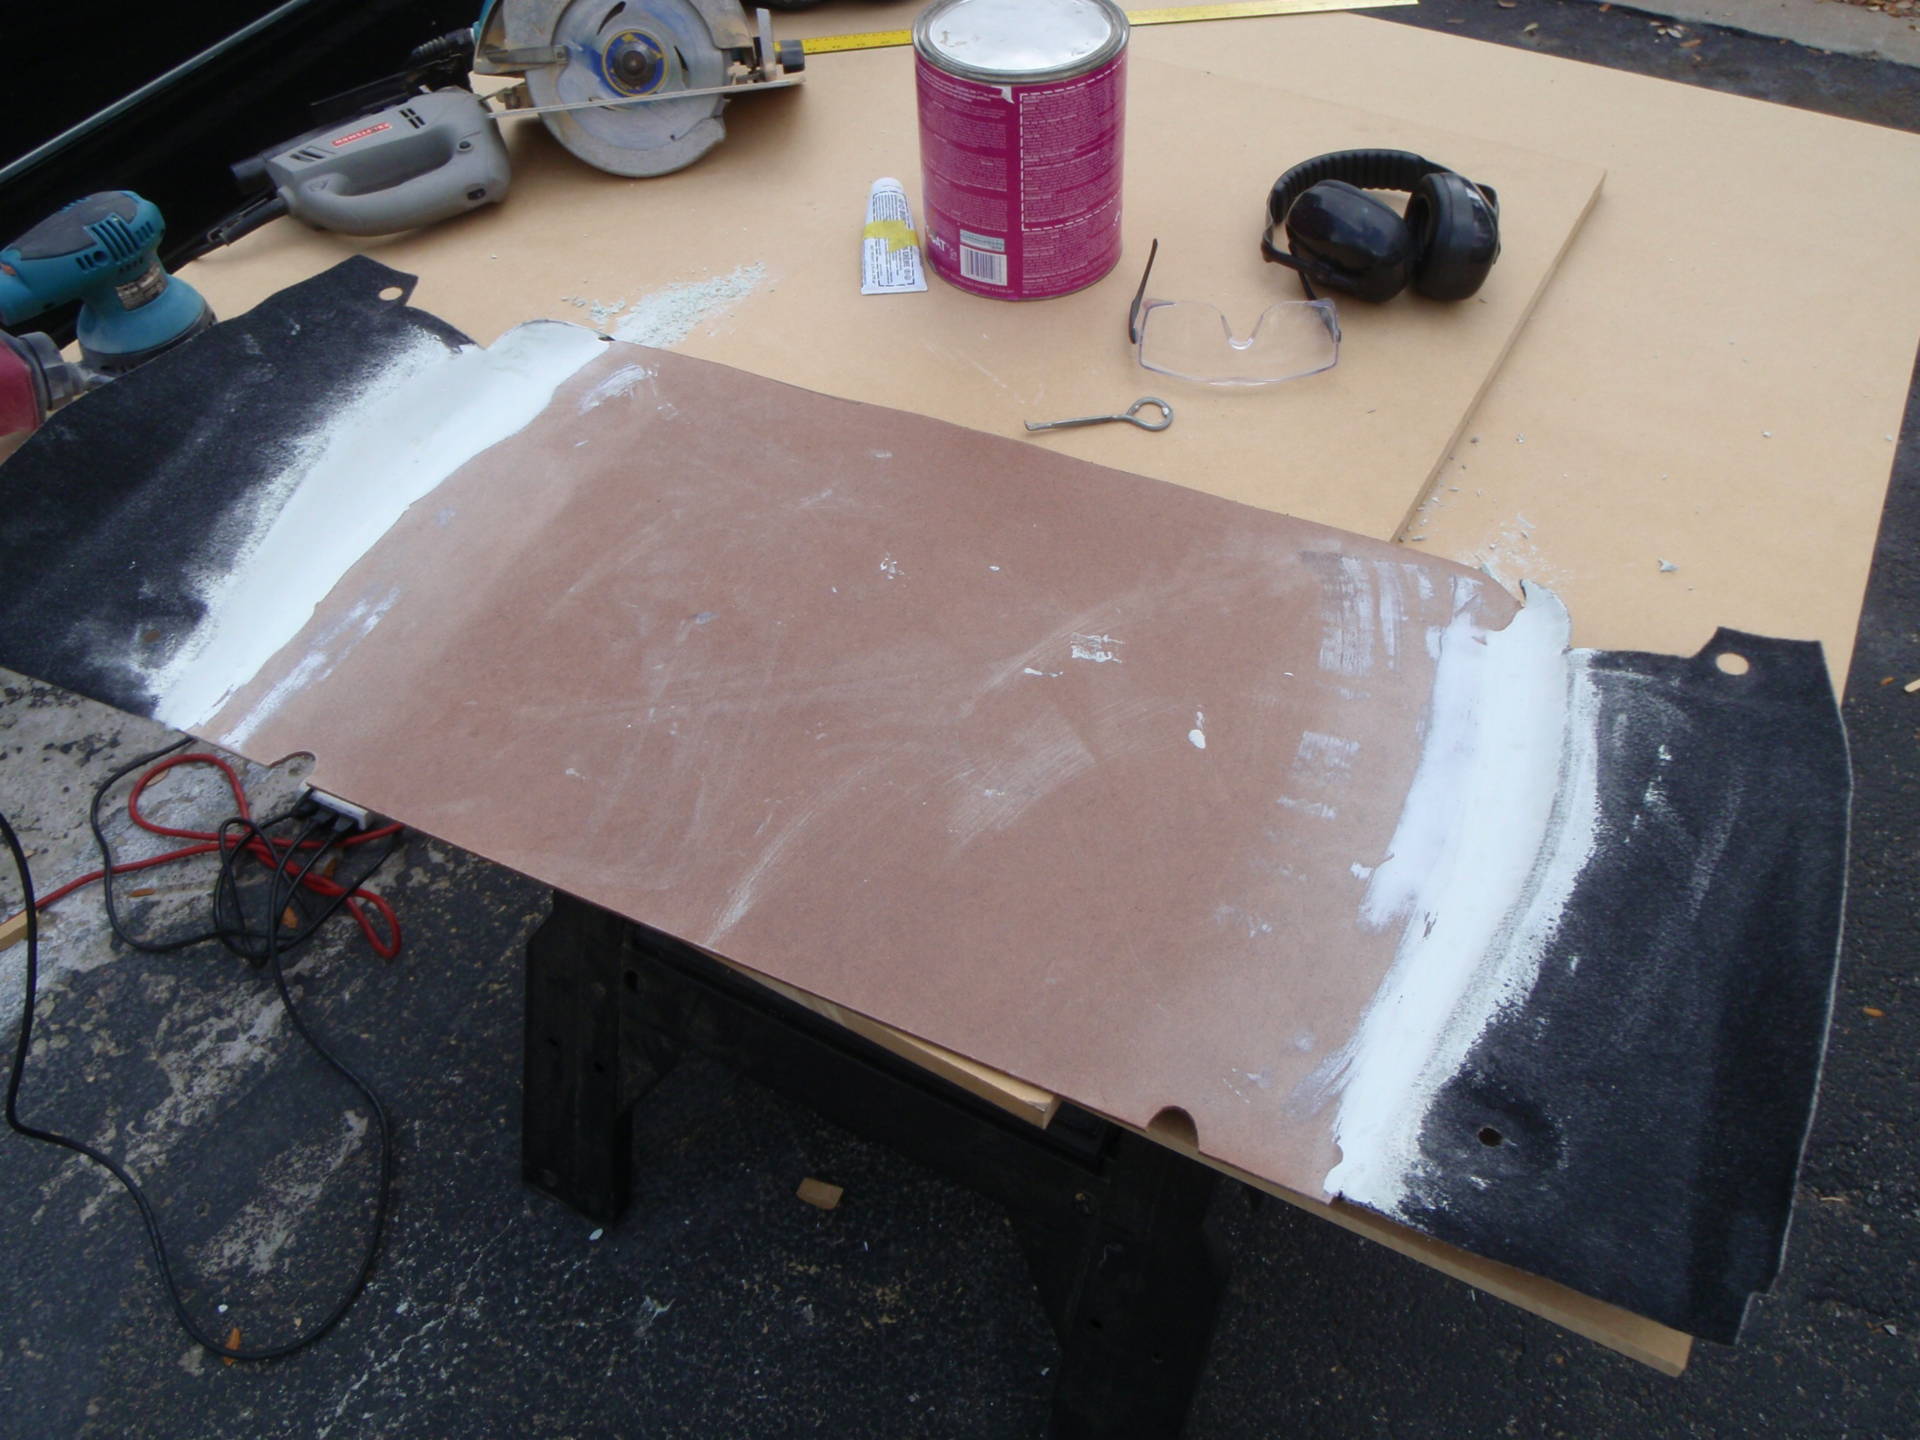
Sub box construction:
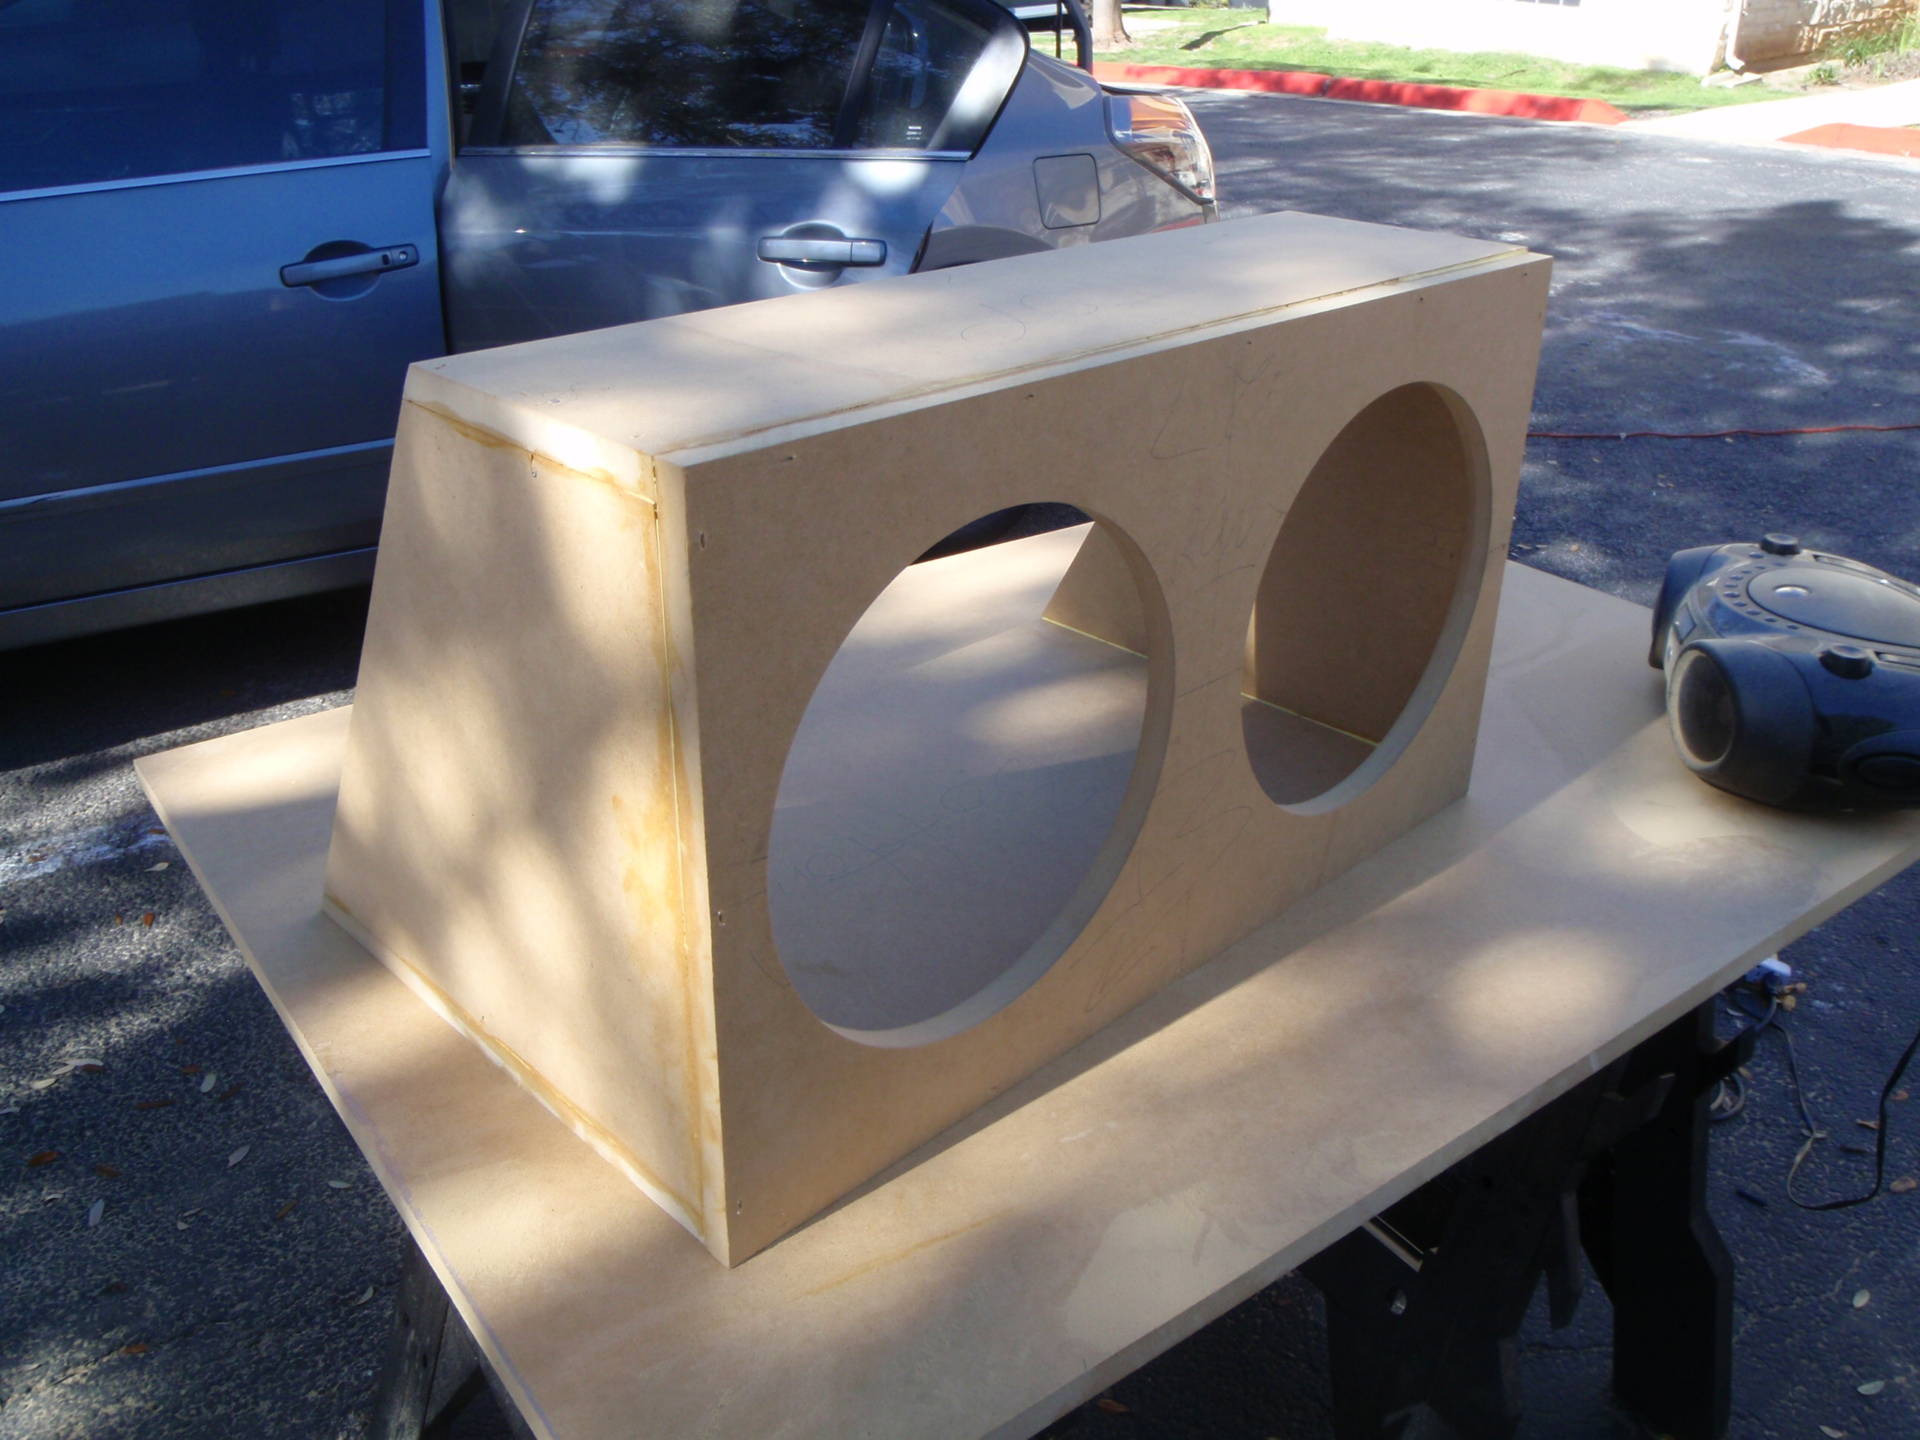
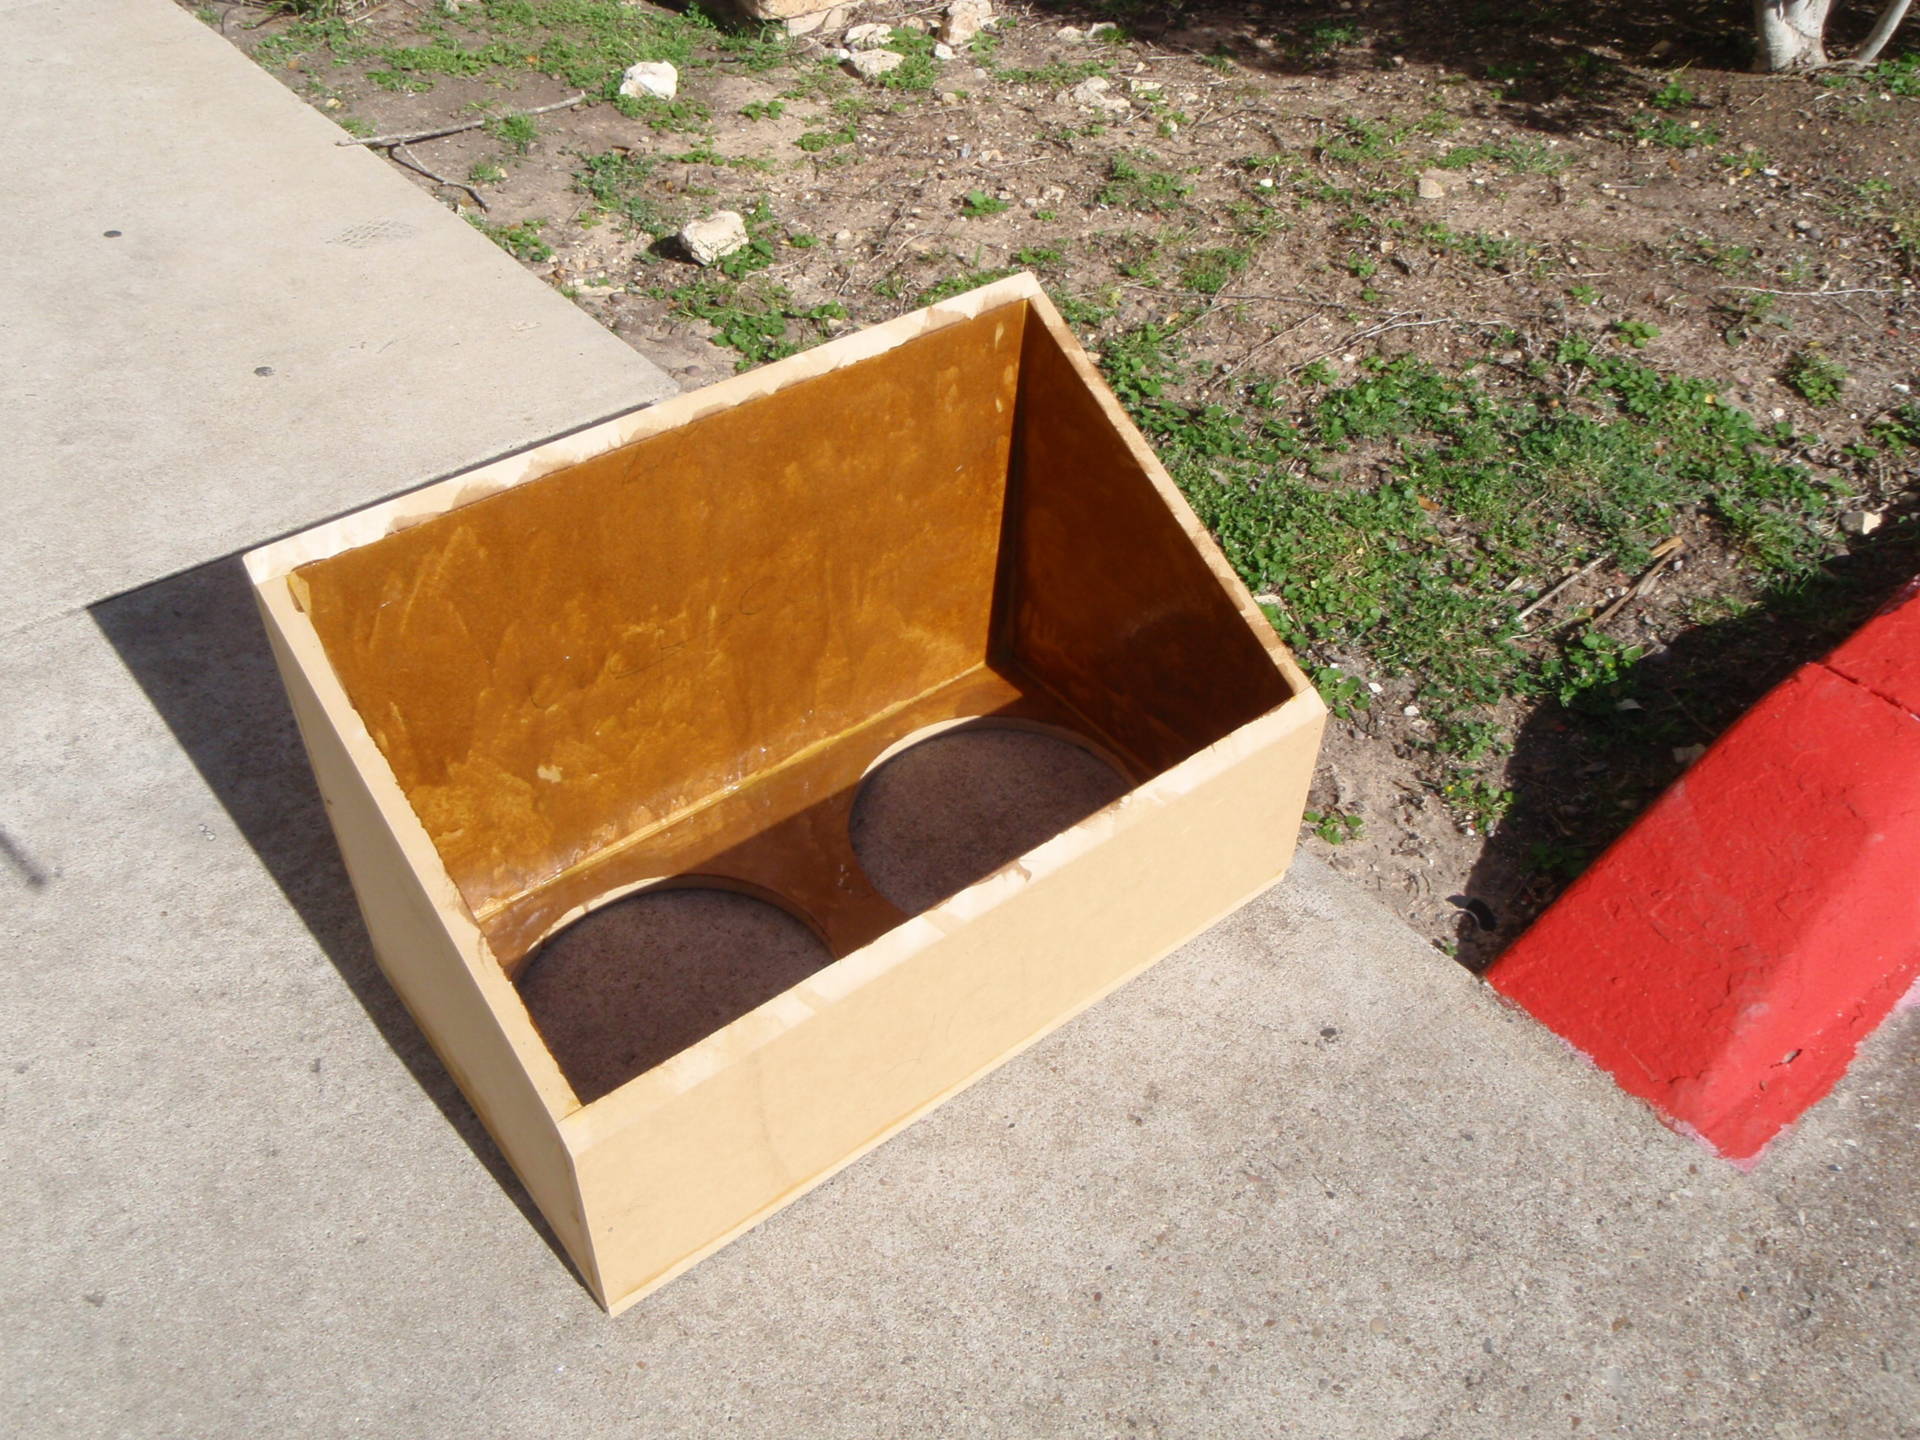
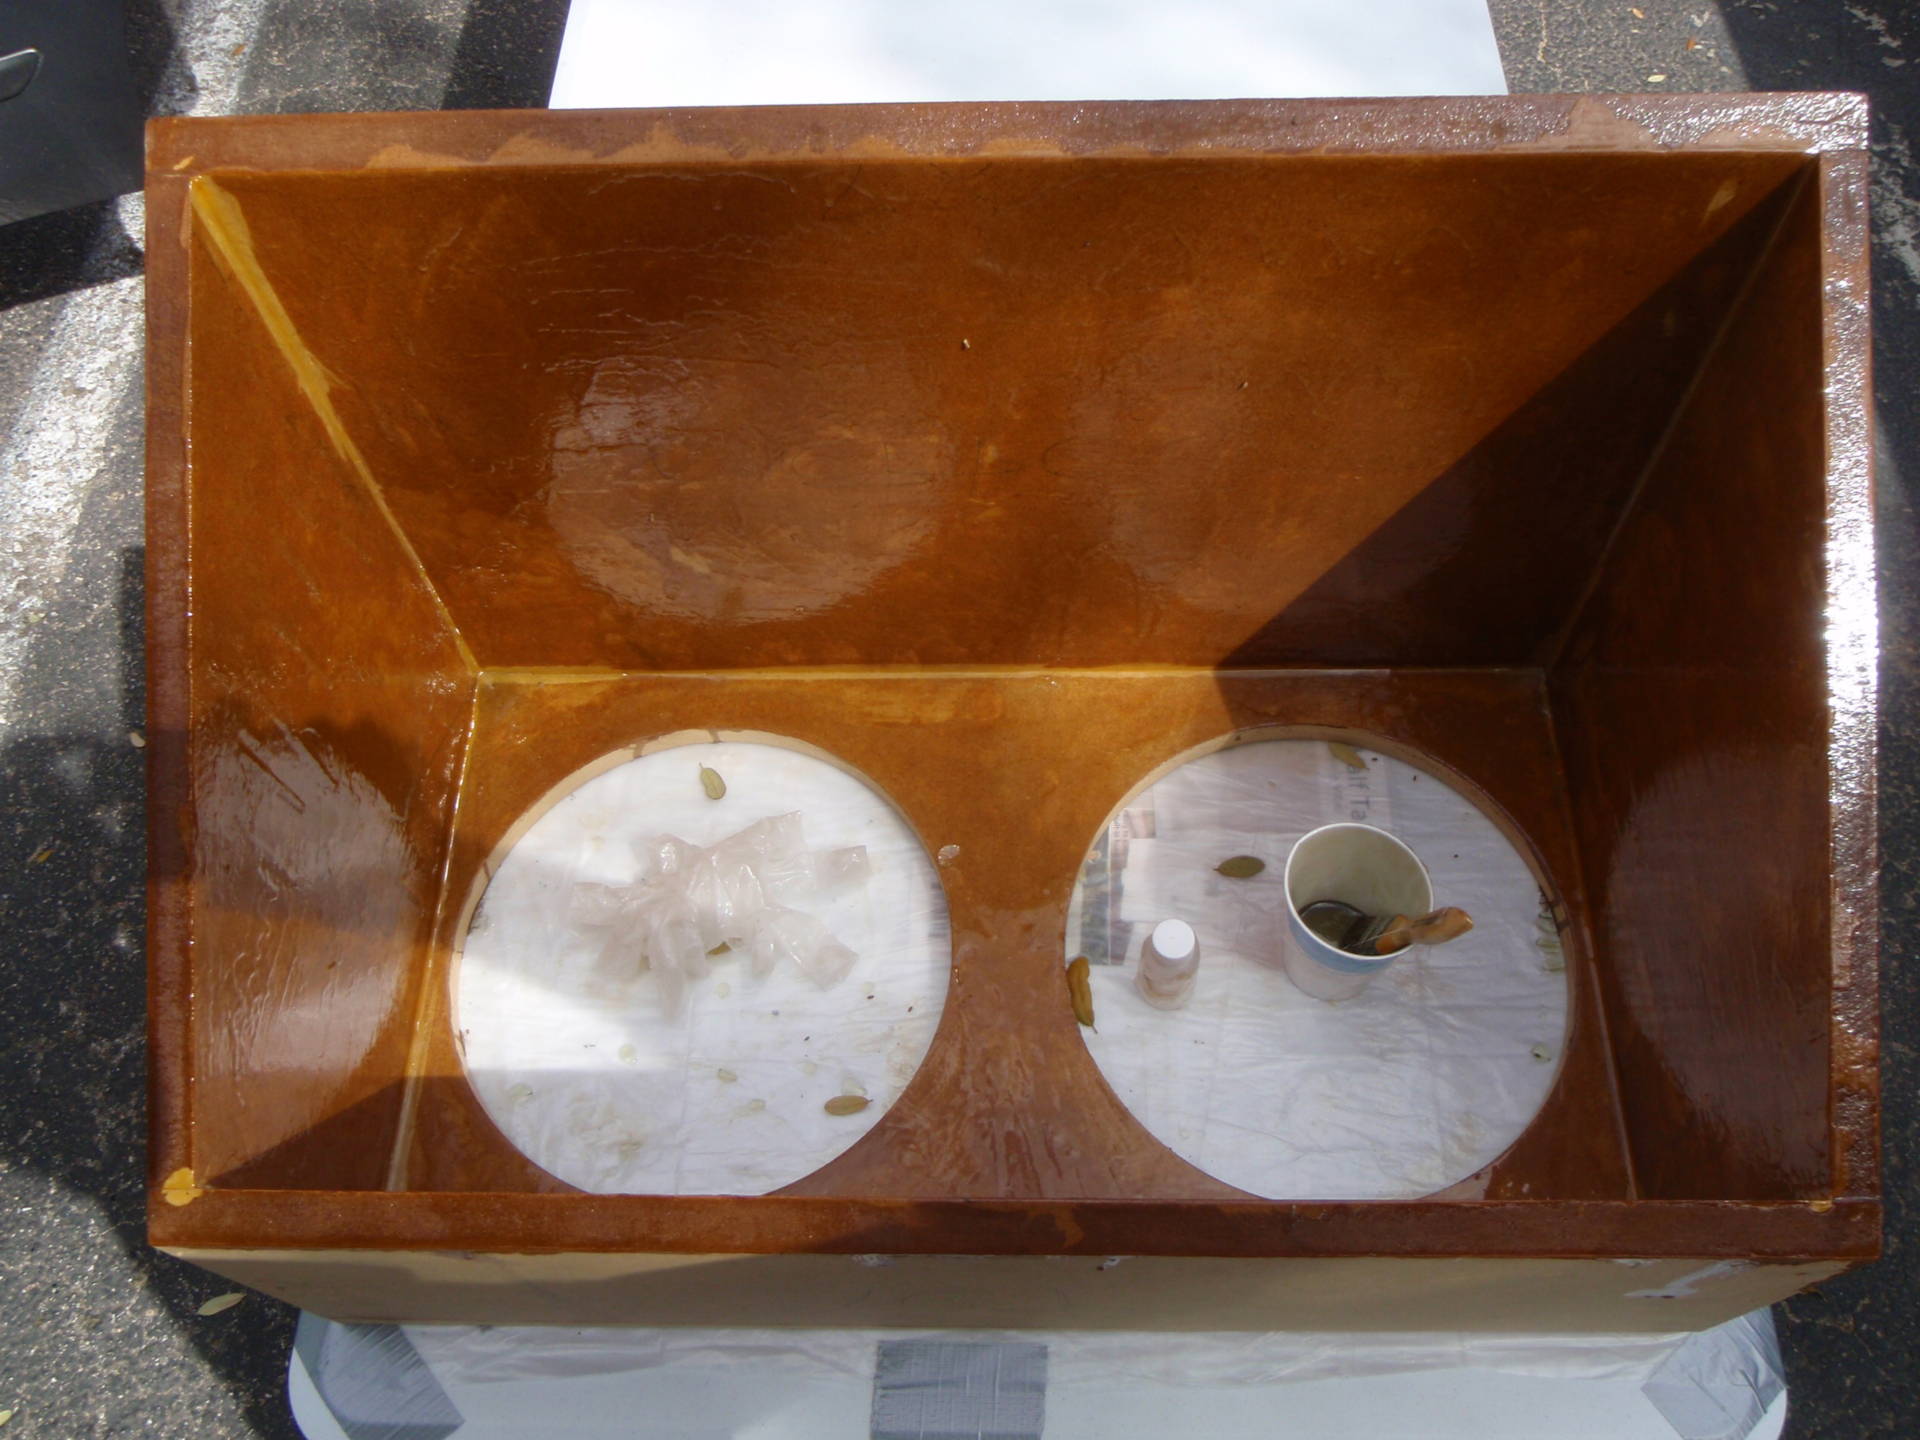
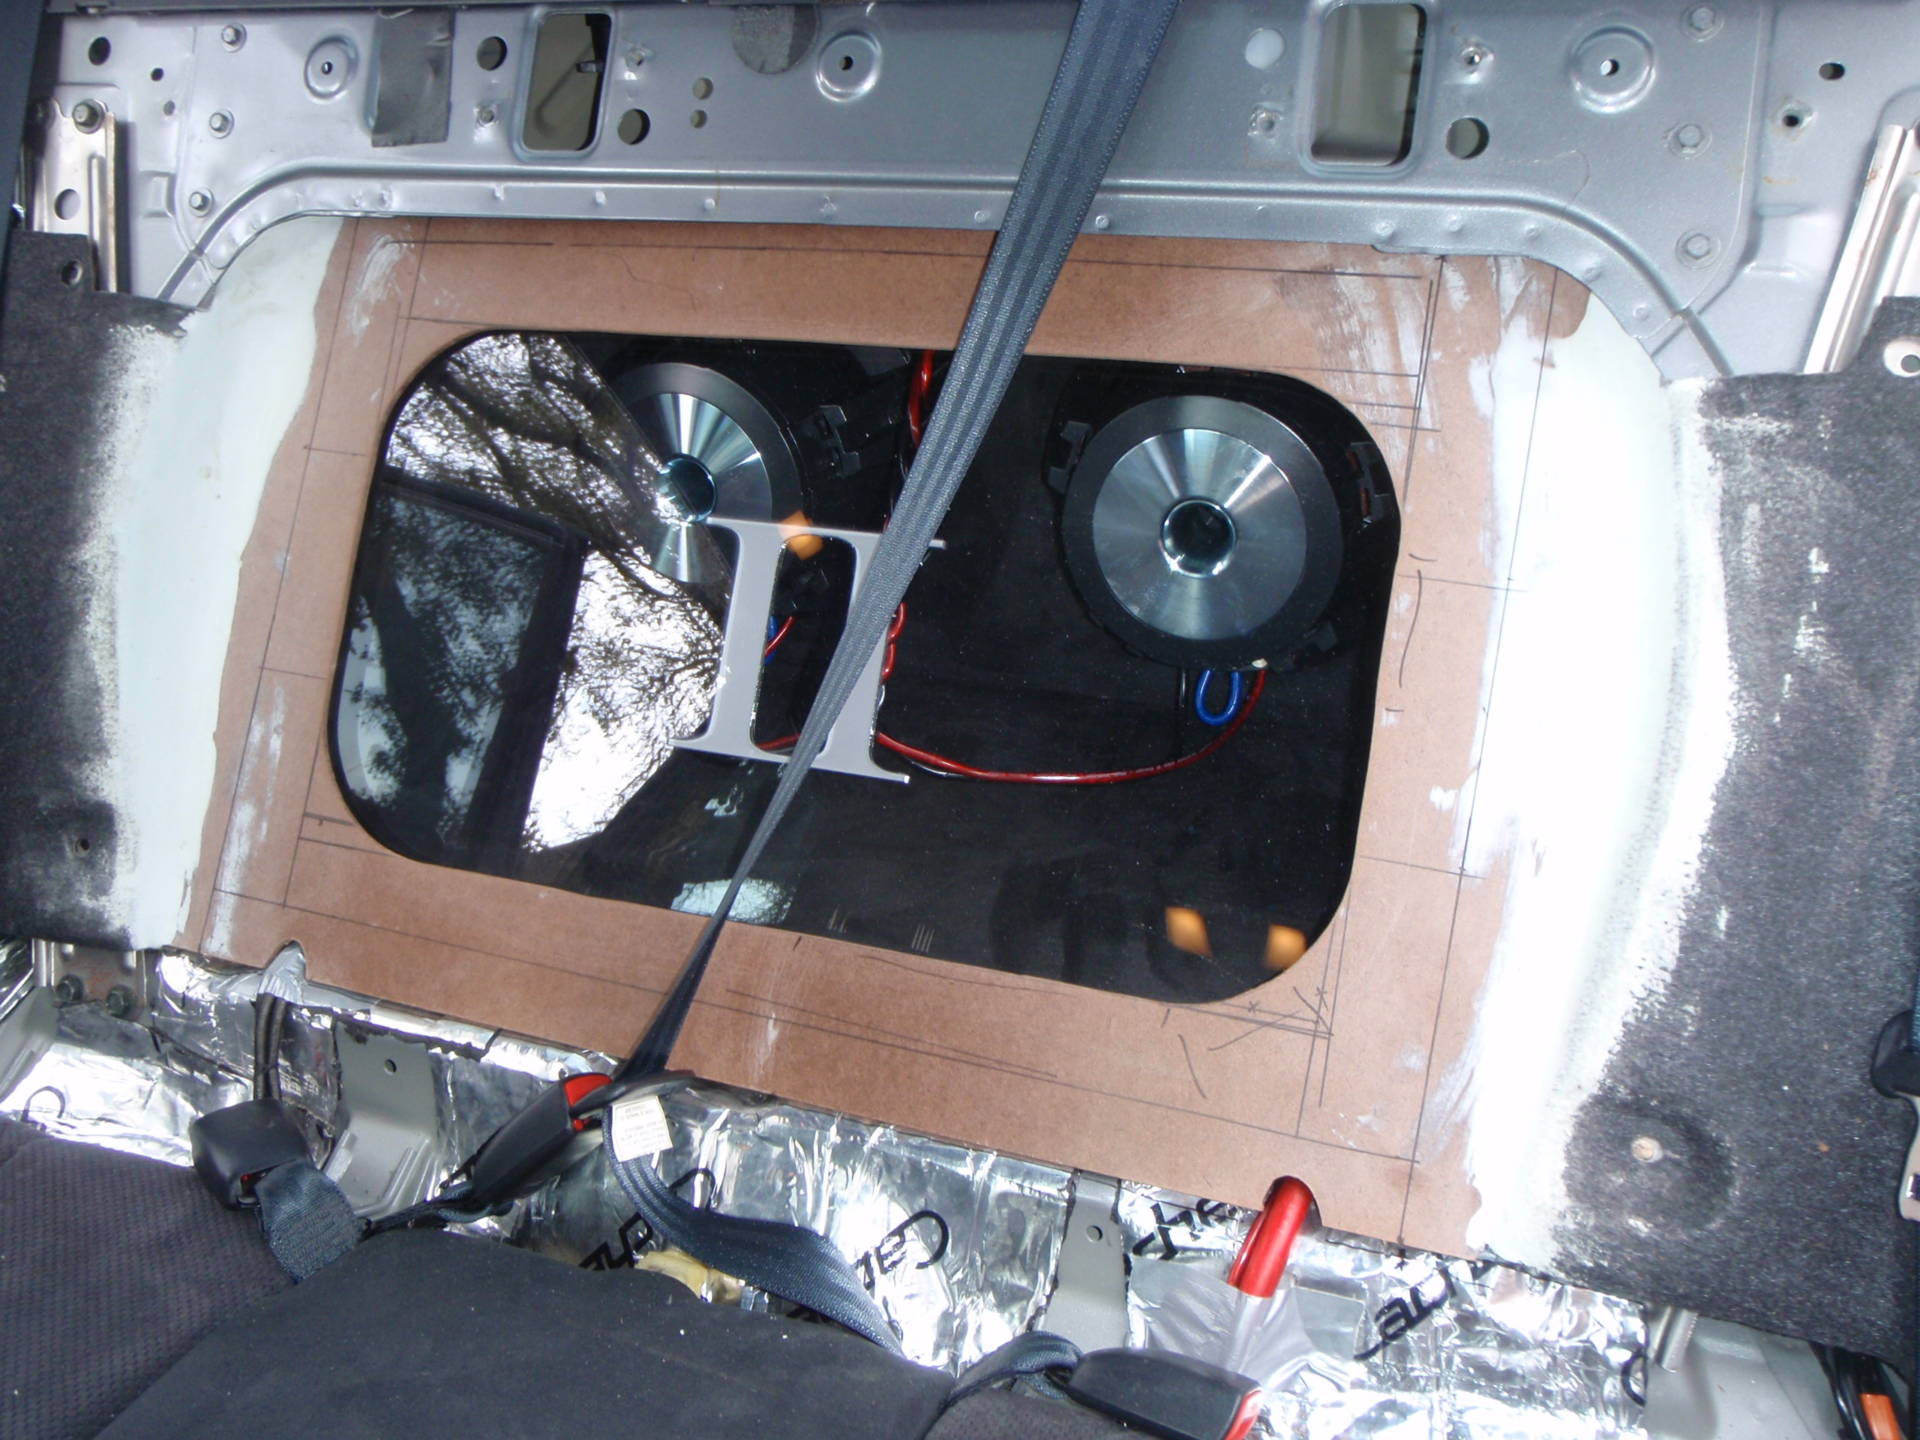
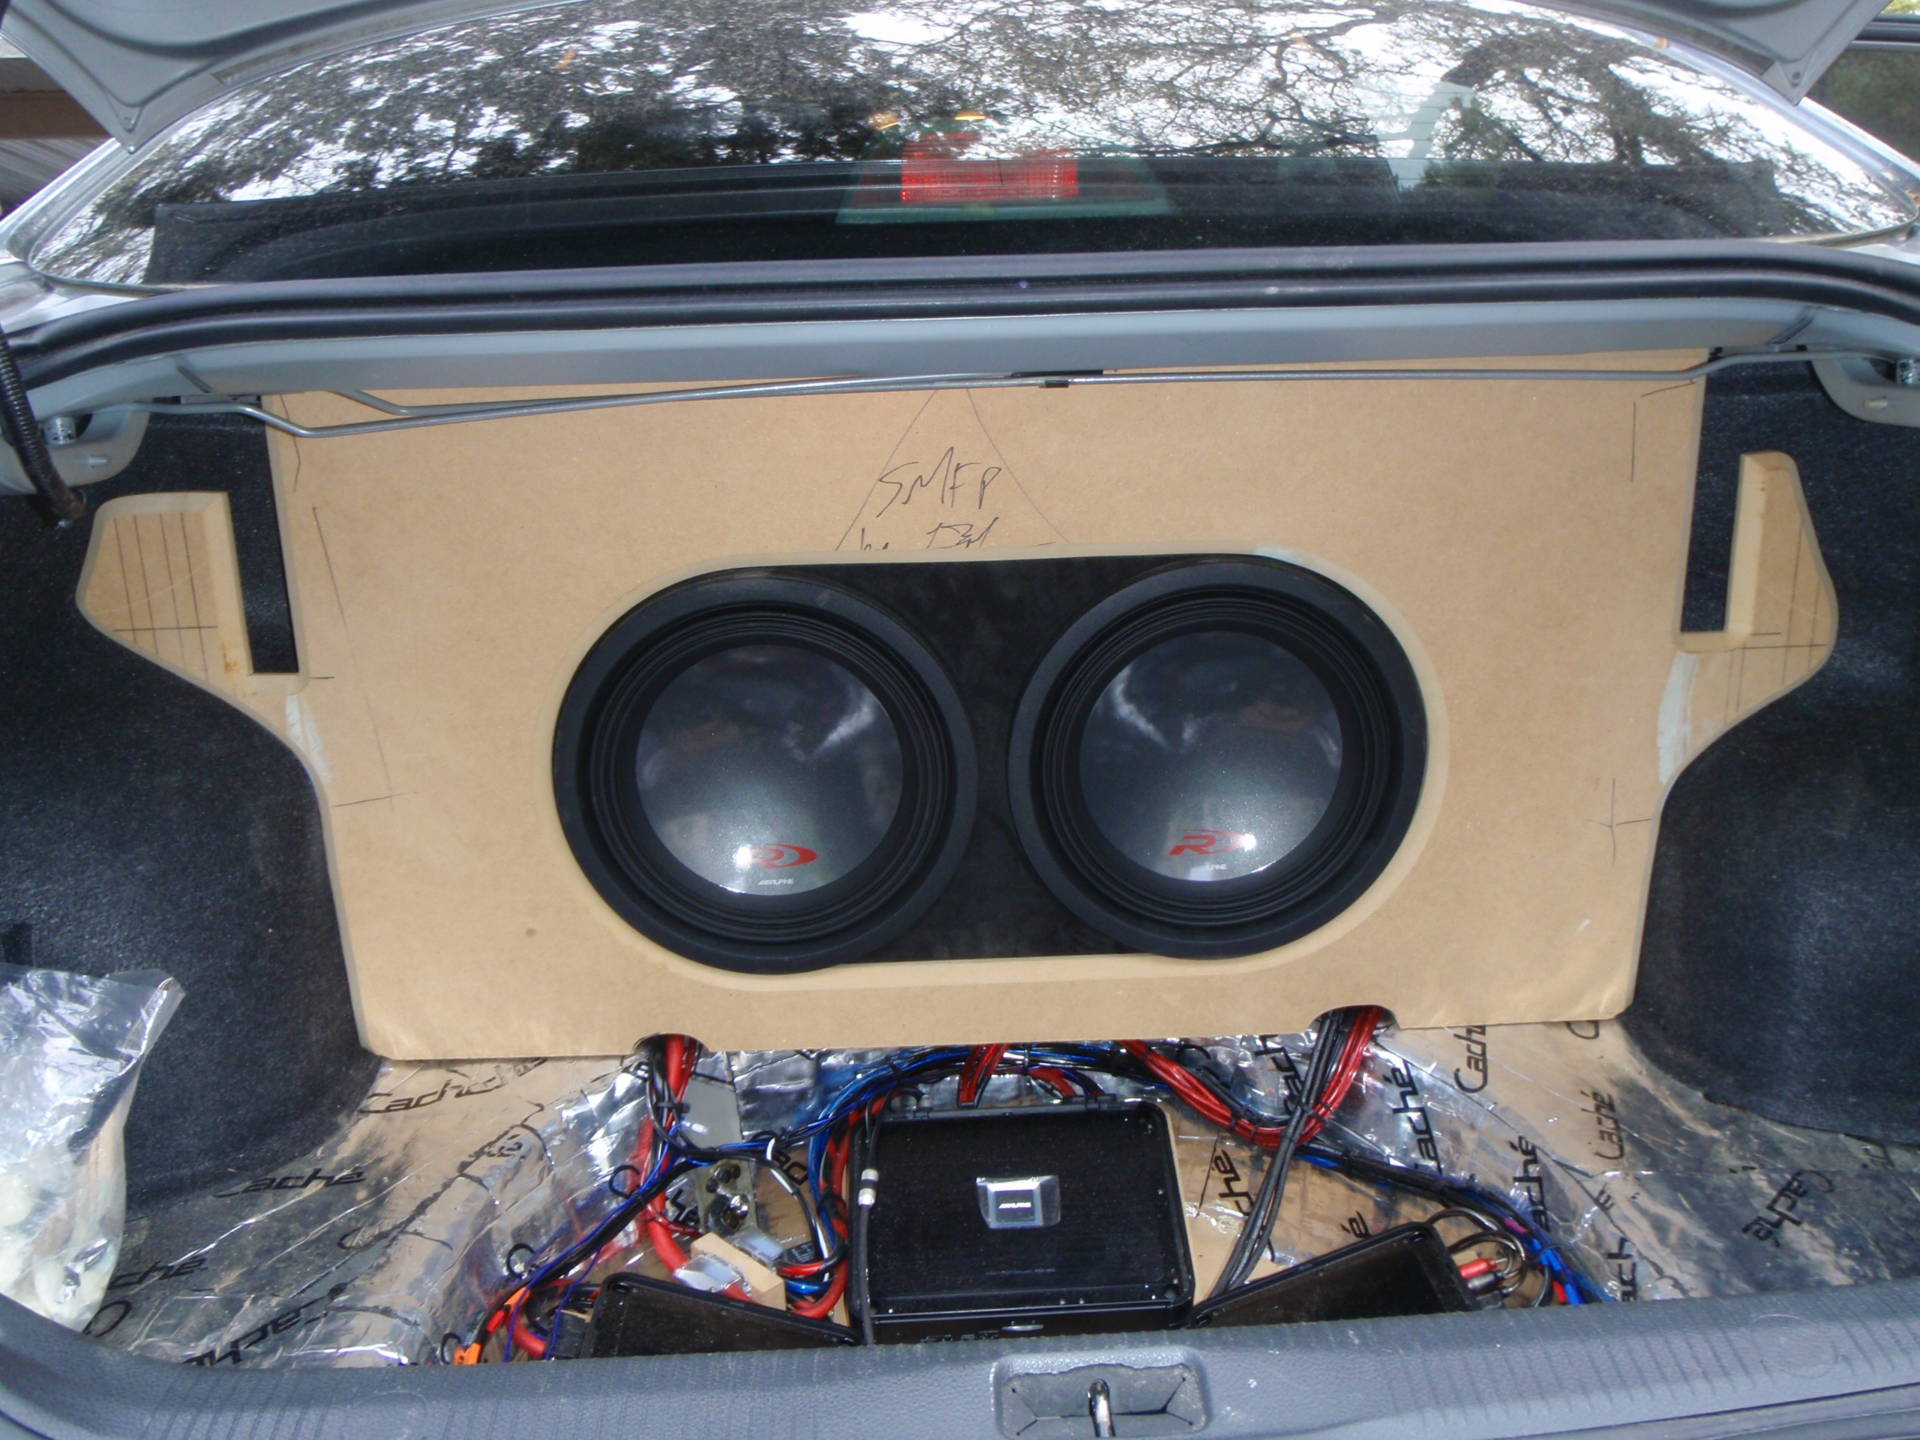
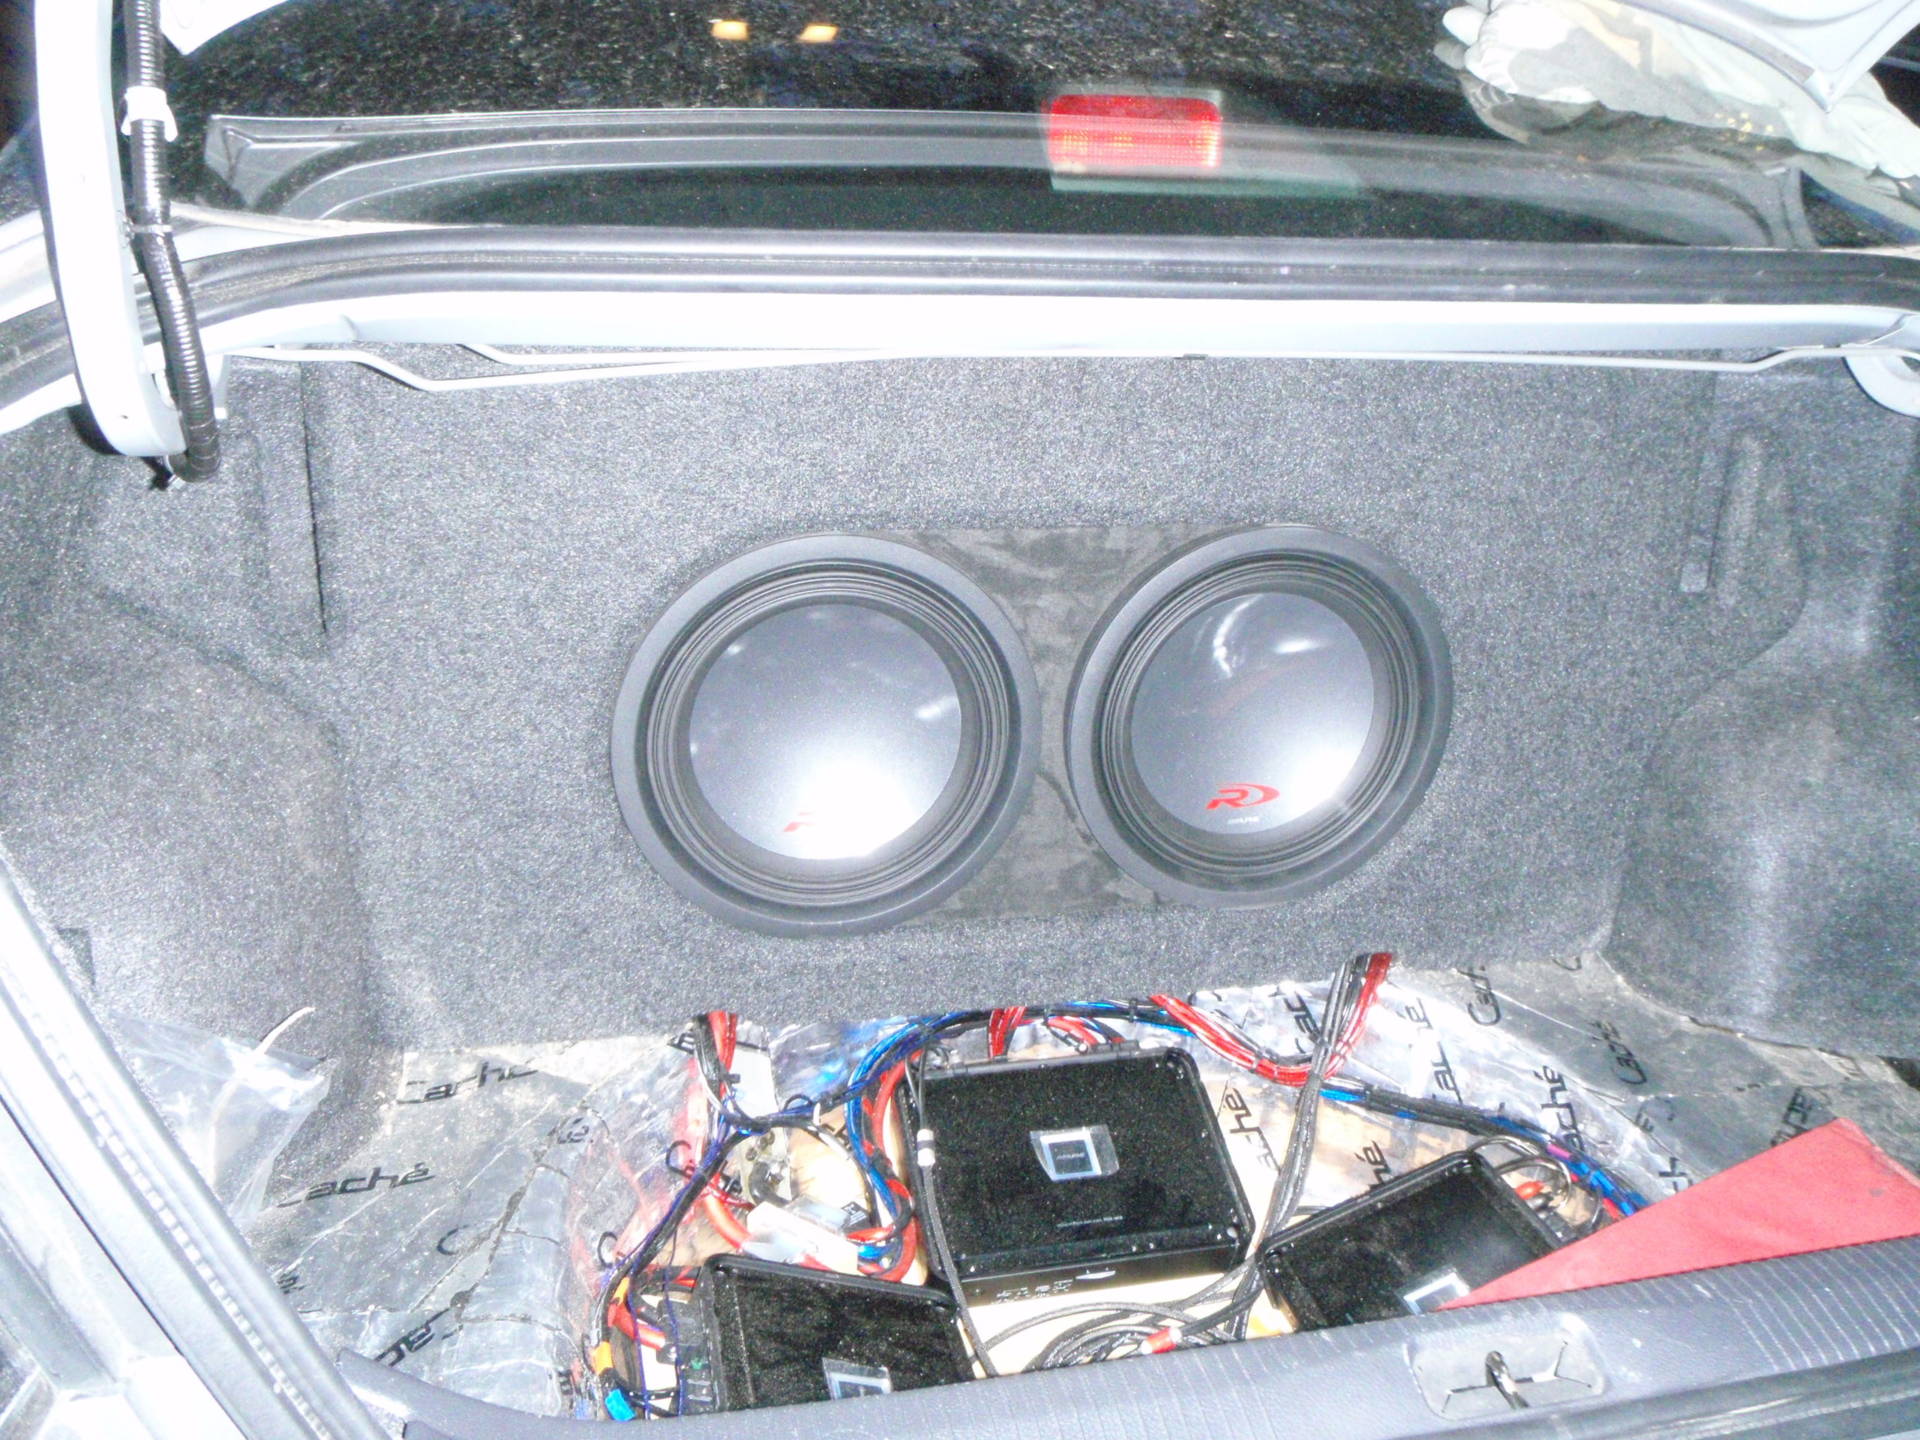
Test fit; are you ready for this?! I know I see potential:

Rear speakers installed:
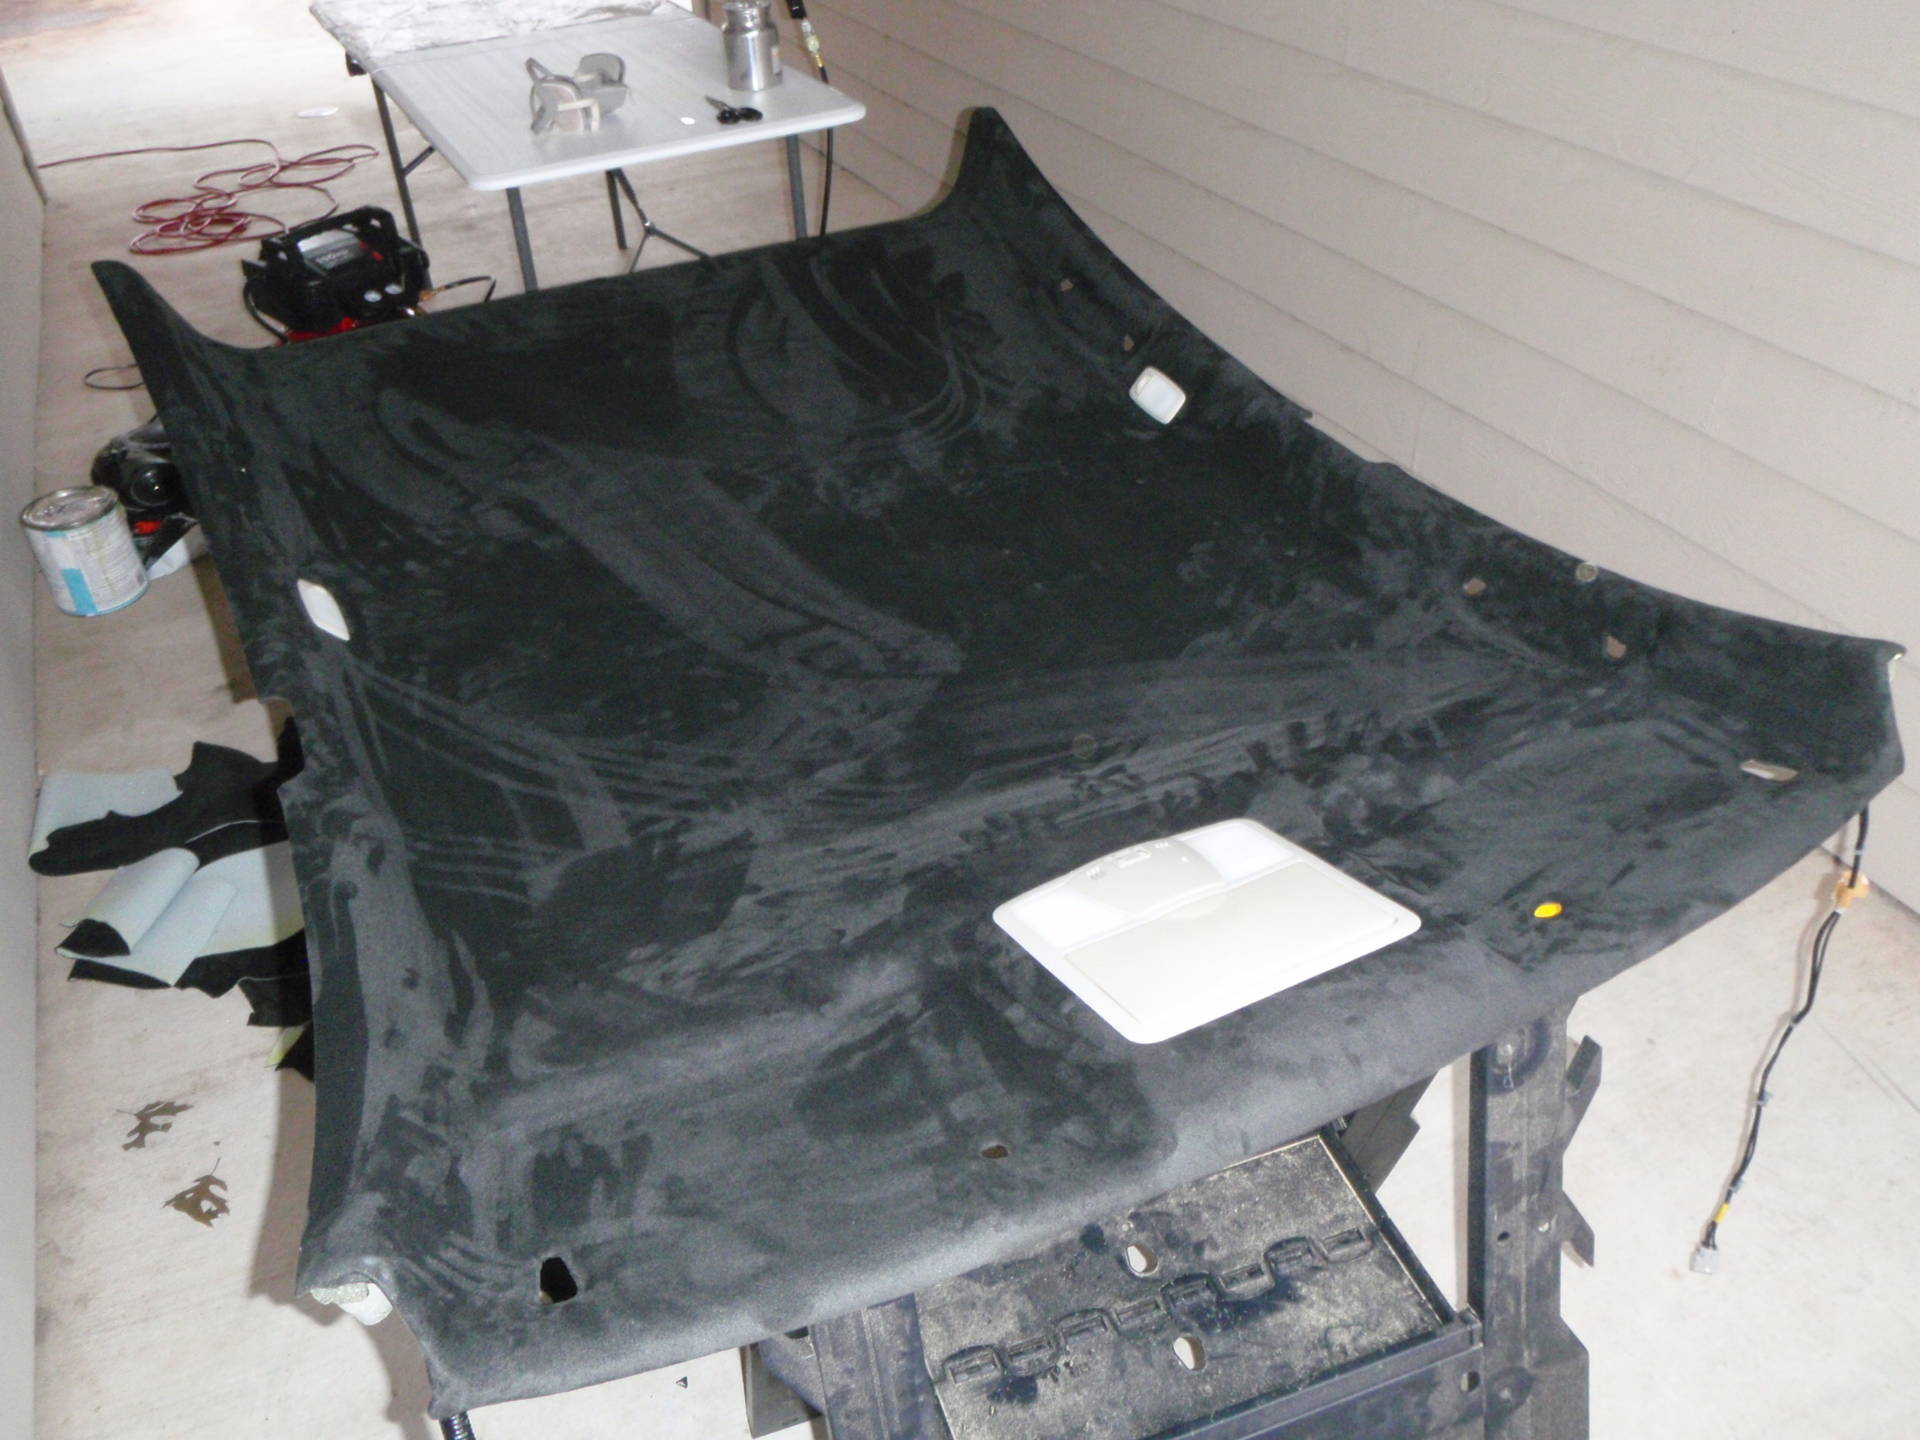
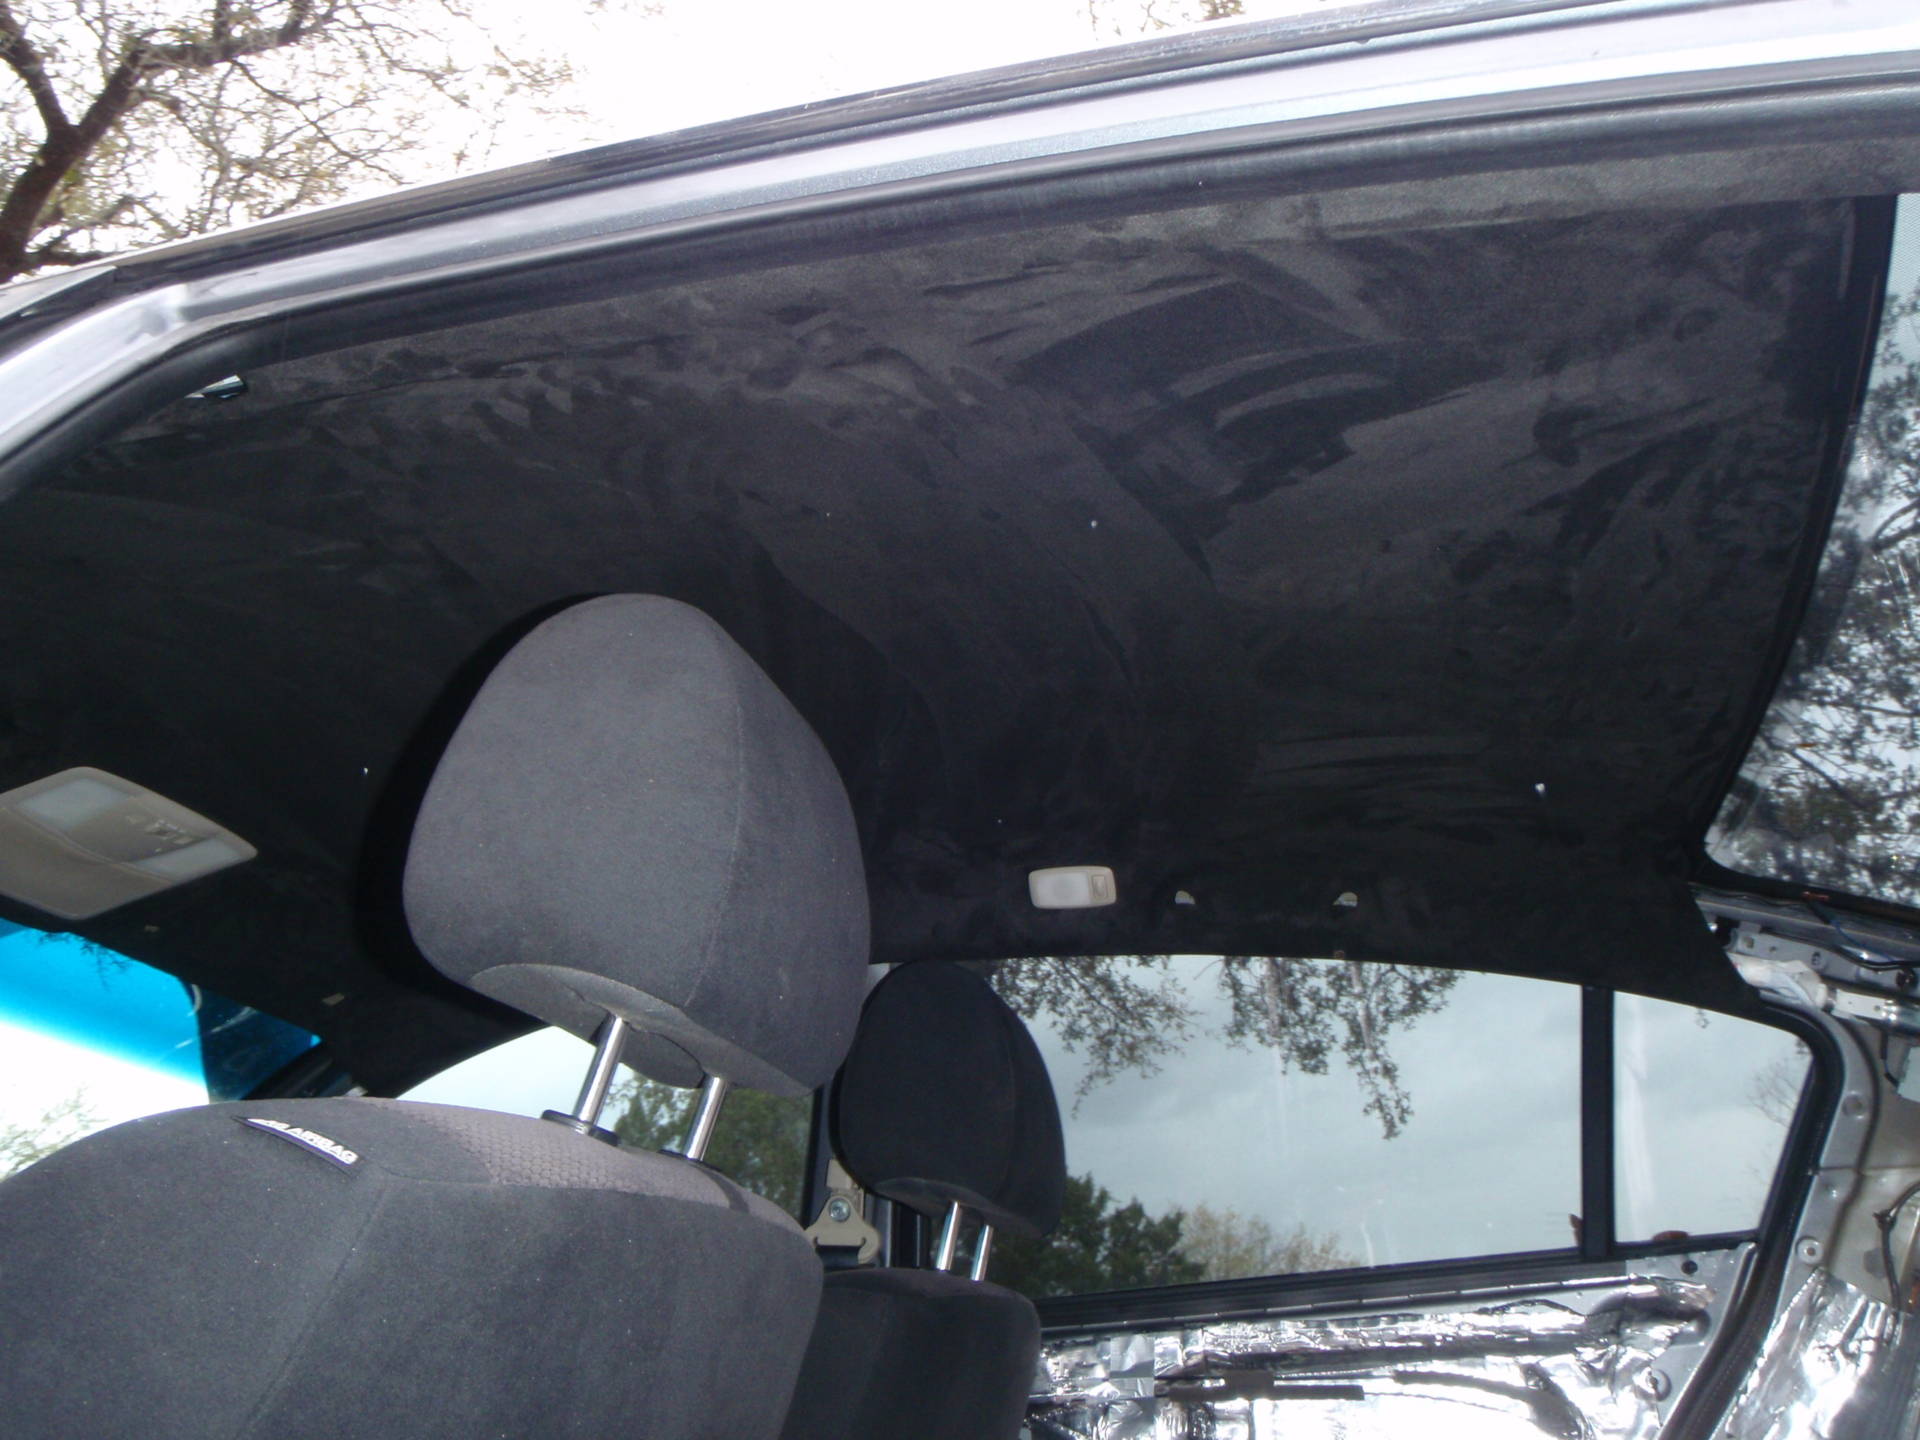
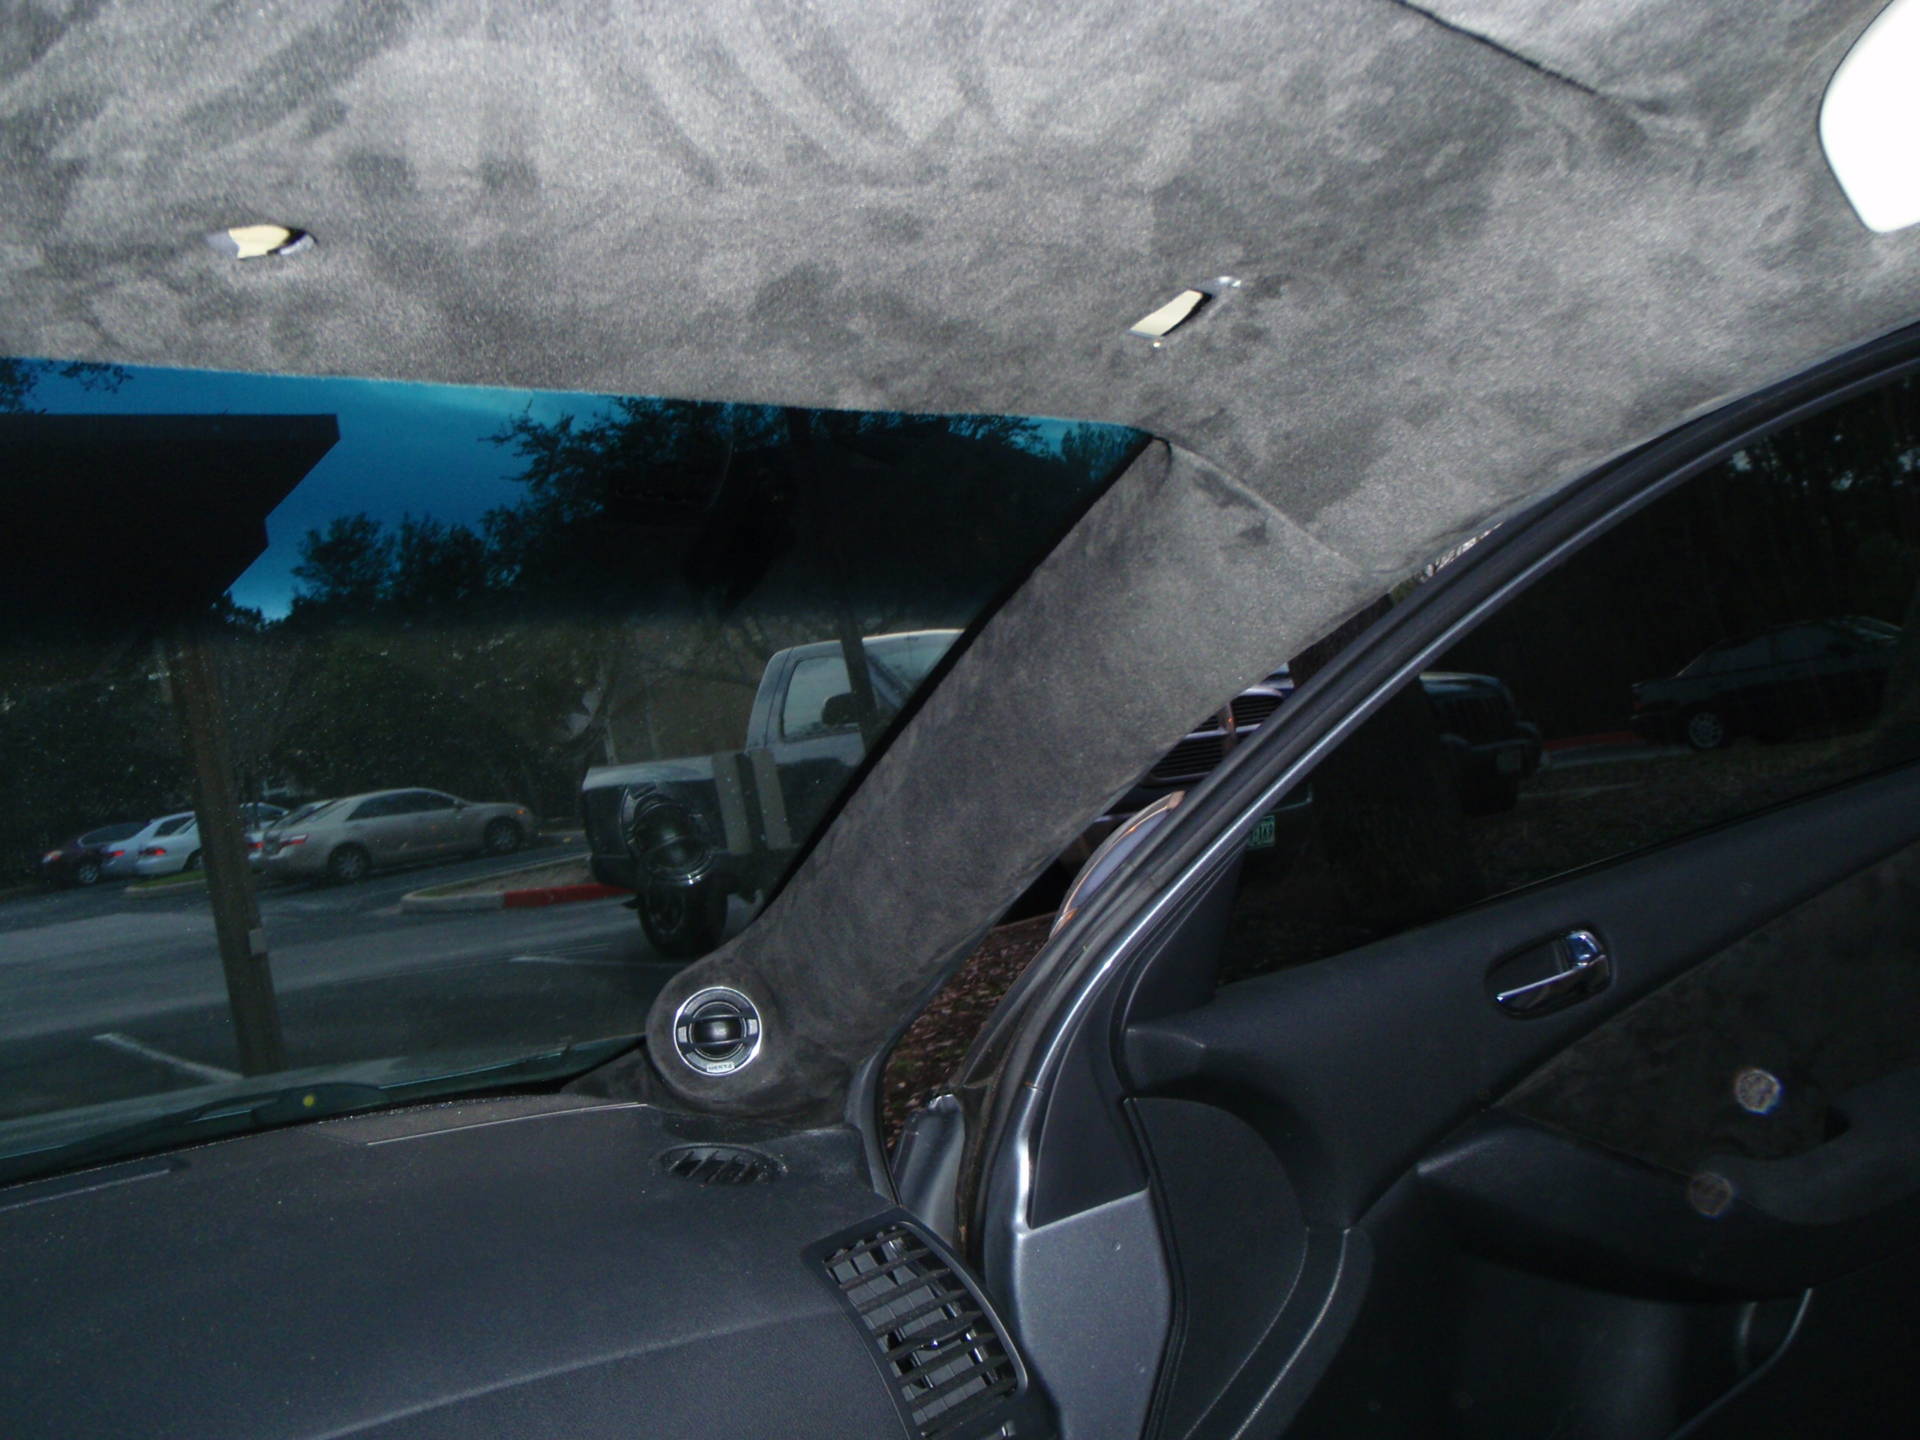
Headliner is re-upholstered in black suede and installed:
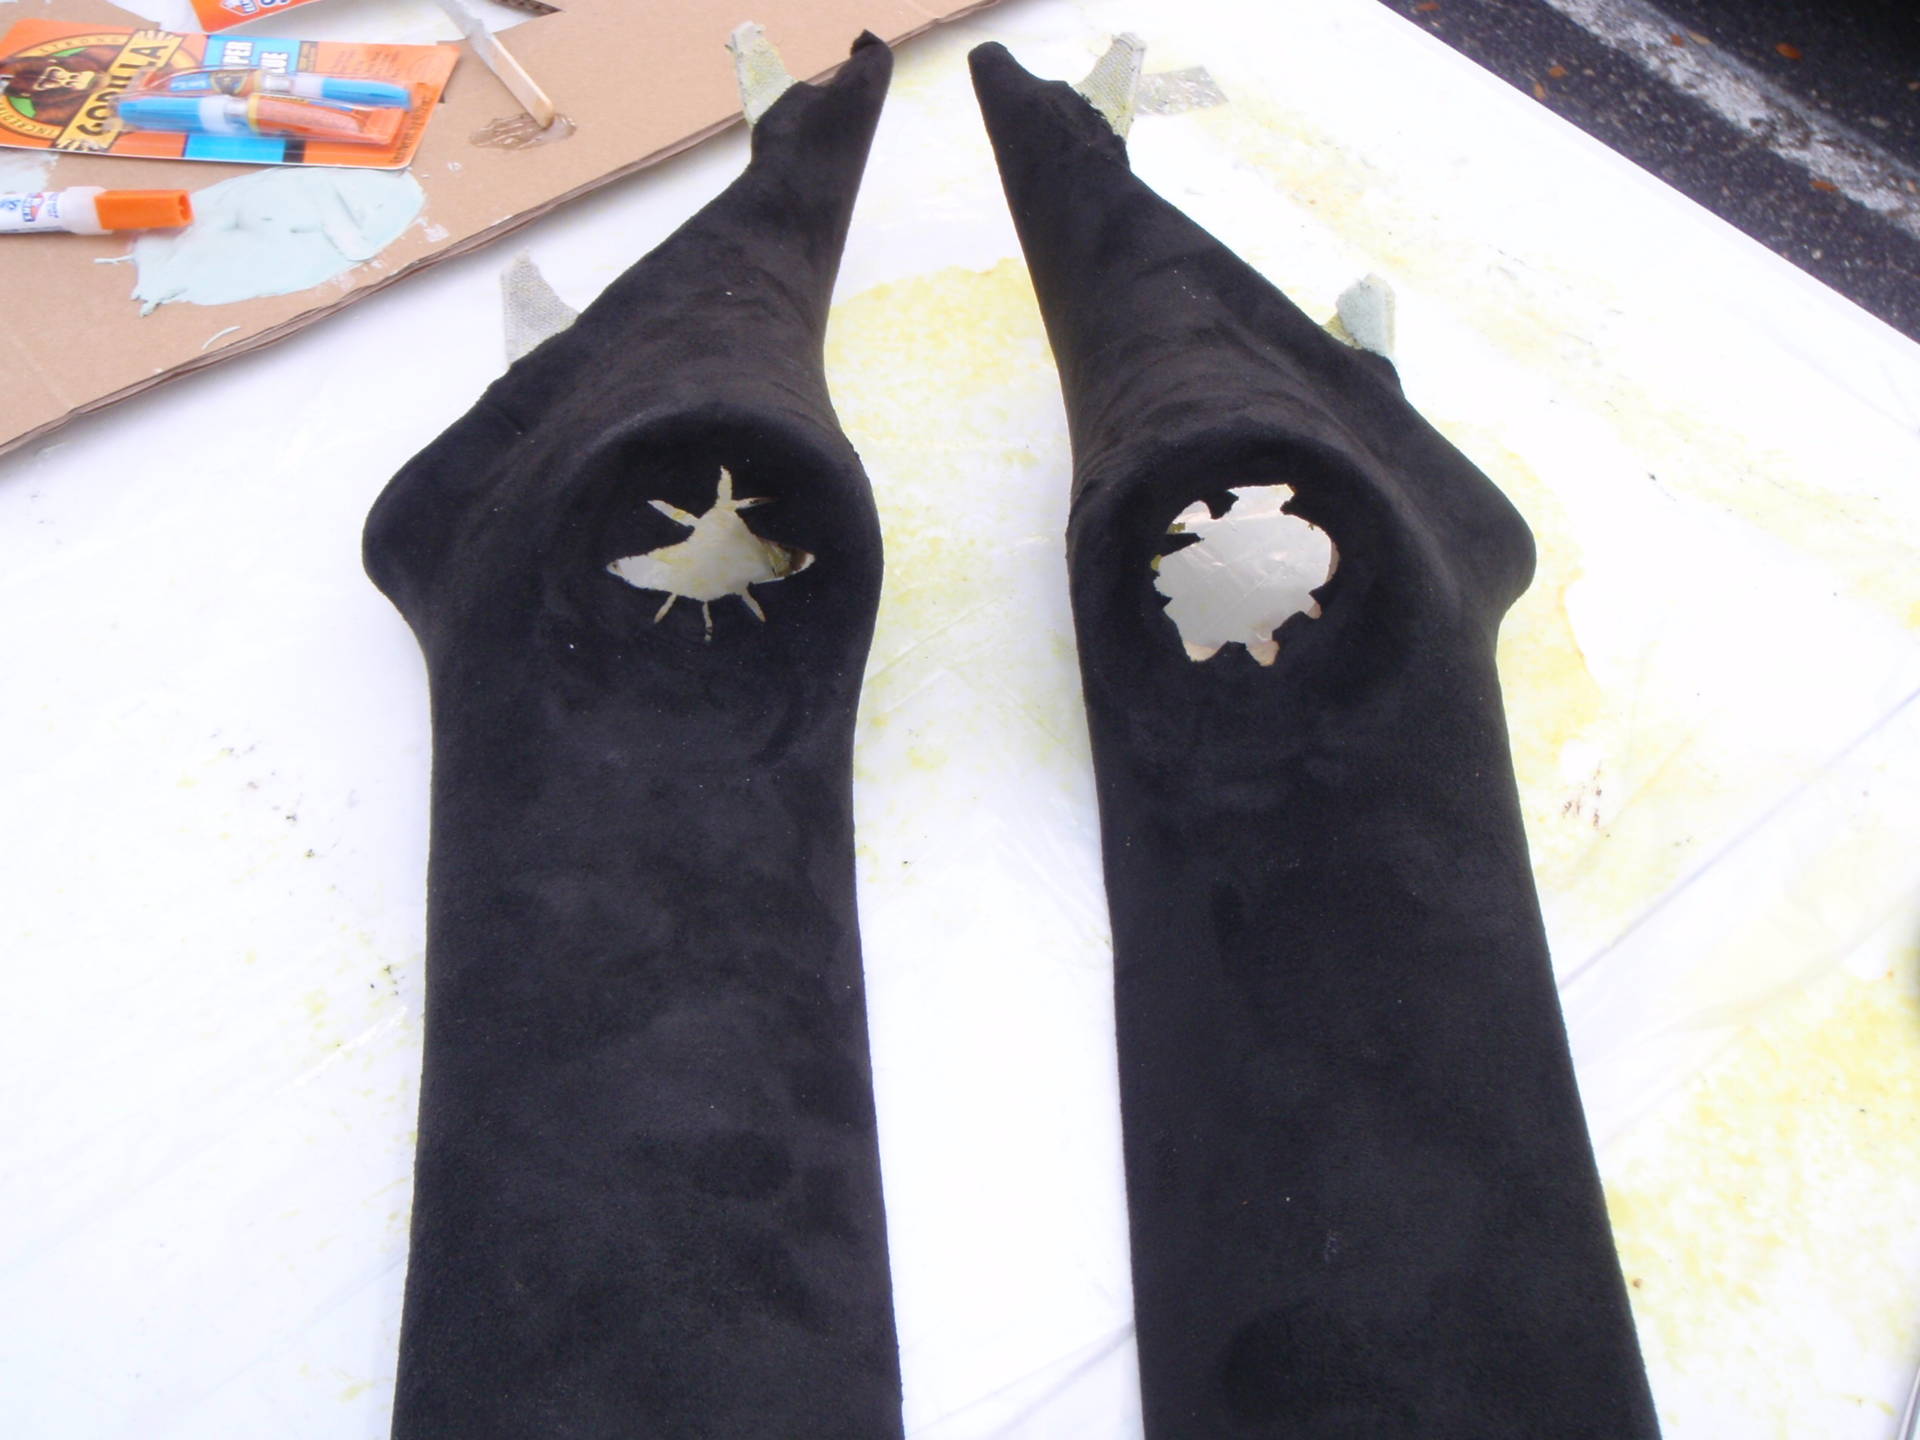
Door inserts are re-upholstered and installed as well:


Decided to abandon the digital tosLink between the INA910 and the BitOne and went analog for more source options (iPod, radio, etc). More cables yay. So I got to take out the interior again and rewire everything to change from digital to analog. In the rain. It was not one of my favorite days. Now have 3 sets of RCAs running down the chassis rather than a single optical cable; Thankfully I completed the rewire within one day. I didn’t want to dwell on that setback

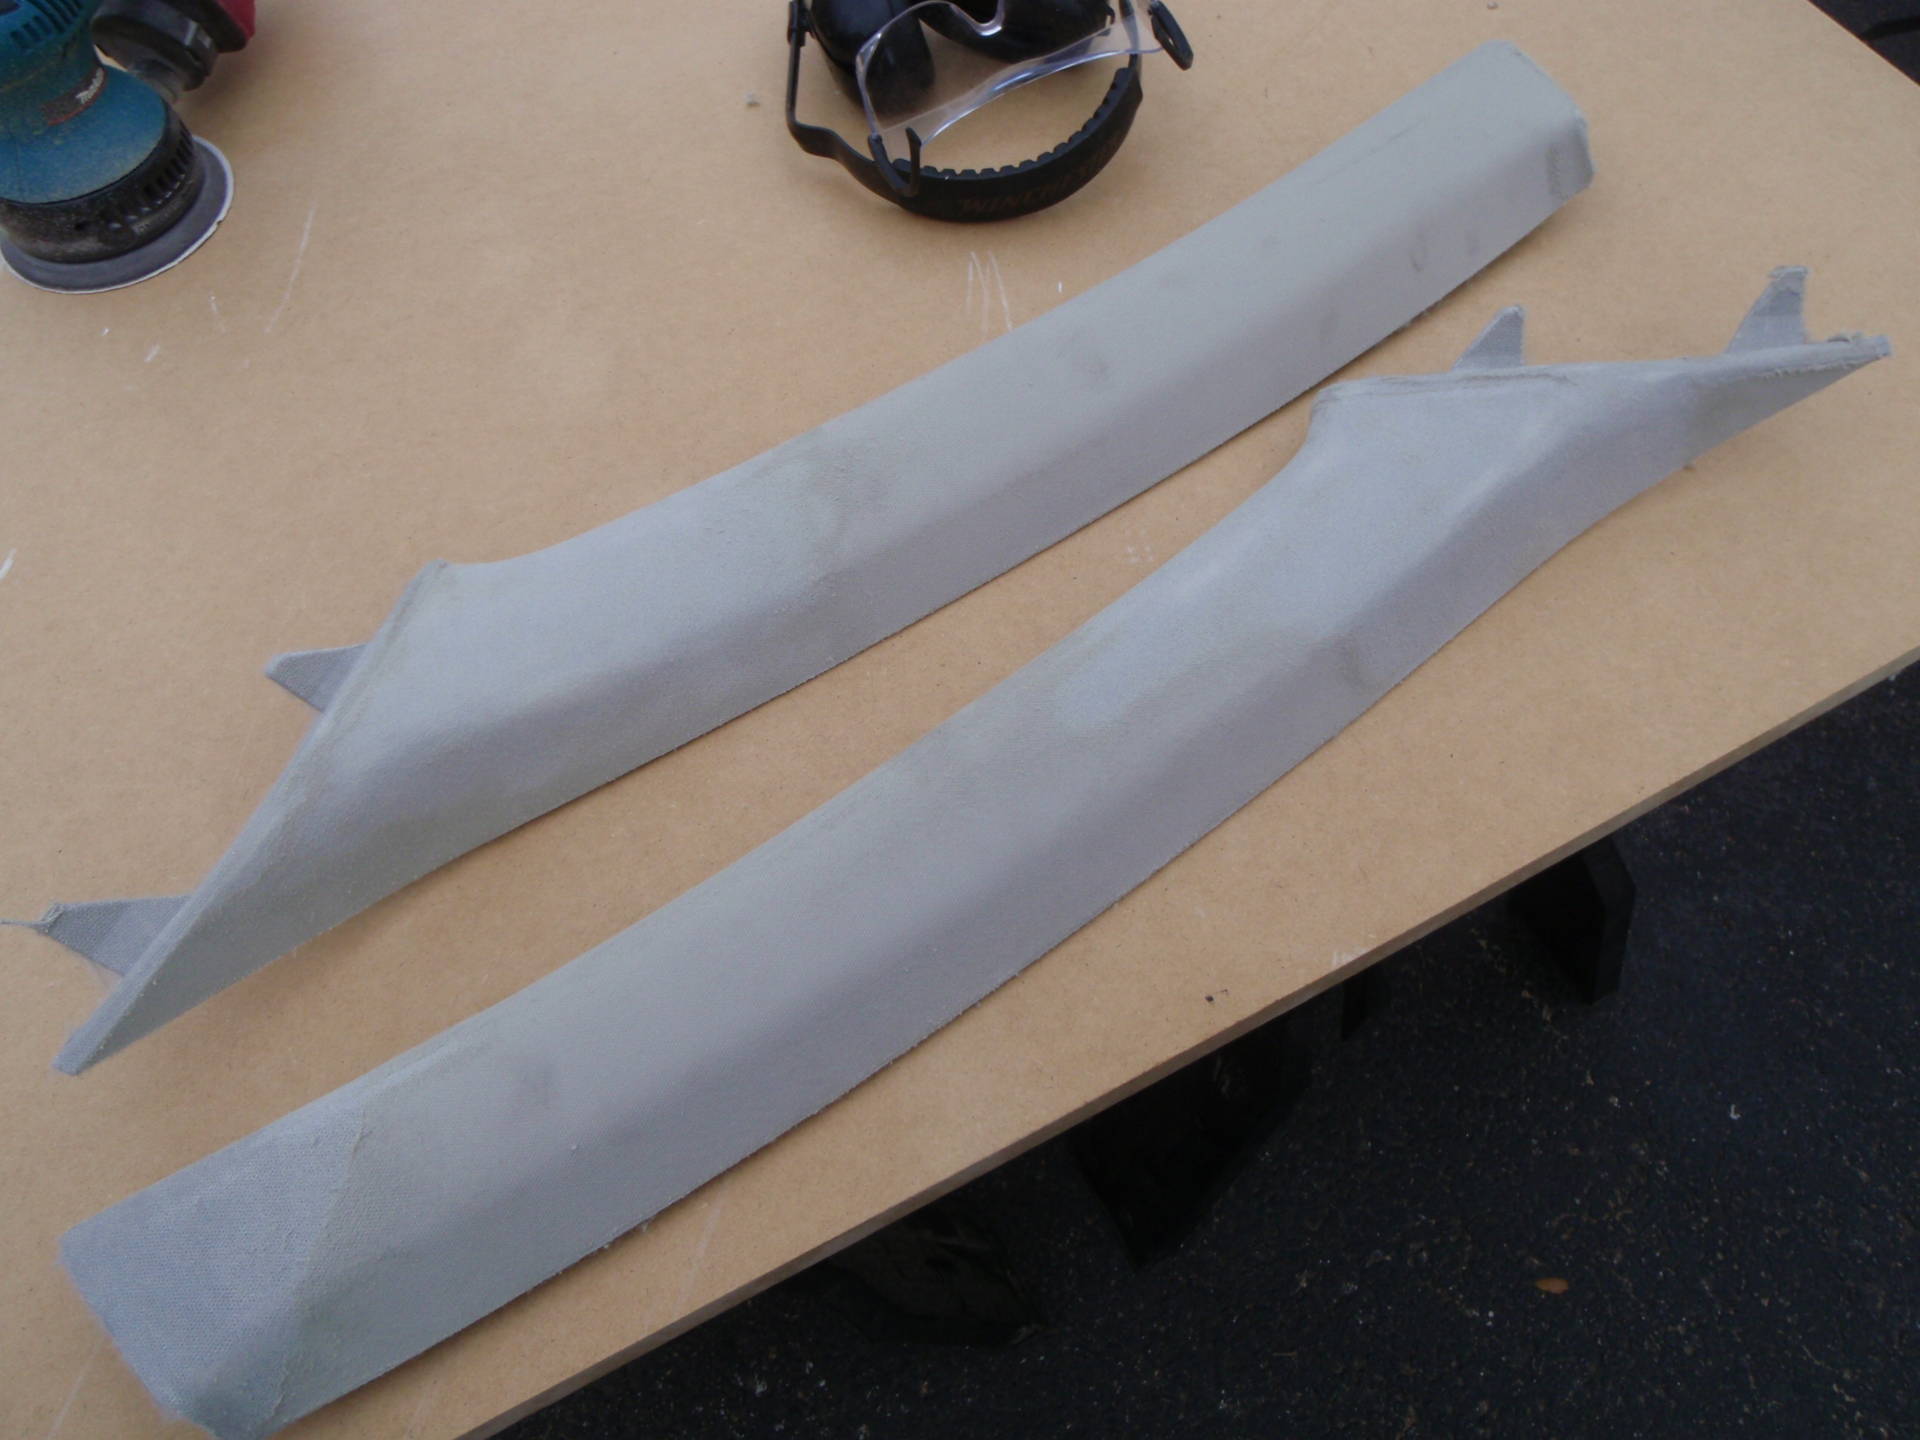
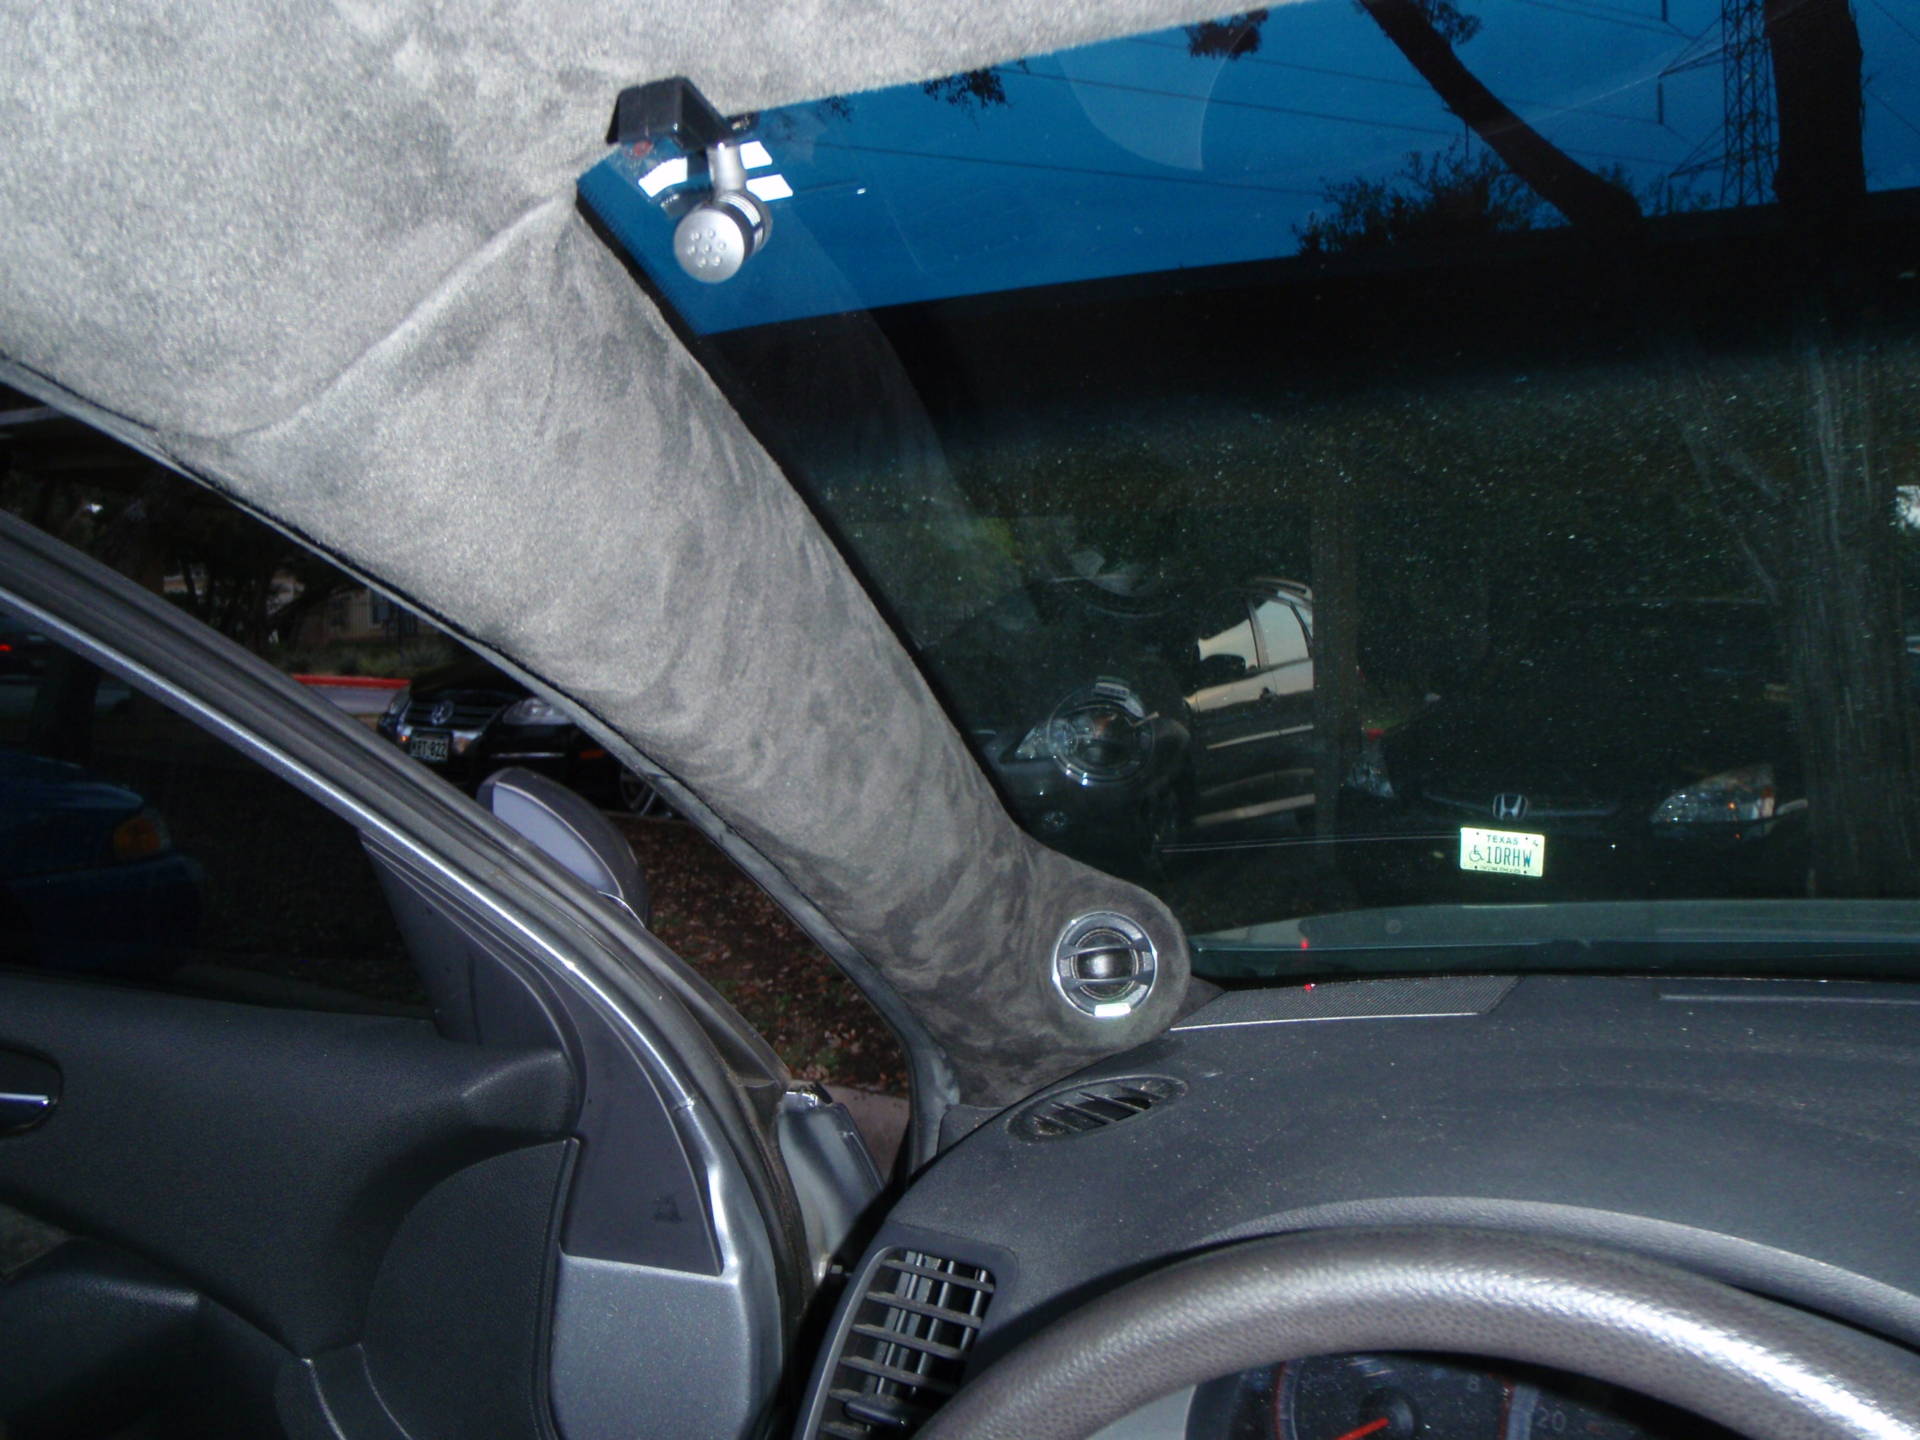
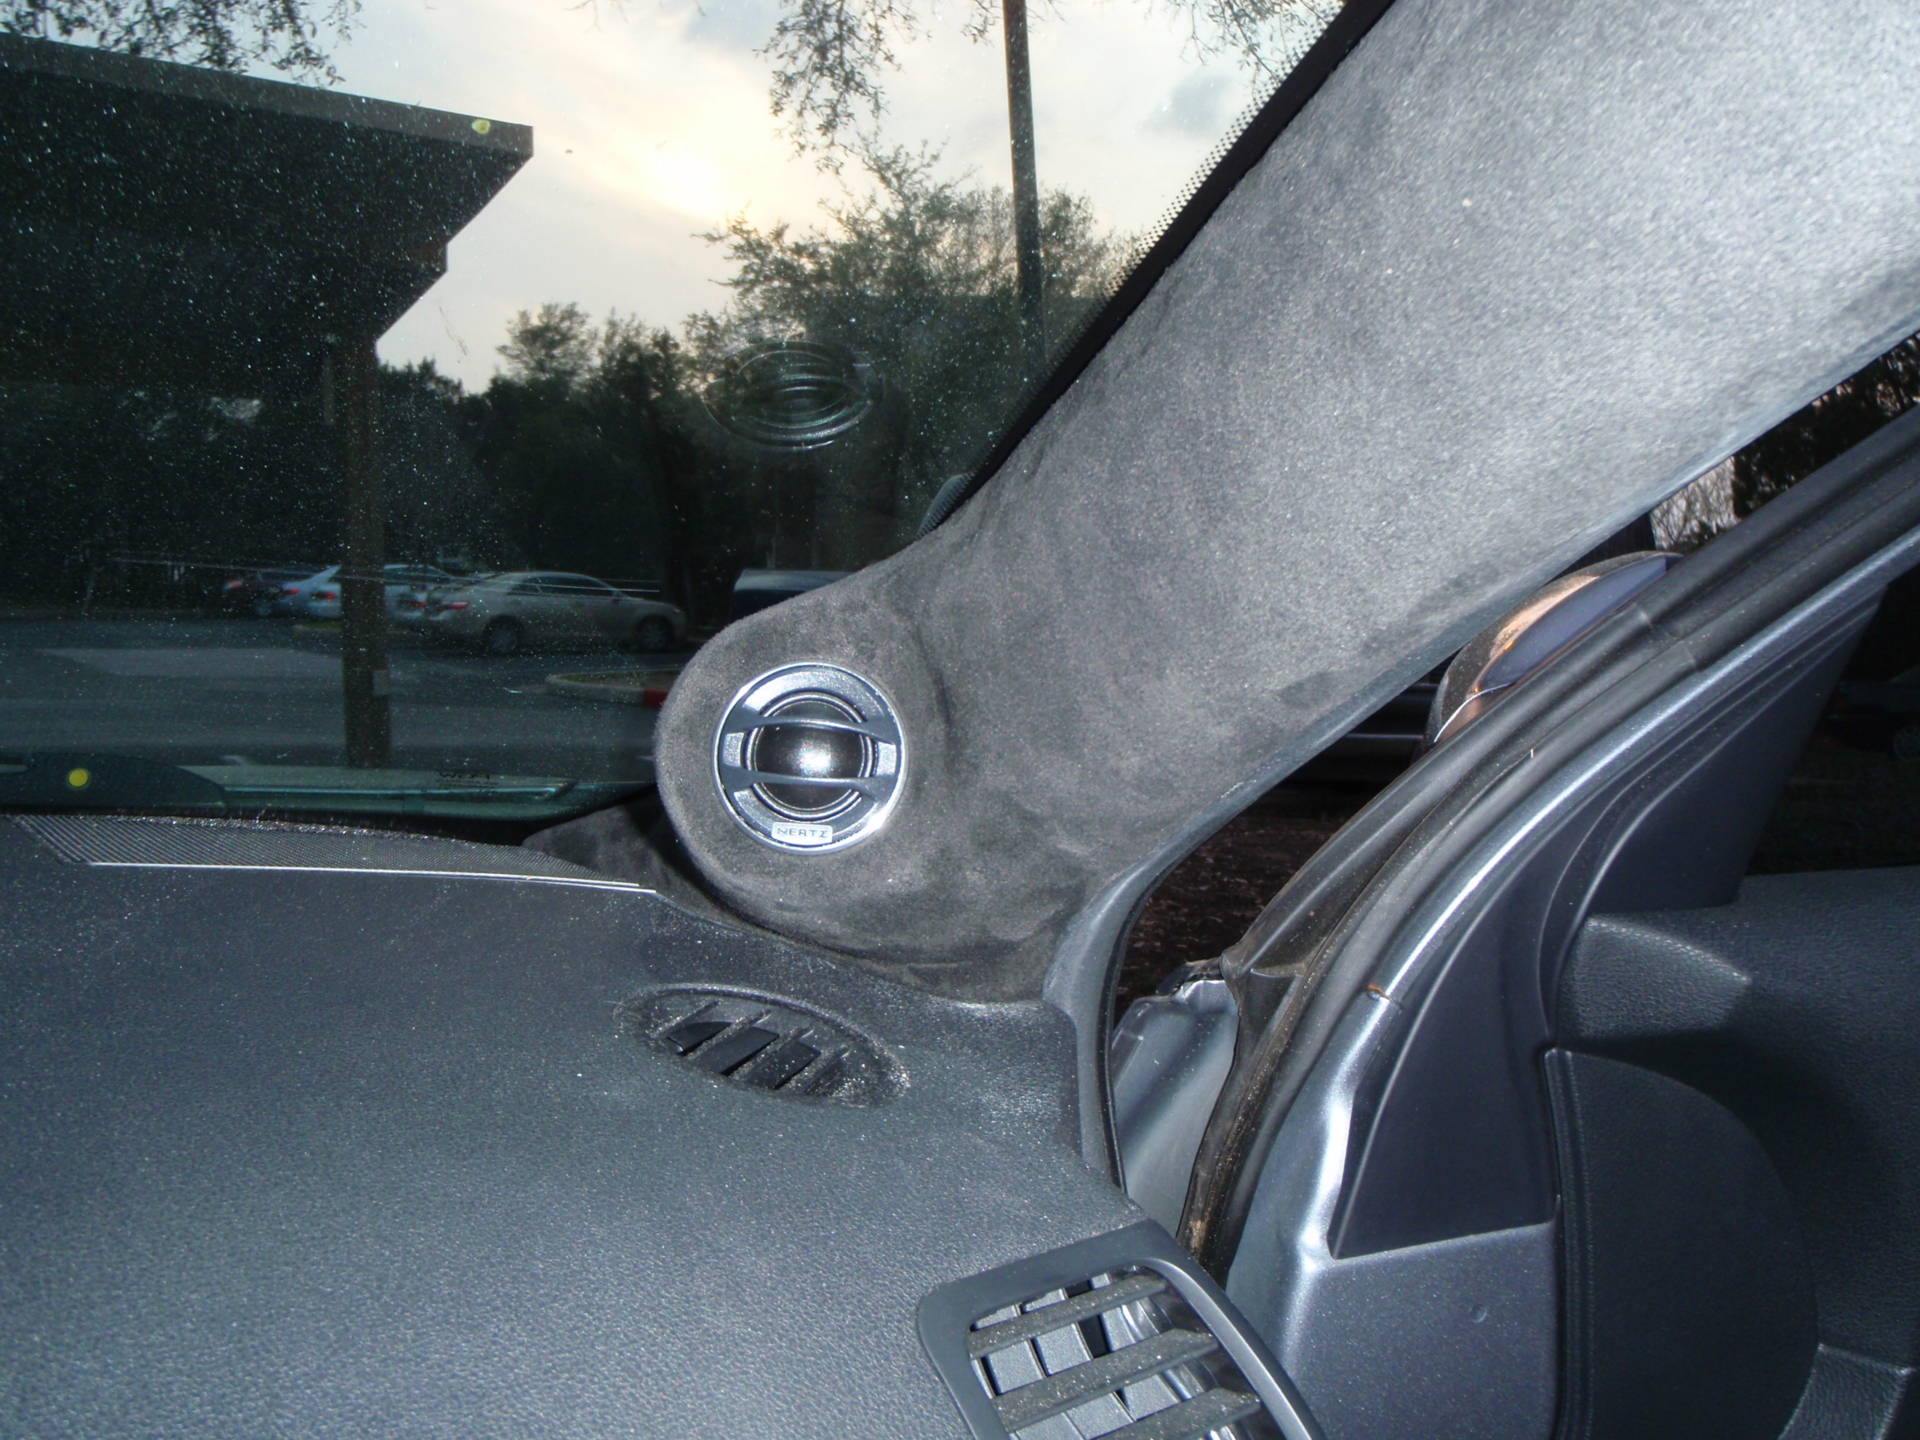
Aimed and fabbed up some A Pillars to showcase those tweets:
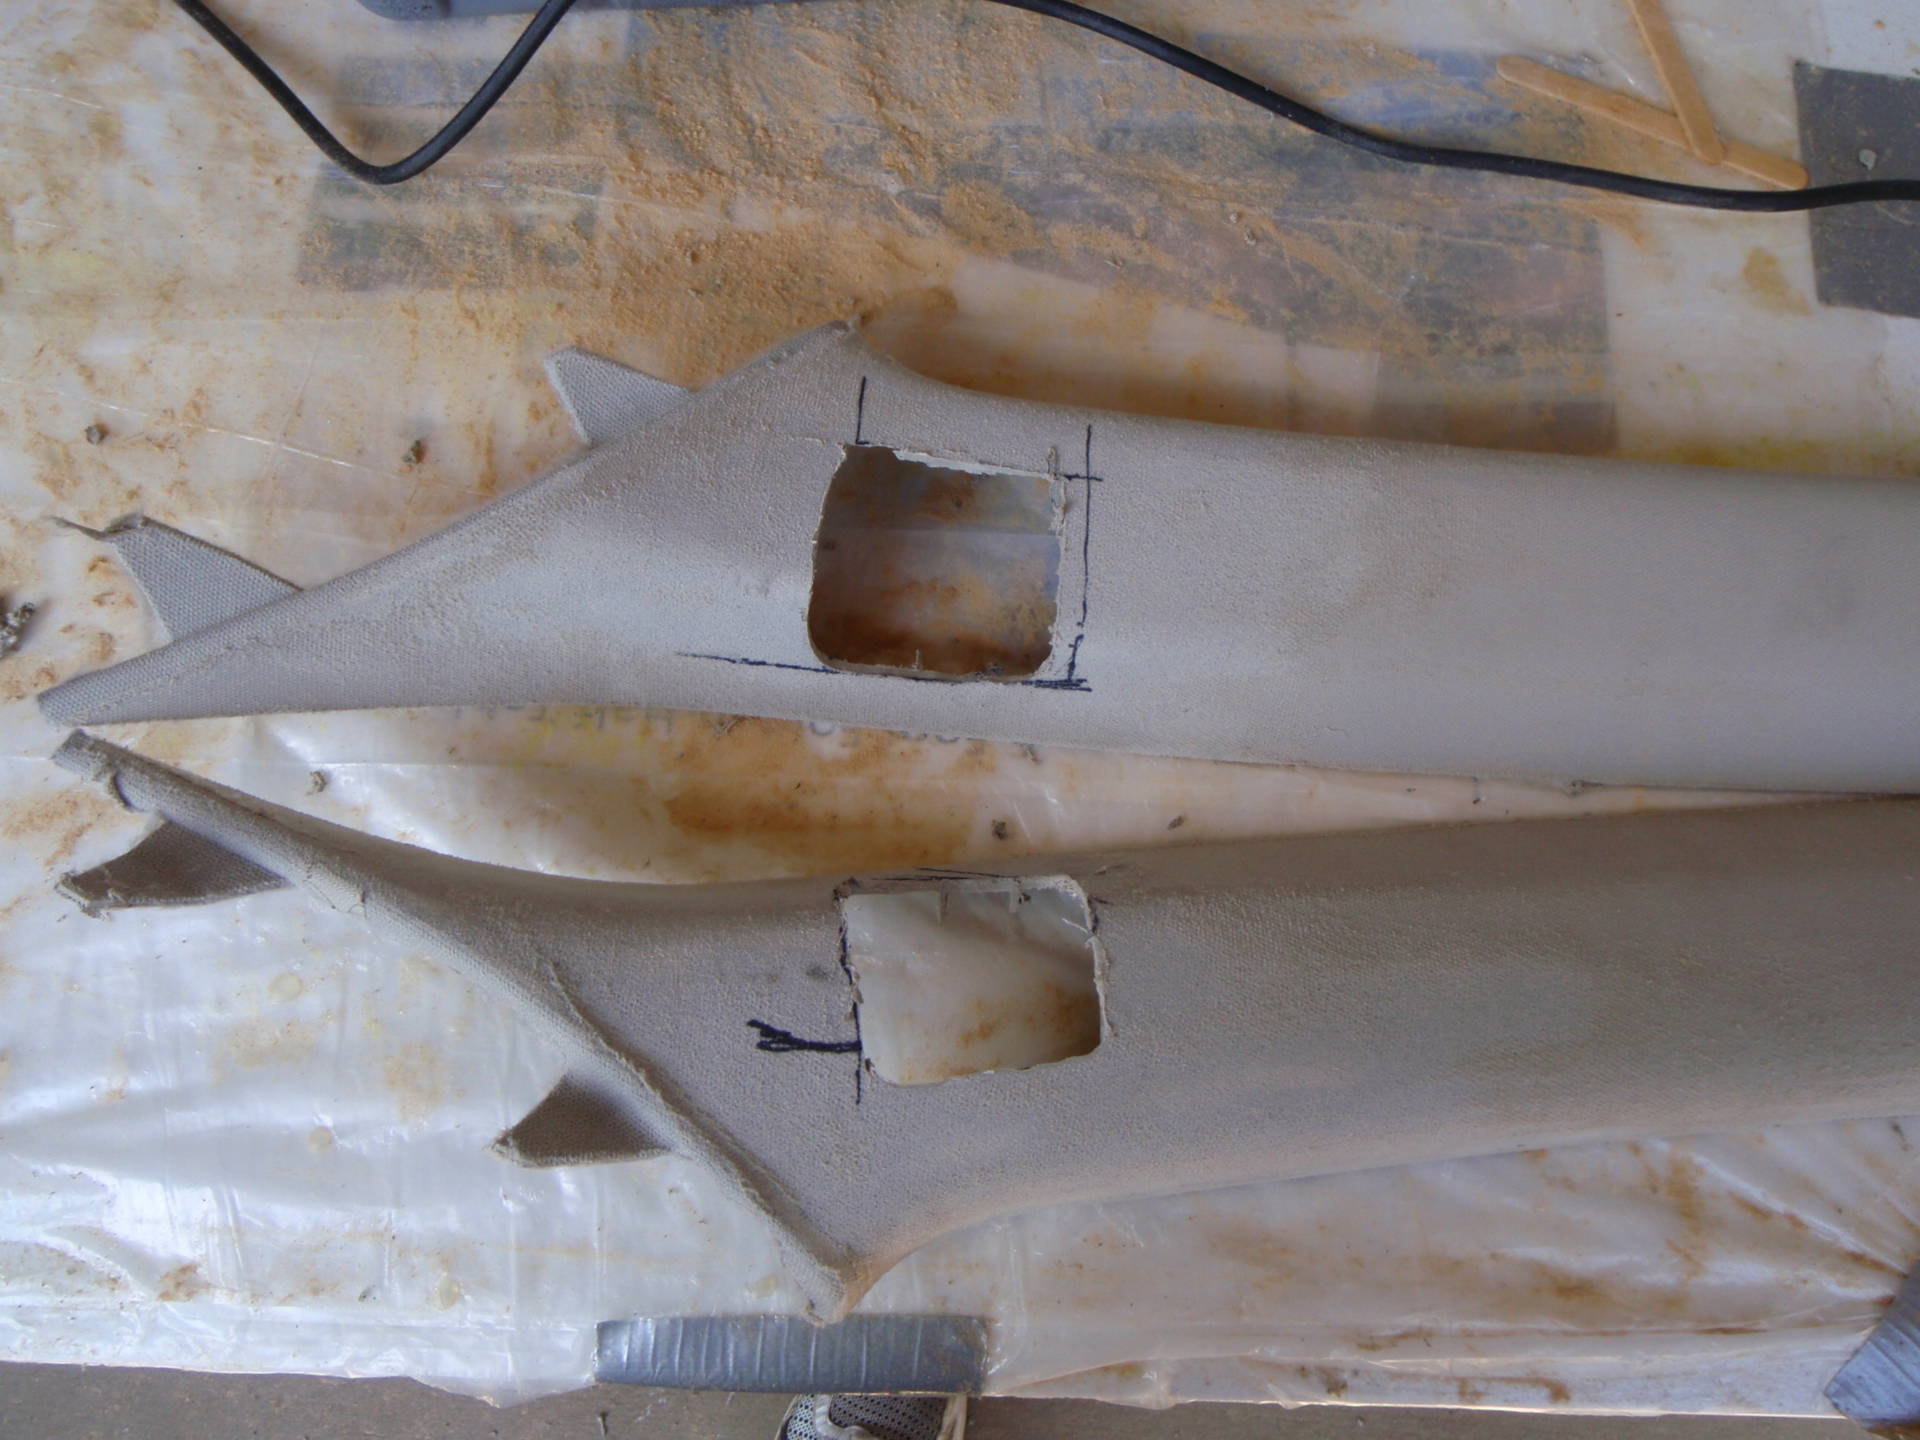
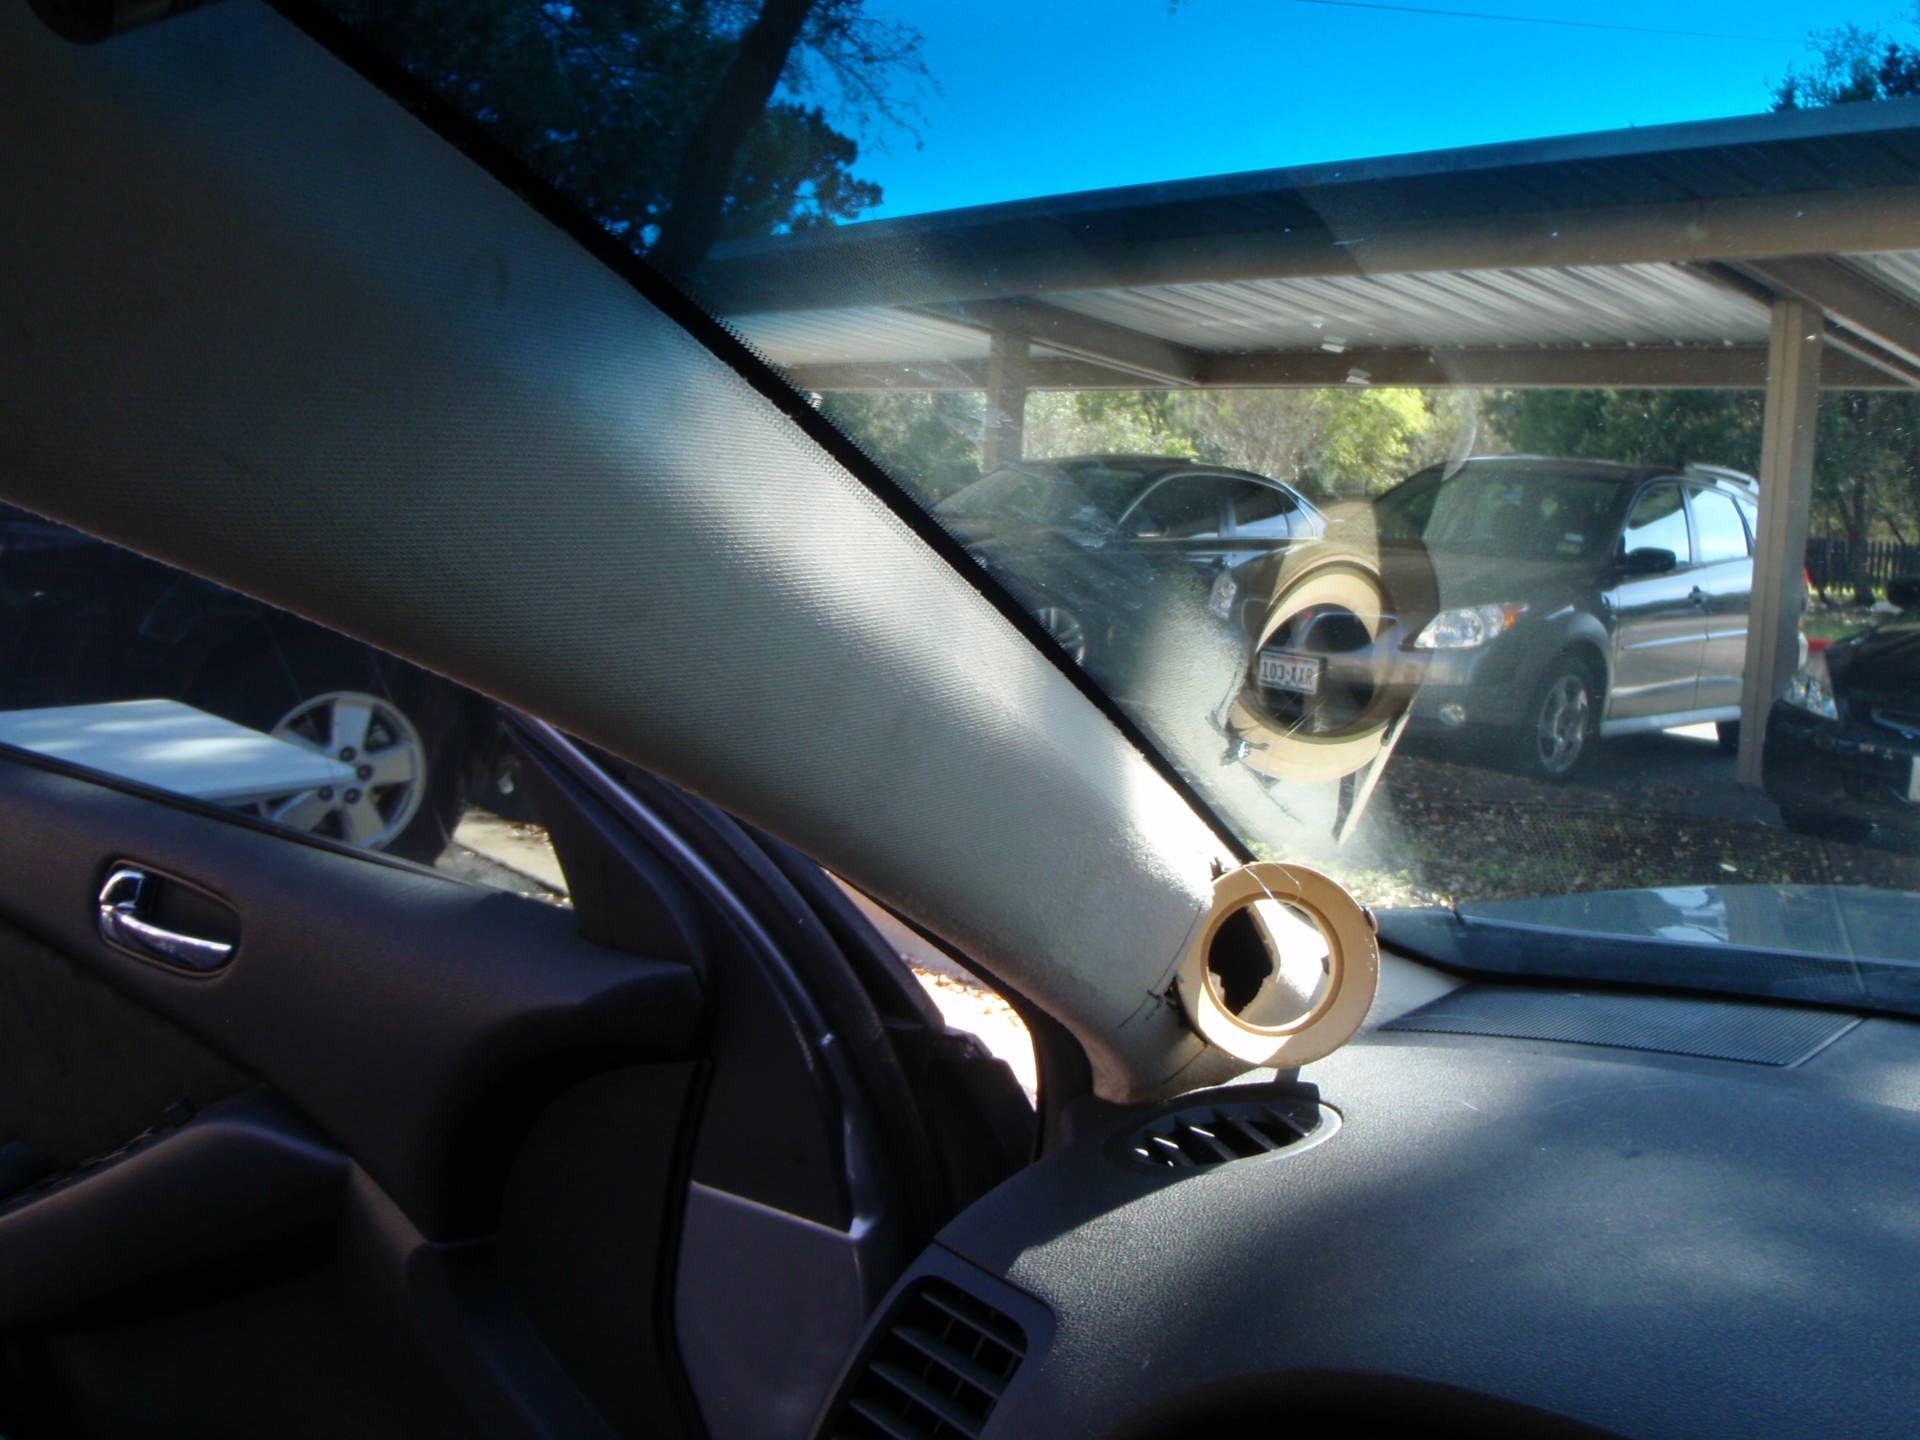


Tweeters are IN! Seamless integration for superior acoustics. Very pleased

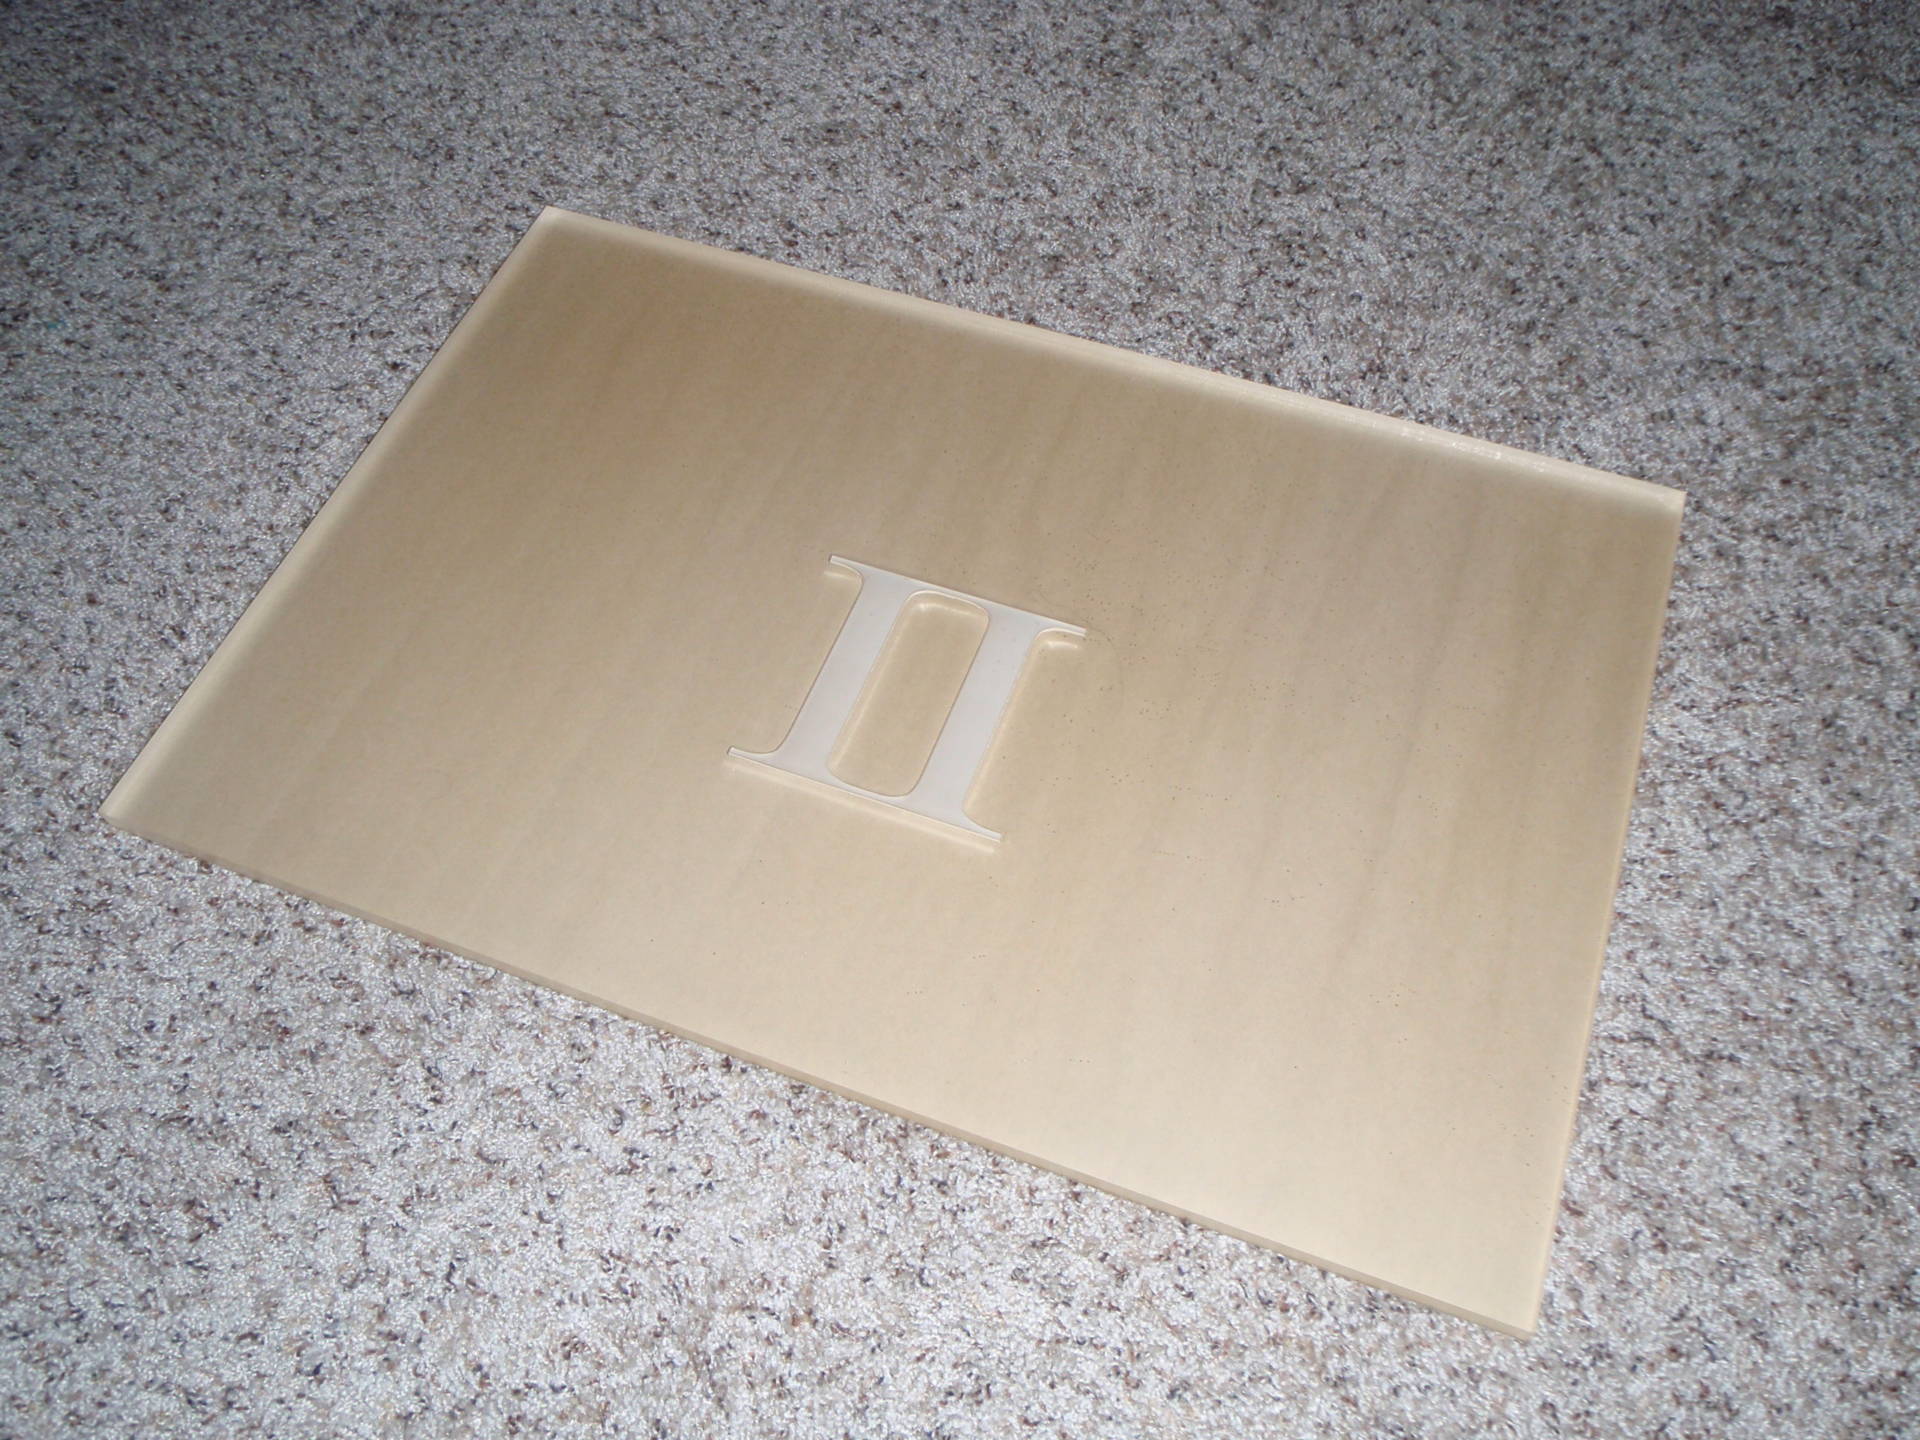
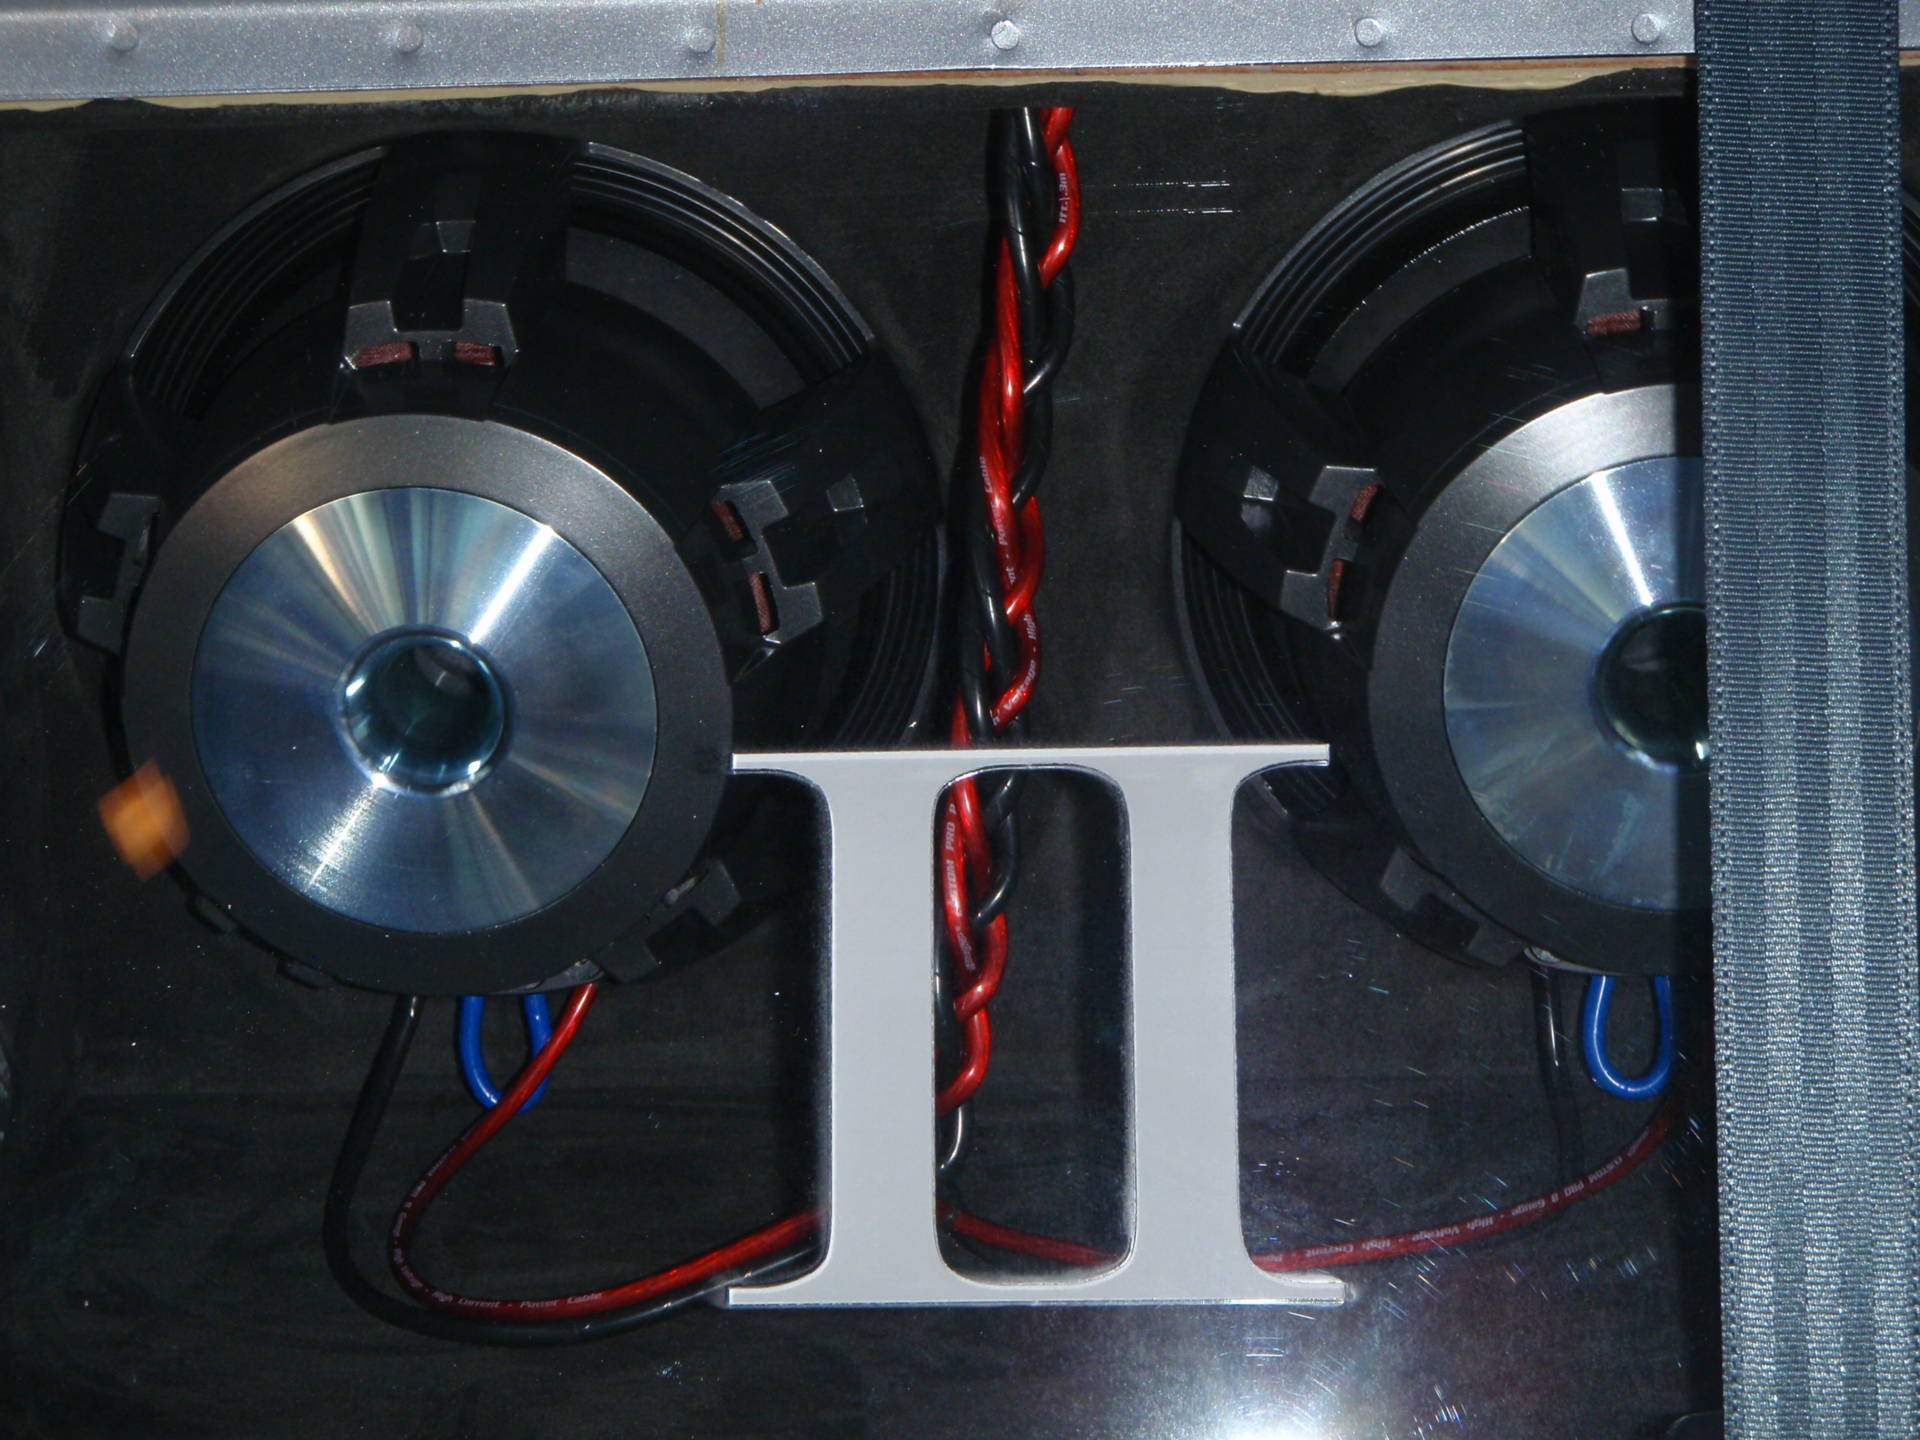
3/4″ acrylic. Laser etched filled II. Laser cut 1/8″ deep outline. Lasers=WIN.
Services provided by MakeATX, a super cool DIY facility with access to CNC laser tools and fantastic helpful people.
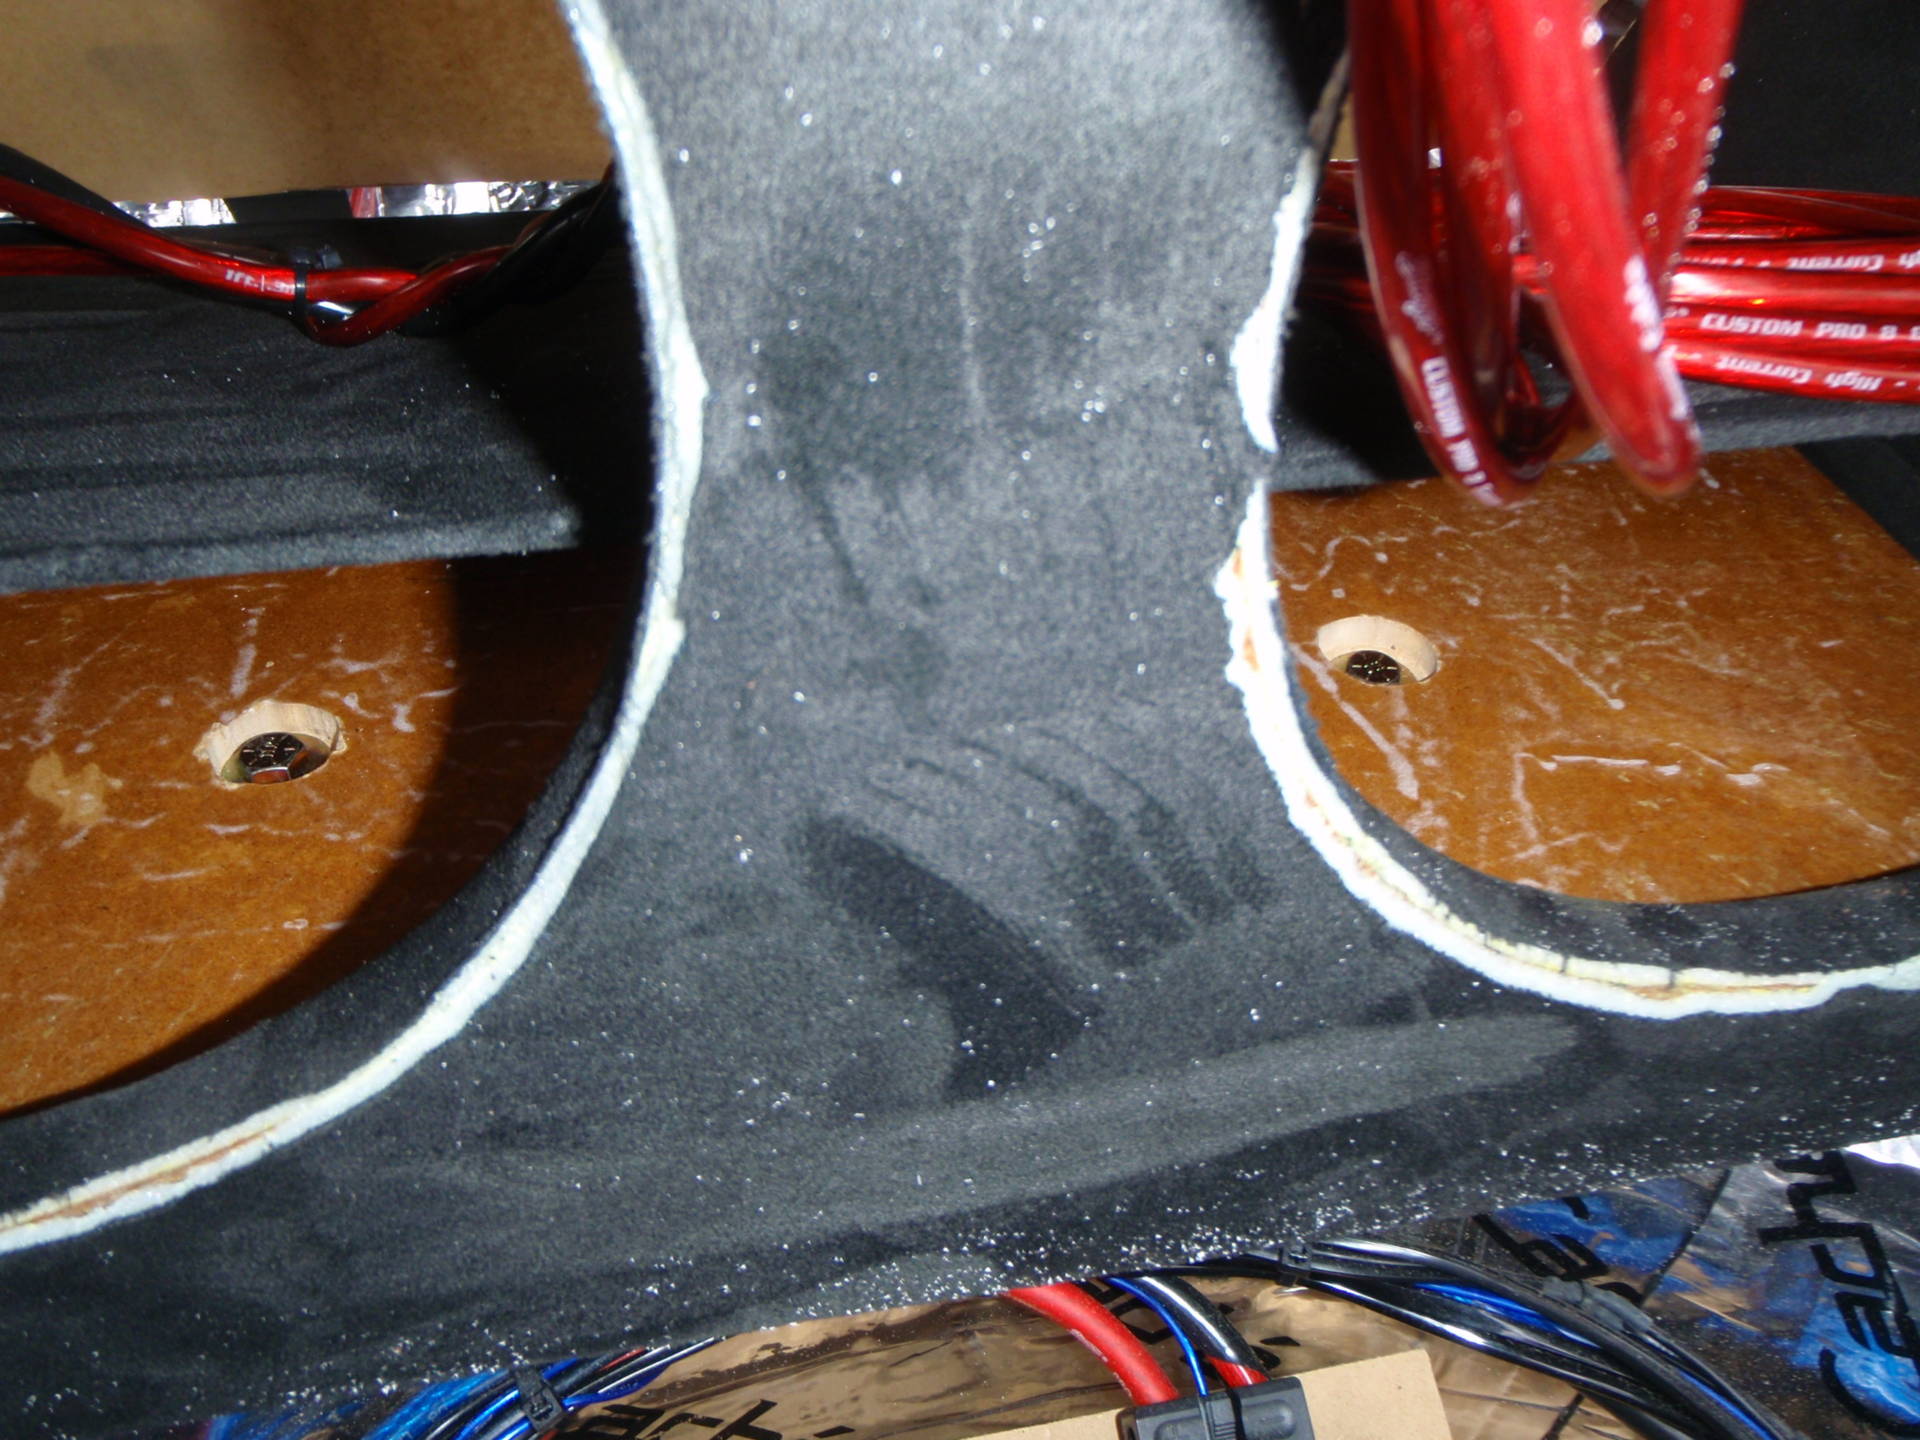
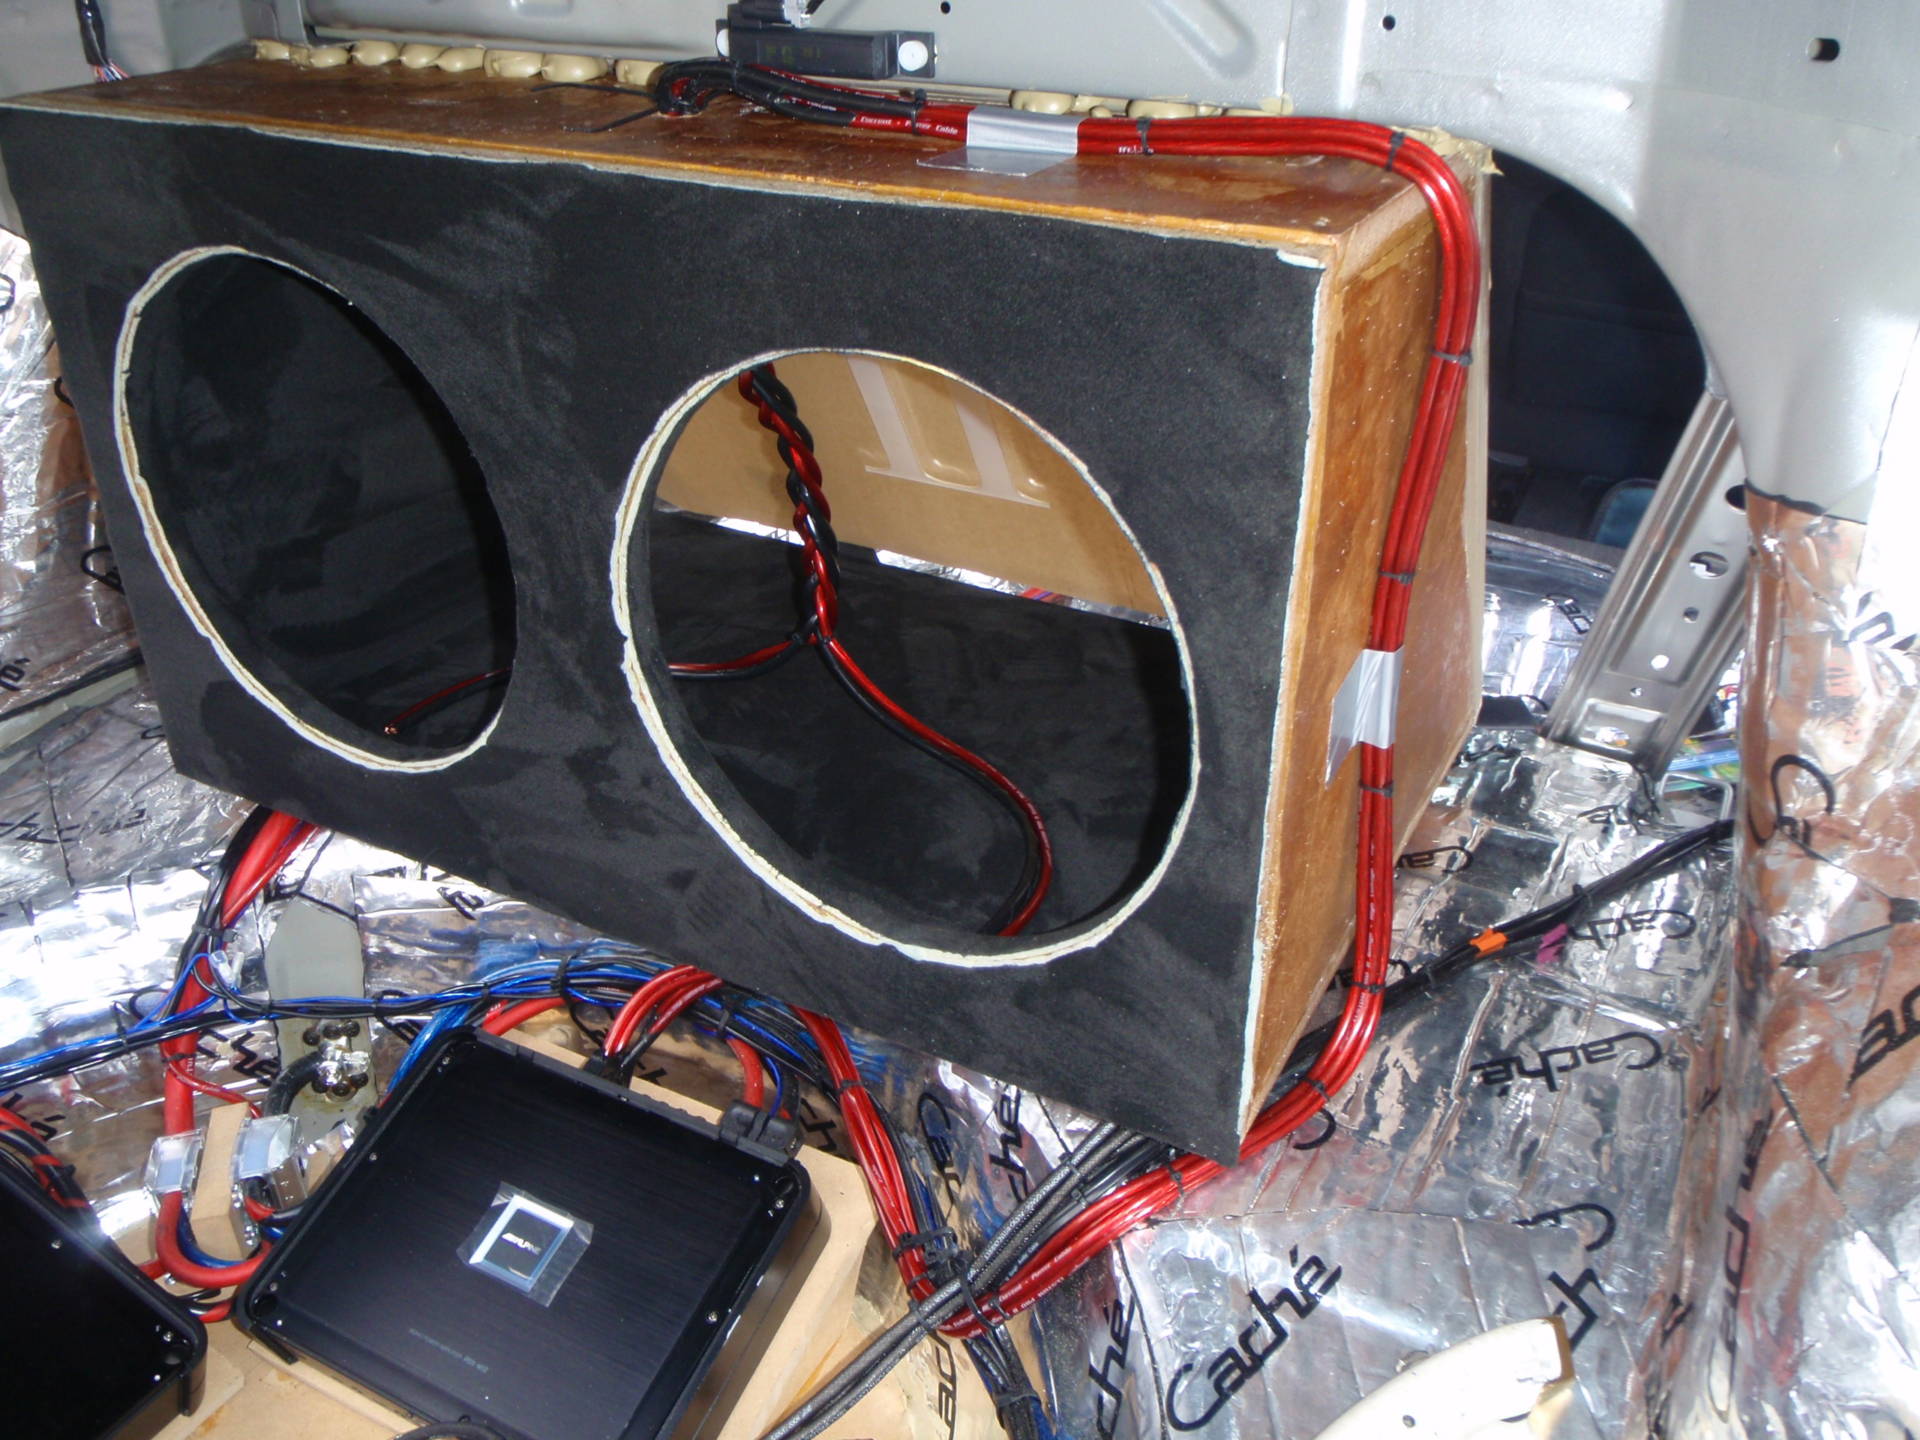
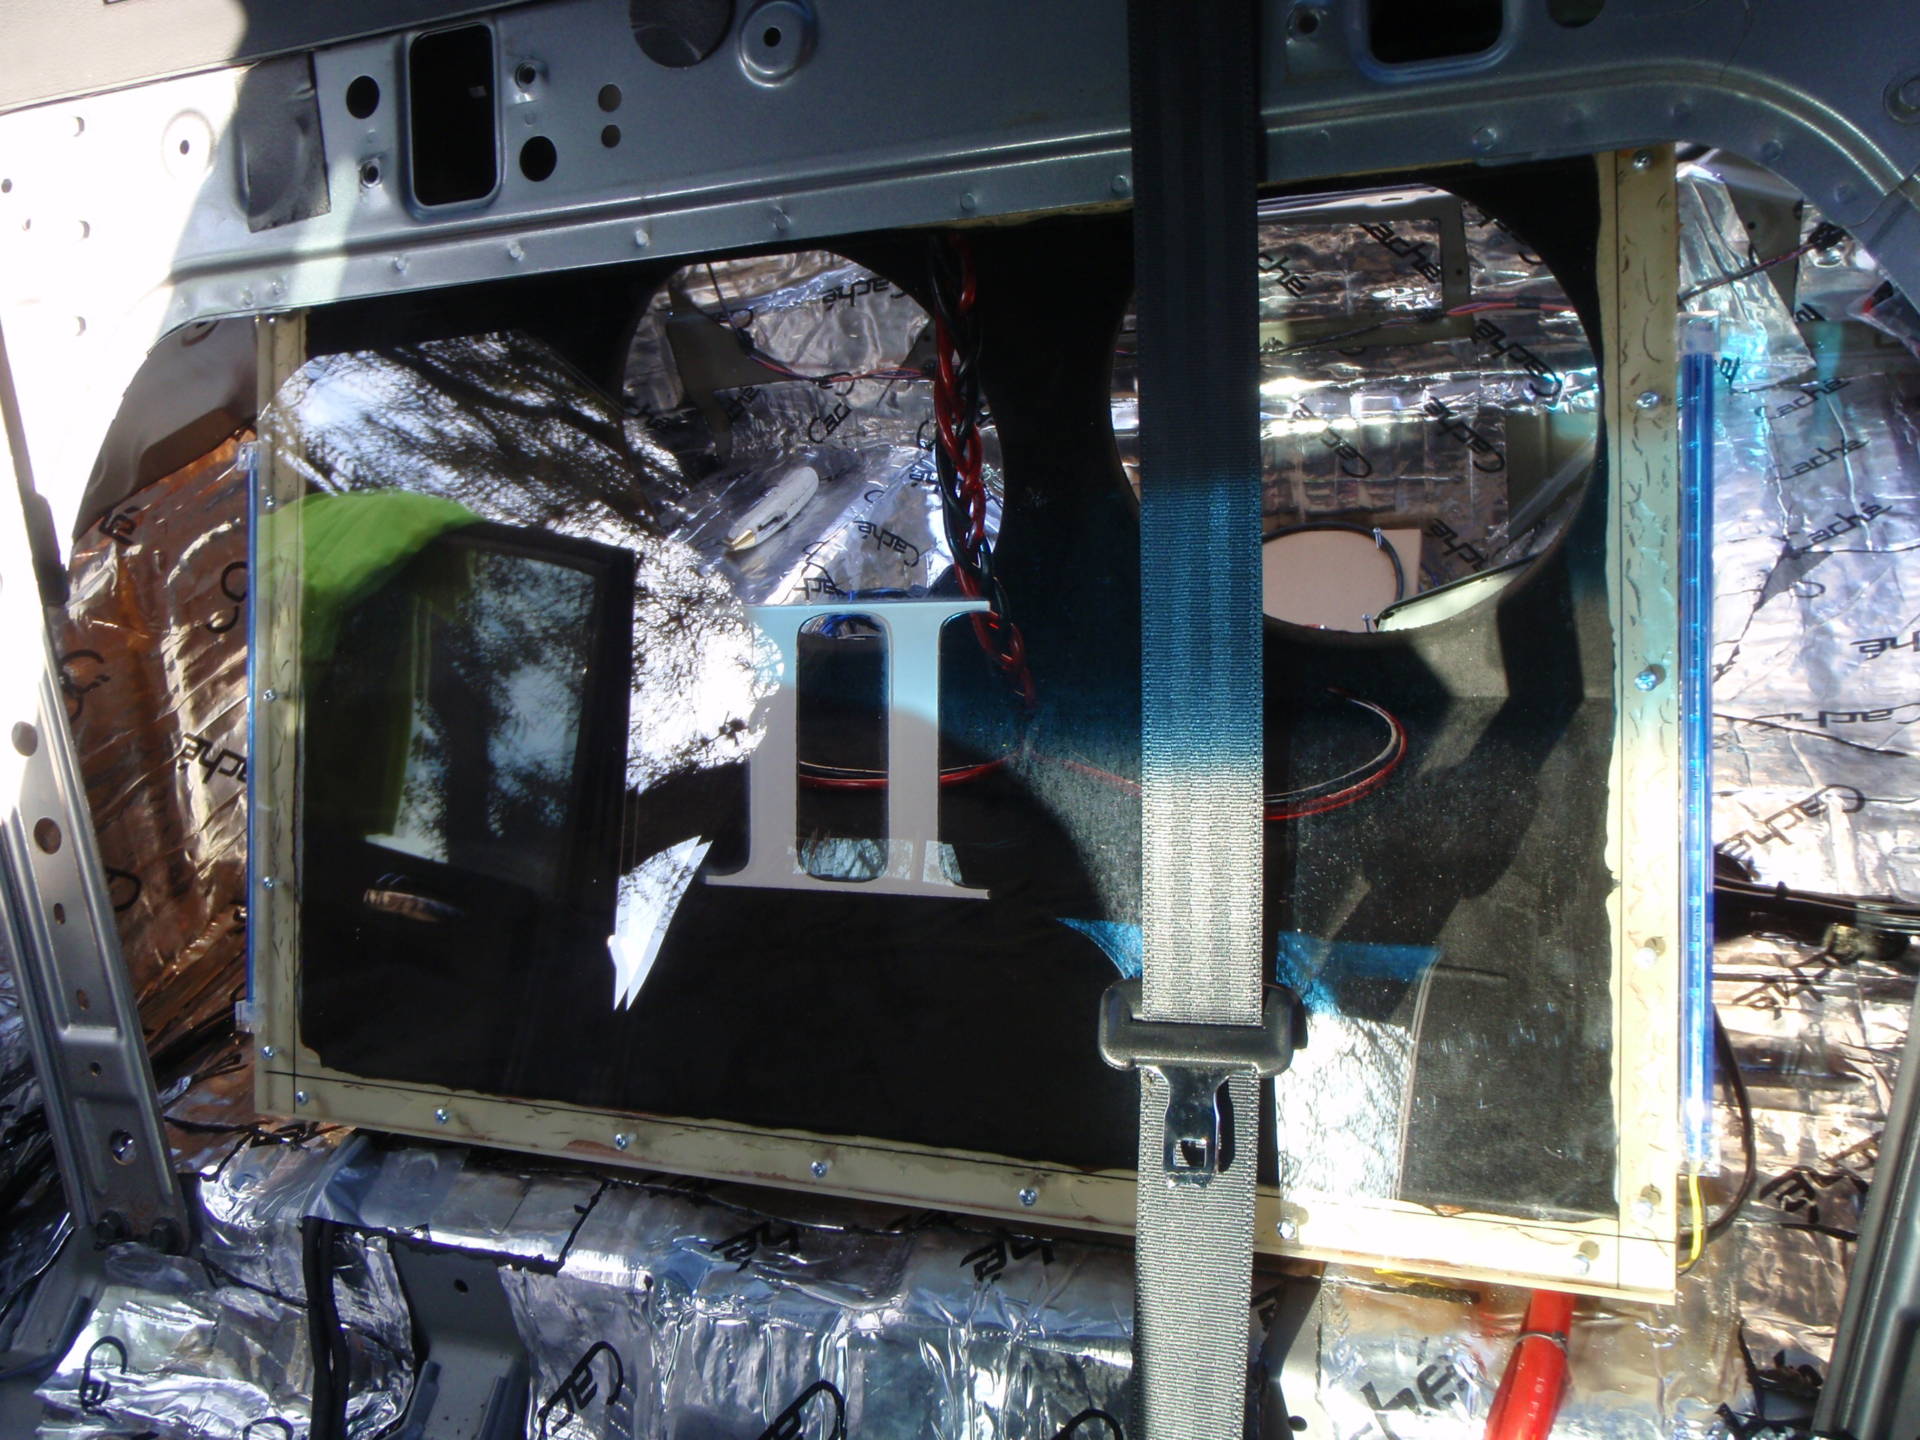
Back to the sub box; Front of the box covered in suede too; wires braided, running 8 gauge for sub signal. A tad excessive, yes, but I see no alternative. Plexi is bonded and screwed to the box. We have a SHAPE!!!

Believe it or not, this press fit into place. I was damn proud of that. But we still have better standards. Grade 8 bolts, washers, and nuts, through the floor of the car.
Starting to take a bit of shape, LED tubes on side of laser etched plexi. Interior upholstered with black suede, 8ga speaker wiring braided. Bolted through the chassis of the car:

Power distribution area. I modeled it after the superior Texas highway system. Very efficient, elegant, and organized. A relay is down there to isolate and turn on the LED strips using the remote turn on wire:
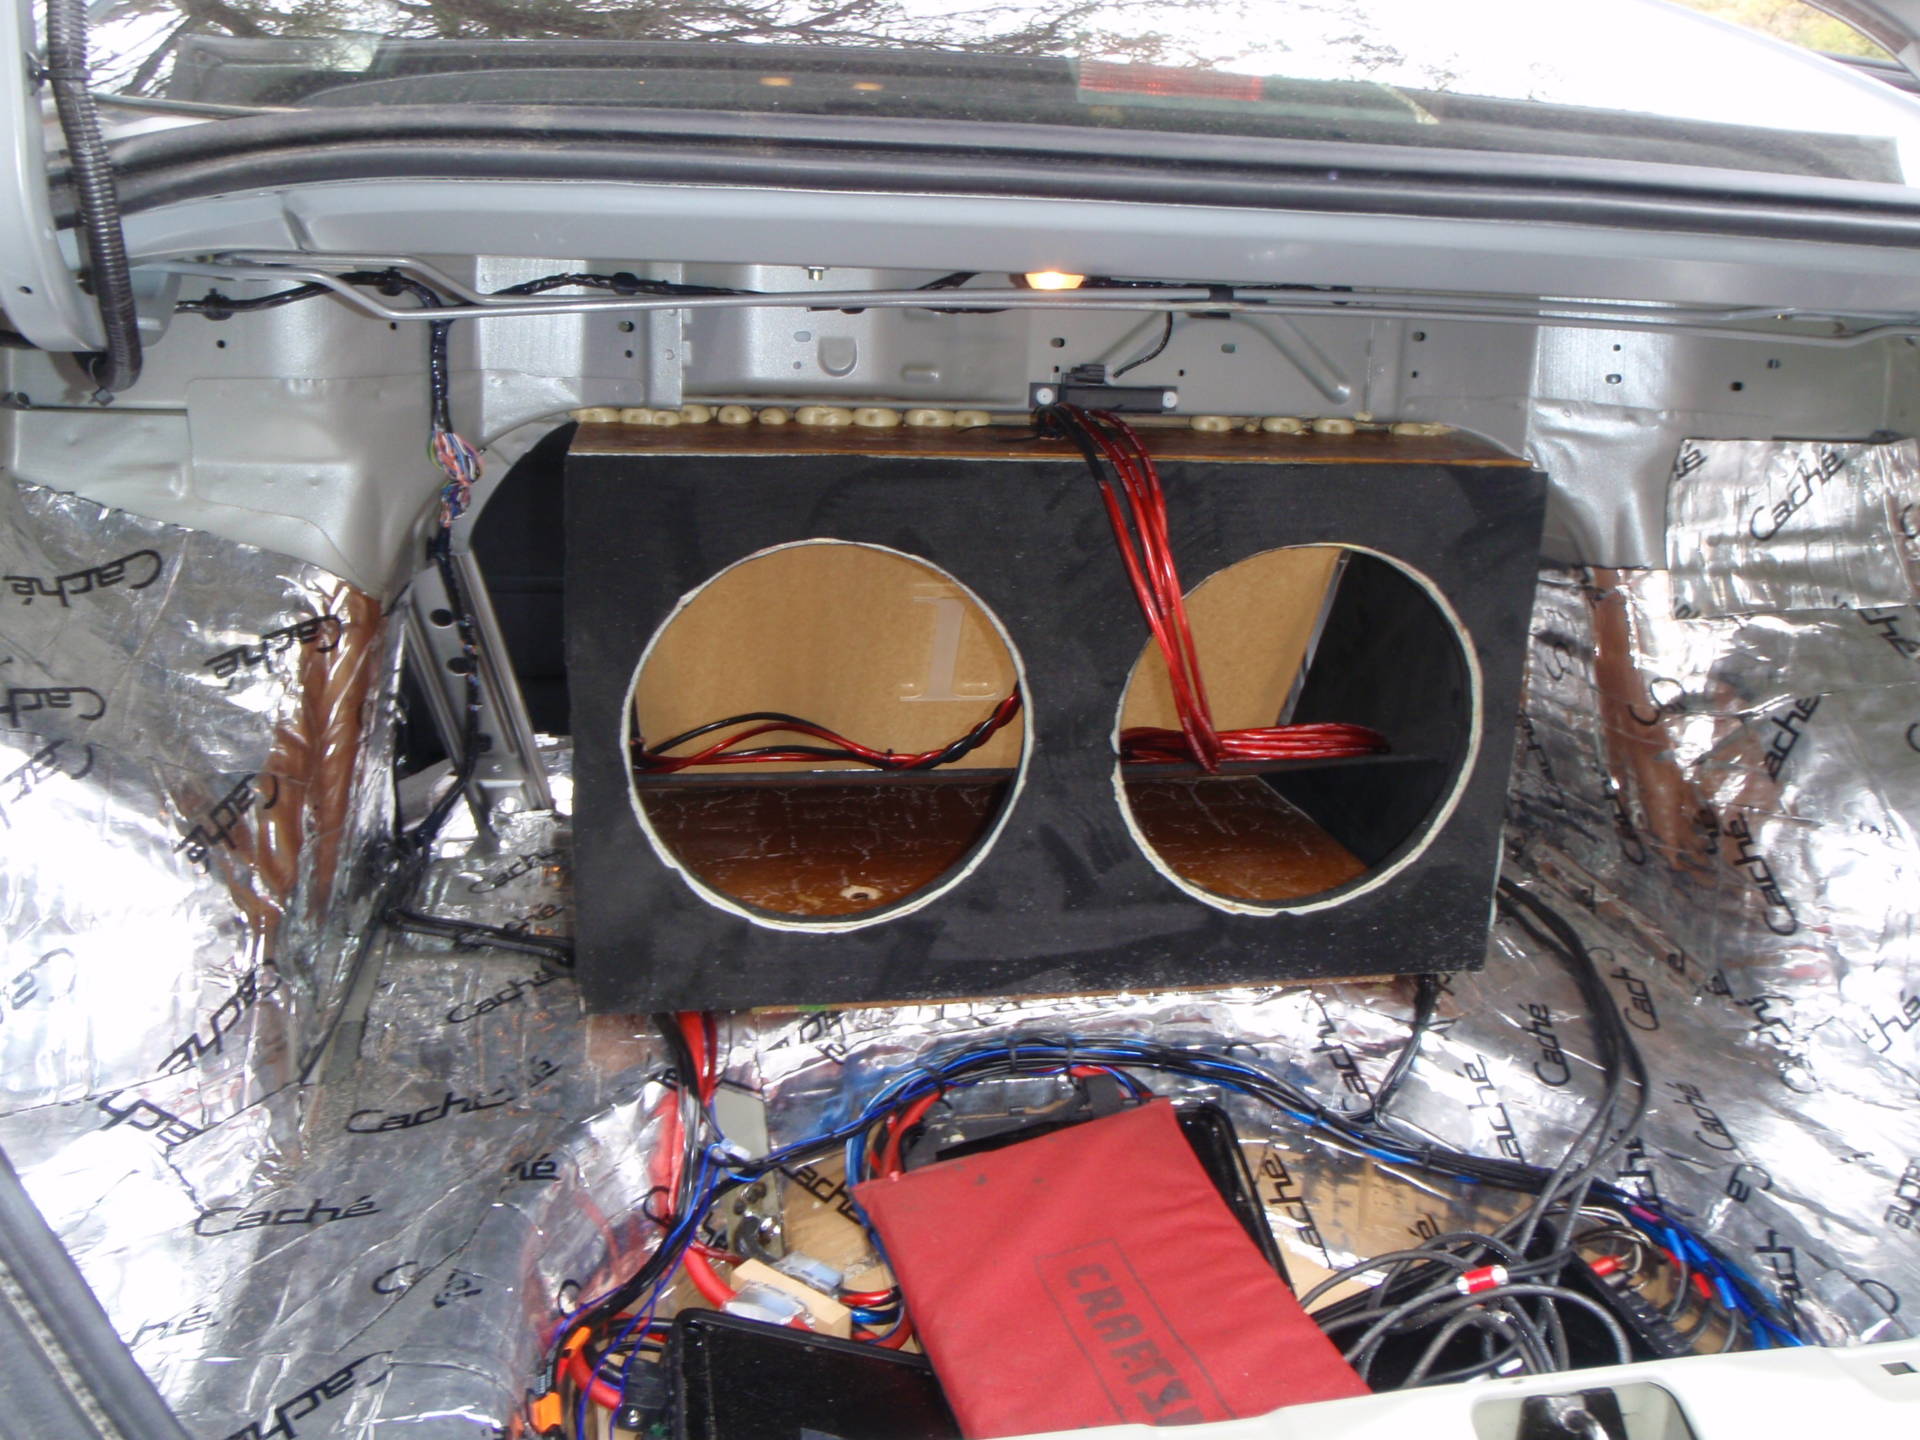
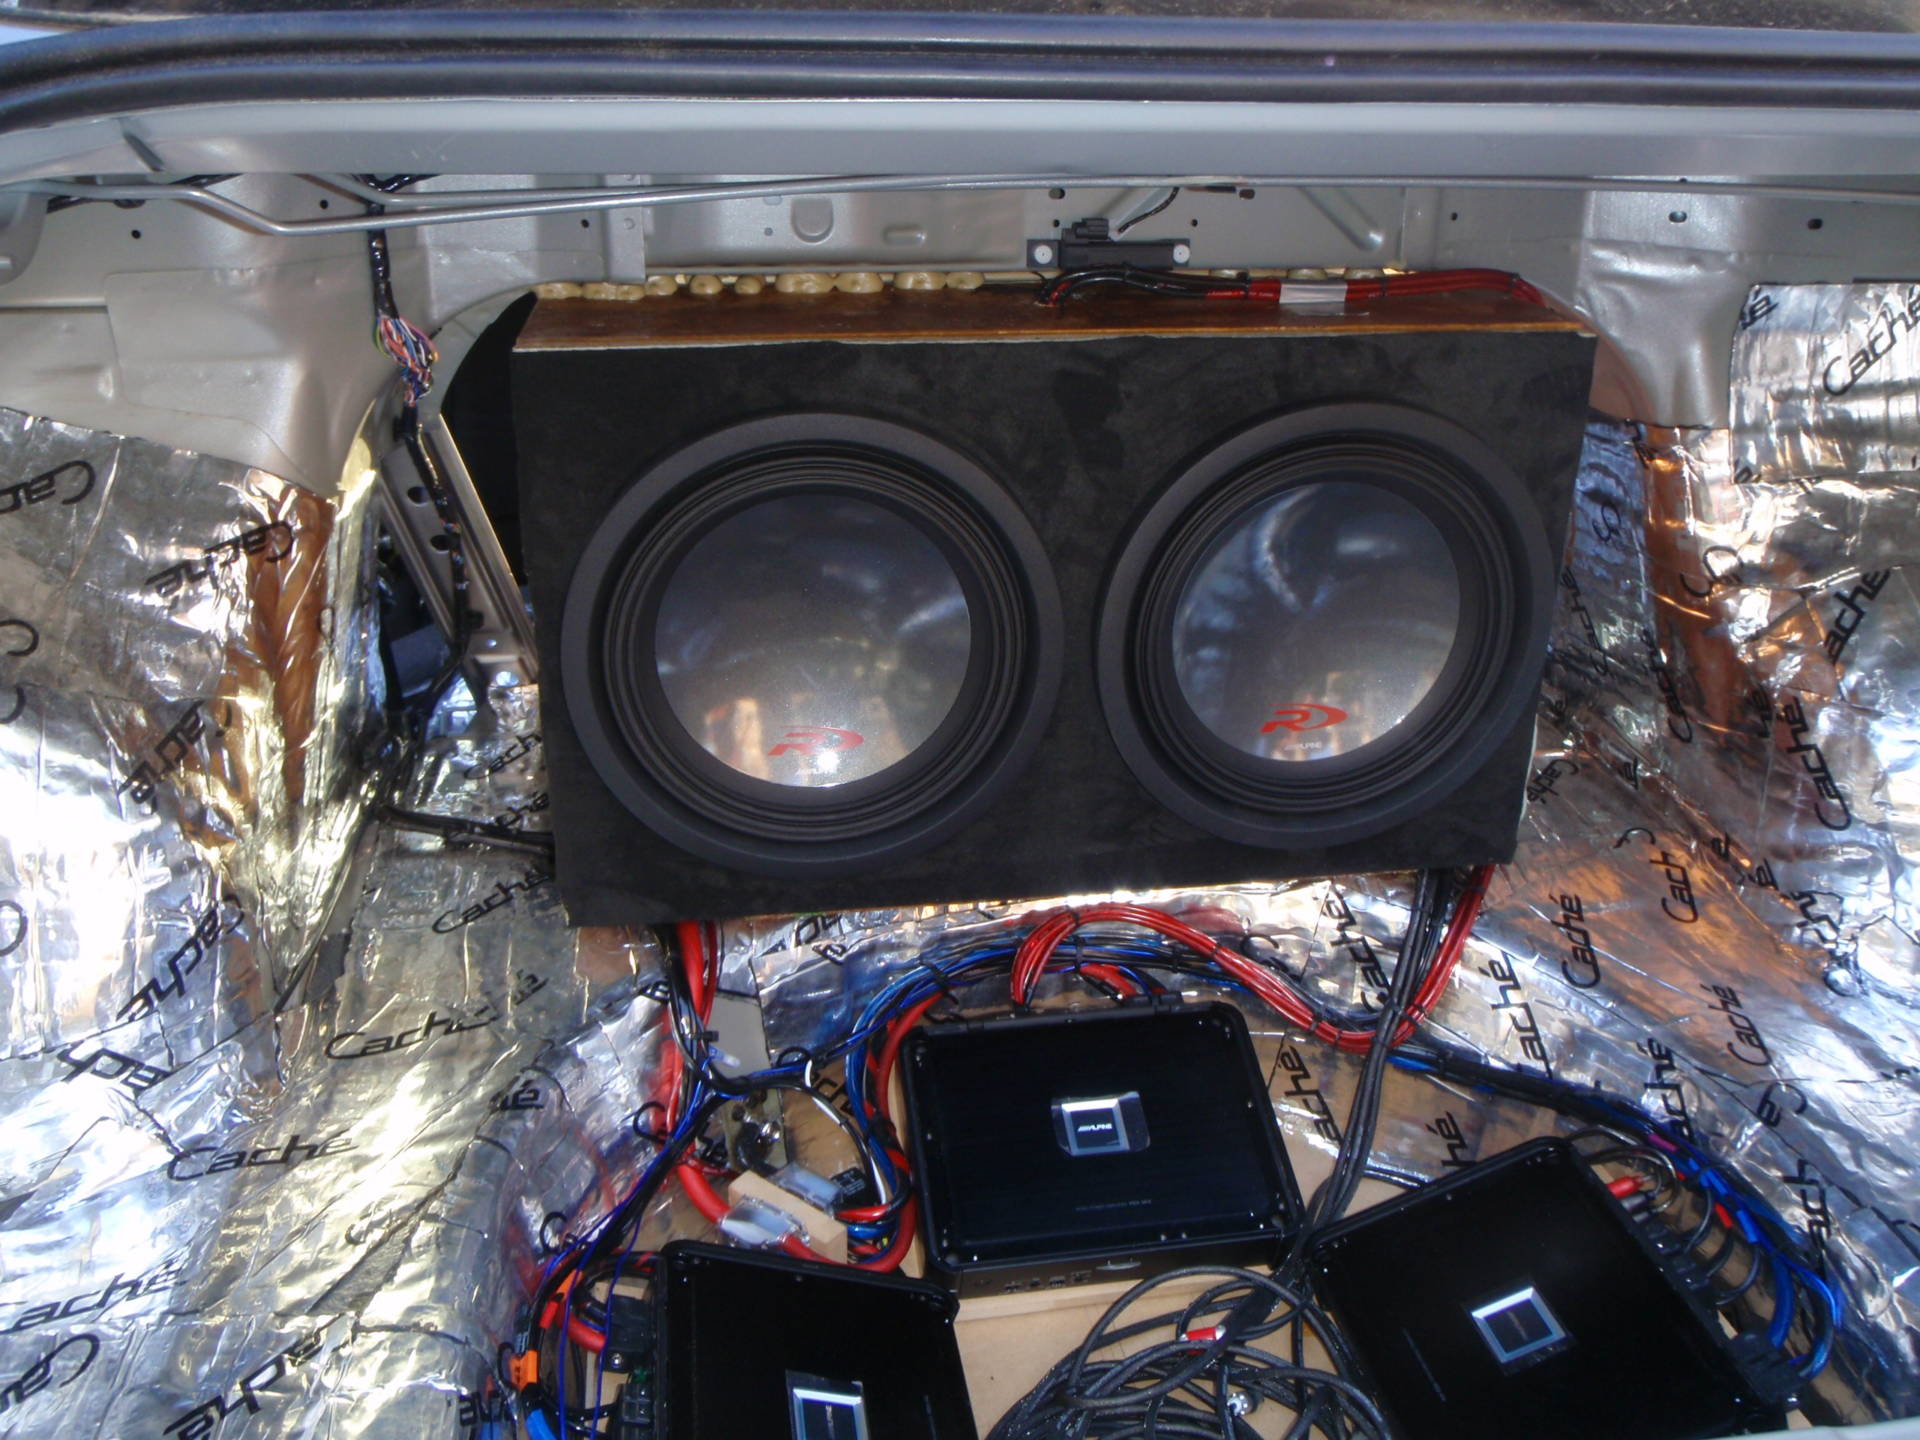
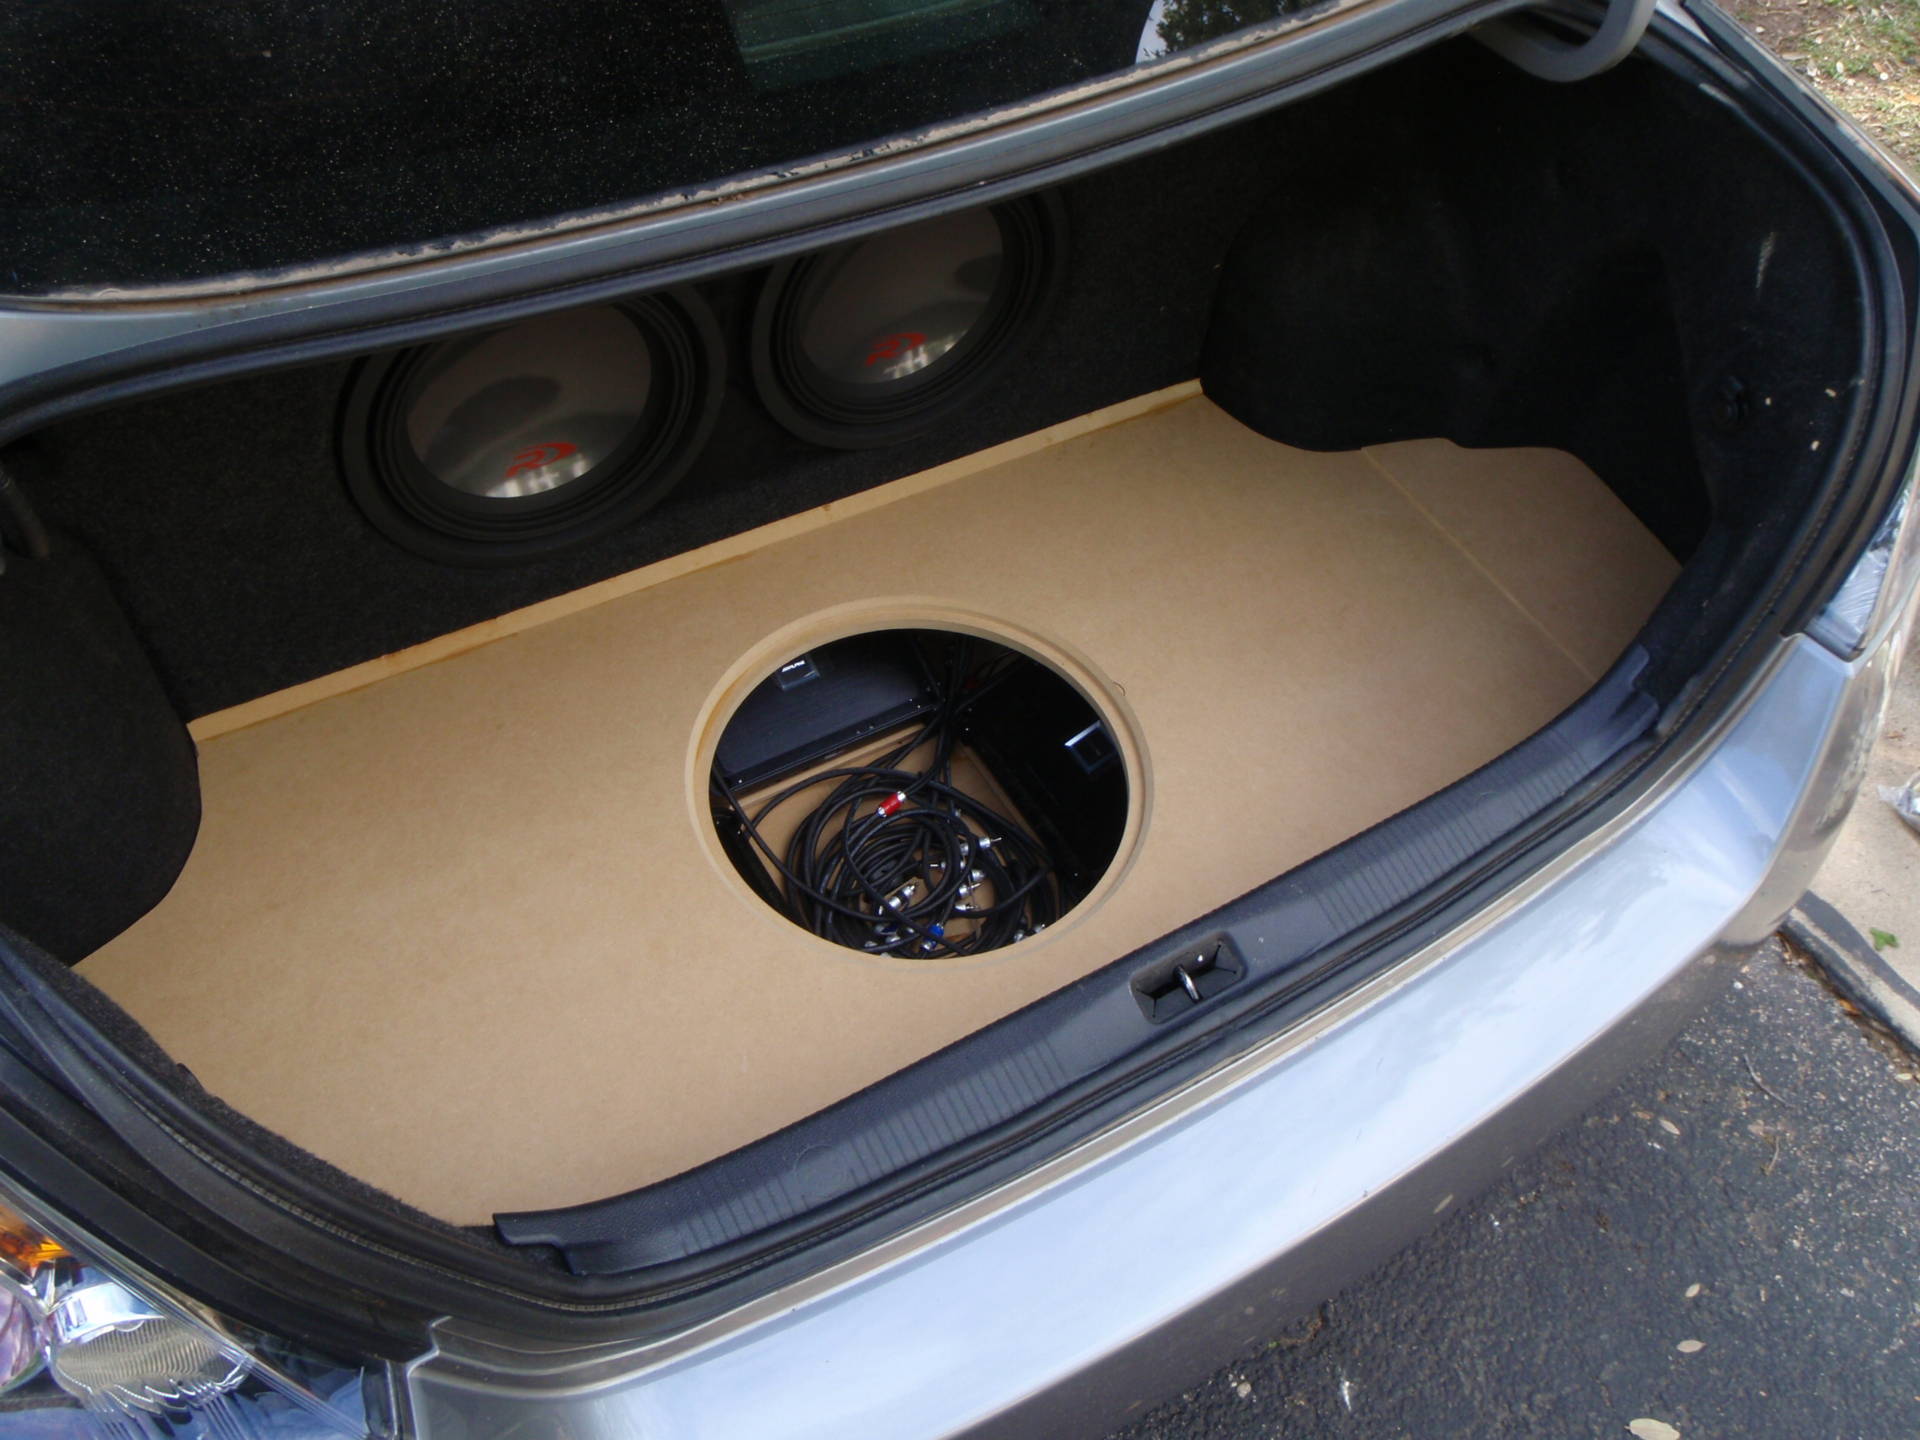
Revealed! View from the backseat and trunk:

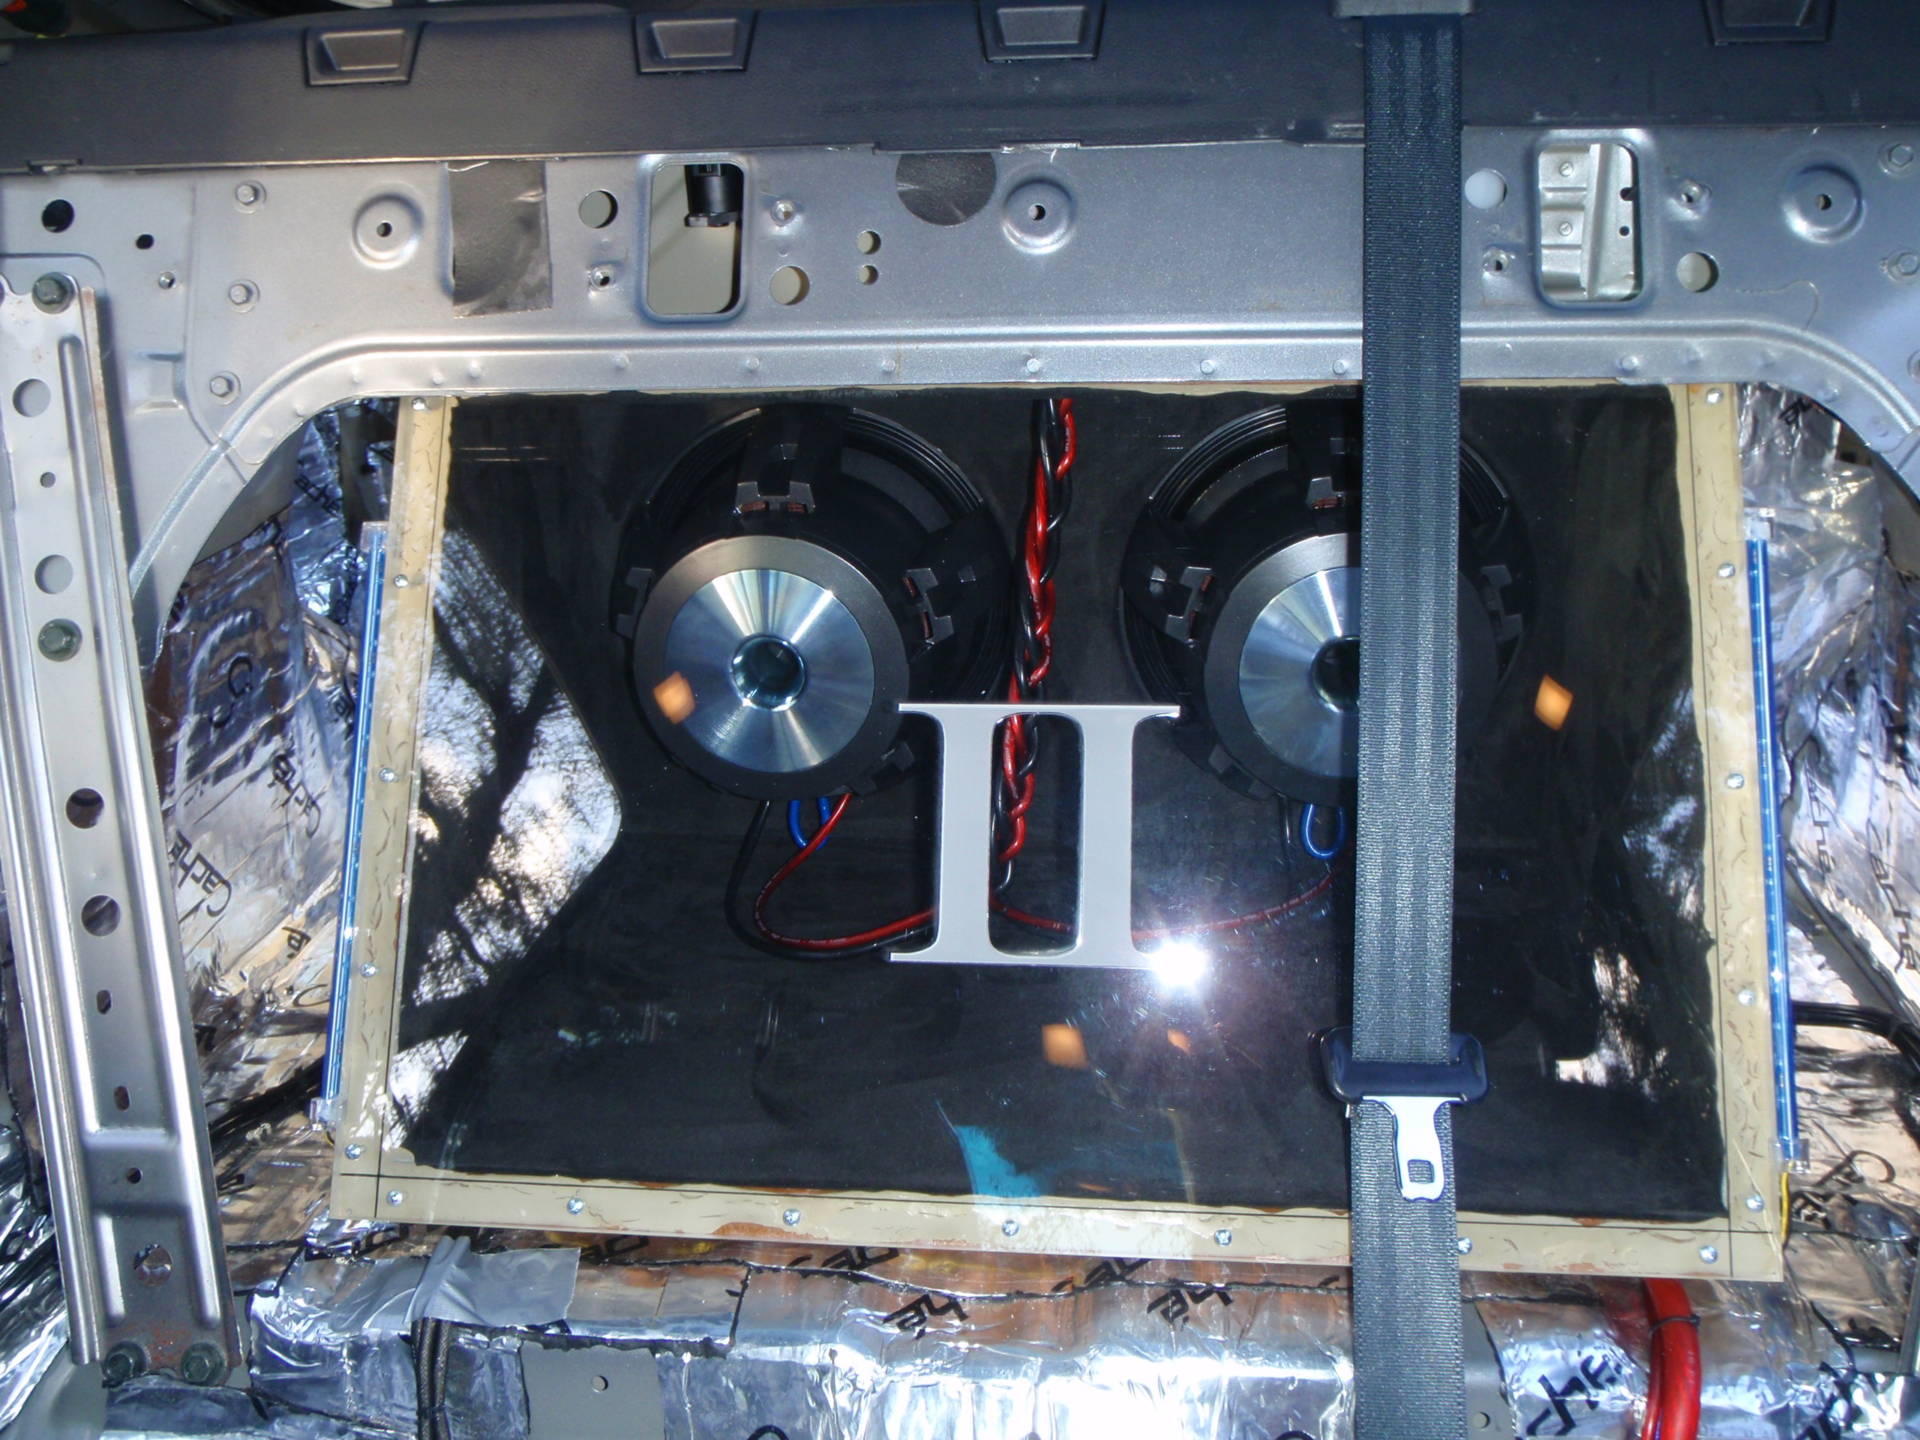
Subs are installed; check out that backside, magnets exposed, braiding, etching, it’s a nice view:
Cut. Bonding. Looking good. And moving on


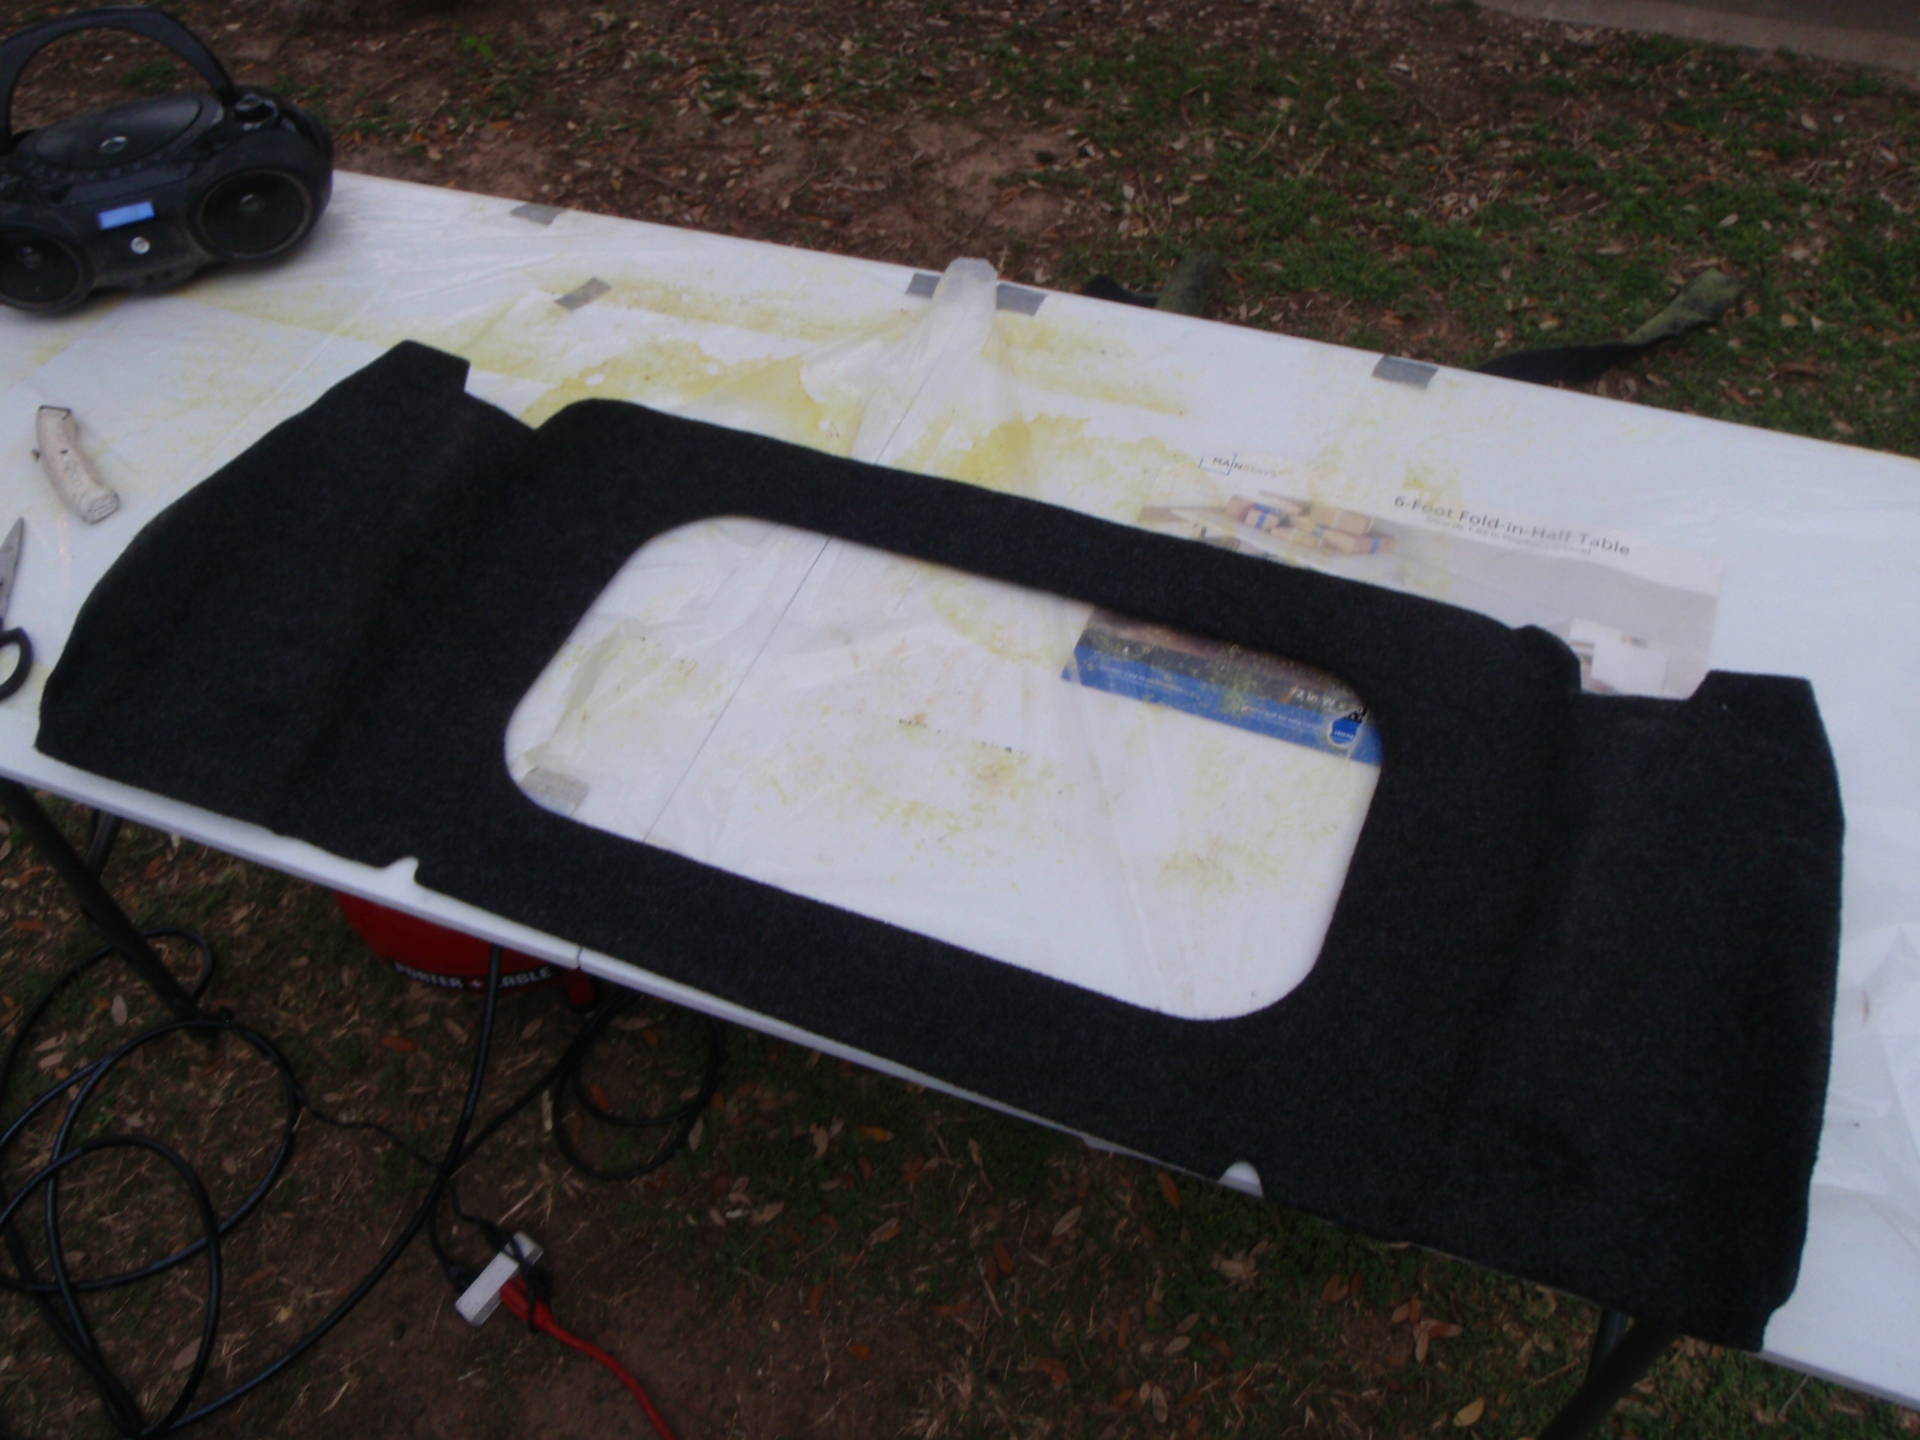
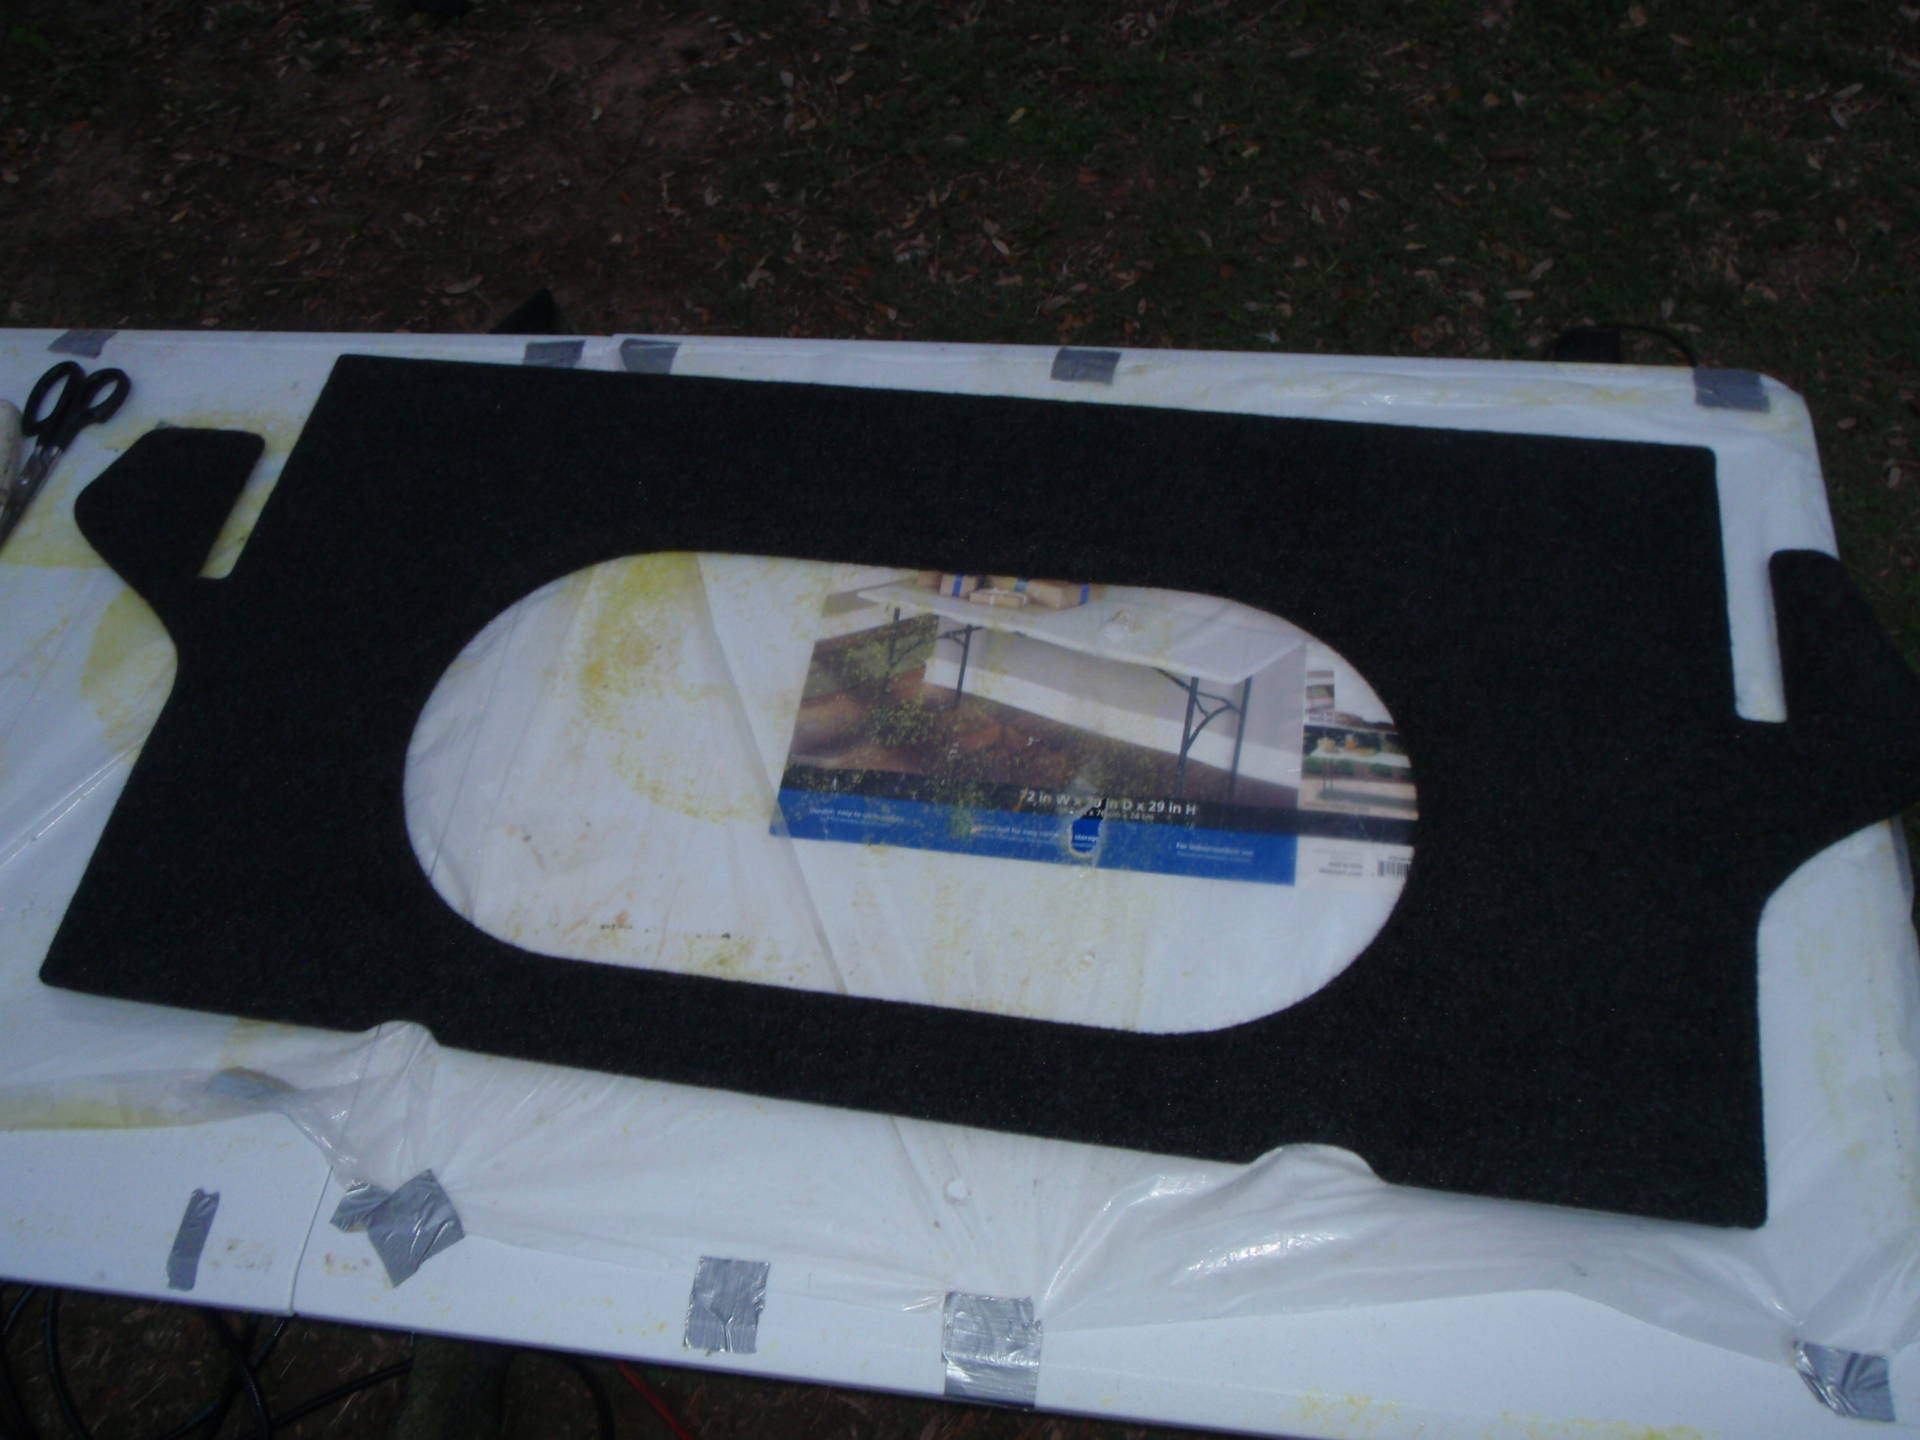
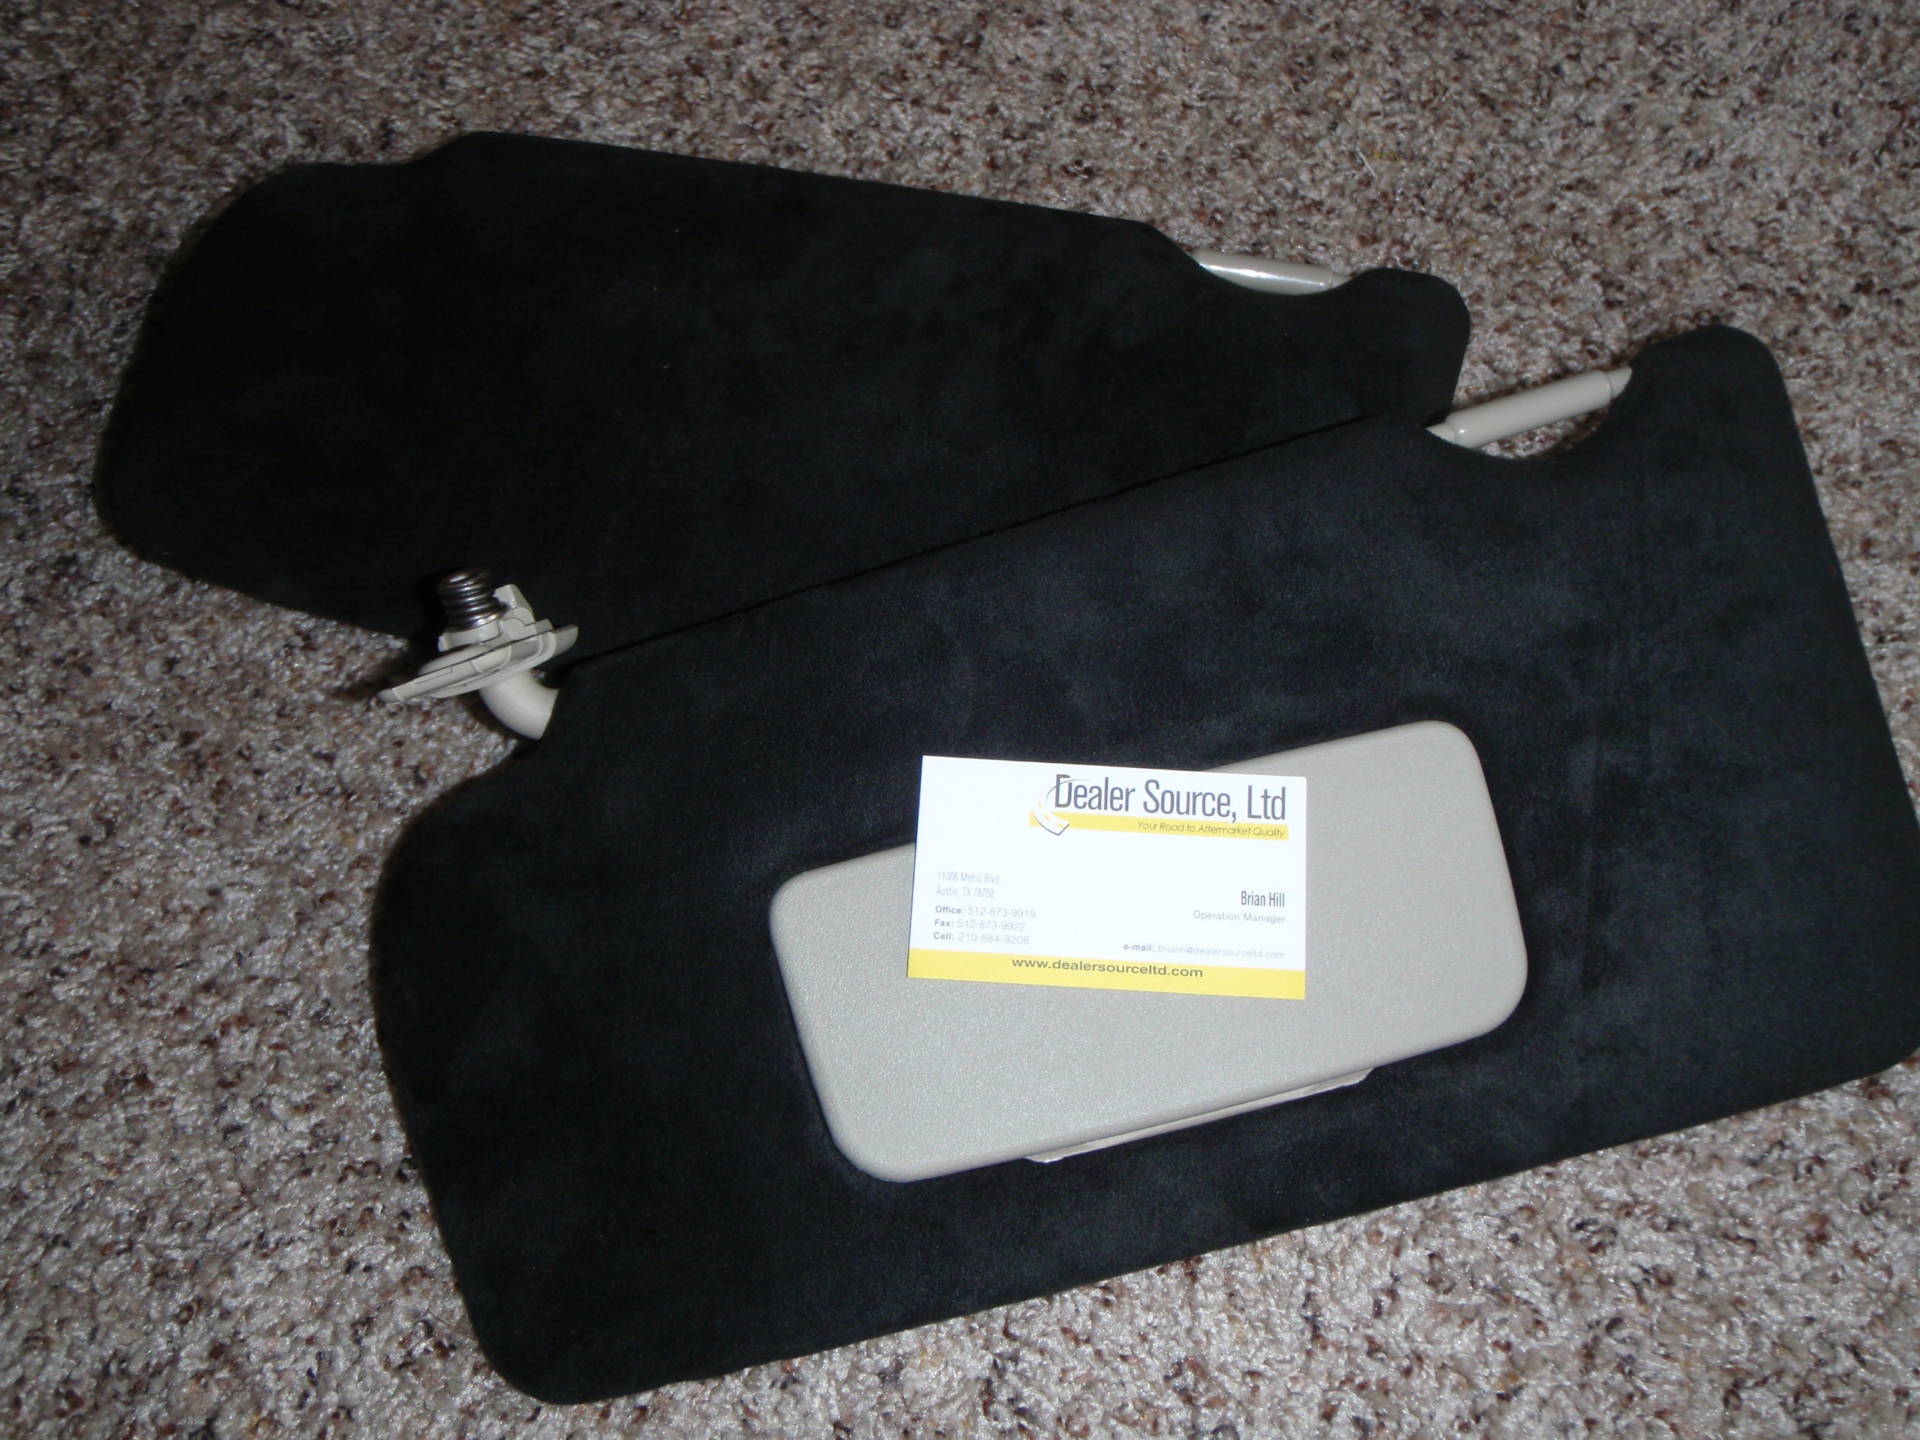
Trunk back trimmed out; Sun visors upholstered by Brian Hill of Dealer Source, Ltd. in Austin, TX. Did a *fantastic* job within an amazing time frame. Very pleasant to deal with
Had to make sure you wouldn’t see anything shiny after the seats went in:
Basic shape is done. Press fit, as usual. Getting a piece of wood that large in and out of the trunk is a bit of a magic trick too. Put a little ledge on one side, mounted a recessed ring, performed a test fit, yup, I like it!
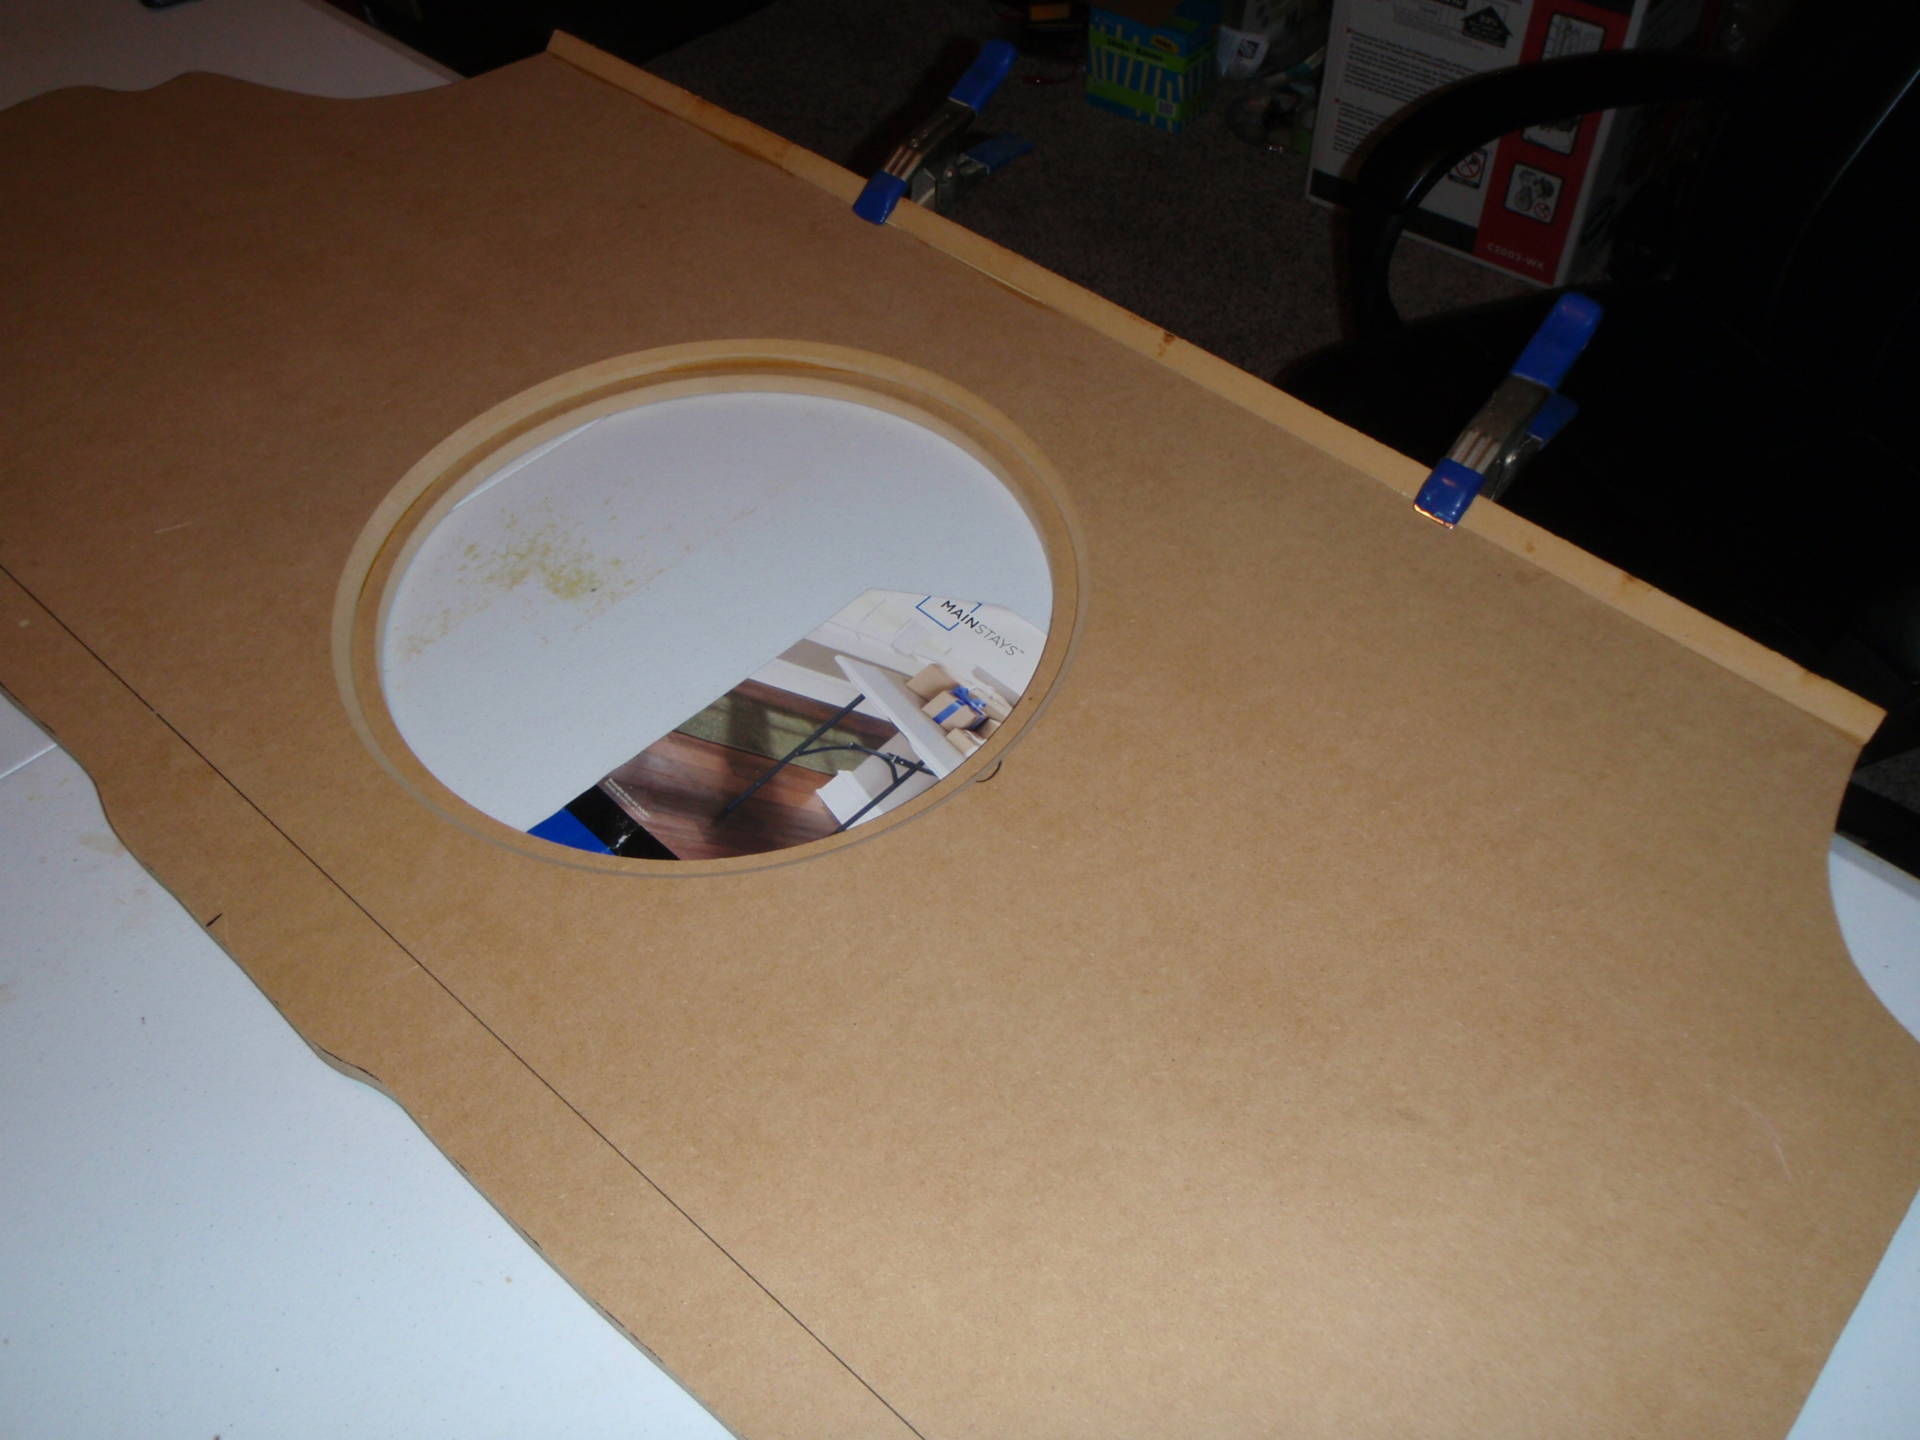
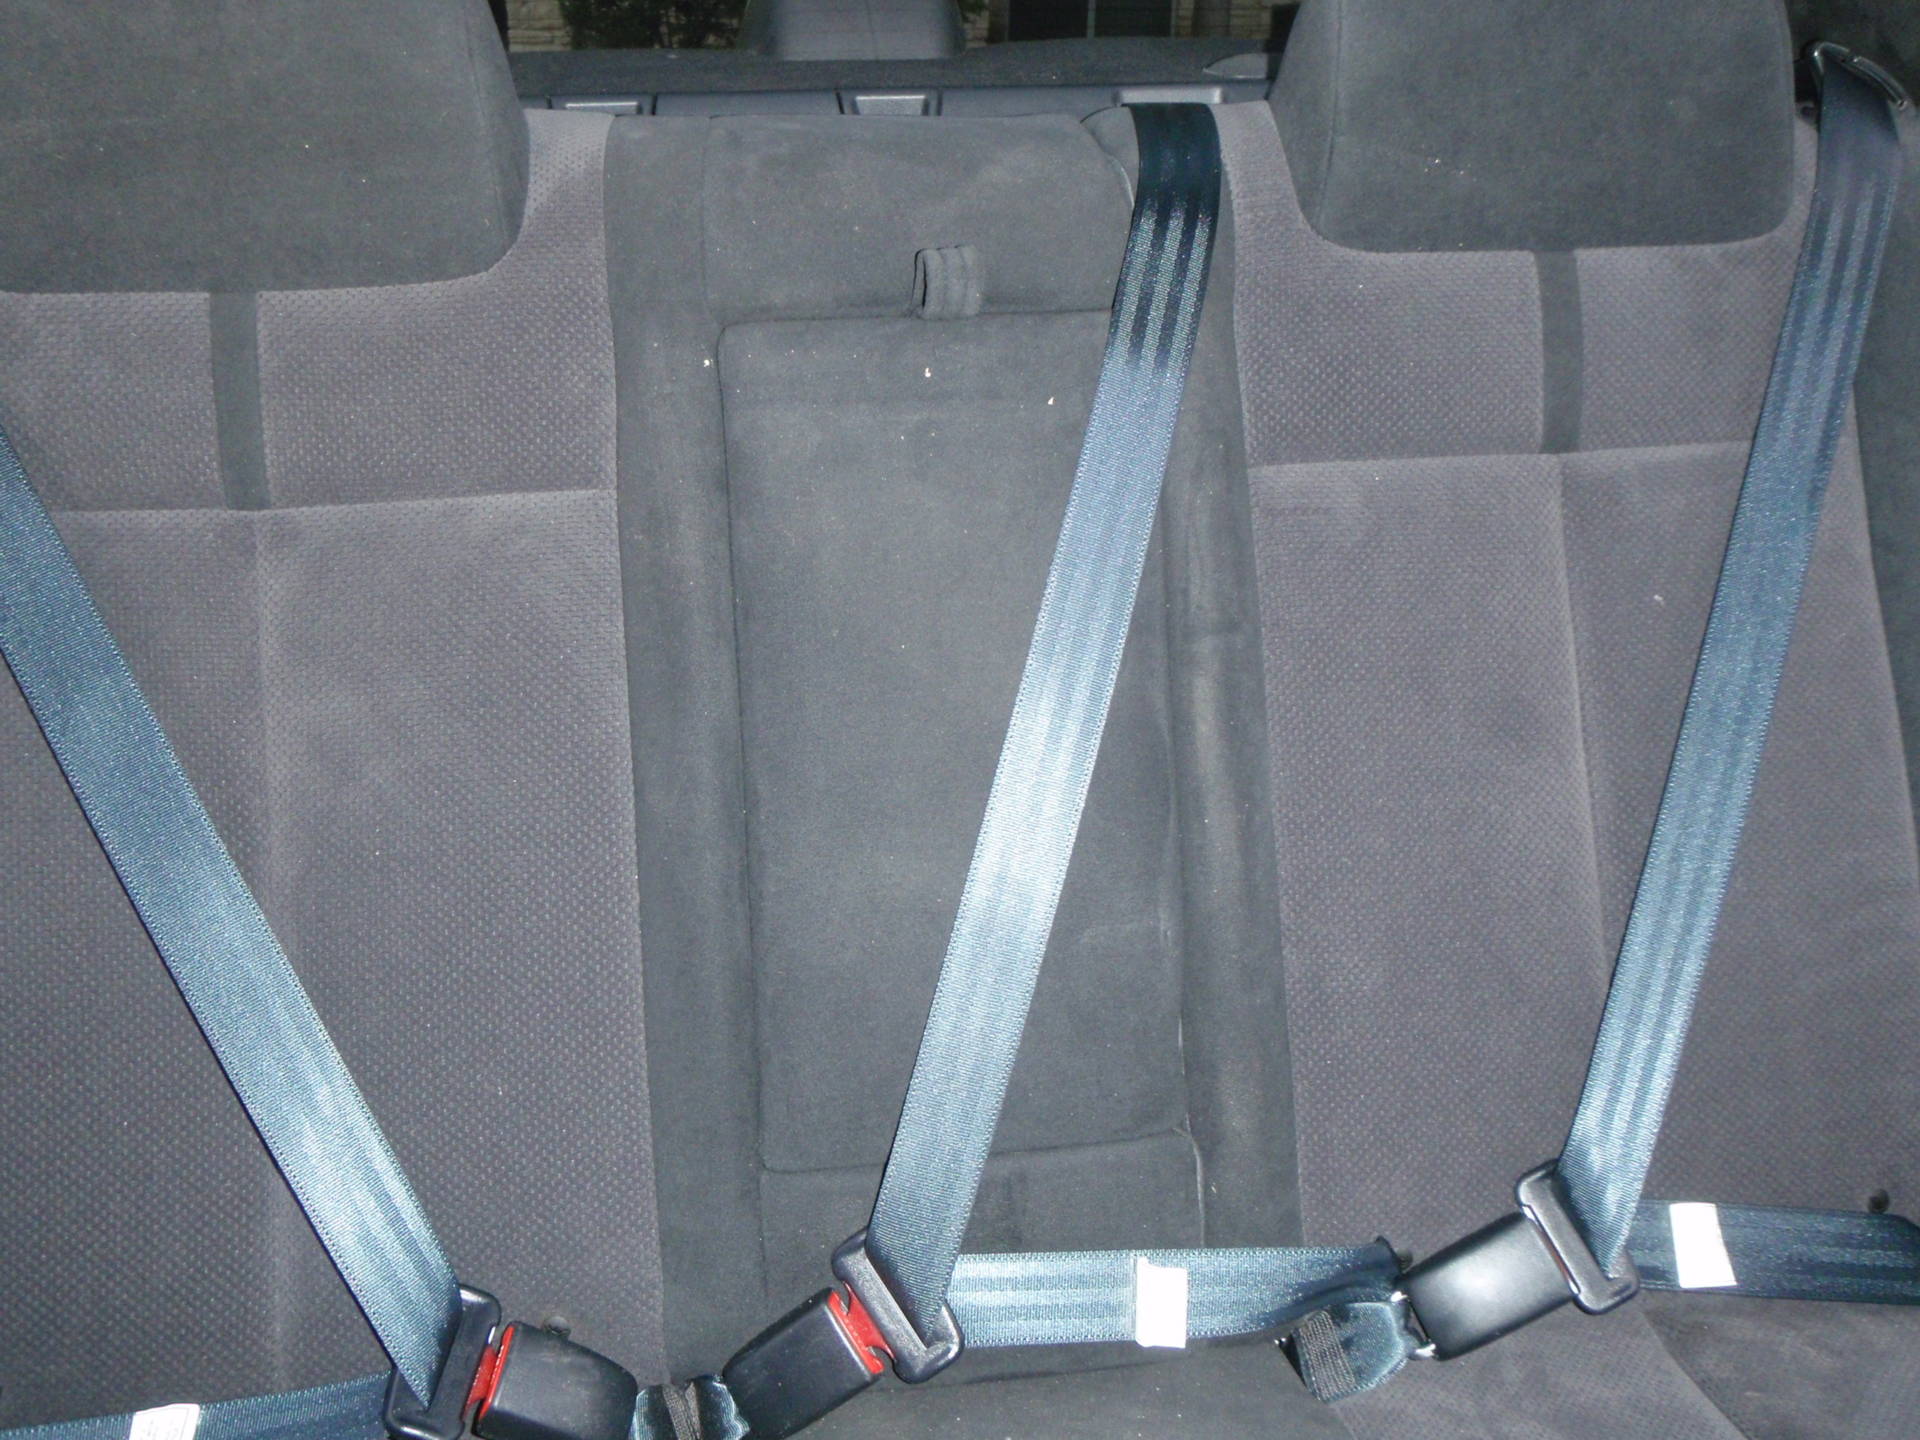
Cody’s brilliant idea/request. It was as large as it could feasibly go; The view of the back of the seat:

Backseat normal; Fold the armrest down, and you have a glowing II trimmed in black suede; Fold down the whole backseat and you have full access to where that LOOOOW LOW is coming from:
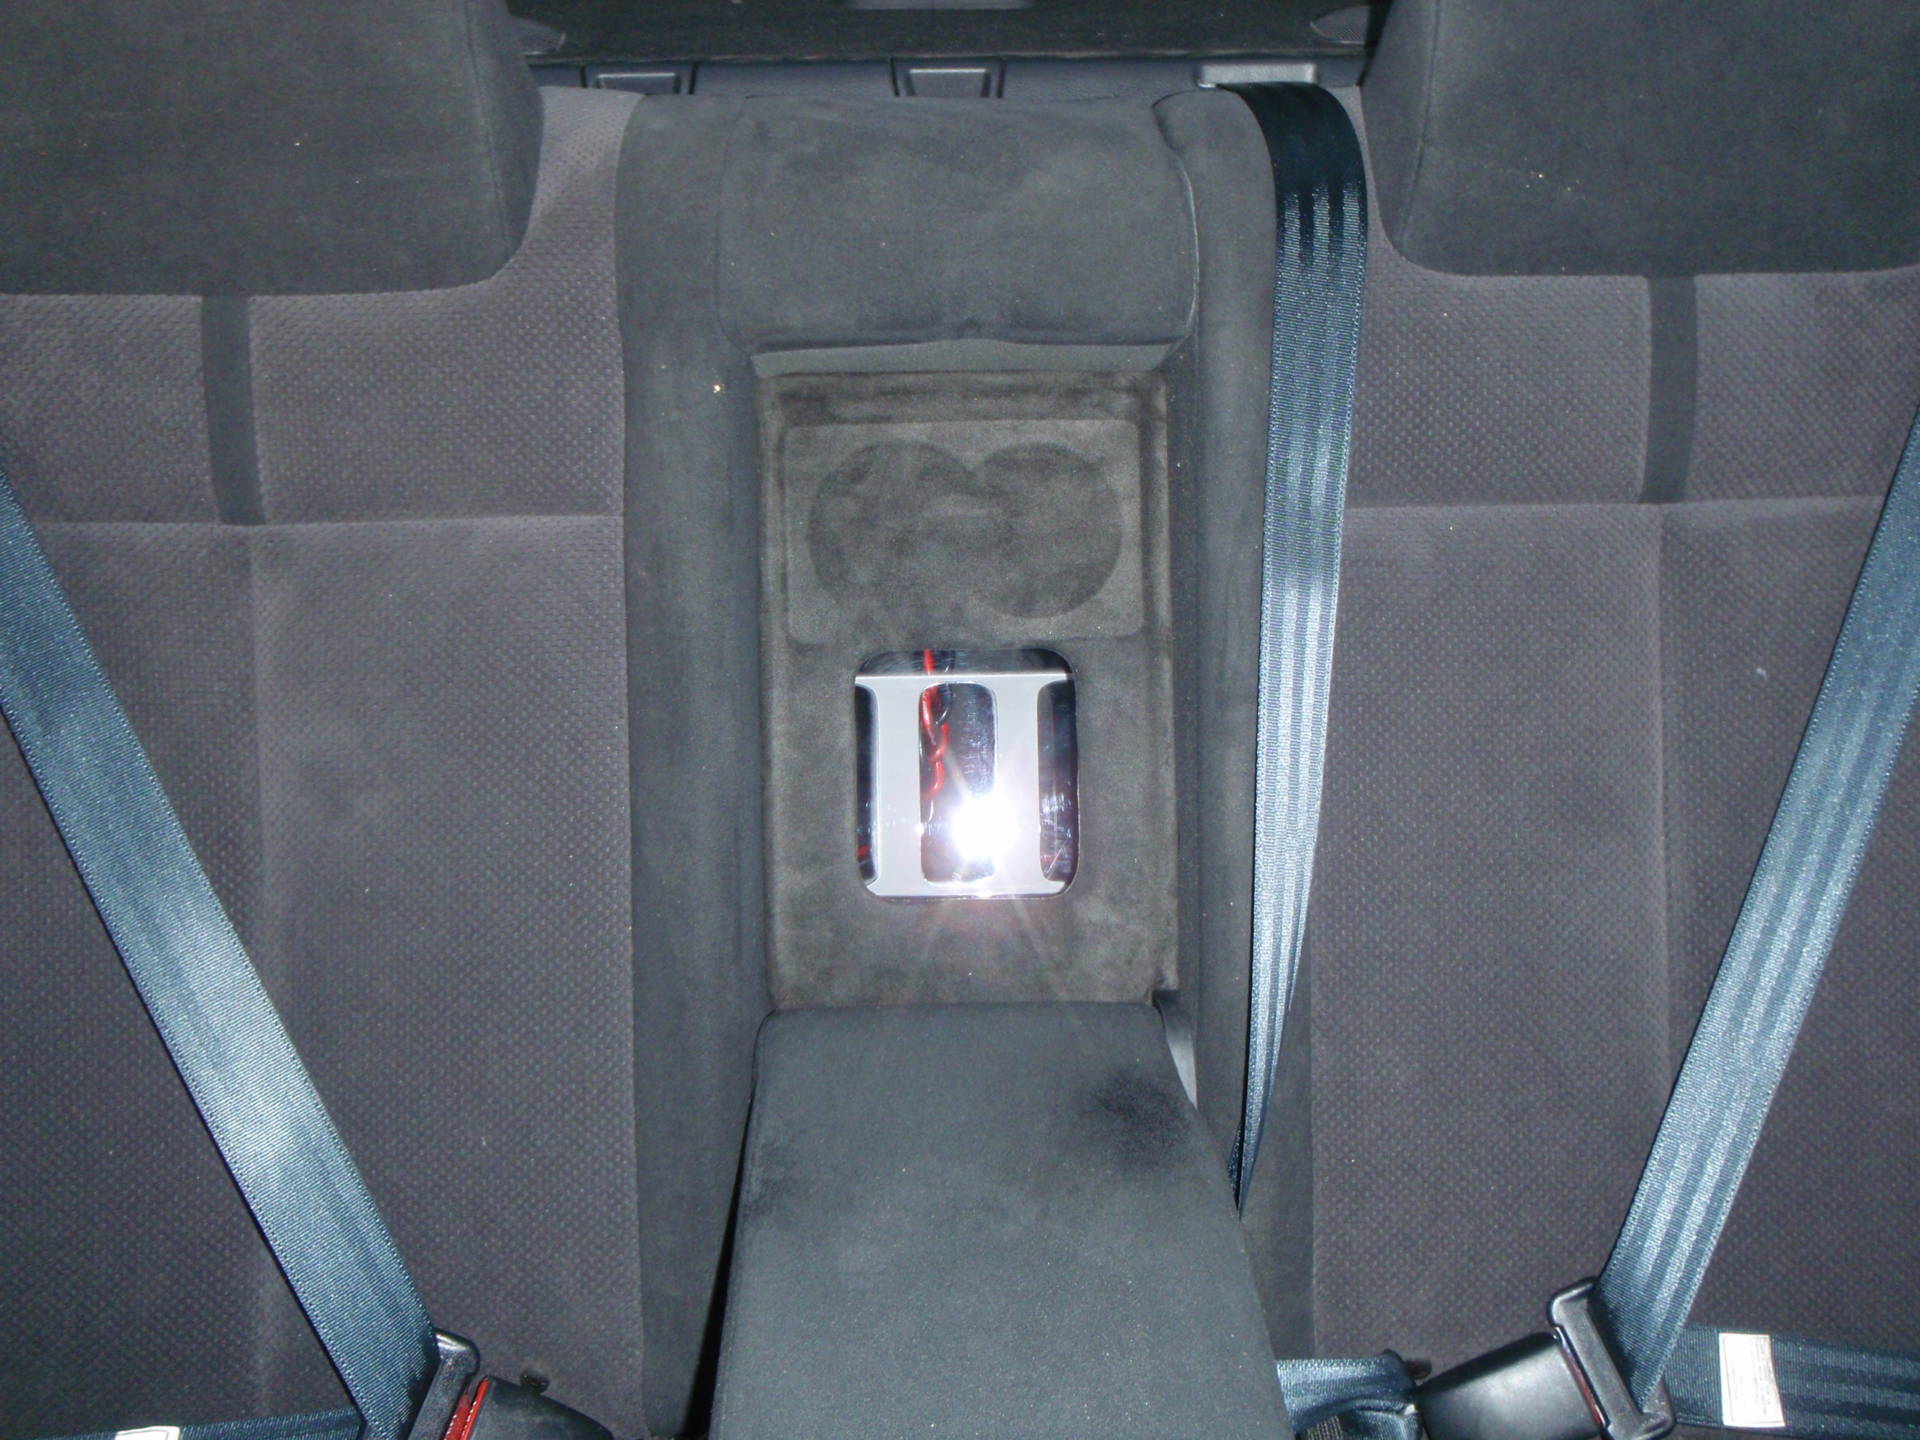

No flash:

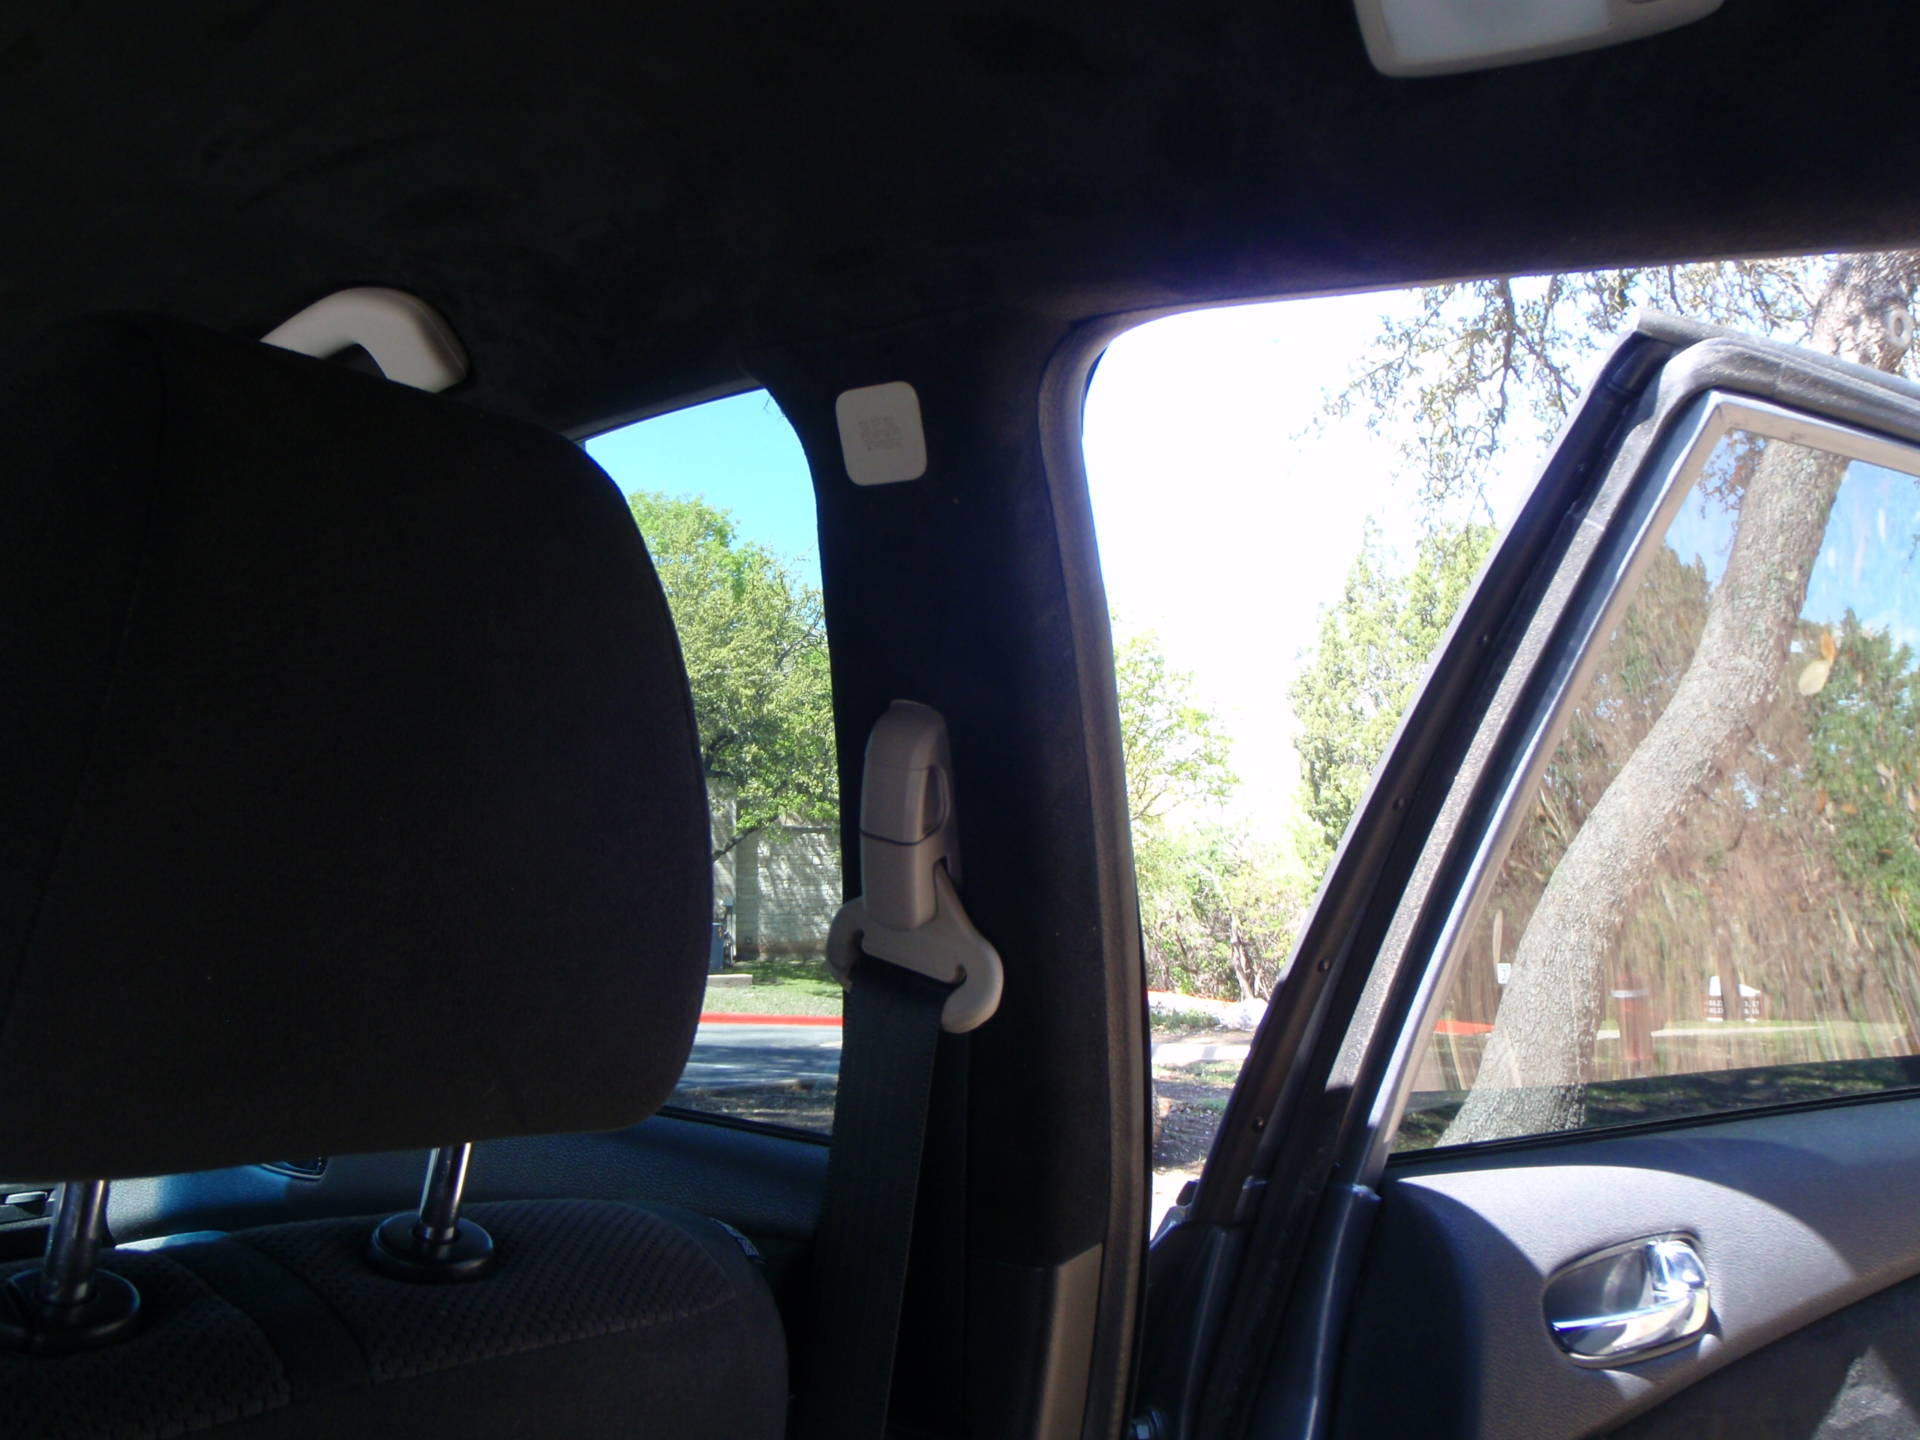
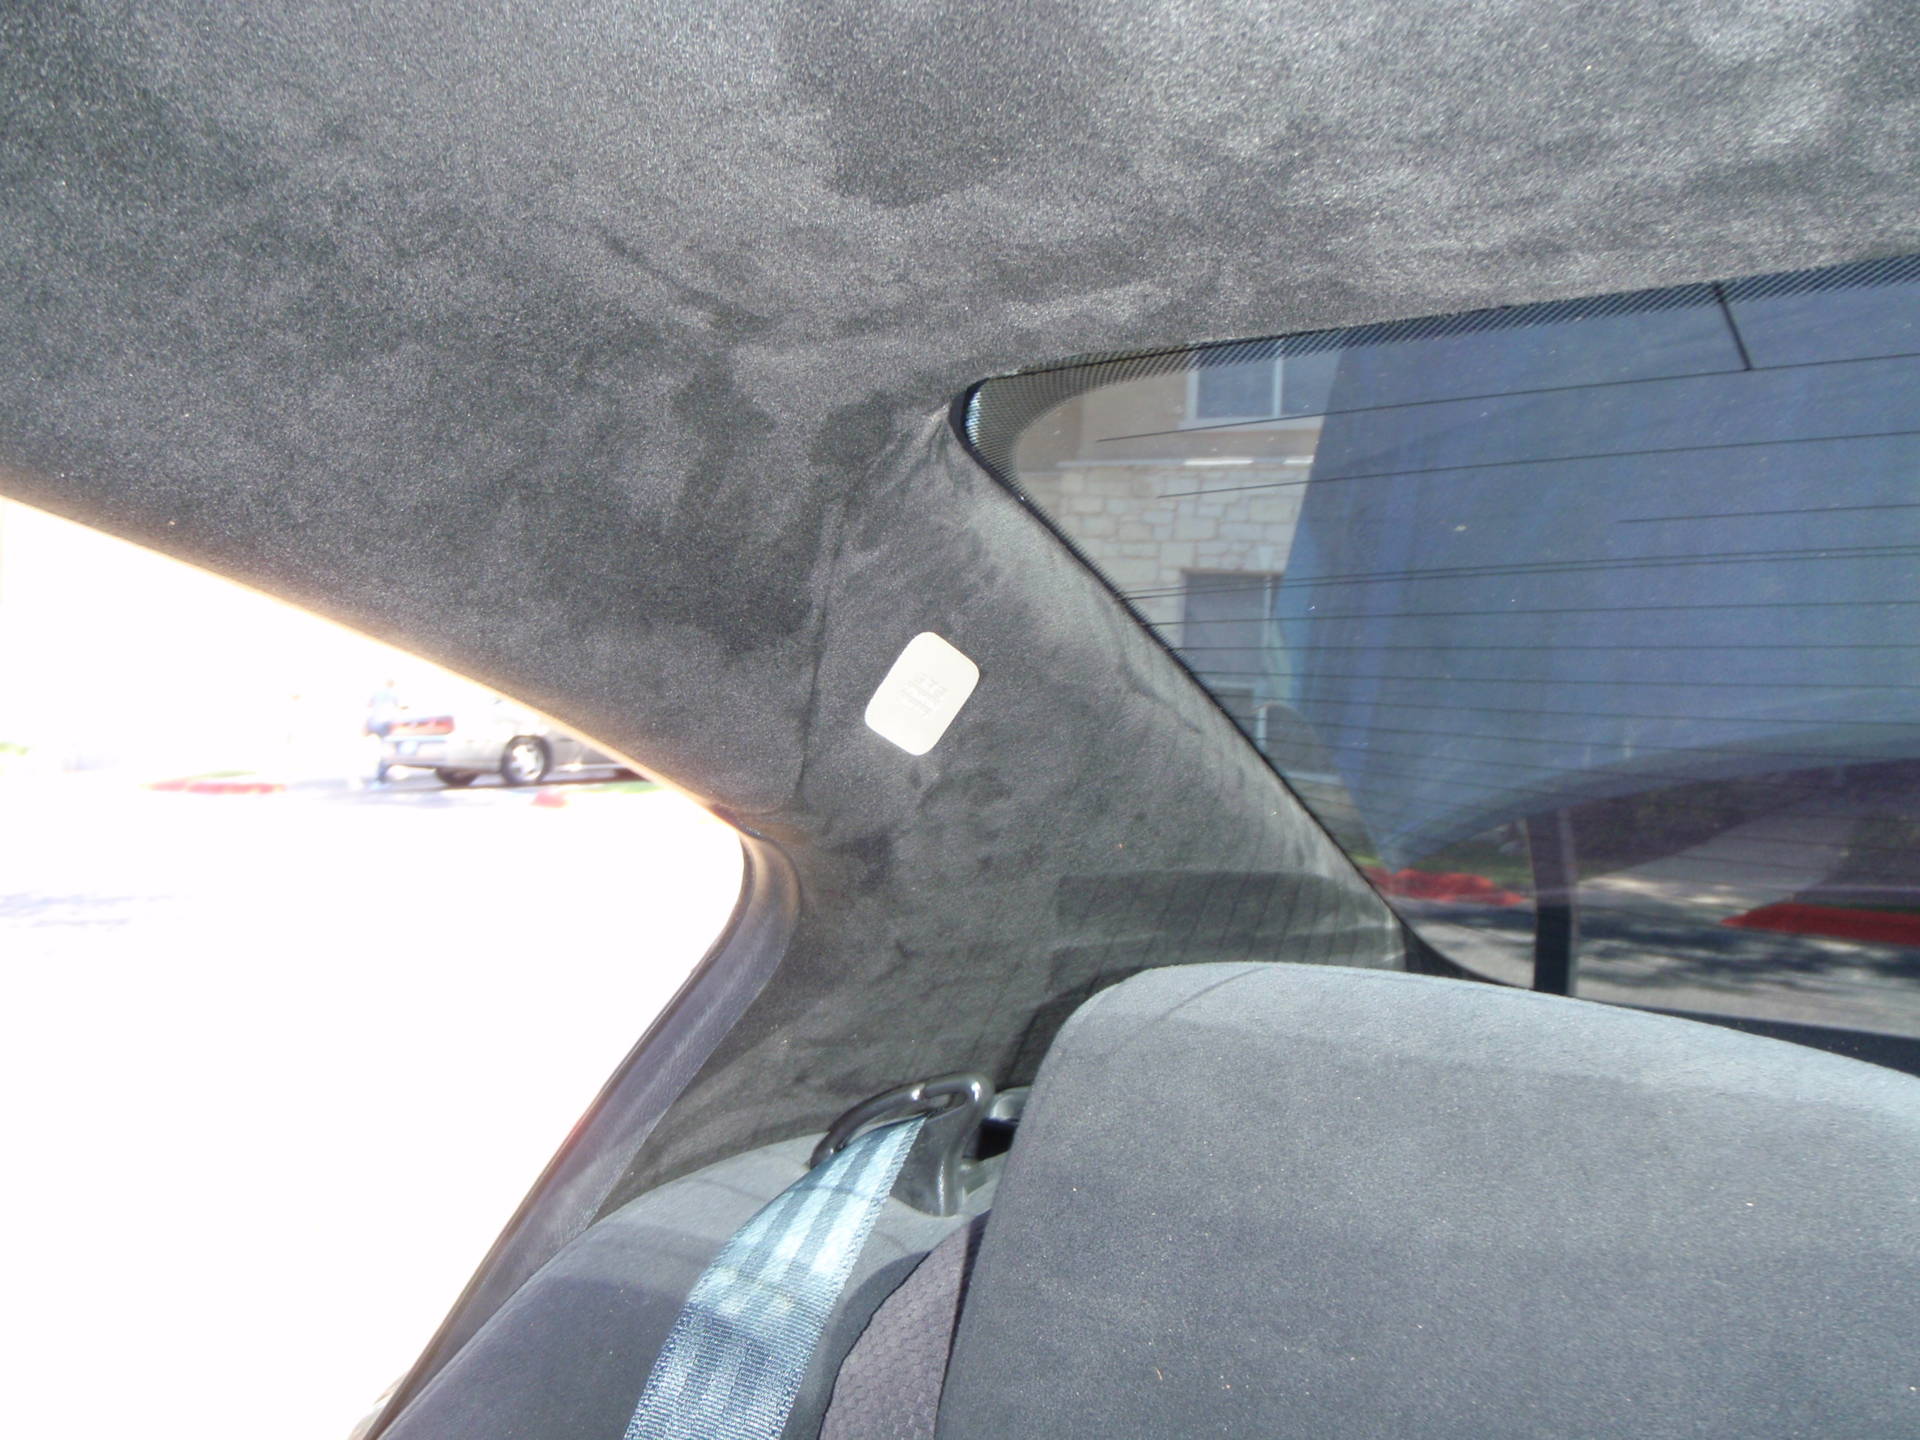
B and C pillars upholstered and installed:
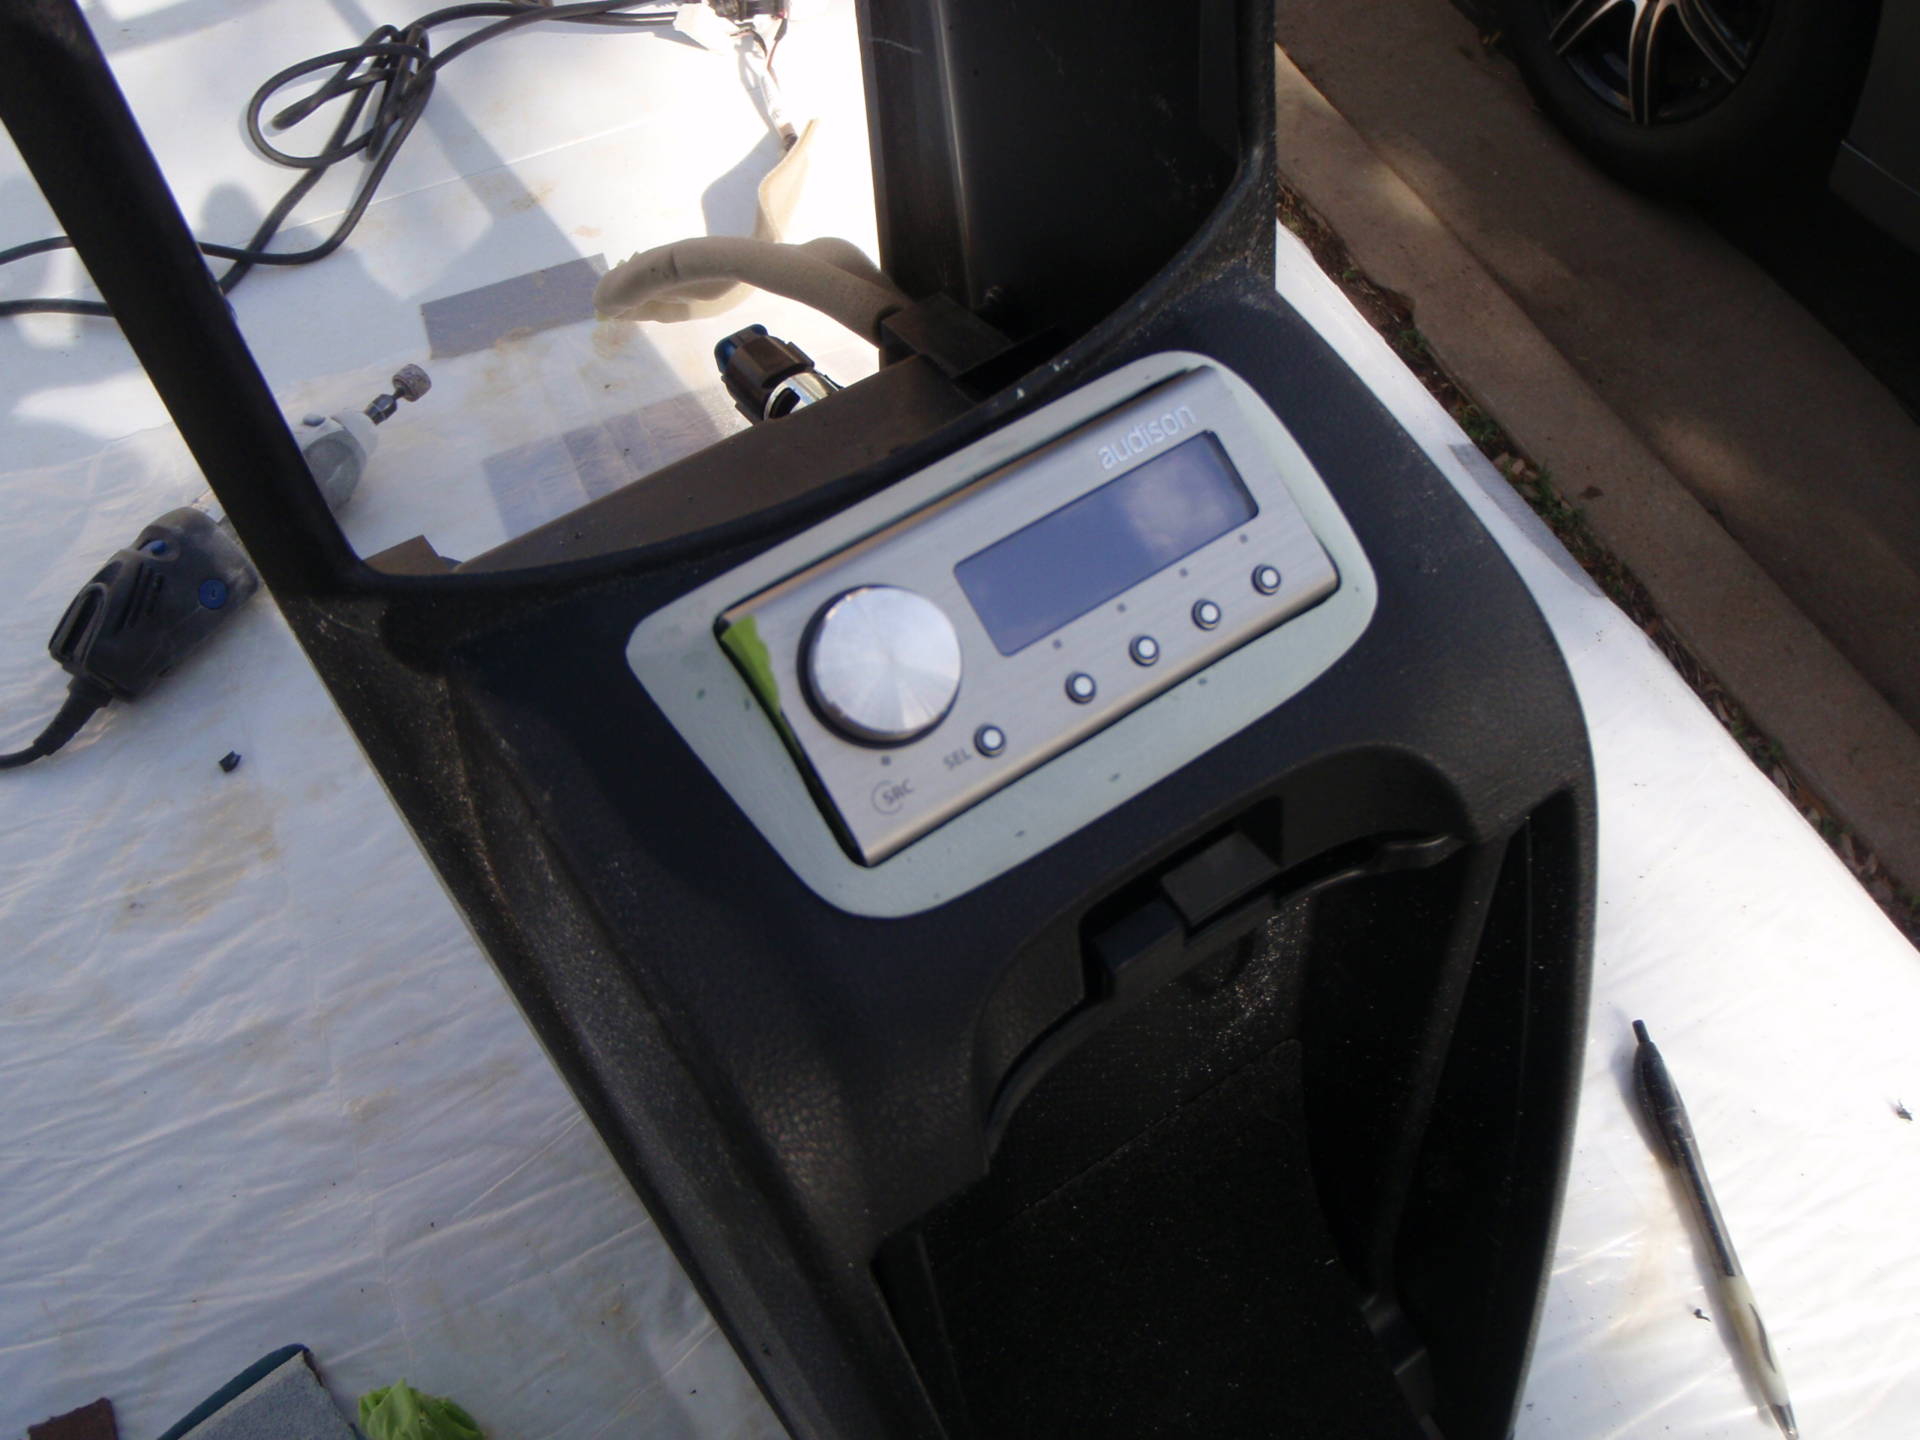
DRC mounted, trimmed, and wired up. YESSSS
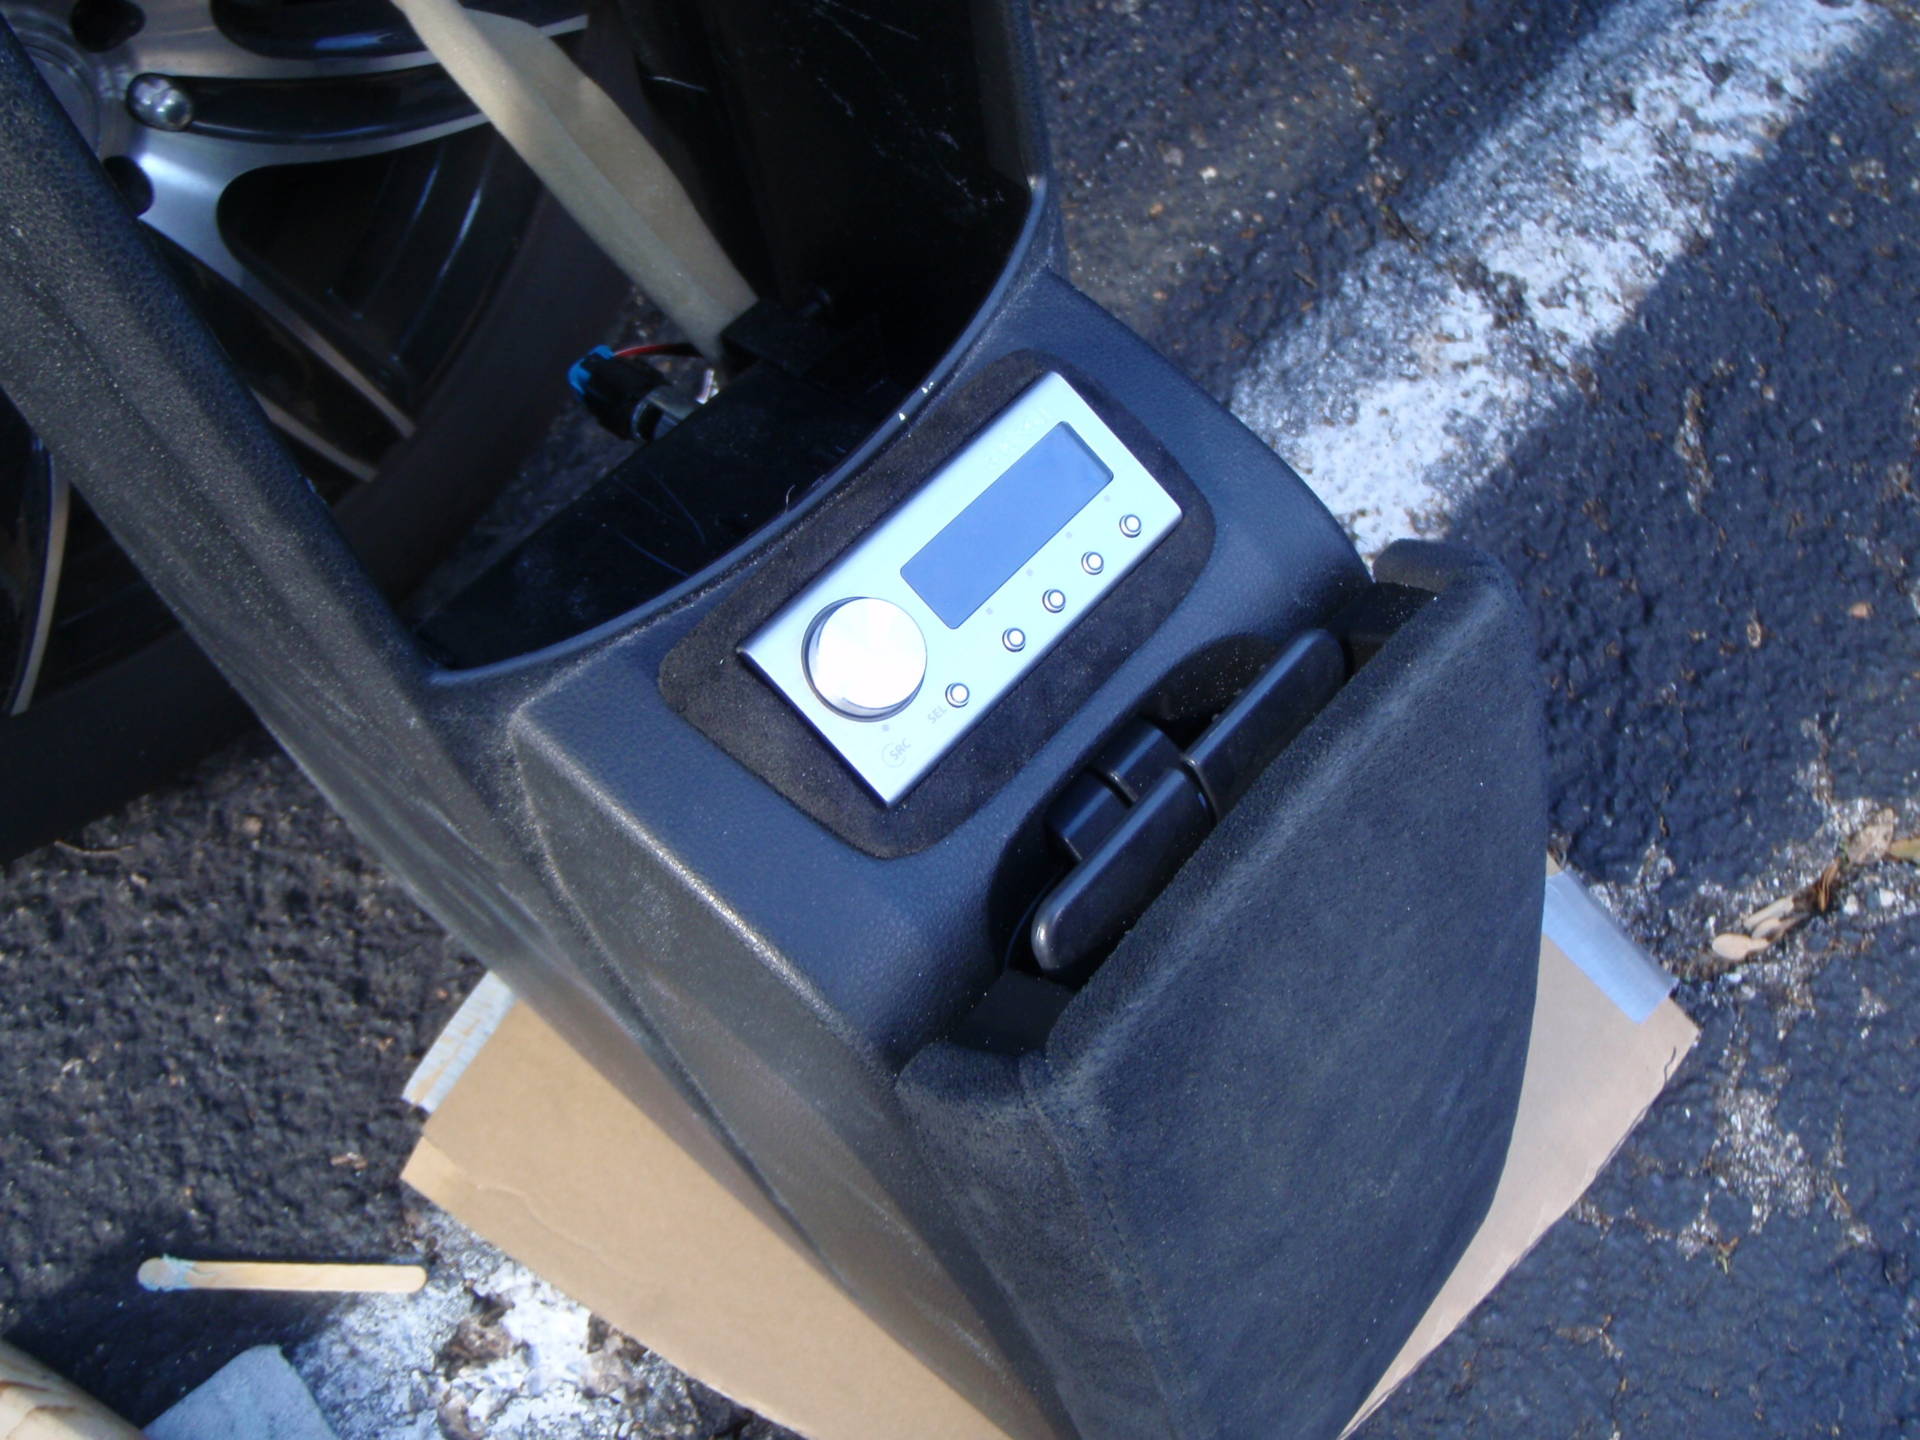
Since we’re getting rid of the cup holder cover, I need to fill this gaping hole. A carefully trimmed piece of masonite will work, upholstered in black suede:


DRC trim panel, this thing was a pain; DRC mounted, trimmed, and wired up; Center console INSTALLED!

Whole mess of new wires, over twice as many RCAs, all signal separate from power wires; Outputs on top, inputs on bottom. All channels ACTIVE! Hooray!
The BitOne software, 31 band graphic EQ, full featured crossover control per speaker, time alignment, level adjustment, all live and active. Amazingly powerful stuff. Final tune was a product of David Angenend’s, owner and resident badass at Sideways Auto Salon in Austin, TX. He was an IMMENSE help during every step of this install and I am very indebted for his knowledge.
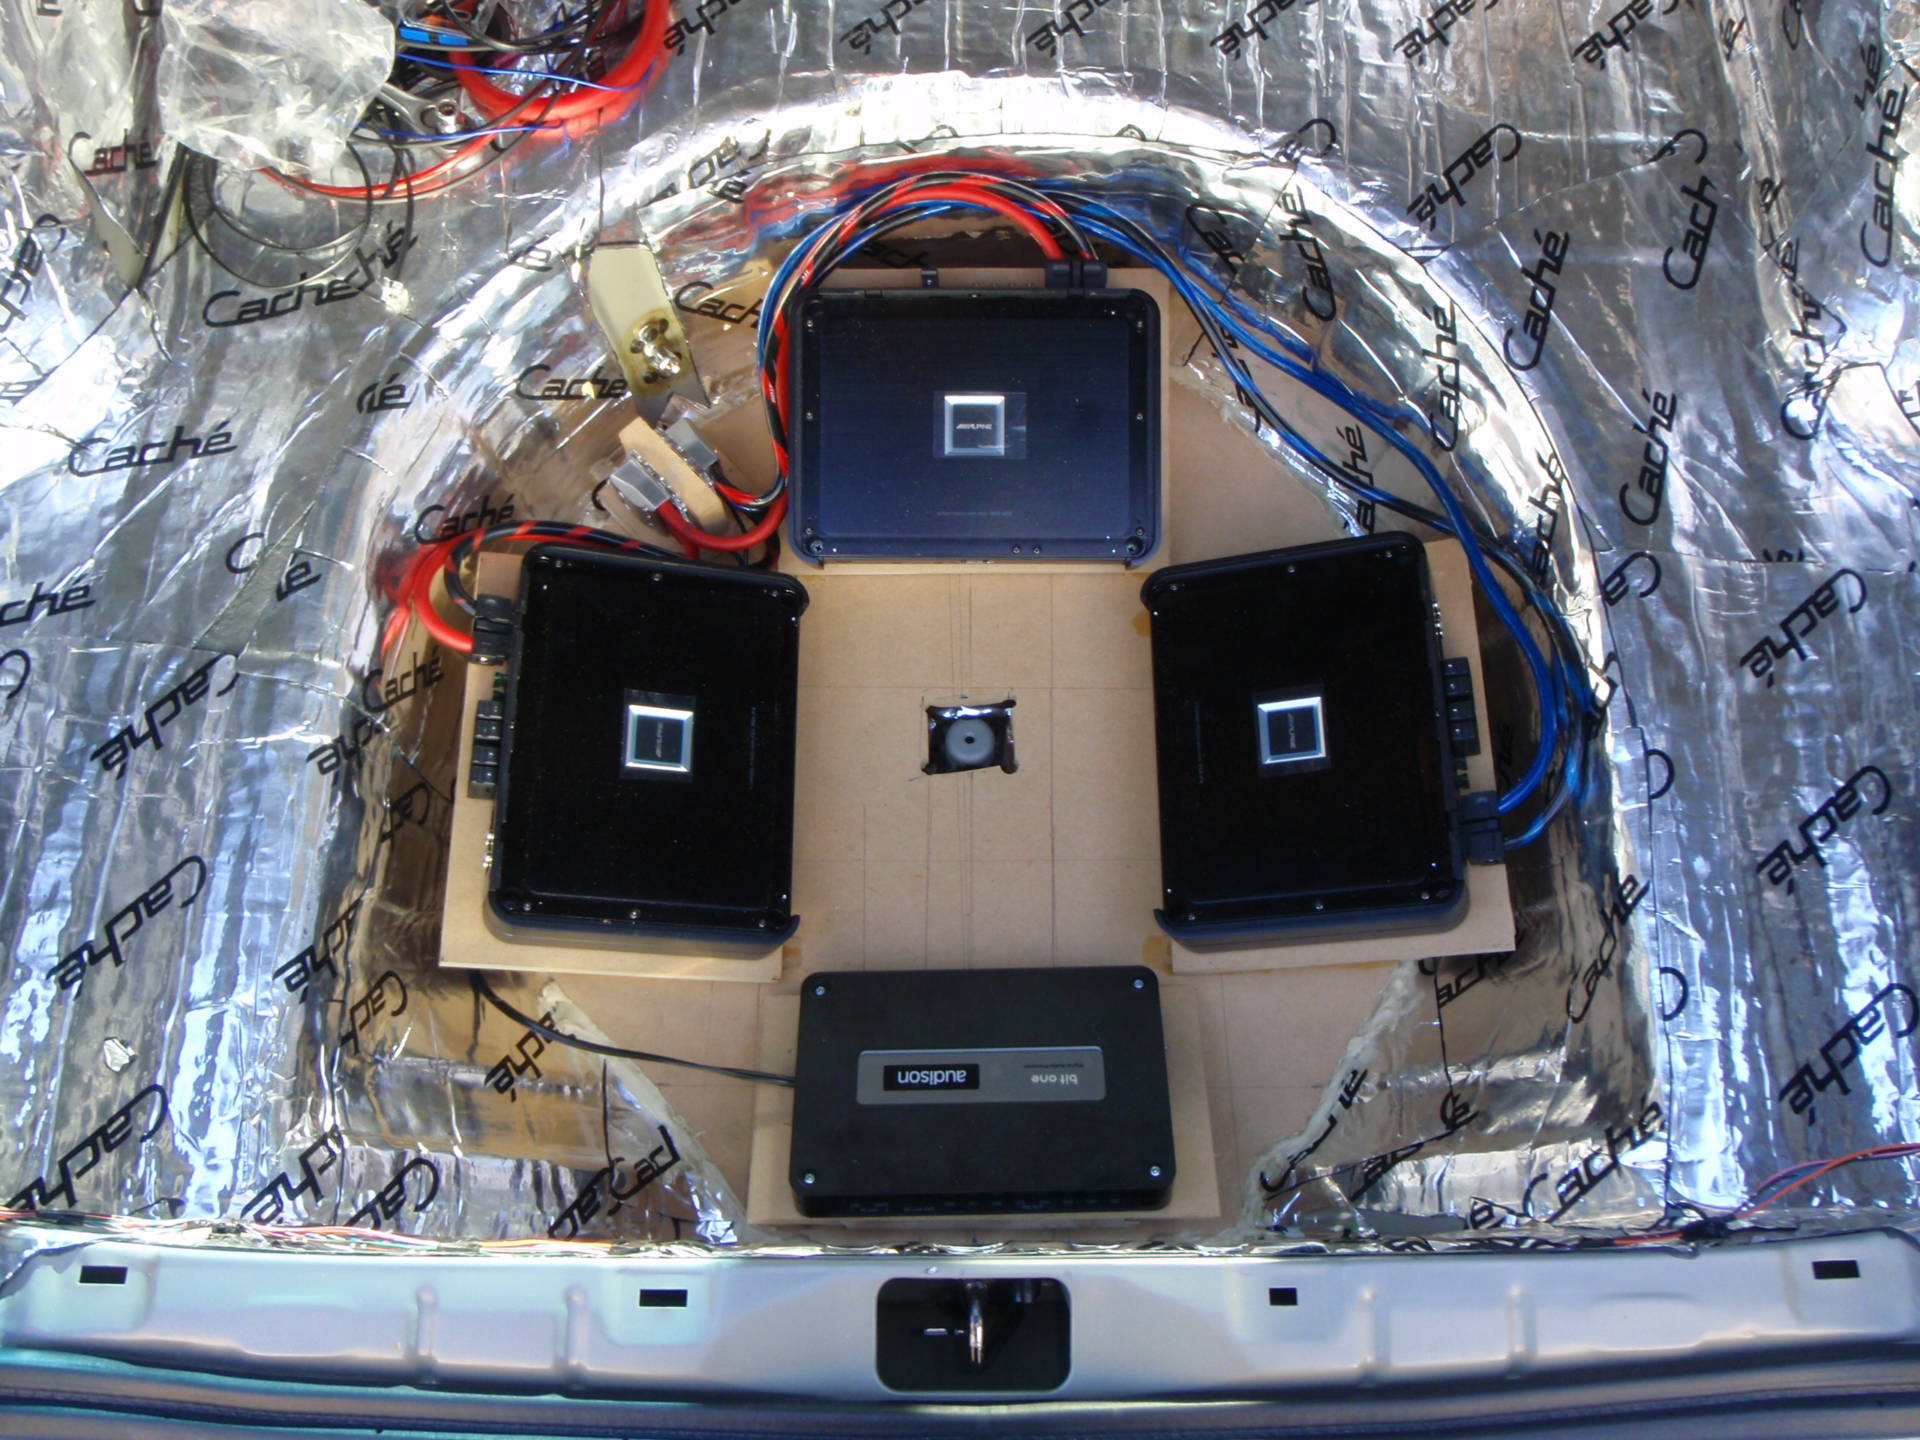
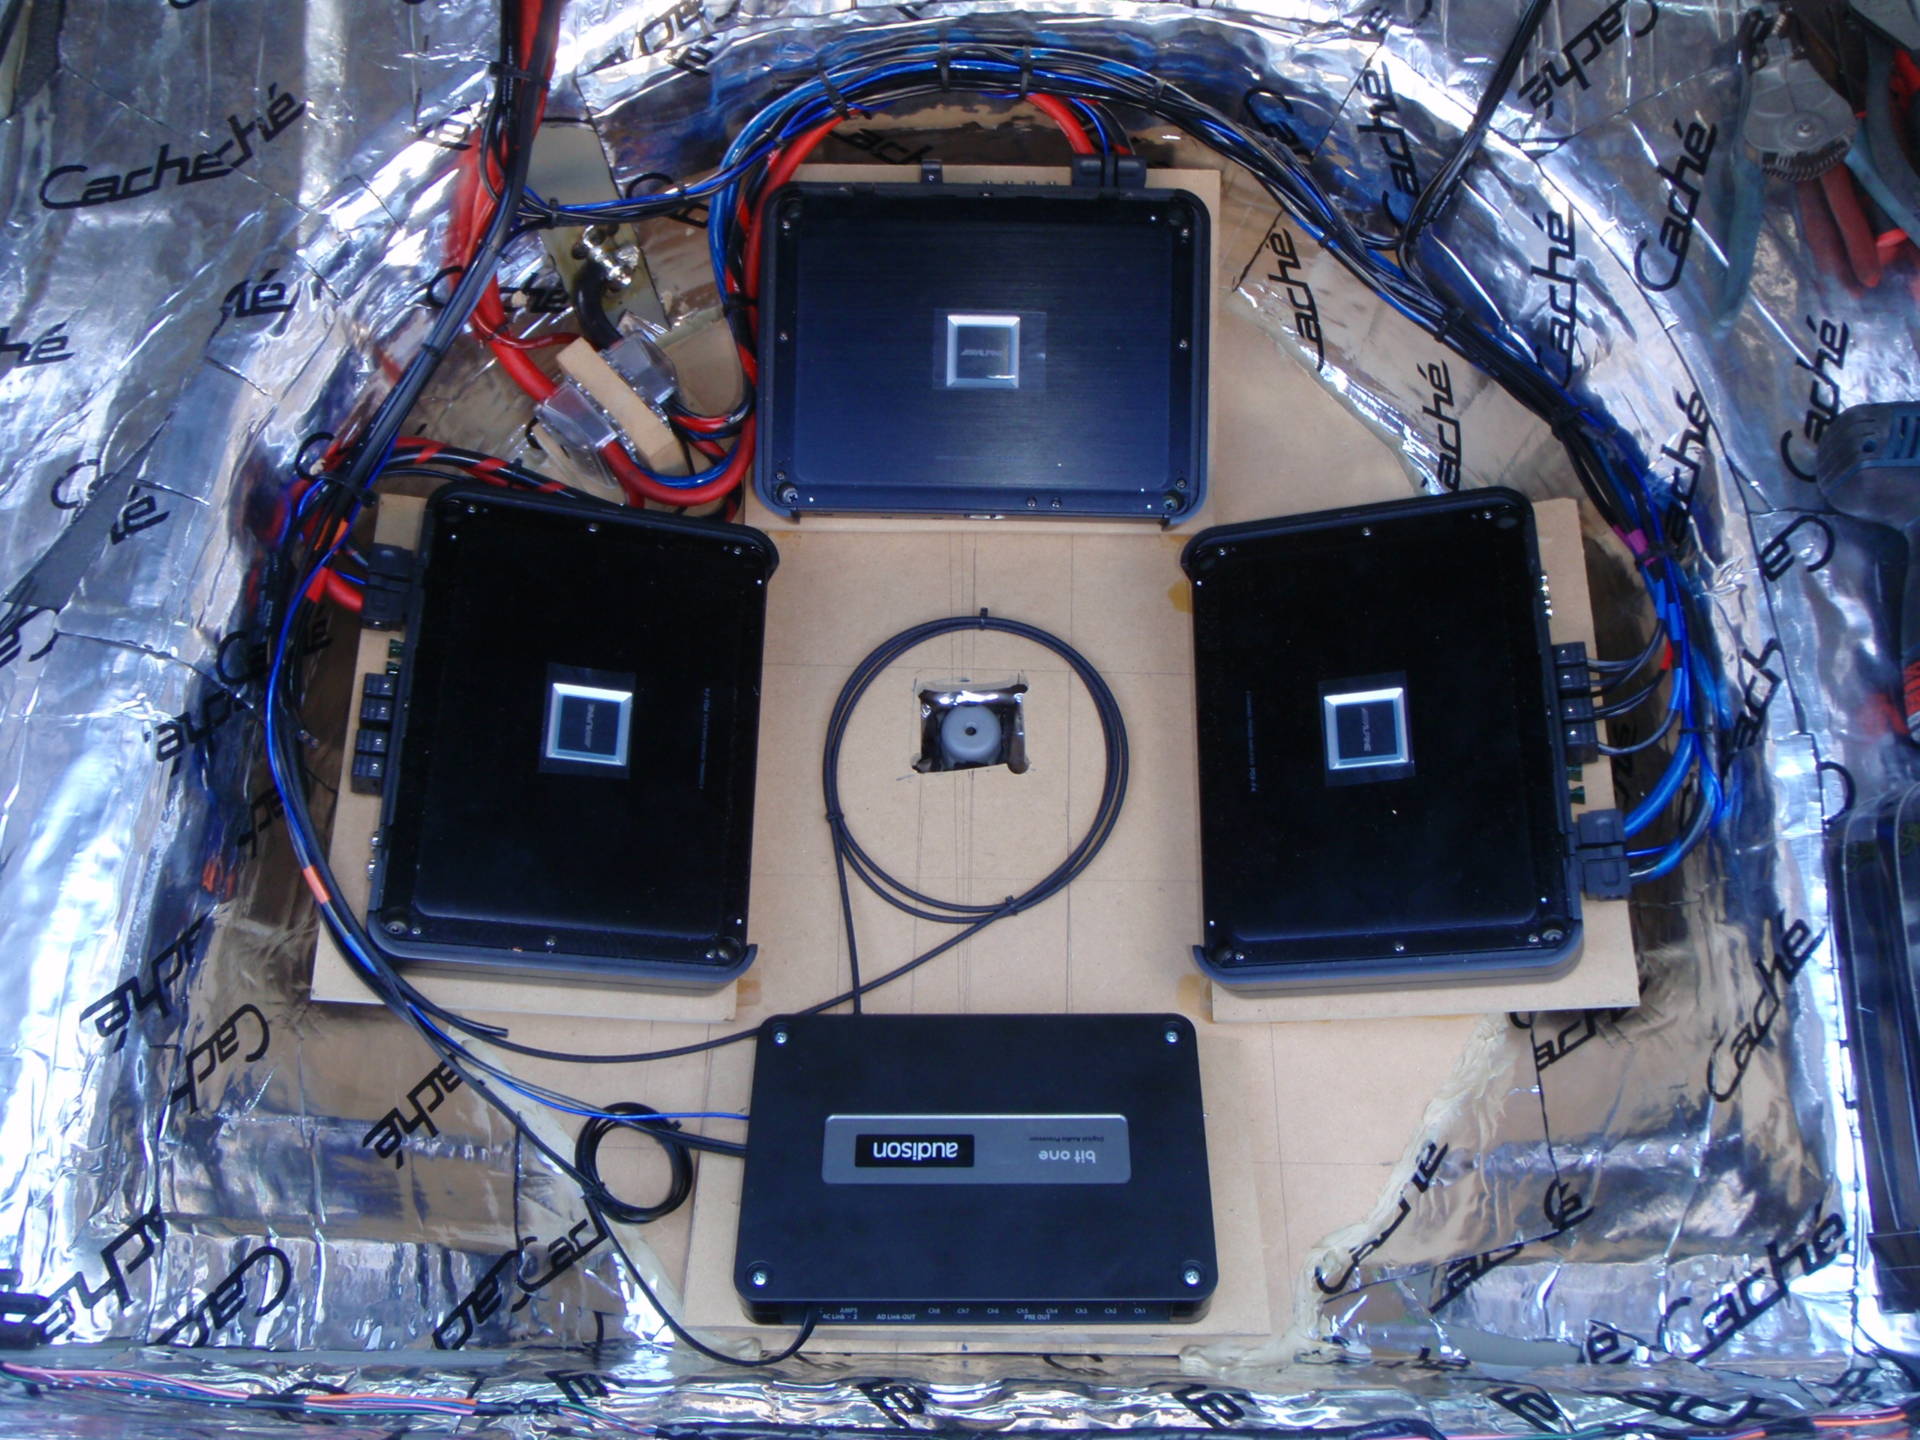
Amp trim started; Filler; Upholstered, hole in the middle:

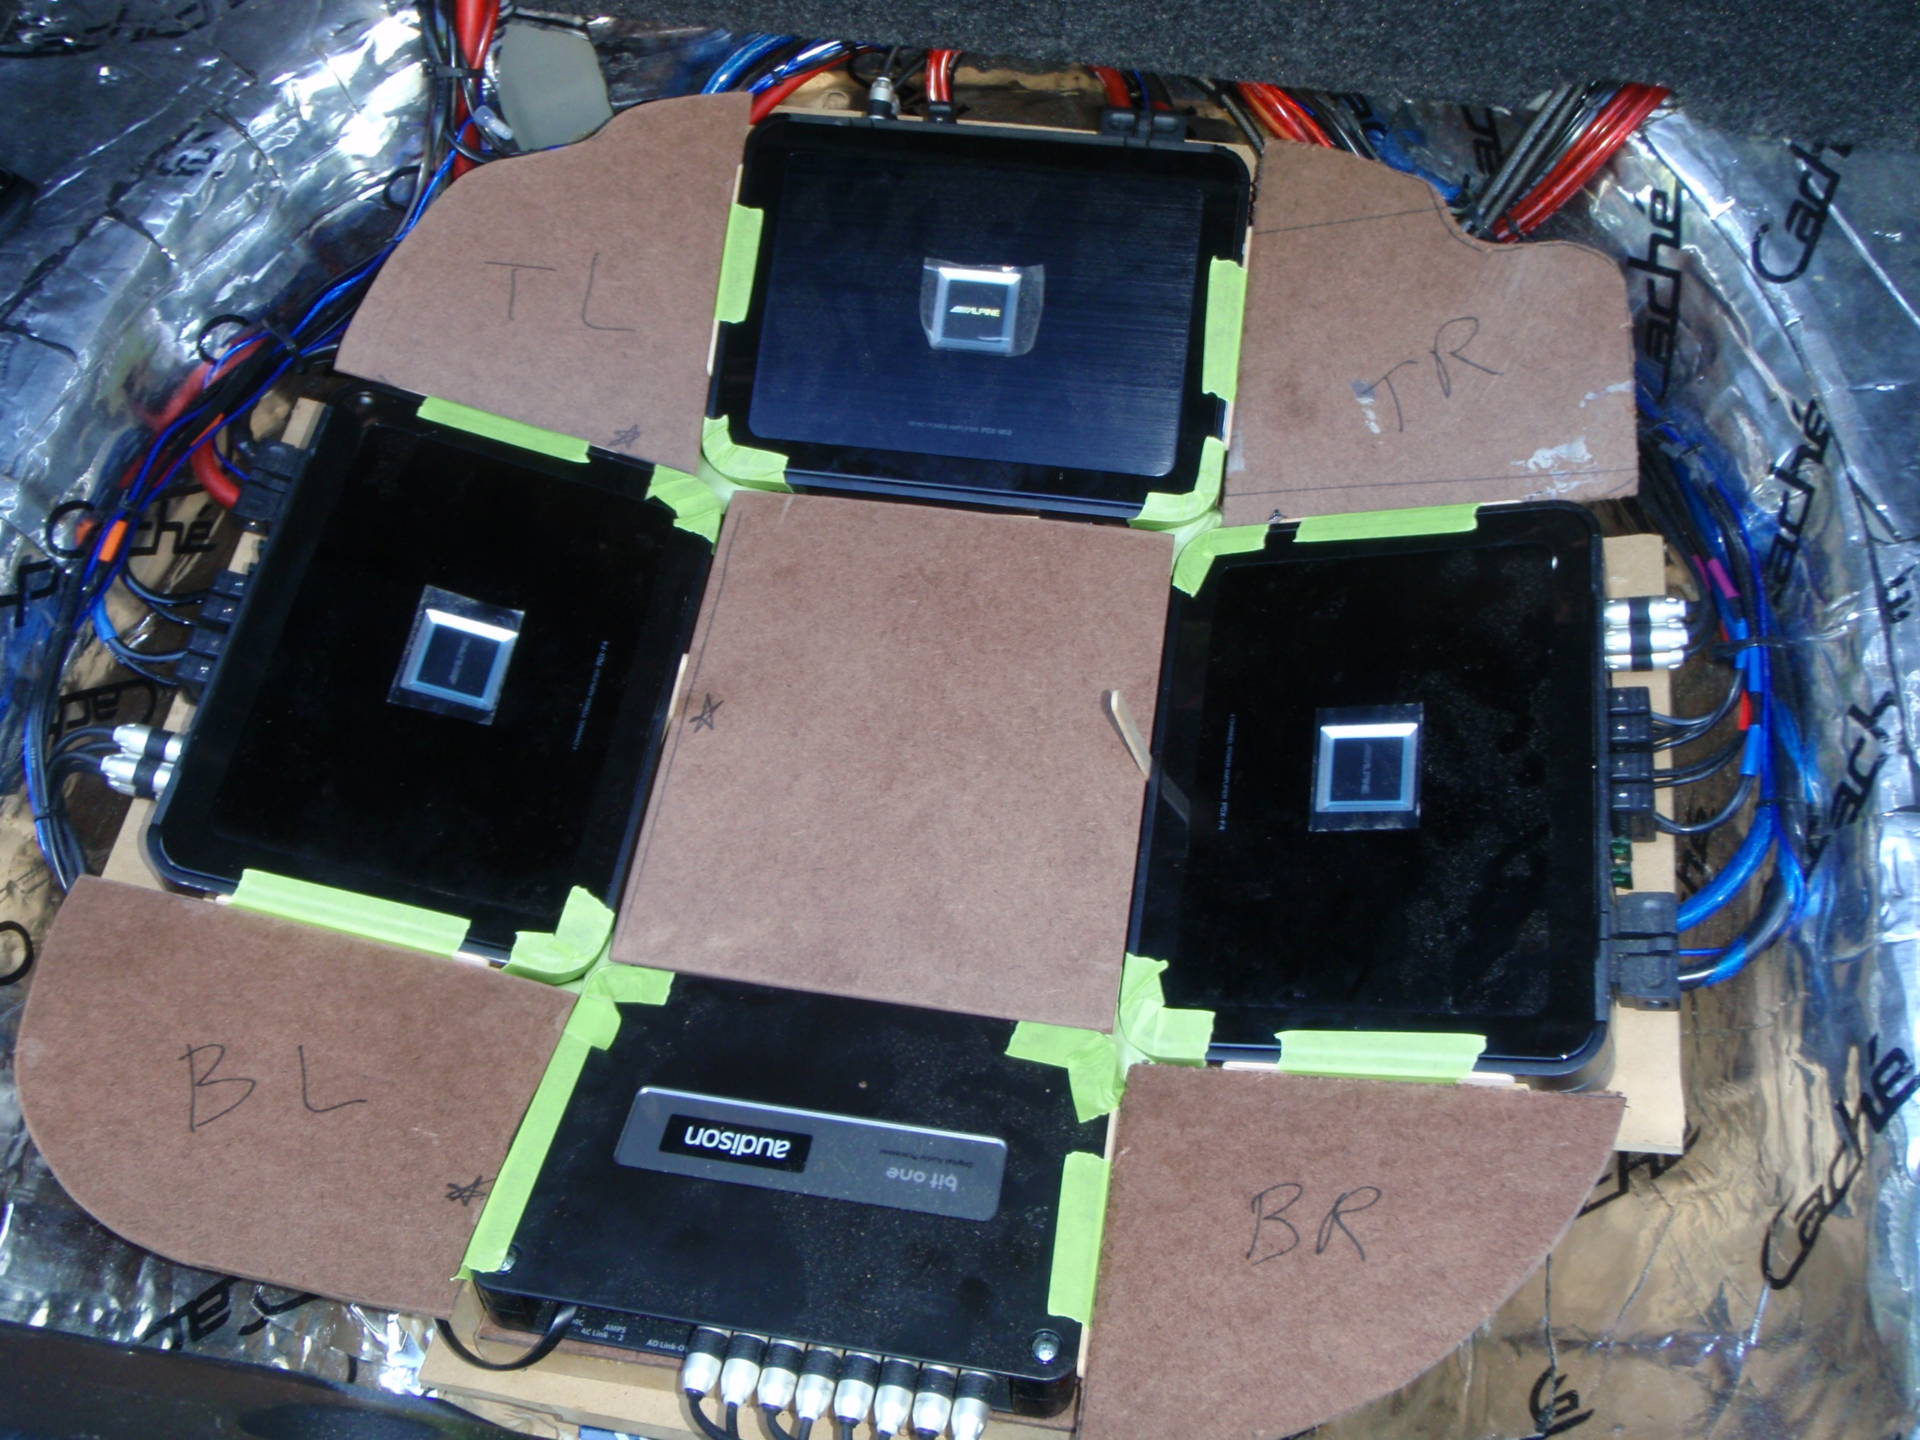
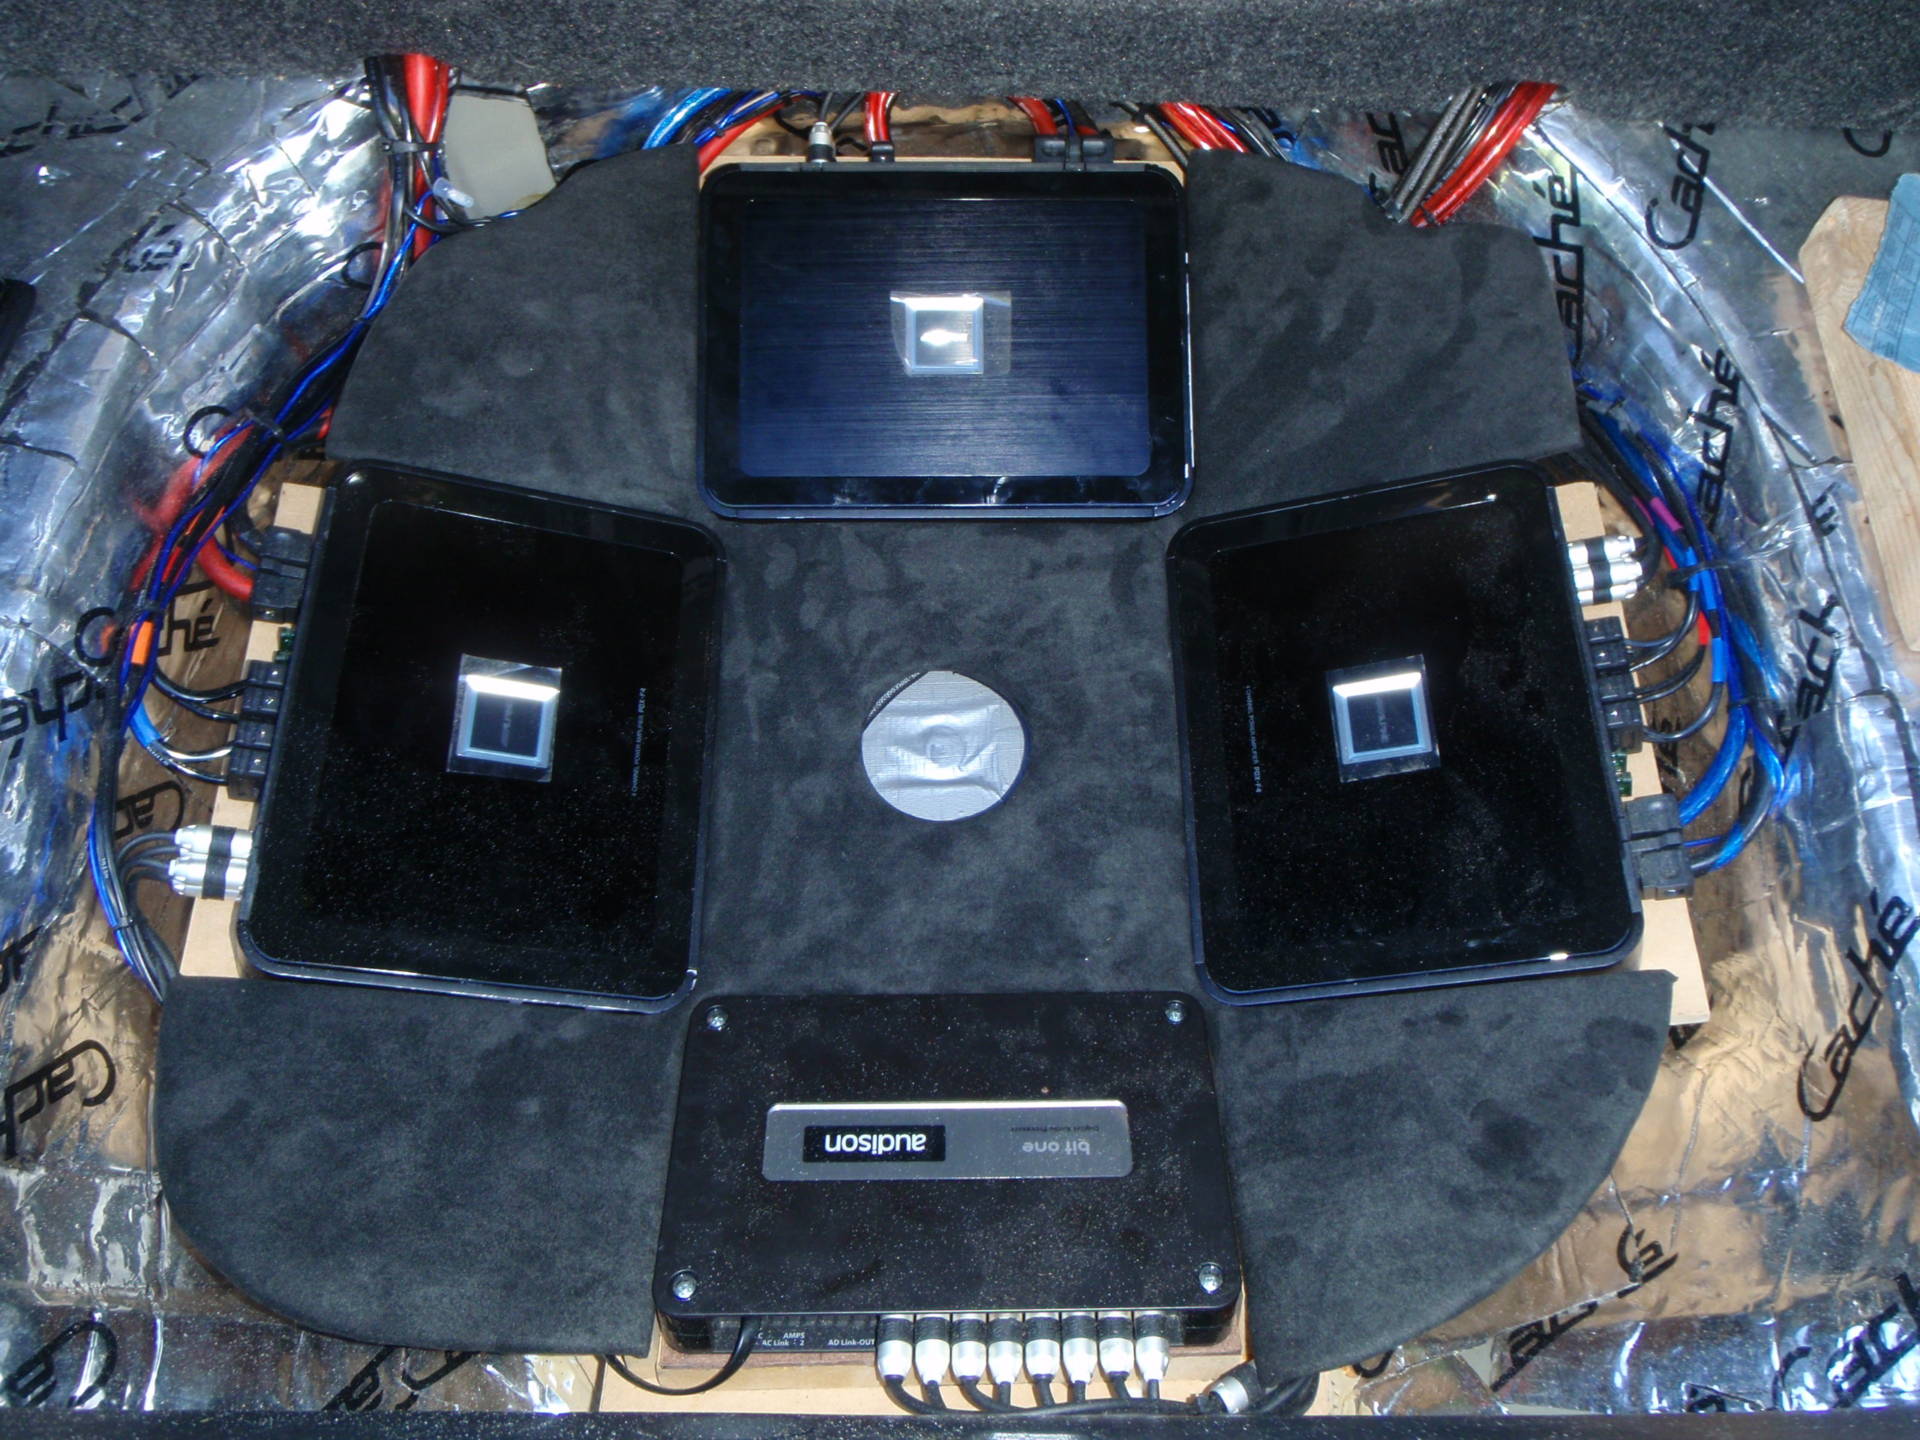
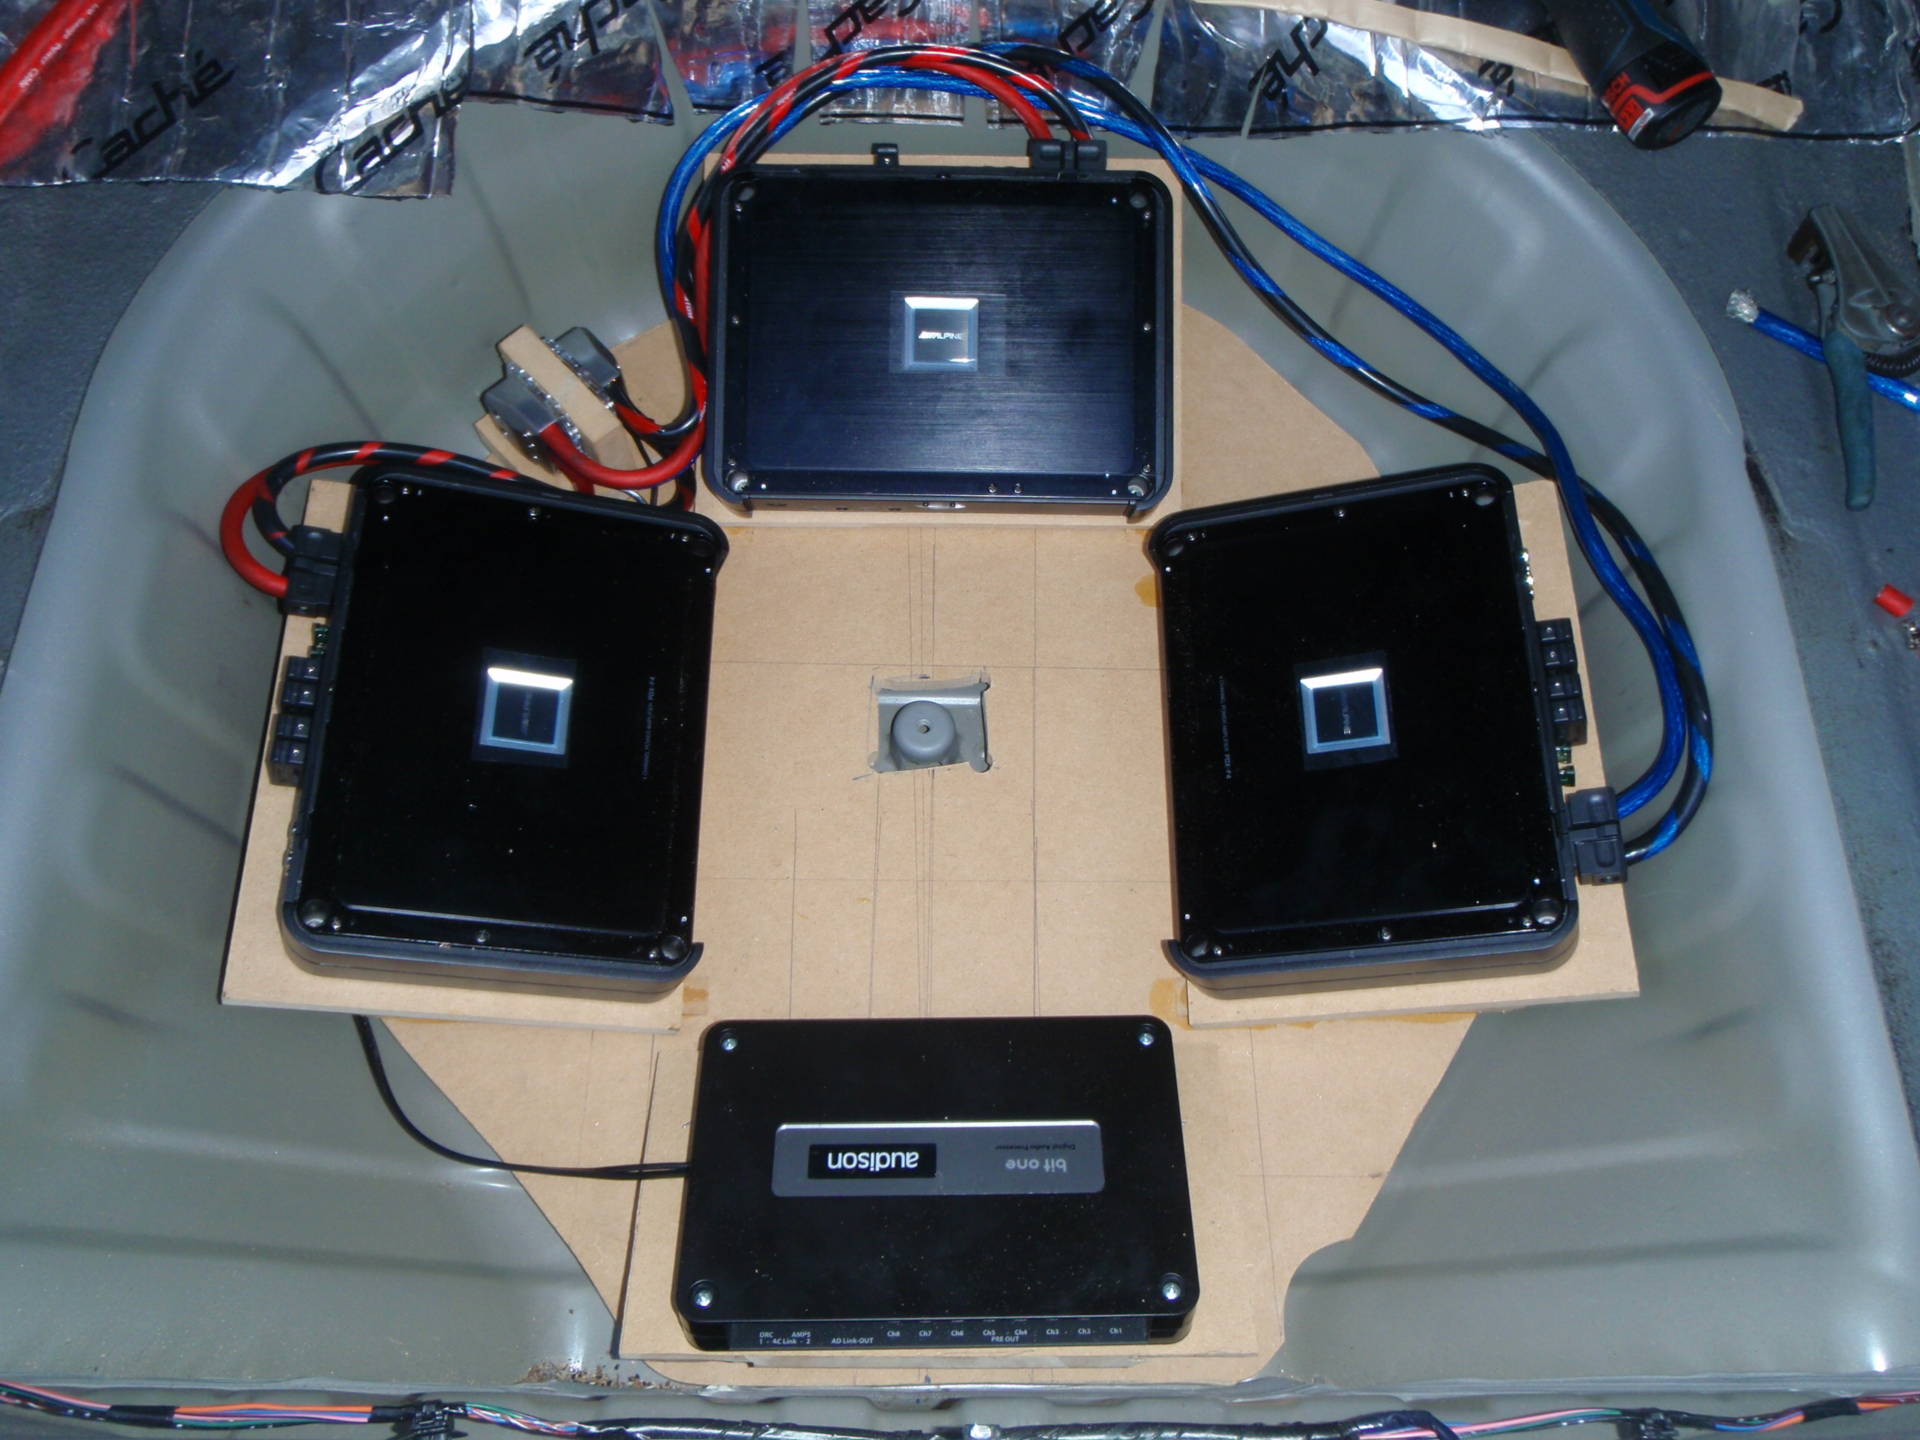
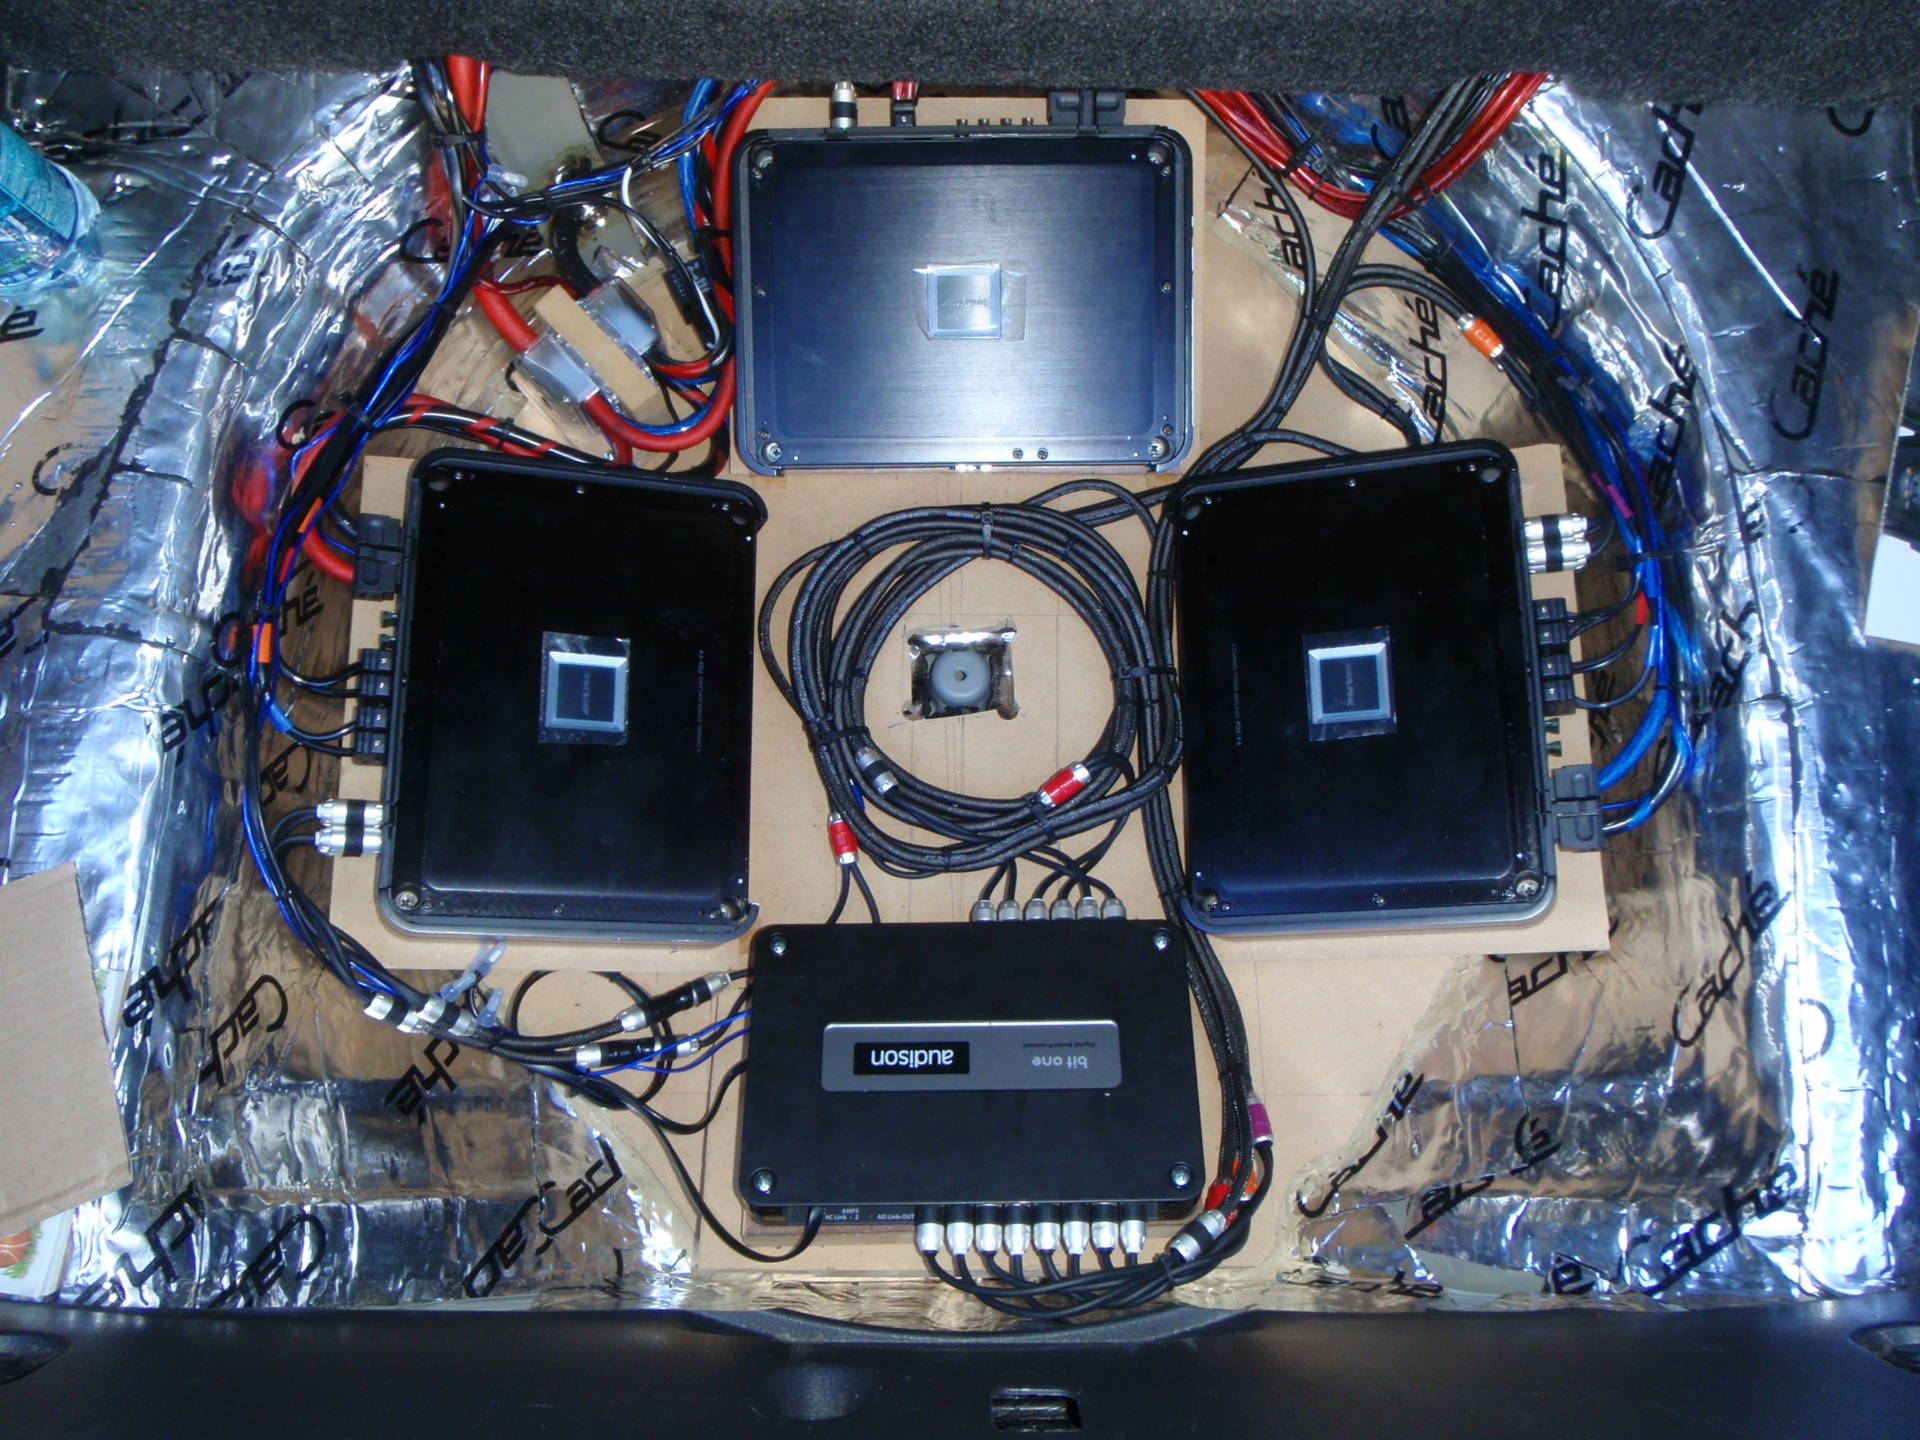
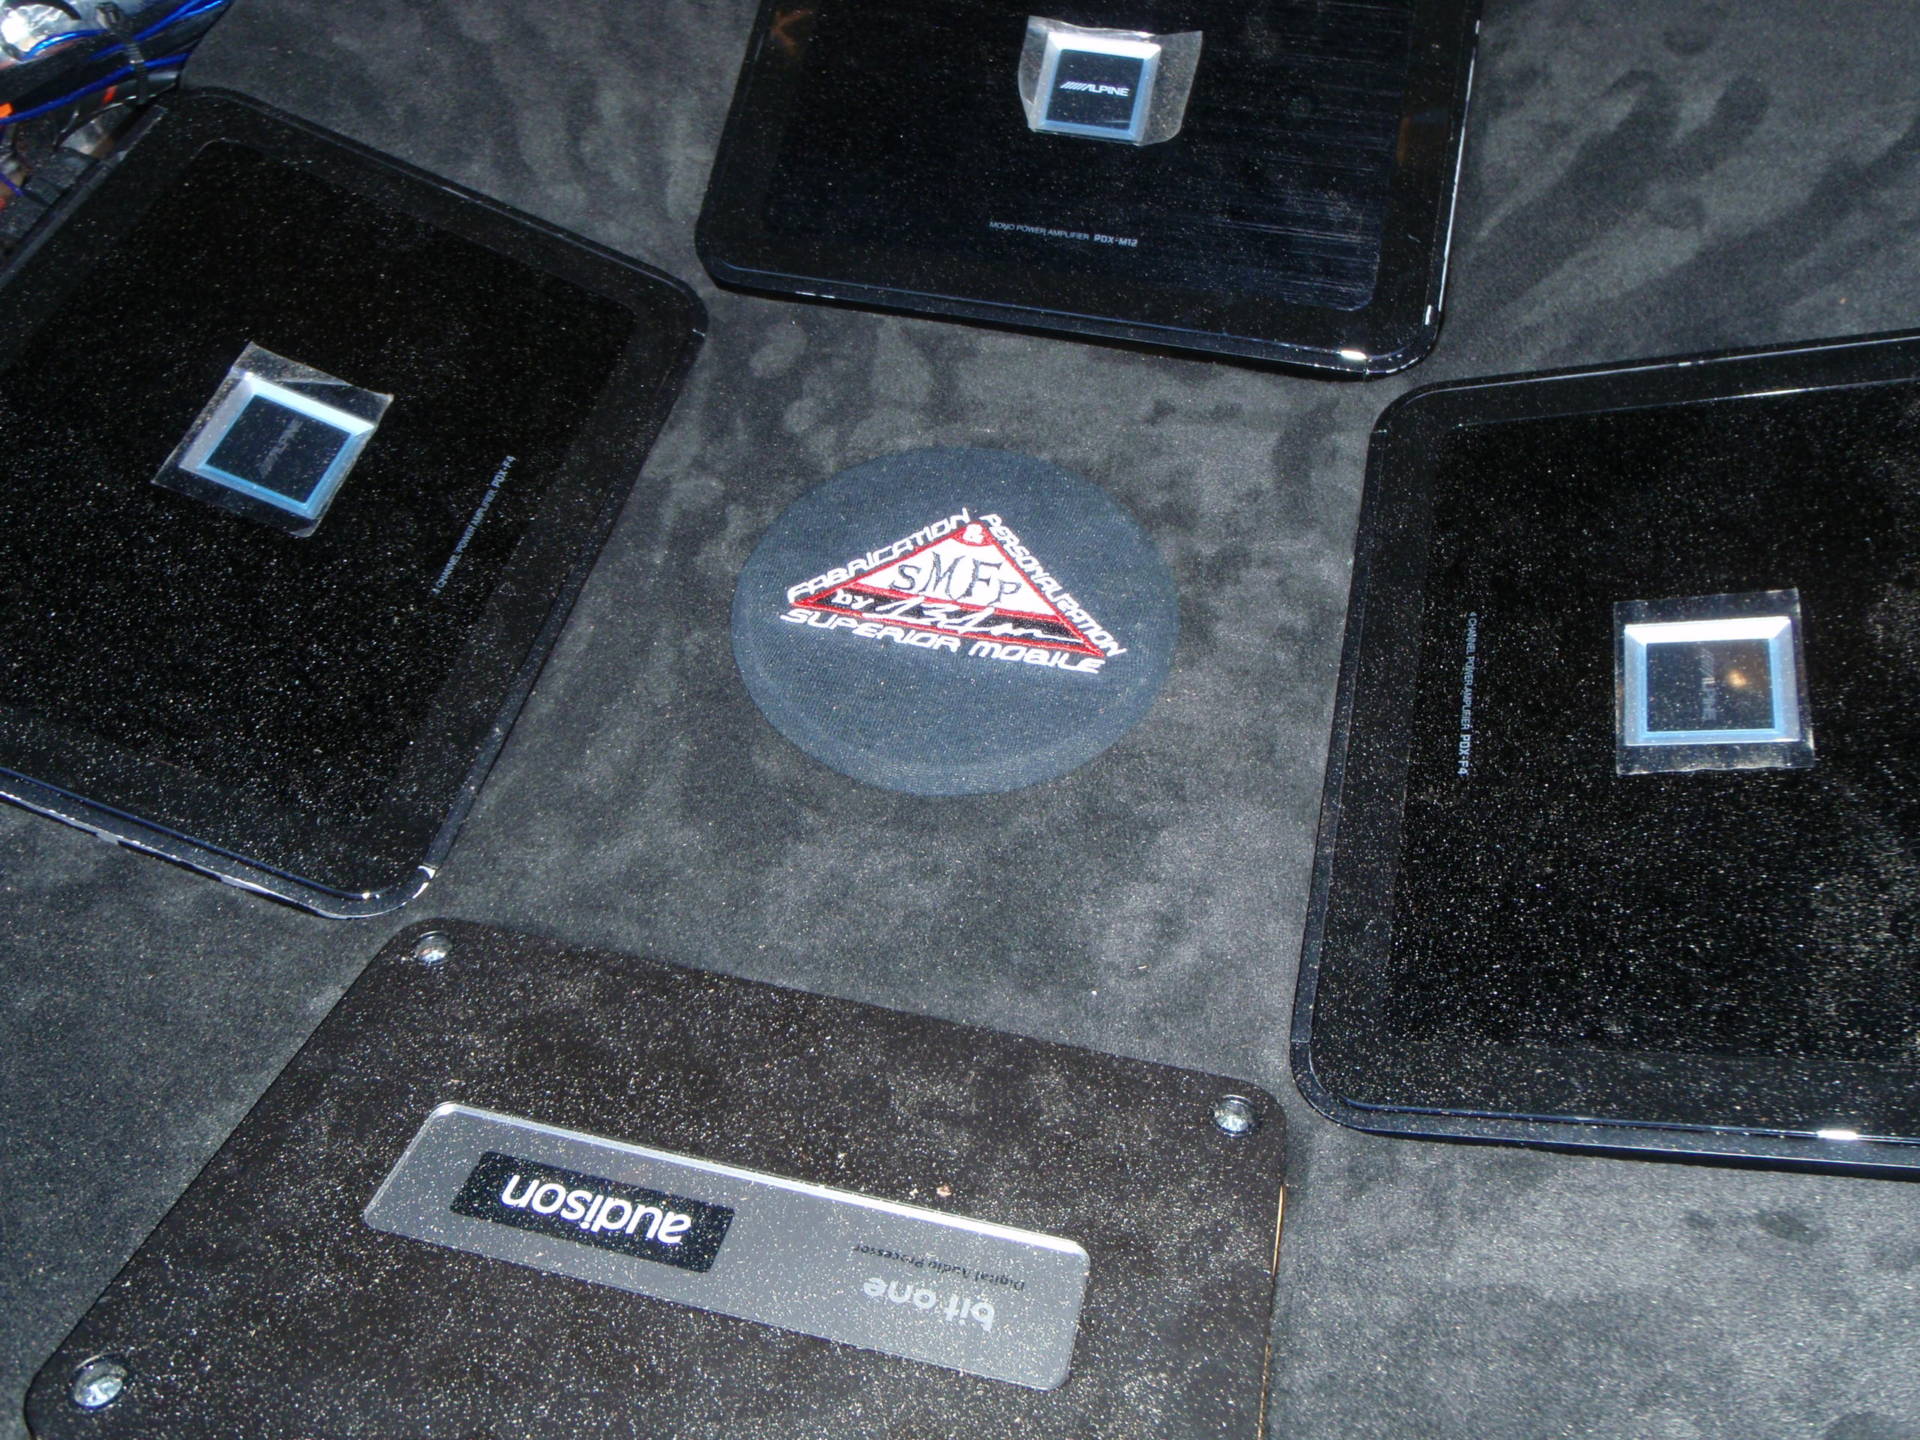
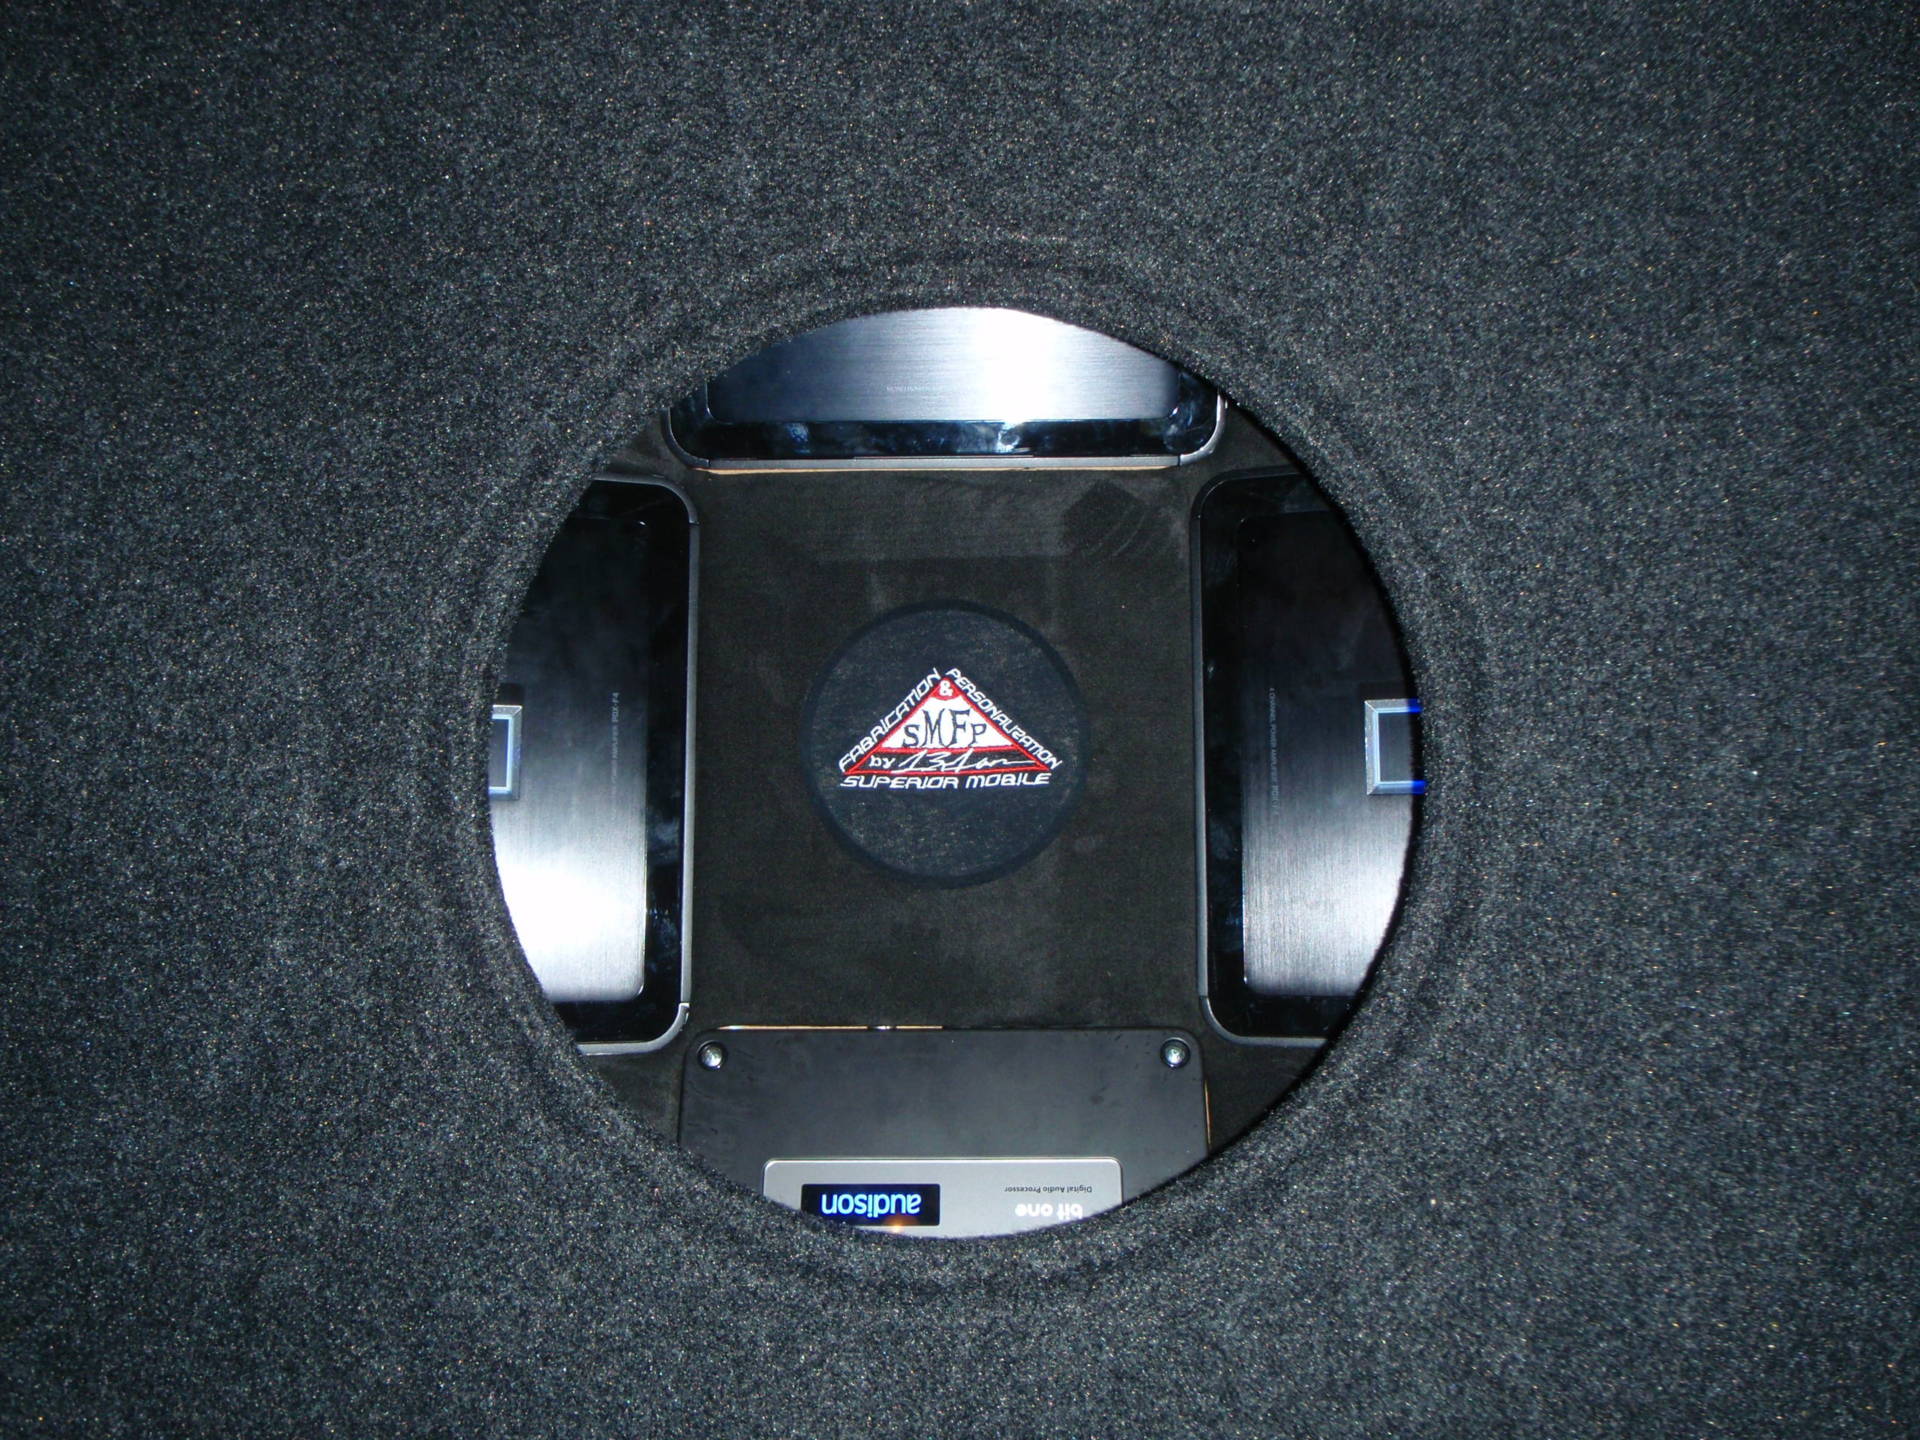
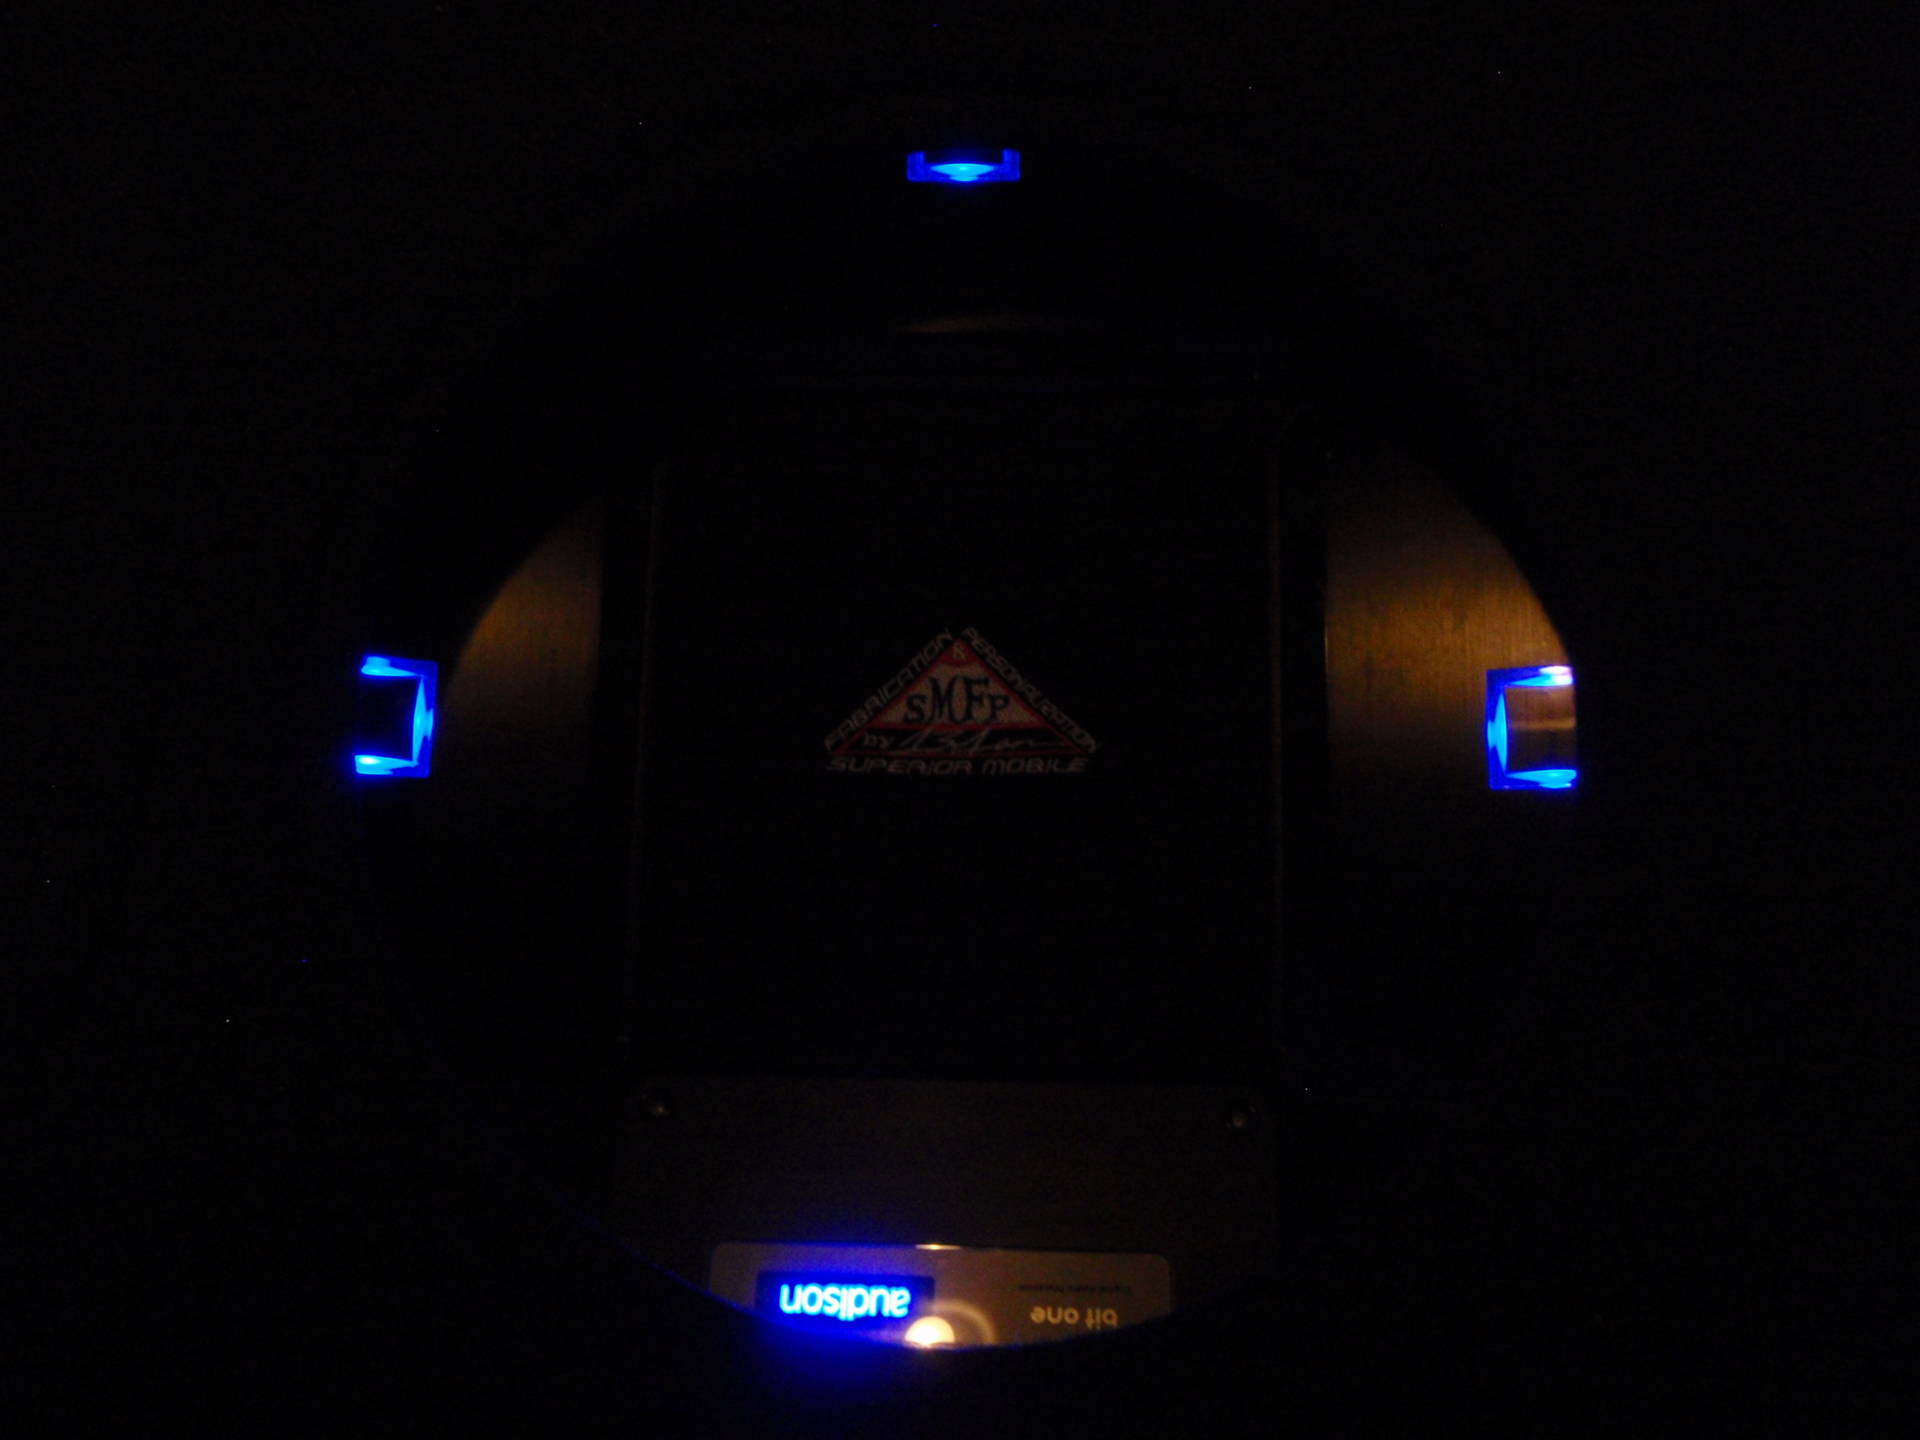
3 PDX Amps, an Audison BitOne, and my logo?!?! Oh happy days!!!
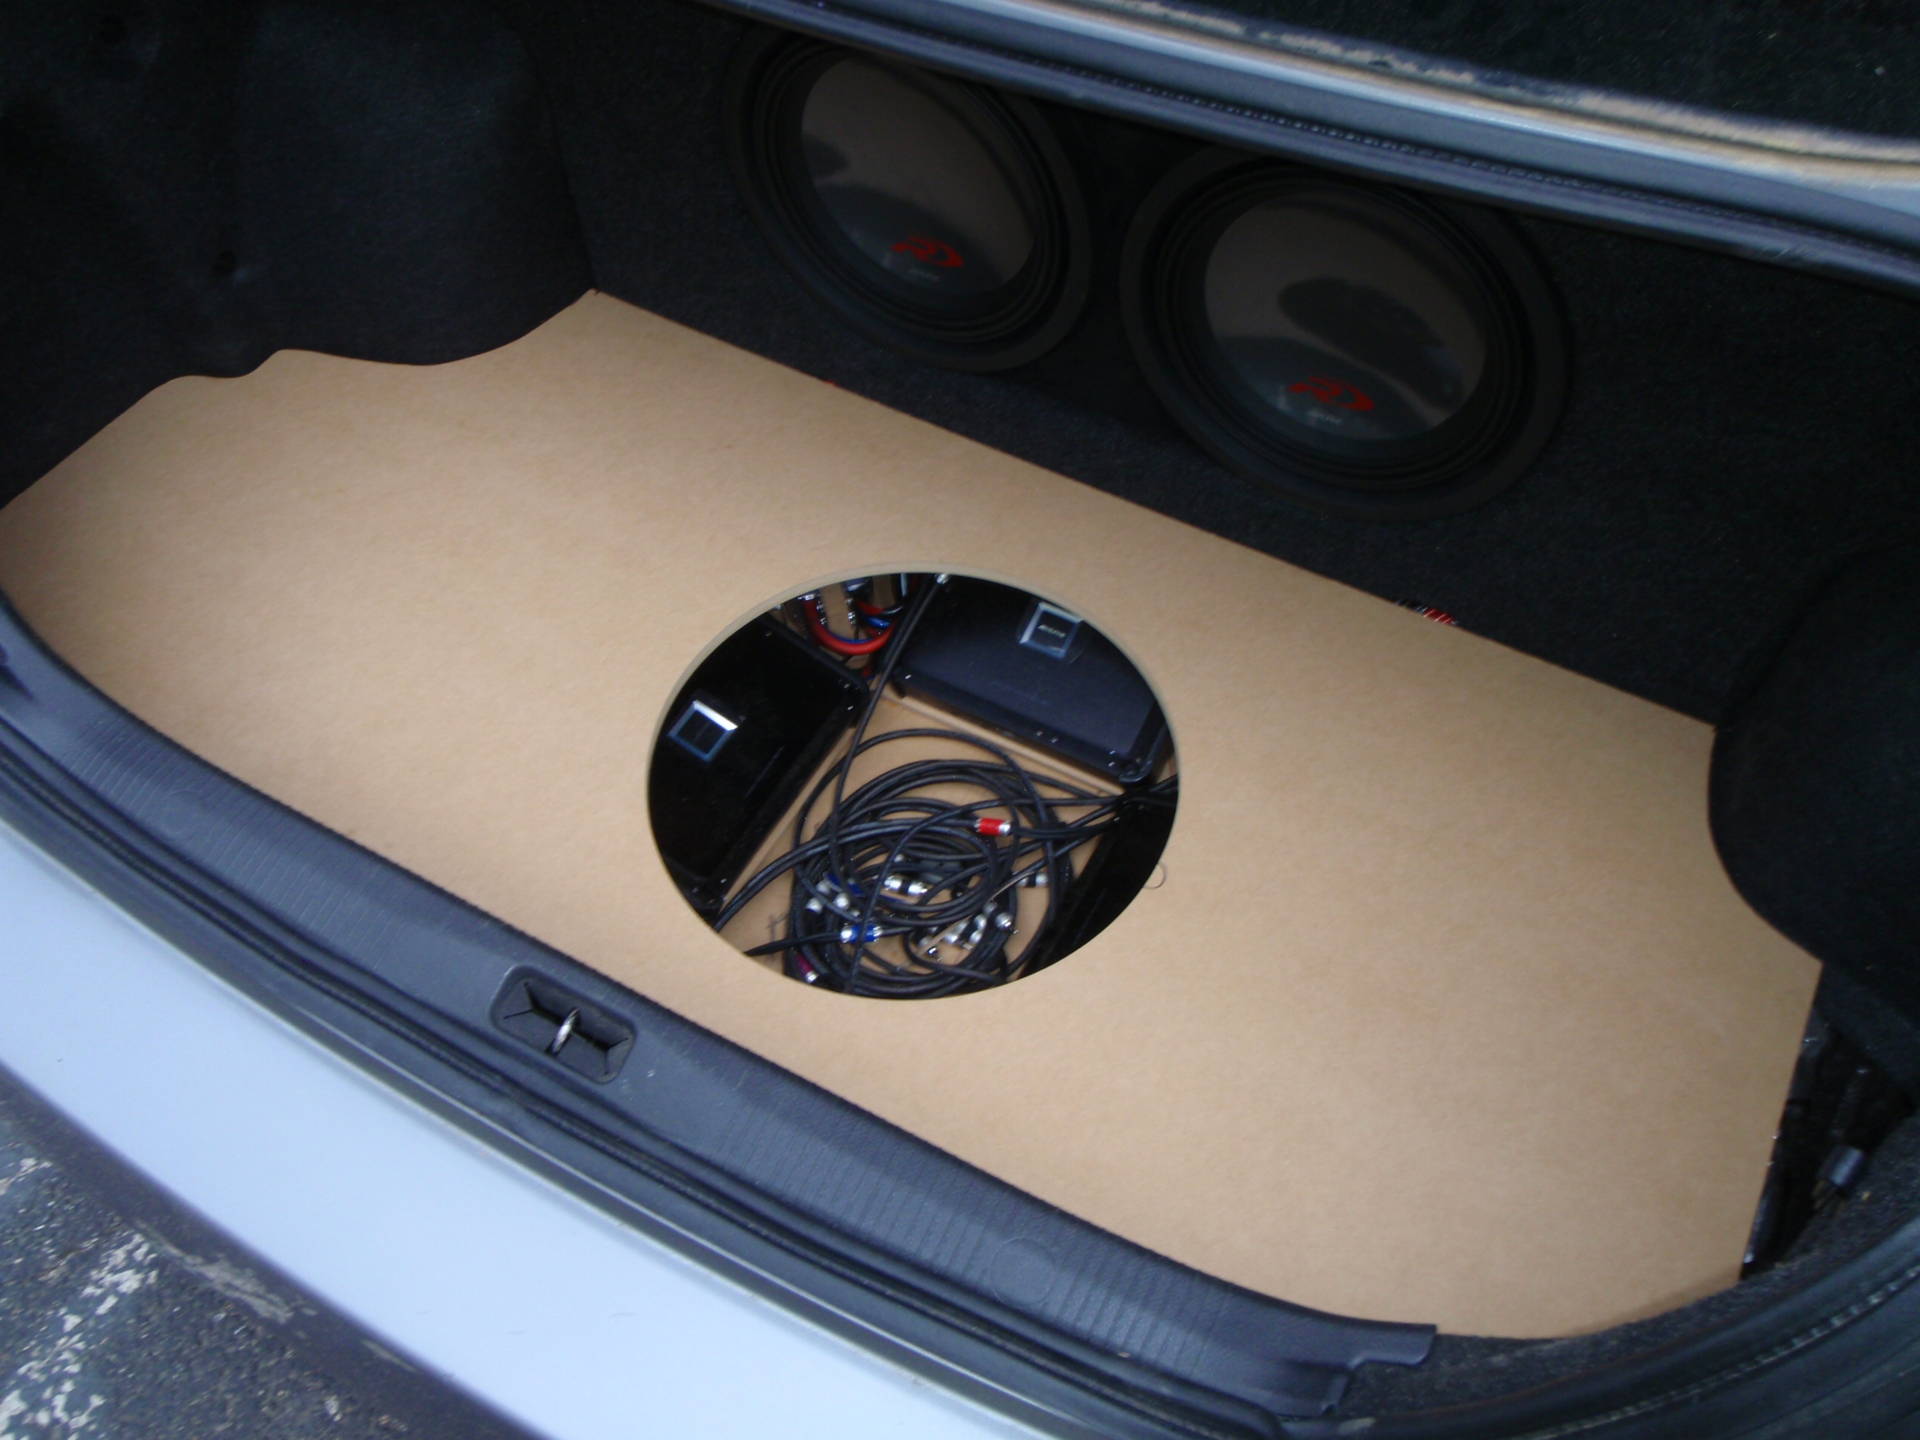
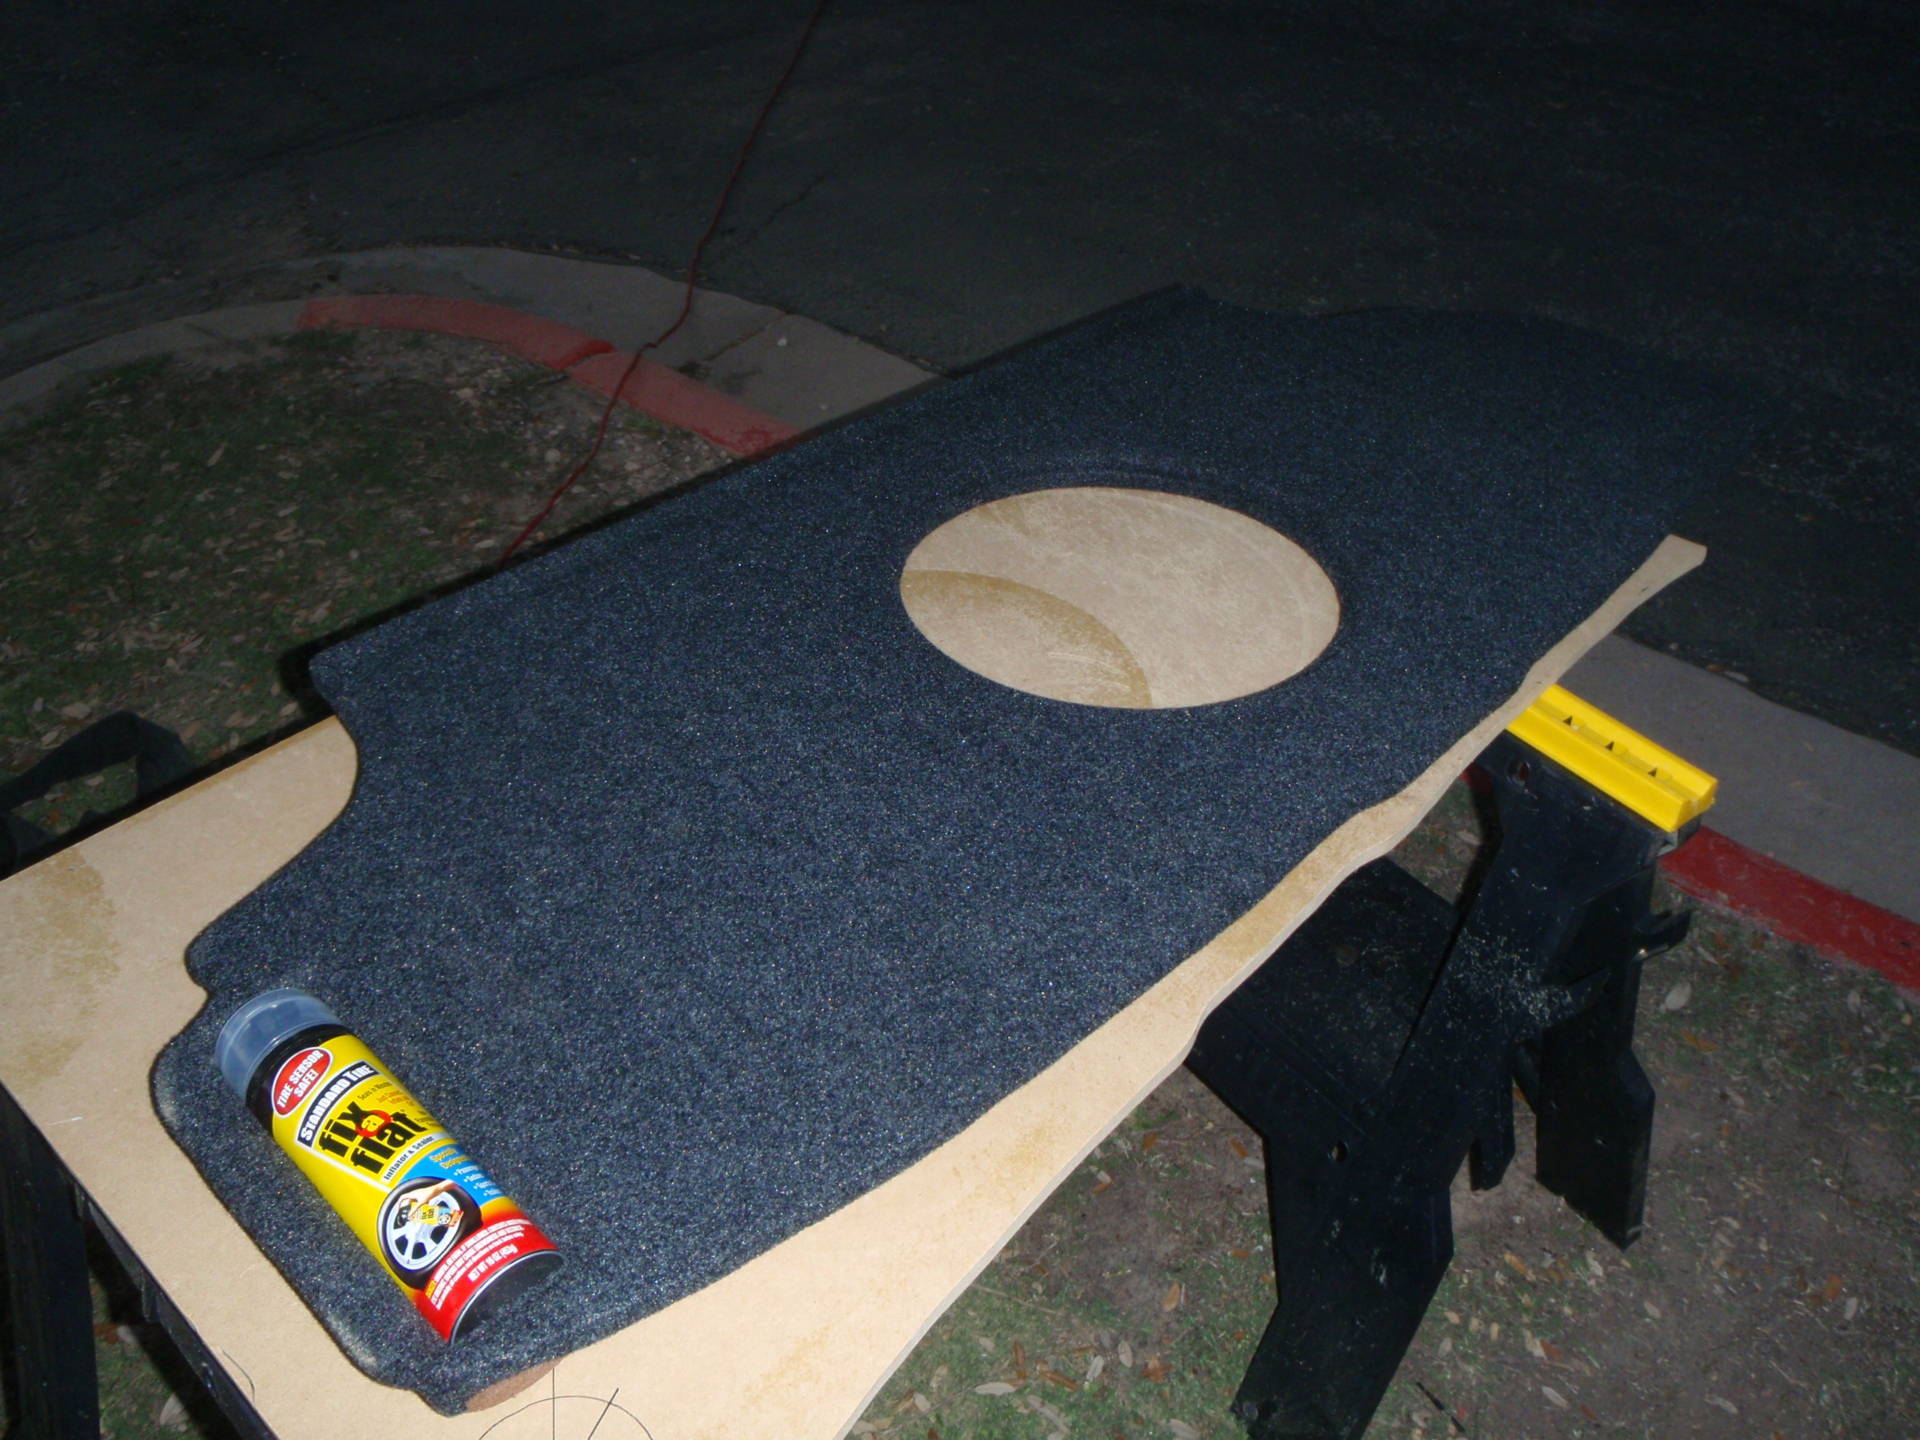
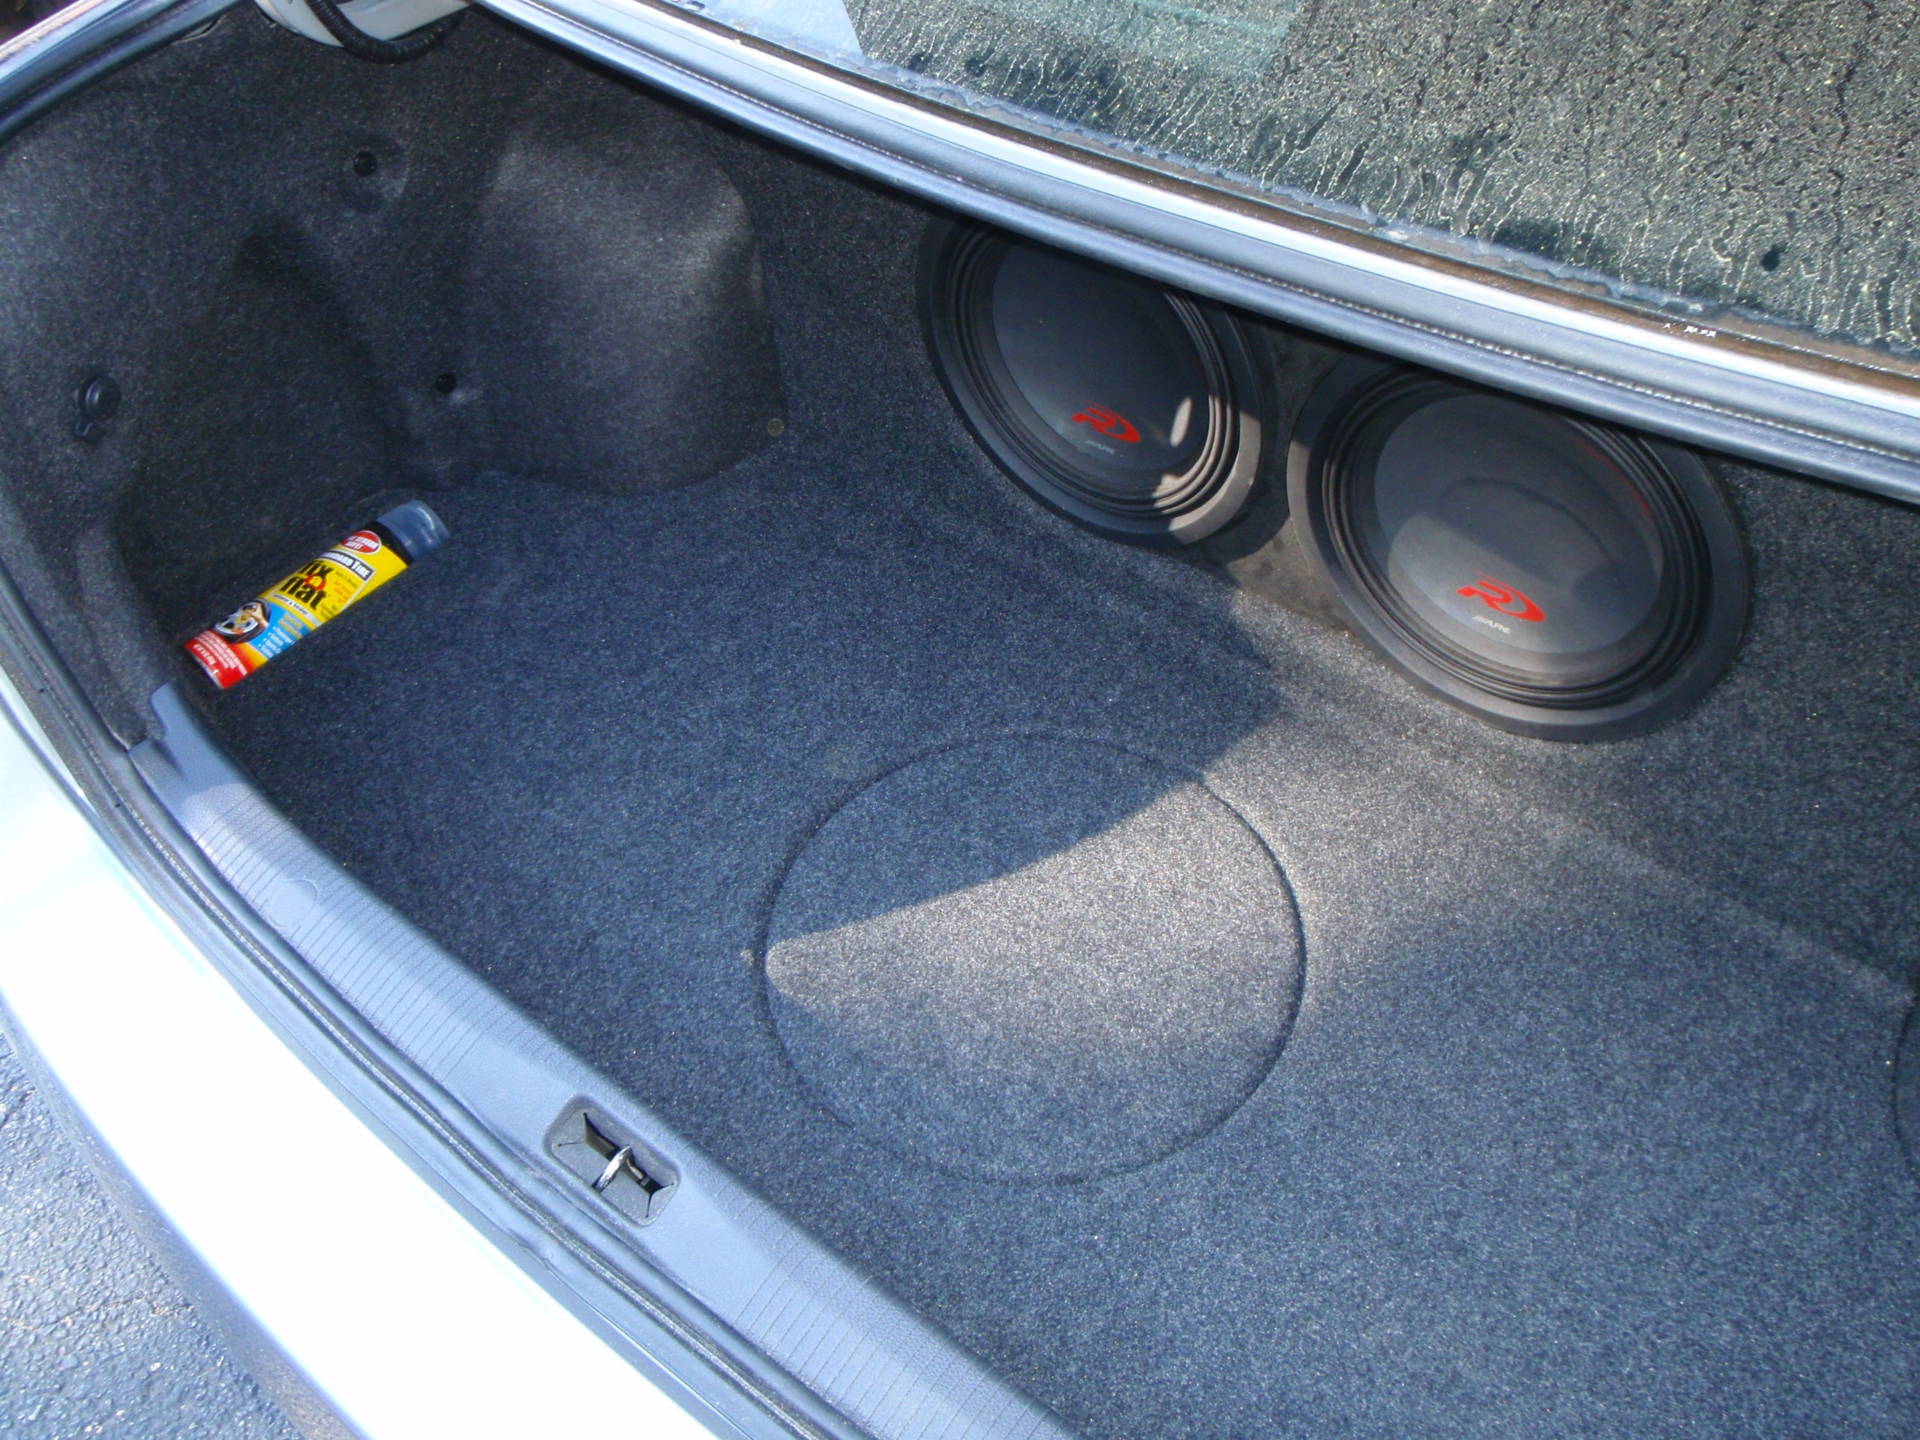
Finished this LATE at night. Flush mounted, press fitted for a can of Fix-A-Flat. No spare tire needed:
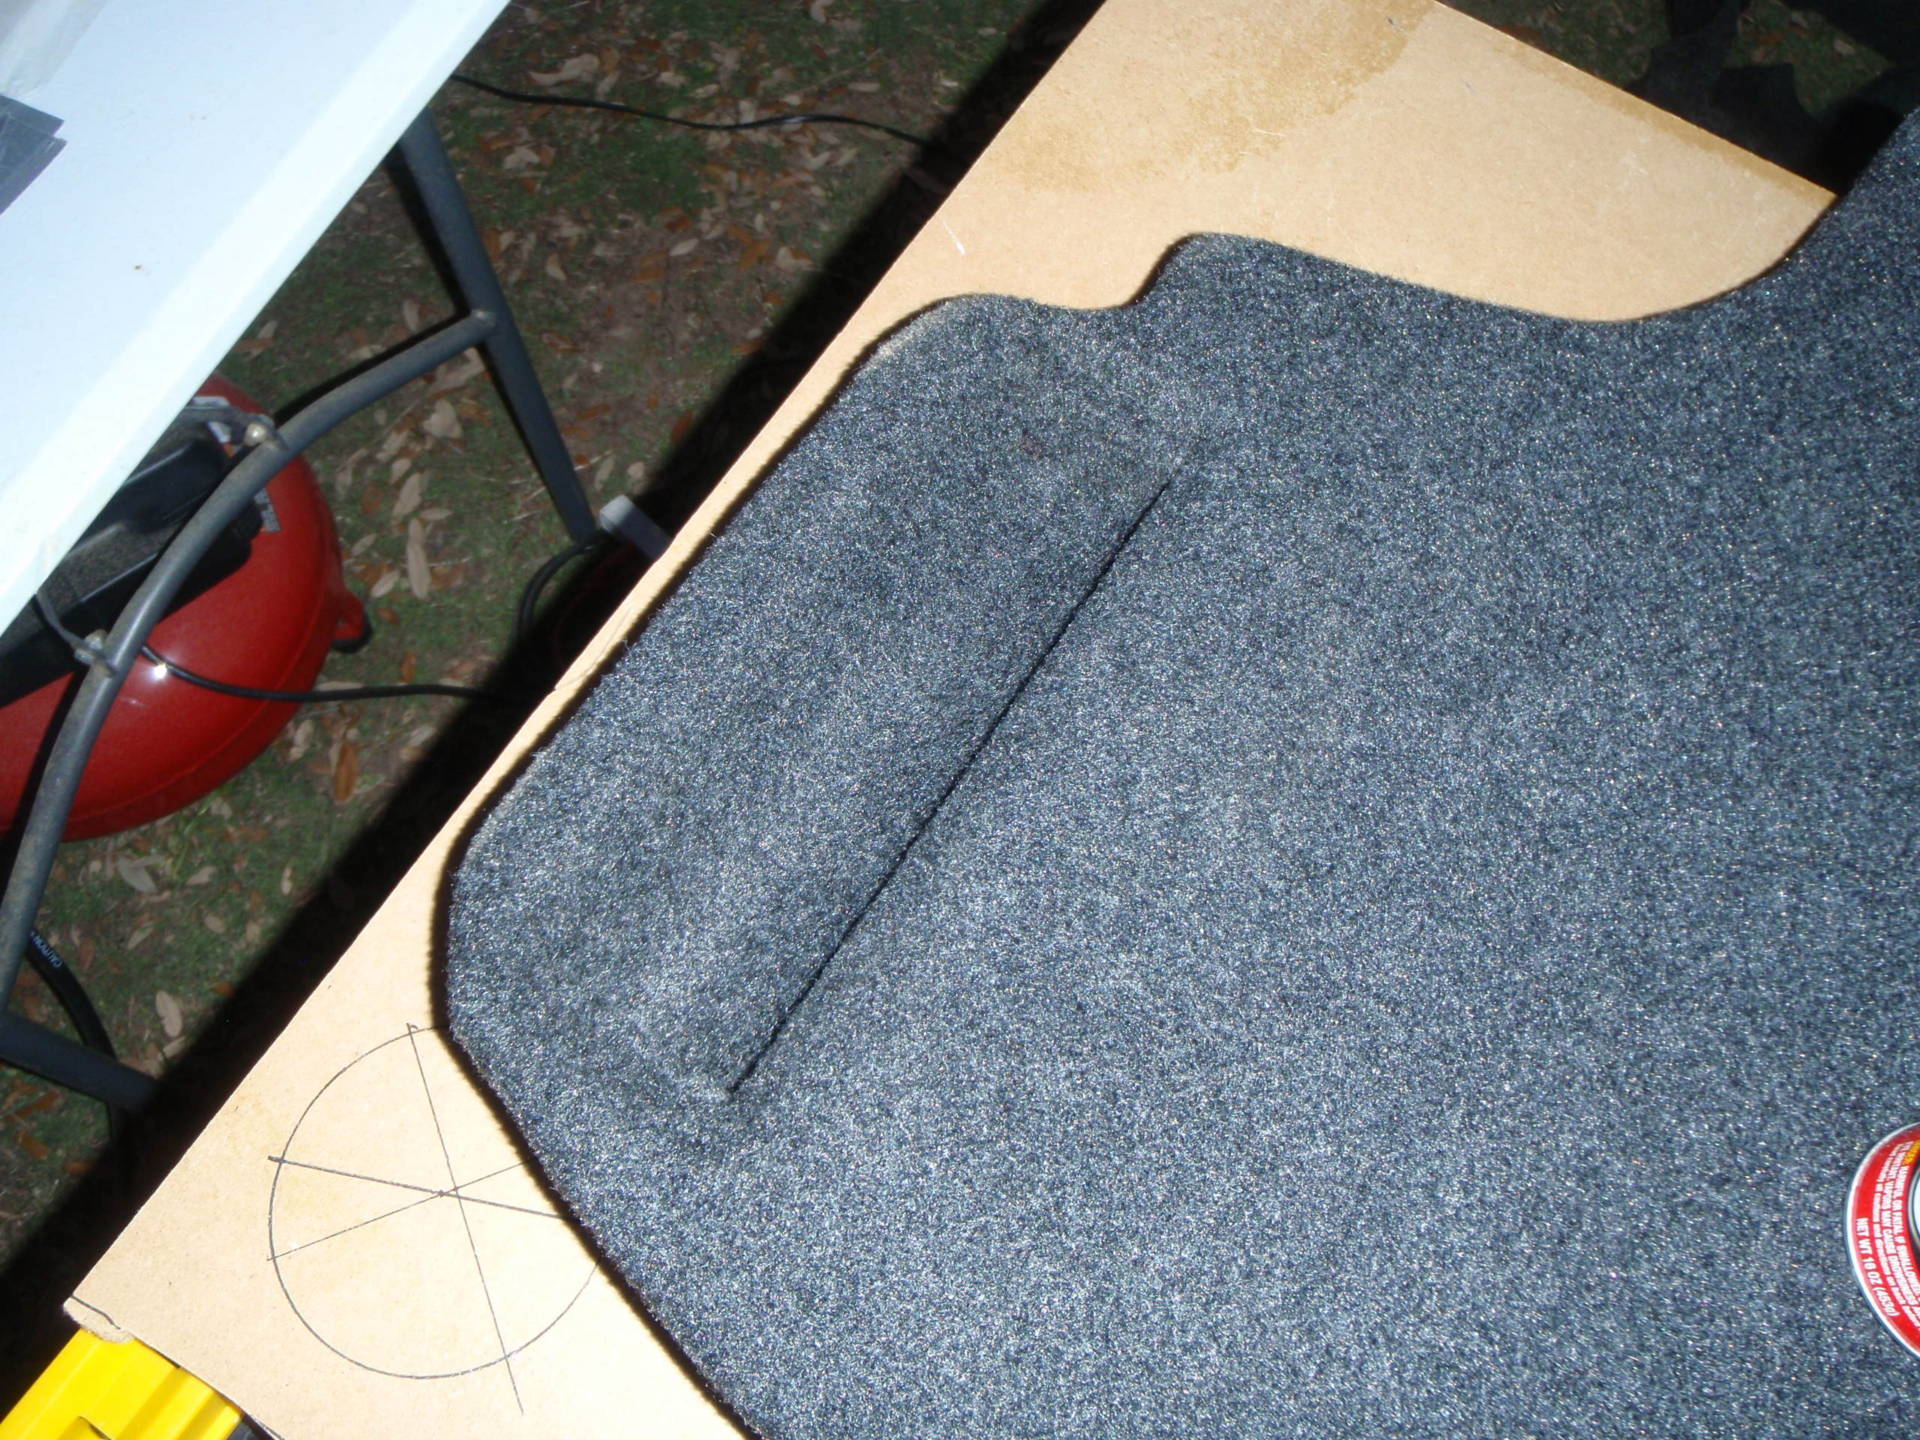
Floor installed, a flap on the other side allows access to the jack:

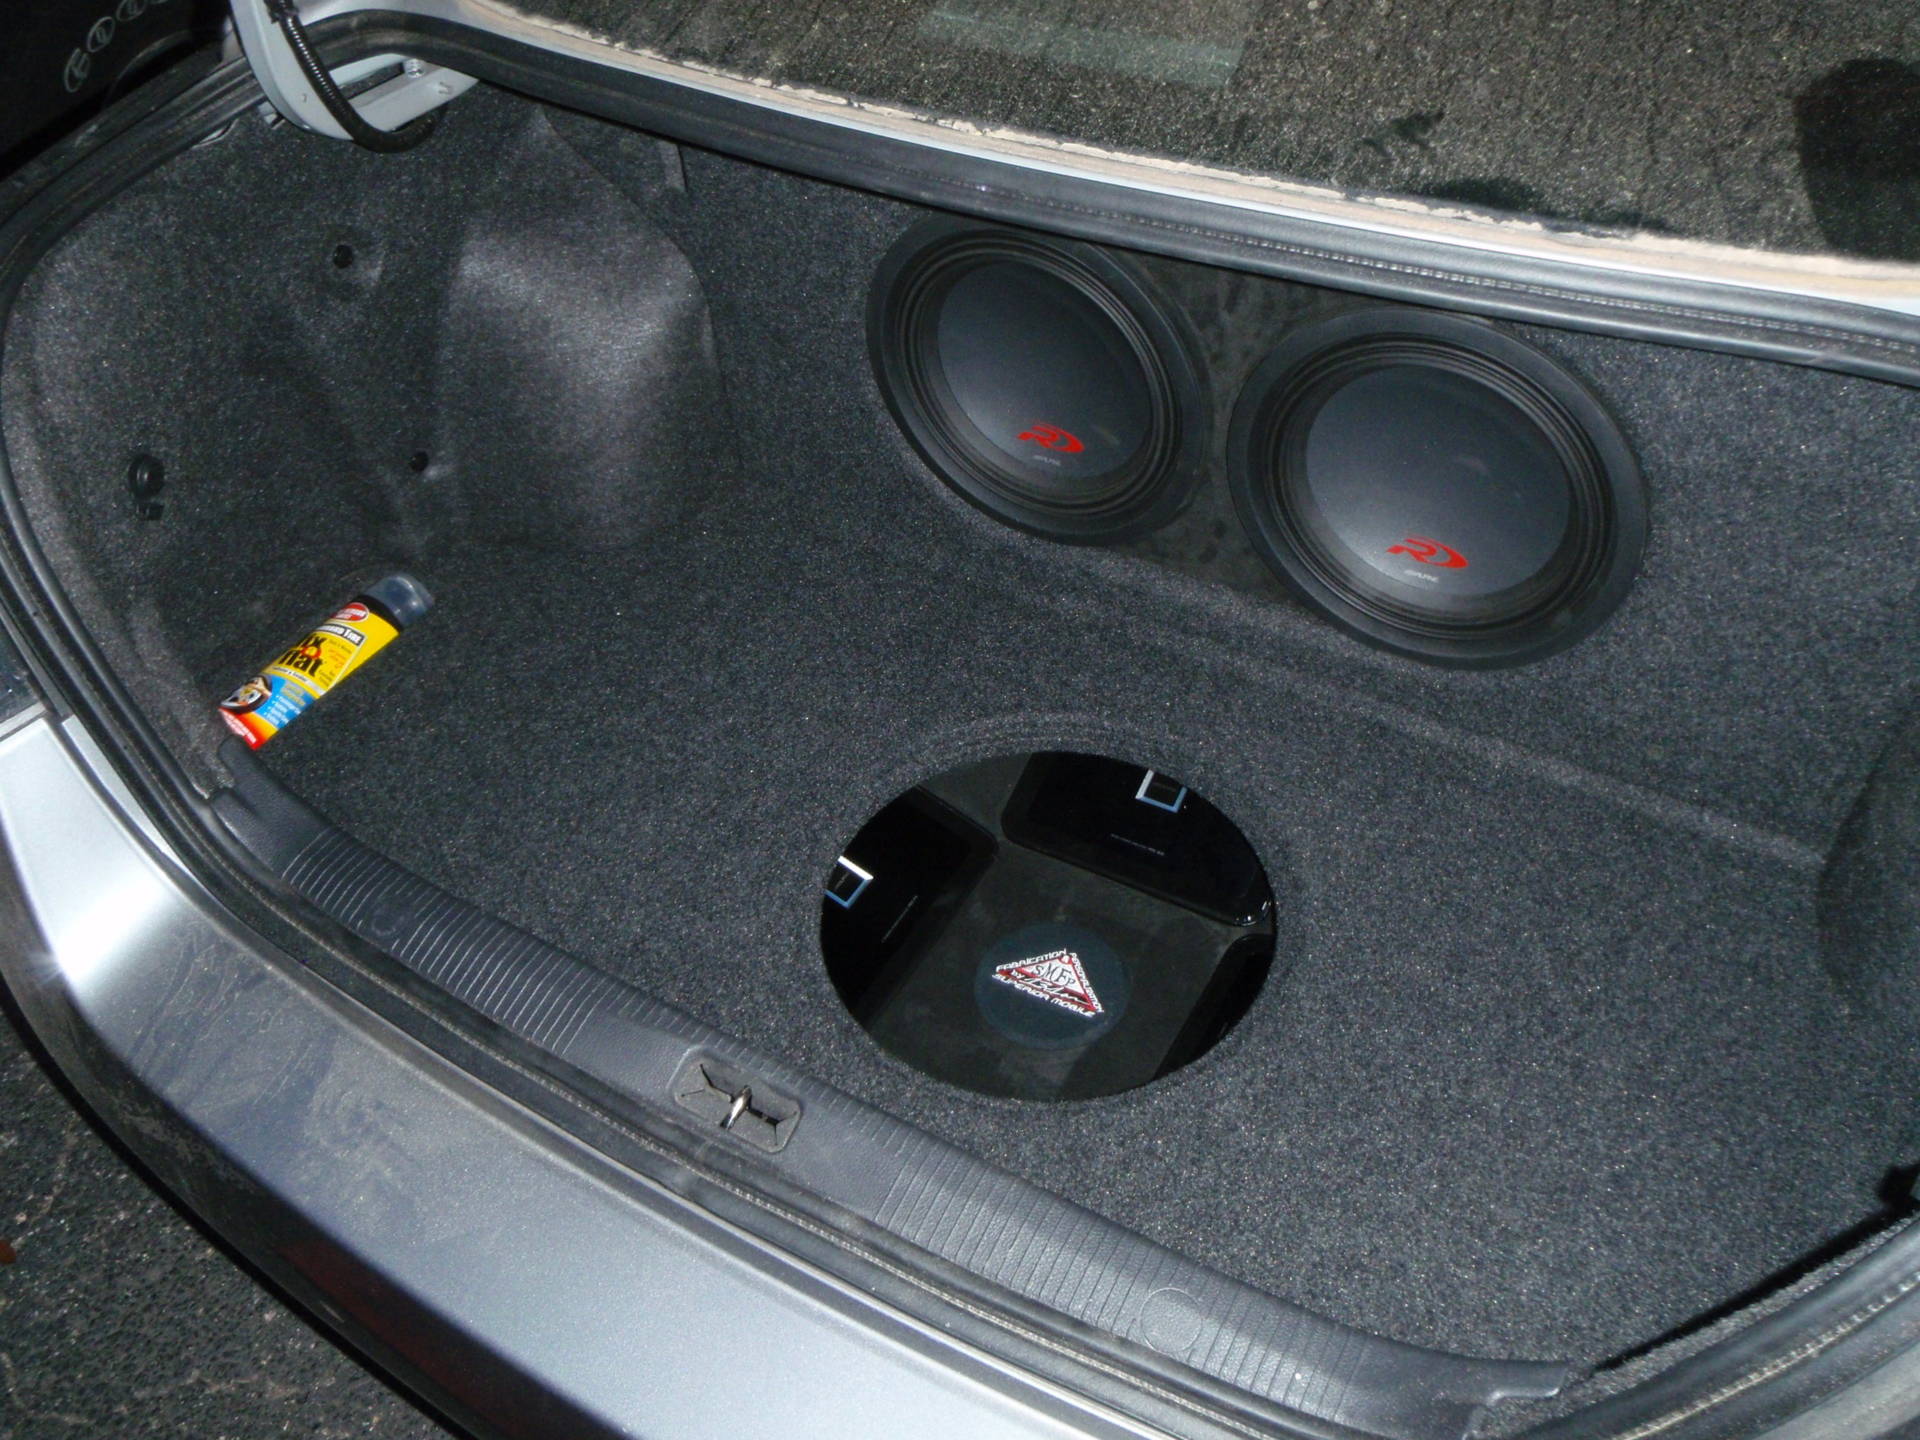
Looking straight down is a beautiful sight, flash and no flash:
Amphole cover on. Flushed FixAFlat; Plenty of trunk space remaining. Yet somehow there’s a full band of every musical sound ever made storing their instruments back there:

Thanks for taking the time to look over the build; I hope you enjoyed looking at least 1% of how much I enjoyed doing it!!
-13-