1994 Mitsubishi 3000GT Custom Headlights
Addressable/Flow Series, Lens Etching, Paintwork, Projector Swap
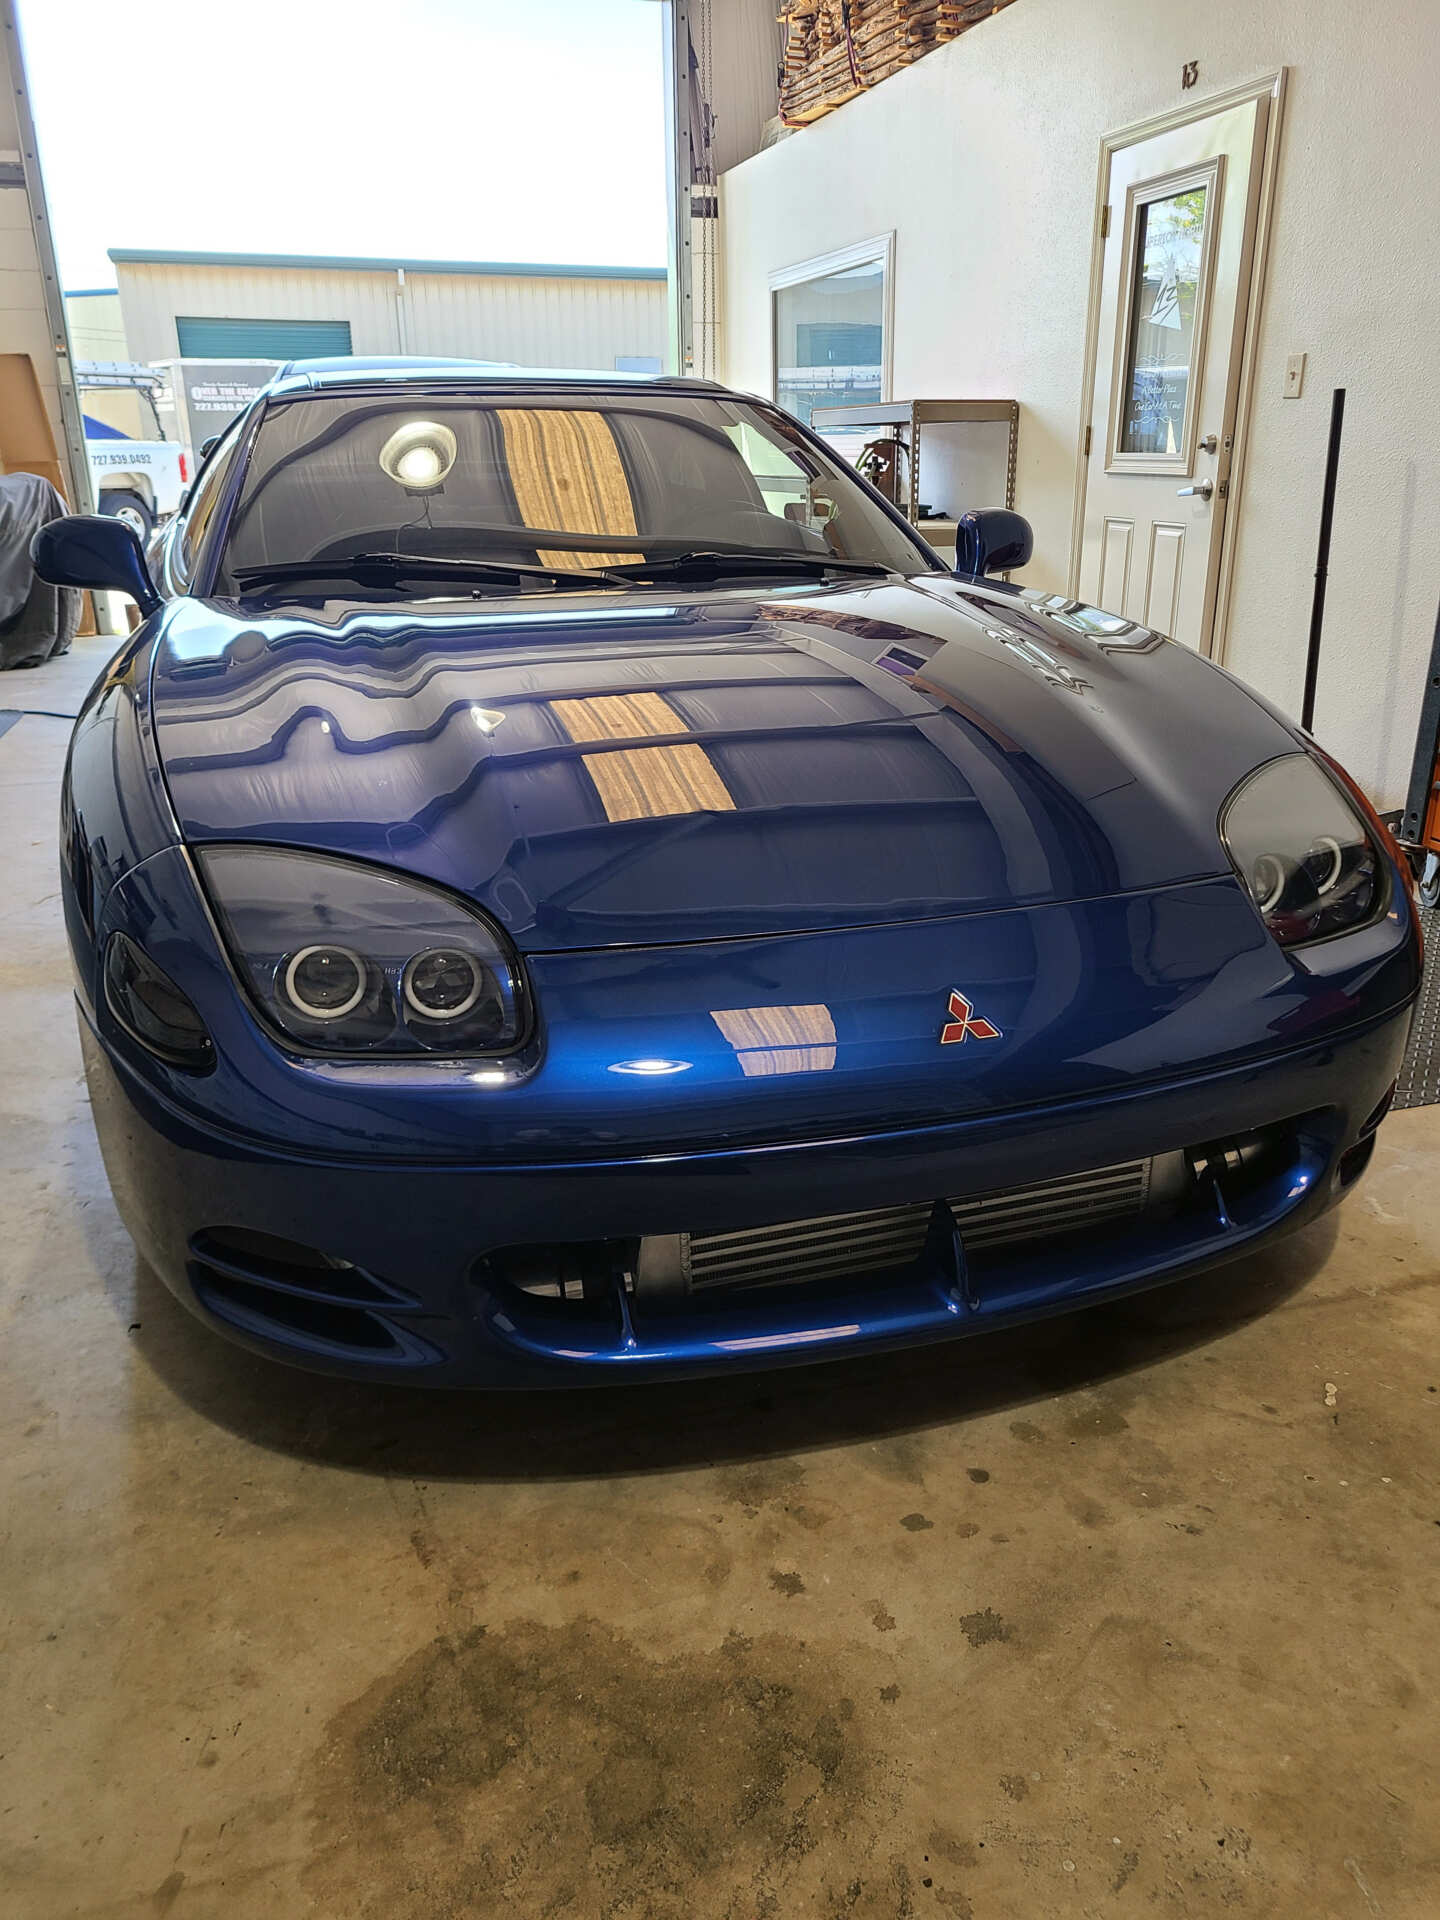
I love unique cars. And I love enthusiastic owners. And this unique car is owned by an enthusiastic owner. Yahtzee!
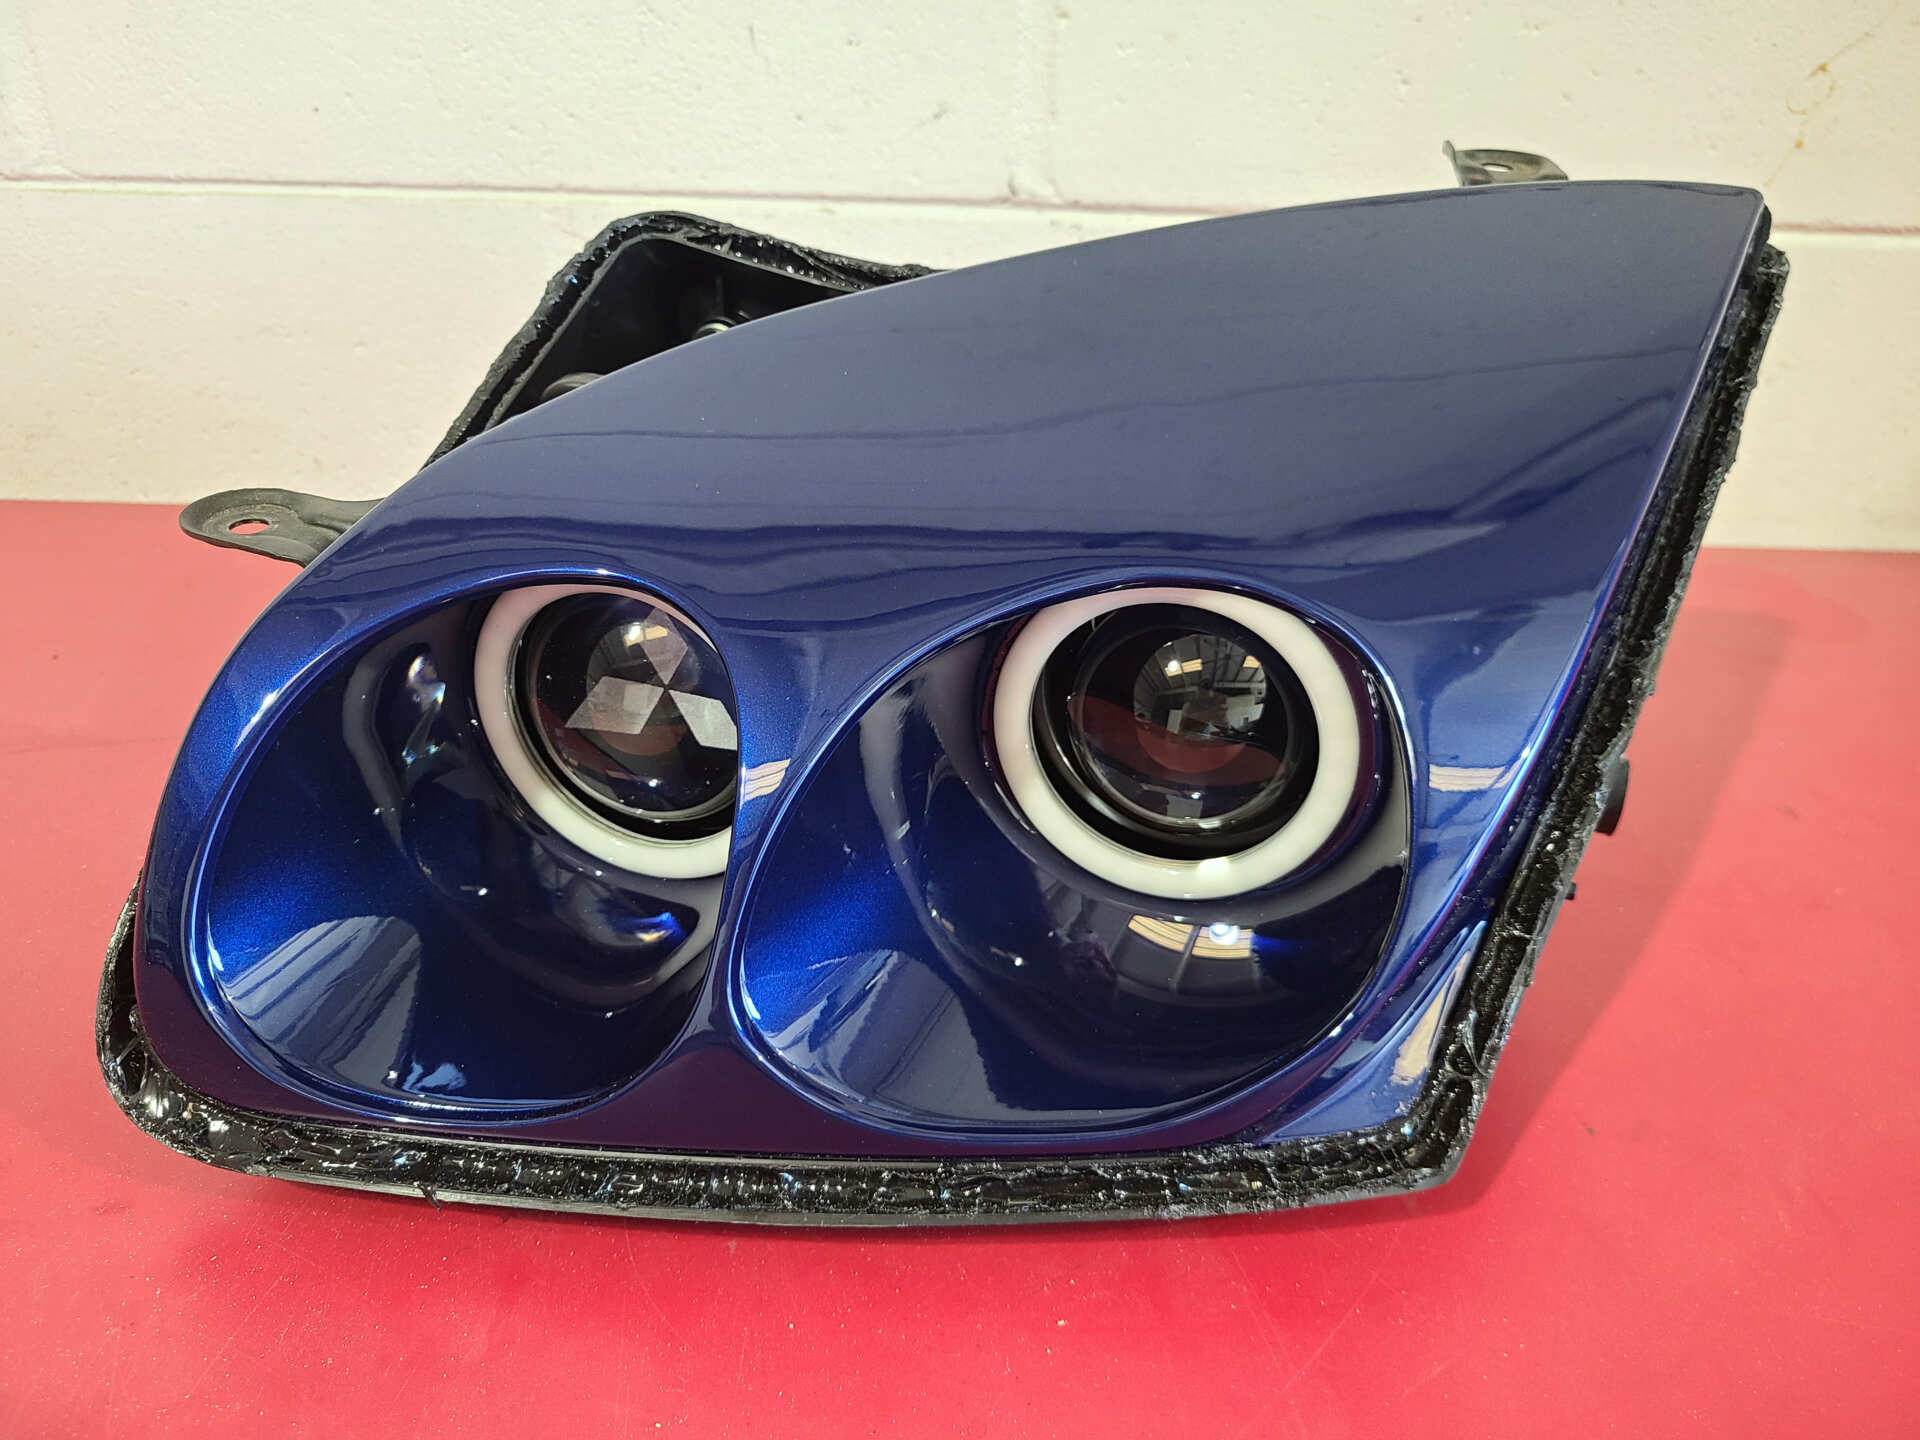
Introducing this absolute cherry condition 1994 Mitsubishi 3000GT VR4. I certainly don’t claim to be an expert in these cars but I know it’s pretty and the twin turbo V6 provides plenty of giddy-up for acceleration. What wasn’t pretty was the old worn out headlights filled with haze and a PnP HID kit that wasn’t providing any sort of worthwhile headlight output. The owner brought me on board to re-imagine these headlights with more modern performance and pizzazz. These housings had glass lenses, friendly butyl sealant, and almost entirely metal internals between the aluminum castings and trim pieces and the steel brackets. High quality housings that were a total treat to work on!
The first challenge was to retrofit in a modern day worthwhile bixenon HID headlight projector. I chose the NHK G5-X for this particular project for its optically clear lens that would match the dedicated high beam projector (The MD2S have AR coating) and the simple shallow mounting profile. Getting the G5’s bolt pattern to match up with the OEM bolt pattern was a bit of a puzzle though. And, according to my internet research, apparently a puzzle that nobody had actually successfully solved over the past 30 years. CB&D had done a dual 2.5″ MH1 retrofit several years ago but that was nothing like what I was trying to accomplish. Working with my laser guy over at Plastek, we came up with an elegant laser-cut dual layer acrylic adapter plate that perfectly aligned the new projector and allowed for a “seamless” install. That was a major but necessary hurdle to accomplish maximum controlled low beam light output from a 50W Morimoto HID setup. For the dedicated high beam projector, I etched the lens with a Mitsubishi emblem and installed a GTR Ultra 2.0 LED bulb for insane high beams.


The interior of these housings are always body color matched from the factory. However, in this situation, oddly and confusingly, the driver and passenger side didn’t match. It was originally impossible to tell due to the haze on the inside of the headlight lenses, but when they were apart it was painfully apparent. So it was decided that a new paintjob was necessary and that I would carry that beautiful OEM blue into the normally-black recesses. To properly mount the halos in the oval shaped holes, I laser cut some acrylic trim rings to mold into the aluminum trim. This allowed me to flush mount the halos without any gaps.


When the trim pieces were painted, I could install the RGBW addressable halos from NextLevelNeo and wire them up. The result was something superb: OEM+ styling, very simple and clean, and tastefully hiding ultimate performance.


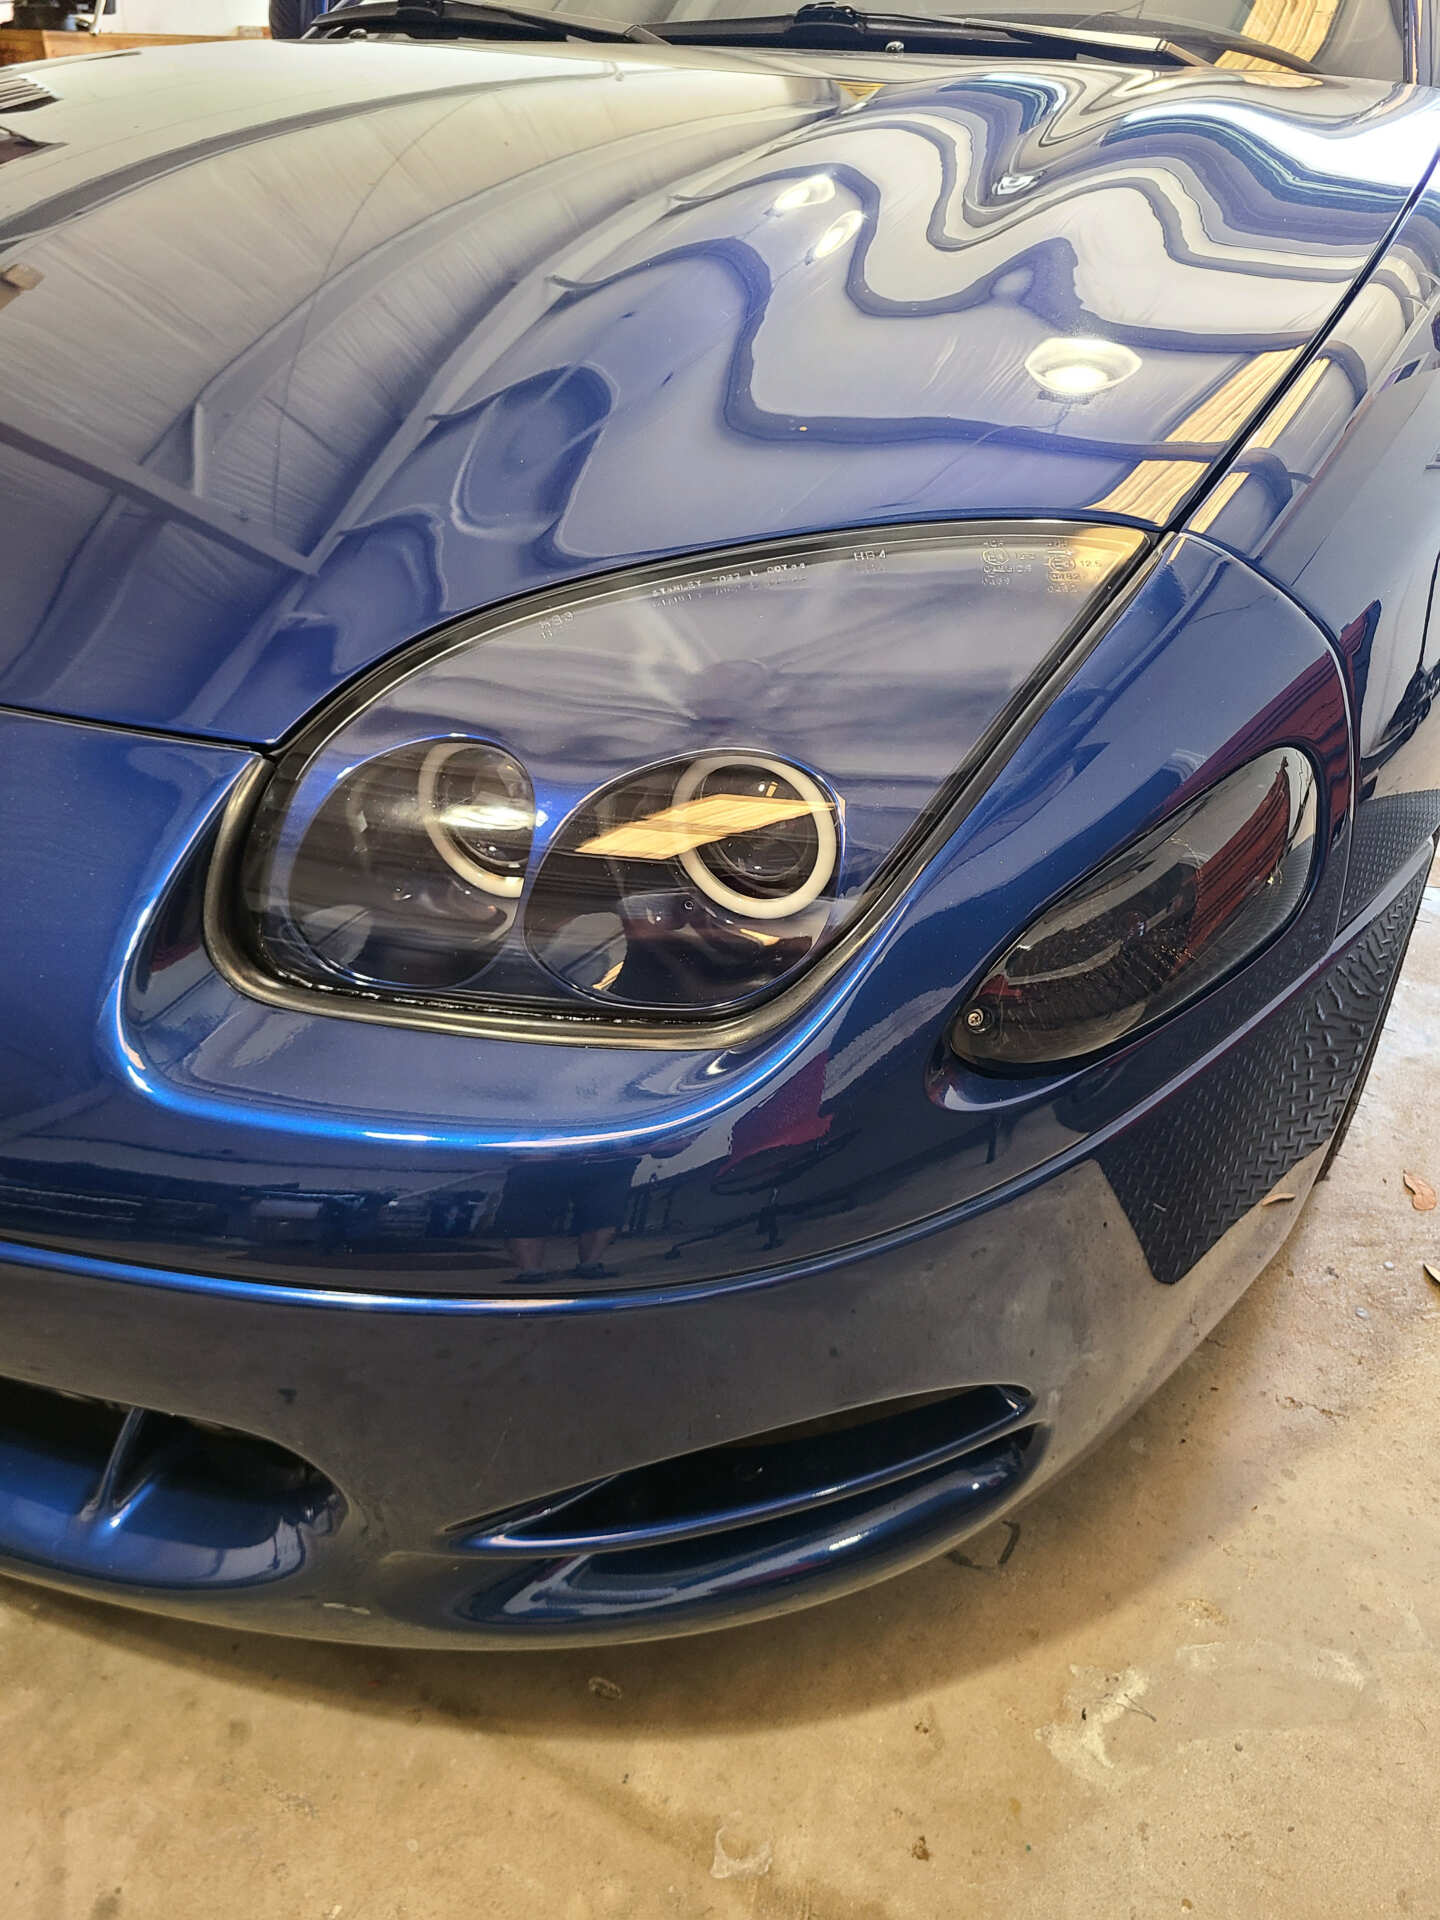
With the glass outer lenses installed, I could install the headlights on the vehicle. I created a custom relay harness for the HID system and installed a BlueGhozt module to control the addressable halos. Everything was cleanly installed and fit the vehicle well. To see the halos in action, check out the youtube video since I apparently didn’t take any pictures of them in action! Silly me.
Thanks for reading! -13-