2014 Nissan Juke
First thing first, before anyone gets all technical on me:
The manual transmission Juke has an upper motor mount, a lower motor mount, an upper torque mount, and a transmission mount.
Please don’t get all fussy with me for referring to the whole bunch as ‘motor mounts’. It’s for ease of conversation.
Here’s the dillio: The Juke motor moves a lot. Once it’s been modified and is pumping out extra horsepower, it moves even MORE every time ya push on that gas pedal. An unnecessary amount of wobble under load. This is due to the upper torque mount and lower motor mount being designed ‘loosely’ so the engine can rotate slightly and vibration and noise gets absorbed and isolated from the vehicle for comfort. The downside is a lot of power is lost in the engine flopping around. The solution is solid mounts. Racecars go to the extreme: they use actual rigid solid metal motor mounts and every single inkling of power is transferred from the motor to the wheels and no energy is lost in engine mounts. The downside is that driver comfort is pretty much eliminated as every vibration is transferred to the frame of the vehicle and right into your body. Ew. The middle ground is to do a solid mount with a softer isolating material in order to eliminate slop and play but still not transfer all the noise and vibration. Liquid urethane steps in to the rescue. It is available in different hardnesses and I chose the softest available for my daily driver application: 60A.
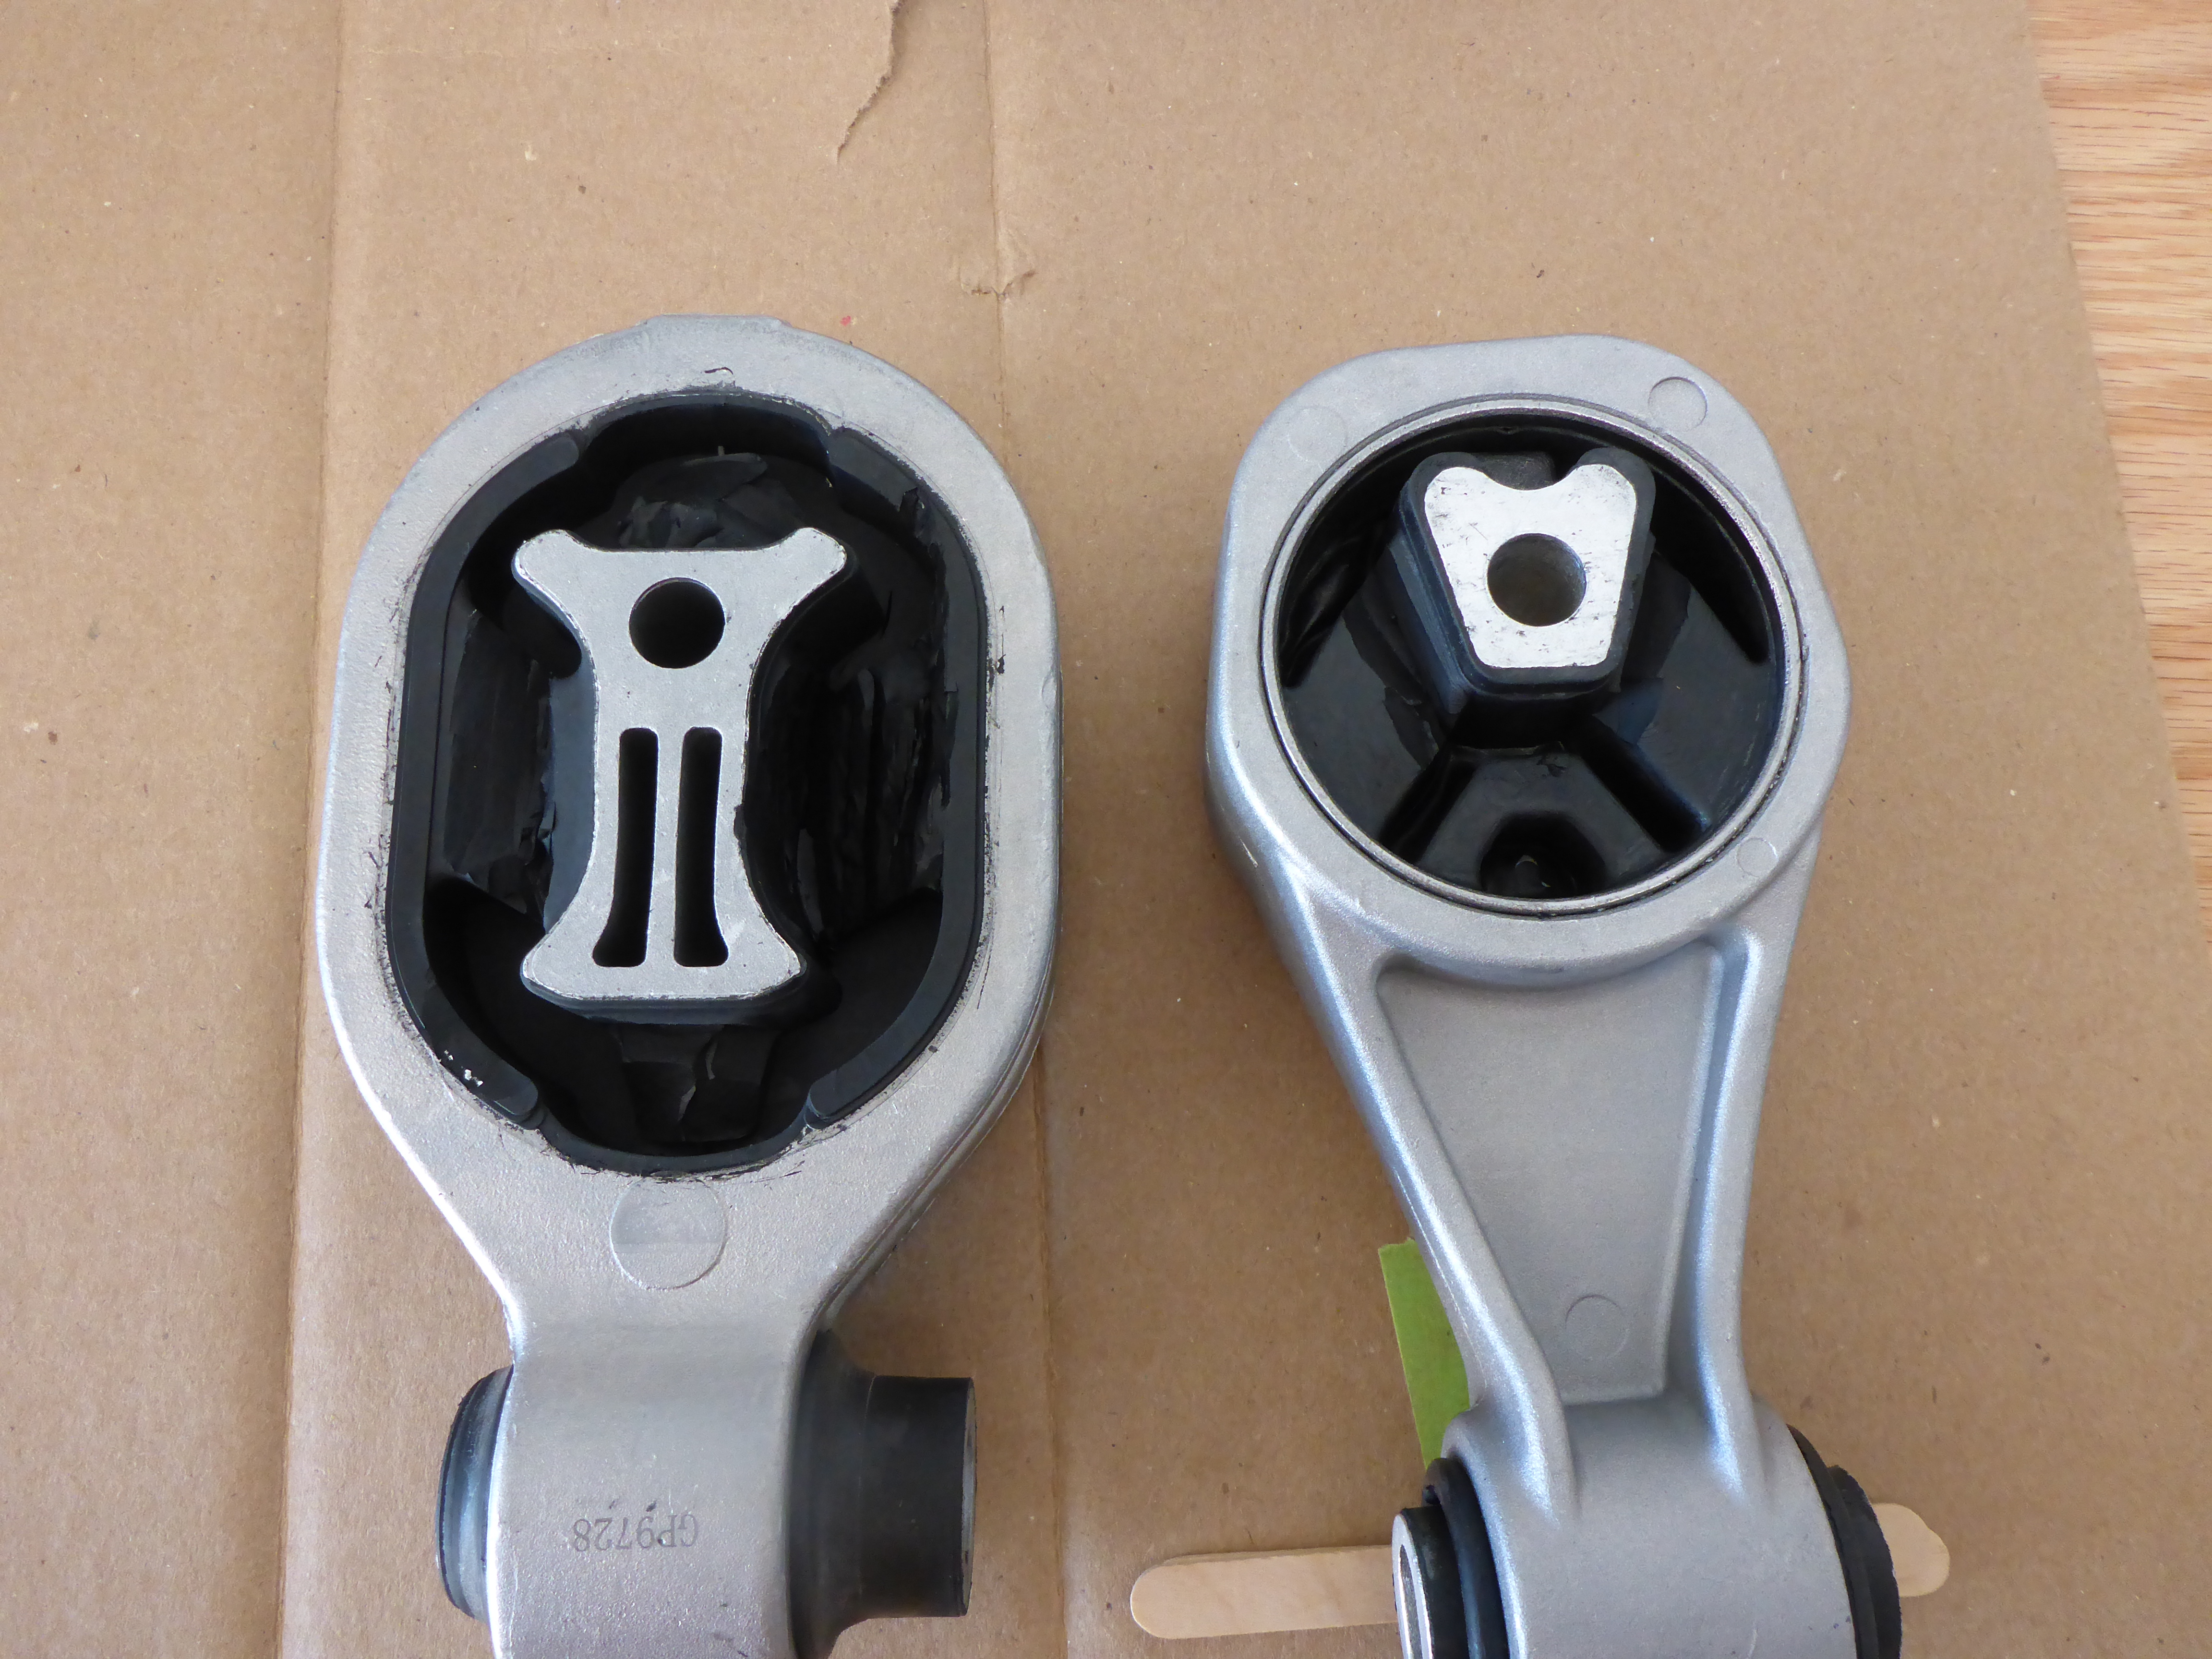
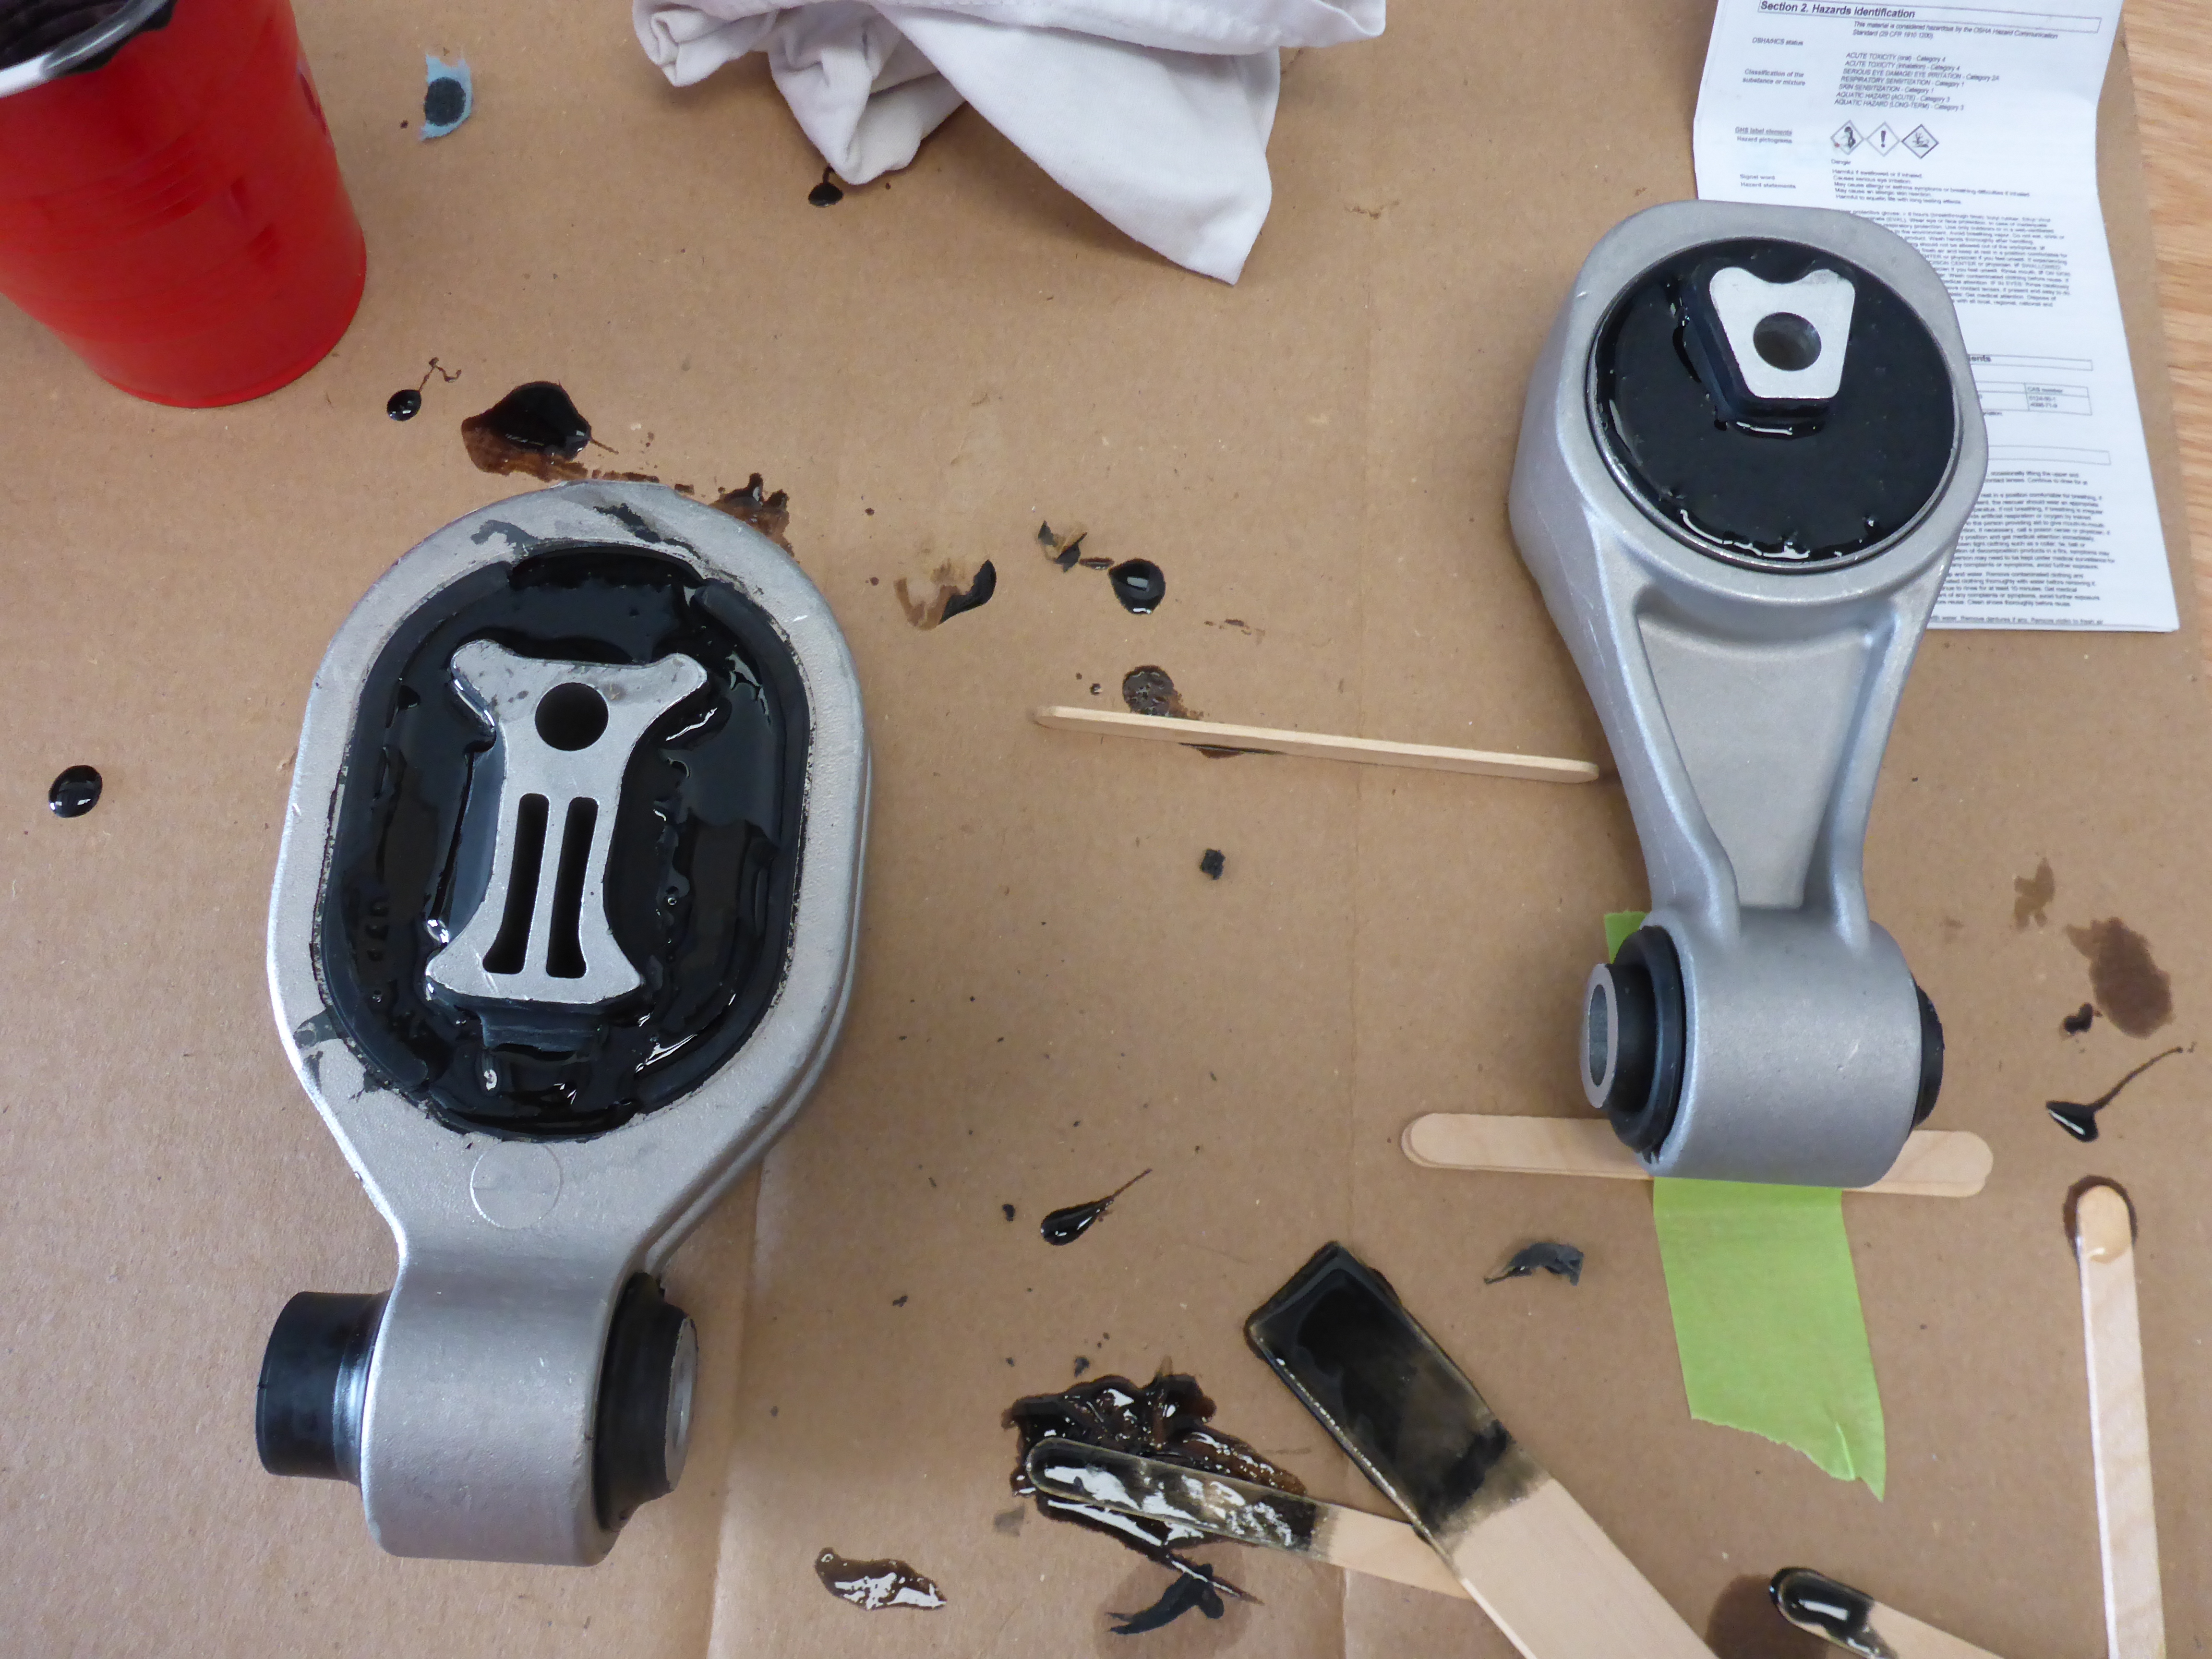
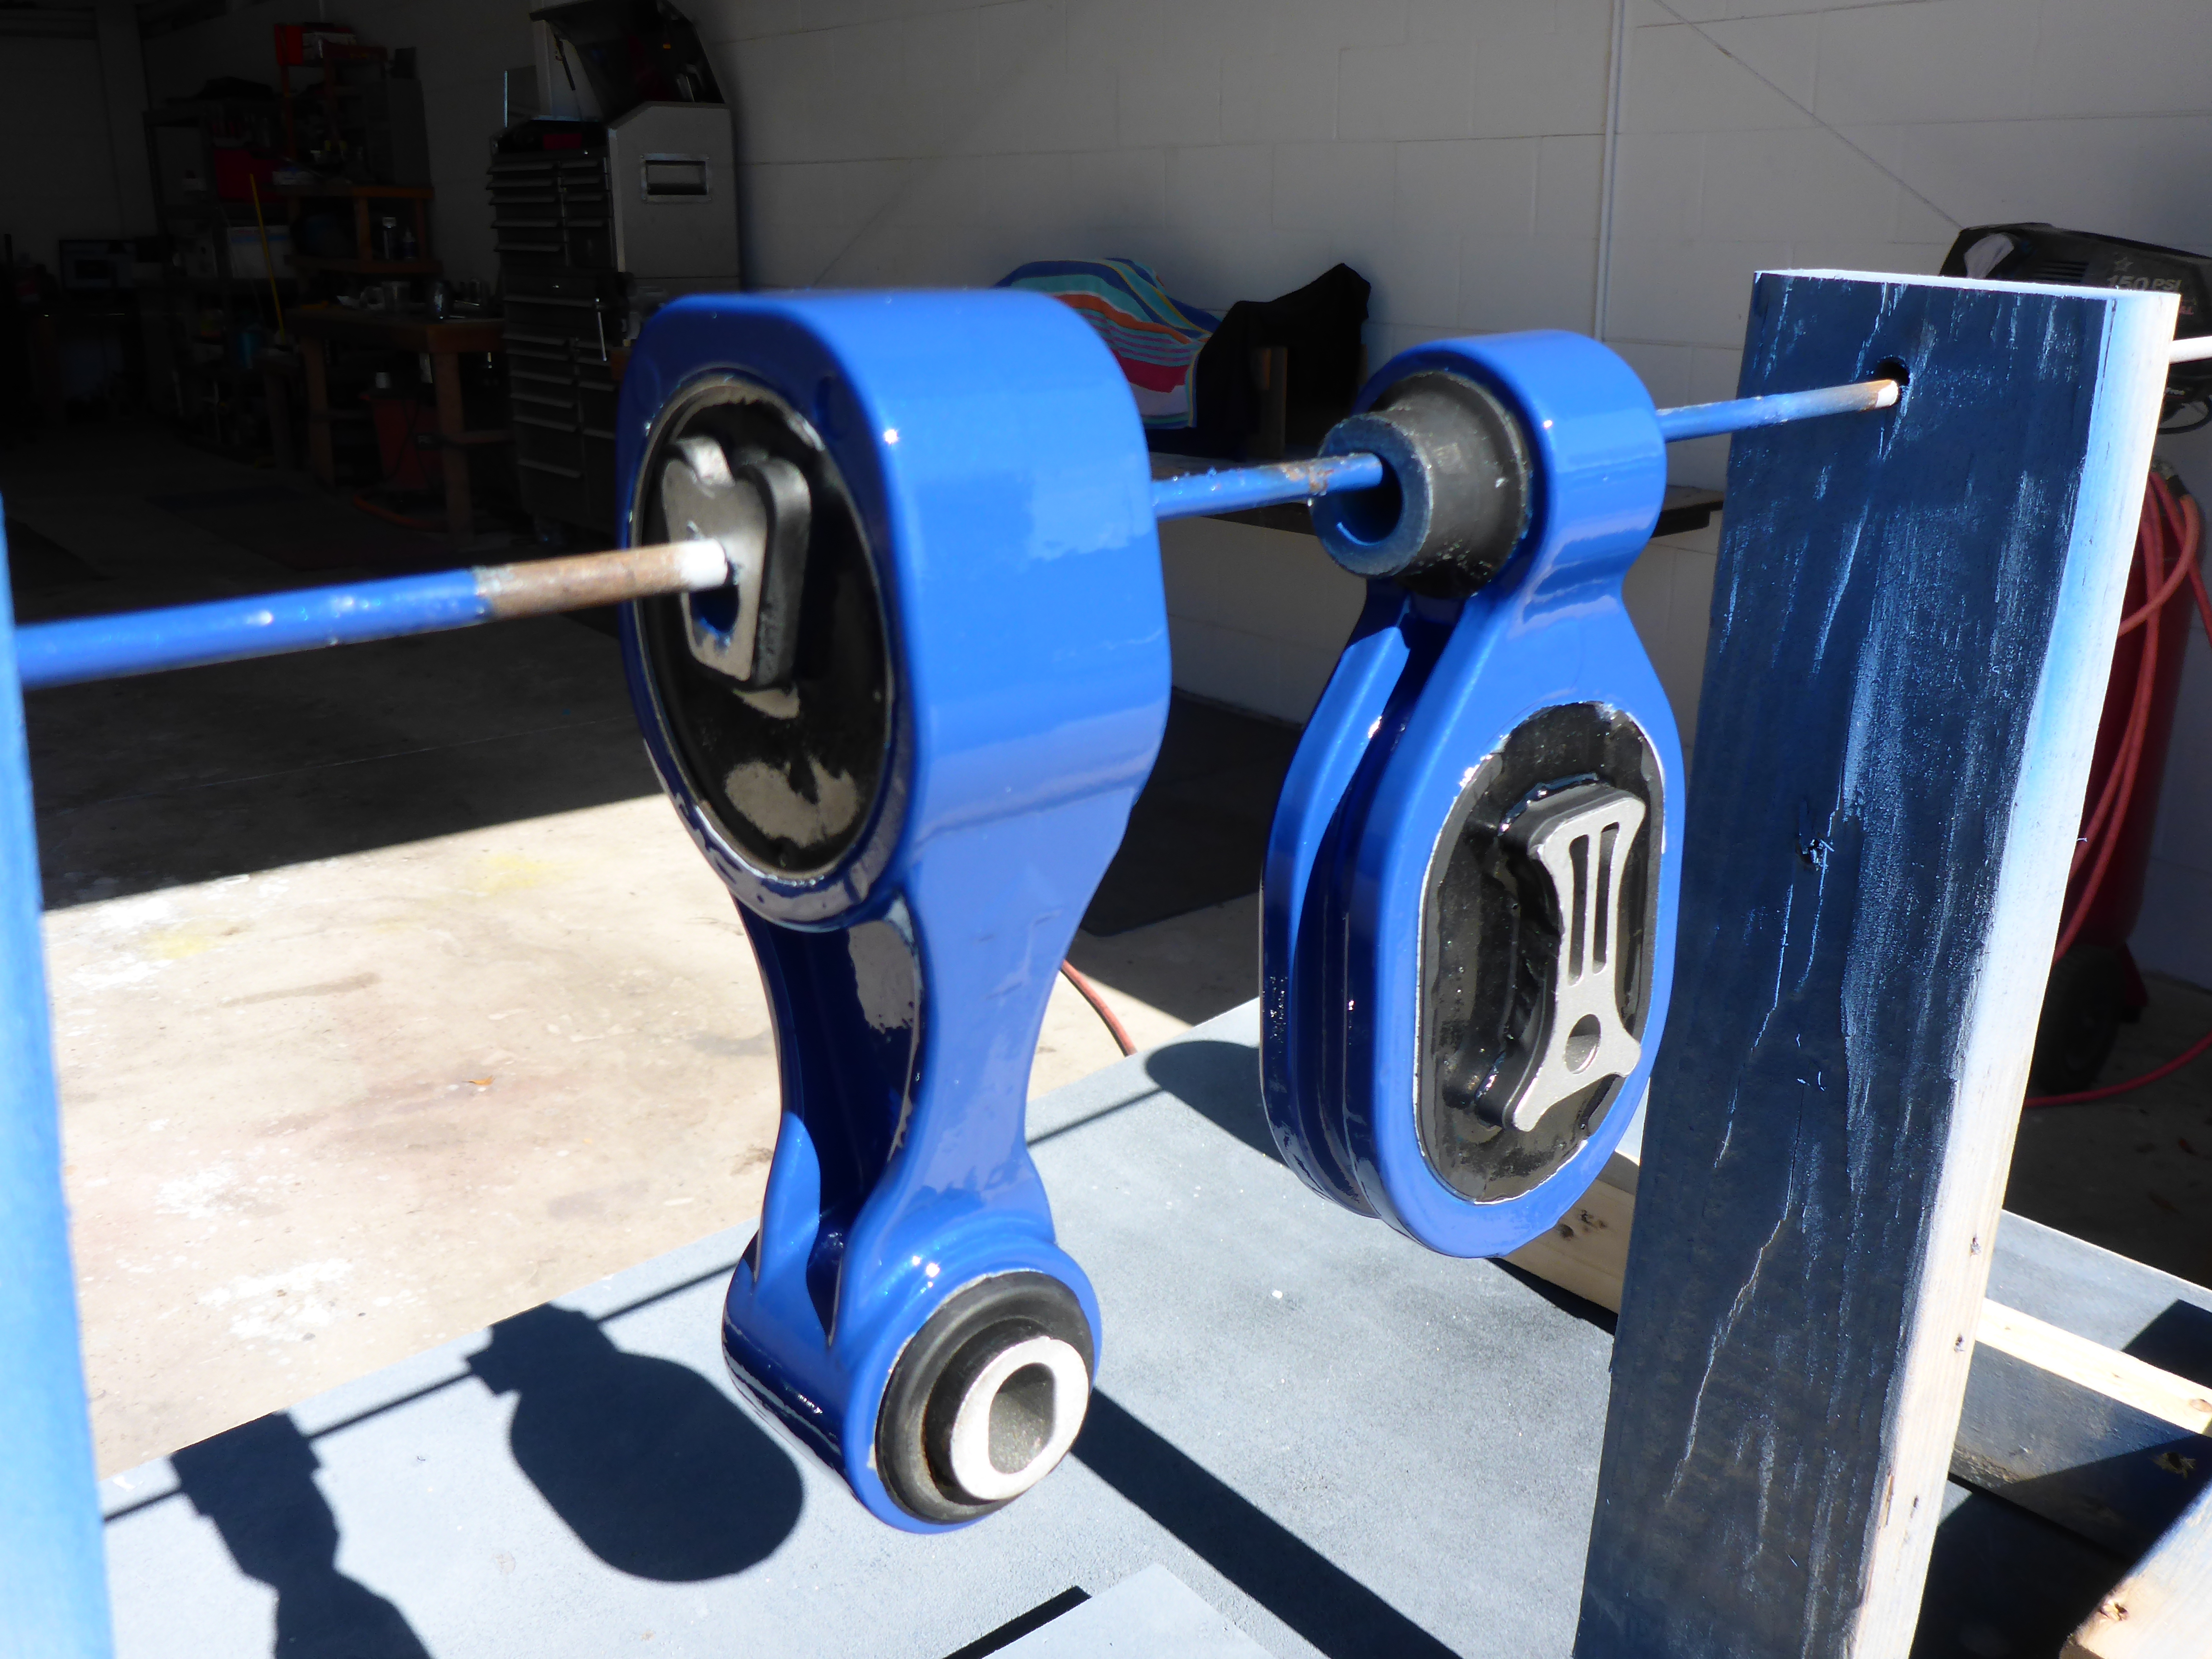
Brand new stock upper torque mount and lower engine mount and after cutting out as much rubber as reasonably possible to allow more even urethane distribution.

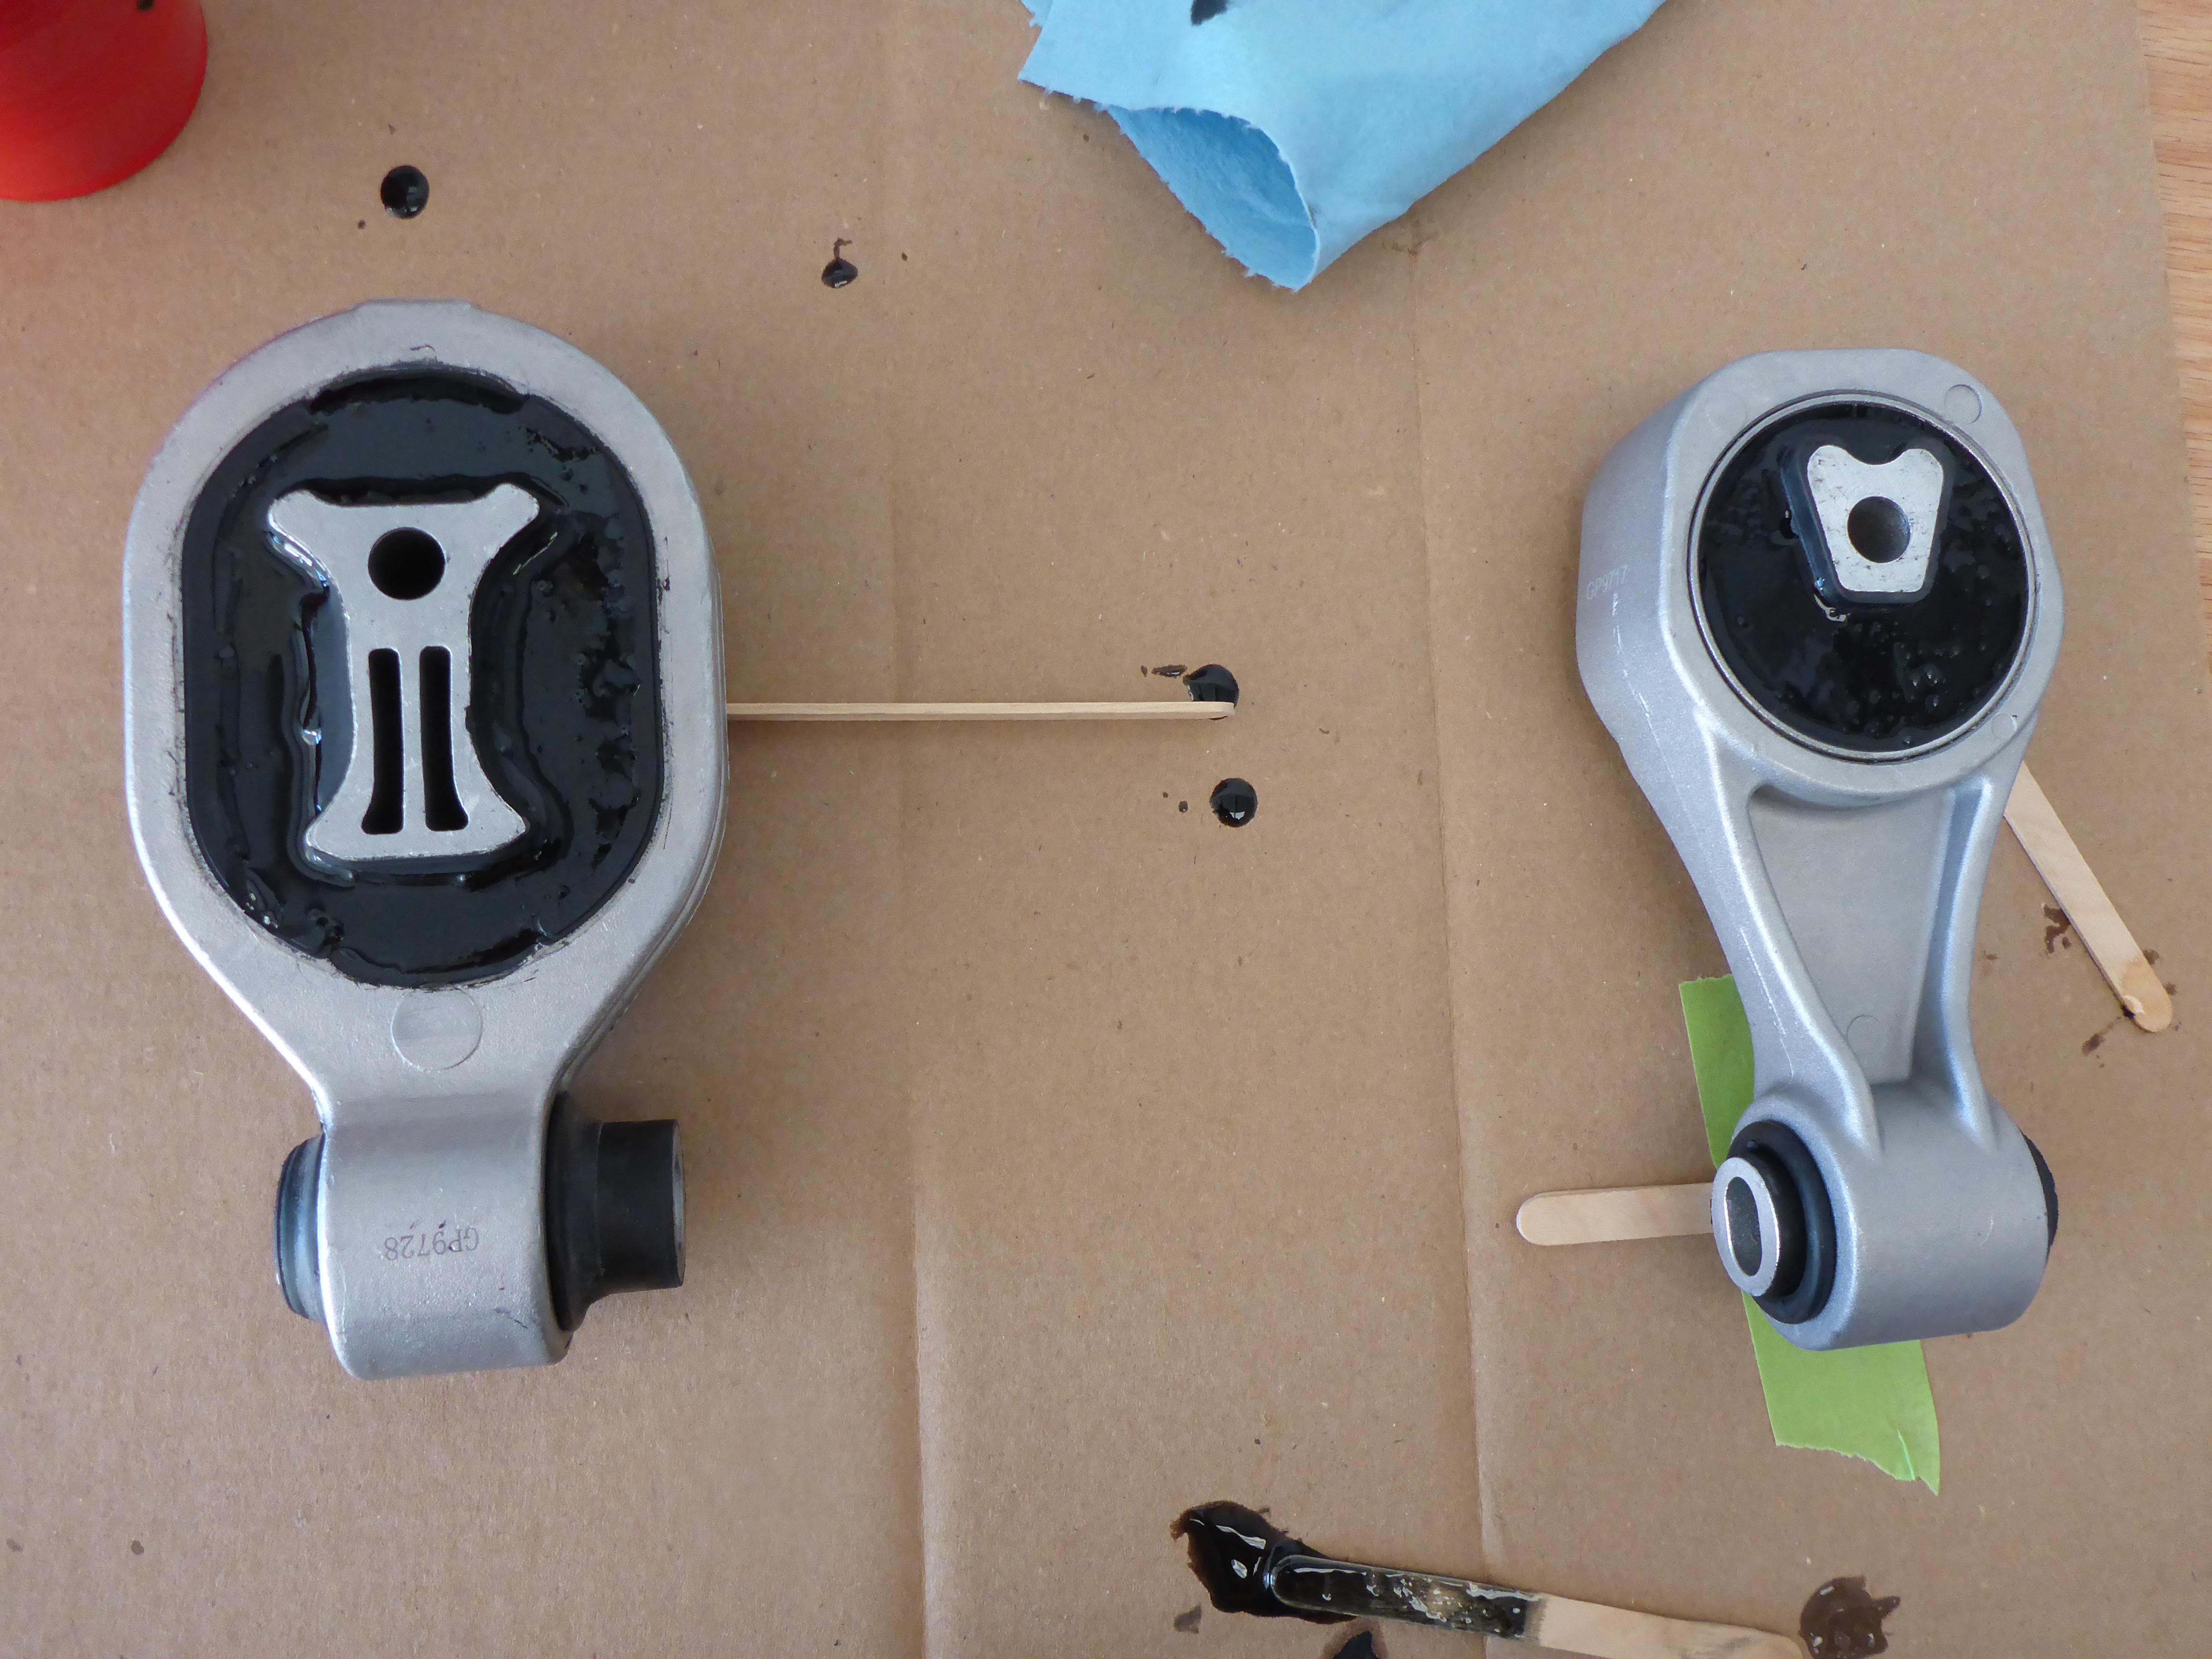
I had to clog the backside of the mounts somehow because I wanted to do a pour on each side which result in a prettier finish. I just used some butyl I had laying around but there are all sorts of ways to accomplish this task. And a picture of the liquid urethane I used.


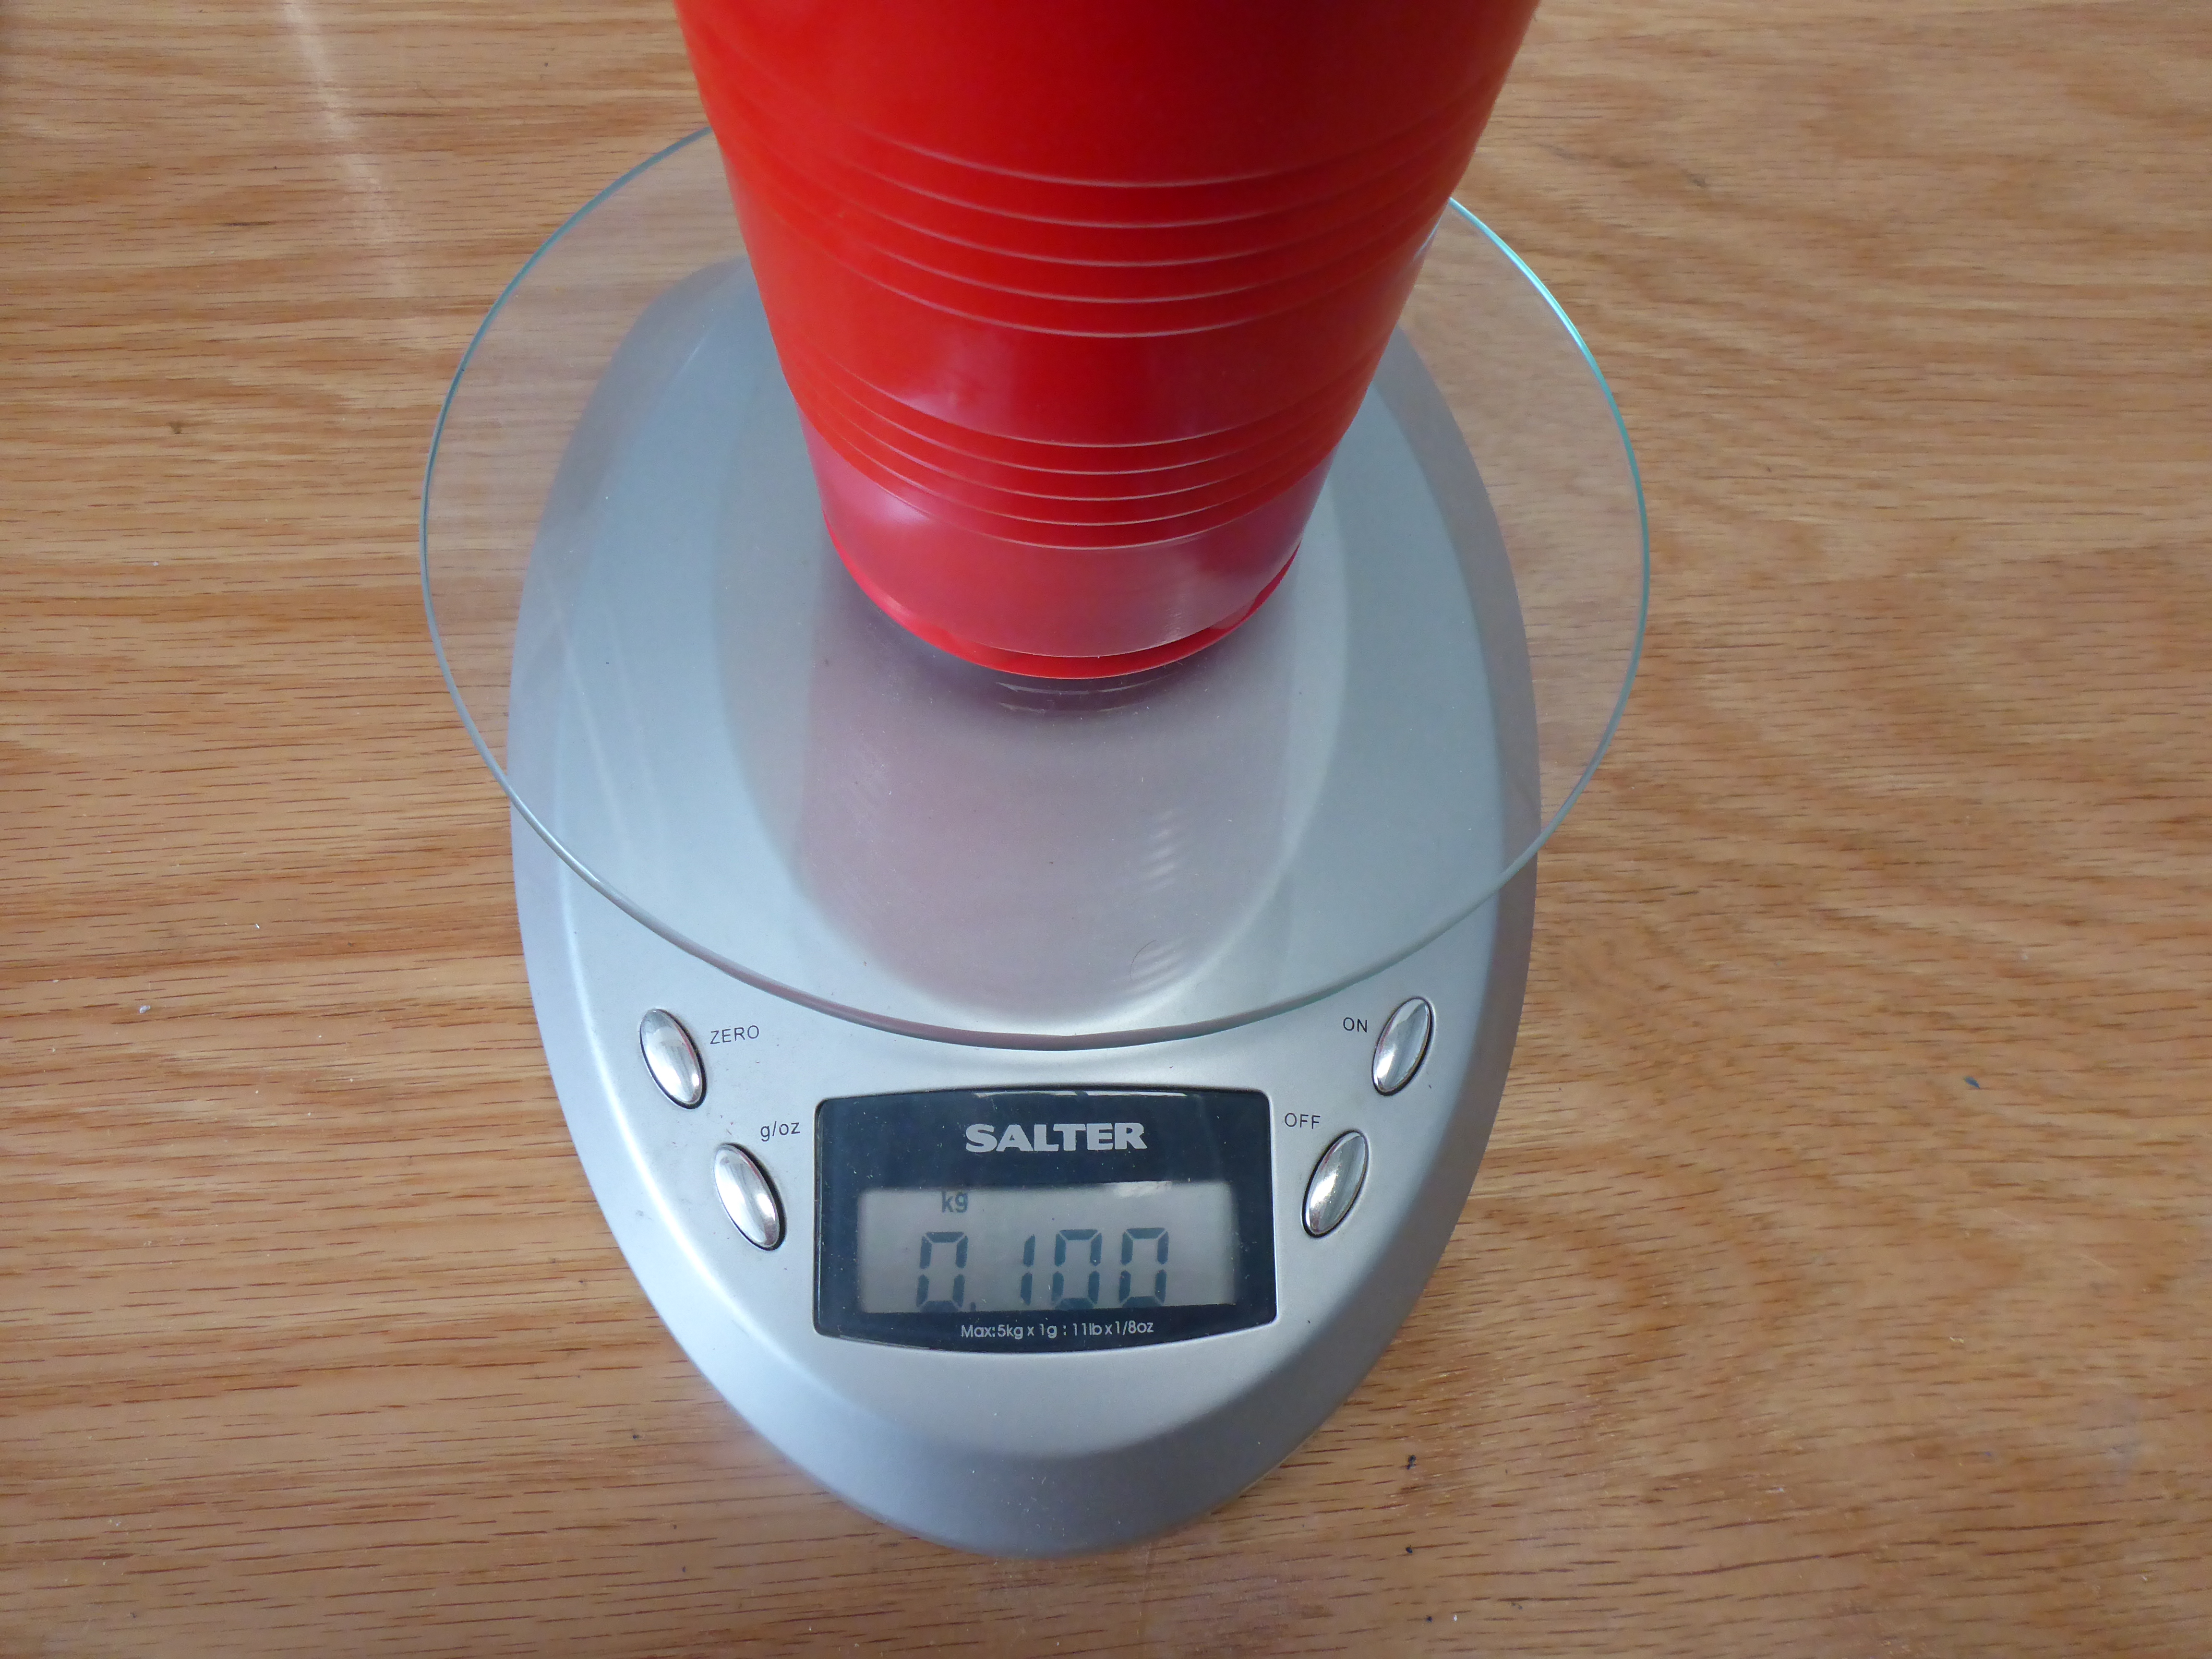
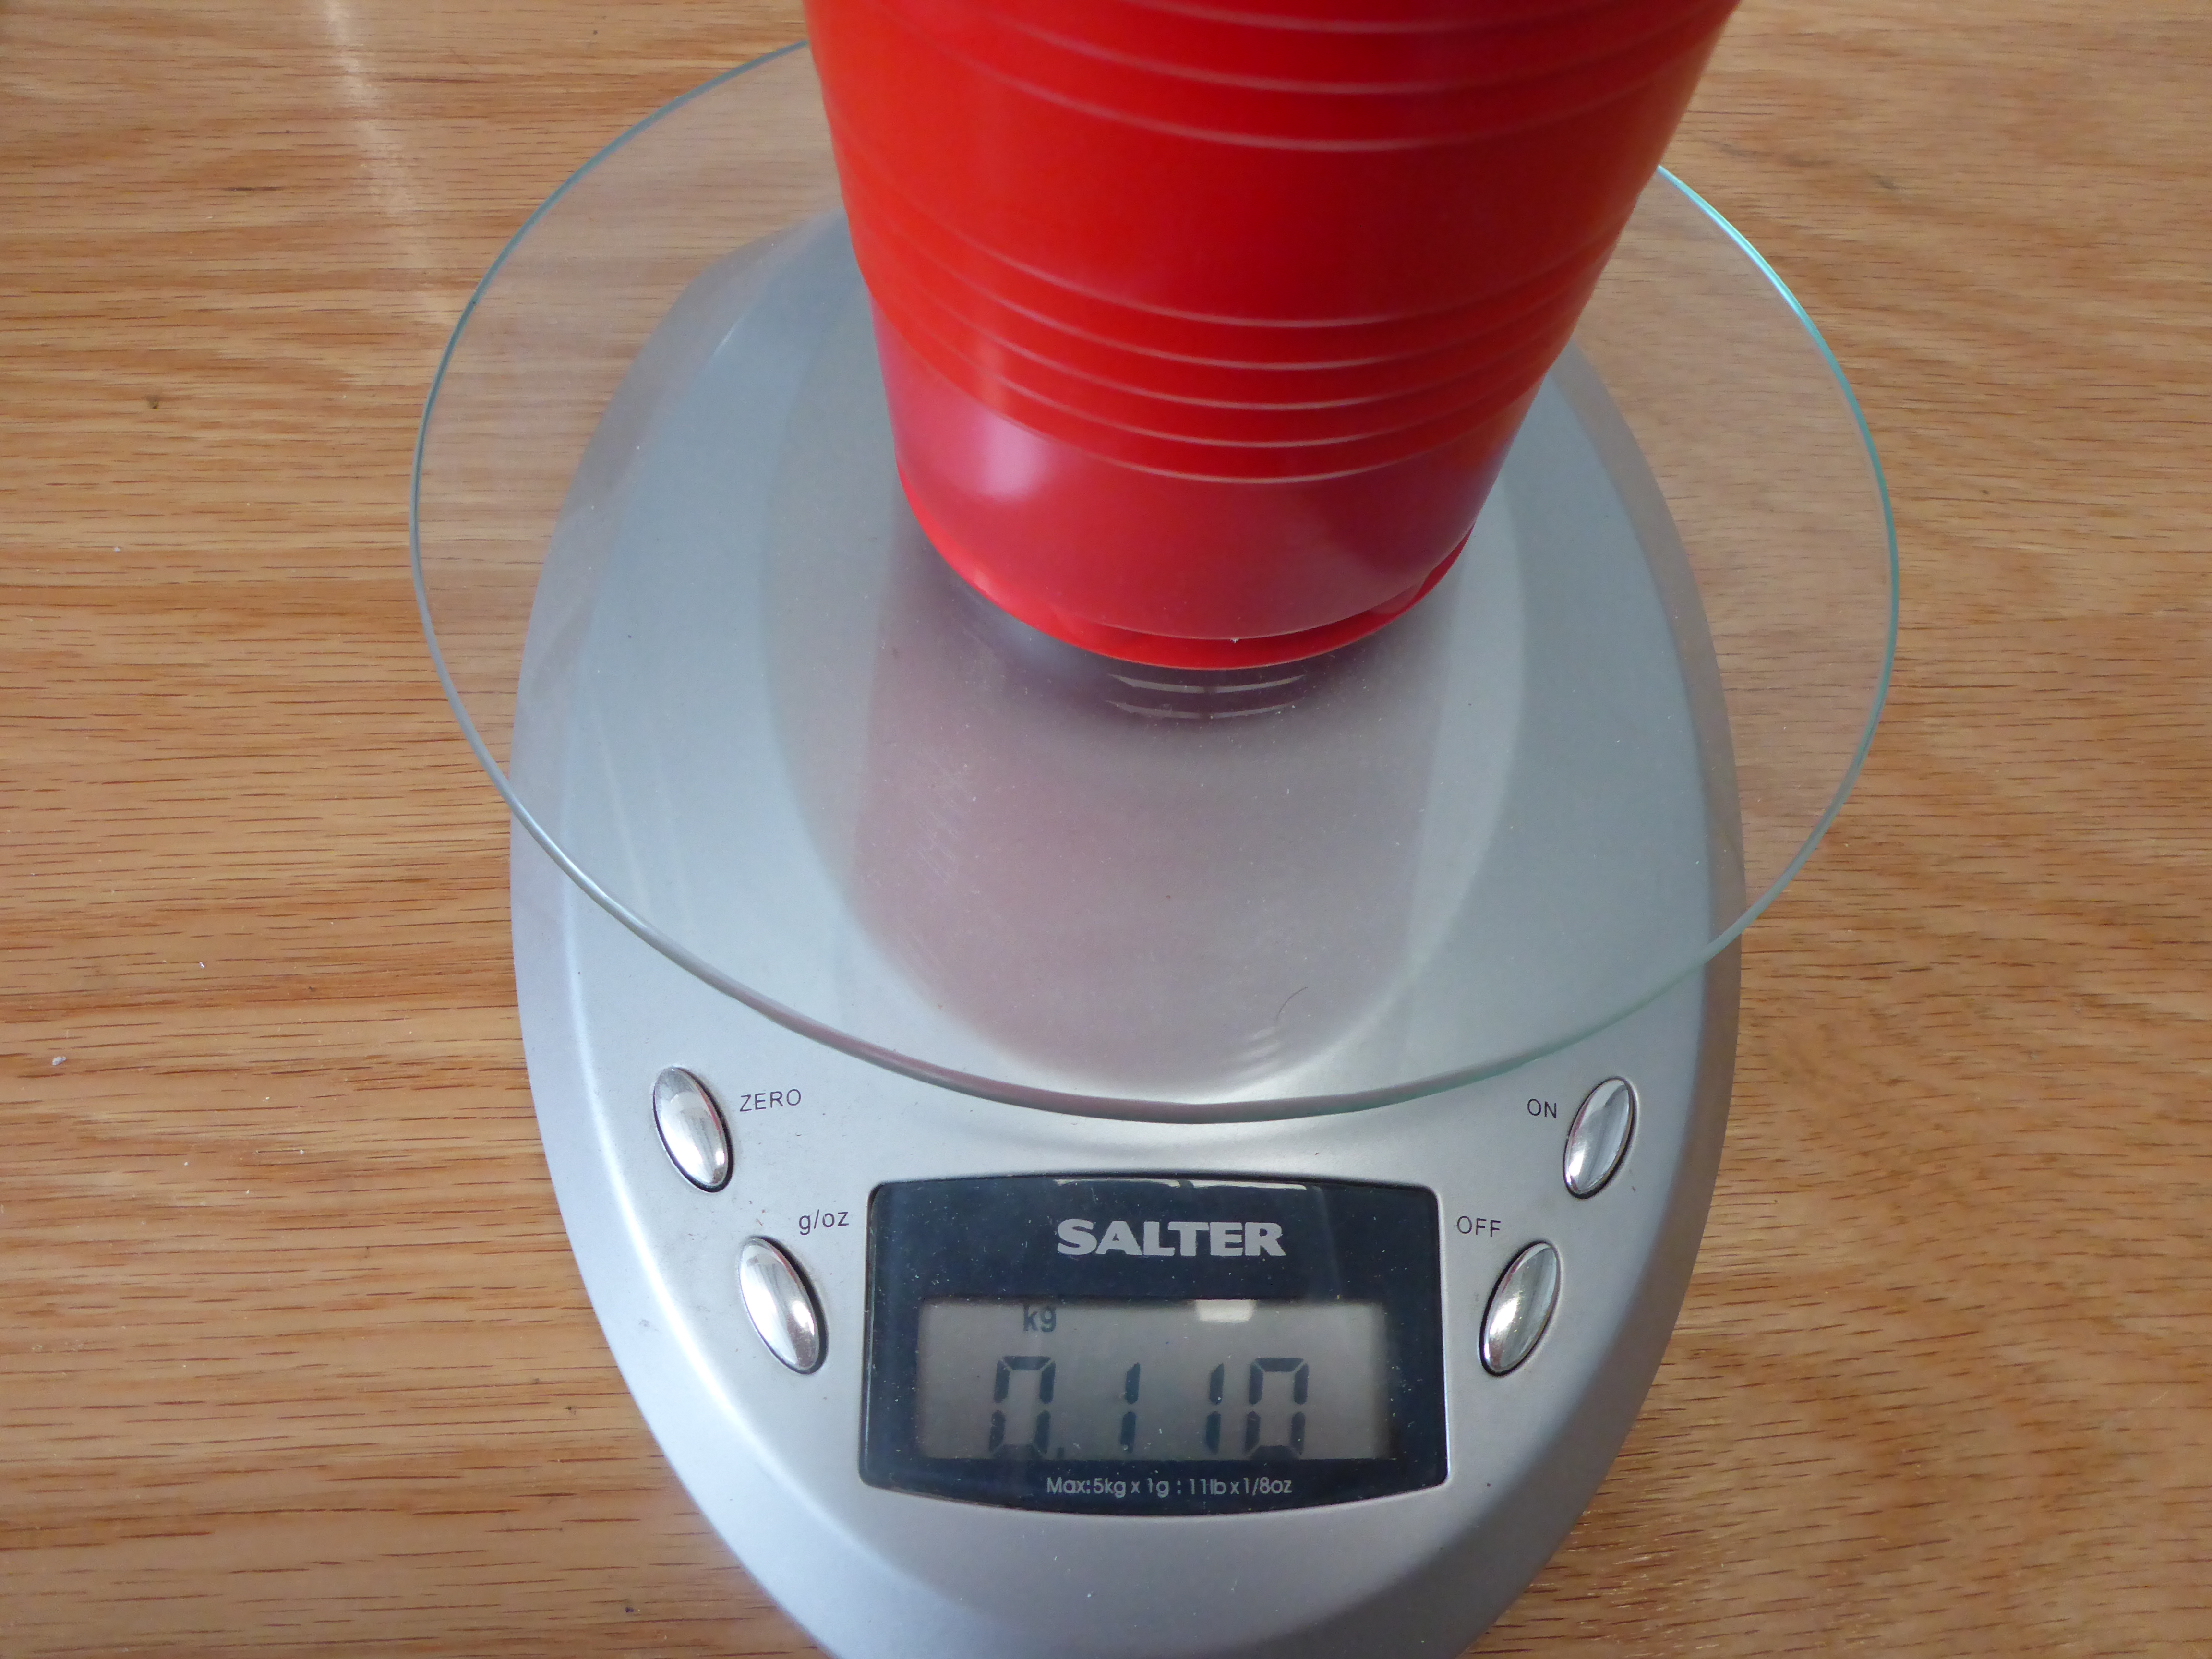
This stuff is super particular about a 10:1 mixing ratio so out comes the kitchen scale to make sure it’s mixed juuuuust right so that I can do multiple batches rather than the recommended “mix it all and pour once and be done” approach.
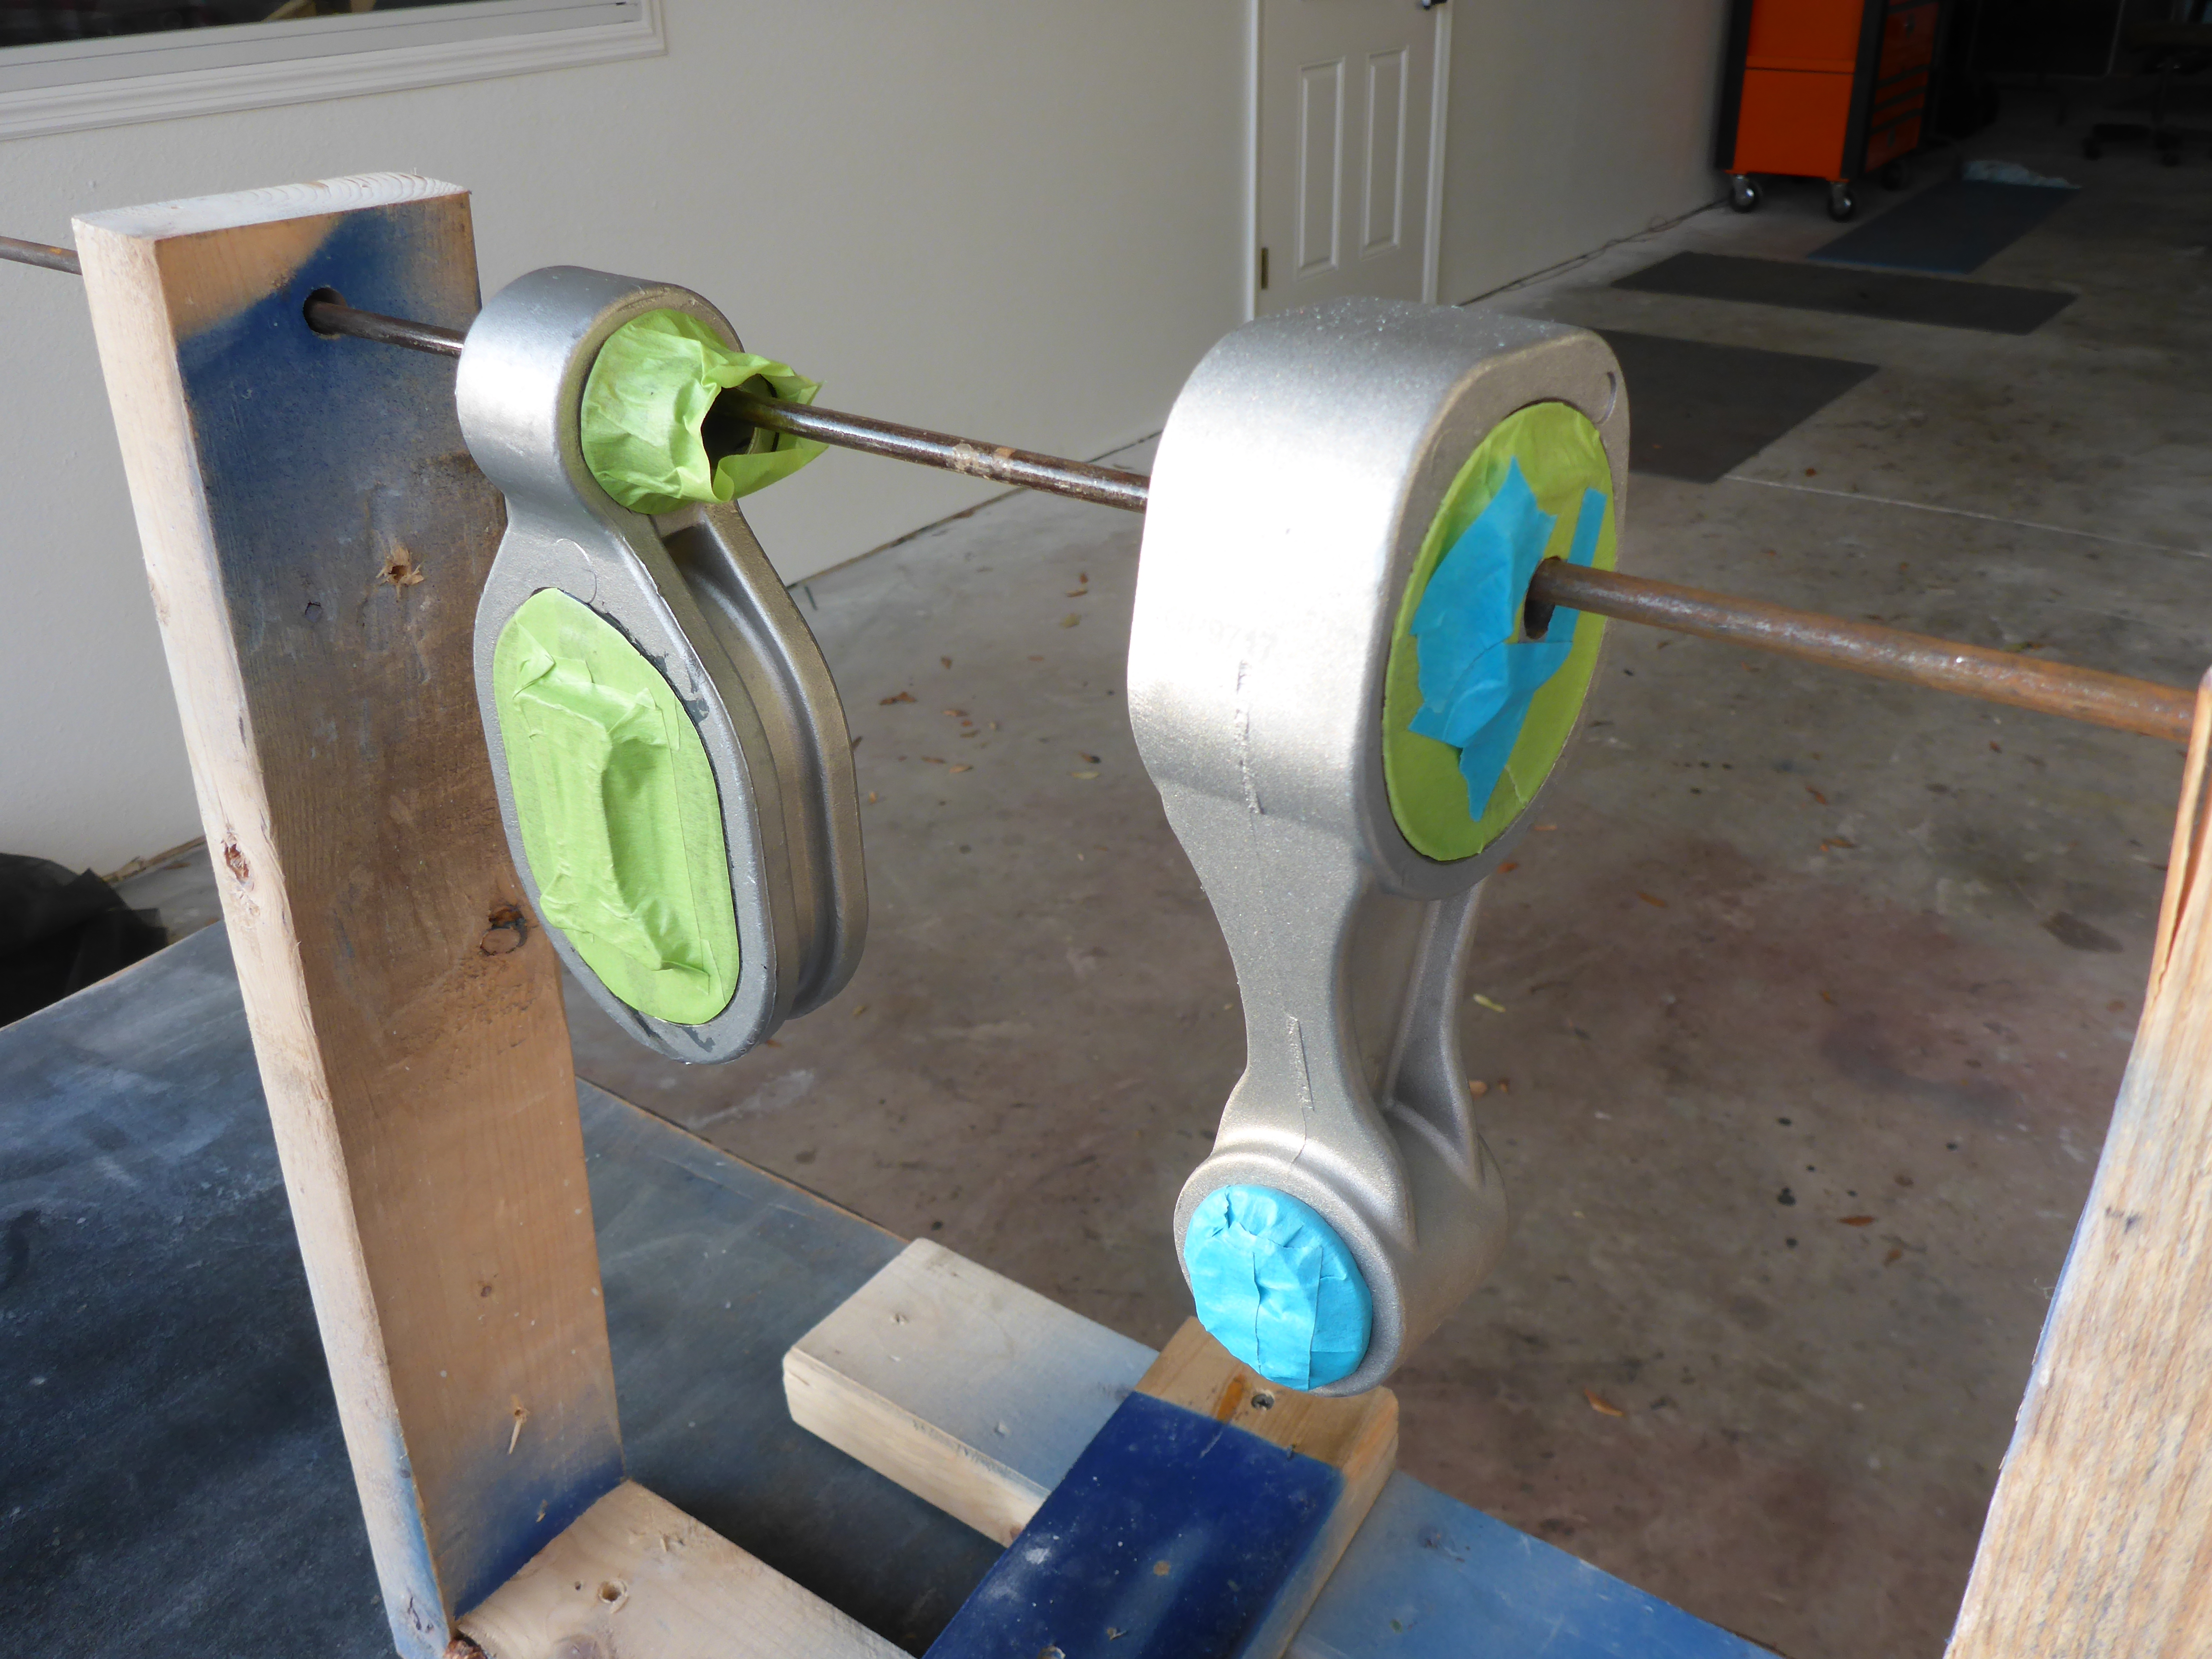
Pour #1…. wait 24 hours, remove butyl, flip, pour #2. Results in a smooth flawless finish on both sides.
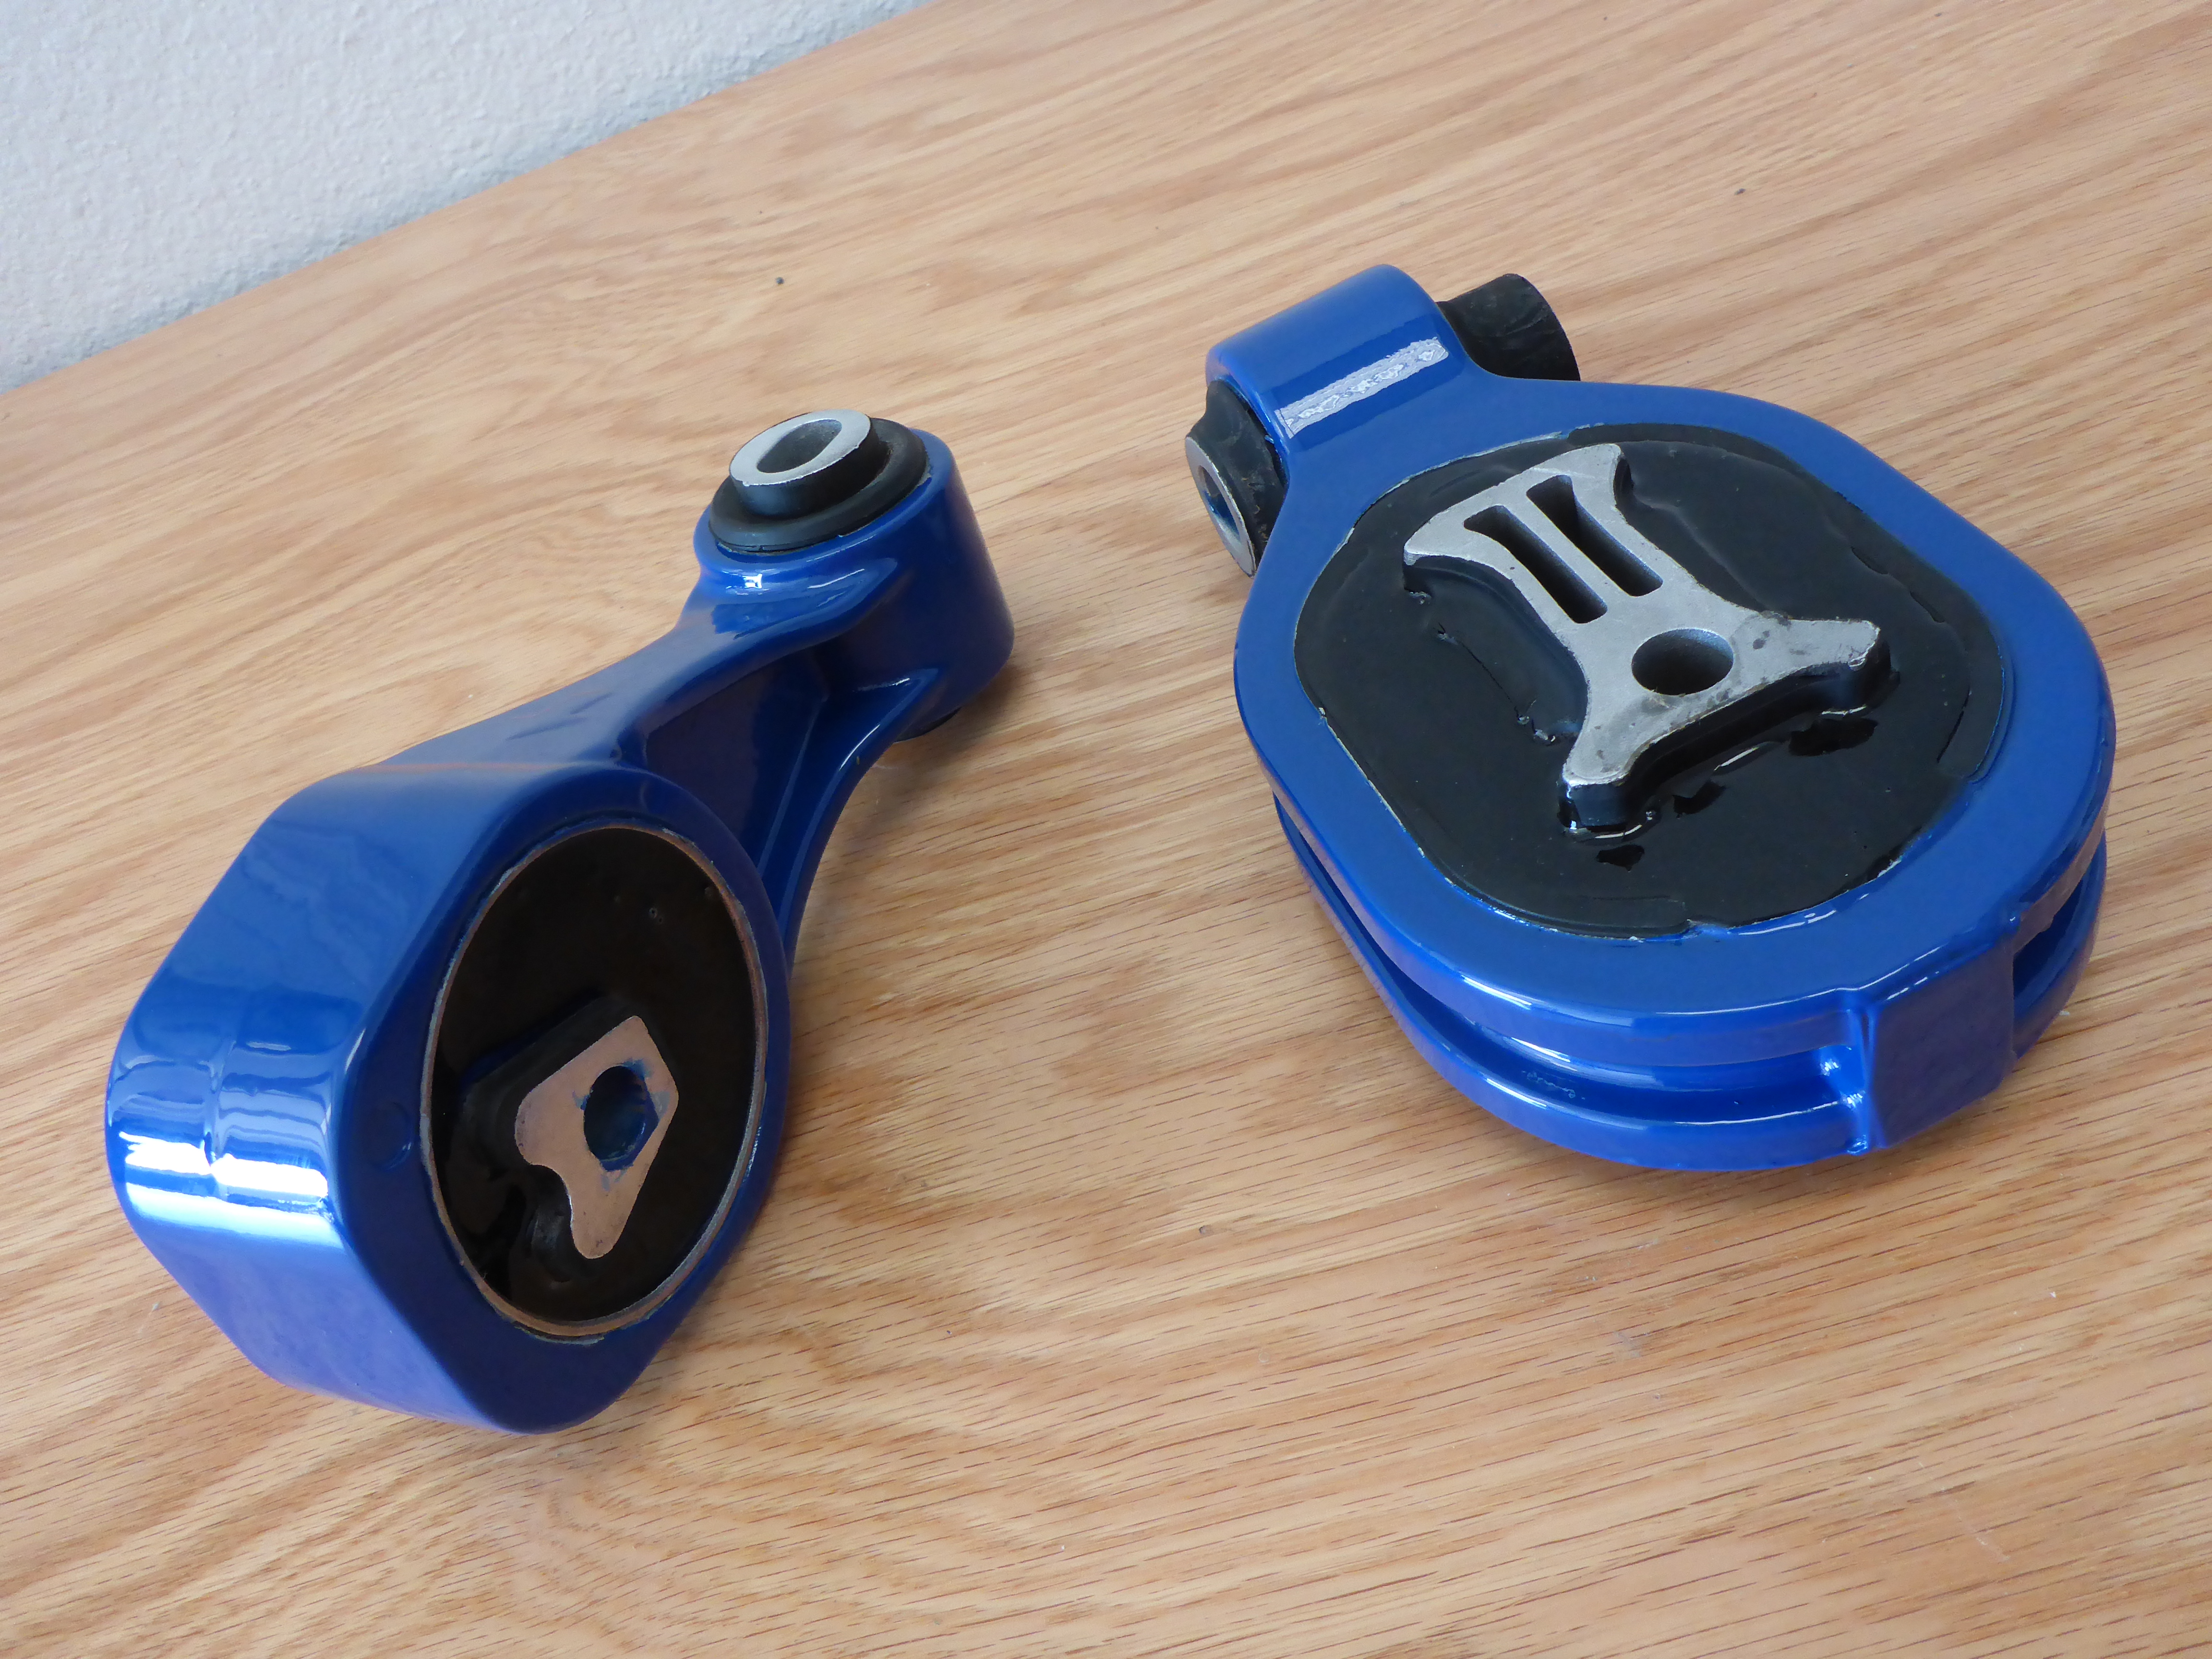
Okay, that was the easy part. Where most people would stop. After all, the performance aspect has now been addressed. But I’m not most people. Time to make these things PRETTY.
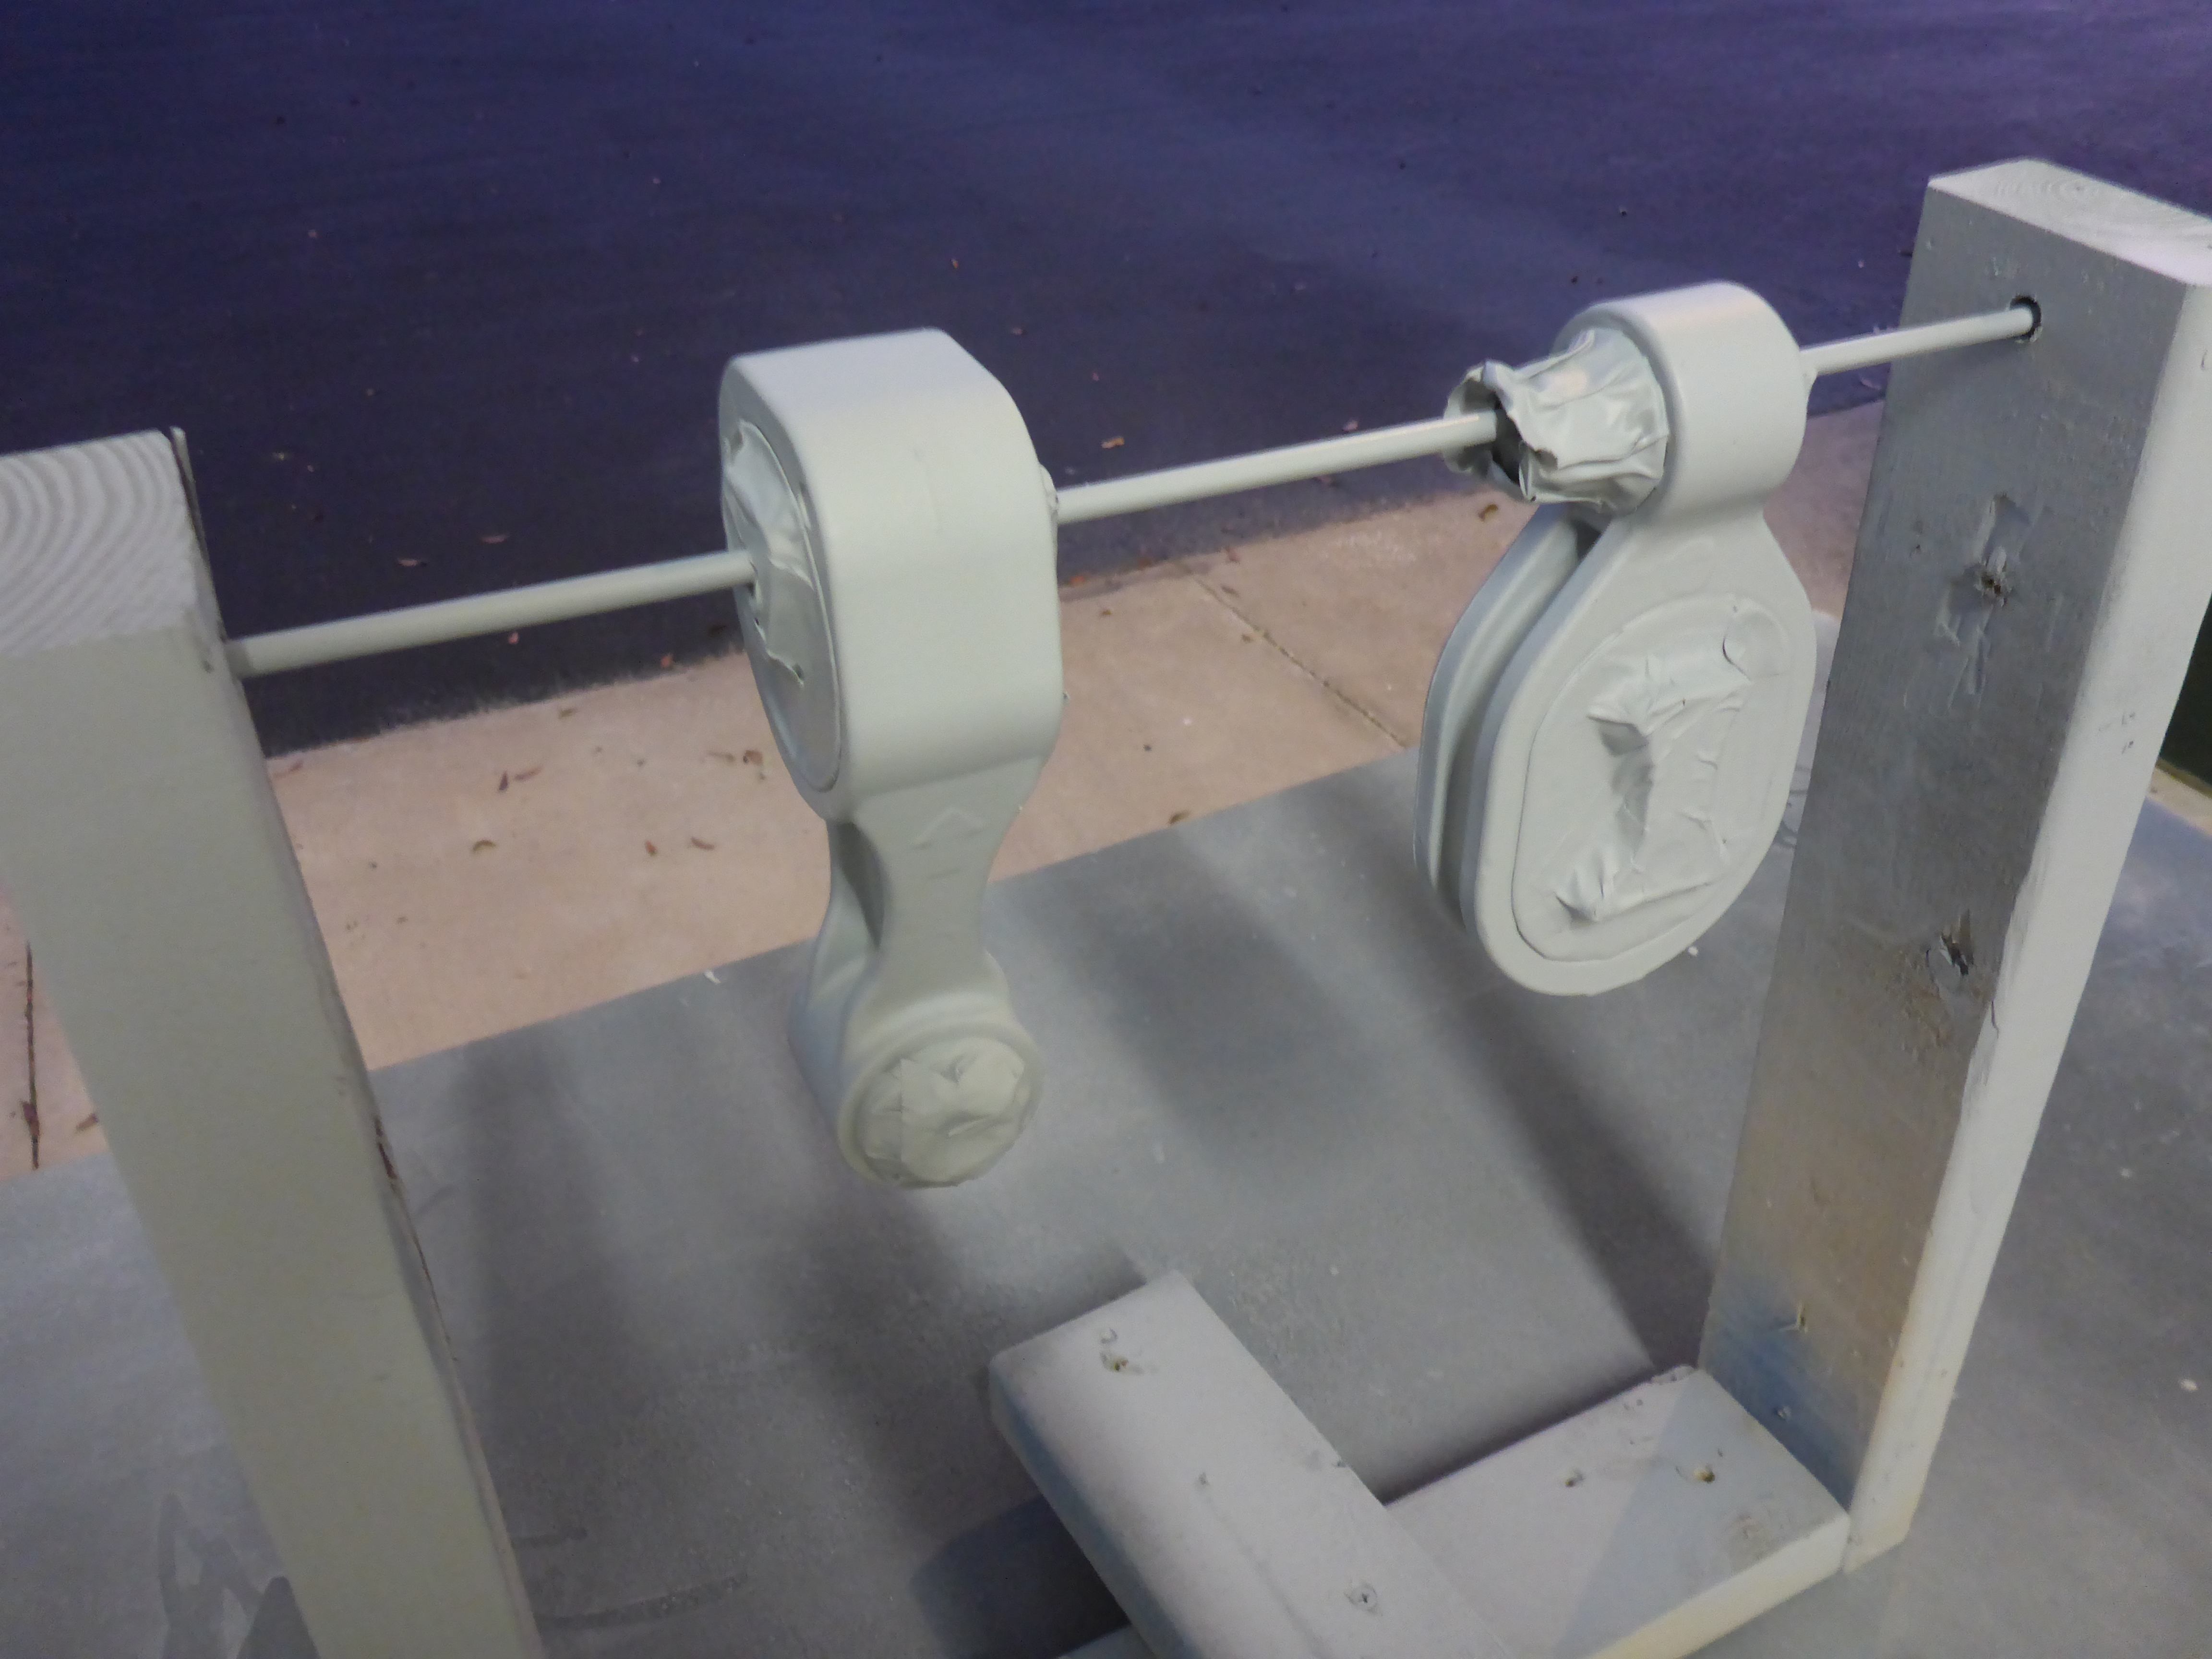
Prepped, masked, and primed with direct-to-metal primer. I then did a guide coat and sanded that as smooth as possible to eliminate the casting texture.
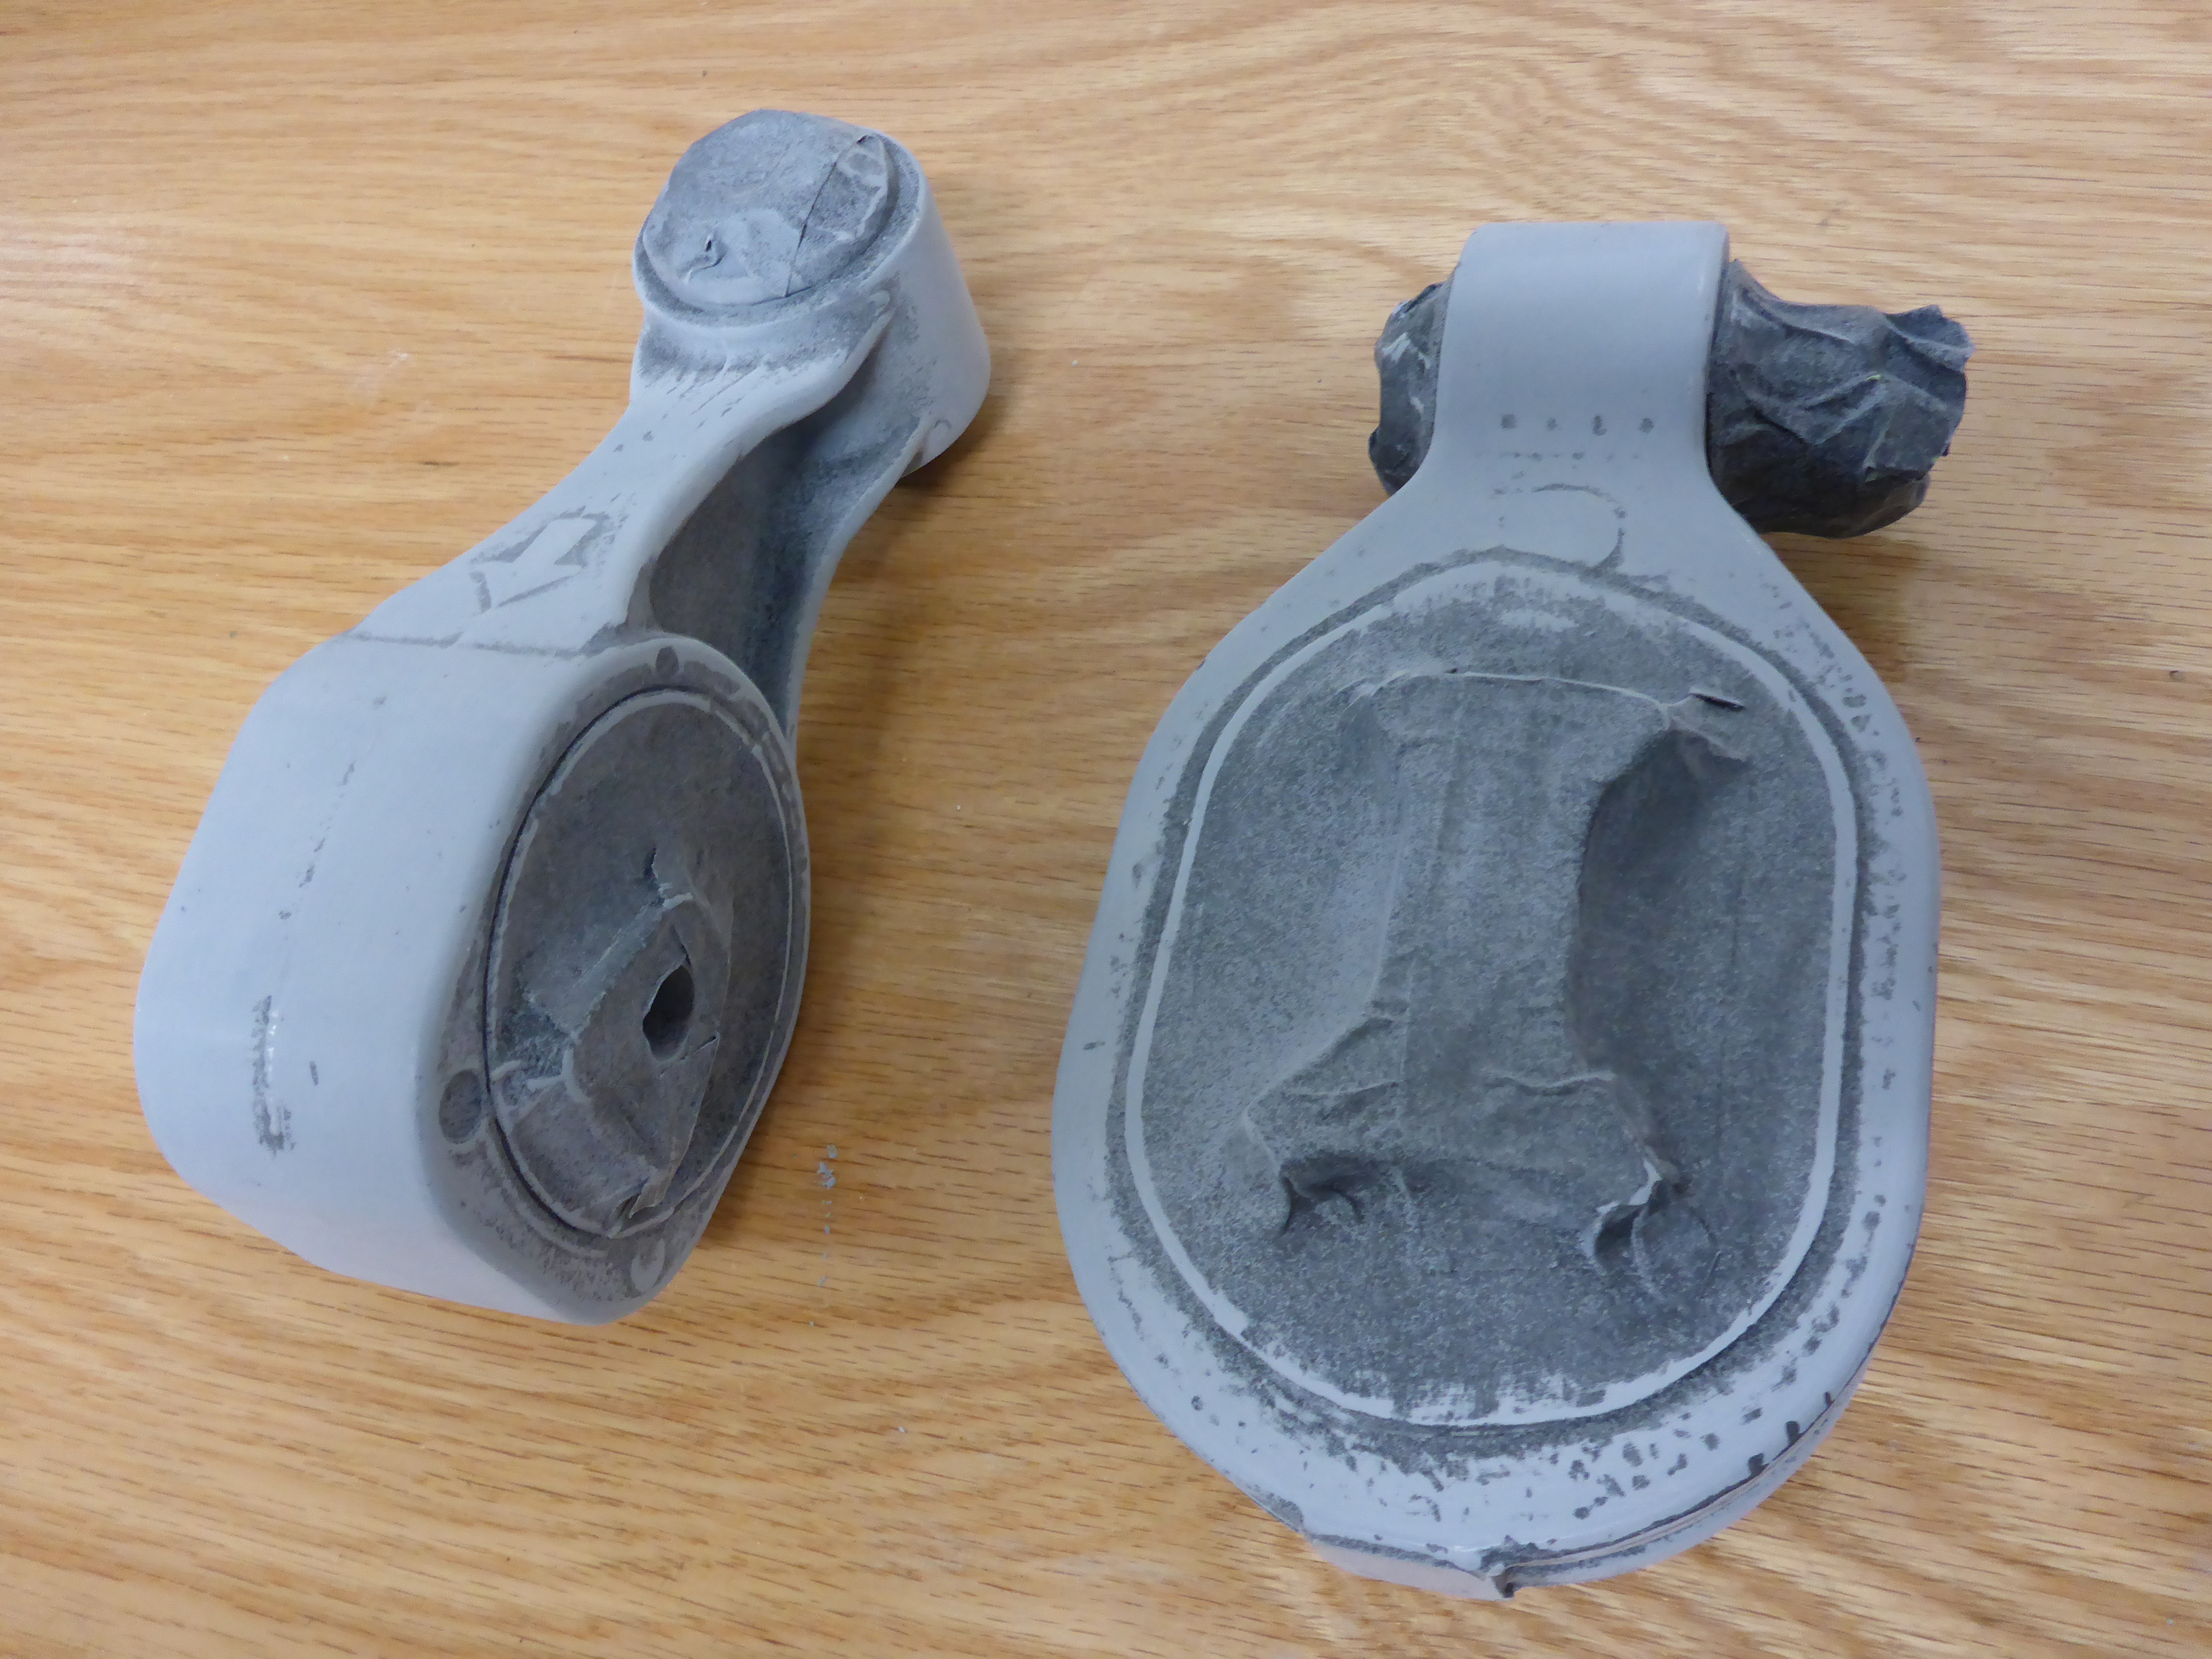
Paint goes down followed by clear coat and all masking is removed. The result is probably the sexiest solid urethane mounts ever made for the Juke…. ever… lol
When I installed these, I also installed a new transmission mount and upper engine mount. These weren’t modified in any way so I didn’t photograph them. But if you are to replace one mount, proper procedure dictates that you replace them all. In my case, it was very necessary as all of my mounts had about 115k miles on them.
Installed glamour photos:
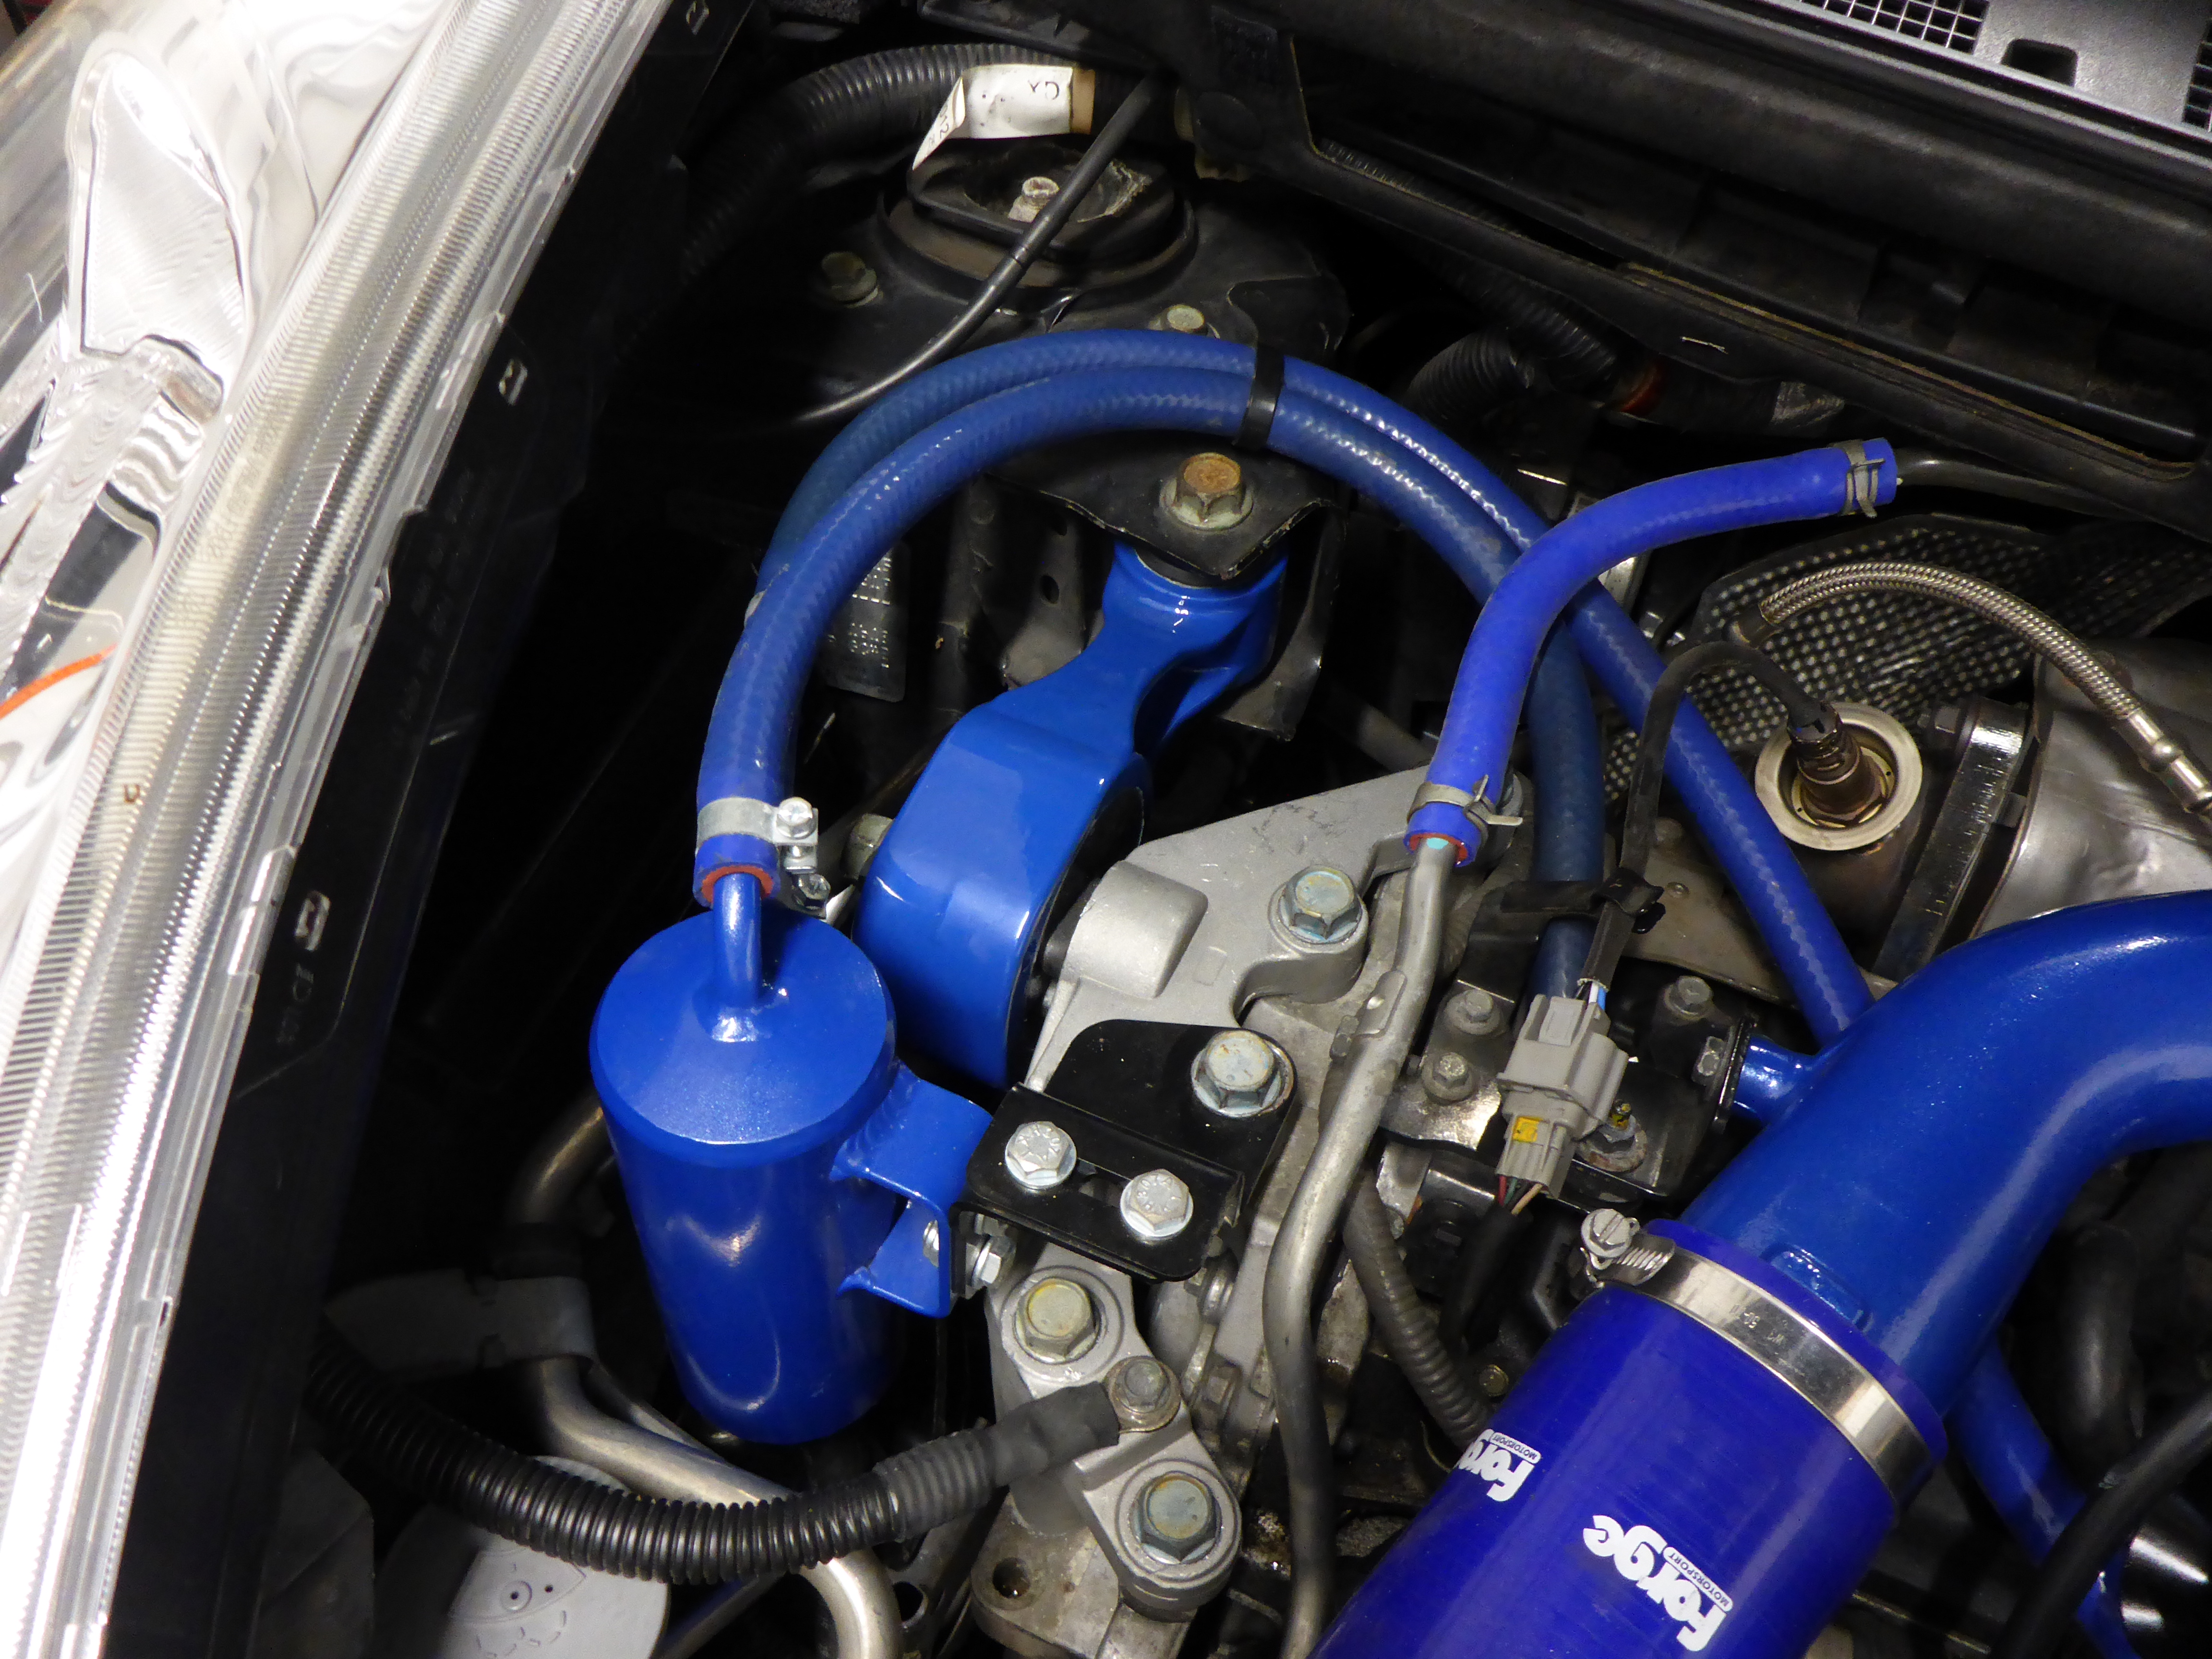
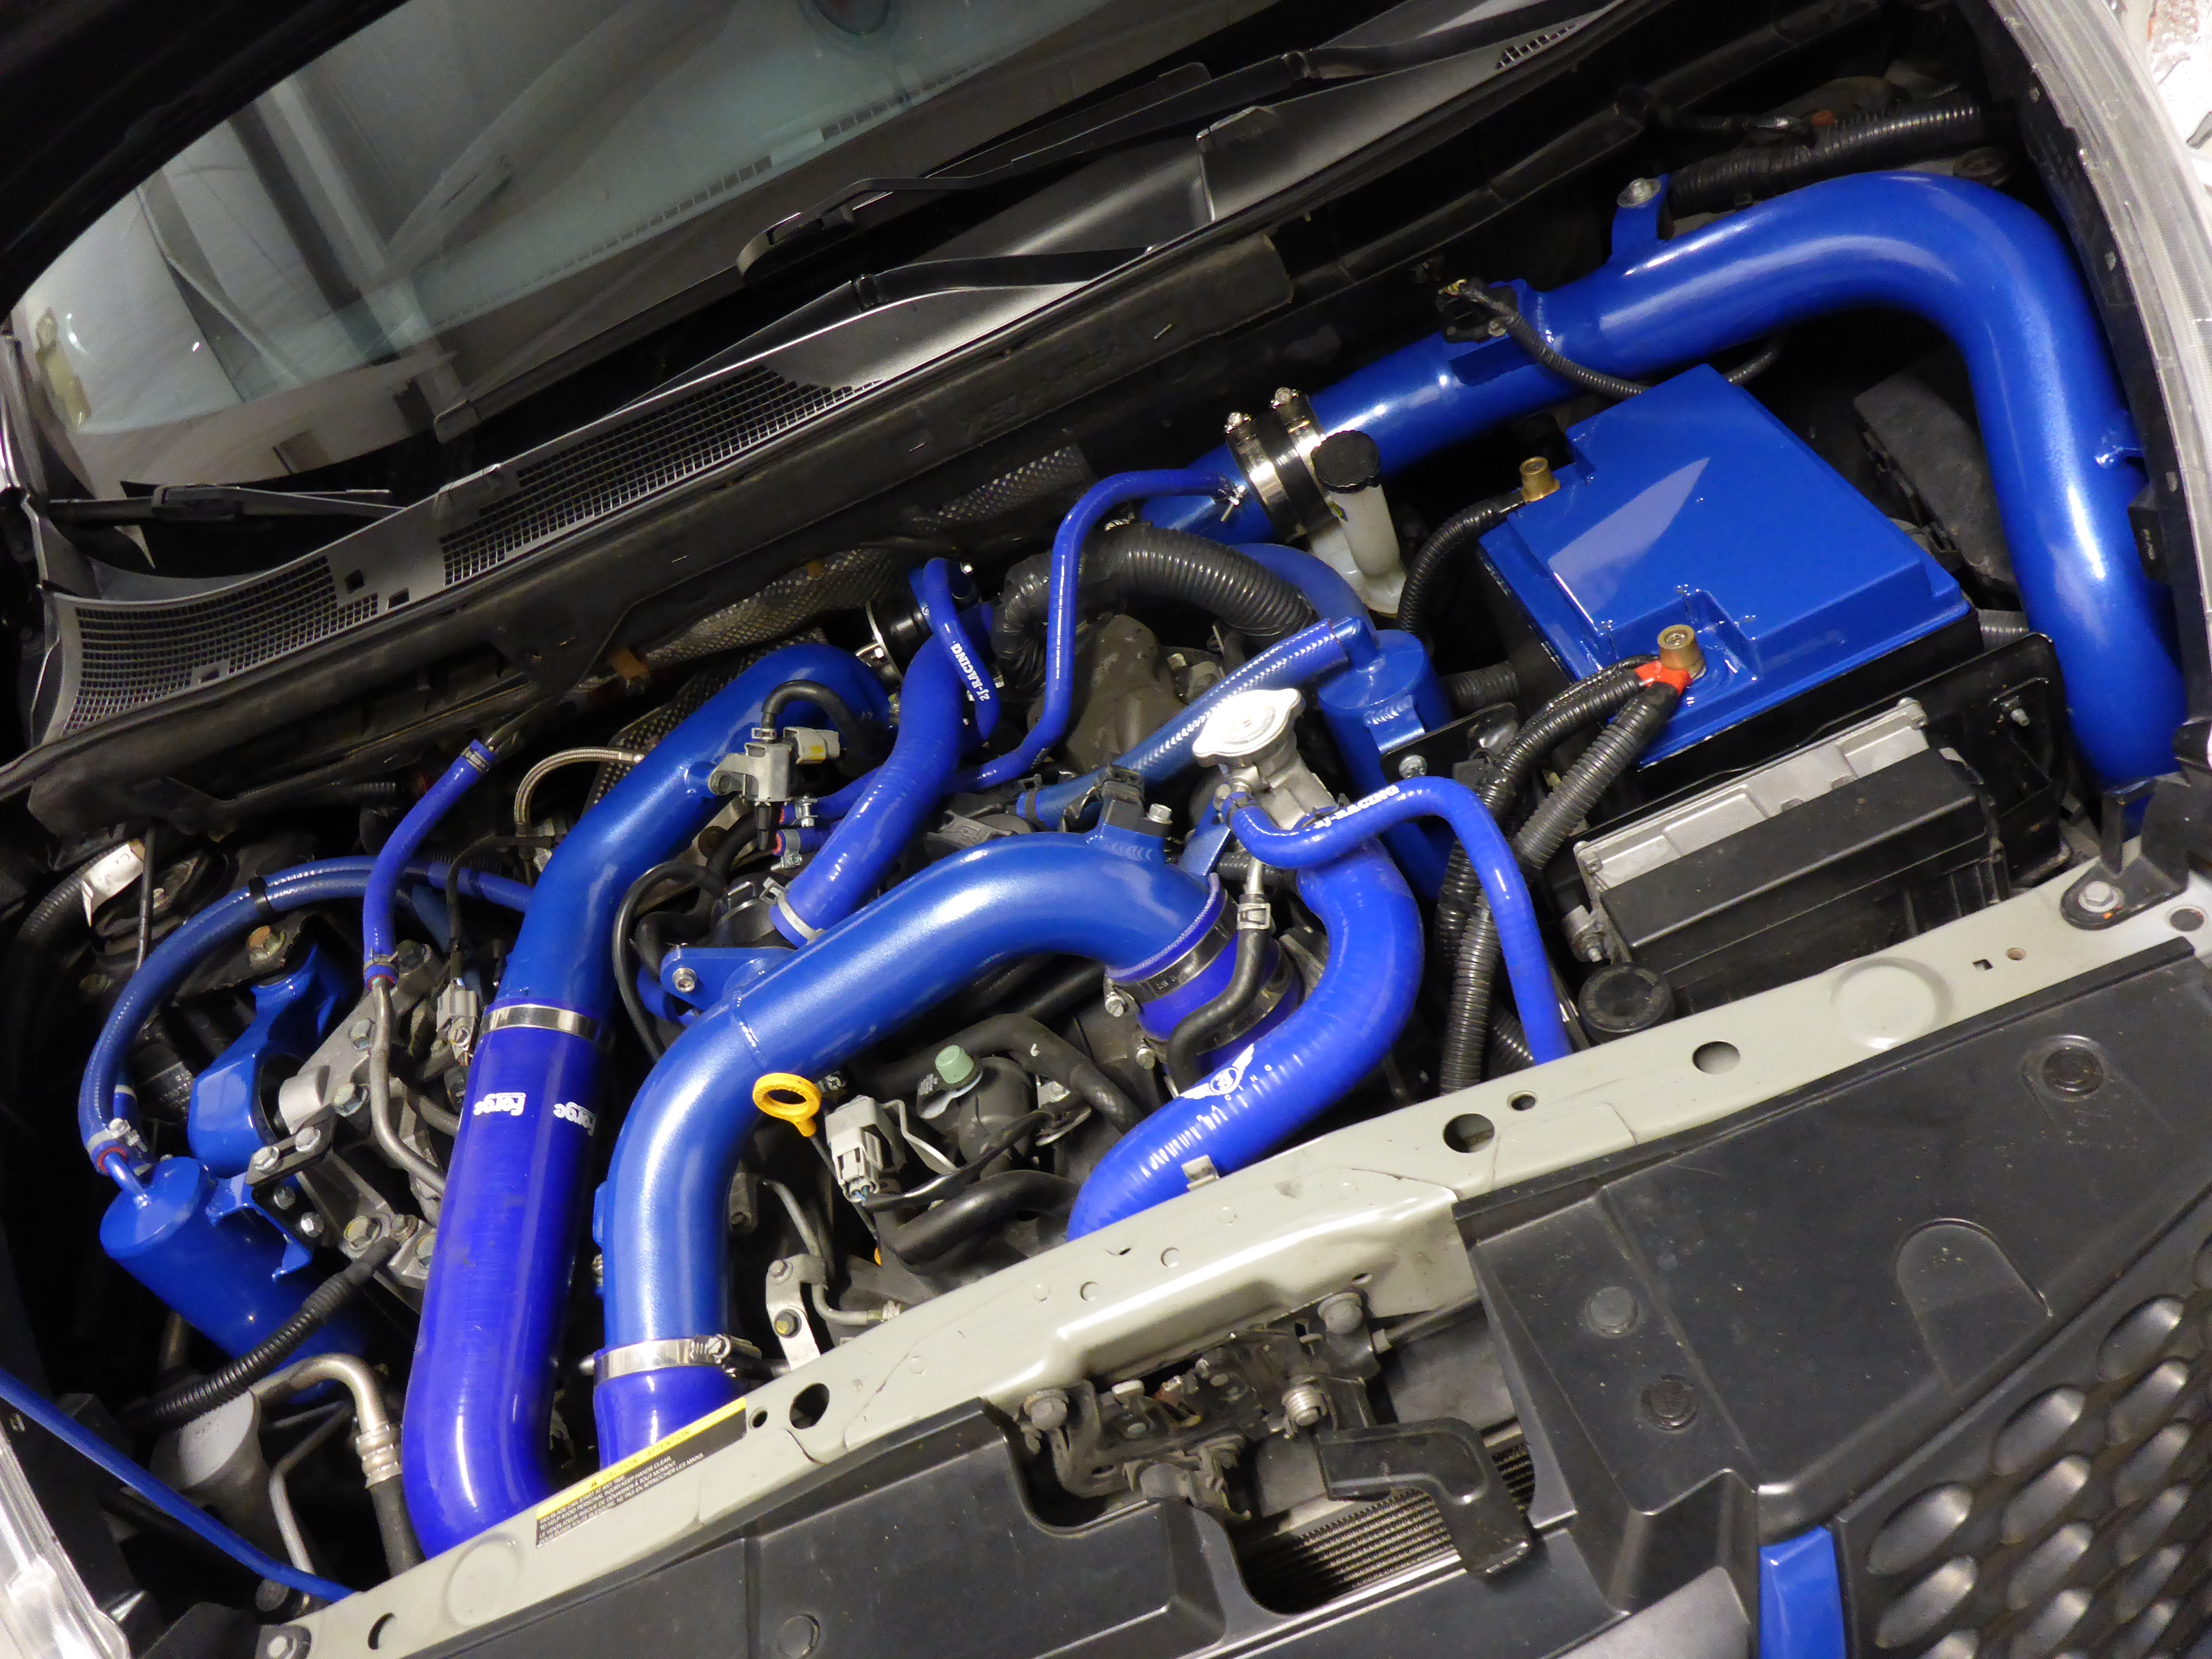


The impact on driveabilility was phenomenal. It feels like the whole front end of the vehicle tightened up. It handles better in corners and acceleration, and more power is transferred to the wheels giving the illusion of MOAR HORSEPOWAHHH. Little to no difference in cabin noise or vibration as well. Absolutely perfect and critically necessary modification in my opinion. I had a great time learning and executing this process.